
OldNSlowMarine
-
Posts
45 -
Joined
-
Last visited
Content Type
Profiles
Forums
Events
Blogs
Gallery
Store
Everything posted by OldNSlowMarine
-
Steel Belt Liners
OldNSlowMarine replied to MarlinDave's topic in Gun Holsters, Rifle Slings and Knife Sheathes
I've made one before. I used a roll of coil steel feeler gage stock to do it. I forget what thickness it was. Might have been 0.015 inch? I'm not sure how the mass producers of these do it, but I centered it between two layers of 8 ounce Hermann Oak single belt bend strips. I didn't punch holes in it for the buckle holes, just got somewhat close to the last hole. Not sure if they do or not. Last I heard, the customer liked it. -
Edge on holster opening
OldNSlowMarine replied to Davm's topic in Gun Holsters, Rifle Slings and Knife Sheathes
Can you post pictures so everyone that is trying to help will have a better understanding of your process? -
Edge on holster opening
OldNSlowMarine replied to Davm's topic in Gun Holsters, Rifle Slings and Knife Sheathes
Are you roughing up the leather where you'll be applying glue? If not, that could be the problem. I saw that you mentioned Barge. Which type? I've used the yellow/red can for years and it worked well. 1. Rough leather 2. Apply glue 3. Let glue sit for a few minutes, 5 minutes is usually good. 4. Warm the glue with a heat gun 5. Bond the two layers together 6. Using a cobbler's hammer, tap the two pieces where they've been glued. Or anything that you can apply pressure with. I've used a rolling pin before. I use my stainless steel boning tool now to apply pressure to the two pieces being bonded. 7. Let the glue cure overnight 8. Stitch 9. Sand edges even. Bevel edges. Burnish edges. -
Well, after months of experimenting, I am having good results. The past 5 or so mahogany-colored holsters have dried out evenly after submerging in a 66.67 acrylic/33.33 percent water mixture. My initial attempts at this was with a 50/50 percent mixture. I believe the higher water percentage in my initial attempts were causing the discoloration. At least my new results have led me to that conclusion. In a nutshell, I have a 5 gallon container that I completely submerge the holster in for approximately 5 seconds. I use a metal clothes hanger to dip the holster in vertically, toe first, for a 5 second count. Pull the holster out and using a heat gun, I blow the mixture towards the bottom of the holster. I don't wipe it down, but I'll dab any excess with a lint free cloth. The mixture quickly gets absorbed into the leather. Then hang to dry in front of a high powered fan until it is no longer tacky to the touch. Any discoloration usually disappears within the first two hours. The little bit that I have seen is just usually around the belt slot edges, but again, disappears within an hour or two. Note that, high humidity will play a factor in curing times. After the holster is no longer tacky, I move it inside where it's usually around 70 degrees. So far, I've only tested pancake style holsters with this method. The firmness is just what I was wanting. It's not board stiff, but I can definitely tell that it's firmer to any other way I've applied before. Also, the leather I use is Wickett & Craig 8 ounce that has been "holstered" to a very firm temper. The leather is also submersion dyed in the same manner here in the shop. Hope this can help someone else if they are interested in this method.
-
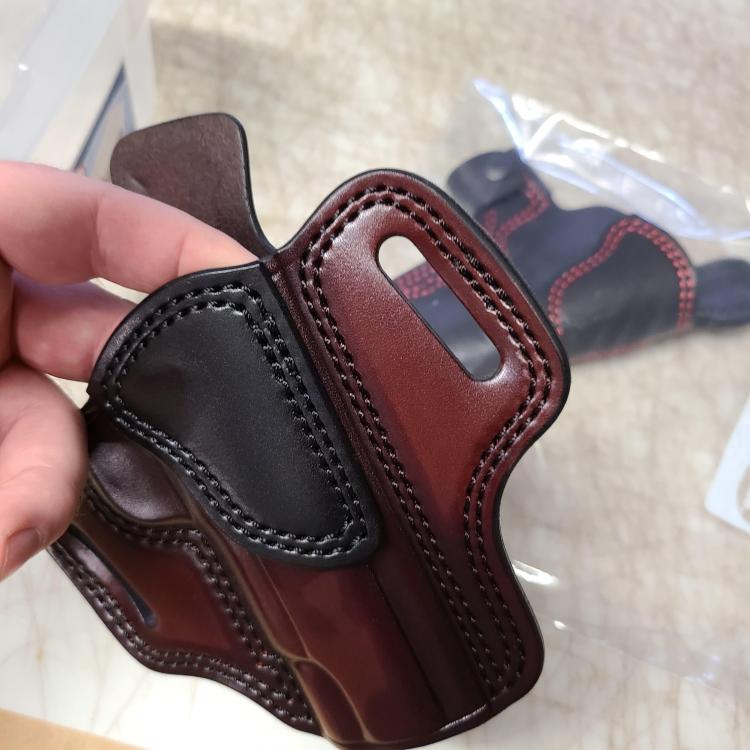
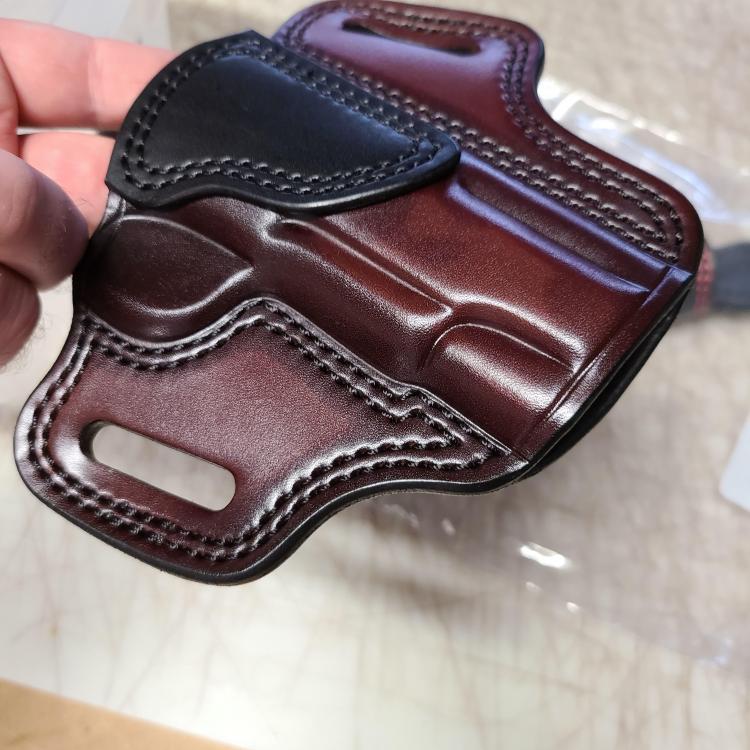
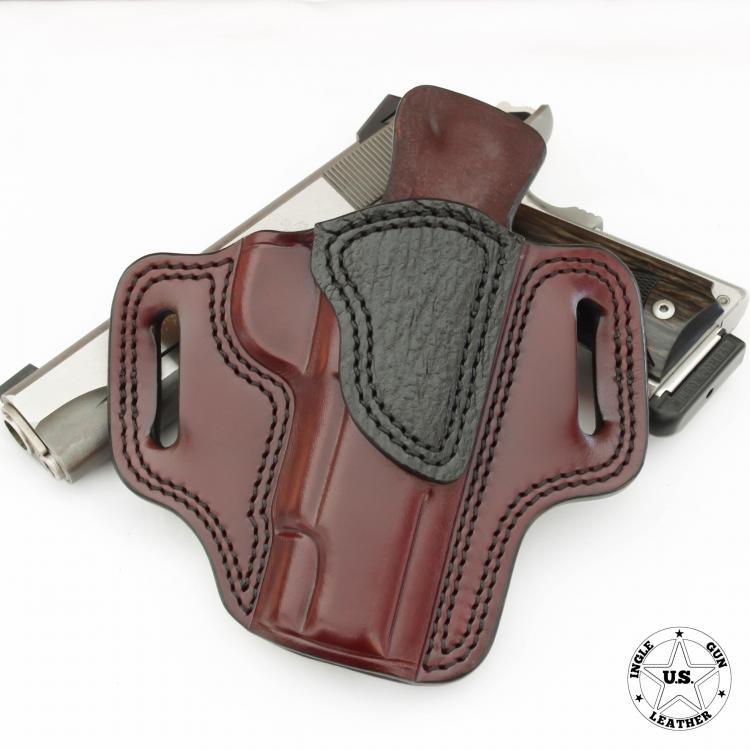
1911 Colt Commander holster recently finished. Shown here in an in-house custom blended mahogany, genuine black shark reinforcement panel, black stitching, and black edges all around.
-
You may have to put in a special order somewhere. I have used Conceria Walpier "Buttero" leather many times, just not white. Rocky Mountain Leather is a great company to deal with. https://www.rmleathersupply.com/collections/view-all-leather/products/buttero-veg-tanned-leather-5oz-made-in-italy?variant=32321117552749
-
A Simple Holster
OldNSlowMarine replied to AzShooter's topic in Gun Holsters, Rifle Slings and Knife Sheathes
Nice! I'm quite the opposite: I love making all black holsters, but most people want some sort of color. Hard to mess up with all black. And if you do, it's hard to see. -
First pancake style holster. Need help for next one!
OldNSlowMarine replied to Akers's topic in How Do I Do That?
I use 8 oz Wicket and Craig for just about everything (holsters, mag carriers, and double layered belts). I would not recommend going any thinner, especially for a 1911/2011. Patience is your best friend when it comes to wet molding. I dip dye my panels and let dry overnight, then move on to the glueing and stitching phases. Once I'm ready to start wet molding, I submerge in hot water (from the sink, not boiled) for about 10-12 seconds, then place in a Ziploc bag for 3-5 minutes. Pull out of the bag and start smoothing out my sewing machine marks, then open up the holster and insert safe weapon, or dummy gun and go at it. I repeat my process until the crease lines are holding. The wetter the leather is, the less shape it will hold, it keeps expanding back out. Look into "casing leather" for a better understanding. As far as retention, I crease and impress the backside of my trigger guard. Typically all crease lines and impressions are usually darker than the rest of the leather. You can mask it some by airbrushing a light coat of dye over the entire holster after it's dried out, but I rarely do. Never used a vacuum either. Not saying anything bad about them, but they're really not essential. Have fun! Jason
-
Colt Commander OWB
OldNSlowMarine replied to OldNSlowMarine's topic in Gun Holsters, Rifle Slings and Knife Sheathes
Thank you! I haven't been that active on there here lately. More to come soon though! Thank you Josh! -
Colt Commander OWB
OldNSlowMarine replied to OldNSlowMarine's topic in Gun Holsters, Rifle Slings and Knife Sheathes
Thank you, yes, my own design -
Colt Commander OWB
OldNSlowMarine replied to OldNSlowMarine's topic in Gun Holsters, Rifle Slings and Knife Sheathes
Thanks brother! Semper Fi! -
Colt Commander OWB
OldNSlowMarine replied to OldNSlowMarine's topic in Gun Holsters, Rifle Slings and Knife Sheathes
Thank you Lobo! -
Colt Commander OWB
OldNSlowMarine replied to OldNSlowMarine's topic in Gun Holsters, Rifle Slings and Knife Sheathes
Thank you! Thank you! Thank you! Thank you! Thank you! -
Leather Machine Co or Springfield Leather Co.
-
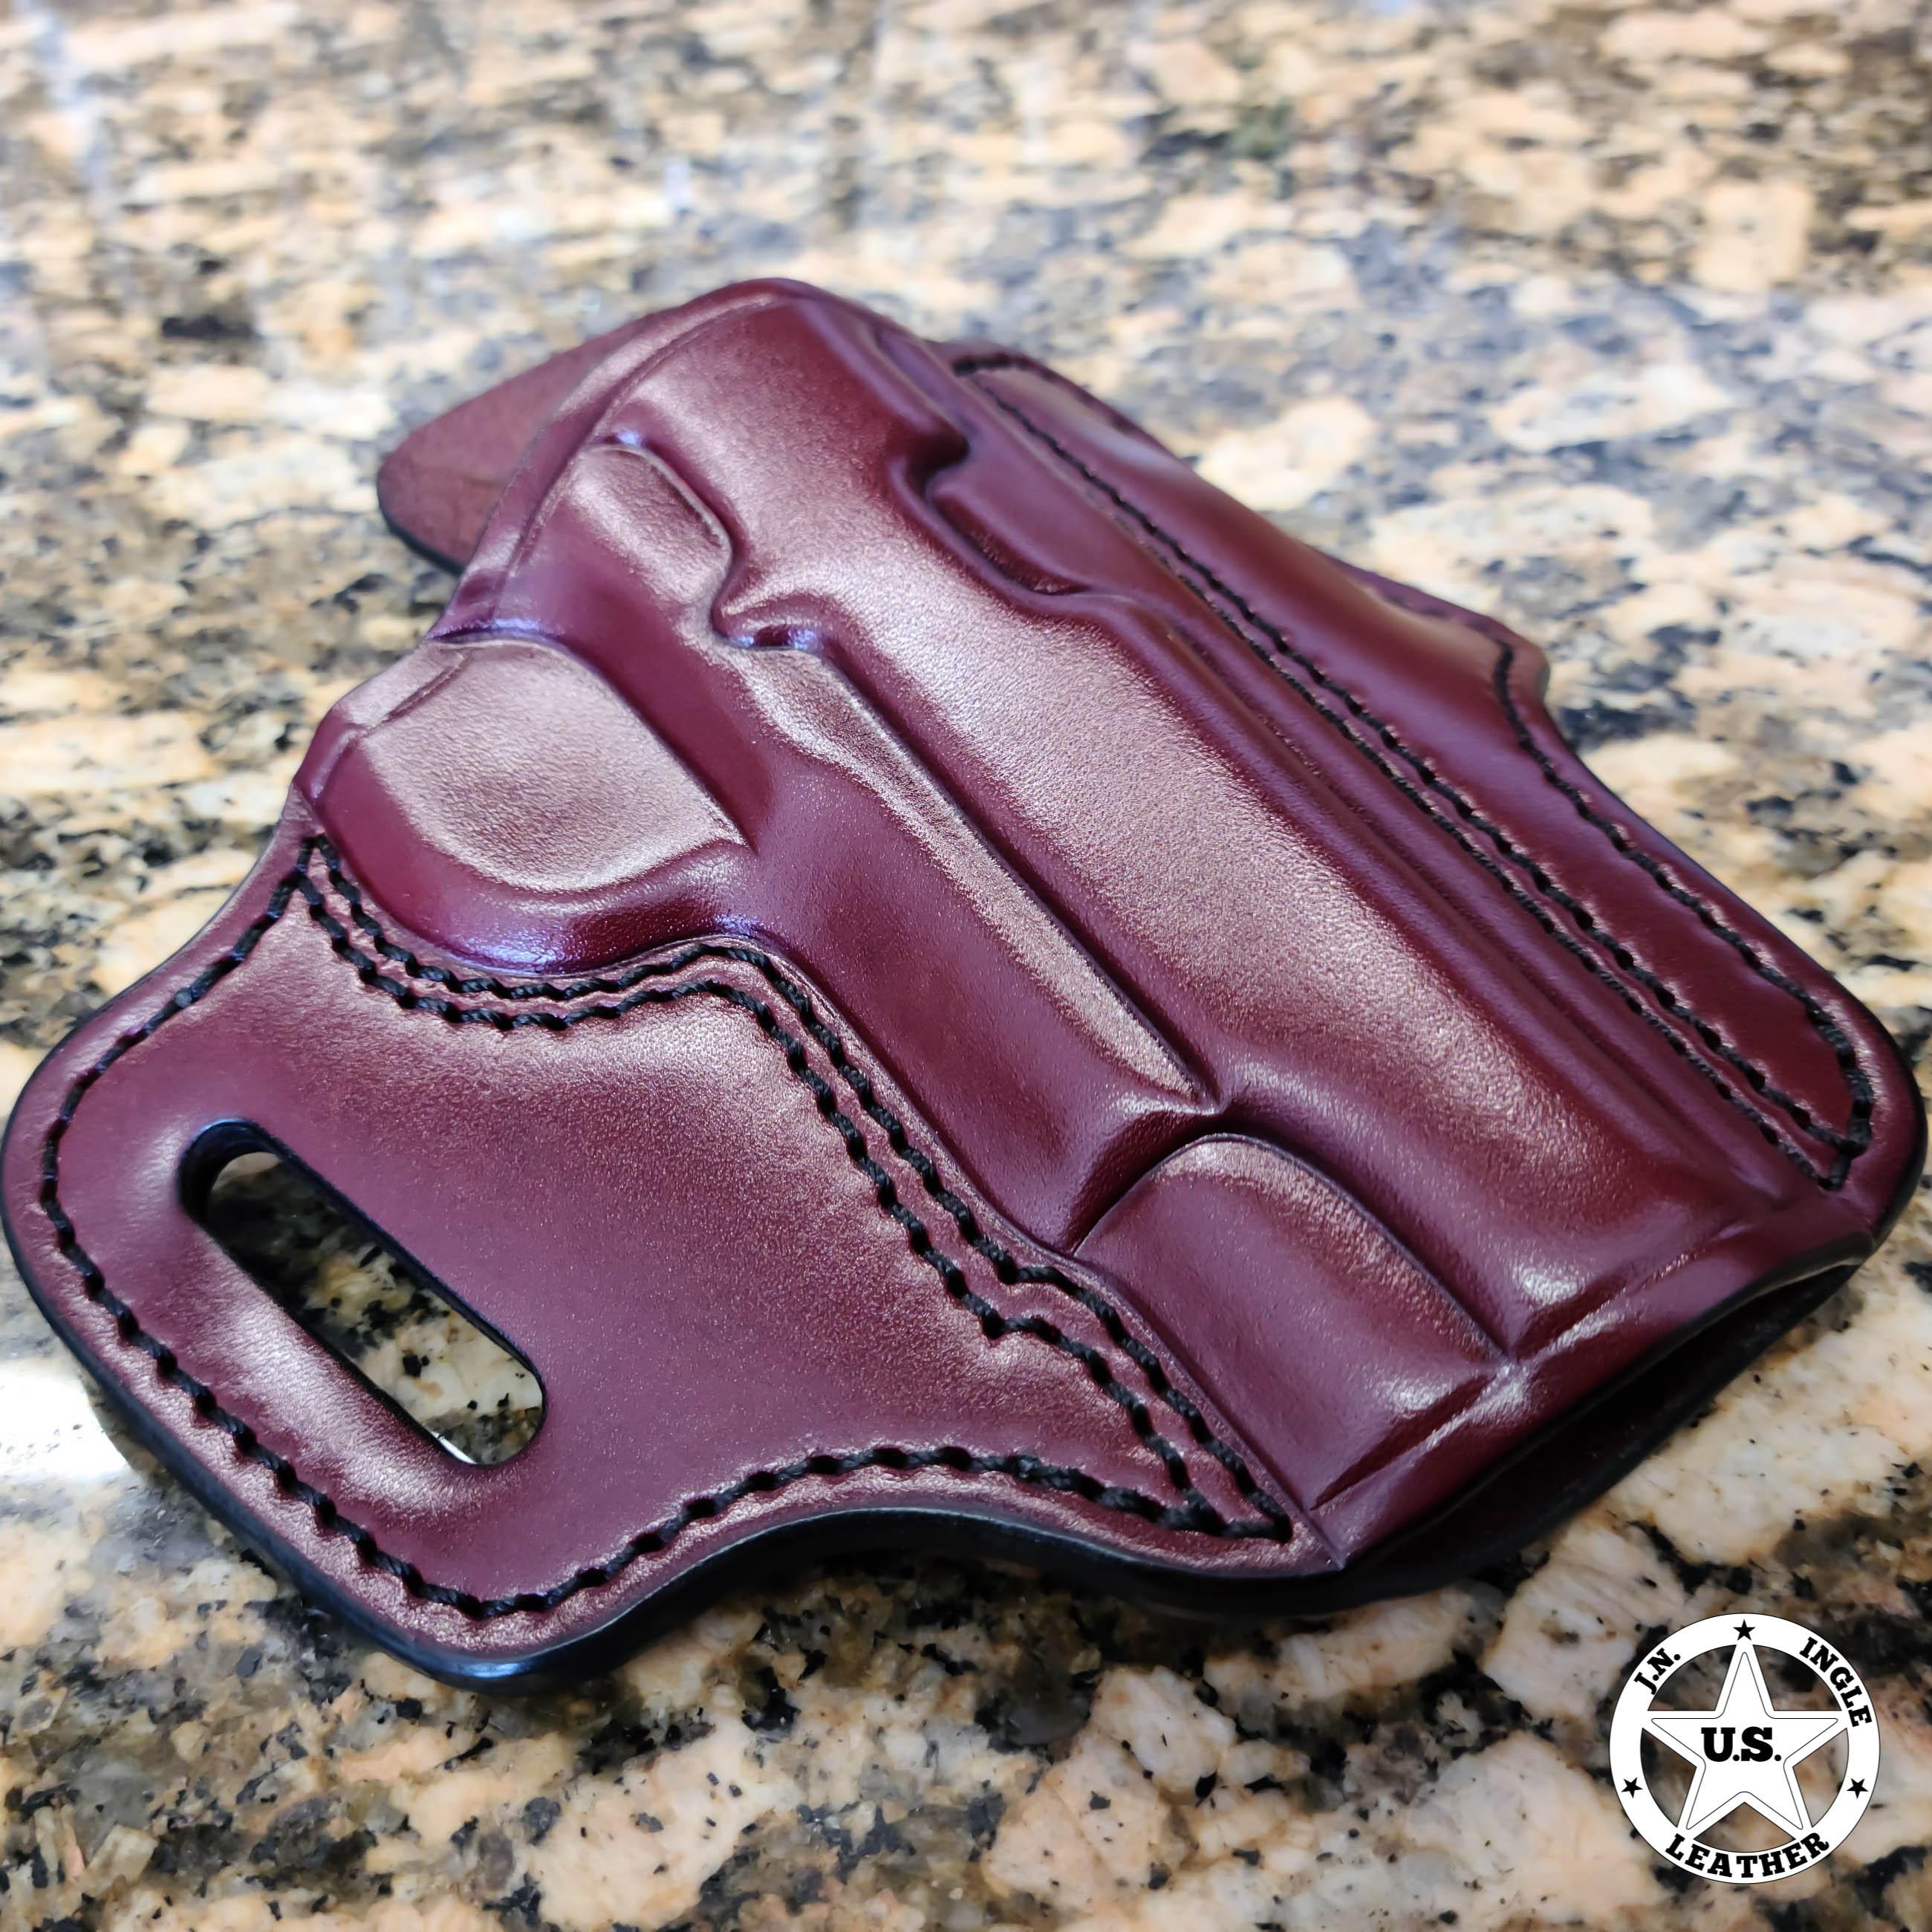
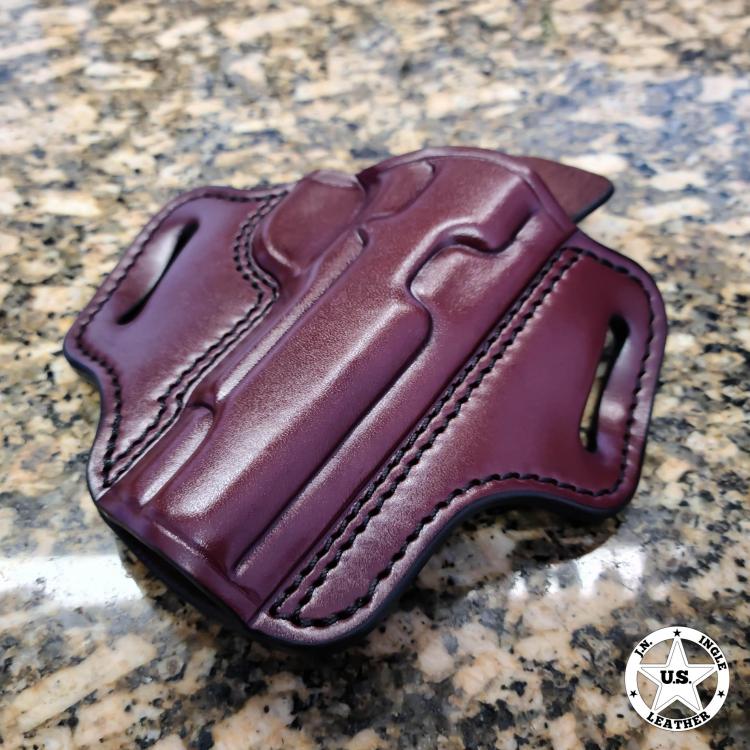
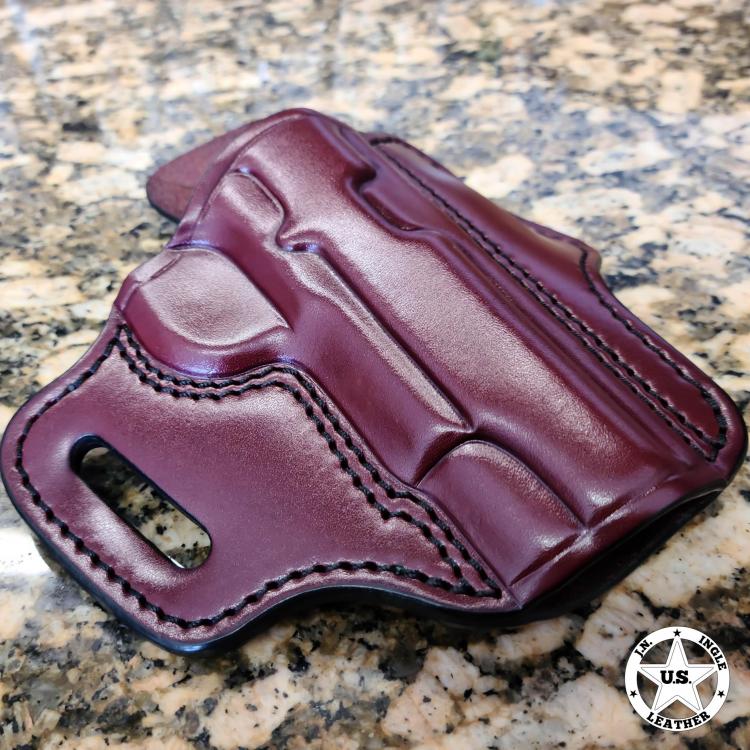
It's been a while since I've posted some work. So long, I actually created a new account. I've been on FB for a while, but trying to get away from it as much as possible, with the exception of managing my business page of course. I just finished this one today. I very rarely do any holsters without a reinforcement panel on the front, so I'm please with how this turned out. -Wickett & Craig 8 ounce leather -Angelus dye: House blended mahogany -Angelus acrylic: #605 -Hand molded
-
Mounting Landis Brushes on a Buffer With a 3/4" Arbor
OldNSlowMarine replied to nycnycdesign's topic in Leather Machinery
I would very much like to discuss your setup because I have been wanting to set up my own buffer. I browsed through Campbell's website and couldn't find an adapter. Any help would be appreciated. -
Well, leather producers is a whole different conversation. I ain't been happy with neither one of those two here lately. Just about ready to finish my outstanding orders and throw in the towel and get a real job lol. It's been a frustrating couple of months.
-
This is definitely not the look I'm after. I'm after a consistent and even penetration of finish. I hear ya though. Rumor is that Alessi dip finished his holsters, as well as several other top tier holster makers. Again, I like the firmness it gives and I'd like to learn more about it.
-
Jeff, I have most of those already. But, I'm interested in seeing your list when ready. I don't have a specific model in mind, but there may be something of interest. Especially 1911 stuff. Jason
-
Sorry for bringing this topic back from the dead. It was the most relevant one I could find. I have a 5 gallon bucket filled with a 50/50 mixture of Angelus #605 and water. I have attempted to dip-finish my holsters but have had only one or two that were successful, and they were both solid black. I recently attempted a mahogany colored holster and it turned out very "blotchy." Specifically the mixture penetrated around the edges and stitch lines. I believe this is due to the needle holes allowing the mixture in there first and spreading from there, but I could be wrong. Hence, why I'm seeking advice. So, here's the pertinent information: -8 ounce Wickett and Craig -Dip-dyed in Angelus (custom in-house Mahogany blend) -Wet molded -Dried in drying cabinet at approximately 105 degrees for 1 hour, then hung up for 2 days -Warmed in drying cabinet for 30 minutes at 105 degrees -Dipped in finish mixture for approximately 5 seconds (the one previous to this was a quick in and out, had similar results) I'm thinking my next attempt will be for at least 10 seconds, but I'm curious if anyone else has any information or tips first. My desire to get this right is because I love the firmness I got from the couple that turned out good. I think those were dipped for about 10 seconds as well. Thanks!