JamesR
Members-
Posts
324 -
Joined
-
Last visited
Profile Information
-
Gender
Male
-
Location
NY
LW Info
-
Leatherwork Specialty
Quivers,sheaths,belts,armguards.
-
Interested in learning about
Handstitching,design and layout
-
How did you find leatherworker.net?
google
JamesR's Achievements

Member (2/4)
-
KillDevilBill, Yeah I hate messing up a $40 belt blank and I like to find ways for consistent results. Trouble is a lot of these tools don't have handles that are aligned with the cutting edges.
-
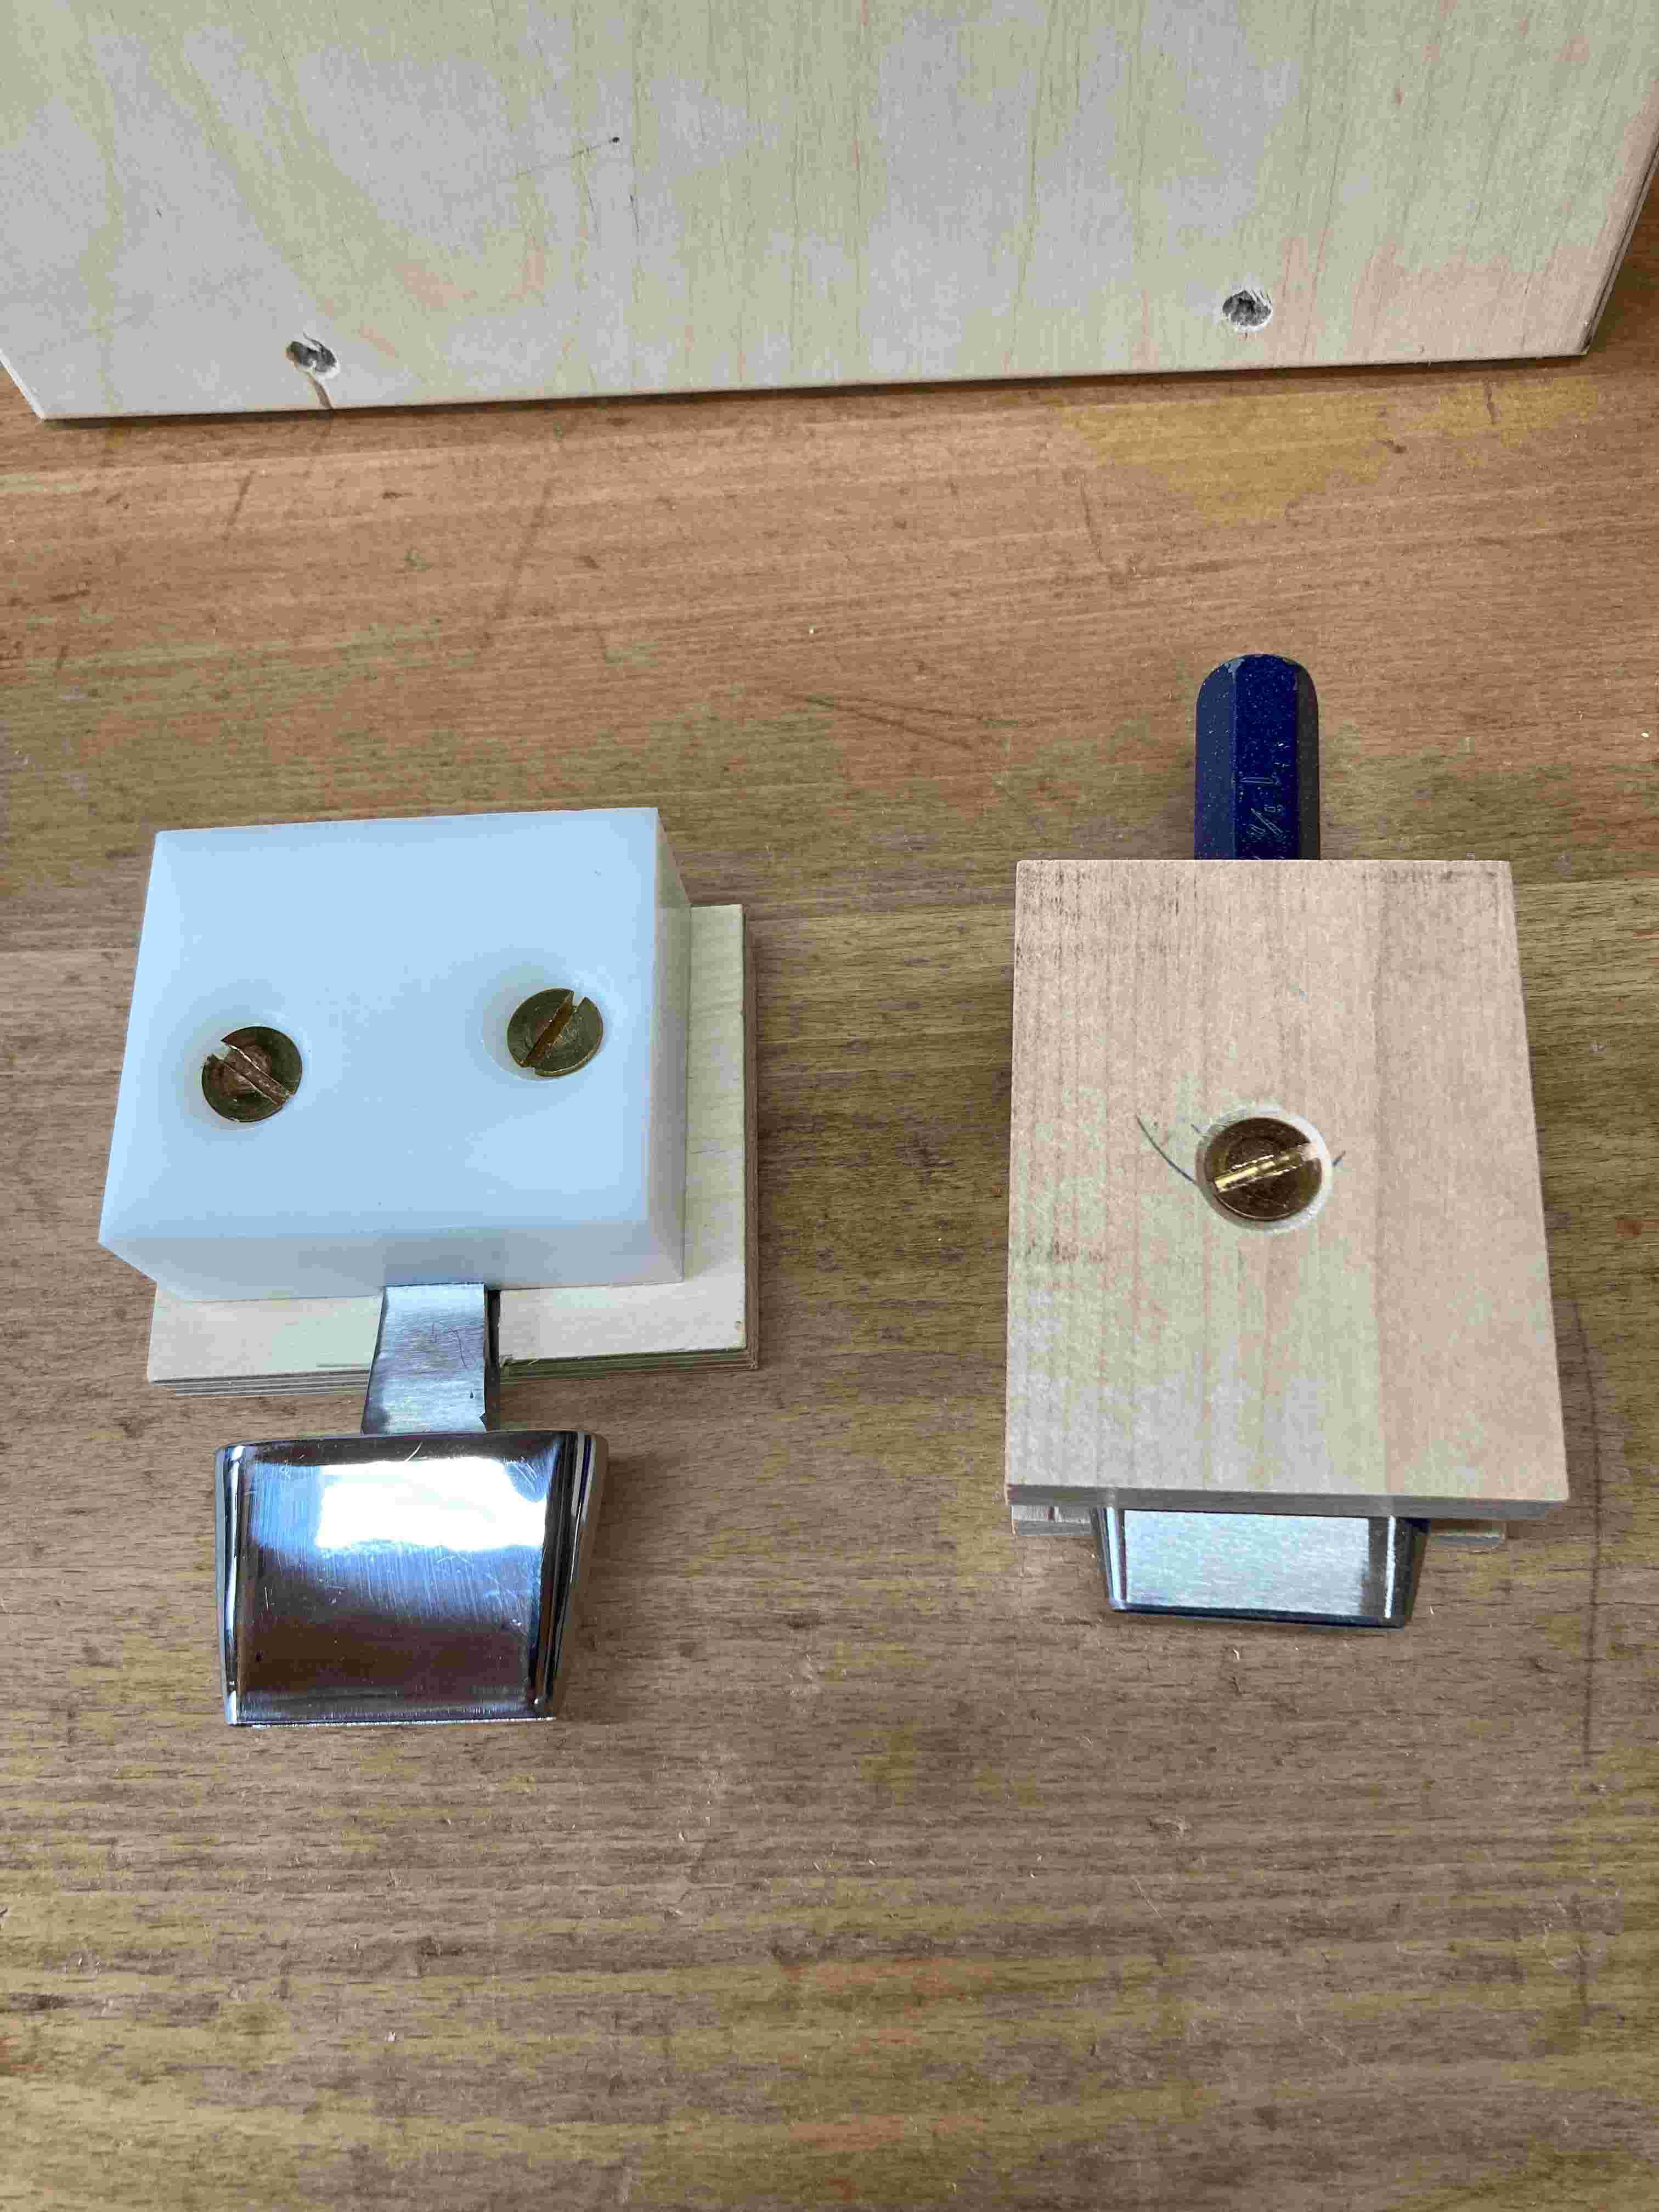
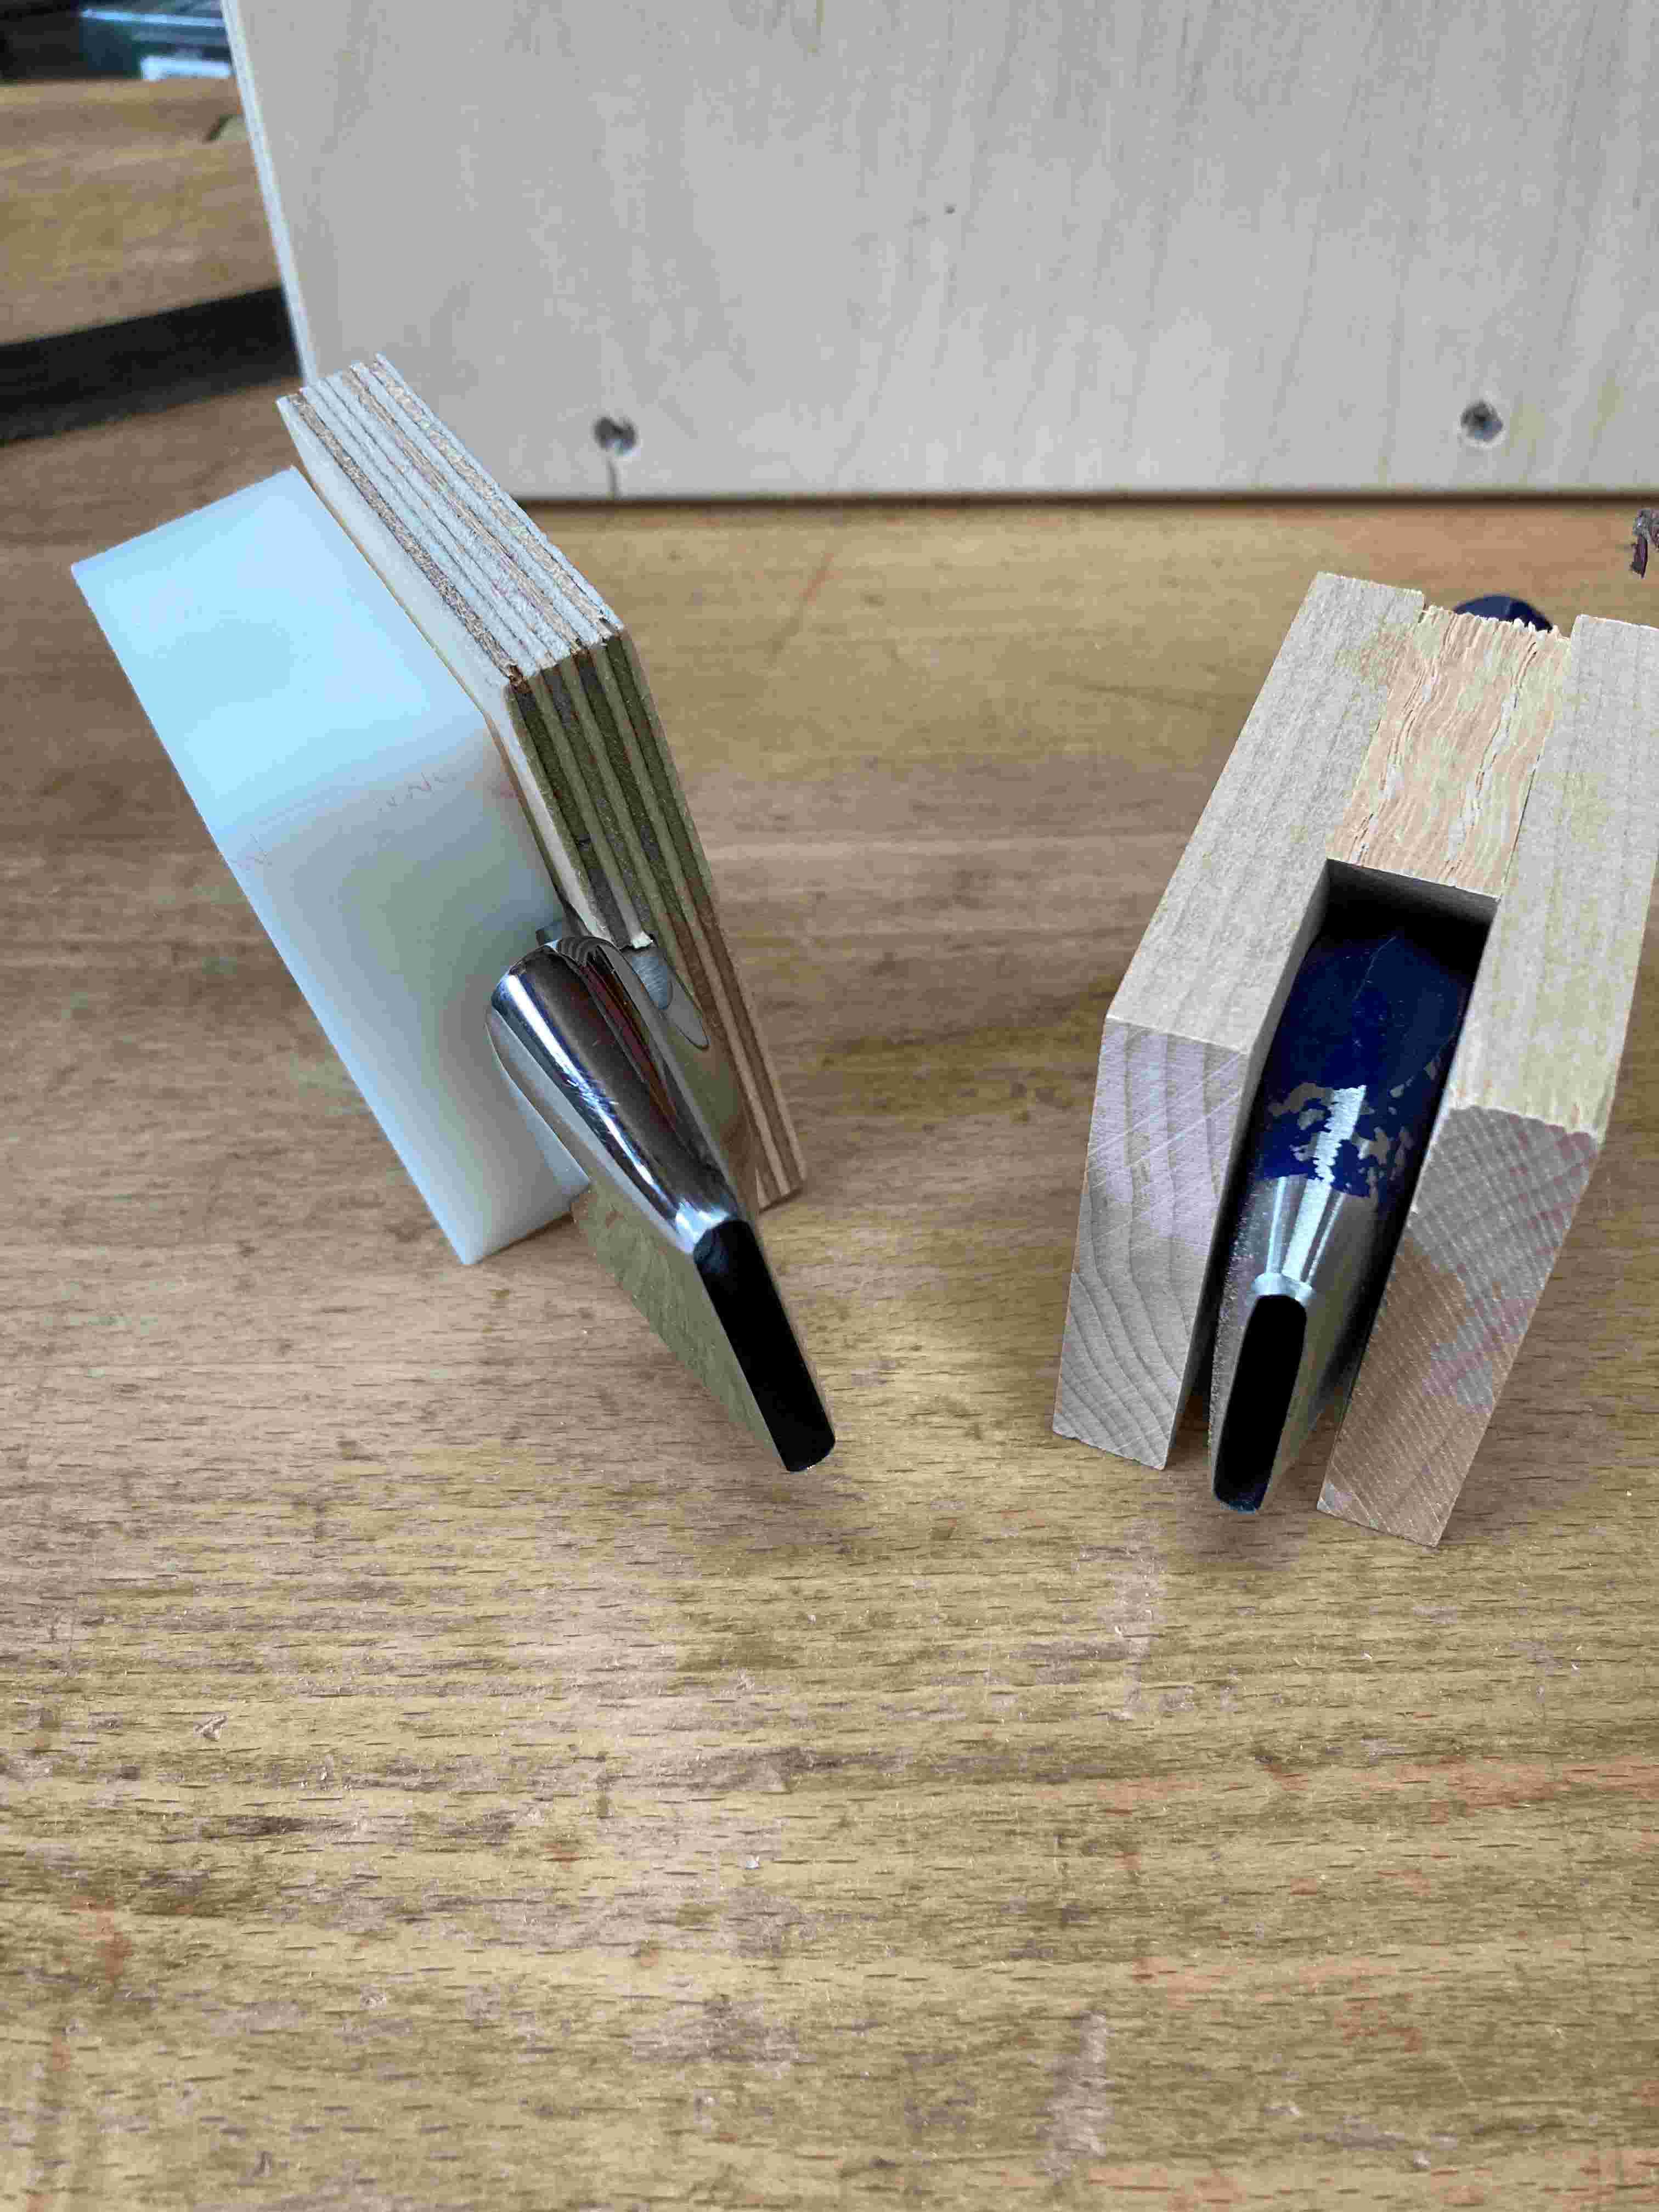
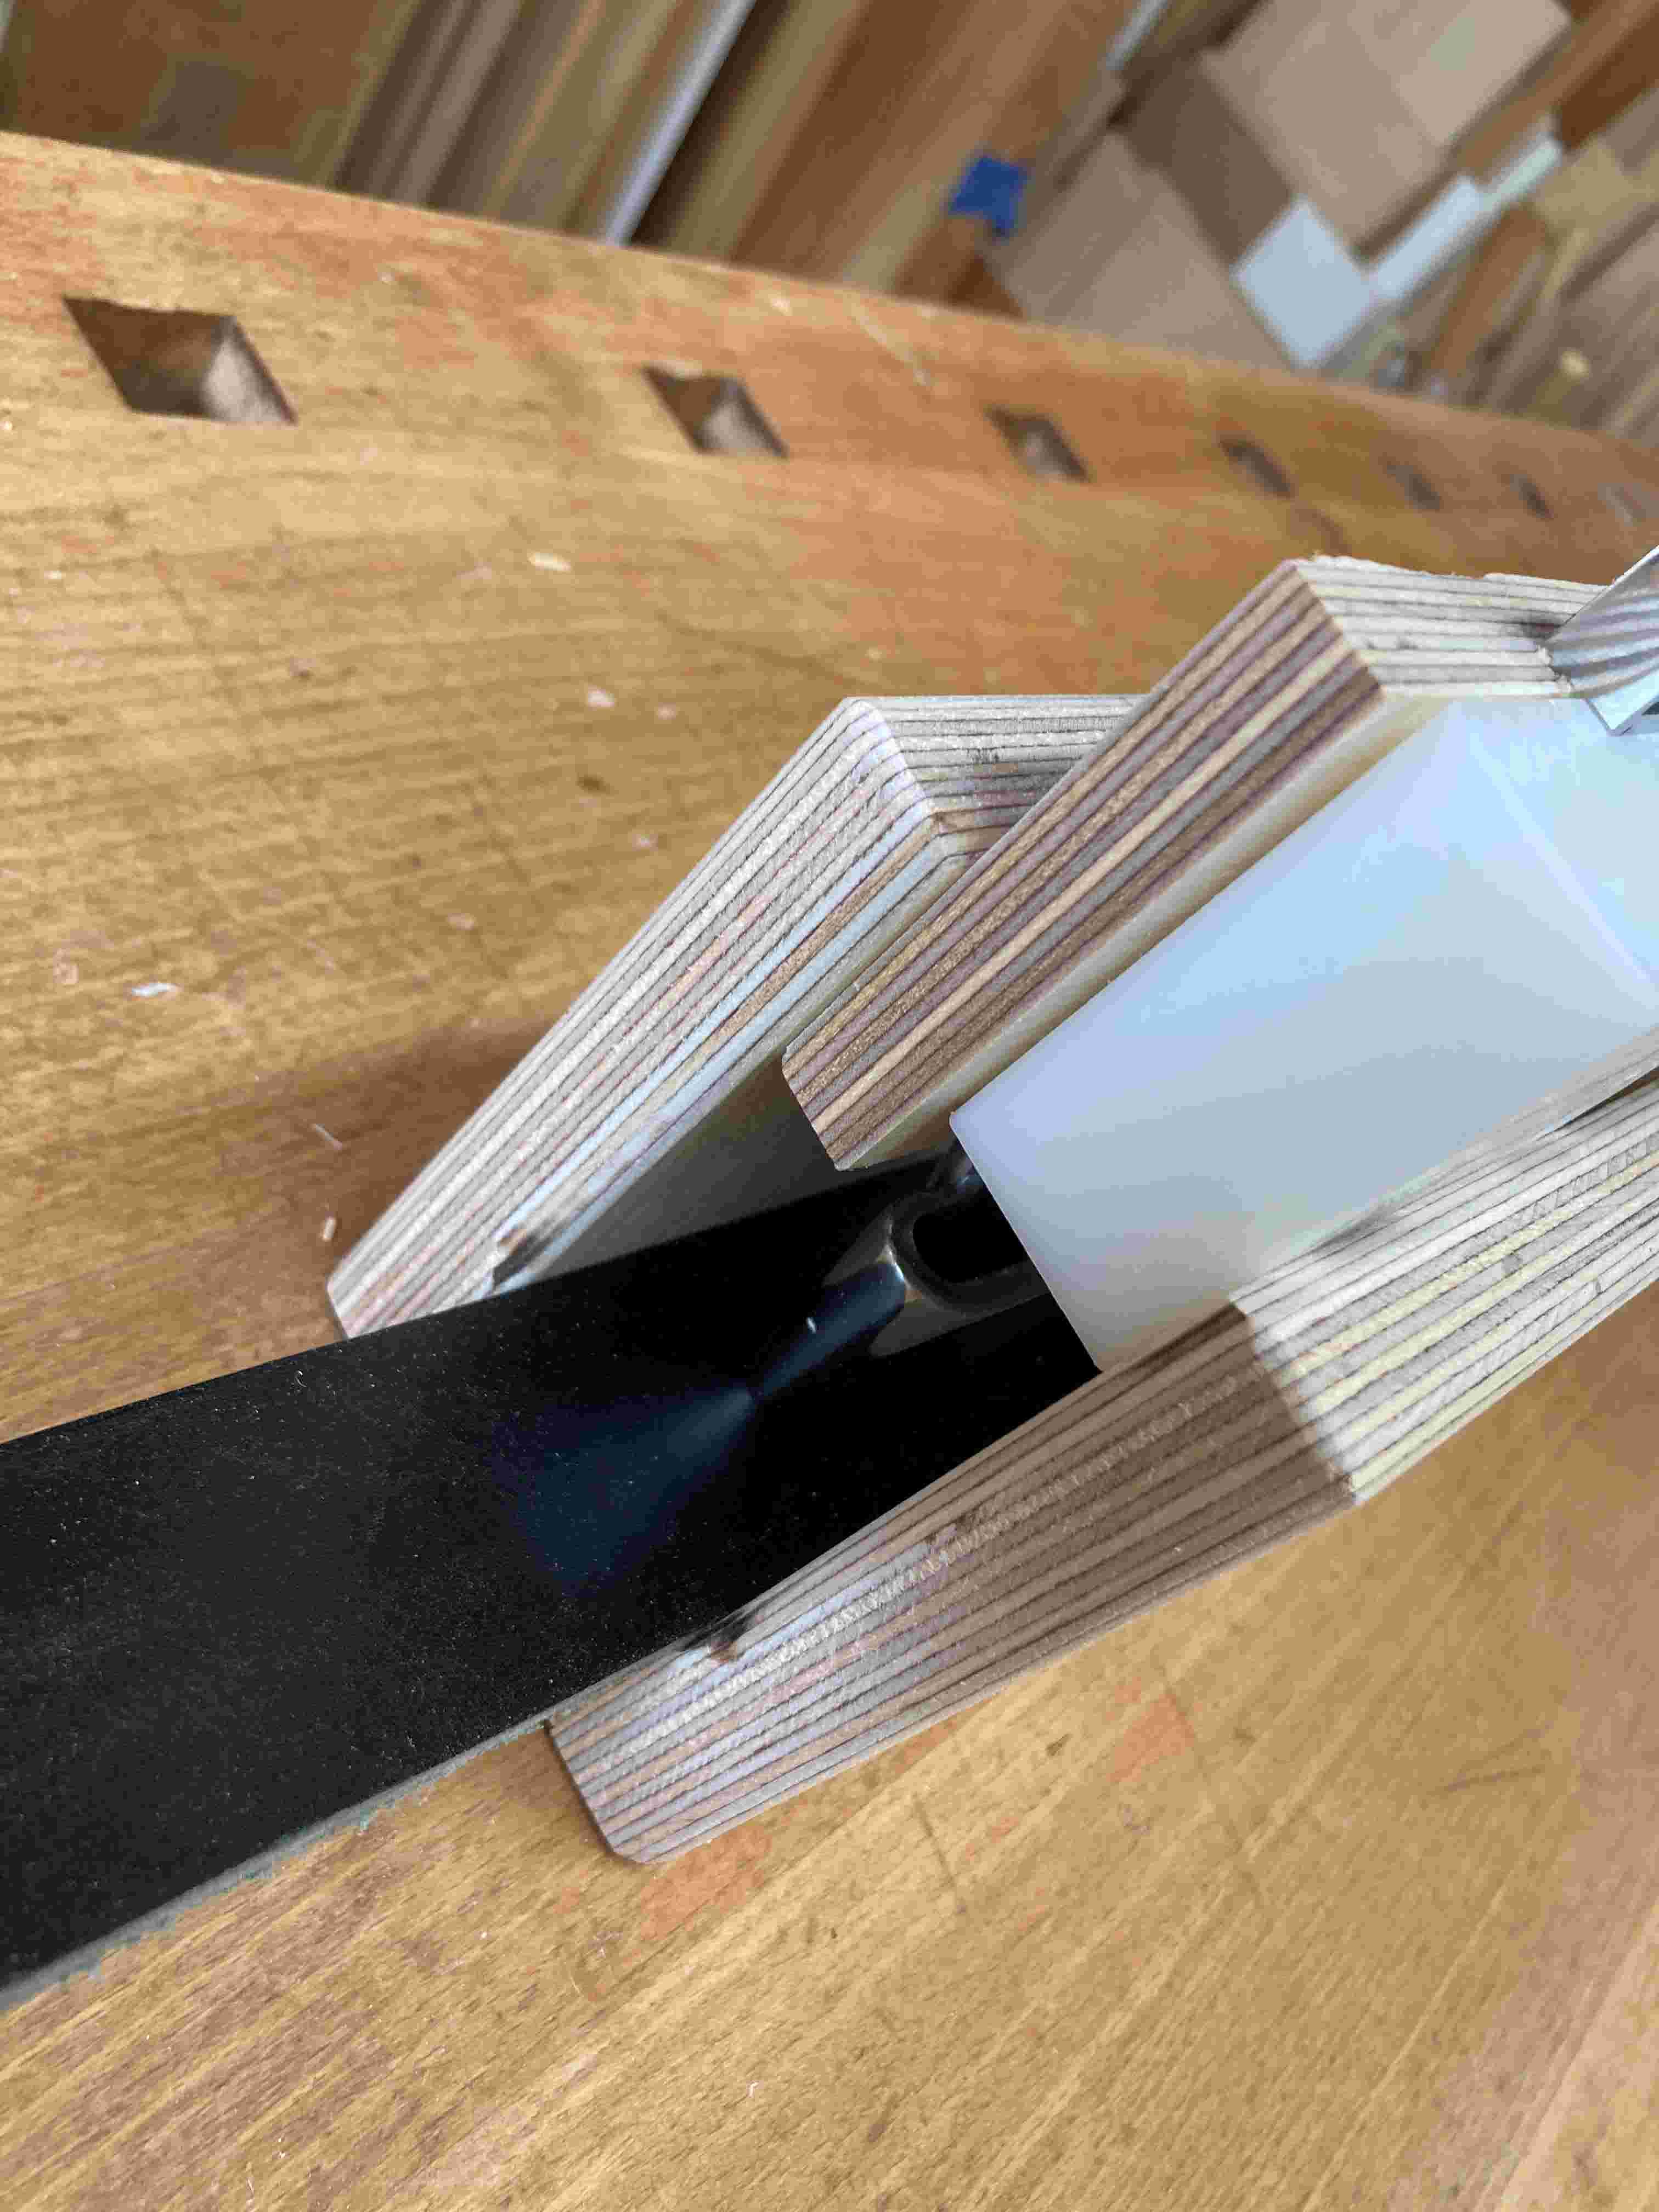
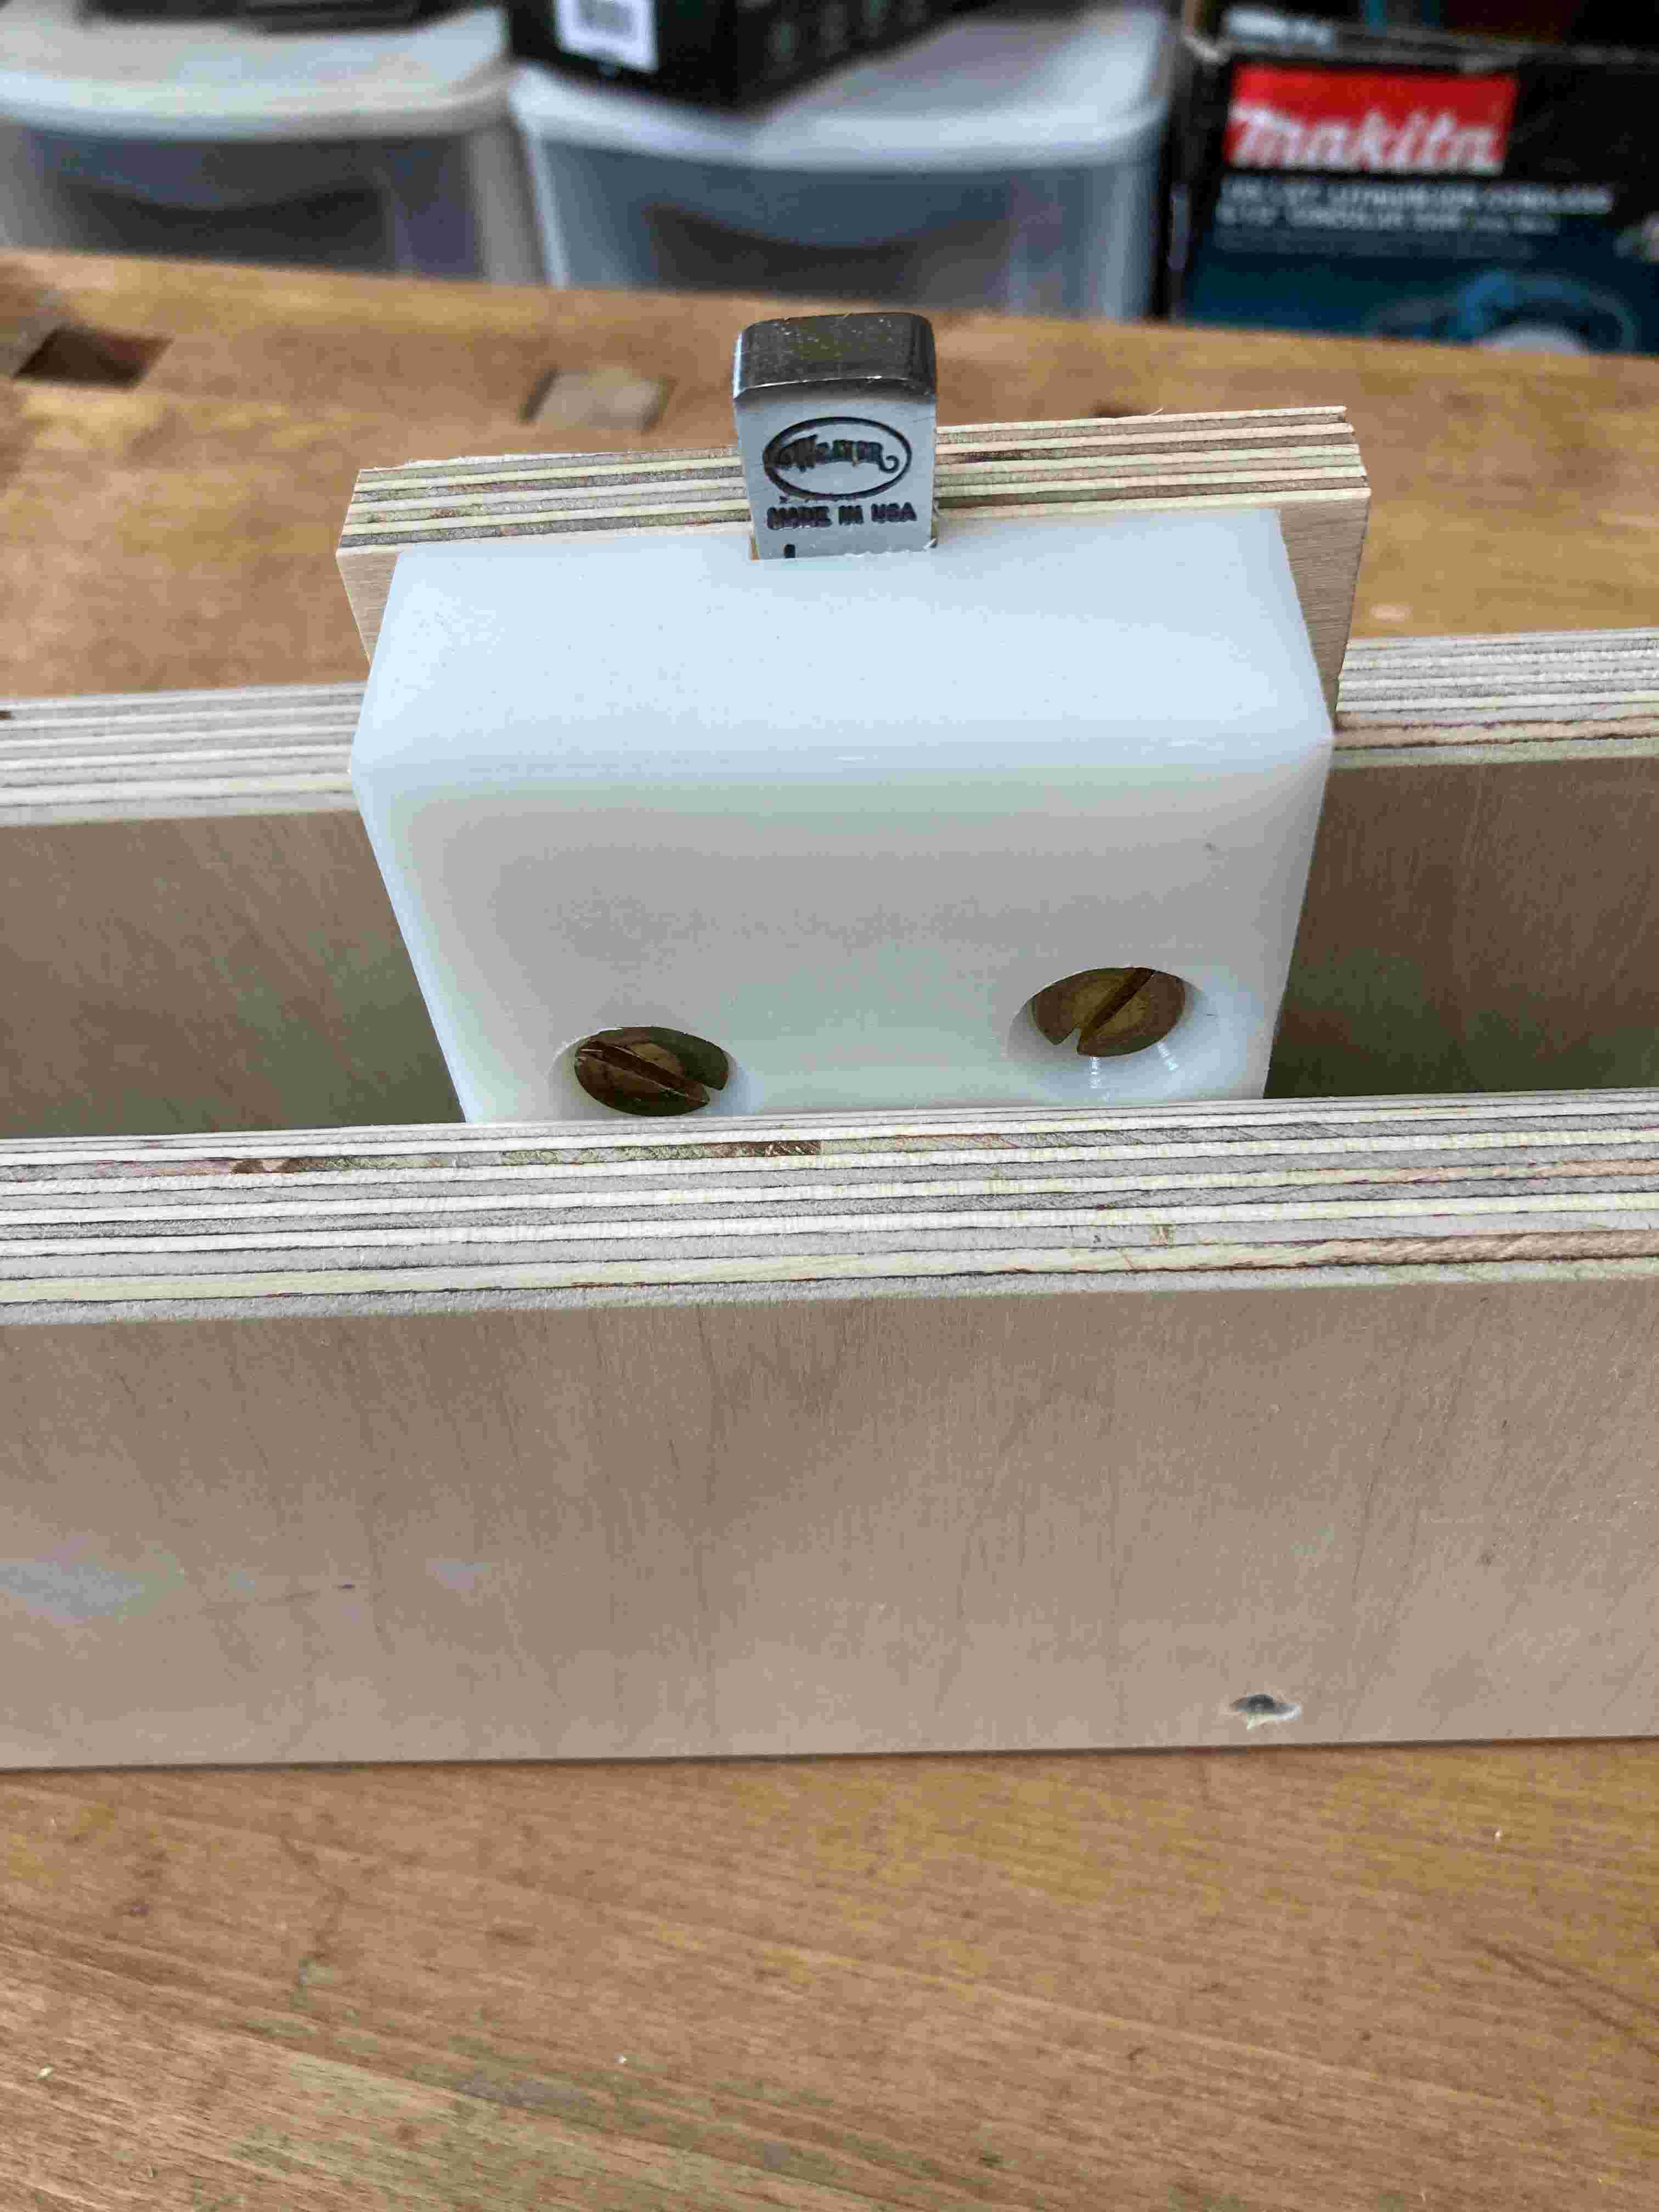
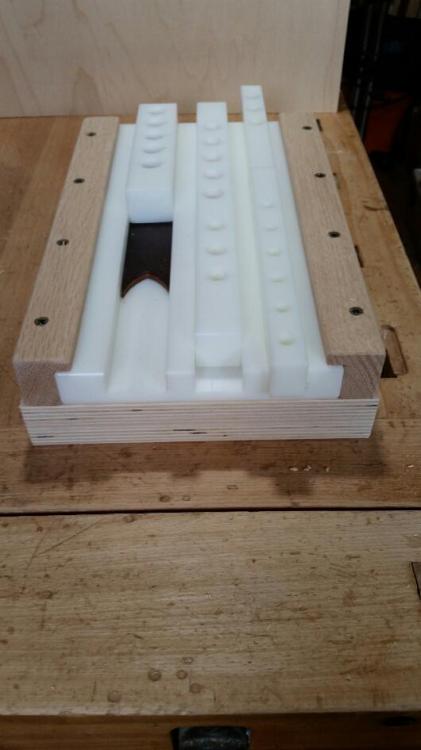
I wanted to precisely punch centered oblong holes in 1 1/2" belt blanks for attaching the buckle. This jig allows me to it easily. The punches are sandwiched between blocks and screwed together. The blocks were sized to snuggly fit into the 1 1/2" wide box that the belt blank slides into. They were also cut to allow the punch to be centered in the jig. The blocks are easily removed whenever I need to use the punch without the jig. They are held together with flathead screws and Tee nuts.
-
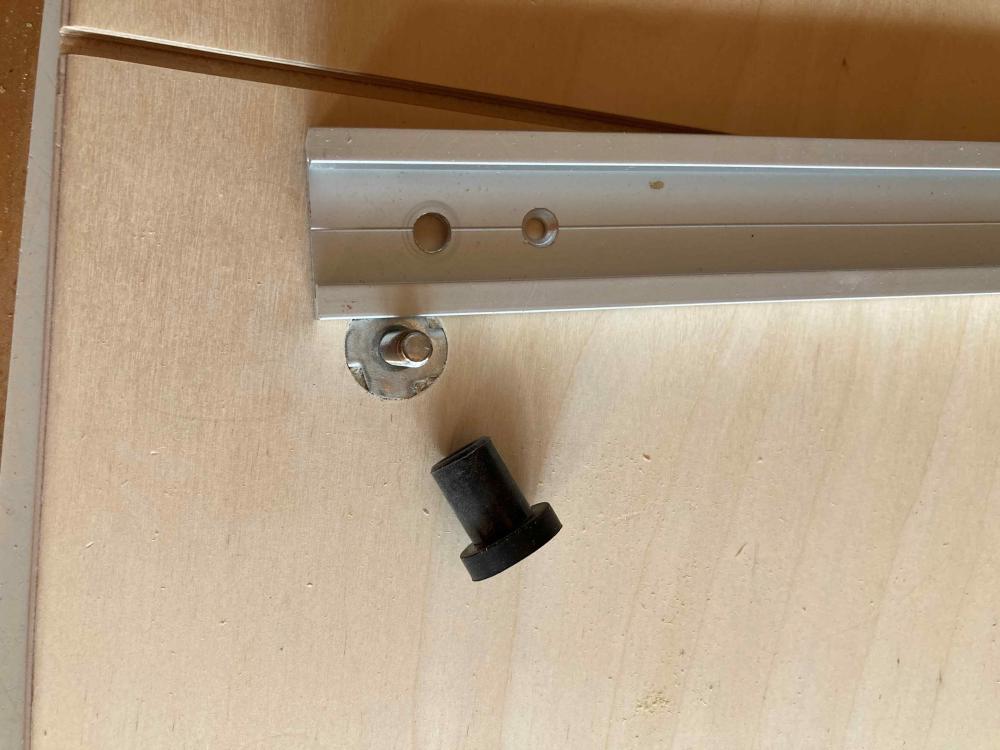
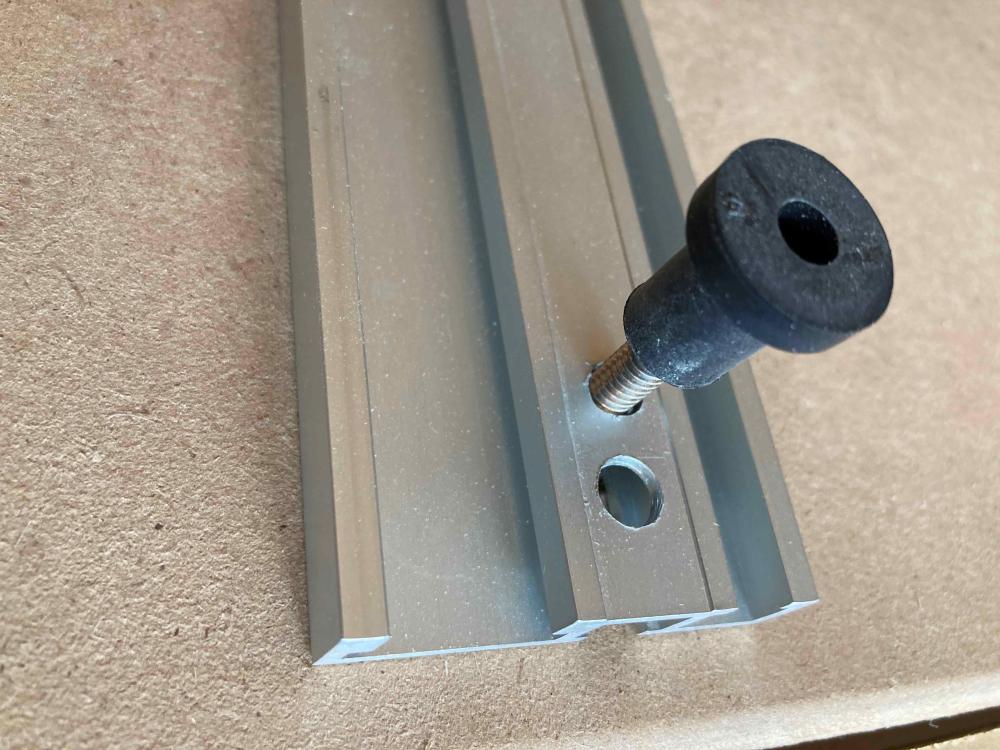
Lil Doodler, Yes I did have those problems initially so I decided to fix the aluminum track to the cutting board with bolts fastened from underneath through the top into Tee-nuts. I also use threaded knobs to allow me to clamp the track down on top of the leather to prevent movement. I found that the aluminum is very smooth so it does not leave impressions in the leather and the knobs keep everything fixed in place. Although the anti-slip tape might be a good addition. Thank you
- 11 replies
-
Northmount, Thank you JamesR
- 11 replies
-
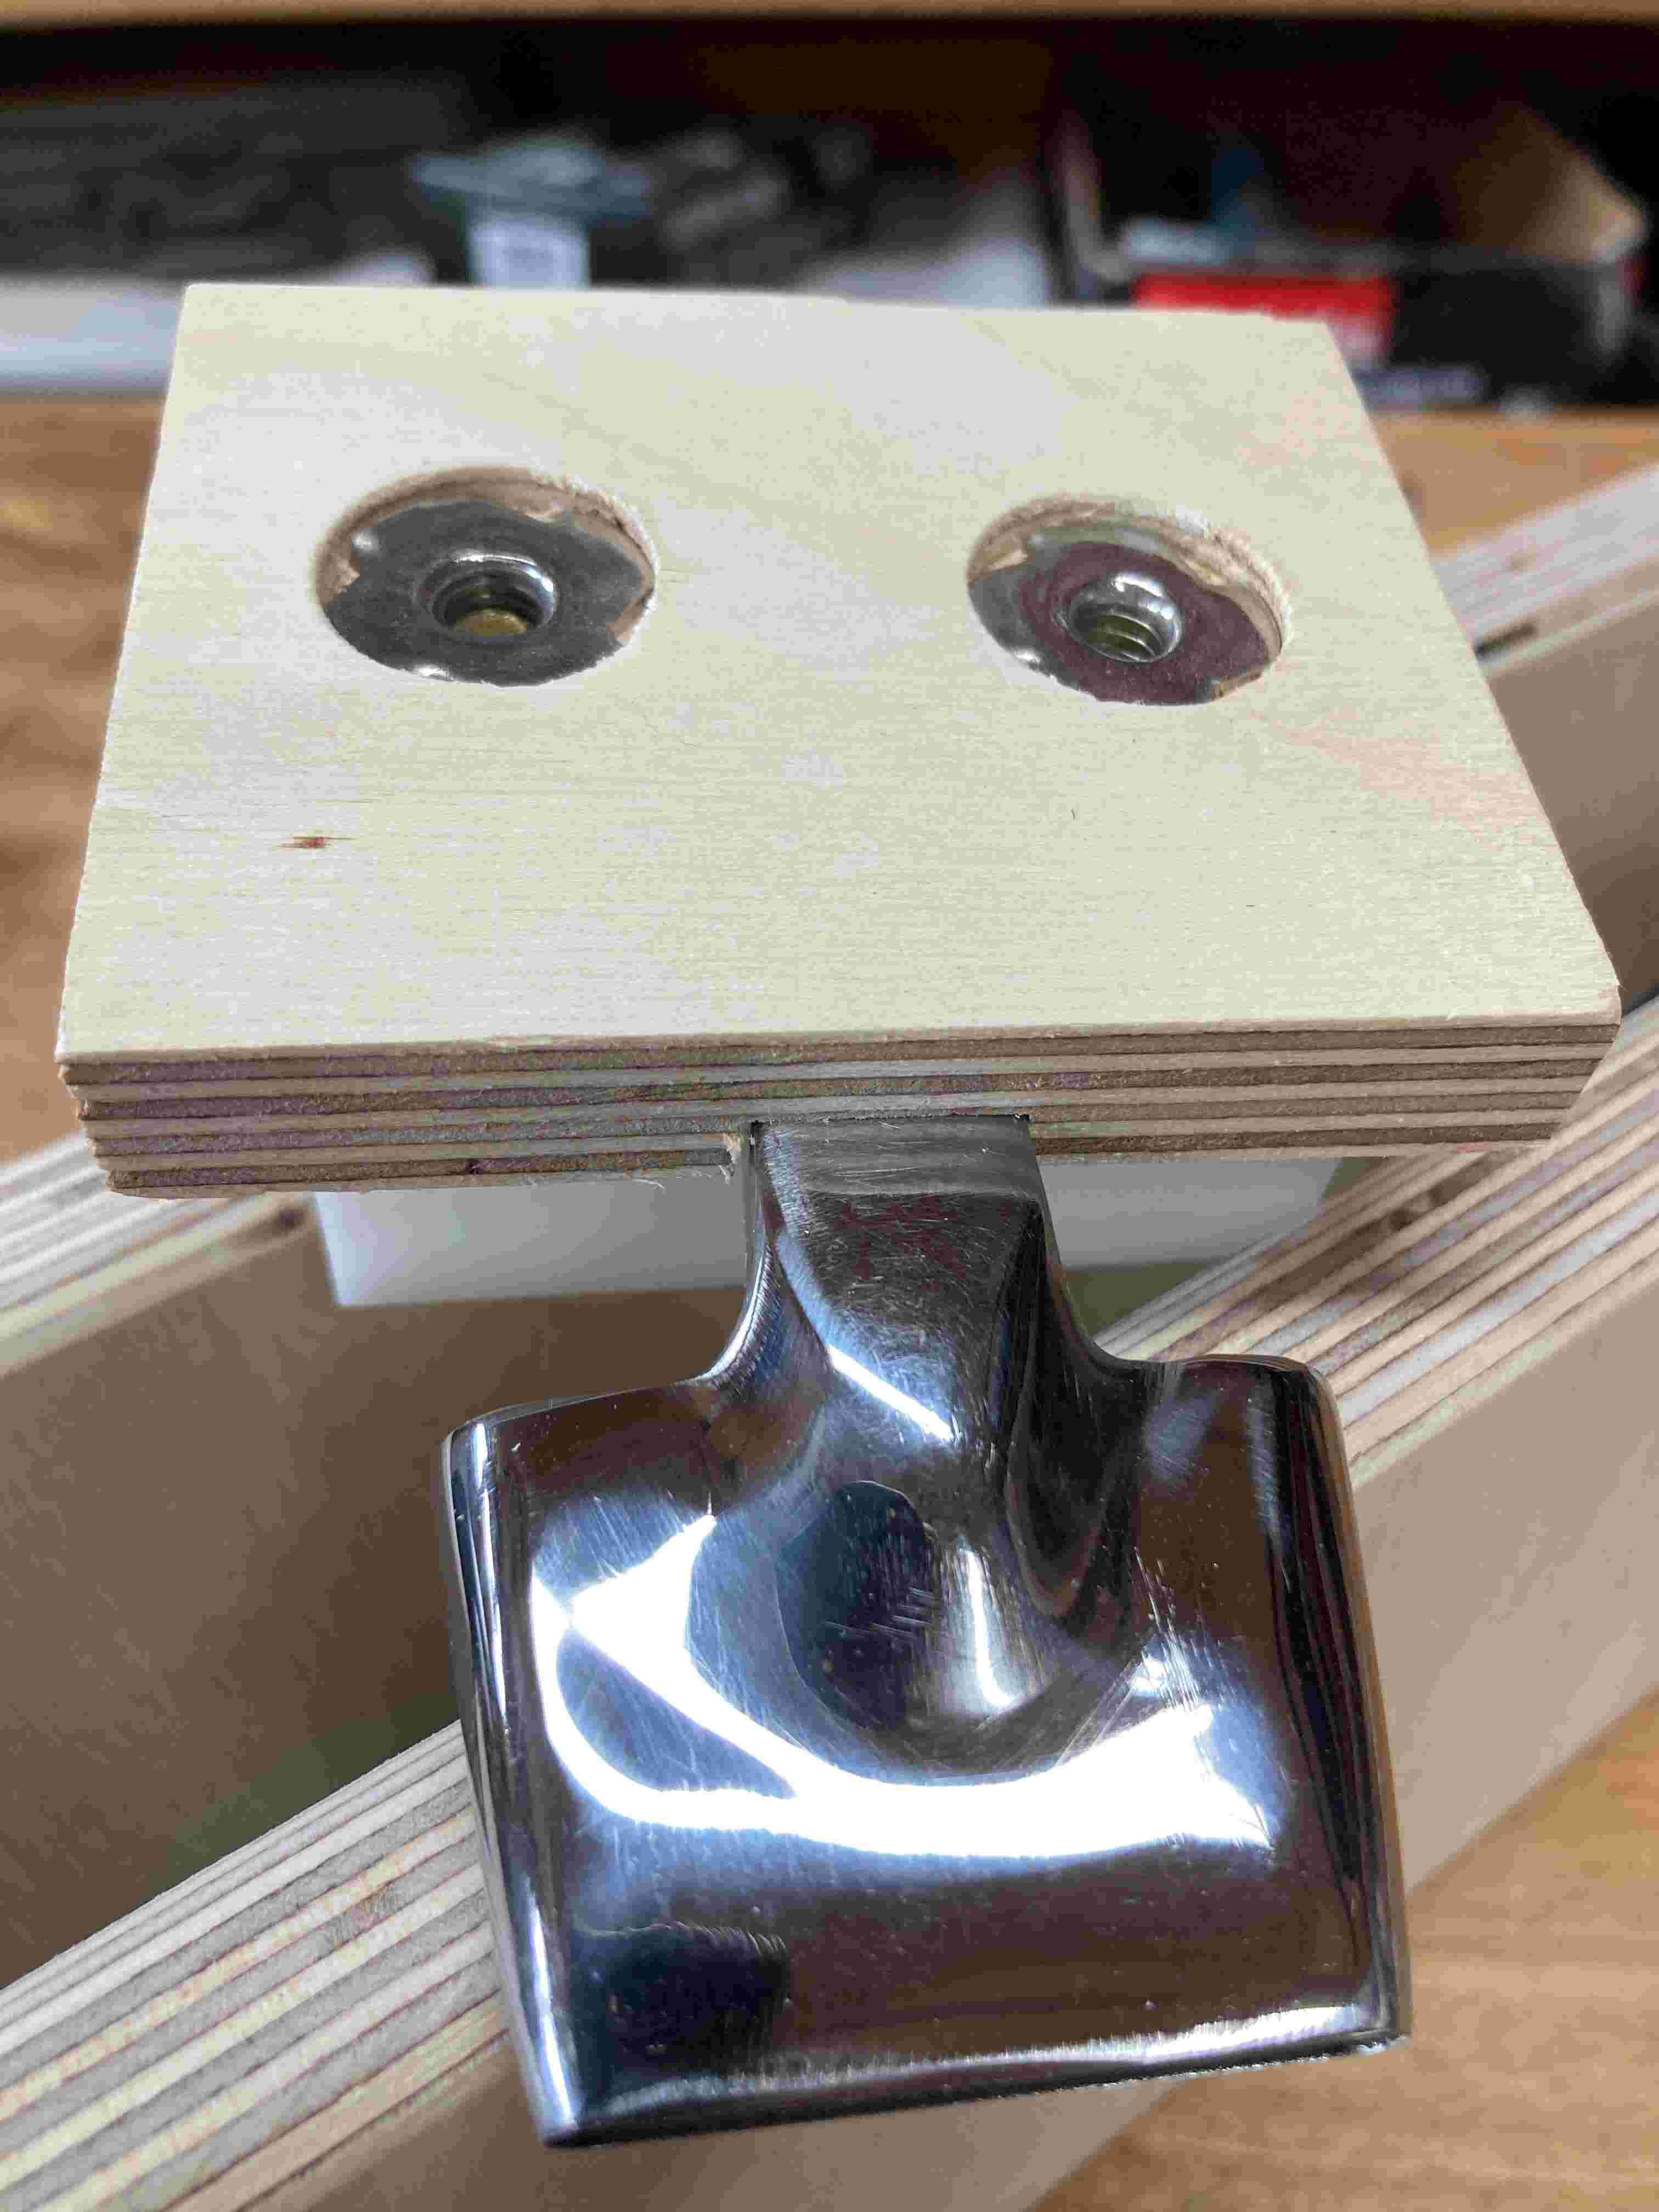
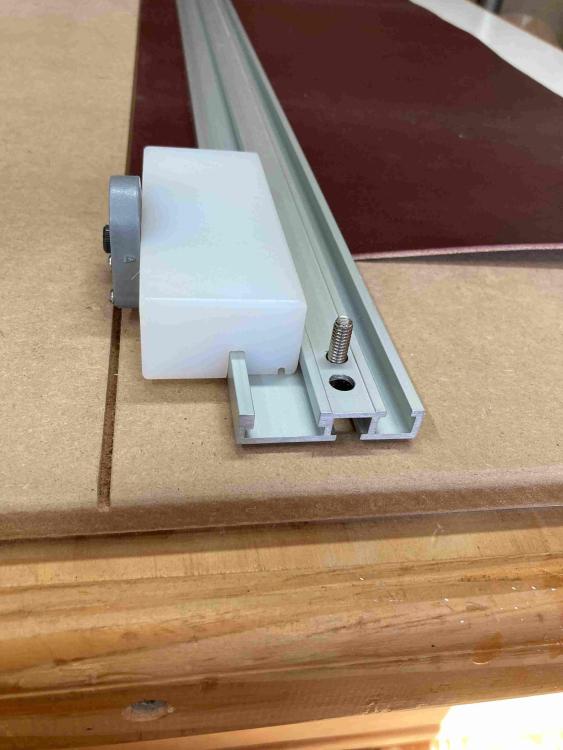
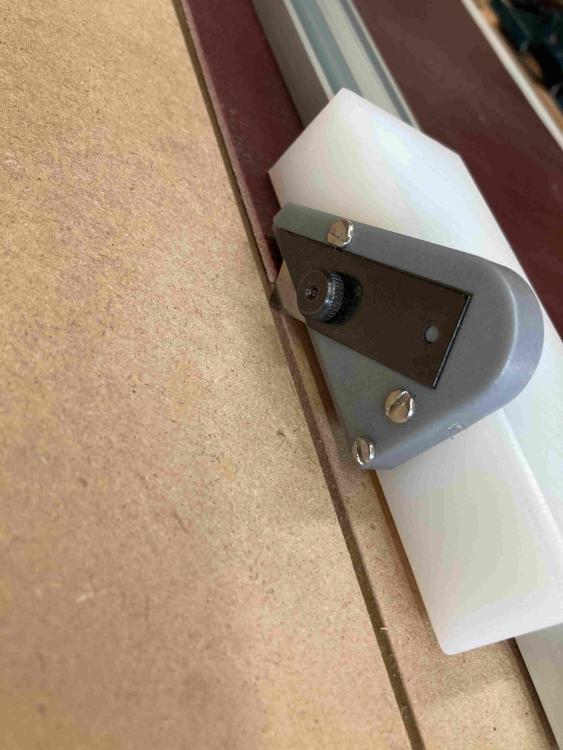
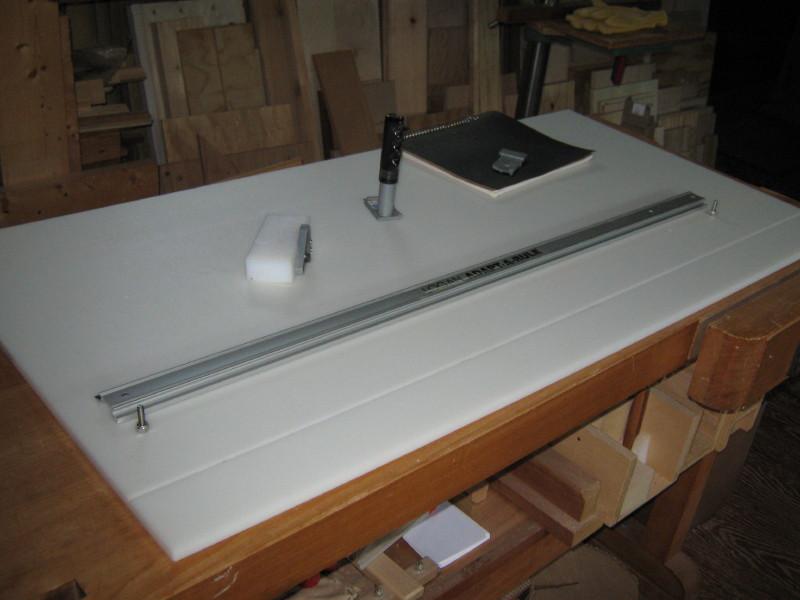
Doc, Larger track: https://www.woodpeck.com/woodpeckers-combo-track.html Smaller track: https://www.ptreeusa.com/ttrack_track.html Blade holder: https://www.amazon.com/Logan-701-1-Straight-Matboard-Foamboard/dp/B004P2ZTQE/ref=pd_rhf_se_s_pd_sbs_rvi_d_sccl_2_5/147-1311013-7953325?pd_rd_w=U7tWb&content-id=amzn1.sym.46e2be74-be72-4d3f-86e1-1de279690c4e&pf_rd_p=46e2be74-be72-4d3f-86e1-1de279690c4e&pf_rd_r=5DQA5DM199PWNSQRE3YY&pd_rd_wg=Bfla7&pd_rd_r=b1ef44b9-3fa8-46d2-a950-9580fb74827e&pd_rd_i=B004P2ZTQE&psc=1 I removed the blade holding portion of the device and screwed it to the poly block. The poly block grooves can be cut with a table saw or a router. The poly is very smooth which allows it to press down the leather right at the cutting edge which keeps the cut angle perpendicular. The smoothness of the poly leaves no marking on the leather. All edges are rounded over to prevent scratching the leather. The trickiest part is cutting/routing the grooves in the poly so there is no slide play when the cutter is moved. The poly can be purchased from various suppliers; https://www.amazon.com/JOIKIT-Molecular-Polyethylene-Standard-Tolerance/dp/B09LV5MZNS There are others though. Search: UHMWpe The stuff is dense and has very low friction. It slides like it is lubricated. When I can I will take more photos of the board with the threaded bolt attachment.
- 11 replies
-
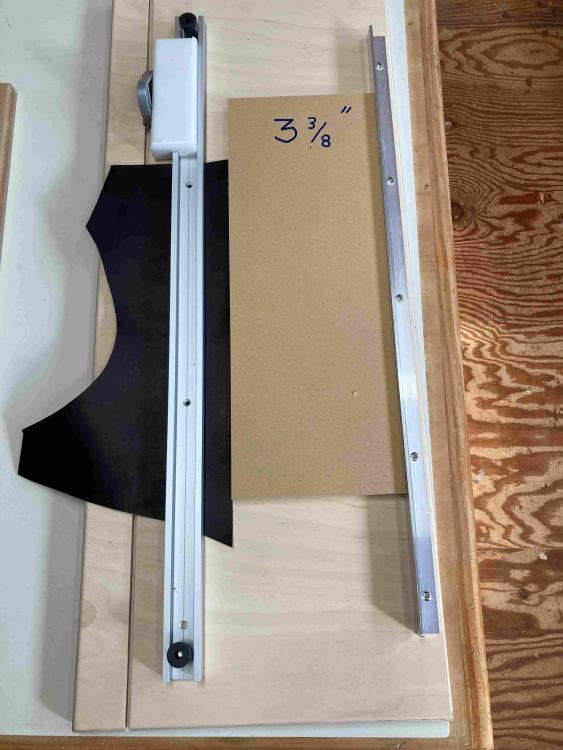
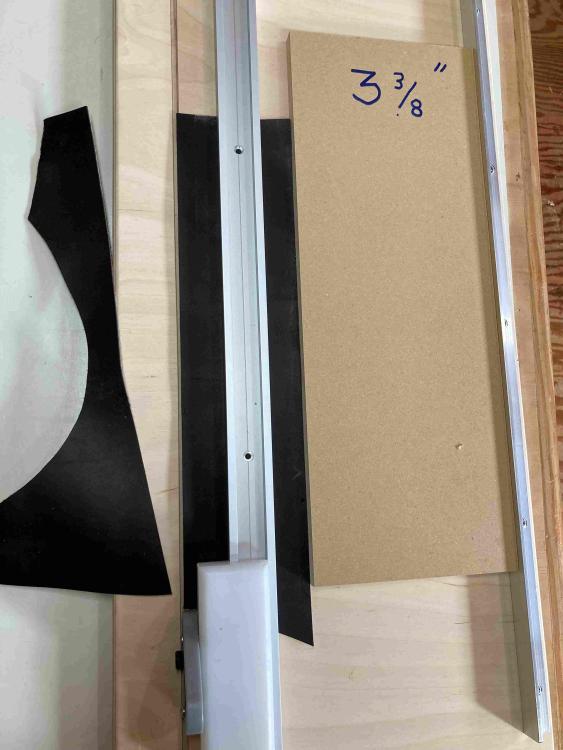
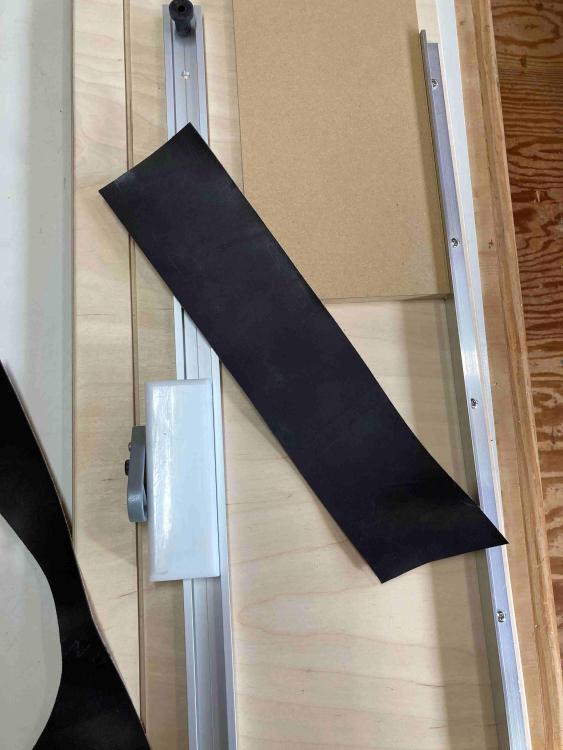
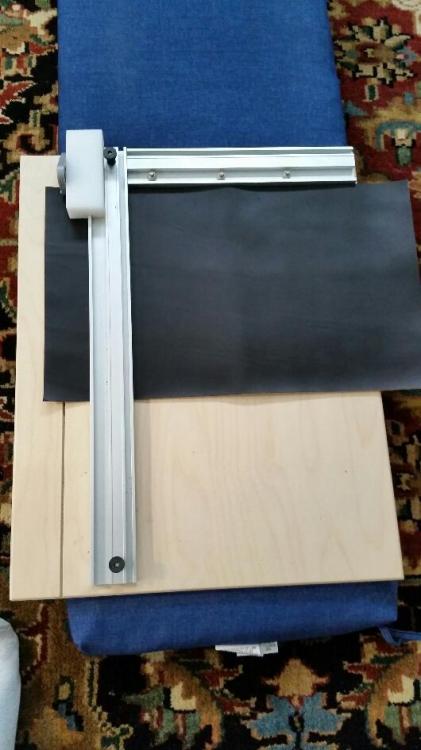
This jig I use for cutting parallel strips of leather for wallet sized projects. There is a fixed fence parallel to the cutting track. I have spacers precut for various widths I want. All I have to do is push the straight edge of my leather against the spacer and I will get the exact width noted on the spacer. It gives me parallel edges with repeatability
- 11 replies
-
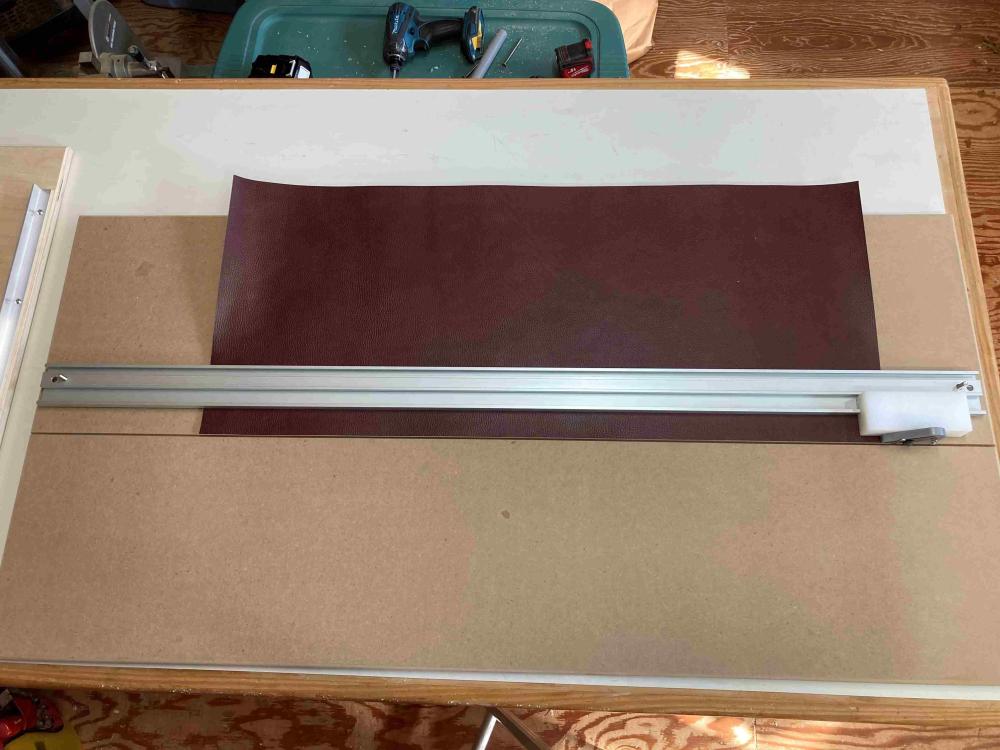
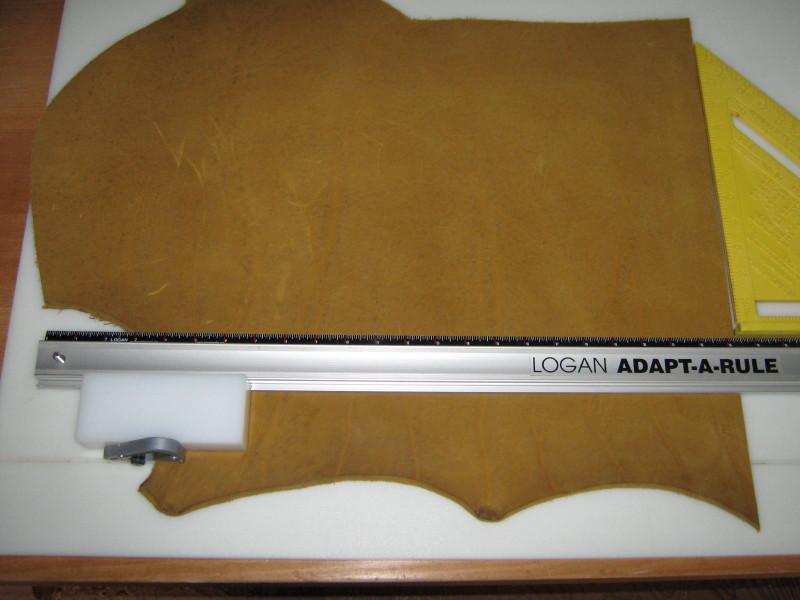
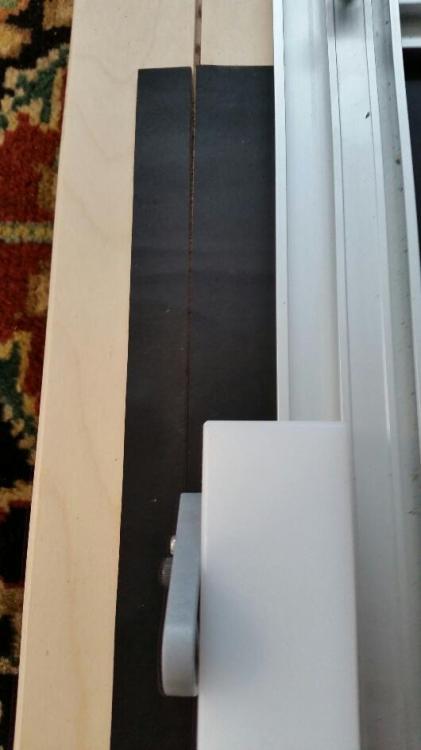
I ungraded my old jig to this long version. It will cut 45 1/2" with on motion. The cutter is made from a mat cutting device. I attached it to a piece of polyethylene (UHMW) The poly is grooved to fit snuggly in a 48" extruded aluminum track. It slides easily with no side play and the cutter stays perpendicular to the cut.
- 11 replies
-
stitching clamp Help needed with Ash wood
JamesR replied to indynusp's topic in Leatherwork Conversation
Your ash looks fine. It is very tough wood and doesn’t react with metal like oak does, so no staining. I use it for furniture, stitching horse and stump tables. -
Hello, Has anyone used W&C Milled traditional harness leather? I am interested in knowing how firm (temper) it is compared to there Bridle leather in the same thickness. Any other observations would also be helpful. Thanks Jim
-
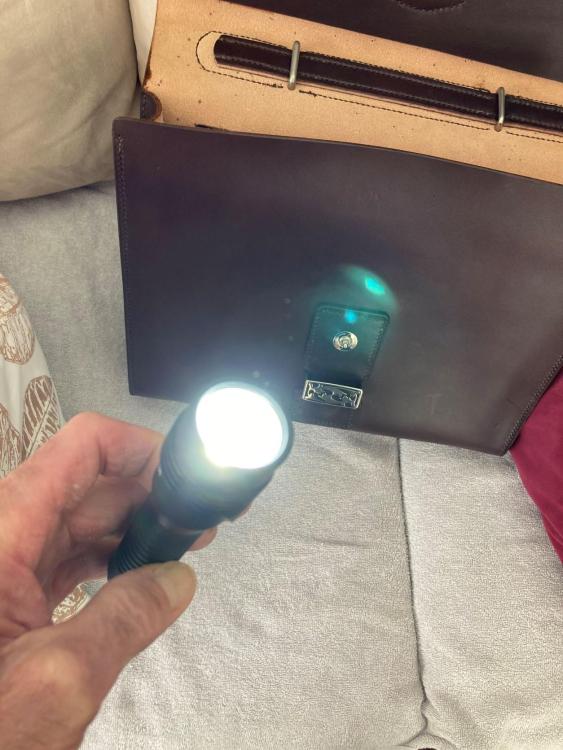
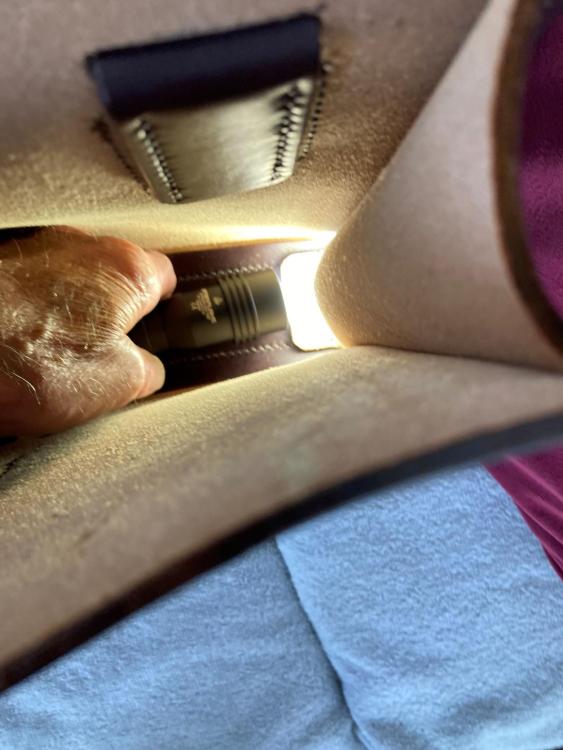
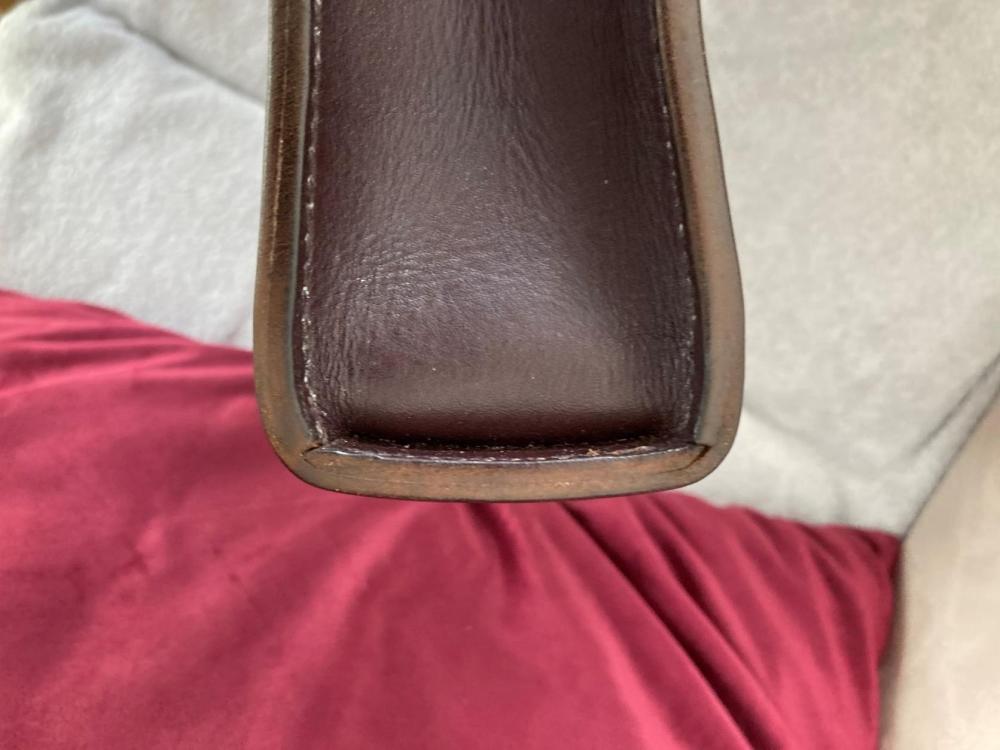
When I make a bag I like to know that the inside corners at the bottom are tightly closed. I use a very bright flashlight pointed into the bottom corners inside the bag and observe the outside of the bag in a dark room.
-
-
Completed a homemade strap and belt punching jig. It is made of polyethylene (UHMW). It has slot for 3/4", 1", 1 1/4" straps. The sliding holders for the punch tools fit snug into their slots but can move freely. I drilled spaced holes exactly centered in the slot. They hold my various punches perpendicular to the leather with no play.
-
Getting good straight cuts and issues with stitching.
JamesR replied to rckt1rcn's topic in How Do I Do That?
Made two jigs along the way. The first one used a mat cutter and a related straight edge ruler. The mat cutter head travels on the ruler like a track. Two bolts keep the ruler from sliding around. The cutting blade travels through a groove cut into the board. I used the cutter handle that came with the ruler at first, then I modified the cutter and made a sliding block that fit the ruler. My second jig has a 90 degree fence at the top to allow for square cuts. There are different mat cutters on the market. I believe the cutter traveling on a track is the best way to go. -
I use 1/8" masonite with a checker patterned back. It is easier to cut then 1/4" and it does not slip around so much.
-
shooter saddlebag
JamesR replied to WyattEarp's topic in Gun Holsters, Rifle Slings and Knife Sheathes
Very impressive. Great craftwork and artwork combined!


