Search the Community
Showing results for tags 'avenger'.
-
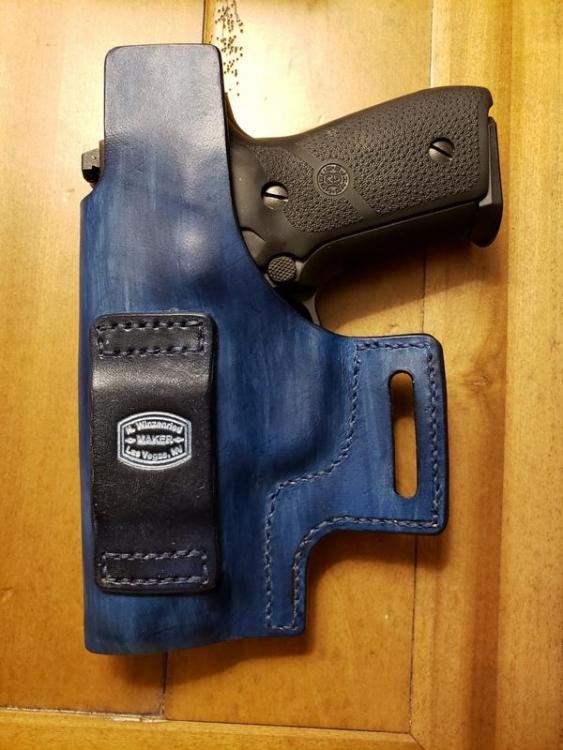
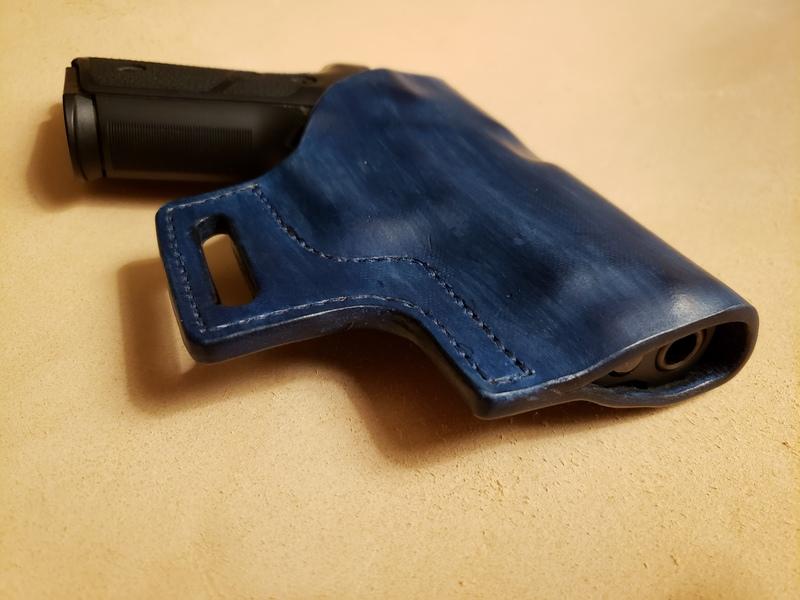
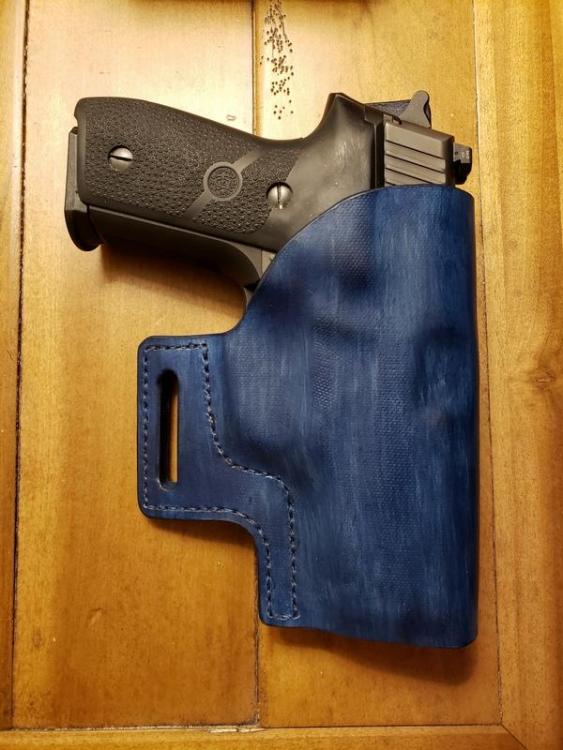
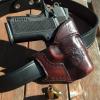
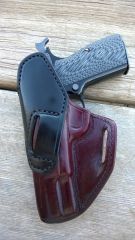
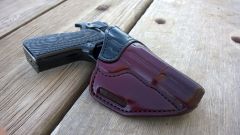
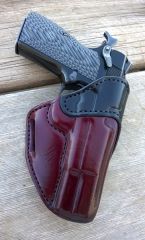
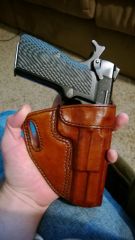
Been doing leather work on and off, for eight years, at the rate of about 2.5 (finished) projects per year, though I haven’t made anything for the last two years, so I am still a novice. I have only made holsters, a few belts, and one multi-tool sheath. All of the holster were simple, black, concealment holsters. I make them simple because that is the extent of my skills. I make concealment holsters because CCW is very popular here in Las Vegas and because no one would want to show off my work. Got tired of making only black things and got this idea to make a Blue Jeans holster. I had this vision of a dark blue holster with a tan patch on it somewhere, with yellow or orange thread to mimic the stitching on Western style jeans and some copper rivets for the same reason. I have made two iterations of it (that is, not quite what I was imagining… still trying to do it right), now planning to make a third. First one was a solid Navy Blue Avenger (my first ever Avenger) with a natural tan mouth reinforcement. Truth be told, I had not planned a reinforcement but the leather that I had on hand was too thin, so the holster was flimsy. I added the reinforcement after the fact. I had used tan for the belt loop, then added the reinforcement. That is why it is not one piece of tan but two. A beginner mistake is to use whatever supplies one has on hand, when one knows full-well that it is not what is called for in the project! Cheap people also make this mistake… and people who are in too big a hurry to complete a project. That’s what I did. Don’t do it! So, I wound up with an Avenger that was too thin, was sewn with black thread on the body and white thread on the reinforcement. I had forgotten to buff the excess blue dye before stitching the tan pieces, so the dye came off on the waxed linen thread and now it looks dirty. Or, I don’t know, maybe one should not use waxed linen in this case? On the second iteration, I embossed the leather in my shop press, using canvas, to make the surface of the leather look like denim. Then I did an intentionally streaky dye job to make it look like worn denim. I had done some experiments using 600 grit sandpaper, hitting the high spots of the embossing, to remove some of the top color without going through to the leather color. It worked. Really looked like worn denim. Loved it but feared ruining this holster, which I was already happy with so I did not follow through with sanding. Promised myself that I will do it on the third one. Well, I started stitching with yellow thread (dyed linen) but it made my poor stitching stand out so badly that I took it out and used Navy instead. No one should experiment on their project but I did. I filled my maker’s mark with Silver Cova Color, which I had never used on anything. When I wiped it off, silver particles spread around the mark and all over the belt loop, which was dark Navy. It may not show up in the picture. It doesn’t look bad but it is not what I had aimed for. Kind of looks like a star filled night sky. At least, that’s the way I like to think of it. Others might say it looks like a mess. Oh, and I had planned to use a couple of copper rivets, as decoration, on the un-stitched side of the belt slot, to further add to the jeans illusion. Maybe next time. Though I could still do it. So, the next one will be a belt slide style with canvas embossing, some kind of distressed finish and yellow thread (after I practice my stitching for a while). By the way, the first holster (tan reinforcement) is a 15° cant, the second one (streaky blue) is a straight-drop, zero cant design. That was the first zero cant model that I have made. It rides very well at my preferred 3:00 position. I am surprised at how good it is. It’s my new EDC… until I make my belt slide with copper rivets! Streaky Blue Jeans Avenger Info Leather: 3.25 mm Thread: 0.8 Ritza 25 Navy Stitching: 6 spi saddle stitch (sloppy)(not intentionally) Dye: Fiebings Navy Blue Applicator: semi-dry dauber Edges & Flesh: Tokonole Top Coat: Fiebings Satin Sheen (may go for a matte finish next time) Gun: Sig M11 (P229 variant)
- 7 replies
-
- blue jeans
- holster
-
(and 1 more)
Tagged with:
-
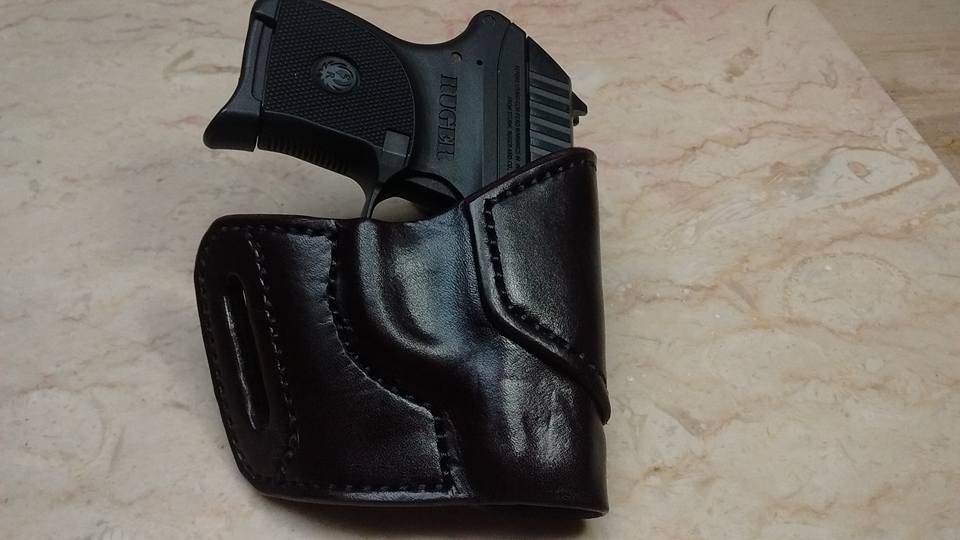
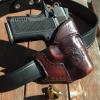
Finished up an avenger style holster for a Ruger LCP. Thanks to JLS leather for his write up on making the pattern.
-
-
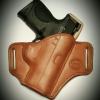
Avenger Style Holster
deloeracustoms posted a topic in Gun Holsters, Rifle Slings and Knife Sheathes
Ok, so here goes... first attempt at an "Avenger" style holster. I don't think I've got my patterning down just right yet... The reinforcement/belt loop piece keeps wanting to occupy the same real estate as the stitching that follows the form of the pistol. This wouldn't be a problem except for the reinforcement/belt loop piece obviously has to be sewn on before the holster is stitched together... and it's a real headache trying to guestimate where the belt loop should be so it's not in the way when I go to do the final stitching (suggestions??) Any suggestions, thoughts, criticisms, experience, suggestions, or suggestions (did I mention suggestions?) you can offer would be greatly appreciated. Thanks in advance.- 11 replies
-
Been a while since I posted anything...let me know what's what, folks! First, a two-tone Avenger style holster for a 3 1/2" Ruger Bisley stainless steel Blackhawk 44mag (Lipsey Exclusive)...Saddle Tan with Basket Weave stamping over Dark Brown and White Thread...with a hammer thong and 2" belt slots. A special thanks to Clay Miller for the new stamp used on this holster...his ever-expanding line of tooling far exceeds my meager skills. Next, is a field holster for a Ruger Blackhawk 41mag..Saddle Tan with White Thread...simple oil finish...very rustic. Dual belt loop design allows for strong side or cross draw carry. Finally, a simple hand-sewn knife sheath for a Sharp (Japan) skinning/hunting knife...Saddle tan with White Thread. As always, I appreciate the input!
-
From the album: Various Holsters
-
From the album: Various Holsters
-
From the album: Various Holsters
-
From the album: Various Holsters
-
From the album: Various Holsters
-
From the album: Various Holsters
-
From the album: Various Holsters
-
Still hammering away, trying to learn this stuff. A special thanks to Particle (Adams Leatherworks)...I encourage any one eager to learn to also go and subscribe to his premium videos...they've been a BIG help to me over the past few weeks! Anyway...here's a couple fresh ones off my bench for a few side arms I had lying around: First, an IWB in Dark Brown for a Makarov 380, with a little border stamping and a FOMI clip that has since been replaced with a 1/8" black Kydex of my own design...the doggone FOMI clip kept breaking...L&L, I guess. Then, there's an Avenger-style OWB in Saddle Tan with white thread and basket weave tooling for a classic S&W 645. Immediately obvious with this one is the fact that I've GOT to get a belt loop punch :-) All of these were sewn on my Cowboy CB3200...still learning it, obviously, but its an awesome machine at a terrific price. As always, Thanks in advance for the insight! Chris
-
From the album: Various Holsters
-
From the album: Southbound Leather
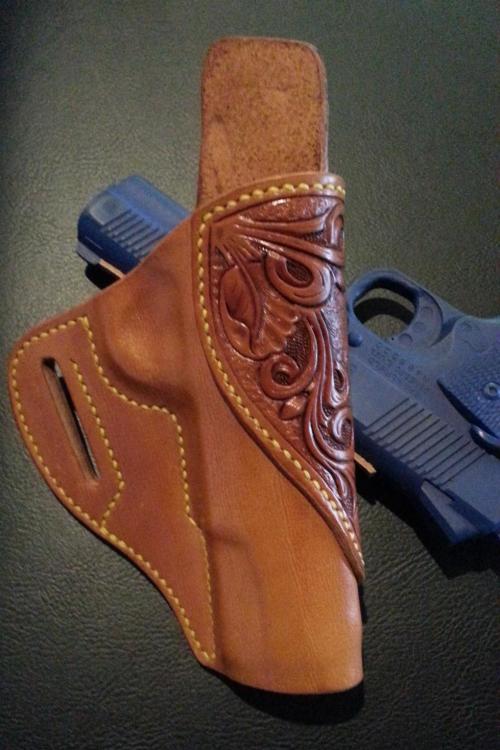
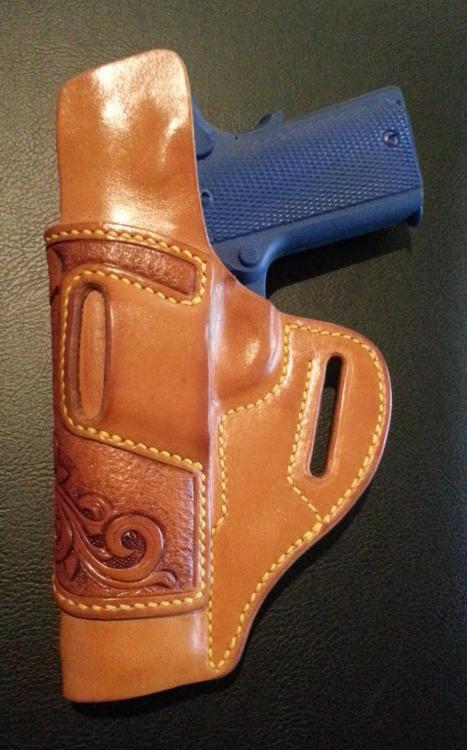
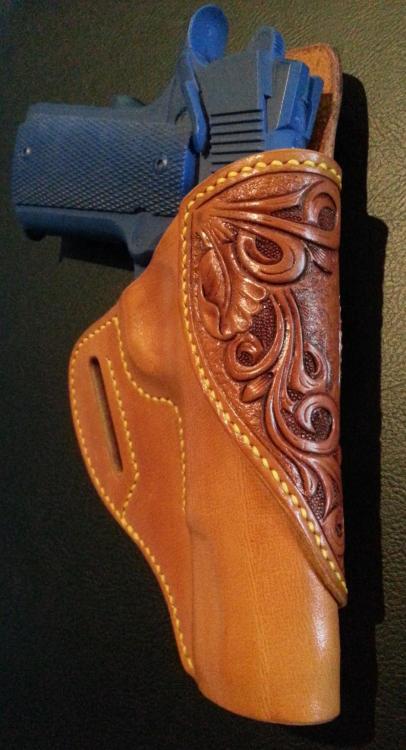
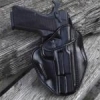
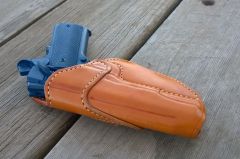
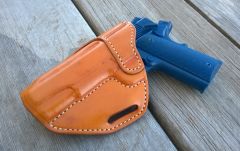
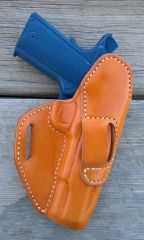
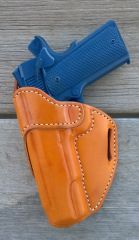
This is an avenger holster for 1911. All 8oz veg tanned. Two tone w/oil dye -
I have been asked to do some left side holsters. To date all of my holsters have been right side or for right handed shooters. Some of my patterns it's gonna be easy just a matter of flipping the pattern over. Others not so much. One of the ones up in the air in the avenger style. With those patterns can you just flip those for lefties? Trying to figure out the best way to handle avenger and pancake paddle holsters for lefties. Thanks


