Search the Community
Showing results for tags 'camera'.
-
My first post here, and my first serious project. Had no idea what to do, how to go about it, and more importantly - what I wanted. Not without mistakes, but I figured it all out in the process and learned. Ready for more
-
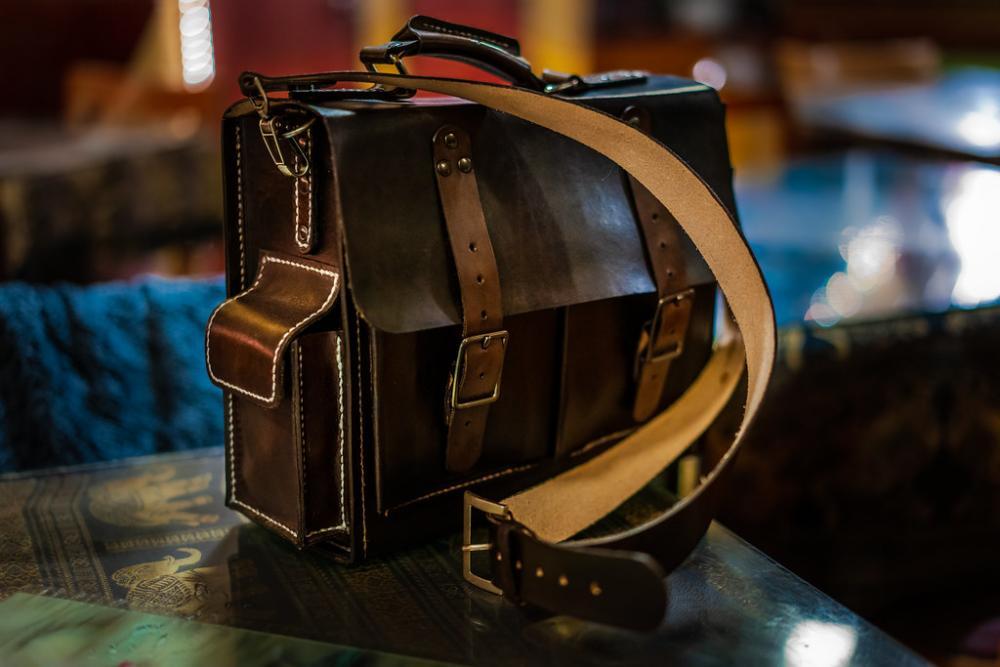
This here is my second project, and as usual, I bit off more than I could (easily) chew, but I think it turned out OK in the end. I needed a travel camera bag. I wanted it to fit my camera and 2 additional lenses, filters, extra batteries, along with regular city necessities, all in bag that didn't just scream "camera bag". As far as my design choices, I wanted something to push my abilities, (or in this case push my patience). I met wet forming in my first project with success, so I wanted to incorporate that into my bag somewhere. I also wondered why all the bags I saw were either stitched and turned inside out so thread doesn't show, or the leather was sewn back to back. I wanted to make something in between, and find out why it's not all that common. I found out I also wanted some sort of pattern to keep things from being so blah. Stamp work isn't really my thing, so I was looking around at various leatherwork I have around me for inspiration. I noticed the broguing on my boots; that line of holes and stitching has a fantastic ability to dress up a normal pair of work boots to the point of being nice enough to go out on the town in, but it will prevent a pair of dress shoes from being "fancy" enough to be worn to formal occasions. I have hole punches, calipers and time. Man, stitching this took FOREVER!!!! It went fairly well while everything was out in the open, but once it was wrapped up, I was making every half of every stitch completely blind. I easily have 15-20 hours in stitching alone. I really like how it turned out, but holy cow did it take a long time to make this bag! On to the pics, 'cause that's what clicked on my oh-so-clever title for, right? Wet forming one of the sides So. Many. Holes. We lost power one night so I ended up stitching by candlelight for a few hours. The the casual viewer may notice that the handle attachment points aren't level. The keen observer would point out that the cuts on the flap aren't perfectly symmetrical. Ehh... Oops? This was before I cut the excessive strap and stitched it. I wanted this usable before my 3 week, 16000 mile trip, which I completed the bag for with a comfortable 5 hours to spare. The difference between the leather colors is due to the fact that I worked on the main flap outside in the sun. I liked the slight contrast so I brought the leather for the strap attachment outside to tan too. I wanted to peen those rivets better before I left, but my friend totally flaked out on letting me borrow her ball peen hammer, so I peened them out using my father-in-laws (after these pictures were taken). I'm also chapped because I ended up marking the leather because all I had was a claw hammer - now I know not to depend on her for anything. Also, I I had to make those D-Rings by hand - we just don't have brass hardware on island. Those splotches are sweat stains. I used a towel to try to protect the piece while I was working on it, but when it's 85F and 85% humidity, sweat just pours off of me, errant drips are inevitable. On the inside I put a button stud at each strap attachment point. I have a plastic mock up for a camera and lens hanger so the camera is always held at the top so it's easy to reach, and so the lens isn't at the bottom of the bag, making room for another lens or just general stuff when I don't need 2 additional lenses. I want to make this out of leather eventually, my plastic version worked for my trip, but isn't going to last forever. I thought I had some pics of the inside, but I can't find them, and I'm recovering from the flu, so mustering the energy to take some pics is asking alot . Comments, critiques, and any helpful pointers are welcome. My stitching is better this go around, but still needs practice (at least the visible stitches look decent!) I'm going to reburnish the strap and the flap when I get the energy up; I came down with influenza the day after I got home, so there's work I still want to do, I'm just too exhausted to do it.
-
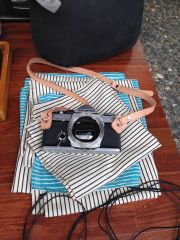
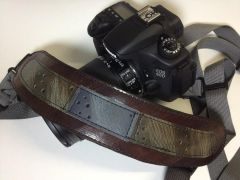
I'm making a camera strap for my friend who saw one I made for myself and liked it. She is a minimalist and likes her leather products to abide by the dictum, "let the leather be the leather." She's fairly famous and is sent top-of-the-line products to feature in her editorials, etc., and some of those have been high-end leather bags and such. (I only mention this as context to show she has a well-informed opinion of what she likes, and though I'm not doing this in order to be featured or promoted in her work, I do want to give her the best I can do, since she's an old friend and I know she has high standards.) She prefers the aesthetic and tactility of unfinished veg tan leather, but I've never given someone something without a finish of some sort, and I'm worried that since it's a strap, and she uses a camera constantly for her work as she travels 11 out of 12 months in the year, that heavy use might take its toll more quickly than if her strap did have some sort of treatment applied to it. Maybe it would be a negligible difference. I just don't want to give her something that forsakes utility over aesthetics. So, is leaving it unfinished a terrible idea? And if so, is there some finish that best retains the color and texture of veg tan? She also likes the way it looks and feels to have veg tan take on the patina of use over time, so I don't want to deny her that either. I'm mostly concerned that it might affect the structural integrity of the strap, especially when it has a several-thousand-dollar piece of equipment on the other end, though it's only just under 2.5 lbs.
- 8 replies
-
- veg tan
- unfinished
-
(and 2 more)
Tagged with:
-
Hey guys anyone have any patterns for a camera sling like the one in my photo or know where I can locate one? Any help would be grateful!
-
I am going on vacation and needed a case to keep my camera in. This is what I came up with. I somehow got the molded part sewed on a little crooked but from most angles you can't notice.
-
From the album: My leather work so far
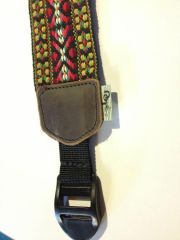
Adjustable camera strap with o-ring guard for cameras with lug nuts.© Sada Sata 2013
-

47081 10152127547735401 2140991567 N
Leather by LOU posted a gallery image in Gallery- Our Leatherwork
From the album: My Leather Work
another camera strap -

401413 169007329877242 276605055 N
Leather by LOU posted a gallery image in Gallery- Our Leatherwork
From the album: My Leather Work
quick draw camera strap -
I have been asked to make a custom camera for a customer. They want it to have a carabiner with a locking mechanism like this one but with different measurements. Any idea where I can find a dozen or more of these? I check Ohio Travel Bag, Buckle Guy, Etsy, ect.


