Search the Community
Showing results for tags 'saddlestitch'.
-
When shooting for the falling-dominoes effect on the back as well as front side of a saddle stitch, is there any extra benefit to casting to change which thread crosses on top, as compared to placing the second needle through the hole in position so they cross that way? Put another way: Do you other folks here get better looking slanted stitches on the back side when casting versus putting the front-side needle low in the hole? It's dazzling---in both "wow!" and "gah, my eyes!" senses---how much information there is to be found on this stuff now. It seems pretty broadly understood, at least practically, that when saddle stitching in slanted holes, changing the direction the threads twist---corkscrew or candy cane, S or Z, standard or reverse thread, right over left or left over right---changes which side gets the shorter, steeper-slanted stitches. Got that. But as I've been revisiting old notes and doing some experiments on scrap for a new project, I'm seeing what looks like a pattern of better results on the back side with the casting technique. I'm also noticing a preference for casting in the videos and tutorials I've found online, mostly folks focused on wallets, belts, handbag bags, and other small goods, punching pretty wide holes with irons. Coming up on the Stohlmans' book as I did, I'd always just put my "B" needle on one side or the other of the "A" thread in the hole to set the twist. There wasn't a pretty line drawing of throwing any loop over, so I didn't. I suspect, perhaps naively, that putting needles through the holes to twist one way, casting so they twist the other, and having the thread ride up and over as I pull slack might be slightly reaming the rougher exit side of the holes a tad wider. That might help a bit like how pulling threads taught at an angle can. That's pure speculation on my part. When I pull slack really slow, to try and see what's going on, results change. I've also tried watching some YouTube videos that show stitching from the back in slow motion, but what I'm looking for is either too small to see or not really there. Much appreciate any folks taking time to share wisdom or experience! If I can get to feeling like I've got my head around this last bit, I'll have a nice blog post on twist directions, casting, needle placement, and other tricks, with pictures and tables. Maybe clear the path for those coming behind.
-
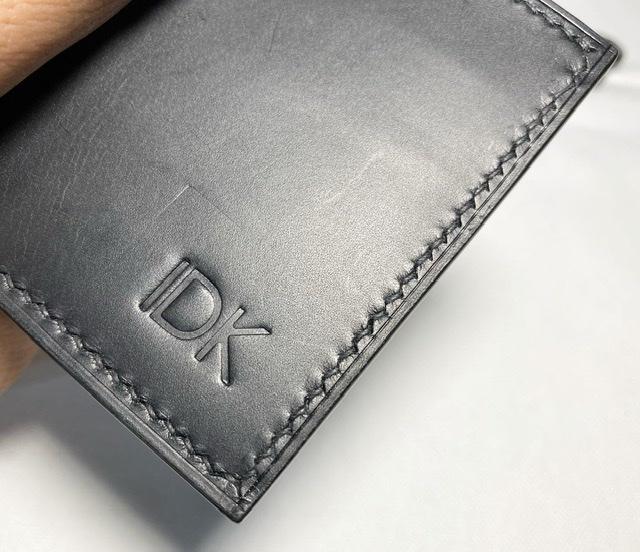
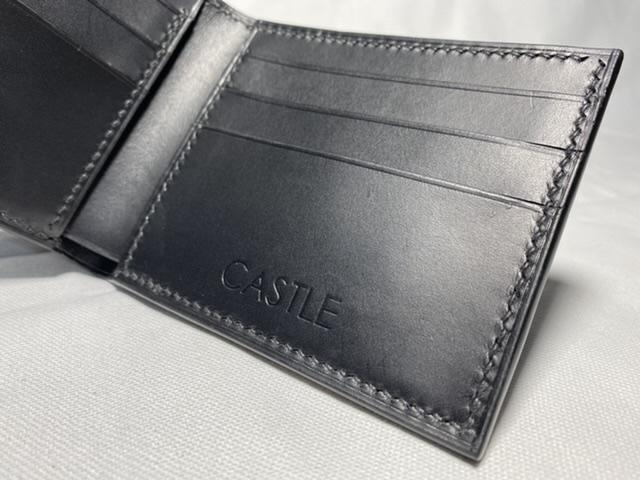
Here’s a last minute Christmas gift that was sent out. Wallet is constructed of 3oz black buttero with black 0.45mm waxed linen thread spaced at 3.38mm and black Uniters edge paint... I got this side of leather on sale from Rocky Mountain so I wasn’t able to have it split.. I usually prefer 1.0/1.5oz leather to keep the bulk down but I did a lot of skiving where I could to keep this project as thin as possible. Questions comment and critiques always welcome. Happy holidays !! Thanks for looking
-
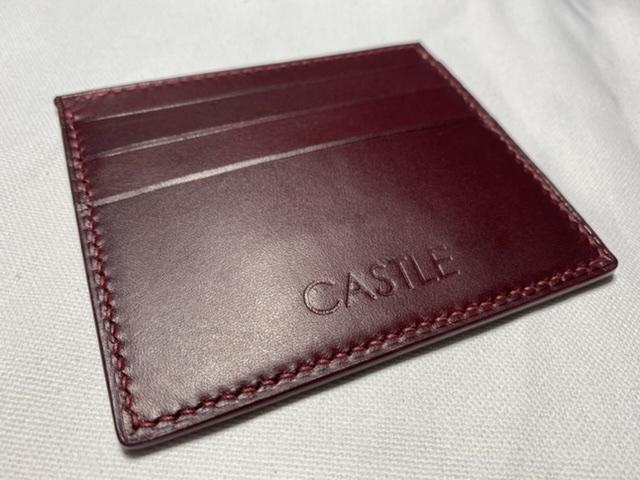
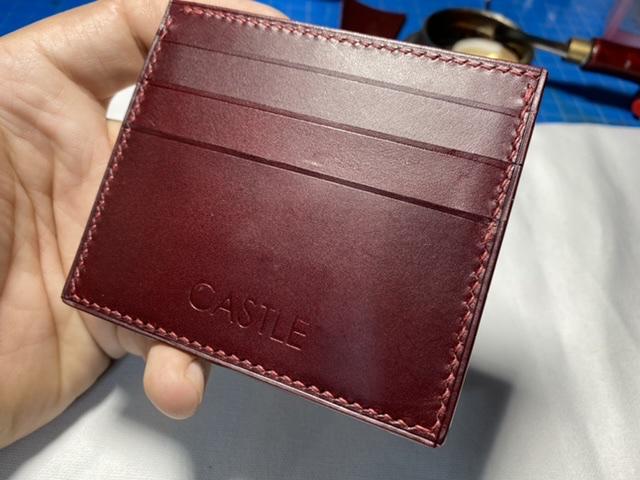
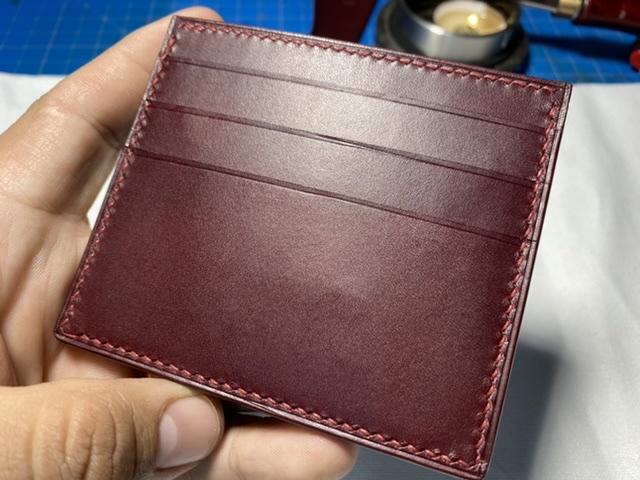
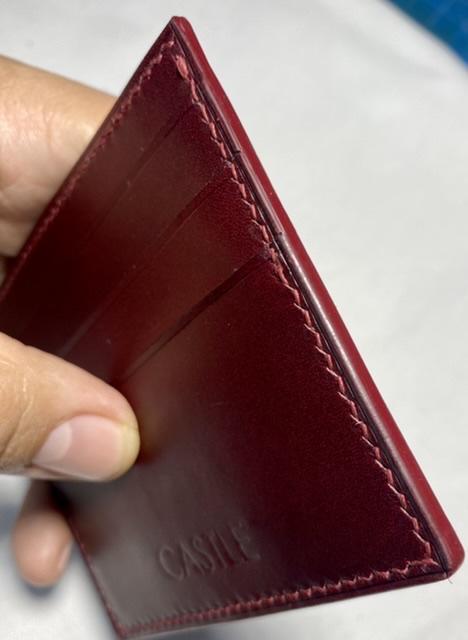
One of my most recent customer projects 6 slot card holder in burgundy buttero. Fully lined inner pocket with turned edge. Hand stitched with burgundy waxed linen thread spaced at 3.38mm..edge paint is fenice burgundy. comments and critiques always welcome =) thanks for looking!!
-
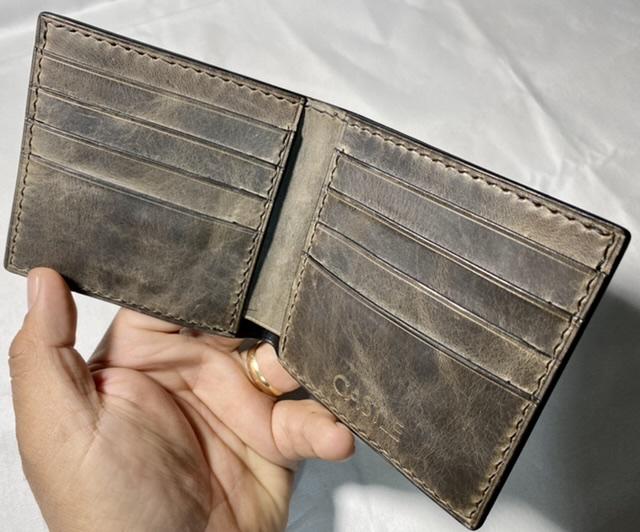
Back with another wallet. I really like the way this one came out. The mpg Aragona has a beautiful pull up when flexed. I did apply a layer of Aussie leather conditioner to it and it turned the leather darker than I would have liked but I think it still looks great and feels nice in the hand. This one is black buttero for the outside wall and inner money pocket with mpg aragona in charcoal for the inside. Hand sewn with 0.45mm black waxed linen thread spaced at 5mm. Edge paint is uniters black. comments and critiques always welcome thanks for looking!!
- 11 replies
-
- linen thread
- buttero
-
(and 4 more)
Tagged with:
-
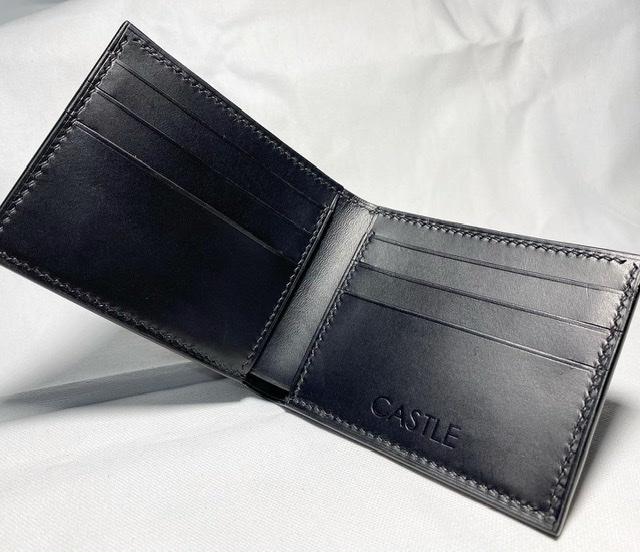
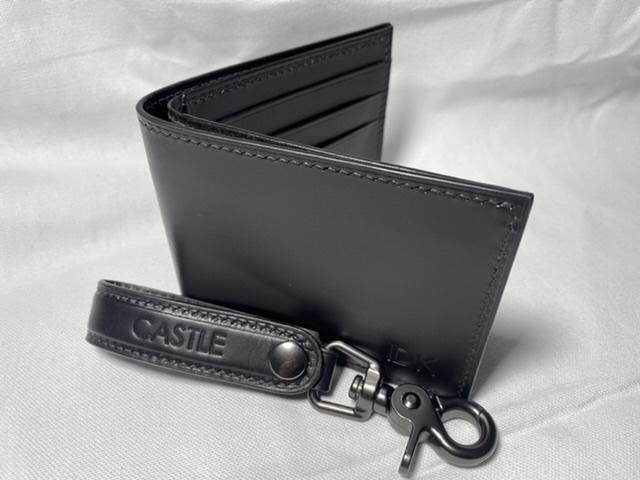
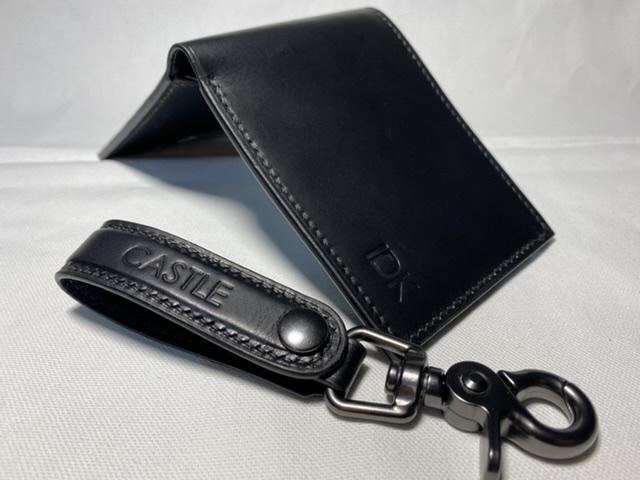
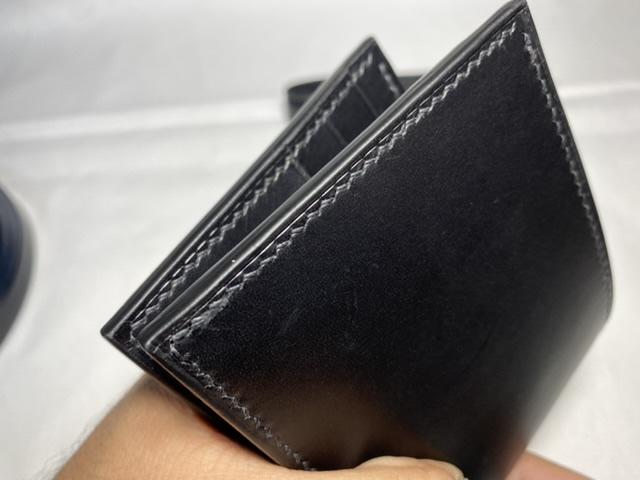
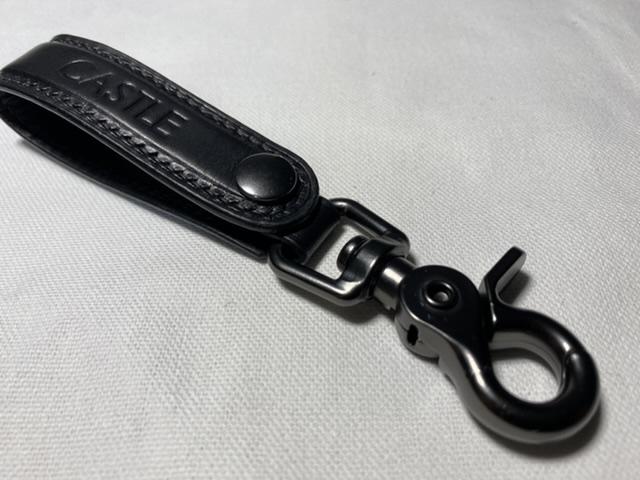
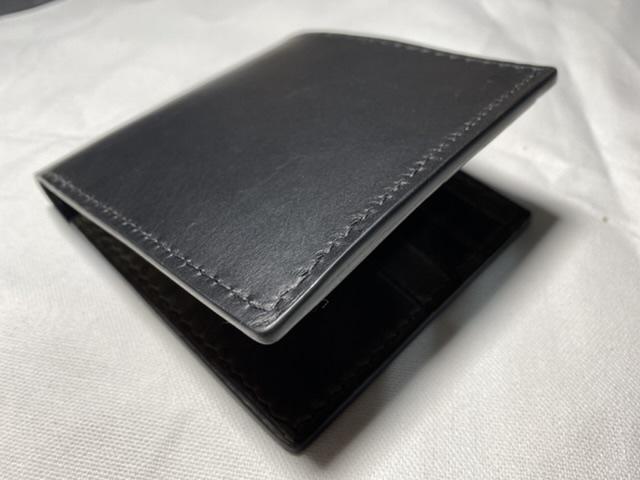
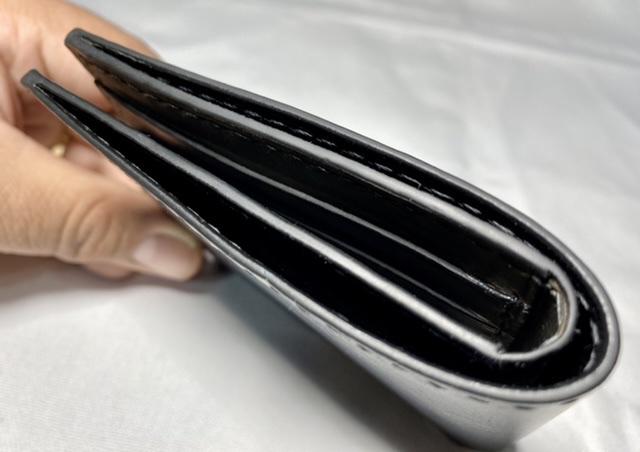
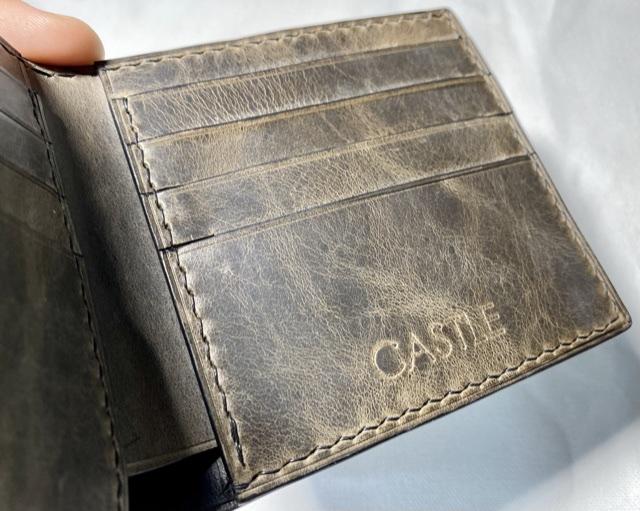
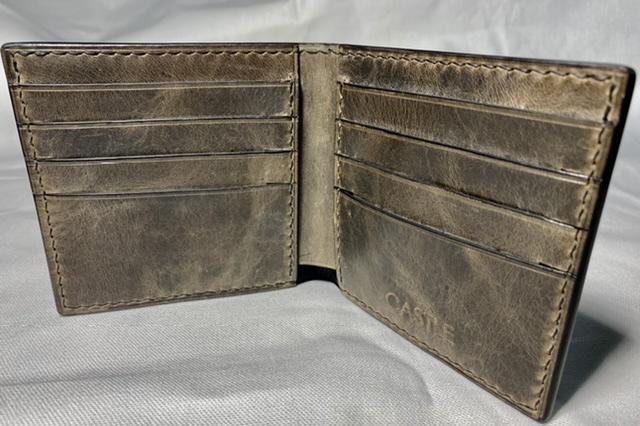
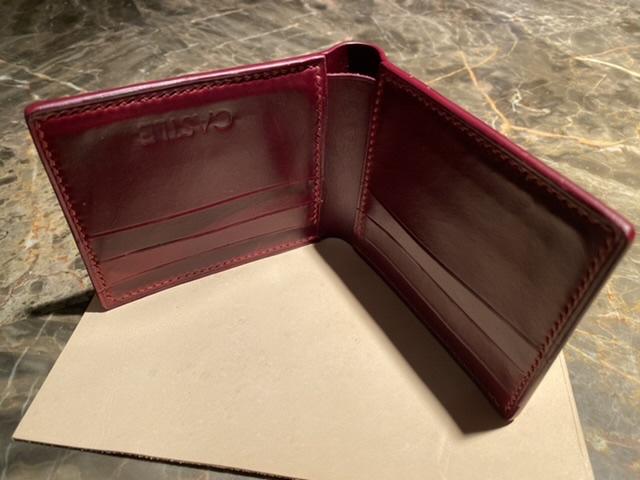
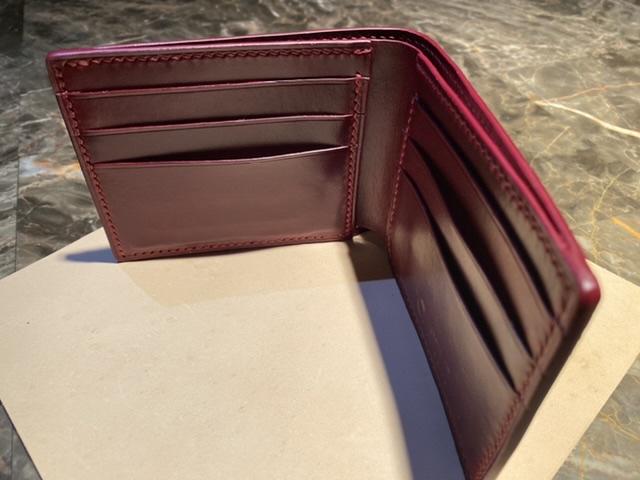
So the title may be a little misleading.. This is actually my 5th wallet but this is the first time I’ve ever posted my work on the site. I got into the craft about 1 year ago and found this site shortly after and have been trying to soak up as much knowledge as possible. I absolutely love working with leather and I try to make things as often as possible. Which isn’t as often as I’d like seeing as how I’ve made roughly 5 wallets and 3 card Holders and a couple key chains since I started As for my wallet it is made out of 2oz lollipop red horween chromexcel that I scored when Rocky Mountain had there sale a while back. It’s stitched with carriage natural hemp thread from Tandy and edge painted with vernis burgundy color.. I used French style pricking irons from wuta 3.38mm or 8 spi. I’m really looking for some critiques to see where I can improve. I mean I can see the flaws but I’m curious how it looks to other makers ( my wife just says “ohh that’s pretty or nice” ) Sooo not much help in that department. Anyways I’m really excited to hear what you all have to say. Thanks for looking! Castle -
- 20 replies
-
Here's my rebuild of a soccer ball: Album I had a torn up old soccer ball in a drawer with some brown scrap leather for a year or so meaning to do this project, well now I had time and I did it. let me know what ya'll think, it was fun, even got this one sold. Let me know what ya'll think.
-
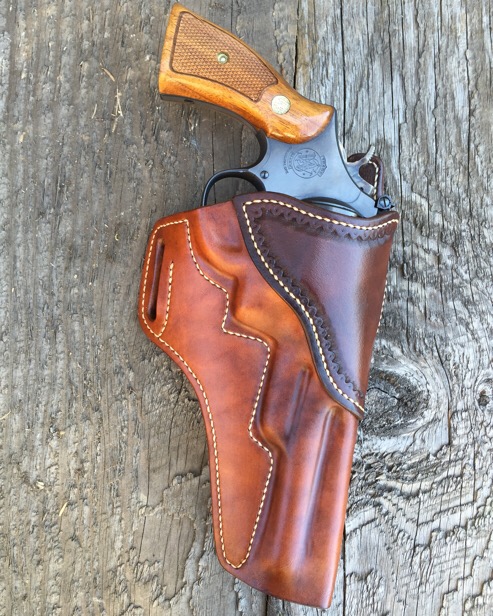
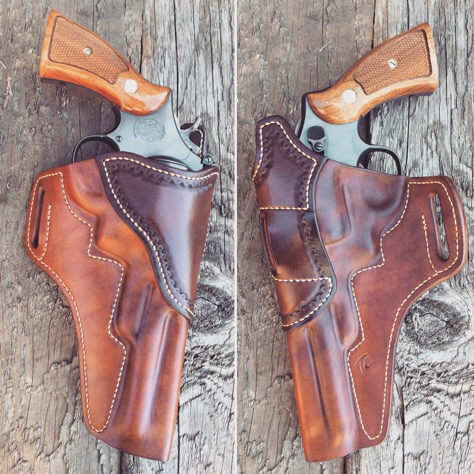
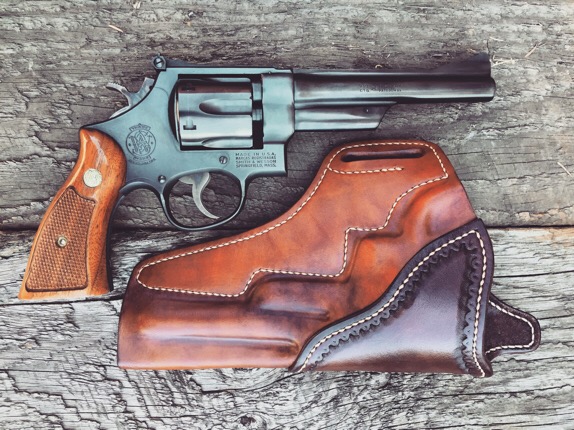
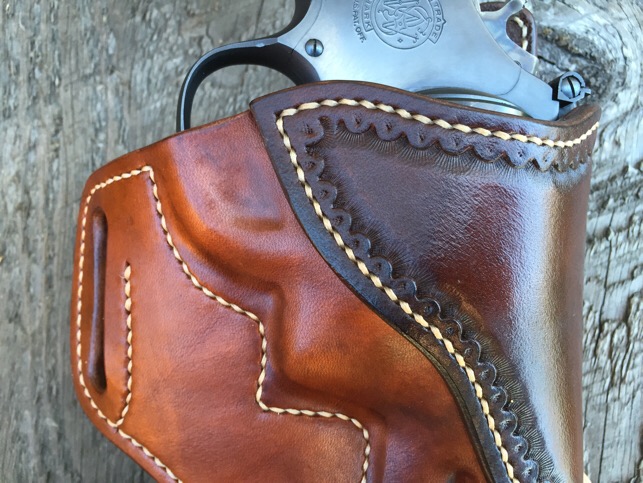
Here's a fun one I just finished up... My first Avenger style for a revolver. I'm pleased with it-- the finish brought some good character out in the leather. Light brown and dark brown Fiebing's pro oil dye, Ritza 25 1.0mm cream thread. 8/9 oz Hermann Oak veg tan on all pieces. Critiques are welcome, thanks for looking! God bless, Tanner Claridge
- 8 replies
-
- avenger style
- .357 magnum
-
(and 4 more)
Tagged with:
-
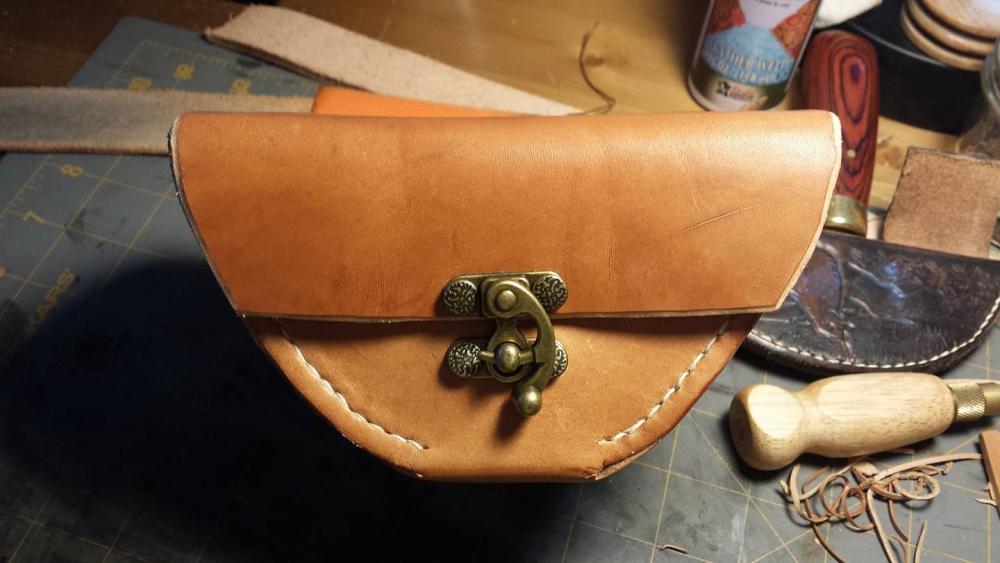
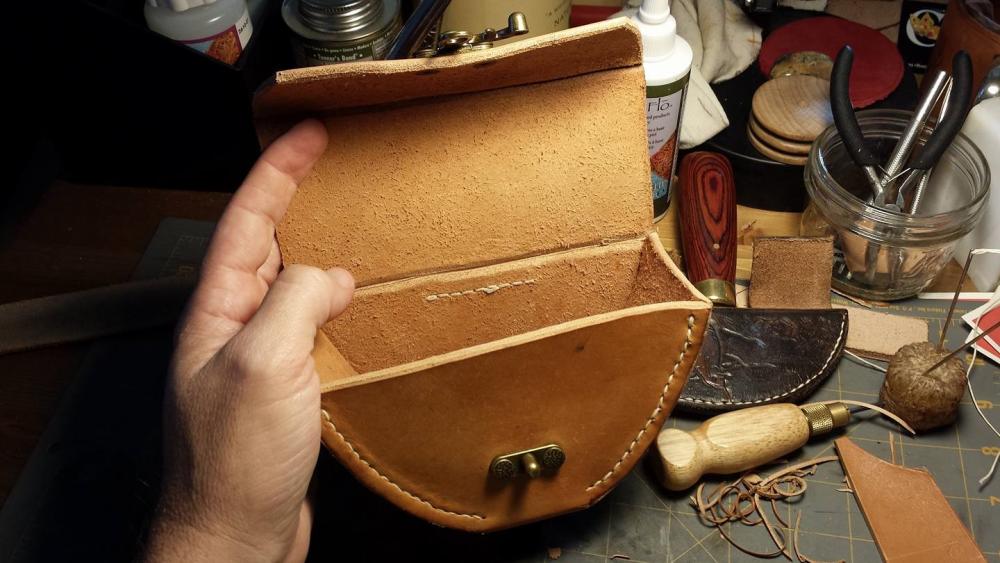
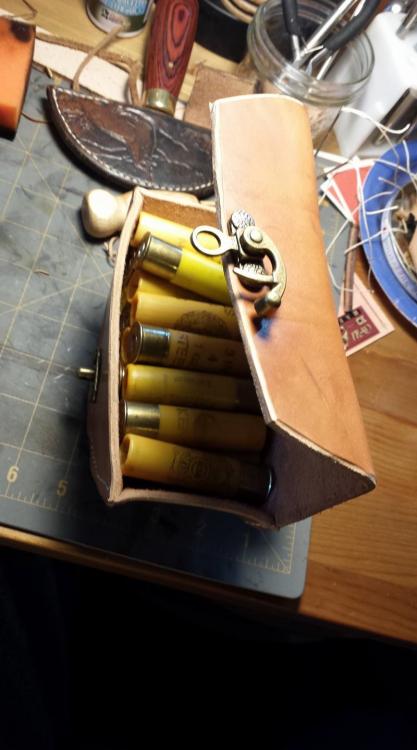
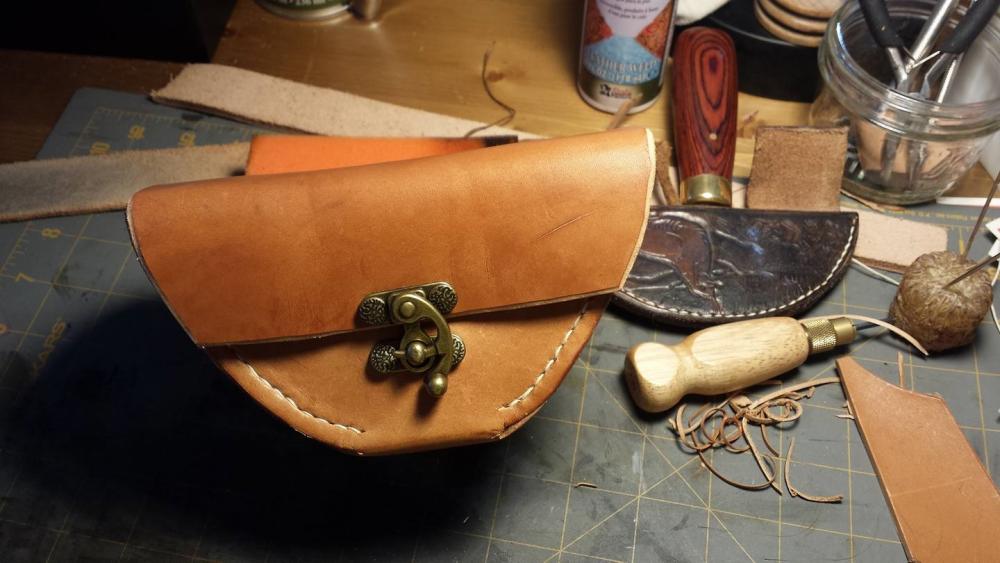
I liked the notion of the shell box from the Tandy Leather book on bags, but I wanted a design that made it easier to actually remove the shells. Here's the result:
-
- pouches
- saddlestitch
-
(and 1 more)
Tagged with:
-
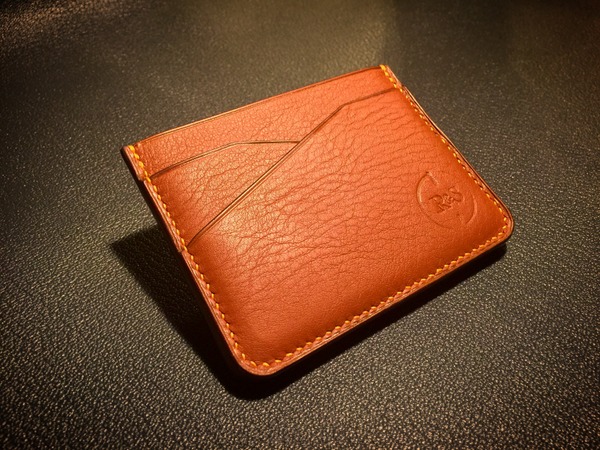
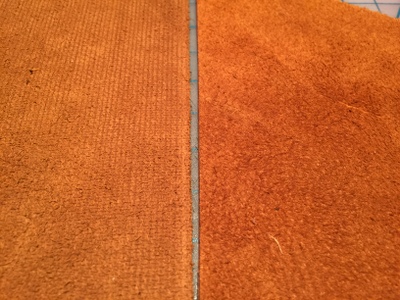
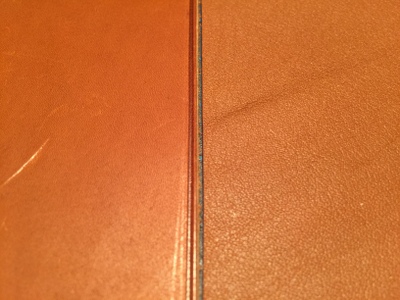
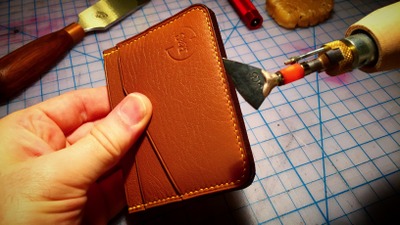
Hi there everyone...I've been lurking on this forum for a couple years and never actually posted. I've been pretty regularly posting breakdowns of my builds over on the Leathercraft subreddit, so it felt right that I do it here as well. I post build journals of each piece when they are done both as a form of therapy and also hoping that it might help someone else. This is a simple wallet that I finished a couple weeks ago. Comments and criticism most welcome. Album: http://imgur.com/gallery/QYNc9 So this is both a humbling and gratifying build journal. There were some new techniques I was aching to try and additionally I had some mistakes and acts of God along the way. This build was supposed to be a standard Simple Wallet of my usual design. I have a hand press now and I've had dies made of the design (from Milwaukee Steel Rule Dies...excellent quality, folks) so I was looking forward to an easy build. I brought a bunch of leather samples and the client chose a combination of Barenia (which, btw, is essentially a double tanned calfskin from Haas that's used by Hermes. Degermann also has a double tanned calfskin that they used to call Barenia too but since Haas trademarked the name they now call it Baranil) and yellow Fil au Chinois thread. I thought it was a good combo and also opted for brown edges. Now...I had worked with Barenia before on a zipper pouchand I loved it so I was very excited and was going to try some new things: With the Barenia being tan and the brown edging I had in stock this would be my first time attempting contrast edging with a new technique for keeping the edges clean. The Barenia was also a little thicker than I like at 1.5mm so I was going to be skiving this down a LOT. Also moved up from an M3000 to a G6M fileteuse so working with new temperatures was going to be a new thrill. I got started by cutting out the pieces using the hand press...AMAZING. Such a time saver. I also feel, ethically, that this is still in line with my handmade and artisanal claims of using no machines in the making of my wallet (as opposed to using an automated machine like a CNC machine or a laser cutter). I got the skiving knife out and started skiving down my edges. I was kinda worried that I was going to have a wallet that was too thick but I pressed on. As I got started working I noticed that this Barenia was...different. My previous Barenia had a milled, almost uniform upholstery looking flesh side while being firm and oily. This Barenia was soft and the flesh side was stringy. Still lovely, same color...but different. I had already been making Instagram posts claiming it was Barenia. I checked with the guy I bought it from and...dammitdammitdammit...he sent me Swift leather instead of Barenia (Front and Back ; Barenia on the left and Swift on the right). I felt like an ass (and a noob) for not being able to identify it and also for selling the buyer on Barenia. Now...Swift leather is still used by Hermes and still has many of the same qualities (some people like it better because it's more scratch resistant). So I checked with the buyer, let him know the situation and he was totally ok with it. So on we went... Once skived down, I put the wax spreader on my brand new Regad G6M, cranked it up to "9" and it promptly made electrical crackling sounds and "pft"...died. The tip. Not the transformer thank God. After some calls around it looks like on the G6M you don't want to push the wax spreader any higher than "7" or it dies (on the M3000 this level seems to be a "9" so the G6M has more headroom for heat). Other tips are ok. Thankfully, Aaron at Rocky Mountain Leather Supply had a used tip and he sent it to me for cheap but in the meantime I used the S0.5H tip to finish the edges. This time around I wanted really really clean edge paint lines. So I basically spent a new step inbetween each coat, cleaning with canvas and a crepe rubber to make sure the lines were smooth and crisp and I was so happy I did. They looked great. Assembly proceeded. The client chose an embossed logo with no gold foil so after that we moved into stitching which went just fine. The softness of the Swift leather actually allowed the stitching to pull into the leather a little too much at the beginning but I eased up on the pressure and things started to look good. Once assembled we started to do the exterior edges. This was a little harder than the interior edges because the edge is a lot thicker, but I was really happy with how everything turned out and the client was as well! That and the Swift leather looked really classy so I think I might do this again. Long road, lots of lessons, happy customer. Pros: New edge paint method works great. Swift leather is a new leather in the stable to use. Hand clicker and dies worked wonderfully. Cons: Check your damn leathers, Kevin. If it looks wrong it probably is. Don't push the wax spreader over "7" anymore. Album: http://imgur.com/gallery/QYNc9 Instagram: https://www.instagram.com/rareandsundry/
- 11 replies
-
- swift
- simplewallet
-
(and 2 more)
Tagged with:
-
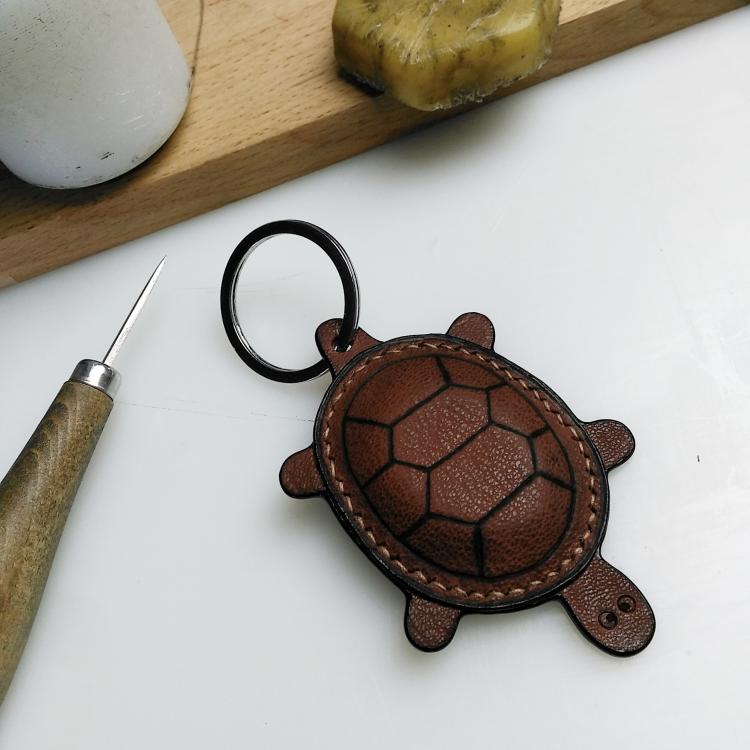
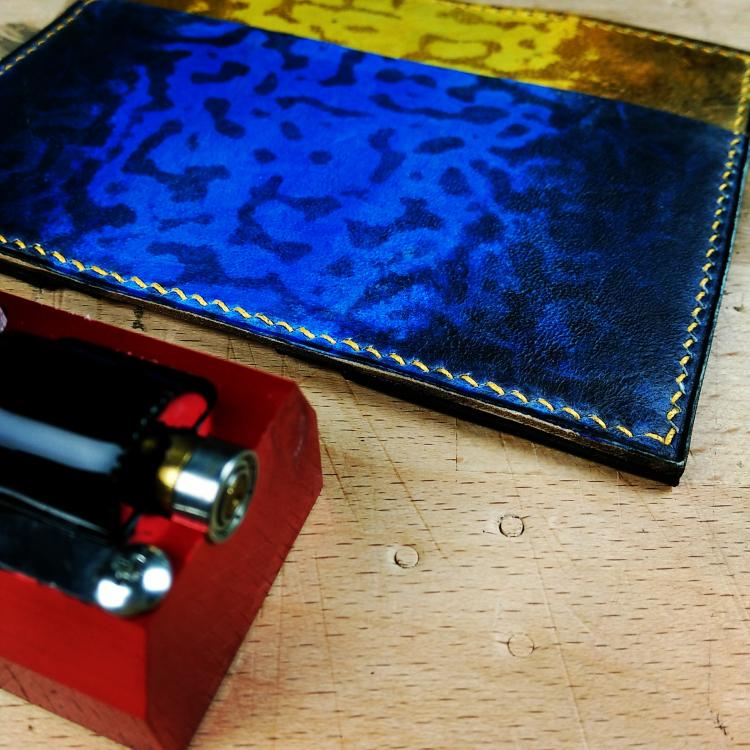
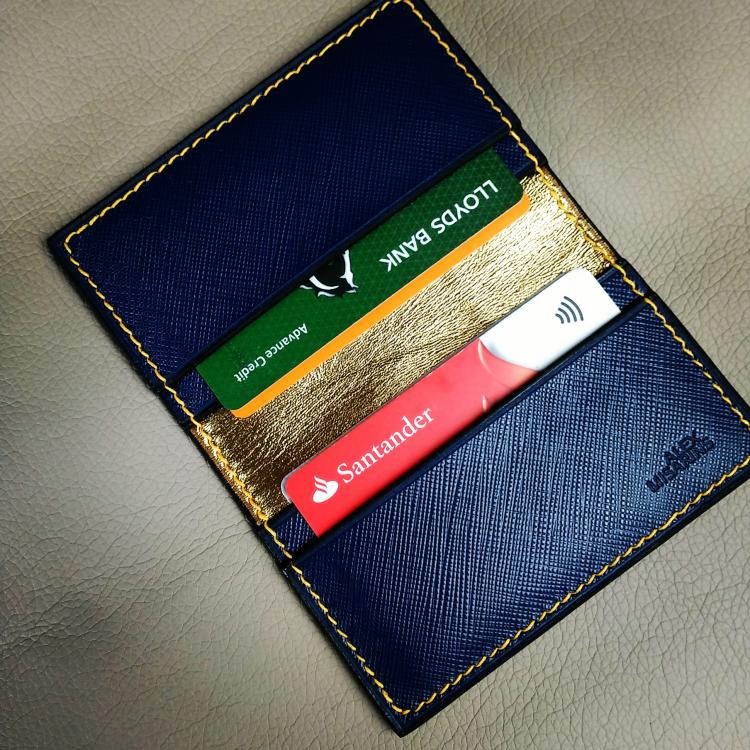
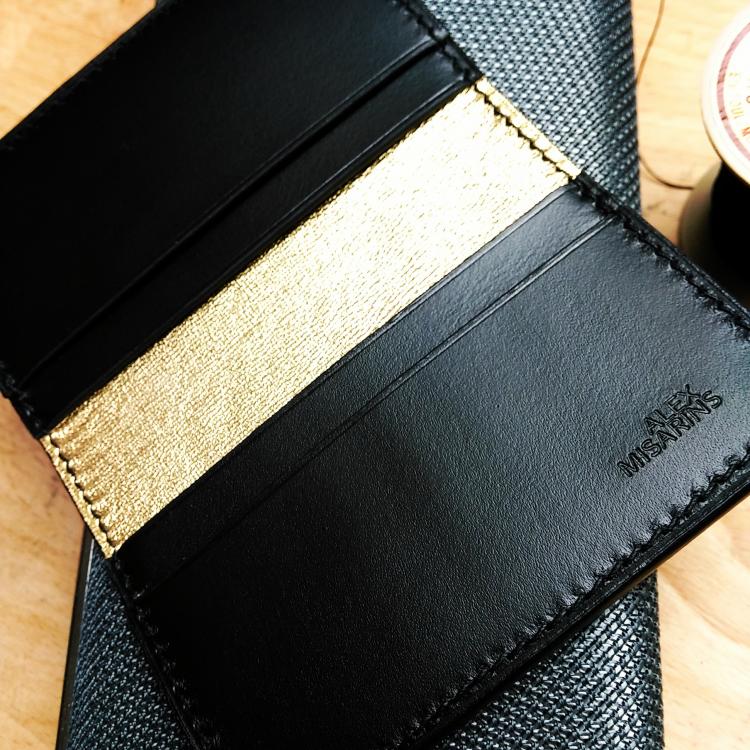
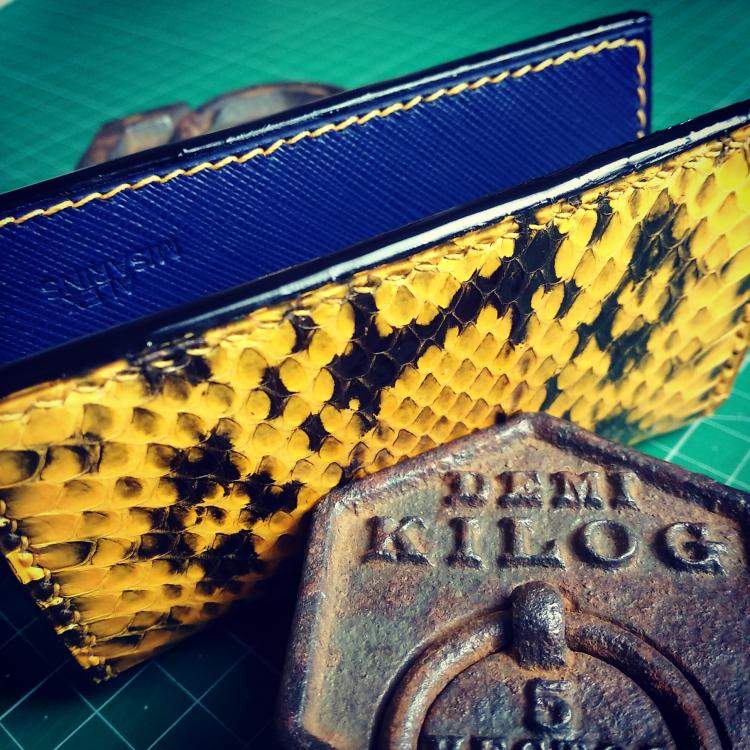
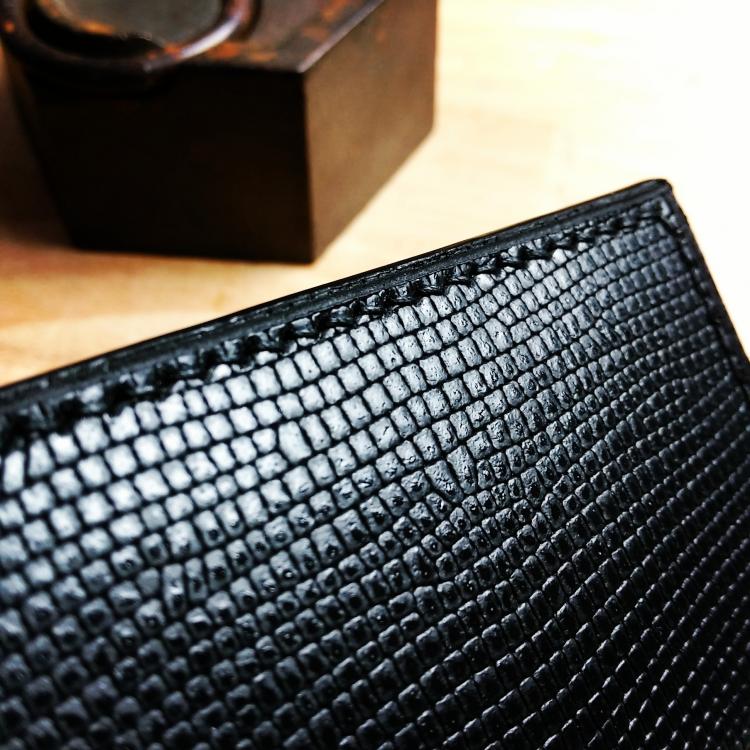
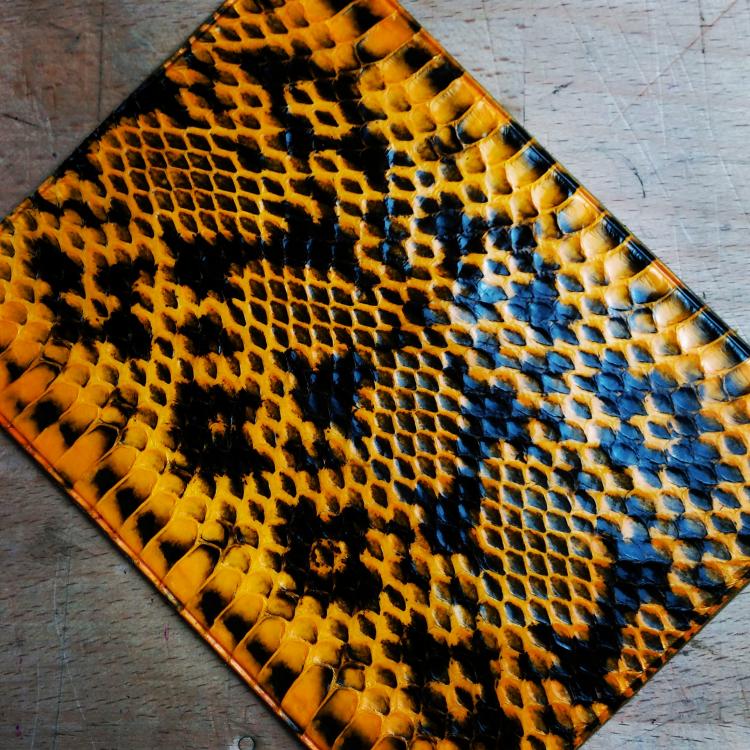
Hi folks, Just few of many updates for a last month. One of my favourite keyring so far is this cute 3D turtle. I was made of aniline goat skin in brown colour, hand drawn turtle shell and eyes, also a high gloss finish on the edge, to make it more female attractive. Also few bifold card holders were done. They are still quite popular due to gold calf skin lining, which looks just stunning. I am a fan of contrast stitching, but still have to complete orders with a monotone thread colour to match the colour of the skin. Shown bifold wallets are made of lizard, bull frog, and water snake skins. I was surprised with a bull frog skin. It is very thin, same as snake skin, but extremely durable. I will keep posting updates and pictures from my studio, just need a bit more time
- 10 replies
-
- cardholder
- wallet
-
(and 5 more)
Tagged with:
-
I apologize to mrtreat32 for getting back to him late and after the previous thread was locked. Here's a tutorial for back-stitching initially and finishing your work w/ 2x back-stitching. I always back-stitch 2x. However, items that have higher stress points, I would back stitch 3x. Not only does back-stitching lock the stitches, they also provide extra support/strength. This is for right-handed saddle stitching. I'm using a saddlers clamp as well. (Clamp opening is facing my left.) Start by inserting the thread through the third hole. Insert your LEFT hand needle through the back of hole #2 first. Then insert your RIGHT hand needle through the front of the #2 hole. You may stitch by inserting the needle at either the top of the hole or bottom. Results will be similar either way. Bottum of hole > / (bottom of the slant) or / < top of hole (the top of the slant). Then pull both the LEFT & RIGHT needles firmly to complete the first stitch. Repeat the same process, LEFT 1st and RIGHT last for hole #3. Now stitch like you normally would, but over the back-stitches. LEFT needle through the back first... followed by the RIGHT needle through the front. Continue to stitch all the way to the end. As in the beginning instructions. LEFT needle through the back 1st. Then RIGHT needle through the front. Pull the threads together and repeat to finish the final back-stitch To finish the work, see below...


