Search the Community
Showing results for tags 'wet molding'.
-
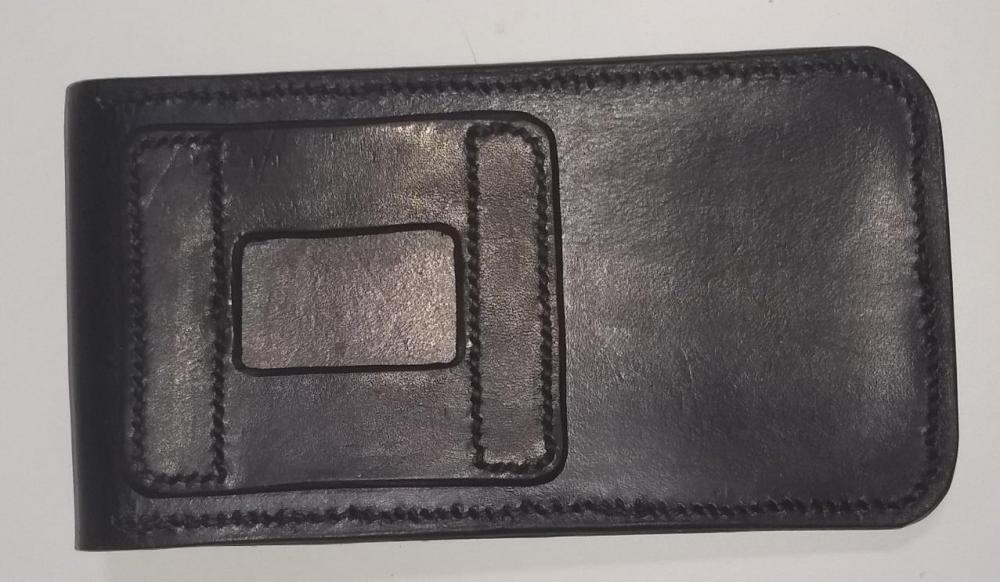
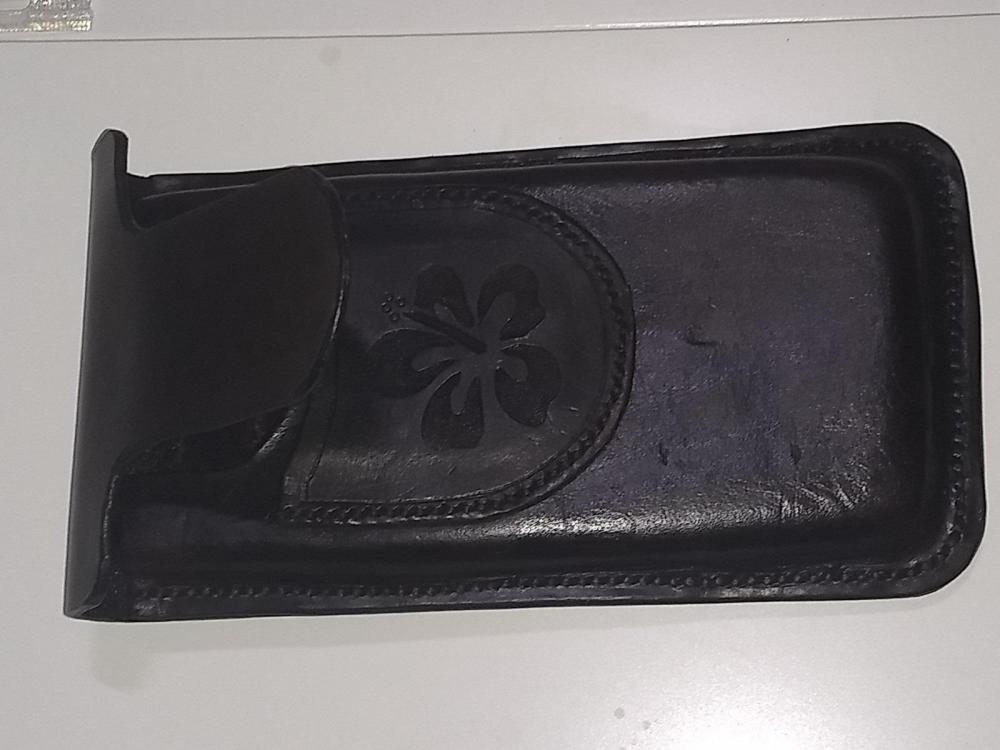
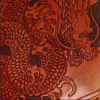
Completed the 2nd of two phone cases. This is for a co-worker's husband. It's veg tan, 3mm thick, wet-molded around a wooden form cut to the size of the client's phone. He is from Hawaii, so I added the reverse carved hibiscus flower as an extra. I used 2 coats of Fiebing USMC Black, well-rubbed to remove powdery residue. Thread is .6 Ritza Tiger in black. The edges are clear Tokonole. Finished with 2 coats of Resolene. My co-worker tells me that he loves it! He'd actually been thinking about getting a phone case, and she surprised him with this.
-
- phone case
- reverse carving
-
(and 1 more)
Tagged with:
-
Hi folks If I make a set of Male and Female molds for wet forming, what sort of allowance to i make as a gap between the two, obviously the male it made to the finish size, but the female part needs to allow for moth the thickness of the leather plus i guess a bit more, any idea of the bit more?
-
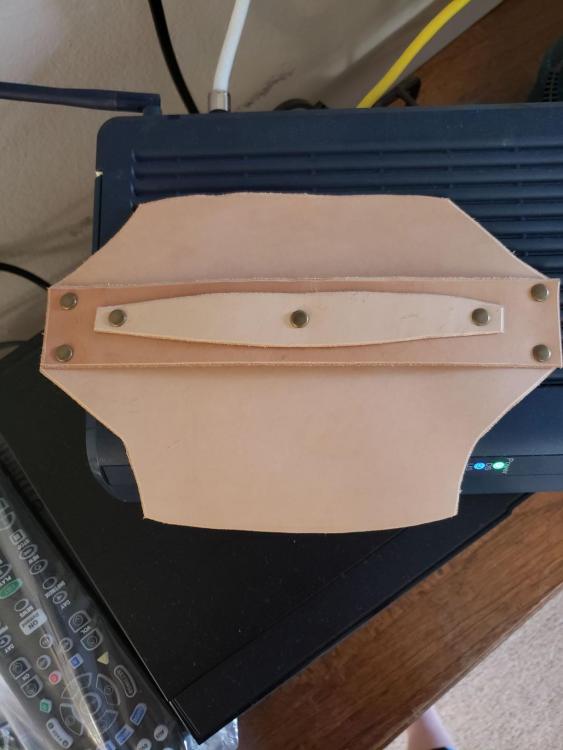
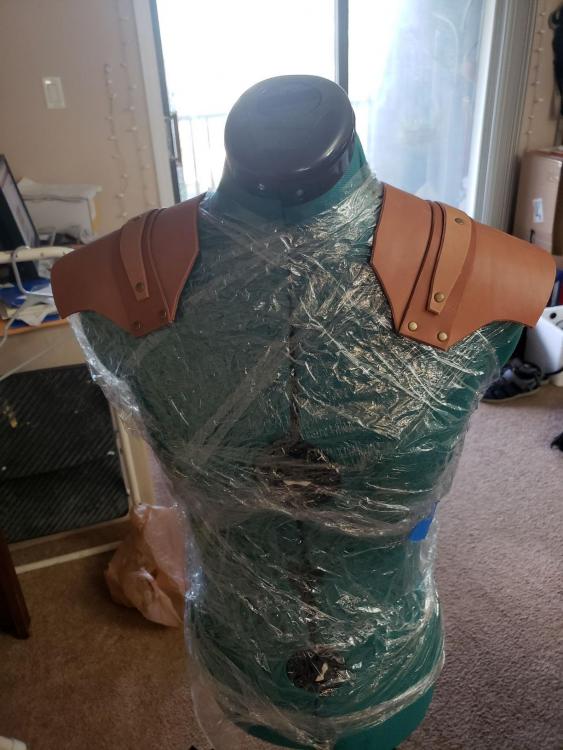
Hello! I waited too long to start my cosplay for comic con, so the detailing on these are really lacking. They will be painted black once they dry- I am currently wet molding them on my dress form. (I know I probably should have waited to rivet until after I painted, but couldn't figure out how to make sure all the pieces stretched and formed together without the rivets). I am wondering if anyone has ideas on how to keep these in place without any visible straps. They will be worn on top of a faux leather jacket, as shown in the cover art. Right now, my best idea is to glue some Velcro on the flesh side of the pauldrons, and then fasten the other half of the Velcro to the top edge of the jacket shoulders. I would welcome other ideas though, because I really kind of hate Velcro (and fear the glue won't hold)!
-
From the album: First Wet Mold Project
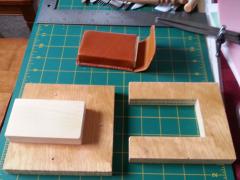
The mold was really crude. A piece of pine screwed into some left over plywood. I used a separate piece of pine to help with the stitching process so it would keep it's shape. -
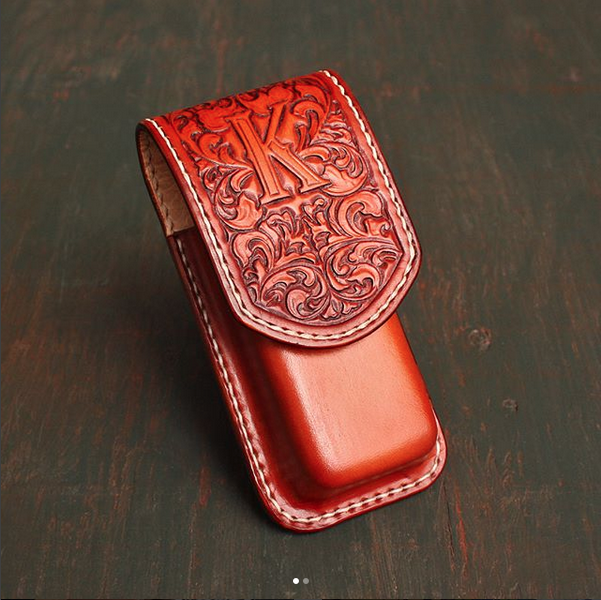
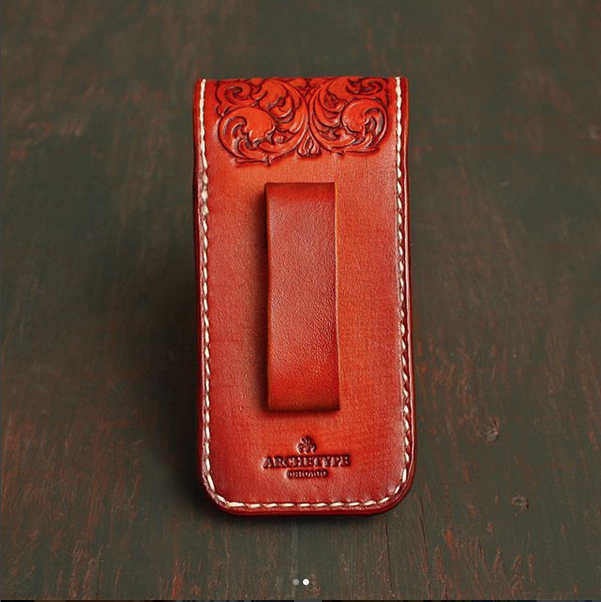
This is a custom case for a leatherman tool that I did recently. It's 5 oz. Hermann Oak that I wet molded on a wooden last that I made. It' has a hand tooled floral/engraving style design and initial. I used Fiebing's Medium Brown dye and Angelus Matte Finish. I also used a hidden magnetic closure to show off the tooling. It's lined with calfskin and hand stitched.
- 15 replies
-
- hand tooling
- multi tool
-
(and 5 more)
Tagged with:
-
I've recently acquired a small amount of what i now realize is aniline leather. I cant find a lot of information or tutorials specifically for this type of leather and am wondering if/how its different than working with other treated leathers? I was planning on making a couple small leather goods like wallets etc, and would ideally stamp and stiffen the leather but im not sure and dont want to waste my small amount of gifted leather as im quite the leather working rookie!
-
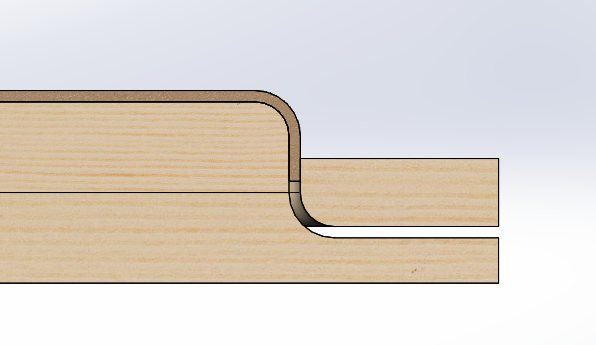
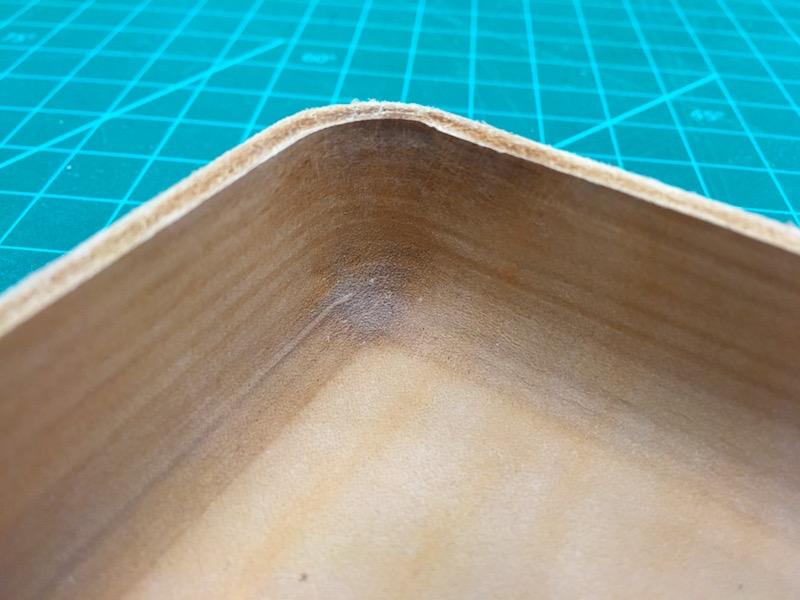
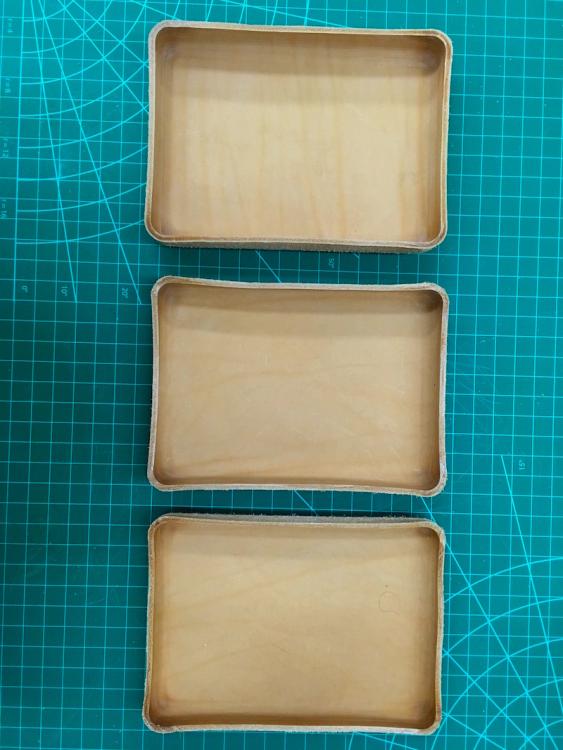
Hi there, everyone, I recently completed my first mold, made to form a simple rectangle with radiused corners out of 8oz. veg. tanned leather, and have some questions concerning how to improve the process. For starters, I'd like to adjust the mold. The mold base and presser piece are a mix of CNC'd plywood, and stacked laser cut MDF pieces. I've attached a section view of the mold. Do I need to include the lower radius on the buck--beyond the leather--or would it be best to minimize or eliminate it altogether? My reasoning was that it would help spread out the leather while pressed, but I'm a novice at this sort of thing! When designing the mold, I left hardly any clearance for the leather/buck/presser piece. This tight tolerance made it rather difficult to press. Additionally, I neglected to seal the plywood buck, and noticed that the individual ply layers were pressed into the leather. The ply was sanded smooth before use, so I assume that the individual ply layers swelled, creating these distinct layers. My guess is that a combination of the untreated wood and tight fit led to this pattern. I've attached a picture showing one of the corners, with the plywood pattern. I plan on adding some clearance between the buck and presser piece; would 1/16" be sufficient? 1/8"? From now on, these molds will be sealed with clear urethane. Is there something better to use for this purpose? One last thing-- my second and third pulls show a bit of a curve around the edges of the leather, bowing inwards. It's more pronounced in the photo, but it's there nonetheless. My process for the three is below: #1 - Soaked in cool water for 20 minutes, pressed, left to dry in mold for 2 days #2 - Soaked in cool water ~5 minutes, dipped in hot water for ~30 seconds. Left to dry in mold for ~24 hours. #3 - Soaked in cool water ~10 minutes, dipped in warm water for 1 minute. Left to dry in mold for ~24 hours. Could this bow be caused by pulling the leather too soon? Or, could it be something else entirely? Any help is greatly appreciated!
-
From the album: my work
the black give extra rigidity-
- wet molding
- grain side
-
(and 1 more)
Tagged with:


