

All Activity
- Past hour
-
These look nice! And welcome from SE Wyoming!
-

Hello from Germany - New Member Introduction
FrankHester replied to Tove09Tilda's topic in Member Gallery
And welcome from SE Wyoming, USA! -
Would enjoy seeing pictures of the machine in its disassembled state, as well as how you've got the parts laid out for remembering how they go back together. The most I've removed on the singer 144 is removing the needle bar rock frame so I could grind a passage into it for a screwdriver to access the needle bar pinch screws. Everything else I fixed in-place.
-
Nice work! Inspiring me to start my tooled belt project! Beautiful work!
-
Nobody is sitting waiting for you to post a question and able to immediately answer you. You need to be patient. I have merged your 2 posts into one to reduce clutter.
-
.thumb.jpg.6e903dd66163ad5672f00f144058c571.jpg) I moved your post to Dyes, Antiques, Stains, Glues, Waxes, Finishes and Conditioners.
I moved your post to Dyes, Antiques, Stains, Glues, Waxes, Finishes and Conditioners. -
 Less is more and reapply as needed. Think of leather like that dry stiff kitchen sponge. Like a sponge, there are little gaps between the fibers. A dry sponge is stiff. Add a little moisture and it absorbs - some swelling of fibers and some remaining in those gaps. The sponge is now soft and flexible. This is the place with oiling leather to usually stop. Yes you can add more and it will take it - just like the sponge. And just like the sponge - add too much and it drips back out. The sponge actually loses a little "body" and gets floppy - just like over-oiled leather. Oil is not a waterproofer. If you are worried about weather effects then you need something else. One brand is SnowSeal. My granddad and uncle fought over grandma's goose grease, Mink Oil paste, there's a bunch.
 -
Moved your post to Leather Sewing Machines
- Today
-
I moved your post to Leather Sewing Machines
-
It looks to me like the two circles the leather goes through are grommets that were painted. If you look at the edge of the patch there is a spot where the leather is thicker. I believe that's where the loop leather is anchored, much like you make a purse handle. it's tubular in the center and flat on the ends. It just passes through two grommets. It's a neat concept but I would worry if it can take the weight of the jacket for long. I guess if it's large enough it can be ok.
-
Very nice!
-
 First off it really depends on what you want to sew. Which is ??? Keep in mind i) the machine could date back to the mid 1930's and with all PFAFF machines parts can be expensive if available. ii) Chances are it has a clutch motor which really needs to be replace with a servo motor and that will cost about an additional $200 USD. Personally I would not consider paying a $1000 USD plus $200 for a motor for a machine that old. If you tell us what items you want to sew there are better options available. kgg
 -
This is a great setup! Yes a laser cutter did the cutting but YOU told the laser where to put everything, YOU did the stitching, YOU put in the hardware, YOU worked the leather, and most importantly YOU came up with a great design.
-
Thanks for the reply. I kinda figured as much. I've got some time before I need to worry about what to replace it with, I've disassembled the entire upper arm to clean up some rust on the timing belt pulley and feed lift eccentric (that had a broken set screw which was fun to remove). While it's disassembled I'm gonna give it a new coat of paint, then I'll see how easily it all goes back together.
-
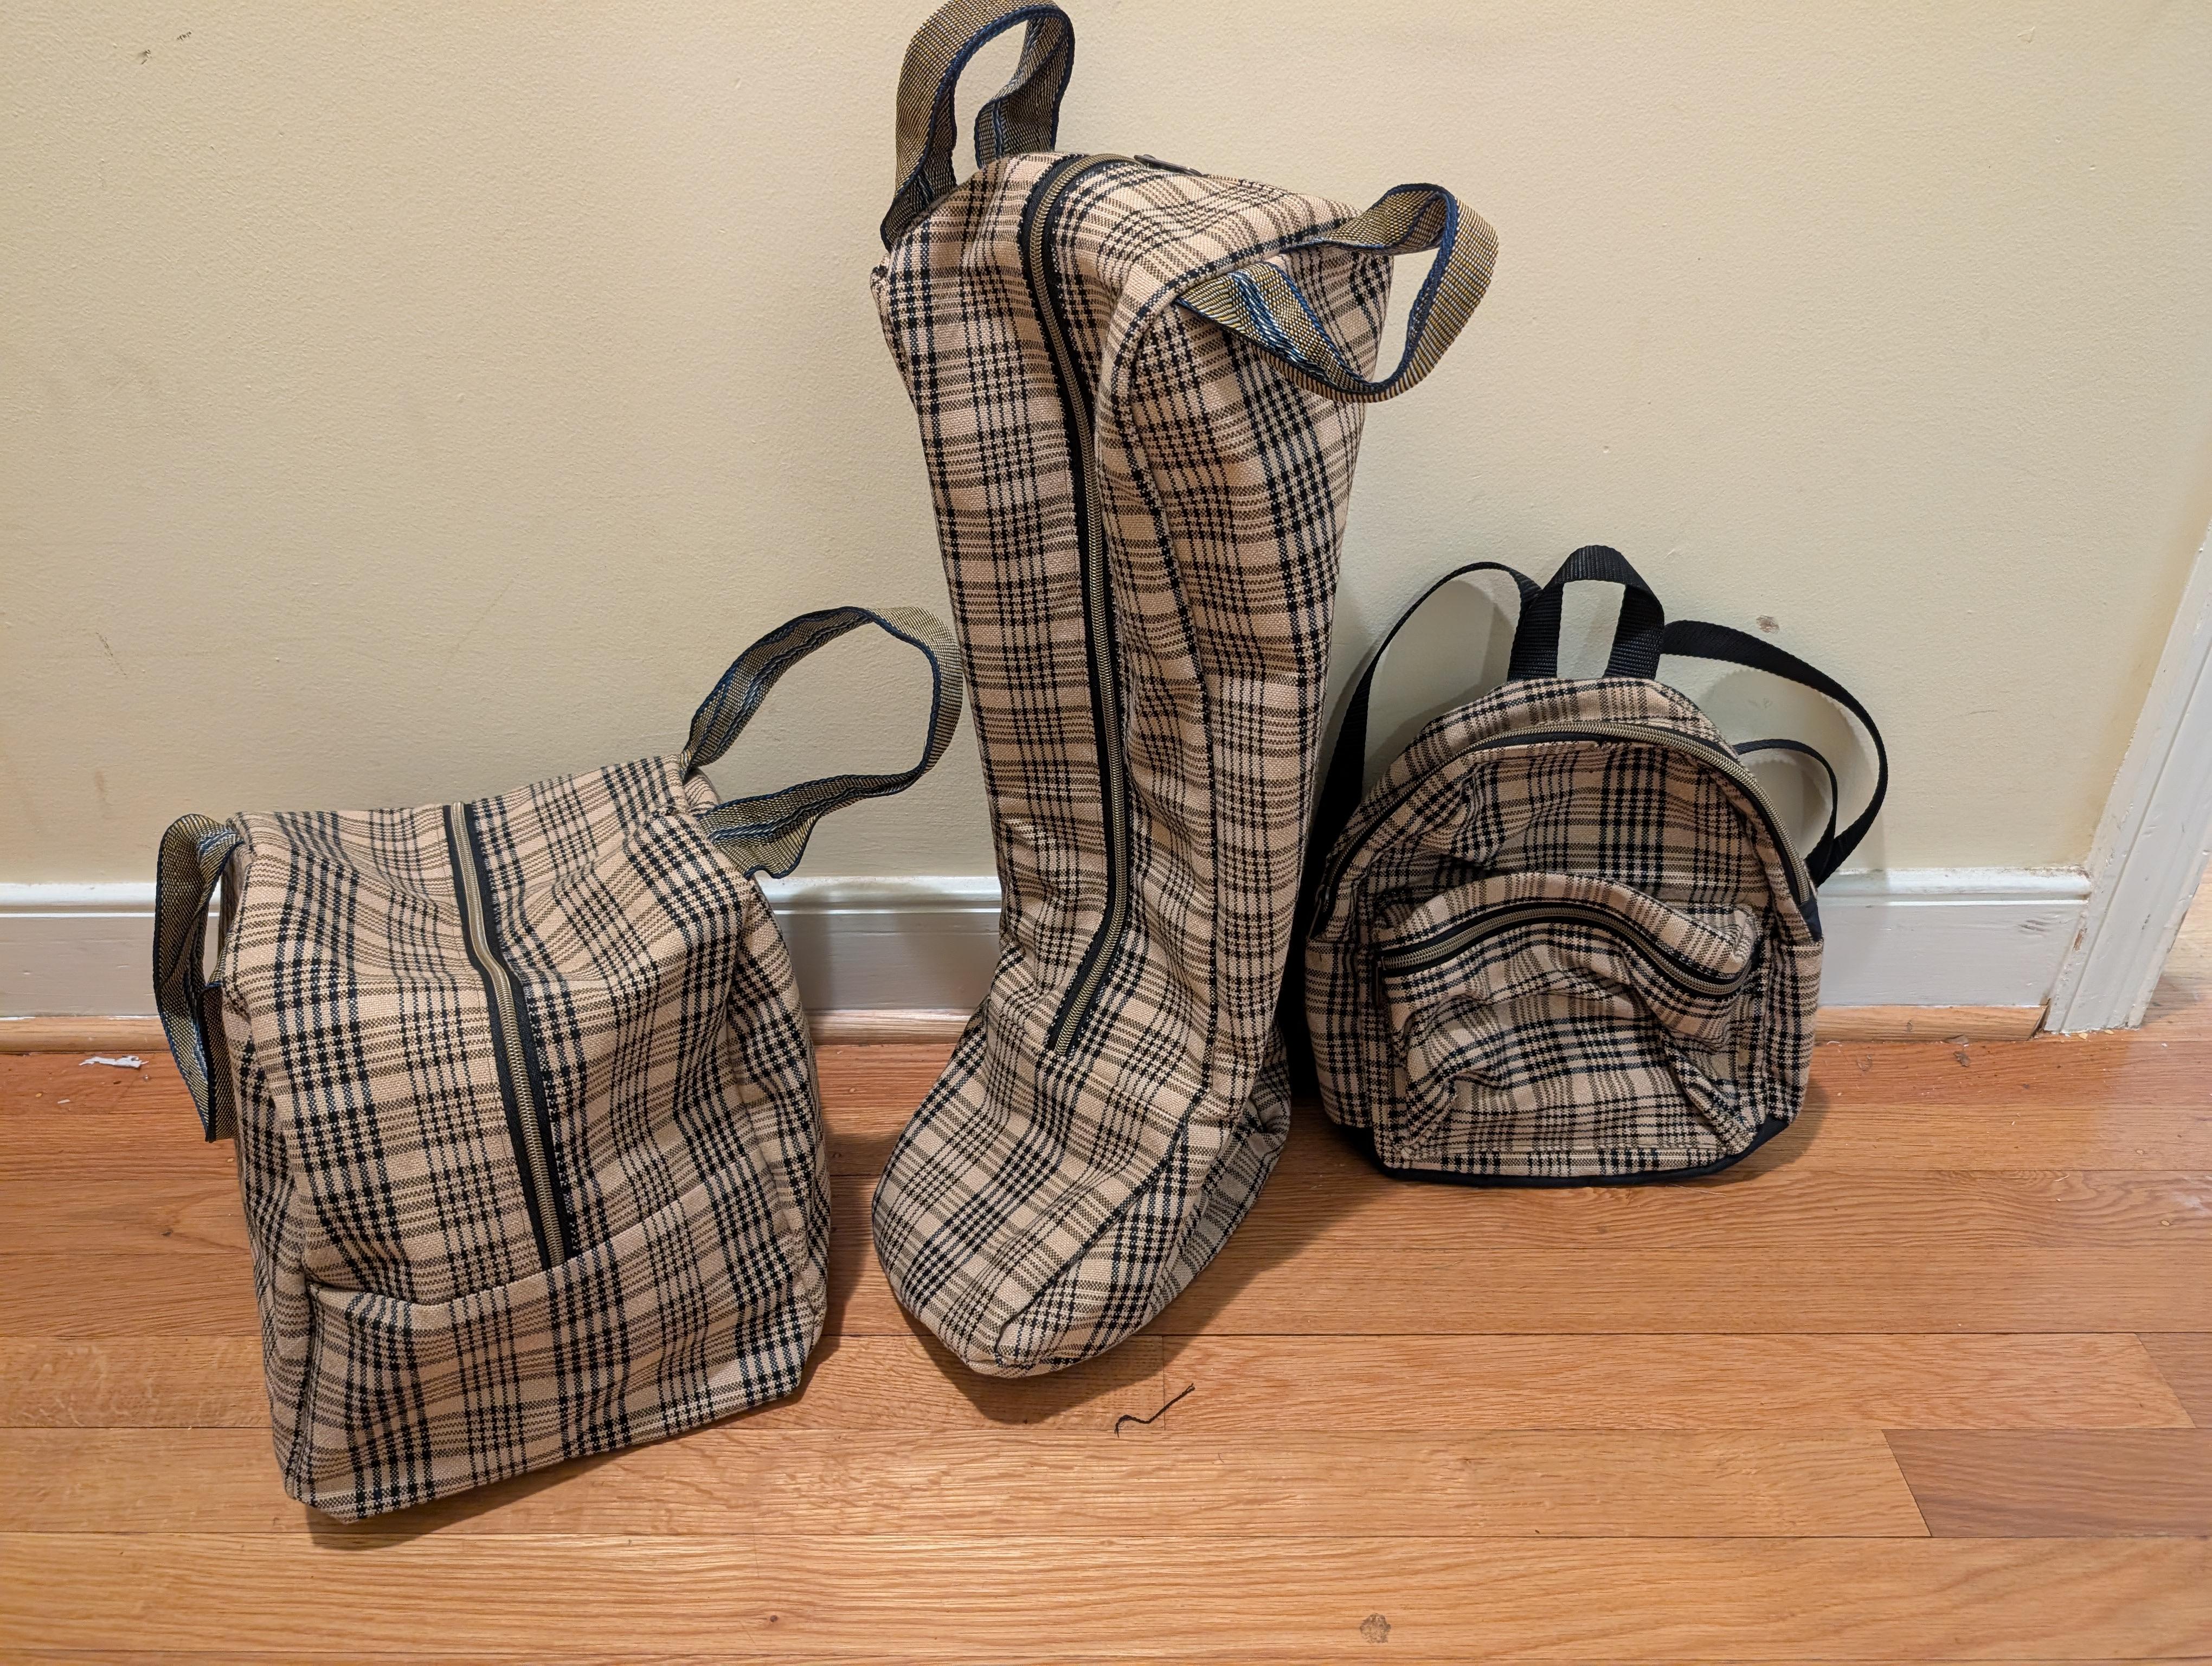
Just want to say hello to everyone. I don't actually do any leather work (so far, not that I need another hobby), but the information on industrial machines available here is some of the best I've found on the internet. I've been doing some work repurposing old horse blankets and my domestic machine wasn't up to the job. I recently acquired an old Singer 111W155 that I'm in the process of refurbishing. It's in good shape overall but the timing belt was in multiple pieces and the safety clutch and upper pulley it rides on were both a rusty mess. Here's a set I made my daughter for Christmas using my Bernette B79. It got it done, but sewing threw all that blanket/canvas/lining/webbing was a struggle.
-
Welcome to the forum! On my singer 144 I replaced all the wicks I've found with small pieces of polyester felt. I suspect any kind of yarn or absorbent fabric would work. It just needs to hold the oil as a reservoir so the oil can slowly feed the shaft.
-
Thanks for kind words, but the laser cutter does the difficult stuff.....
-
 Can anyone advise me on the value of this machine? According to the fellow who is selling it it works, however he doesn’t know how to run it. He’s selling it for his wife’s deceased grandfather. I can go to his place and try it, however the distance is a trek for me to go without having more info about it. Would it be reasonable to ask him to have it serviced/evaluated before going? Is a machine this old worth $1000? Many thanks for any advice.
 -
With the background that is in it yes
-
 Yvon joined the community
 -
Hi, I have a Pfaff 145, that I’m trying to reduce the clearance between the hook and the needle. Timing is ok, but the hook is too far away from the needle. when I move the shuttle block towards the needle, it hits the hook washer, while the clearance is about .005”. has anyone encountered this situation before, and what is the solution? Thank you
-

Hello from Germany - New Member Introduction
PastorBob replied to Tove09Tilda's topic in Member Gallery
Welcome from SW Missouri, USA. Lots of folks from around the world here. Glad to have you and happy crafting!! -
WOW! The craftsmanship is phenomenal! The level of detail on the spacing of all those dots, unreal! I am sure your son was pleased.
-
Hello all. I've recently purchased an old singer 111 that needs some TLC and I've run into a question. When i removed the oil packing screw for the arm shaft there was some old crusty wool-ish looking stuff in there, I'm assuming to act as a wick. I'm not sure what I should replace this with, I don't see any specific reference to it in any of the manuals or parts lists I've gone over. Any advice is appreciated. By the way, I'm really happy to have found this site. I don't do leather work but the information on vintage machines in here is fantastic. Thanks

-
I have increased the foot pressure and switched to white thread. This seems to have fixed the problem with skipping stitches. I ordered thread lube and a pot, and hope to switch back to stiffer black thread with lubrication. I am figuring out how to feed Biothane while sewing close to hardware. For leather halters I typically add a wedge/welt to ease the transition in thickness and sew tight to the hardware. Biothane is stiff and springy when folded around hardware so it's a new experience negotiating the ends of the straps. The feet want to slip back down the slope as the material compresses while sewing on a slope. Beta biothane is a matt finish and relatively grippy compared to bridle leather, but the flattening of the loops as they are sewn is a new dynamic for me. Thanks for the reminder, Tim. I will check the needle/hook distance. I am settling on a size 24/25 needle, which is what I've been using for leather (cutting point, not round point) on this machine without any issues.
-
I'm assuming this is a loop between the shoulders to hang the jacket on a hook With that in mind . . . the "loop" leather would be popped thru that sort of oval piece . . . and then thru probably 8 oz little circles. It would then be splayed into 4 pieces . . . each would be glued and then cemented to the little circle Then you super wet the whole thing and form that semi oval using regular tools and let it dry . . . when it was originally cut . . . I would have cut it probably 1/2 inch wide all around it . . . and once dry . . . trim to the exact size you would want. Glue and stitch . . . re-dampen the oval . . . touch up the molding . . . done It is actually a novel piece of work . . . would add a bit of bling to the garment . . . I would never use it . . . but it is a cool touch May God bless, Dwight


