


JDFred
-
Posts
164 -
Joined
-
Last visited
Recent Profile Visitors
10,176 profile views
.thumb.jpg.4ed1dbae8dada980d06392d599329b6e.jpg)


JDFred's Achievements
Member (2/4)
-
To piggyback on Tandy if you get on their website and look up your local store they offer classes you could go to typically they are kits you’ll have to buy but they will help you put it together and let you borrow the tools you need for it. That way you can get a feel for what you need. My local store has an open table on Saturday and you can bring in a project that you’re working on and need some help with. I don’t know if all stores have that but it helped me get started tooling.
-
You’re one mystery braid ahead of me. Looks like you’re headed the right way keep it up.
-
Been pretty happy with panhandle leather.
-
Thanks. She really liked it when we dropped it off, especially the brand. It was kinda funny, when the show board changed the rule to have the kids give buyer’s gifts she came to our board meeting and told us she didn’t like the rule change. Fast forward a couple years to when we dropped the purse off she said she remembered coming to the meeting and telling us she disagreed with the rule, then she said, with a big smile on her face “but now look at what I got”. I thought it was kinda funny.
-
Chiappa Rhino 60DS drop holster (stange situation)
JDFred replied to DoubleKCustomLeathercraft's topic in Show Off!!
You’re right about a strange situation. But your end of it turned out looking pretty dang good. Hope the other place doesn’t mess up your nice work. -
That’s a good idea I like that you labeled the holes so you’re not trying to remember what is what. I might suggest maybe putting a cork plug in the bottom of your awl blade holes so you can keep them point down and not dull them. I get nervous with lots of pointy things sticking up. But a very clean nice looking job.
-
It's been a minute since I've posted anything
JDFred replied to DoubleKCustomLeathercraft's topic in Show Off!!
Pretty cool and clean looking. -
Thank you
-
Thank you Frank
-
Thank you Chuck
-
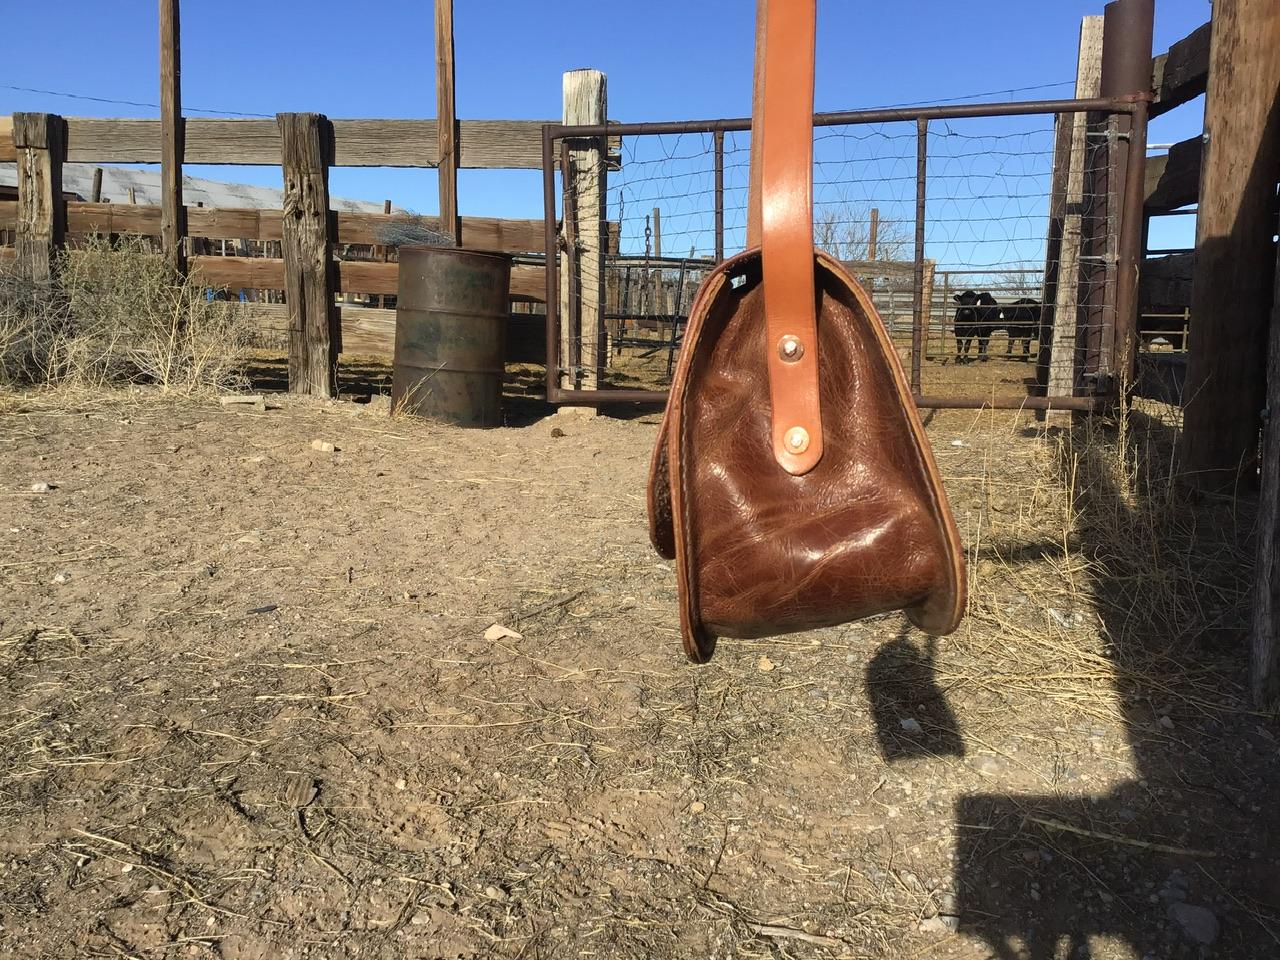
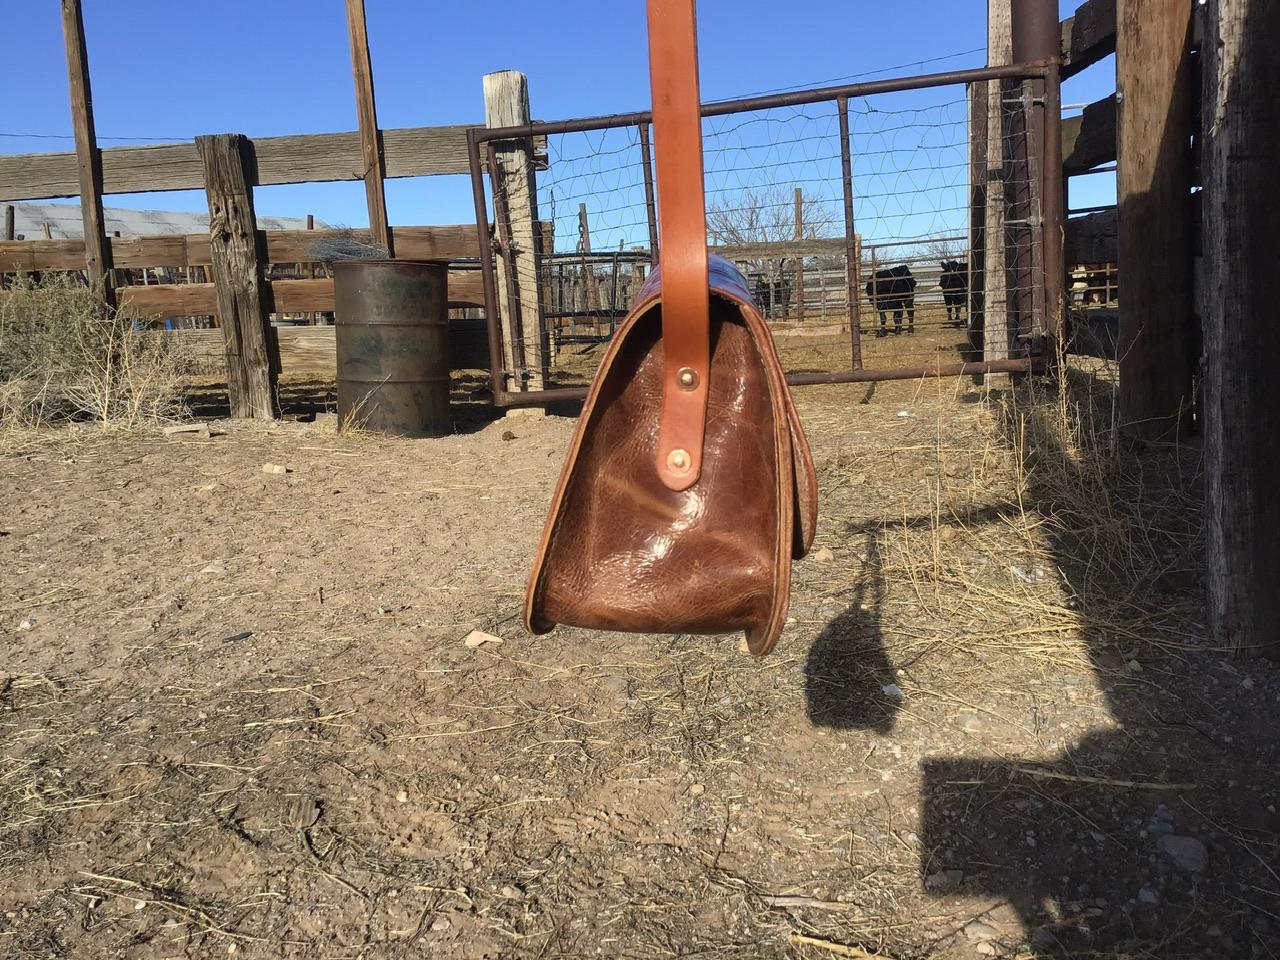
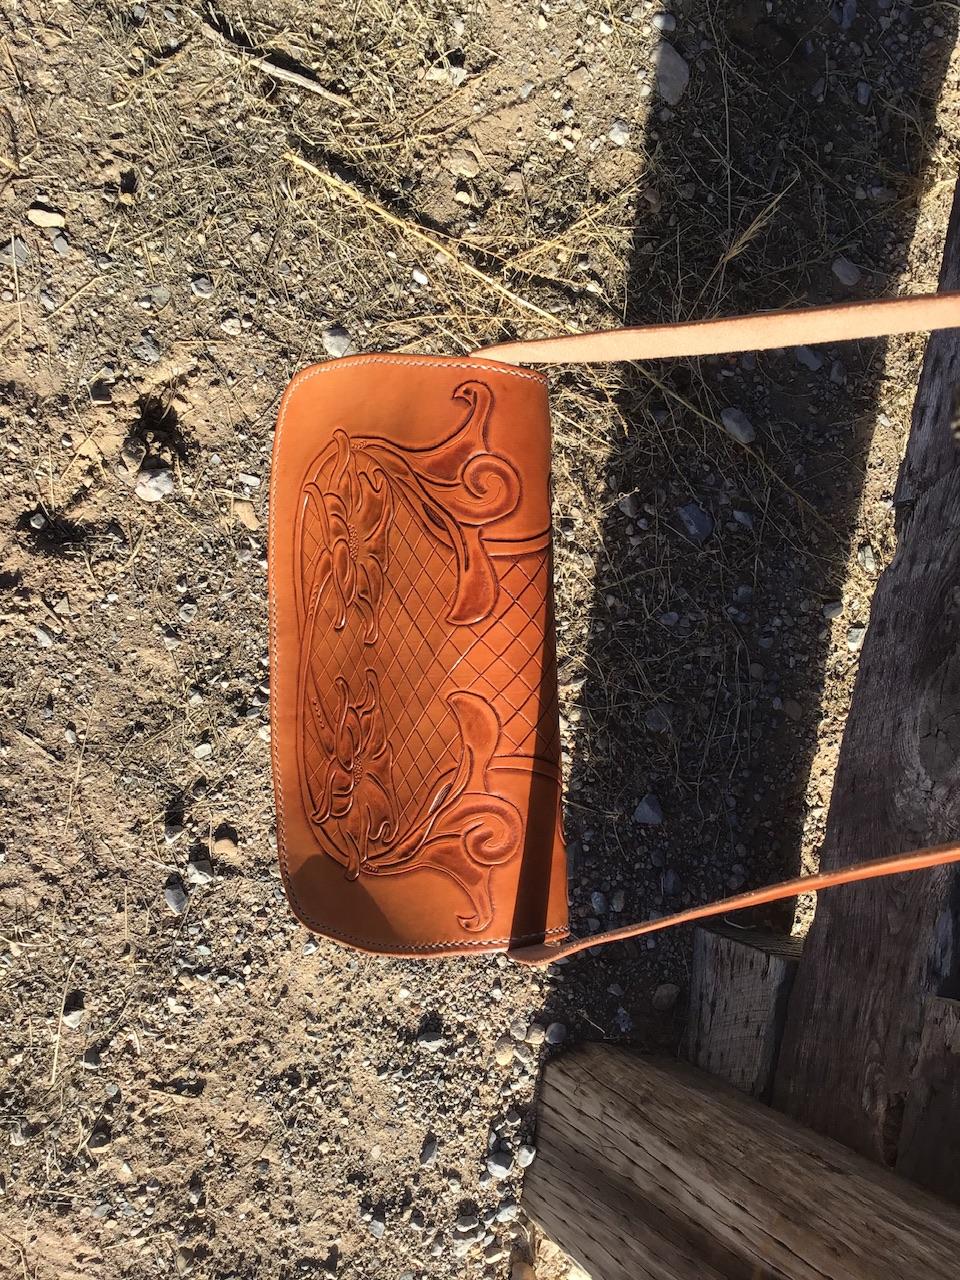
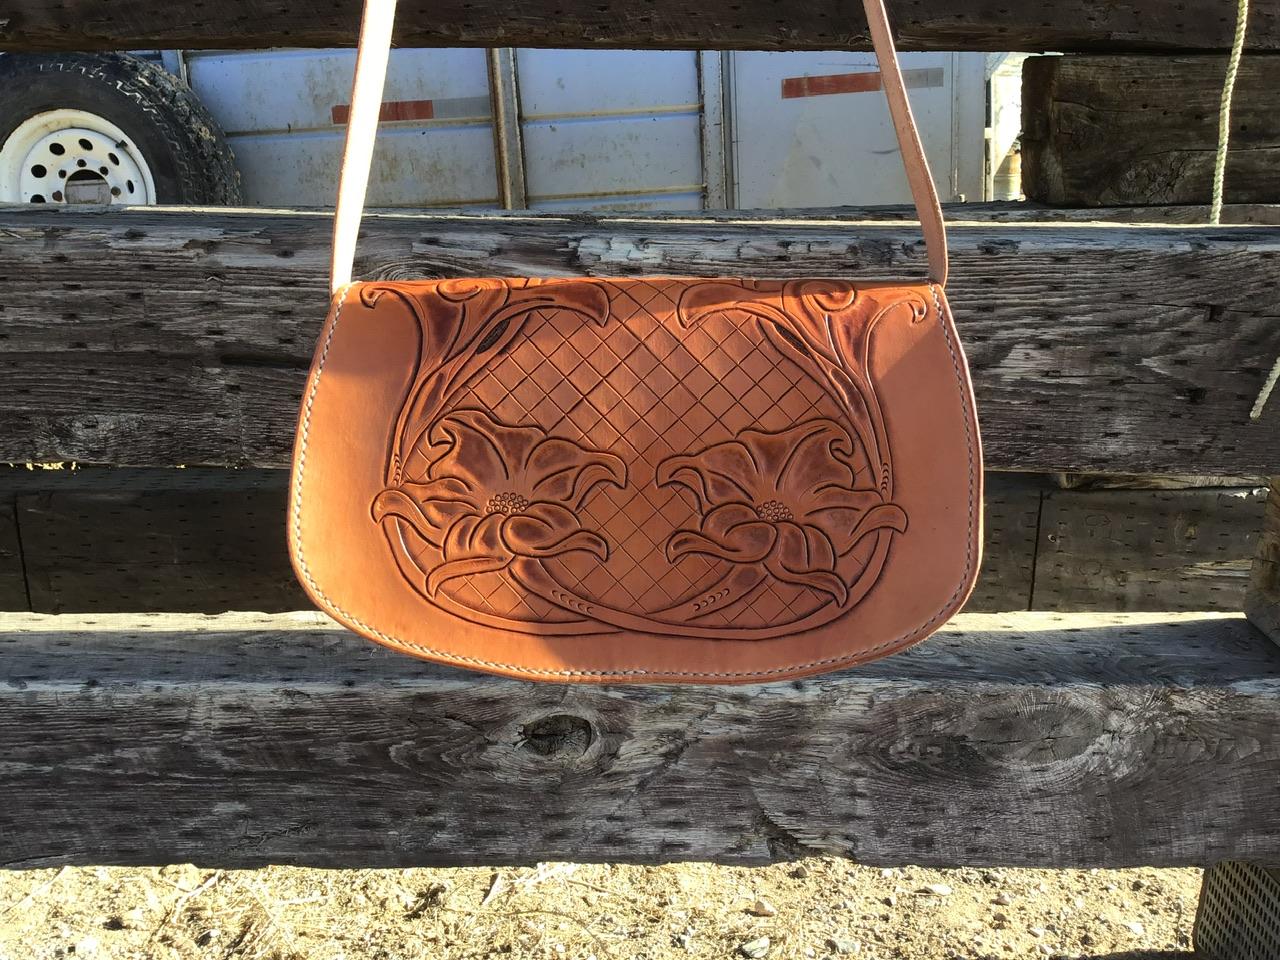
My daughter needed a gift for the buyer of her project at our county stock show. Since her buyer happens to be my boss’s wife I was able to customize a purse for her. I used 5/6 oz Hermann Oak skirting for the panels, and for the gusset some chrome tan that I found at Tandy on clearance I thought look nice. The pattern I used was from Tandy’s purse pattern pack that I modified to have an interior pocket and have a wider gusset with a shoulder strap instead of the wrist strap it called for. I used the tooling pattern that came with it slightly modified to incorporate the brand. I gave it a couple coats of neats foot oil and used mahogany antique and finished with tan-kote. Sewed it together with Maine Thread .040 twisted thread. Here are some pictures, let me know what you think.

-
Recommended Source for Hermann Oak Tooling.
JDFred replied to Latigo Smith's topic in All About Leather
I’ve been pleased with Panhandle Leather. I ordered 4 sides from them a 5/6, and a 8/9 oz Hermann Oak skirting, a Hermann Oak heavy harness side, and a Thoroughbred Latigo side. I was quite pleased with all of them. I ordered over the phone and they asked what I was going to do with the leather so they could send something that would work for me. They even followed up the next day as they were filling the order to make sure they were sending the correct leather. Their shipping was also fast, my order showed up about 2 days faster than I thought it would. As a side note as a company they donate to our county livestock show and our county fair, which I think is pretty nice of them since we live about 5 1/2 hrs away from them. Hope this helps and good luck on your search. -
Personally I prefer rawhide mallets. I also have a Bakelite mallet from Tandy that I got when I first started and still like. I’ve tried to use mauls and never liked the feel of them. I have a weighted mallet I got as a gift and I have the same problem with it. I personally don’t like the weight in the handle, I like the weight forward in the head. I think it is because that is what I’m use to with the other hammers I use in my life. But a good balanced striking device weather that be a weighted maul or mallet, or a regular mallet is important as is sizing the weight to the job at hand. Hope this helps.
-
Thanks for the info. I never thought about different alloys reacting in different ways, stuff like that is always good to know. It would seem that their service life is pretty good if they hold up for over a hundred years.
-
I ended up grinding the edges round on mine to get it to not be as bad about that.