TigerPal
-
Posts
102 -
Joined
-
Last visited
Content Type
Profiles
Forums
Events
Blogs
Gallery
Store
Everything posted by TigerPal
-
I use the 4-prong punch, with 1/8 inch spacing, that you mentioned (Tandy item #8067). It seems that the 1/8 inch spacing refers to the side-to-side distance between the "posts", while the center-to-center measurement is about 5/32. This works out to about 6 or 6-1/4 stitches per inch. From this, my guess is that the 3/32 inch (NOT 1/32 inch) punch would give you roughly 8 stitches per inch.
-
My Newest Living History Items
TigerPal replied to RuehlLeatherWorks's topic in Historical Reenactment
Great work there - I'd love to have a pattern for those shoes to try my hand a making a pair for myself. -
Those plastic chair mats also make good cutting surfaces = IF you don't mind getting down on your hands and knees.
-
Ohio Travel Bag does have a retail site - not sure if they have all the same stuff, but at least a majority of it. take a look at: www.hardwareelf.com
-
A number of years ago, my wife worked at a place that made leather purses. They use crepe rubber to remove excess cement. The things they used looked like a rolled-up tapered piece of 1/4 inch crepe rubber, with the taper leaving a spiral effect - those extra little ridges seem to help a lot. No idea where you could get such a thing, but the one she received when the plant closed has lasted me for many years.
-
Tandy Leather has them listed on page 112 of their current catalog. They are 3/4 inch high.
-
After seeing some folks talk about how great ruby blades can be, I got the urge to try one for myself. Does anyone know of someone who still makes such blades? I have access to a fair-sized chunk of synthetic ruby, and would be interested in a possible trade for having one made.
-
The pictures that you show, I've always heard called either bolt snaps, or spring snaps. I don't trust that type for a heavy-duty dog leash, whether made of brass or steel, since I had a couple fail on me and/or the dog managing to twist his collar in a manner that slipped it loose from the snap. What I've known as "trigger" snaps have 2 curved parts (one of which rotates, with a side "trigger"), shaped in such a way even if the spring gives way, there is still a curve holding things together. Recommend you take a look at Tandy's new catalog, page 119, item numbers 1148-02 & -03, 1154-01, -02 & -03 for nickel plated versions, or item 1147-00 for solid brass.
-
Antique stain
TigerPal replied to Billy P's topic in Dyes, Antiques, Stains, Glues, Waxes, Finishes and Conditioners.
Yes, Tan-Cote works great for thinning Antique Stain - first heard of it from a Tandy store manager. It helped me restore soem old, dried-up stain back to usable condition. -
you might also look at Home Depot or similar place for what they call a "mortising bit", used to cut square holes in wood, for a mortise and tenon joint. No idea if they will have the size you need ...
-
If you know someone who works at a printing plant which does "offset" printing, their printing plates are packed with acetate film in between, to protect the photo-sensitive coating. That is usually tossed when the plates are exposed, so they might be willing to let you have some free. The film is usually "frosty", and takes pencil marks quite well, and will last for quite a number of uses. Never tried photo-copying onto it, but believe it might work.
-
Sounds like interesting stuff - have you found a source for less than $125 per gallon ?
-
New Belts
TigerPal replied to leather1214's topic in Purses, Wallets, Belts and Miscellaneous Pocket Items
Looks great to me! -
I'm interested in making a set of leather mugs for a friend, and have a few questions: 1) I assume the bottom has to be made larger than the diameter of the tubular sides and "cupped" so as to allow space for sewing? 2) About the seam - which do you prefer? a) straight, squared butt joint same as above, with a strip over it, like "board and batten" siding (could be made longer to form the handle) c) skived, overlapping seam 3) Sealing: I'd like them to be usable for hot or alcoholic beverages .. I've seen some mention about a "food safe" silicone product - any willing to share what that might be, and where to get it? Many thanks for any advice you can give.
-
Home Depot and Lowe's both also have regular contact cement, which is very similar to Barge.
-
I have used Bontex Bag Stiffener, from Tandy. So far, it has worked quite well.
-
Another suggestion would be to visit a place that does granite counter-tops - they often have pieces cut out for sinks, or slab remnants for fairly decent prices.
-
I've been thinking of trying my hand at making some leather mugs and bottles. There has been a good bit of discussion over use of beeswax and/or brewer's pitch to seal such things. Has anyone ever tried using Carnauba wax? I've read a good bit on-line how it is used in a number of different food products such as candy, even medicine tablets and that it is also a component of some leather treatments. A couple of articles indicate that a mixture of 1 part Carnauba wax to 5 parts of beeswax raises the melting point of the mixture to about 180 to 185 degrees Fahrenheit (around 82 to 84 C). This is also said to make a harder coating than plain beeswax. Sounds like this might be a more interesting coating than either plain beeswax, or brewers pitch, or the hard-to-find "food grade" poly varnish. I would be quite interested in learning of anyone's experiences with Carnauba.
-
The local Home Depot sells chain like that, by the foot. Don't know what it would cost, but do know that you would have to provide your own rings or ends .... Of course, if you could find a wholesale supplier, it would probably be cheaper.
-
Would love to see a cutting pattern and short instructional on making those beautiful roses ....
-
Are you looking for the pattern for cutting the leather, the pattern for carving/stamping, or both? Either way, if you'll PM your address to me, I'll send to you on plastic tracing film - no charge.
-
MAGIC BELT HANGER
TigerPal replied to whinewine's topic in Purses, Wallets, Belts and Miscellaneous Pocket Items
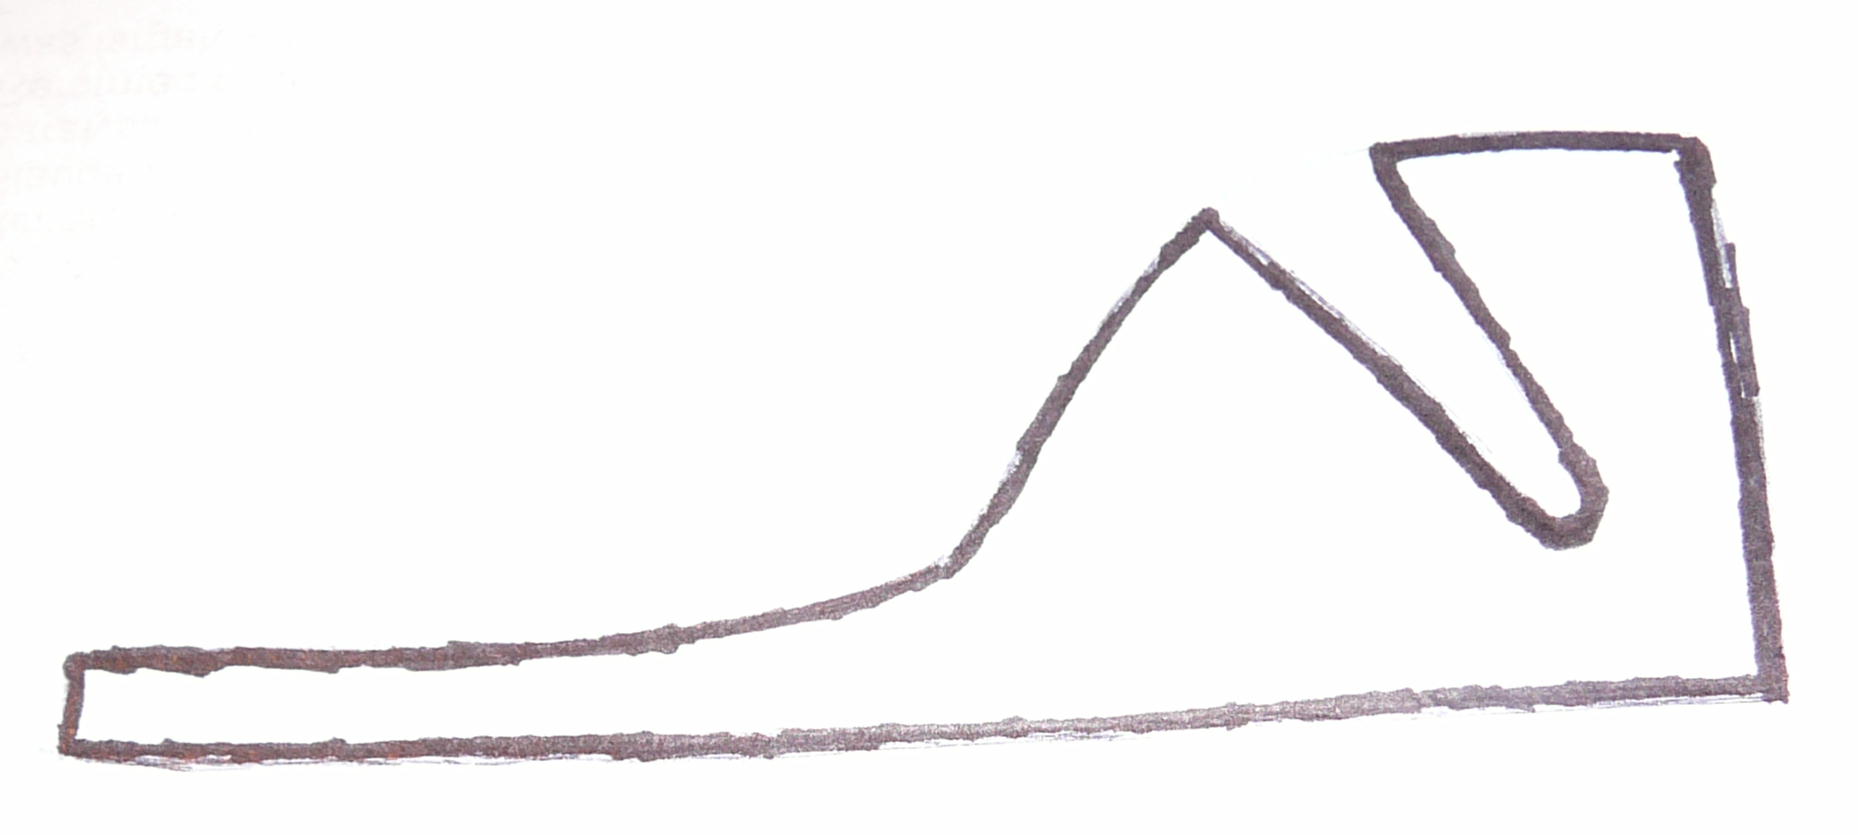
Here's a quick, very rought sketch of the "belt hanger" --- about 1/4 inch of the small end sits on the edge of a table, and the weight of the belt pulls the outer end up and keeps it from falling. All depending on the angle of the notch and the weight of the belt.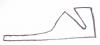
-
MAGIC BELT HANGER
TigerPal replied to whinewine's topic in Purses, Wallets, Belts and Miscellaneous Pocket Items
When I was a kid "back in the dark ages", we used to whittle those out of the wooden ends of cigar boxes (how long ago was that? lol). Only name I ever remember hearing them called was a "whimmy diddle", or somethng like that. We used to make them about 4 or 5 inches long and about 1.5 or 2 inches high, curving down to about 1/4 inch high at the end that sits on the table. The notch sloped from the top towards the bottom outside end, at about a 60 degree angle, if I remember right. Probably need to do some experimenting - a good bit depends on the width and weight of the belt, and you have to play with it a bit to get the weight of the belt balanced on each side (nearly impossible with a buckle attached, unless its very light weight). It should be flat on the bottom to help with balance. If I can help more, please PM me. -
Hobby shops that deal in model trains have "rub-on" letters in a number of diff sizes and colors - BUT they would not be anywhere near as permanent as the hot-stamped letters you would see on a Bible. In a billfold, they would have to be flexible, and might not work too good. I have used them on several visors, where they were not subject to a lot of flexing, and then coated them with clear nail polish. "so far", this has worked out OK ....
-
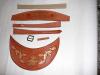
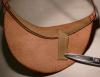
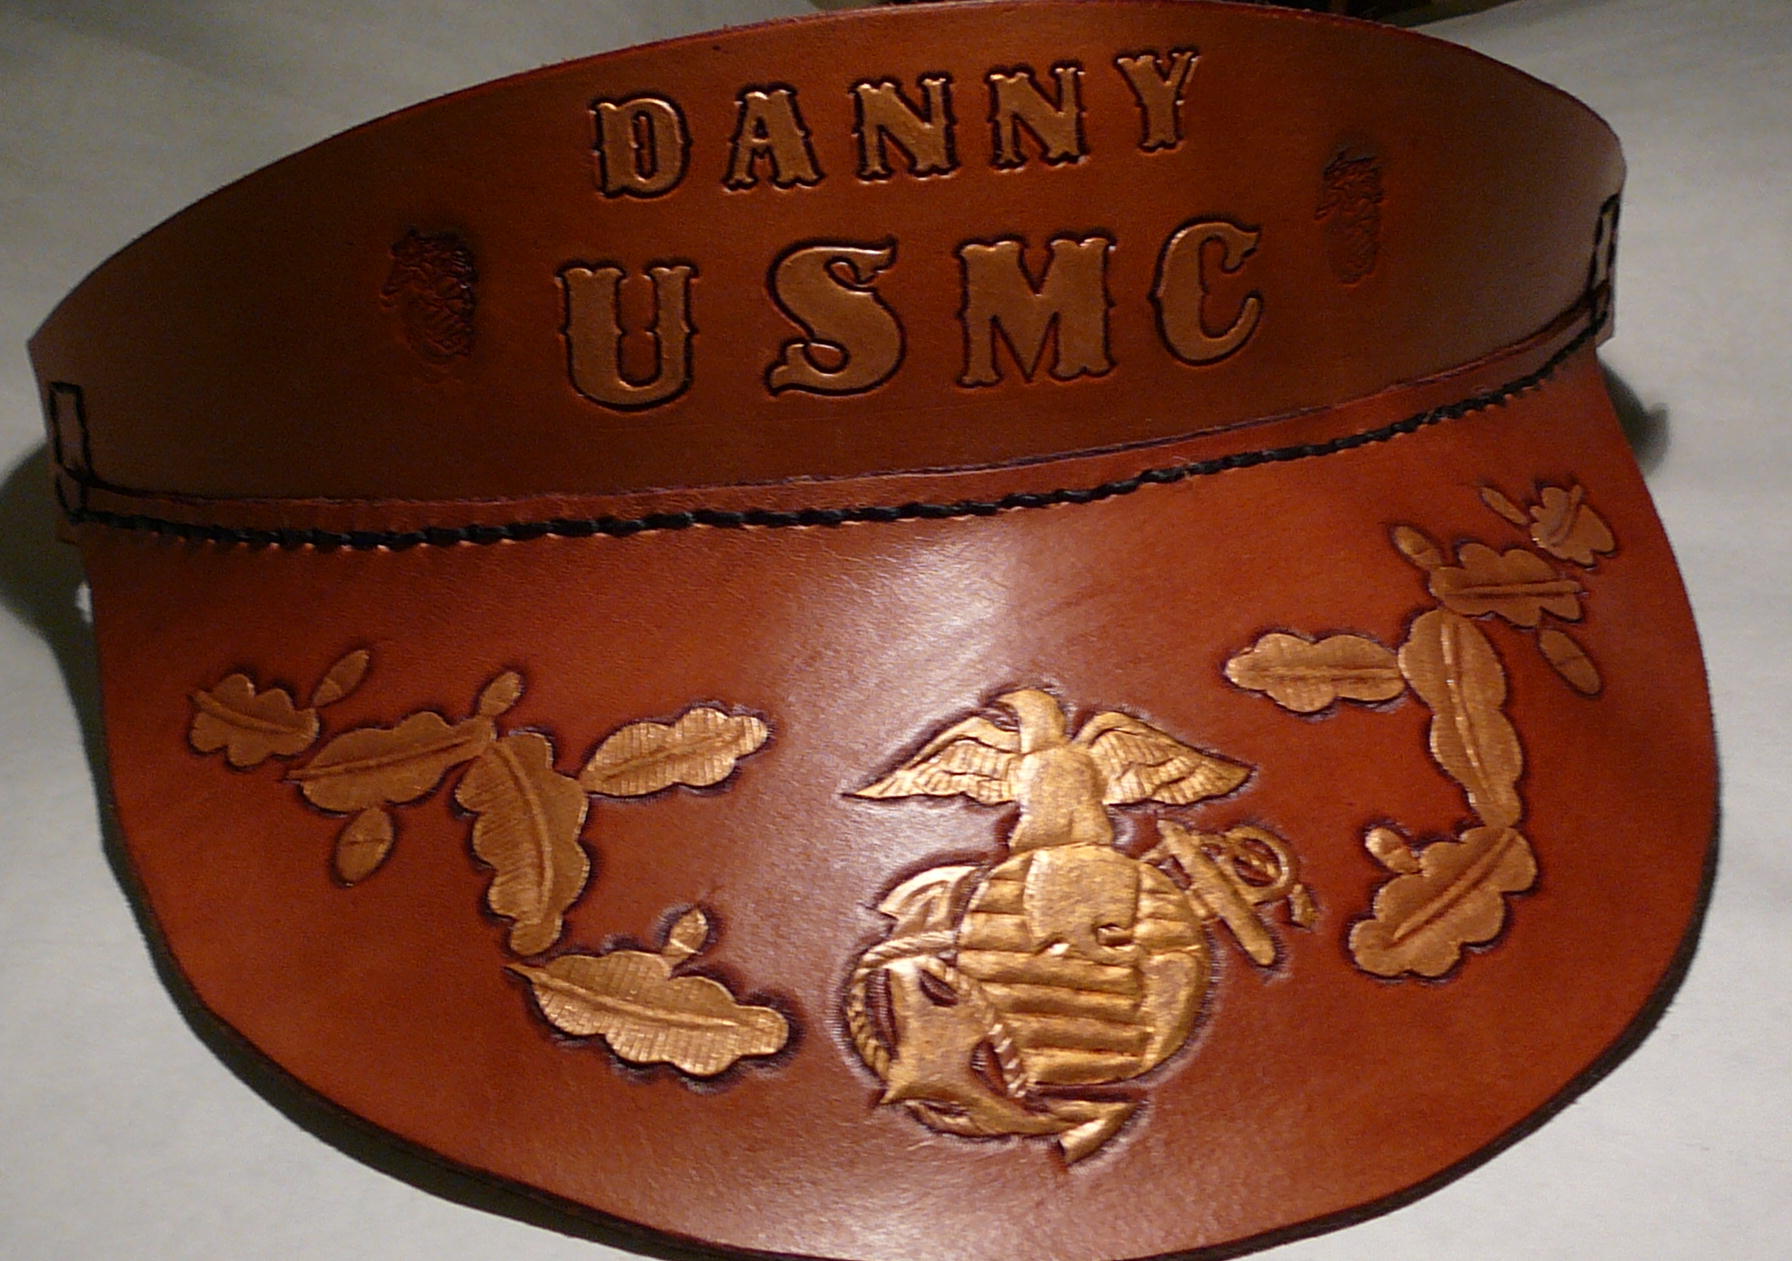
Hello from Georgia - off-again, on-again amateur for about 25 yrs, making a first attempt at designing something. This started when a buddy asked to have a visor made. Found and followed a nice pattern in a back issue of LCSJ. He liked it, but "could you make a sweat band for my 'high forehead' ... and could it be removable and washable too"? Had some belting left over from making shoulder straps (looks like military web belts), but ... how to make it removable? Better half suggested Velcro - so I had the answer!! Then, I was asked to make several with military insignia for a reunion. While working on those, I made some stamping mistakes, wasting the long band. In order to cut down on wasted scrap, I cut out the middle part of the band, and sewed in a new smaller section. So, here are the results: First picture, top to bottom: 3/4 inch Velcro (hook part) sewed to 1 inch belting; middle section of the band; sides pieces of the band; buckle and keeper strap; bill. Second picture: finished visor. Third picture: inside, with part of the sweatband folded back for illustration. I did all the carving and finishing first, then glued the loop portion of the Velcro to inside of the band, and only THEN did the punching, so the Velcro would be both glued and sewed in. Used a French edger to taper the inside curve of the bill.