Wizcrafts
-
Posts
7,810 -
Joined
-
Last visited
Content Type
Profiles
Forums
Events
Blogs
Gallery
Store
Everything posted by Wizcrafts
-
If you want a sewing machine that can handle thread as thick as the type used for hand sewing, you are not going to find it for much under $1000. If a seat is 13 inches long at the longest point to be sewn, you'll need a work space at least that long on the right side of the machine. Of the machines commonly available, only a few have more than a foot inside the body. One type is a long arm show patcher. These machines have an 18 inch long snout, that is really narrow at the left end and gets wider as you move to the right. The work is entirely moved by the pressor foot, which has teeth on the bottom and can be turned 360 degrees, by means of thumb paddles under the head. The bottom cover plate has a hole large enough for a big needle on one end and a narrower needle on the other end. The bobbins on this particular machine are about 1/4" x 3/4" and are best loaded with #69 or #92 thread. You can use #138 thread on top, with a #21, or #22 needle (maybe even a #20). I have tried to thread #138 into a #19 patcher needle but it won't go through the eye. Patchers like this, mounted onto a cast iron treadle base, typically sell for between $800 to $1200 used. The machine and base weigh in at about 200 pounds. If you want to sew with heavier than #138 thread, look for a harness stitcher and triple your budget.

-
You'll need one hell of a post machine to do all of those projects, especially the assembled seats. I'll look over some specs and see if anything presents itself as a heavy duty post sewing machine. They are usually used to sew moccasins, ball and biker caps, shoe uppers, etc. I've even sewn cowboy hats on old post machines. However, they used really thin #69 thread and had roller feet that barely allowed 1/4" to be sewn. Newer post machines may have a walking foot that possibly allows up to 3/8" thickness and #92 or 138 thread. Otherwise, a heavy duty cylinder arm machine, perhaps with a raised throat plate, will be required. How thick is the leather, at the thickest point, when you sew it together? What is the thinness of the suspenders? What size thread are you using? Can you tolerate tooth marks on the bottom side? How deep of an open space do you need to the right of the needle? How much can you afford to spend on a machine?
-
My friend's Cobra Class 4 does the same thing. We set it to the stitch length we need for various thicknesses. We also change stitch length for effect. It is not set in stone. I can tell you with certainty that if you remove the regular throat plate and feed dog, and replace them with the slotted plate, that you will lose about 25% or more of the set stitch length in forward, and maybe more in reverse. That was my finding a few weeks ago when I tried that. I think a teflon strip taped onto the throat plate might help reduce the loss of stitch length from friction with the slotted plate. I think that perhaps my recommendation about loosening both top and bottom thread tensions will help al lot when sewing tall leather loads. With less bobbin pressure a smaller needle size could be used and would still be able to pull the knots well up into the layers. The smaller needle exhibits less friction going in and out of the leather. With less friction on the way up, the top pressure spring can be backed off, making it easier for the machine to feed stitches of any length.
-
A pendulum always swings farther at the bottom, than higher up its shaft. Most modern sewing machines, including all of the 205 and 441 type machines, work on the pendulum needlebar principle. They pivot at the top, in an arc that is by nature longer at the bottom than up the bar. Once the needle penetrates all of the leather layers and begins to move them, the distance higher up must be shorter than if there were only a couple of layers to move. It may not be what you wanted to hear, but it is backed up by science. Most upholstery class machines don't sew over 3/8" of anything, so the stitch length variance is less noticeable (but present). That is no longer the case when you move up to 3/4 inch. You must lengthen the stitch length adjuster to compensate for the variation when changing from 1/4" to 3/4". Here are possible workarounds that you might be want to try out, in the hopes of getting the least variation in stitch length from thin to thick leather. First, make sure that the feed dog is set to its highest position as it moves the work. It can only go so high before it makes contact with the underside of the throat plate. Next, try backing off the top pressure on the pressor feet. You can only back off so far before the leather raises with the ascending needle and thread. Your machine doesn't have individual springs for the inside and outside feet, so one upper pressure adjustment serves both feet. Try going up or down one needle size. A thicker needle won't flex as much as a thinner one, but requires more pressure to hold the leather down. A thinner needle penetrates the leather easier, but the knots may not be pulled up as easily. Reduce the top and bobbin spring tensions equally. Less top and bottom tension makes it easier for the mechanism to feed the thick material. Spray or wipe silicon or Teflon lube on the throat plate under the leather to reduce friction on the bottom. There are sewing machines that don't exhibit the change in stitch length with changes in thickness. I own such a machine (ULS), but it is not for the faint-hearted. Such machines have what is known as square drive. This is not found in most sewing machines, as it is more complicated and expensive to implement than a pivoting pendulum needlebar. Square drive machines sell for more used than you paid for your new CB3500.
-
Do I read correctly that you want a sewing machine to make motorcycle seats? Are you certain that a flatbed machine will work properly?
-
If the machine and motor are in pristine condition, maybe $500. There would have to be a boatload of bobbins, needles and thread to make it worth that much. Otherwise, the machine and motor are probably worth no more than $350. If you find that you can't control the clutch motor you can buy a brand new variable speed servo motor for under $200 shipped. But, first try replacing the pulley with the smallest one you can find. A 2" pulley is plenty slow. You'll probably need a shorter v-belt for the smaller pulley.
-
Needles For A Techsew Ga5-1 I
Wizcrafts replied to luvdoneleather's topic in Leather Sewing Machines
He has no website at this time. Bob has a website but not an online shopping cart. Call Bob Kovar, at: 866-362-7397 to order needles for your machine. -
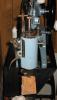
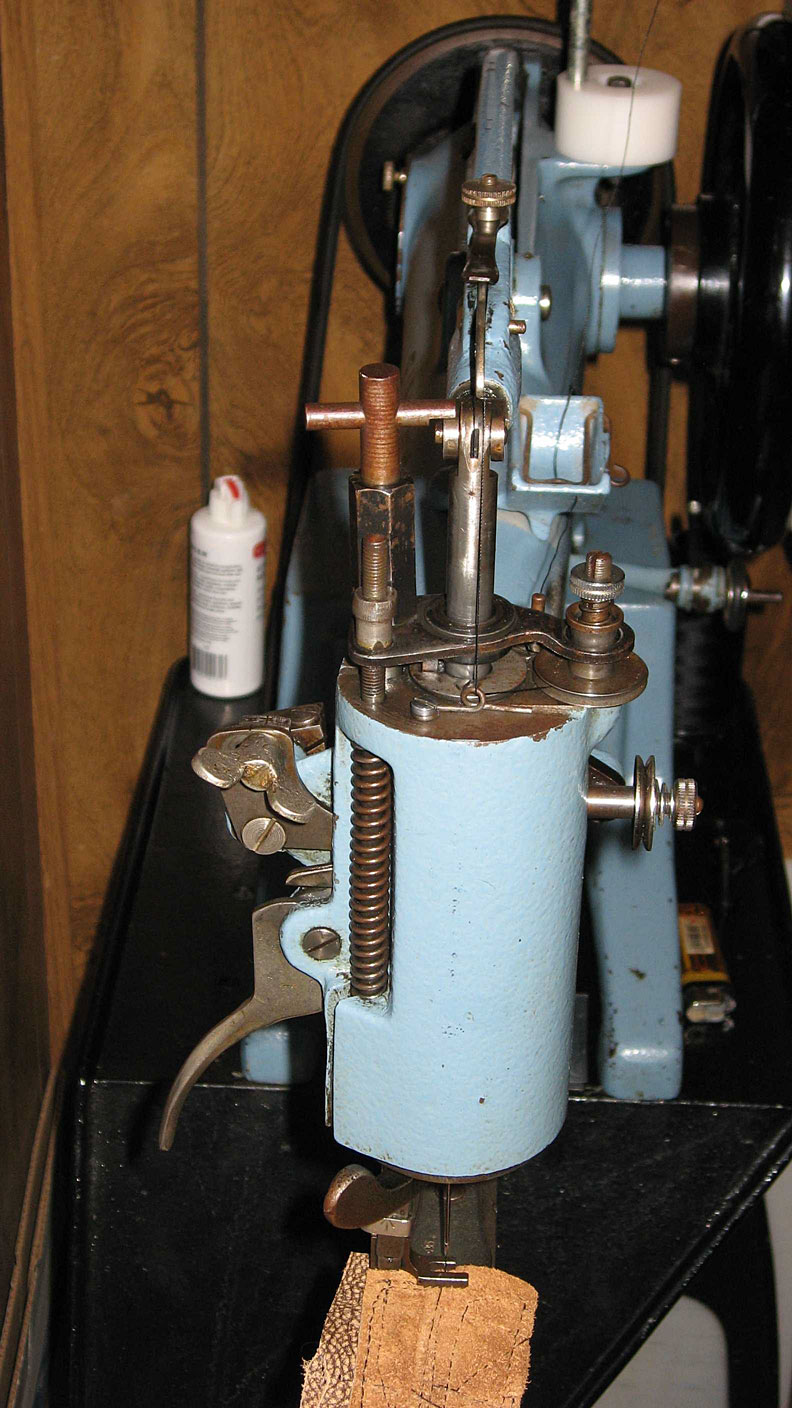
The big wheel on the back and sliding plate on the front suggest that this machine may be a tacker of some fashion; perhaps an X pattern tacker. Tackers only do one thing: lay down a tight patterned stitch, according to the design of the cutouts in the drive wheel. If this machine is an X tacker, it will only sew X shaped patterns in material that is clamped onto the sliding plate. Each stroke of the foot pedal will initiate on complete tacking pattern. Tackers are used to attach straps, Velcro, webbing, name tags, etc., to other pieces of material.
-
The Rex 26-188 is a clone of the Singer 16-188 and is identical to the Consew 18. If you find somebody who has pressor feet for the Singer 16-188, or Consew 18, they will fit the Rex. Have you called Toledo Industrial Sewing Machines yet? They have all manner of pressor feet, feed dogs, parts and accessories for most makes and clones of industrial sewing machines.
-
It might be able to hem Plonge leather garments (cuffs, hems), but is really meant for cloth. If you are asking if this machine will "sew" leather, as in wallets, vests, belts, holsters, absolutely NOT. It is a tailoring machine, used for hems and cuffs on shirts, pants and dresses.
-
My buddy just sold his last month. It was good for 16 to 18 ounces of leather, with a #22 needle and #138 thread. The only problem was the pressor feet had teeth on the bottom. It made serious marks in veg-tan leather, but pulled leather through like a tractor.
-
Advice About 2 Different Machines Please
Wizcrafts replied to mendedbowl's topic in Leather Sewing Machines
A Singer 111G in good condition should not sell for much more than $300 to $350. If it is in mint condition, maybe $500. If poor condition, $200. These are now very old machines, but parts are plentiful and not too expensive. Do kick its tires, with your leather and the thickest thread they or you have. It should be able to sew with #138 thread, with a #22 or #23 needle, through 5/16" of belt leather. All of those machines shipped with clutch motors, usually 1/2 horsepower. If the machine was sold to an upholstery shop, it probably has a 3.5 or 4 inch motor pulley. This will not be easy to control at slower speeds required for sewing leather. You can buy a 2" or 2 1/4" replacement pulley and a shorter v-belt online, or from our dealers, for about $20 shipped (for both). A dealer can help you decide what size belt you'll need, after you tell him what is on the motor now. Or, you can save a lot of hassles and buy a SewPro 500GR like I use and have perfect speed control from zero to 1500 rpm. -
I do sew thick and thin projects and have machines geared towards those extremes. At work, I sew on an Adler long arm motorized patcher and a Cobra Class 4 cylinder arm machine. At home I have a National walking foot machine, a Singer long arm patcher and a Union Lockstitch harness stitcher. Each does certain things better that the others. But, you asked my opinion for one machine that will do it all. Okay. Collars are worn around animal's necks and should be pre-curved when sewn. Purses have shapes that may or may not need to hang down, below the left edge of the machine. This suggests a cylinder arm machine. I'm not sure how thick your collars or purses will be, but when it comes to a sewing machine for leather, more is better than less. I'd buy a machine that could sew thicker that what I have in mind now, but still sew thin leather. Then, if you decide to sew holsters and sheathes, you will have enough machine to do the job. Since you asked what "I would buy," the answer is a Cowboy or Cobra cylinder arm, compound feed machine, with a servo motor that can run below 60 rpm and possibly, a speed reducer pulley. I am personally familiar with both. Either brand will sew from 4 ounces (using a #18 or #19 needle and #69 or #92 thread), up to about 7/8", with a #27 needle and #415 thread. If your collars will never exceed 3/8", you could get the job done with a "227" type machine. These are based on the ancient Singer 153 types. They have a 10.5" cylinder arm, about 2 1/2" in diameter and a triple feed walking foot system that allows you to sew right up to the left edge of the machine. Using the common series 135x16 or 135x17 needles, you can sew with thread sizes 46, up to 138 on these machines. They can be converted to sew a little thicker material, but not with much heavier thread than #138. I hope this helps. You are welcome to PM me if you have more specific questions about these machines.
-
Advice About 2 Different Machines Please
Wizcrafts replied to mendedbowl's topic in Leather Sewing Machines
That Pfaff 463 is a very high speed, flat foot, bottom feed, garment machine. It can be used for sewing soft, but not sticky leather with thin thread. You would need a roller foot conversion to sew sticky leather, and would need to slow it way down. But, it will probably not be the right machine for belts. The Singer 111 with a walking foot will sew everything you mentioned. You can buy a small 2" pulley if it runs to fast for you. -
Babbs; You quoted me but didn't type a reply! Please try again.
-
You're right; #138 is too thick for your garment overlays. #69 or #92 thread will be fine. If you will be making sharp turns, get the smaller roller foot (set). The big wheel is more for long straight runs. A roller foot on the left allows you a complete view of the tracing lines and the needle. You cannot get a more accurate system for following drawn stitch lines. Just keep the work lamp on the right side of the front, to avoid casting a shadow of the roller.
-
Smart Servo Motor On My Upholstery Machine!
Wizcrafts replied to olroper99's topic in Leather Sewing Machines
You can buy the gear puller at Harbor Freight. I don't know if they have sewing machine pulleys. Clutch motors have a keyed 3/4 inch shaft diameter and use a 3/8" to 7/16" belt pulley. Most machines in tool stores use 1/2" belt pulleys. If you put a 1/2" belt pulley on a clutch motor, the 3/8" or 7/16" v-belt will drop deep into the grooves and may flip sideways. I recommend buying a sewing machine pulley from an industrial sewing machine dealer. -
Bob Kovar sells pressor feet, including the two sizes of roller feet, for the Singer 31 class machines. These roller feet are also used on the Singer post machines. I used to have them in about 3/4" and 1" rollers. You can adjust the sideways position to place the bottom edge of the roller just to the left of the needle. This prevents the leather from lifting and causing skipped stitches. When you buy the roller foot you should also get the single row feed dog and it's matching throat plate (and an edge guide for the right side). I had one of those machines when I was first getting into sewing leather. I think it was good for no heavier than #92 or 138 thread, with a #22 needle. Thickness-wise, it sewed about 1/4", if memory serves me. But, mine had a spring loaded snapping walking foot system. I don't think a roller foot can hold down 1/4" of belt leather, unless you crank the spring all the way down and use the smallest needle possible for the thread. That would be a #21 needle for #138 thread. You might even be able to feed thread through a number 20 Schmetz needle.
-
Juki 441 Vs Adler 205-370
Wizcrafts replied to buffalobill plus Ed D's topic in Leather Sewing Machines
I would gladly take either of those machines! Cost isn't much different between them and they both are capable of sewing 3/4" of material, with a really big needle and thick thread. Both the Adler 205 and Juki 441 sell/sold new for around the $4k - 5K mark. Parts are expensive, but last for decades. The Adler parts were made in Germany, while the Juki is produced in Japan. There are North American parts distributors for both companies. You can expect to pay more for feet, throat plates and replacement gears for these machines than regular industrial machines. Needles are the huge system 7x3 / 794, available up to #27 or larger. Both can sew #415 bonded thread. Both need a truck to transport them assembled, or a real station wagon with air shocks, if disassembled. The feed dog on both is compound feed, with the needle and inside foot moving together, while the outside foot lifts or descends, to hold the material in place. Top speed is 800 stitches per minute, but 600 is safer for the manually oiled bearings. Most leather workers gear these machines way down to about 120 stitches per minute; 2 per second. This extends the lifespan and makes it easier to sew through thick leather, bioplastic, or briefcases. -
I think they stopped making the LU-563 machines between 5 to 10 years ago, but I'm not certain exactly when. An authorized Juki dealer should have that info (if they've been a Juki dealer longer than 5 - 10 years). Parts are available everywhere Industrial sewing machines are sold. Juki is made in Japan and is solidly built. A 9 year old LU-563 that has not been abused is worth whatever you pay for it. It is a workhorse. I would go look at it sew before buying it, and see if the stitch length lever floats up at higher speeds and if the reverse position places the needles into the same holes.
-
Is the class 30 long arm the one you told me sews up and down the arm?
-
Basting means setting long stitches that are only meant to temporarily hold a hem, overlayed pieces, or seams in place, until the assembly process is ready for them to be finished with normal stitching. Some projects get stapled, paper-clipped, or pinned together; during construction, trimming, darting and fitting. Basting on a machine replaces pins, paper clips and staples.
-
Babbs; I used to own a Juki LU-563 and found it quite adequate for sewing leather garments and denim jeans. It was a staple of the leather and denim garment and upholstery trades for a couple of decades, starting in the mid to late 1980s. New, the Juki LU-563 originally listed for about $2600, with a 1/2 hp clutch motor and table, but was frequently sold for about $2200 out the door. I worked for a sewing machine company in late 1988 and they were shipping these machines out as fast as we could assemble and test them. The LU-563 has been out of production for many years, so there are no new ones, hence no new price. The 563 has been replaced with a more modern design, known as the LU-1508 series. One of the best features of the LU-563 was that they used a huge bobbin, known as a U bobbin. It is about 25% larger than the M bobbins used in Consew 206RB and Seiko machines and their knockoffs. The reverse lever is large and easy to use. Being that the 563s are up to 30 years old now, you will have to check it out carefully to ensure that the machine is still fully functional and not worn out or shot. If the springs that balance the forward/reverse stitch length lever are weak, as mine were, the stitch length will vary with speed and direction. I actually watched my stitch length lever float upwards on its own, as I sewed fast. The 563 was good for about 3/8" of material, with #138 thread and a #22 or #23 needle.
-
My leather point needles are marked 135x16 NW
-
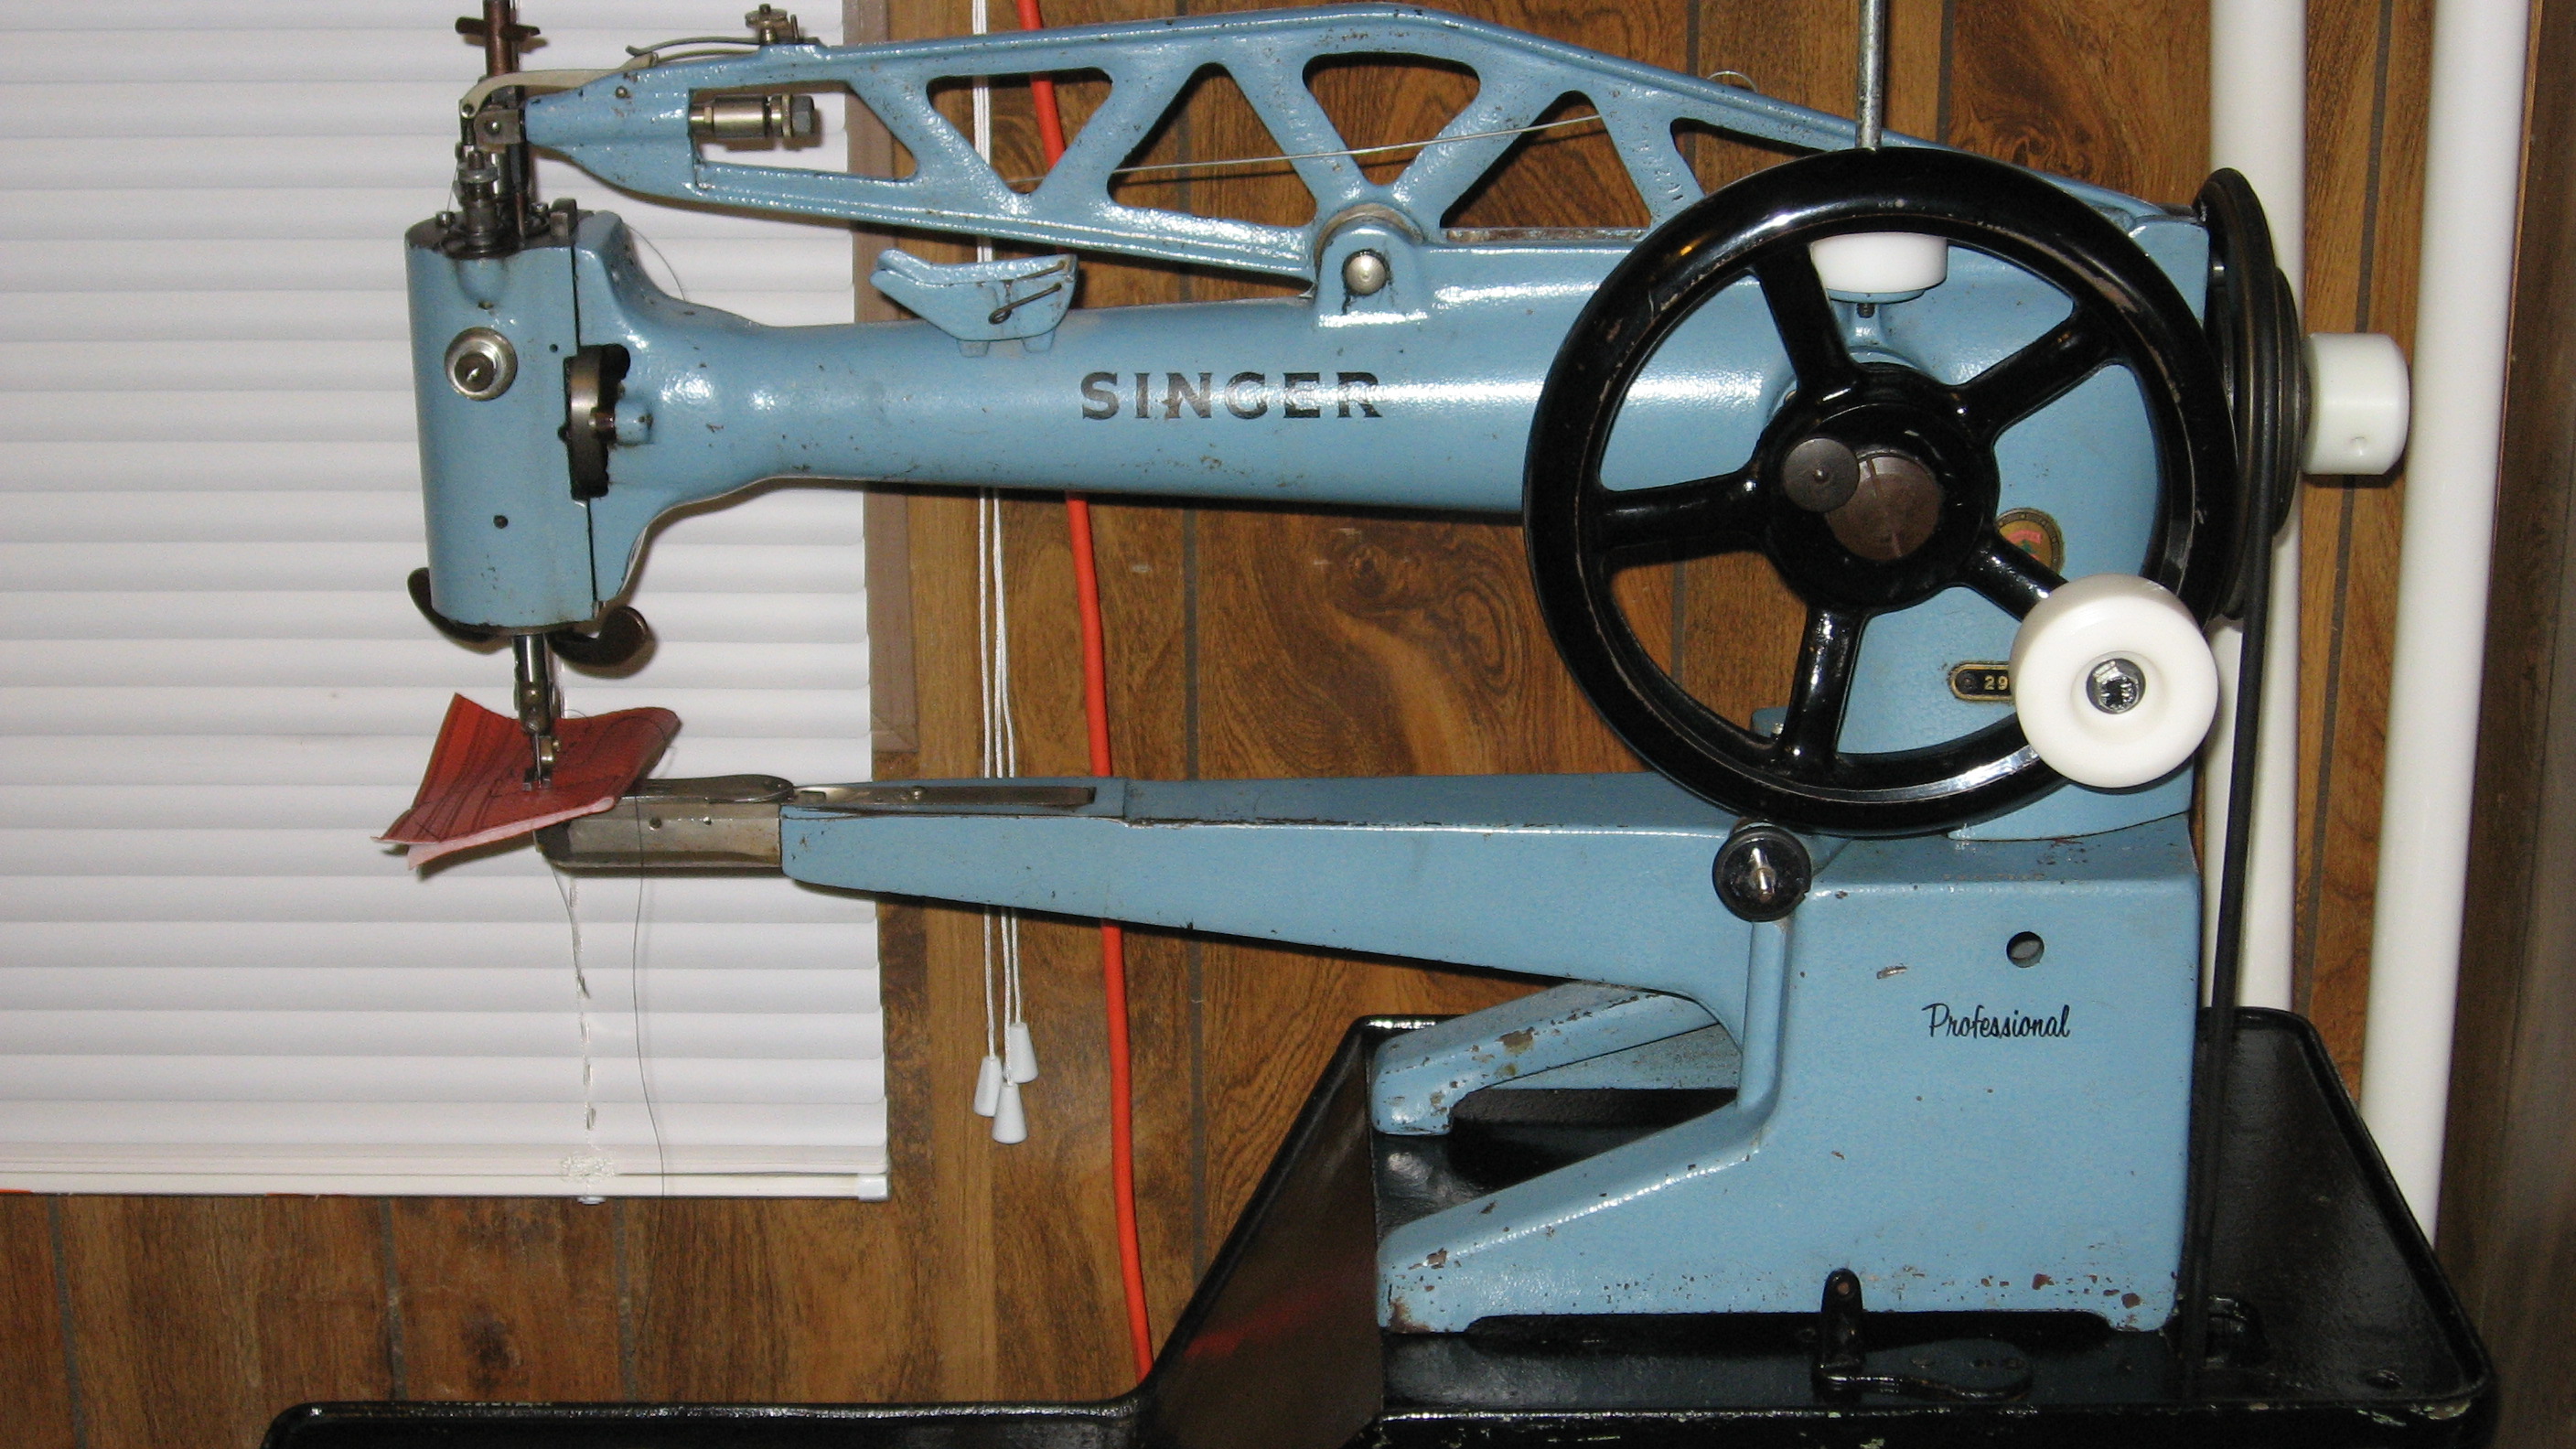
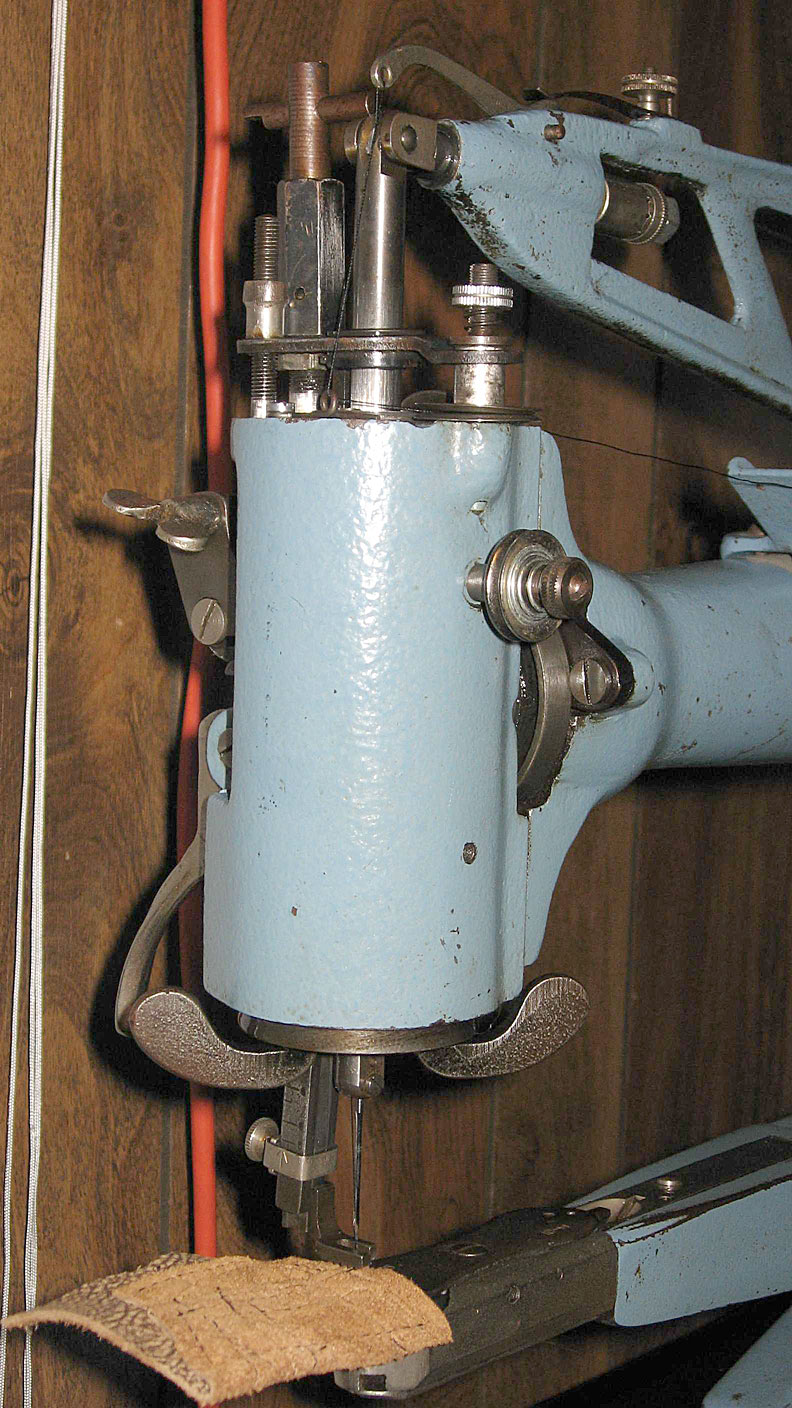
I'll be your Huckleberry... I have a Singer 29k172 darning patcher. The purpose of the darning system is to allow freehand repairs, without concerning oneself about the pressor foot pulling the material. A true darning patcher has a T-bar on top of the read of the head section. The T-bar can be twisted into or out of alignment with the needlebar, in three stages: not engaged, half engaged and fully engaged. Picture of T-bar darning attachment: When the T-bar is turned so that the needlebar hits it, the pressor foot is lifted off the material with the risen needle. The thread tension is not released, because the darning tensioner is not connected to the lifted foot thread release system. This allows you to freely move the work around, while maintaining constant thread tension. The pressor foot drops down long enough to keep the material from puckering as the needle lifts up, but then goes up higher, depending on whether you have set the T-bar to half or full lift. I am able to get consistent 1/2" stitches at full lift and 1/4" on half lift, with minimal assistance to the feeding. Were it not for the constant tension darning disks, the lifted pressor foot would disengage the top thread tension every time the needle raised. The darning system is very useful for basting cuffs and hems. If your patcher doesn't have the T-bar, you will still be able to bast, using the darning tensioners, but must do so more quickly, before the foot drops down on the material. You should be able to get longer stitches than the foot alone gives, but not as long as you would with the T-bar assisted lift.