Chain
-
Posts
144 -
Joined
-
Last visited
Content Type
Profiles
Forums
Events
Blogs
Gallery
Store
Everything posted by Chain
-
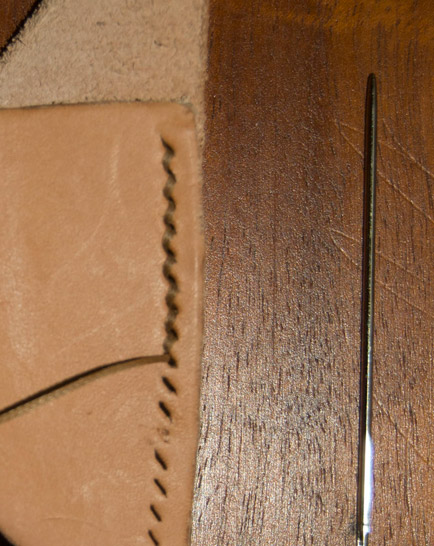
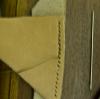
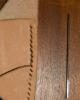
SPI is the same as the one in your link 8.5. The thread is .6mm
-
The stitching is a bit rough, so are the pics but I was just trying it out.
-
I have just bought one of these http://www.goodsjapan.com/european-leather-stitching-chisel-leathercraft-pricking-iron-tool-6x3mm-1596-p.asp%C2'> and also the 2 prong one. I have only just sewn 2 pieces of leather together to try them out. The holes are not thick, in fact they can be a little tight which can be a good thing. They seem quite good to me though
-
If they are already dyed then go over them with a beeswax/neatsfoot oil mix
-
Tandy Professional Waterstain
-
Thanks very much Jim, this will come in real handy !!!
-
35% Beeswax 5% Carnuba Wax 60% neatsfoot oil or virgin (to match the bees wax maybe) olive oil May need to adjust the wax/oil ratio to get the desired consistency. Carnuba wax available here: http://www.ebay.com.au/itm/350521416091?ssPageName=STRK:MEWAX:IT&_trksid=p3984.m1423.l2649 Olive oil won't go rancid and was used by the Romans on leather a 1000 years ago. Samples of Roman leather have been found and are in great condition. A lot of the old time leather workers use it. The Carnuba wax is the hardest known natural wax so will add some protection as well as shine (shines better than bees wax)
-
Blessed be the pattern makers
-
MOX braided, waxed polyester thread. Contact this guy he may send to the US http://www.ebay.com.au/sch/m.html?_odkw=&_ssn=sewingsupplies3666&item=151352927545&_osacat=0&_from=R40&_trksid=p2046732.m570.l1313.TR10.TRC1.A0.H0.Xmox&_nkw=mox&_sacat=0
-
Can't Seem To Make First Sale -Ecommerce
Chain replied to Aidanforsyth0's topic in Marketing and Advertising
An east option right now is to put your website URL in your signature. Google places a lot of importance on "similiar" sites linking back to you. -
Thank yo uso much Tom for ALL your shared patterns, as a bit of a newbie these help sooooooooooo much. I just wish they were all in one thread so I wouldn't have to search everywhere lol
-
http://www.birdsall-leather.com.au/LLCL6020w/Classic-Lacing-6mm-20mtr/pd.php
-
Bick 4
Chain replied to whipstitchwallets's topic in Dyes, Antiques, Stains, Glues, Waxes, Finishes and Conditioners.
Composition/Information on Ingredients Hazardoull Components (Chemical Name) CAS' Percentage OSHA PEL ACGIHTLV Other Limits 1. Solvent naphtha medium aliphatic 64742-88--7 10 -3.0 % No Data No Data 300 ppm 2. Hydrogenated (Tallow Alkyl) Amines Acetates 61790·59-8 1.0 -5.0 % No Data No Data 25mg/m3 3. Polydimethylsiloxane 6314B-B2-9 1.0-5.0% No data. No data. No data. Hazardous Components (Chemical Namet RTECS# OSHASTEL OSHA CEIL ACGIH STEL ACGIH CEIL 1. Solvent naphtha medium aliphatic WJ8930000 No data. No data. No data. No dala. 2. Hydrogenated (Tallow Alkyl) Amines Acetates BF2814375 No data. No data. No data. No data. 3. Polydimethylsiloxane VW1511000 No data. No data. No data. No data. -
I was in a shop today buying an Olaf Rotary Cutter. It is the type of shop (Spotlight for you Aussies) that sells fabrics, sewing needs, curtains, bedding, craft items etc. I noticed they had some grommets in there that had a longer shank on them, about ¼" in length. It may be an idea to check out those types of shops in your area.
-
I think that handbag and tutorial from Caracoda should walk this contest in.
-
Here is a video on how to use Eco-Flo Professional Waterstains. http://www.tandyleatherfactory.com/en-usd/Eco-Flo-Professional-Waterstains.aspx
-
Just buy precut round coasters
-
Set them and then use nail polish
-
Think out how the camo stamp is used with a basketweave stamp. It "camouflages" the space between the basketweave stamp and the border. It "camouflages" the blank areas between the stamp and border that are too small for a full stamp
-
MIke, because of time differences I probably will not be able to make the classes. Would I still be able to gain access to the videos somehow or would I have to pay for that?
-
I use a Stanley Knife with this kind of blade. I use the curved end.
-
I make my cuffs a little differently. The piece with the buckle on is one piece. The buckle end of that strap is secured with a rivet about where then I add a D ring and another rivet. The non buckle end I have the last rivet a bit past where you have the crosses. THat way when you wrap the cuff around the wrist the widest pice of leather (at the buckle end) will overlap the wide pices on the other end and then you buckle it up. Doing it this way gives you a form of adjustment, I hope this makes sense
-
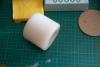
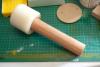
Hi AZ it weighs in at 518grams / 18.2 ounces
-
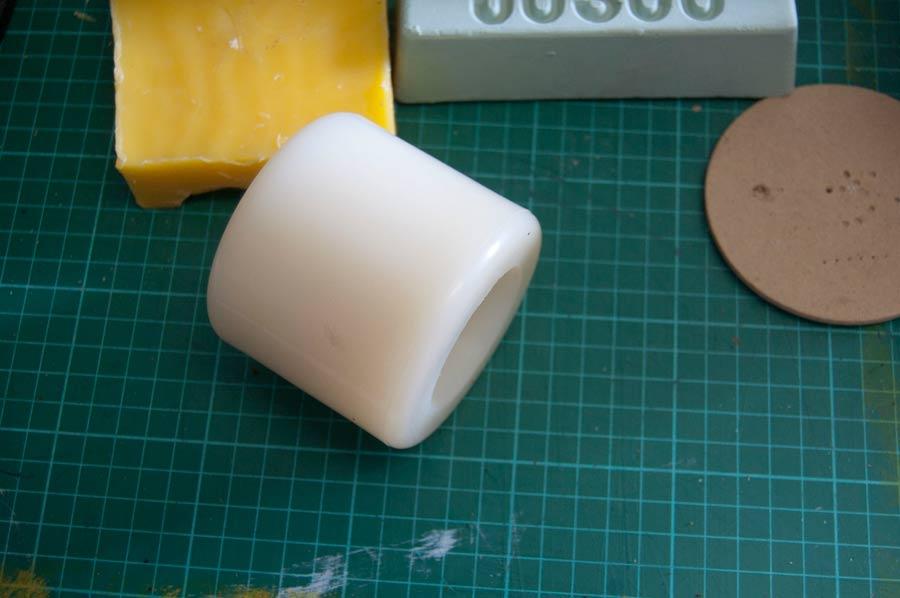
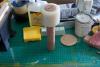
Some more pics

-
Hi all I am pretty new here and to Leatherworking. I used to "dabble" in it years ago and have decided to get back into it. Living where I do buying tools and leather has to be done mainly online and it all adds to the expense. Therefore I decided to make my own maul. $15 and 5 minutes and I have a fully functional maul. Process as follows. For the maul head I bought a "Pallet Truck Nylon Wheel" off Ebay, 78mm x 68mm x 46mm , seems just about the right size. You may be able to buy local. For the handle I used part of the handle from a gardening implement of destruction, a garden hoe. The handle had a slight taper one end and was just the perfect size. I slipped the handle through the hole in the maul head, there was about 15mm protruding. This hammered into the head just nicely fitting flush. No glue, no screws, no bolts needed. I cut the handle a little longer than needed and will trim if necessary to adjust the weight. Also I might "pretty" it up at some point by adding a bolt and washer (more weight) to the head end and shape the handle a bit. Some pics attached