LNLeather
-
Posts
779 -
Joined
-
Last visited
Content Type
Profiles
Forums
Events
Blogs
Gallery
Store
Everything posted by LNLeather
-
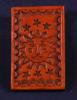
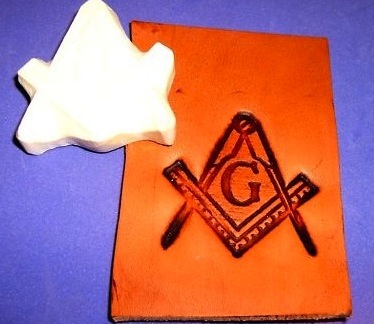
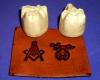
Depending on what size you need, duckcreektraders makes 2 different sizes of an emboss plate with the Masonic Emblem. duckcreektraders has an auction site on ebay and they rotate their emboss items on a regular basis. The Masonic Emblem is not up for auction right now but you can also go to their website at bunkhousetools.com and contact them about buying any items there... tiptoncompany@gmail.com Masonic & Shriner Emboss Plates Pr 1 1/8" & 1"Tall This is what it says about this plate The Masonic plate is 1 1/8" tall and the Shriner is 1" tall and are made of a high impact fiberglass reinforced polyurethane. We originally started making these plates to use on short runs where we only needed a few hundred impressions BUT we soon discovered that they were outlasting any of the plates made of printers metal and have much greater detail than most cast metal plates. The samples were made using a 12 ton hydraulic shop press which should be sufficient for plates of this size or even slightly larger. These plates are not hammer stamps and should be pressed in using a small press such as the arbor press available from such places as Harbor Freight for under $50 or you could use the Tandy/Leather Factory Imprinter. If you're careful and use a light pressure you could use a hydraulic press, clicker press, or a shop press like we do but the pressure plate should cover the entire top of the plate or if you are using a ram press a heavy piece of flat steel sufficient to cover the entire top of the emboss plate will be necessary. For more information about the polyurethane embossing plates and their full warranty please visit our website bunkhousetools.com and Masonic Emblem Leather Emboss Plate 2 3/8"x2 3/8" This is what it says about this plate This plate measures 2 3/8" by 2 3/8" and is made of a high impact fiberglass reinforced polyurethane. We originally started making these plates to use on short runs where we only needed a few hundred impressions BUT we soon discovered that they were outlasting any of the plates made of printers metal and have much greater detail than most cast metal plates. The samples were made using a 12 ton hydraulic shop press which should be sufficient for plates of this size or even slightly larger. This plate is not a hammer stamp and should be pressed in using a hydraulic press, clicker press, or a shop press like we do but the pressure plate should cover the entire top of the plate or if you are using a ram press a heavy piece of flat steel sufficient to cover the entire top of the emboss plate will be necessary. For more information about the polyurethane embossing plates and their full warranty please visit our website bunkhousetools.com I Hope this helps

-
JIM LINNELL FREE PATTERNS http://www.elktracks.net/
-

Nice find. I need to start working on that style more at some point, so I'll have to store it away for later.
-
-
Hey Bluesman, are you havin troubles? What happens when you click on the Edit my Profile box up there above the brown bar? There should now be a list on the left of things you can do to your profile. After adding things or making changes, scroll down to the bottom of the page and click on "Save Changes" Hope this helps

-
Simple Easy To Make Stitching Pony http://www.wrtcleather.com/1-ckd/tutorials/_stitchpony.html
-
 Very Very Nice!
 -
 WOW, Very Nice Work!
 -
Cowboy Suspenders
LNLeather replied to Double U Leather's topic in Purses, Wallets, Belts and Miscellaneous Pocket Items
Elastic? Hmmm, since I don't see any of that - is the leather only in the front, and then sewn to elastic suspender straps that criss-cross on the back? If that is how it is done, I 'm thinkin that the elastic suspenders are sewn to the back of the leather starting up by the buckles in the front? That would also keep the back of the leather from shedding onto what ever is being worn underneath... blouse or shirt? Is that your design or is there a pattern? They look just Grrreat! Thanks for your reply -
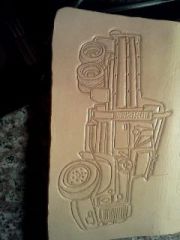 Nice Truck
 -
To All Swivel Knife Aficionados And Collectors
LNLeather replied to gtwister09's topic in Leather History
Ohhhh, Thanks Ben. I don't usually have trouble with this sort of thing. Usually things just download with one click... I have an imac, so I tried pressing the command key and then clicking on the link and it is downloading now. Thanks so much for your help. -
To All Swivel Knife Aficionados And Collectors
LNLeather replied to gtwister09's topic in Leather History
I couldn't get your links to work - am I the only one having trouble? thanks for your help..... Great info -
Cowboy Suspenders
LNLeather replied to Double U Leather's topic in Purses, Wallets, Belts and Miscellaneous Pocket Items
Hey leatherrookie I mean Double U Leather I was lookin at these earlier and now I am wondering how you connected them in the back where they cross over? BTW I love the look of these! -
Sylvia - Thanks for that link!
-
Purses, Wallets And Necklaces
LNLeather replied to Bifrost's topic in Purses, Wallets, Belts and Miscellaneous Pocket Items
Very Nice Work! Nice tooling on the Purses and Wallets. Is that hand stitched? They all look grrrreat! -
HI Sylvia. What (70's) Lamp might that be? I asked a question about light bulbs quite a while ago Will A Light Bulb Replace A Sun Tan? (11/29/2011) and at that time I decided not to spend a bunch of money trying out lamps and light bulbs. I make a lot of coasters and I prefer the "Sun Tan" Look and so far I have just been patient, waiting for the sun after all tooling is done. Sooo, a couple of weeks ago I had accidentally left some rounds of leather out and they darkened up nicely and then I tooled them. After I was done I was thinking I just might have solved my problem. I haven't read about this anywhere, so I thought I'd just mention my "brain storm"... and ask if anybody can think of a reason why not to Tan before you Tool? This is going to save me a lot of time, not having to wait for the sun when I need it.
-
Homemade Light Box for Product Photography. http://www.studiolighting.net/homemade-light-box-for-product-photography/
- Show previous comments 1 more
-
I'm so happy I could be of help!
-
When I found Leatherworker.net I was searching for exactly what you have posted. Thank you very much for the link. Guess what i am building right now.
-
I love it when things work out like that. Now let me guess………
-
Guess What? It's raining! Have you considered giving your leather a sun tan – Before you tool? That way you could leave your leather out in the sun on a sunny day and not have to wait for the rain to go away. Can anybody think of a reason why not to Tan before you Tool?
-
Heheh - I did this once too.... check the date - ooooold post
-
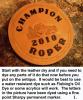
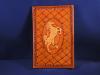
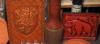
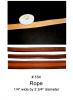
The rope tool was made by Raymond Tipton of bunkhousetools and he used his emboss roll #164 It is really cool how he did that, because you can't tell where he started and where he ended with the emboss roll. Please, feel free to add your tips or pictures too. I learned a lot from this tutorial, and like Bluesman said "The combinations are endless"
-
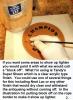
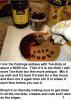
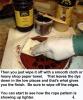
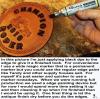
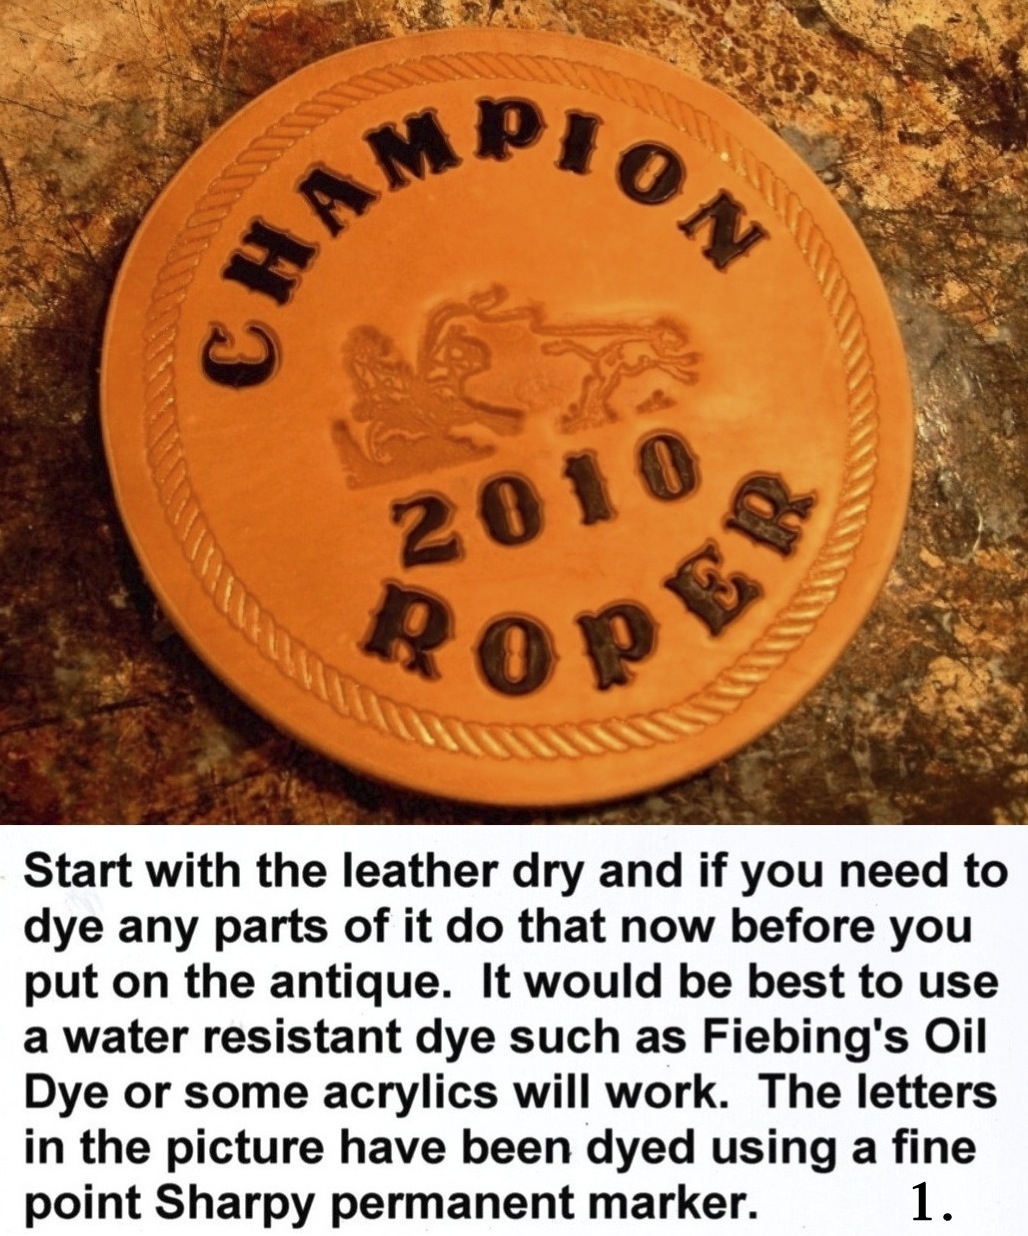
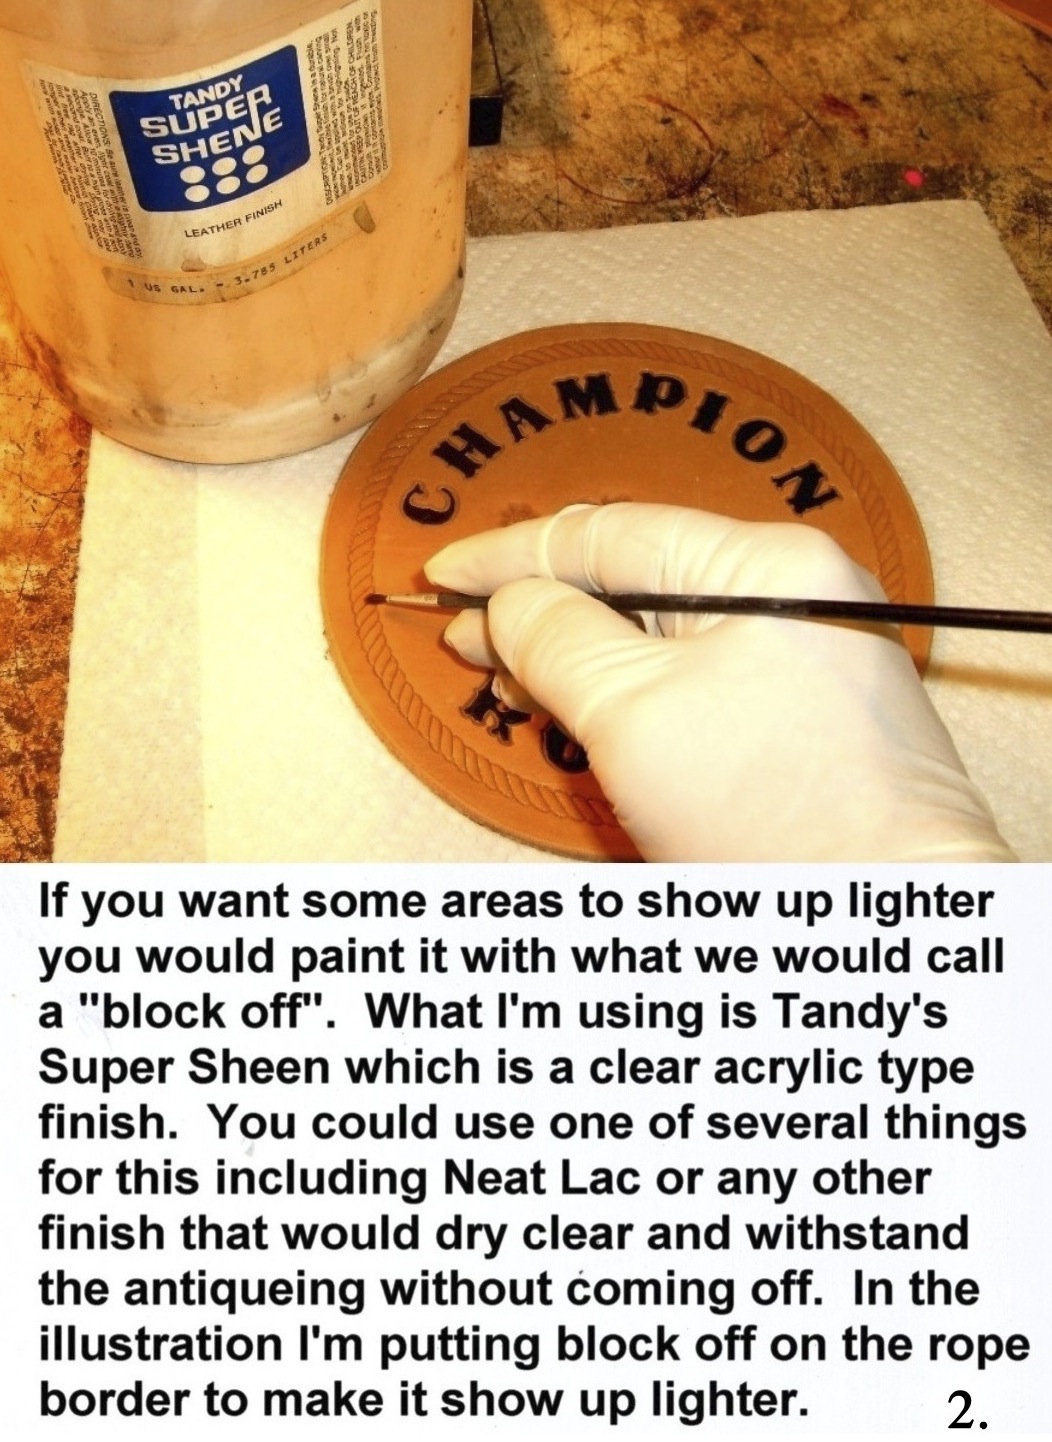
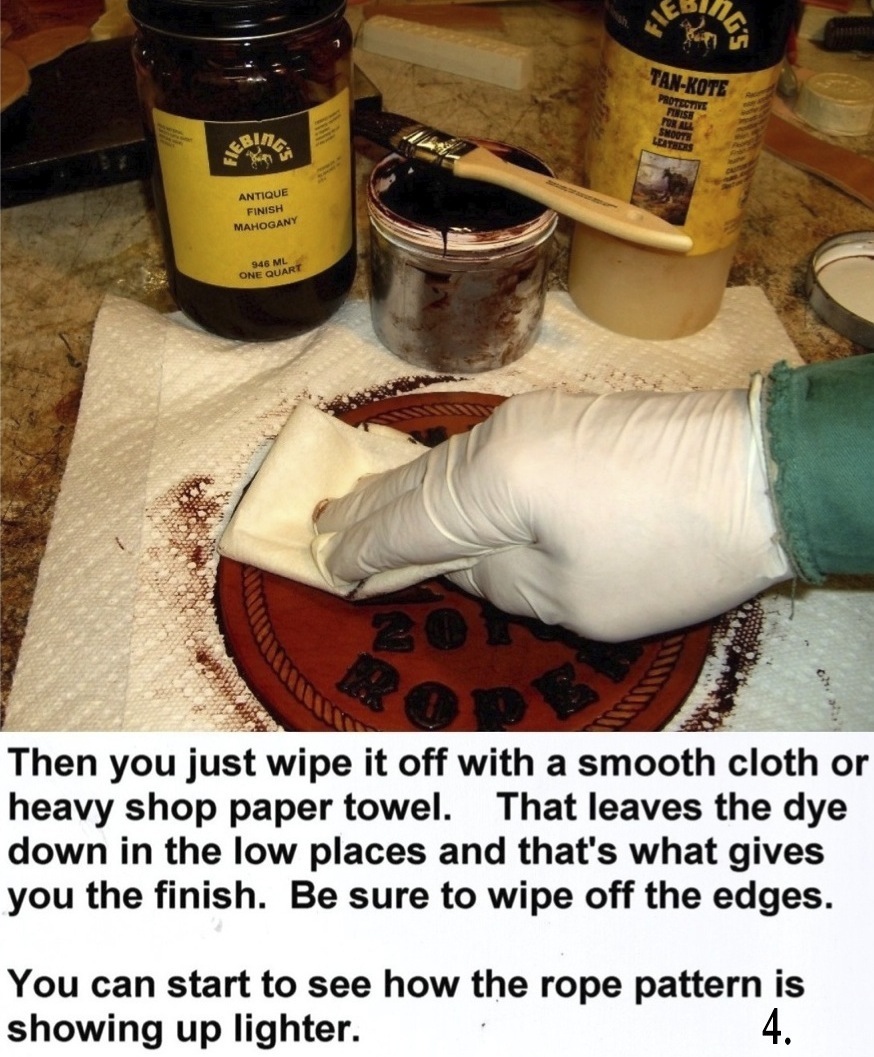
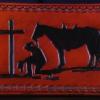
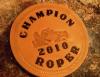
This is some Antiquing info I got from Raymond Tipton of duckcreektraders I thought this might be of some help to others. There are many ways to add antiquing to your work. For many different results you can put your resist over some areas, painted or not, or you can put the resist on the entire piece and then use the antique paste. I am sure others may do this differently, with different products - for instance sometimes I just use the antique paste to color a coaster (I love the color of undiluted Antique Saddle tan) and then when the piece is dry I put on more Antique Saddle tan to fill in the low spots and then wipe with a paper towel, leaving the antique in to highlight the low spots. Please, feel free to add your tips or pictures too