-
Posts
247 -
Joined
-
Last visited
About dragonspit
- Birthday 04/21/1960
Profile Information
-
Gender
Male
-
Location
blythewood sc
-
Interests
many and varied. from pen and ink drawing to digital concept art, motorcycles, and my family.
LW Info
-
Leatherwork Specialty
no speciality,
-
Interested in learning about
tooling leather.
-
How did you find leatherworker.net?
internet search
dragonspit's Achievements

Member (2/4)
-

Monogrammed 1911 Holster
dragonspit replied to IngleGunLeather's topic in Gun Holsters, Rifle Slings and Knife Sheathes
very clean. super nice. -

Couple of new belts
dragonspit replied to JKHelms's topic in Purses, Wallets, Belts and Miscellaneous Pocket Items
I'm with Stetson912. at first i was gonna say, why would you stitch with no backing, but it does look very nice and wouldnt look nearly as pro without the stitching. and I am also in the same boat regarding owning a machine. but your whole set up looks pro. nice job. -

Heritage .22 Rig
dragonspit replied to Bayou Bengal's topic in Gun Holsters, Rifle Slings and Knife Sheathes
nice clean work. -
both pieces of advice are good. i have one that i did 3years ago. did just as they said, no issue at all. its had many spills on them as well.
- 5 replies
-
- sealing
- coaster set
-
(and 1 more)
Tagged with:
-

My first holster
dragonspit replied to DavidRM's topic in Gun Holsters, Rifle Slings and Knife Sheathes
agree with Alpha2. Great first go. we all learn by trial an error even with all the help on the internet we are able to gain. nothing like walking the walk.... just life lessons have to be learned. and edge beveler would surely clean up the edges. practice a bit with it first tho. sewing by hand is great but its tedious. finding the right awl is the key. i still haven't lol. but I lace most of my things, which is even more tedious,,,, but it sure looks good. and yeah, it fits. -
I stopped in Tandy in Columbia sc yesterday to ask the same. They did not know either. They did say that its possible the chemical was changed over the last couple of years. I am glad to see that its not just me and that Im not just a confused old man lol... ok, well I AM that but still...I will just have to do it the careful way i guess and not attempt to have any resist to do what it once did.
-
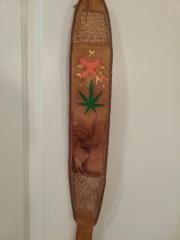
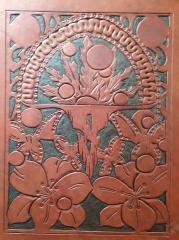
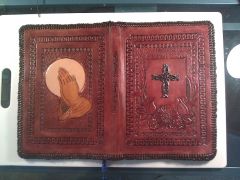
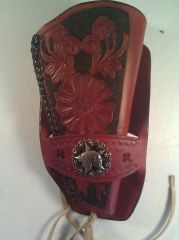
Hi all. I haven't been around this site for a bit. ya know how it is. anyway. been making some more things and I ran into something that is confusing the heck out of me. Im reading about a dozen post in the dye section, and a few in some other forums. I am just not seeing what I am referring to. So early in my learning of this fun little hobby, I created a few pieces that i used Tandy sheen for resist. then did my dye work or whatever. leaving whatever i put sheen on that left the original leather, untouched., as I wanted. now, few years later, i try the same thing and I'm not getting the same result at all and I am wondering. did I forget, or what? So in this attachment, (and you don't have to rib me about the poor lacing, it was my first attempt). all else i thought turned out well. anyway, so i put sheen on the sun, in the hands you see. then, I dyed the hands the color I wanted, then, I put sheen on that. then, I antiqued the rest. Now, I CAN be forgetful, but i am sure, without a doubt i put one coat of sheen, let it dry and used this process. This week, I tried the same process and got antique coloring spots, i had not wanted. soooo after asking some questions, i put two coats on, allowing a day to dry for each coat.... and the result is the same. so my question is. if I want a hi light spot, just like the sun in this piece, how do i put enough resist on this to make it happen. What am i missing? Thanks for any help.
-
Hi Gray, we chatted on Facebook about your process. i haven't been on this site in a long time. I'm so confused about this process, I came to post and ask some questions,,, that you already answered. I tried. hmmmm. but like a couple others....envious. again, nice job
-
-
Very cool. do you know mr Tobias by chance?
-

Another Bible Cover Going Out Today
dragonspit replied to Chief31794's topic in Books, Journals and Photo Albums
nice and clean. good job. -
-

Carved/tooled Gunbelts
dragonspit replied to Josh Ashman's topic in Gun Holsters, Rifle Slings and Knife Sheathes
love the design and the color. very nice. -

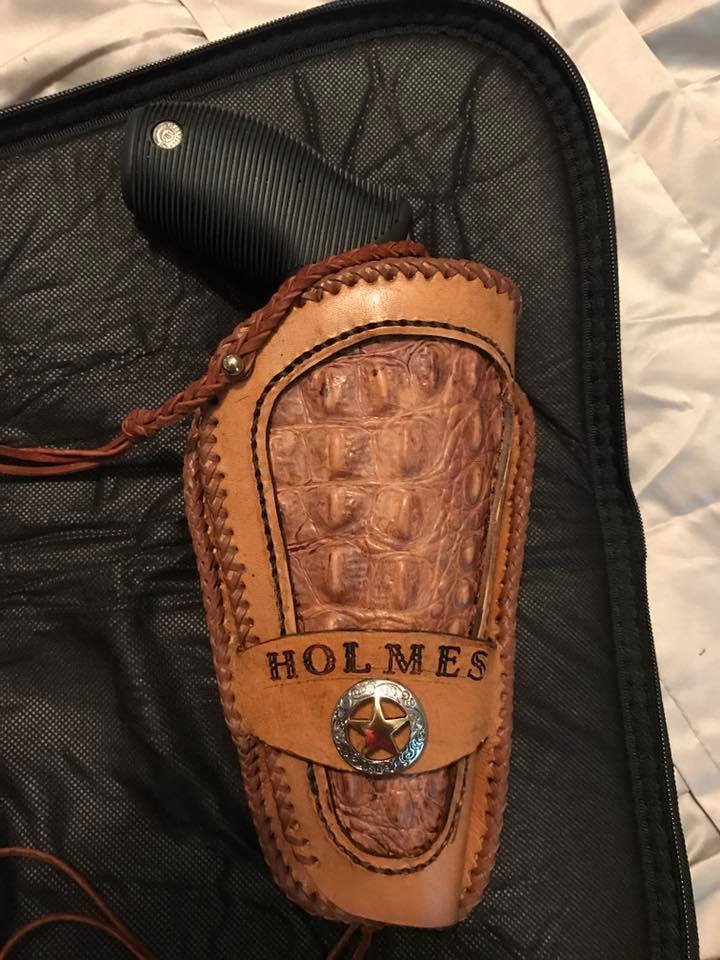
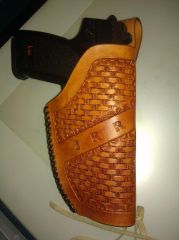
Holster At A Co Workers Request
dragonspit replied to dragonspit's topic in Gun Holsters, Rifle Slings and Knife Sheathes
thanks for the compliments.


