cleanview
-
Posts
319 -
Joined
-
Last visited
Content Type
Profiles
Forums
Events
Blogs
Gallery
Store
Everything posted by cleanview
-
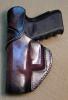
Glock 27 From A Glock 19/22/17
cleanview replied to cleanview's topic in Gun Holsters, Rifle Slings and Knife Sheathes
can you elaborate? Not that I doubt you. i just google pics and specs and I thought it was the same thickness in slide and trigger guard. I could only find that the end ov the barrel was beveled on the 27. And to be clear it was to build a 27 holster for a customer using my 19 -
Asked to do a glock 27 and it looks to me like I could make one from a glock 17/22 and just allow the slide to come out the end. From what I gather the only difference is a beveled slide end on the 27 which I don't really se as a factor. But if I was SURE.......I would not be asking you. What say you......
-
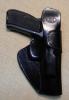
Gun With A Light
cleanview replied to cleanview's topic in Gun Holsters, Rifle Slings and Knife Sheathes
The Light is a Proteck elite hp190. On out of the ordinary (for me) things, I a very openly tell them I will look into it and give it some thought, but If I don't feel I am ready to competently do it, I will just decline. The young man told me with or without the light would be fine. Looks like to accommodate the light would have to deviate from the design he was wanting and I will opt to make it with out. He wanted it to serve to many functions. Not a conceal carrier he wanted it more for action shooting sports than anything. I think after what has been shared on this thread I could do one though. I consider myself new and still learning and have turned down several pieces that just don't fit in to what I am trying accomplish (if that makes any sense) at this stage of my learning. -
Gun With A Light
cleanview replied to cleanview's topic in Gun Holsters, Rifle Slings and Knife Sheathes
what is the gun resting on? What I mean is what keeps the gun from falling through? and yes it is a attached flashlight. -
Gun With A Light
cleanview replied to cleanview's topic in Gun Holsters, Rifle Slings and Knife Sheathes
do you mean the toe plug was the resting point of the gun. Since it can not rest on the trigger. -
was asked if I could make and avenger for a M&P 9 with the light on it???? I don't see how, and that got me trying to figure out if there are any options. the light has to many things sticking out the side and is the same depth as the trigger guard. Is there a way or have you done any??
-
Some Sheaths And Knives I Have Made
cleanview replied to Rossr's topic in Gun Holsters, Rifle Slings and Knife Sheathes
Those look very good -
First Holster
cleanview replied to ChiefStealth's topic in Gun Holsters, Rifle Slings and Knife Sheathes
I use my dremel mostly........i bought a pack of drill bits that fit........i cut and wrap burlap around them and can control the speed....let what ever you use create the heat without putting to much pressure....that keeps from disforming the rounded edges....they kind of get pushed over otherwise Just takes pratice not to ding the leather........not handling when wet is one help. waiting till it dries a little to start forming.....while it is wet you can use whatever you use to "rub out" most marks....takes practice...... Off to a really good start....again better than my first.. if others give different advice......most on here are more experienced than myself.....just accomplish something new or better with each holster is my goal
-
What Does Cross Grain Mean?
cleanview replied to cleanview's topic in Gun Holsters, Rifle Slings and Knife Sheathes
Some times the persistence to get a point across will amaze me. I obviously did not "get" what you were trying to get across (about the thread). But instead of giving up, you back up ad regroup and explain a little further! Worth it, cause now I get exactly what you were saying. -
What Does Cross Grain Mean?
cleanview replied to cleanview's topic in Gun Holsters, Rifle Slings and Knife Sheathes
I really though that sounded like one guy would swear by and another would swear the other way.........just leaves me swearing, trying to figure it out Yes sir, I posted a bunch of pics in the thread titled------------------------Me And My Sewing Machine Are Finally Getting Along -
I repeatedly hear people say there belts have two pieces of leather with the grain going different ways and that it is better. No clue what this even means. Worth mentioning, I hear this from people that have purchased, not the builder.
-
Stitching Exotics To Liner Leather
cleanview replied to Modad2010's topic in Gun Holsters, Rifle Slings and Knife Sheathes
does the exotic burnish together like the veg tan????? -
First Holster
cleanview replied to ChiefStealth's topic in Gun Holsters, Rifle Slings and Knife Sheathes
My first was no where near as good. I repeatedly tell people that the paper is the hardest part. Always looking at what to do better next time Myself. On the pic posted it is hard to tell, but looks like the stitches are a little close on the top of the ear, since the distance looks pretty good every where else .......did you have problems aligning when glueing and have to trim and sand? Just an assumption. Looks like edges would be the next place to focus attention on..... Darn good for a first! His videos are money well spent by the way. I have watched them so many times, only draw back is that background music is stuck in my head! -
That is what happened to me.......at least I can take consolation that I am not alone
-
Now I am afraid to even blow on it, that something might change
-
The honest truth is I am not sure how I got it where it is, but I have no intention of ever playing with it again.


-
Gun Belt Finishes
cleanview replied to cleanview's topic in Gun Holsters, Rifle Slings and Knife Sheathes
Last night, put the first coat on, just like the holsters. Thanks -
Curious as to how you finish your gun belt. The holsters typically get two coats of 50/50 acrylic resolene. I have only just started doing gun-belt (since I got my sewing machine) and wondered what is your method for finishing them. That is what do you do after dying?
-
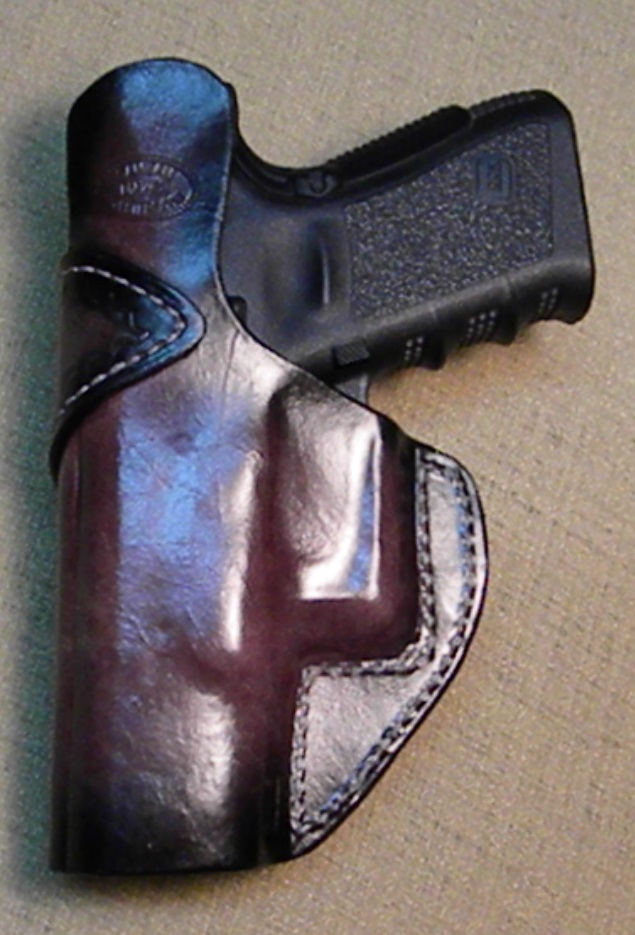
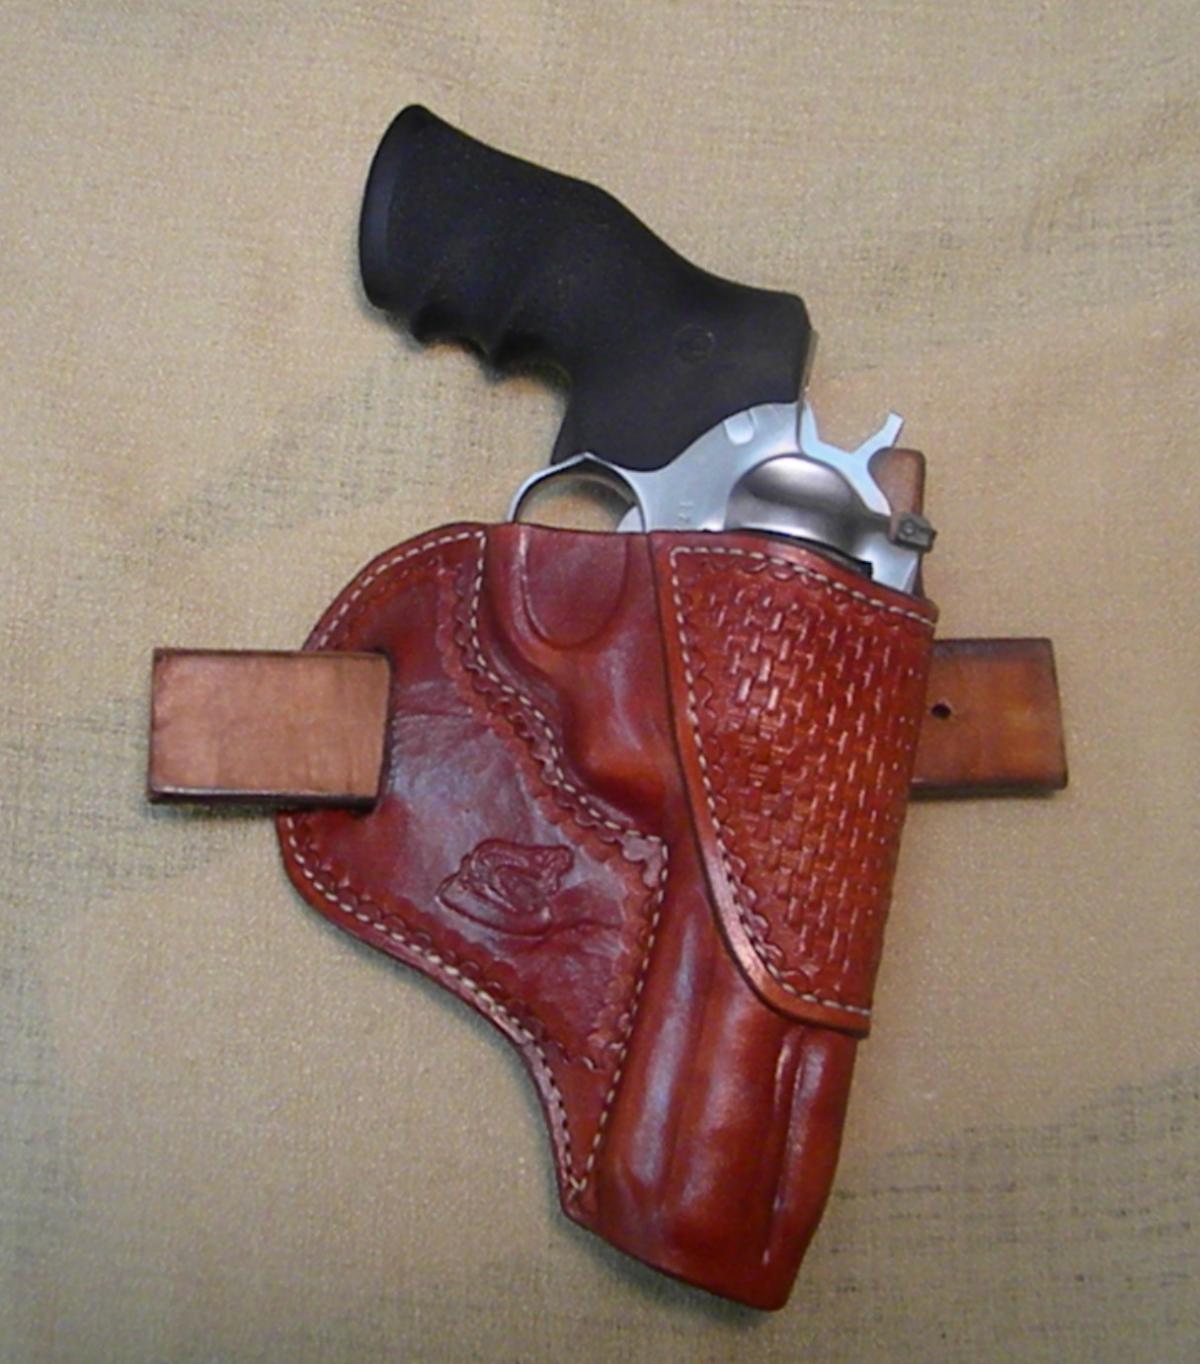
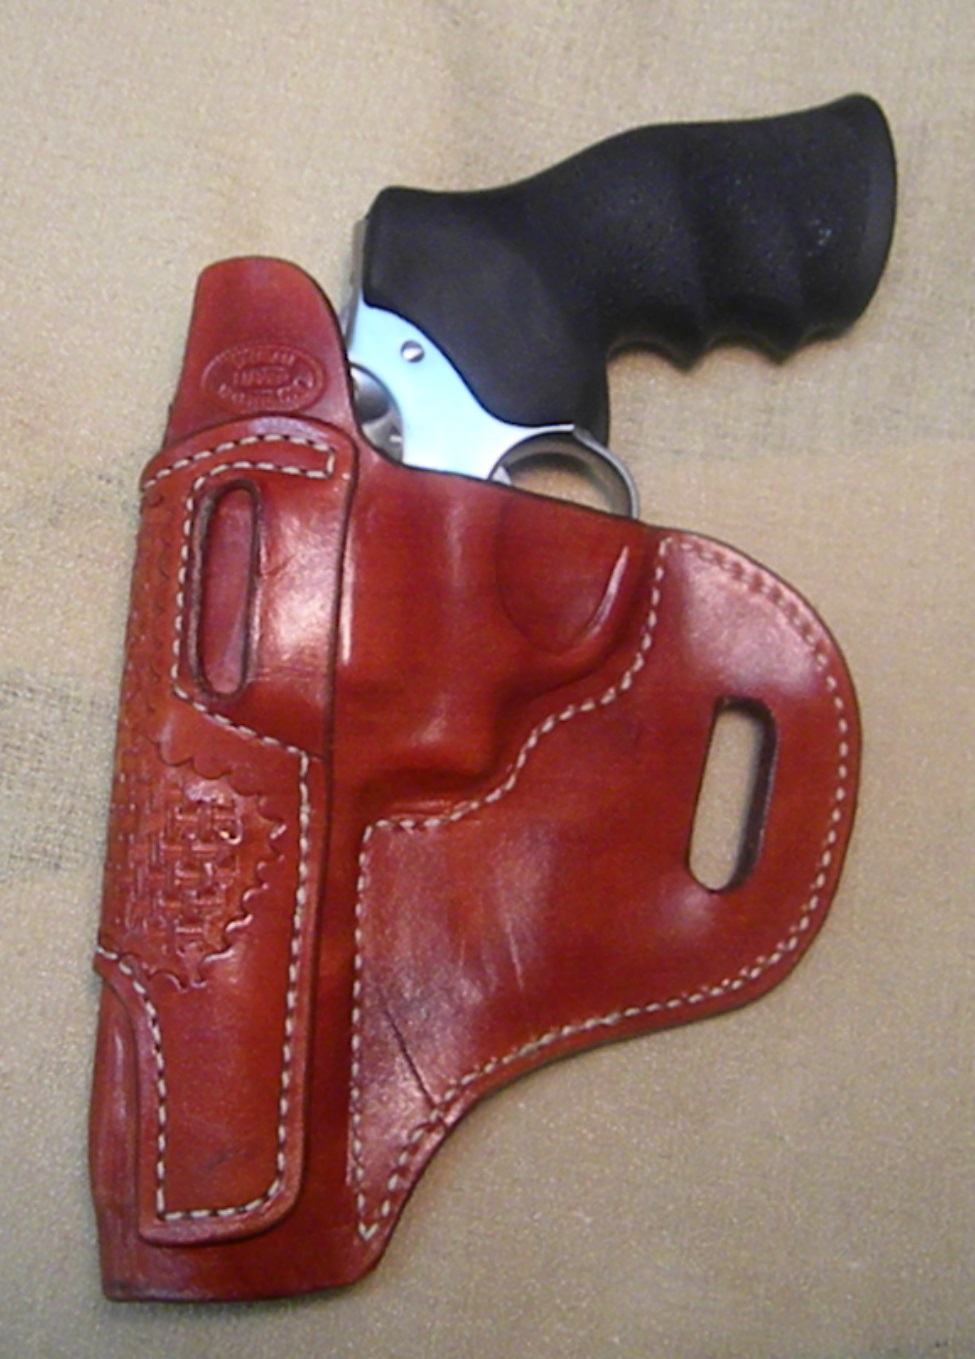
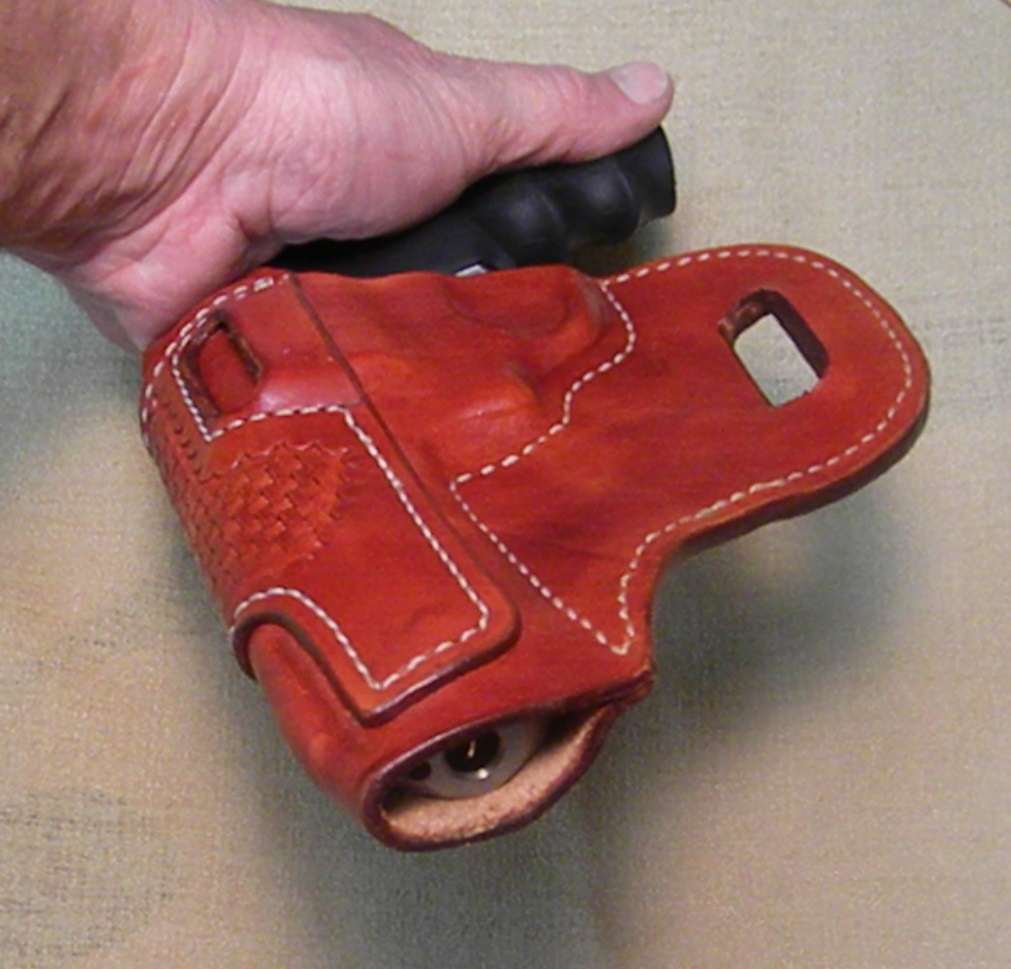
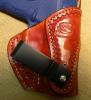
Any Tips On My First Revolver
cleanview replied to cleanview's topic in Gun Holsters, Rifle Slings and Knife Sheathes
first attempt came spot on. Maybey I worried for nothing. Thanks -
Any Tips On My First Revolver
cleanview replied to cleanview's topic in Gun Holsters, Rifle Slings and Knife Sheathes
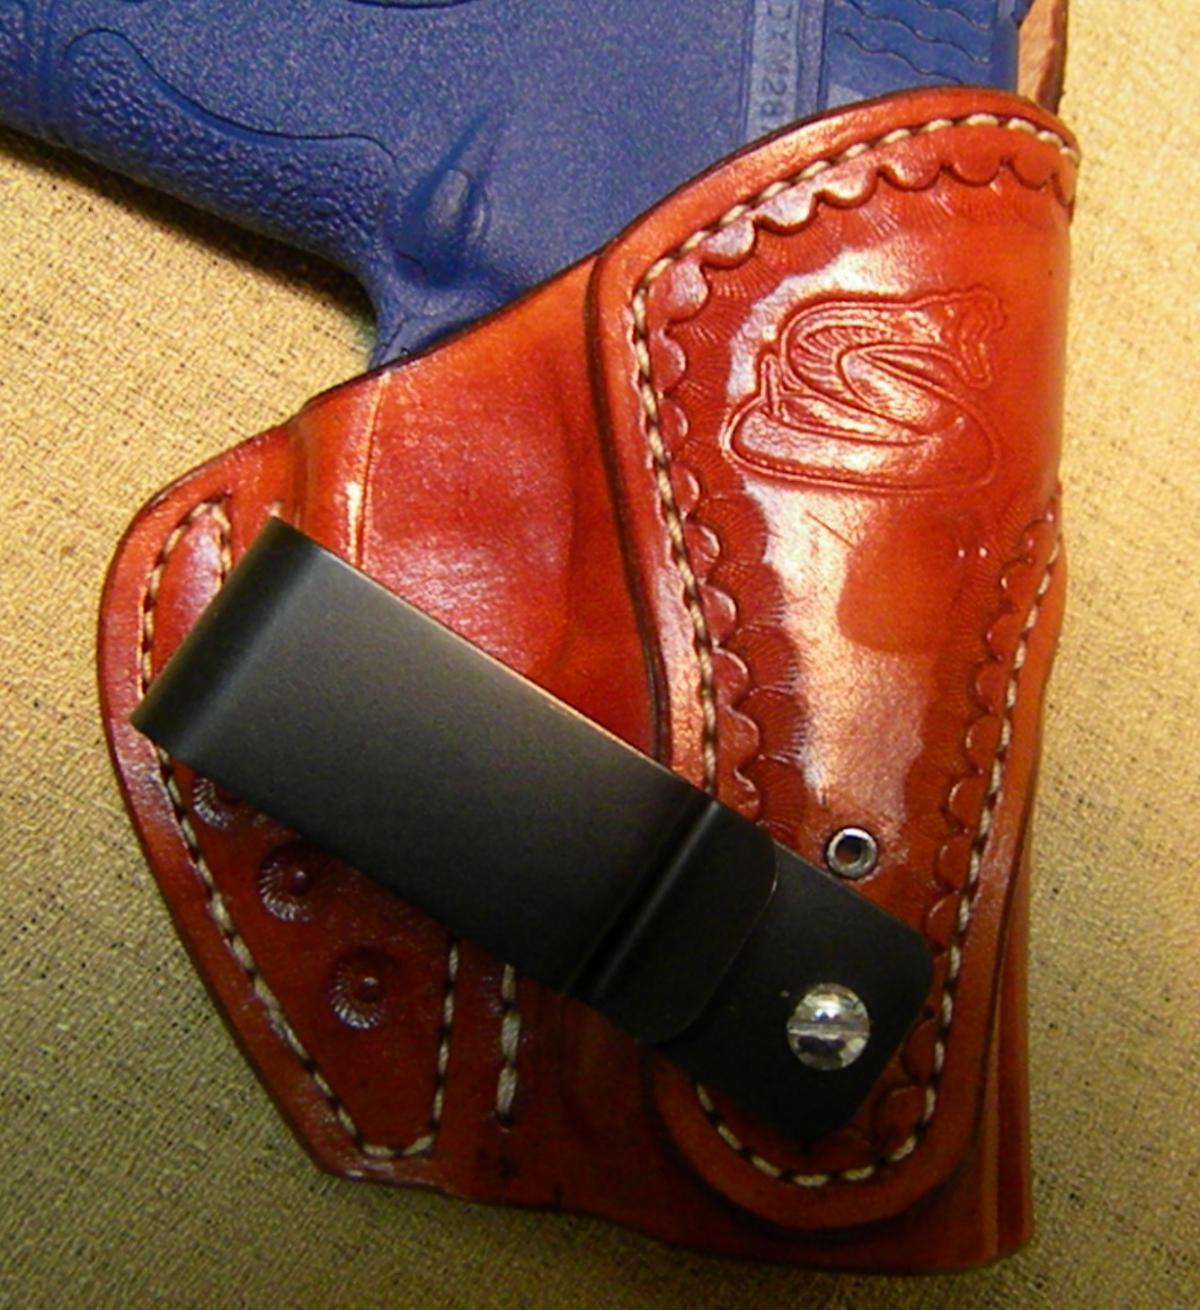
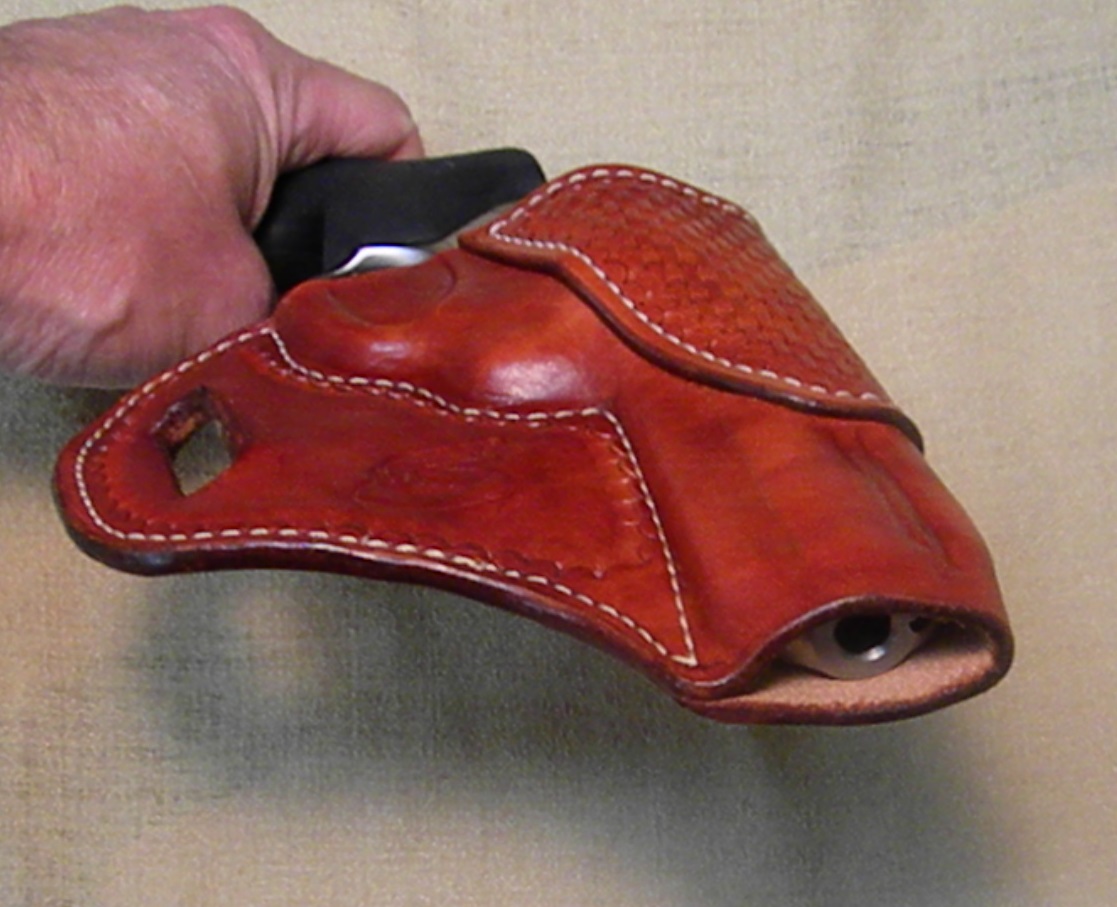
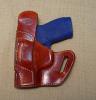
Well, here is the finished goods. My own critique....the ear is a little big and the leather had a mar just beside the snake

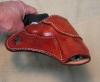
-
Very nice in deed. Question I have done 3 simple inlays. As in cut out a portion of the re-enforcement and put it between the two pieces. Yours look like they are covering the leather on there own? Hence 1. What kind of exotics are they/? 2. Do they burnish into the other leather well? 3. AND can you share any tips and tricks that would take me to the place that I would do one.
-
Lasered Goodness G27 Iwb
cleanview replied to glockanator's topic in Gun Holsters, Rifle Slings and Knife Sheathes
what did you use to laser engrave? I Like it.....I think -
Any Tips On My First Revolver
cleanview replied to cleanview's topic in Gun Holsters, Rifle Slings and Knife Sheathes
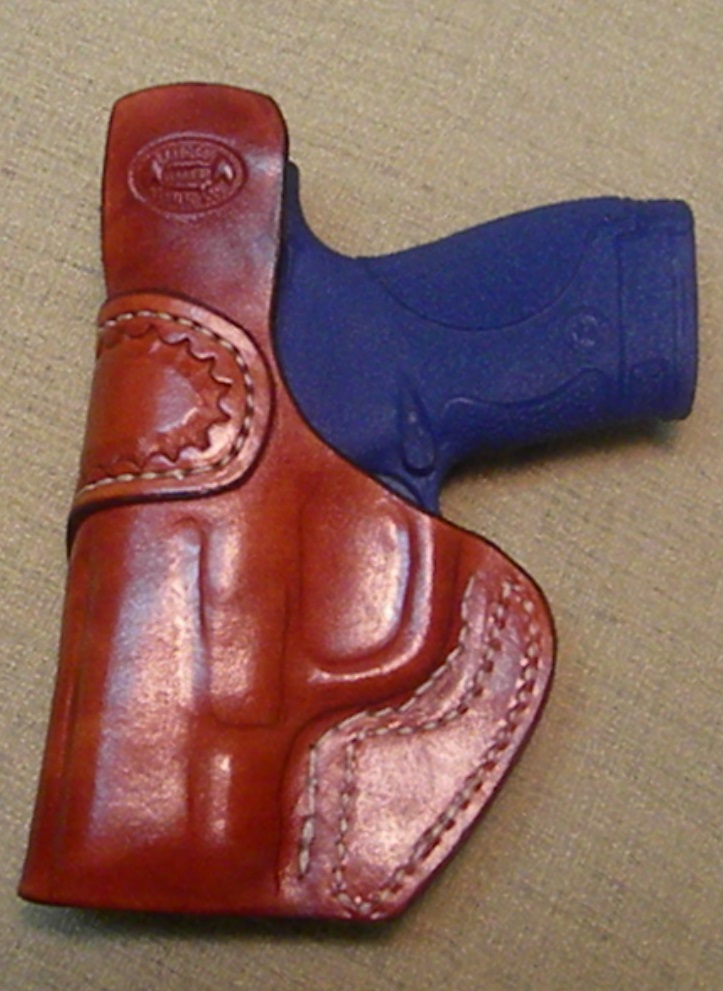
Well, not bad for a first, Maybey could have been 1/8 inch looser on the barrel. The tallest sight I have ever worked around. Hindsight, the ear is a little big and need to bring the rear slot in closer to the trigger guard. I don't get where the retention comes from on the revolver though. It is still not 100% dry and is looser than I care for in a semi auto. Not sure what retention to expect in a revolver but this one is not snug at all. Pointers???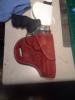
-
Any Tips On My First Revolver
cleanview replied to cleanview's topic in Gun Holsters, Rifle Slings and Knife Sheathes
Very good tip about not having a sharp turn. Appreciate it, never turn down a critique (not obligated to agree with every one but always appreciate them) I have noticed that about the glocks. I have several patterns for the above version of my holsters the accommodate more than one gun. I carry a Bersa BP9cc and noticed how close the internals of the holster would be on a XDS and a shield. the shield I just have a mark that makes it shorter. Then molded individually they come out good. When some one hands me a gun that is similar tor one Io have already done. I can usually trace the pattern, adjust stitch line marks as needed and the work is greatly minimalized. The more you do the easier it comes. Just trying to make each one better as we go. I keep getting handed stuff (like the revolver) and it is start form scratch all over again, but that goes better each time as well. Going to mold the revolver in question this evening. I think ?????? it is going to work out fine......time will tell