ReneeCanady
-
Posts
528 -
Joined
-
Last visited
Content Type
Profiles
Forums
Events
Blogs
Gallery
Store
Everything posted by ReneeCanady
-

1St Braided Belt
ReneeCanady replied to Aurelie's topic in Purses, Wallets, Belts and Miscellaneous Pocket Items
Very nice, clean, and pretty. That braid will have to go on my "learn" list now lol. -
Ever want to throw a project right out the window? I am just about there. I spent days tooling and now I just used med antique gel to contrast black dye. Let's just say the contrast isn't so much. I even tried sucking out some of the antique to lighten it up a bit. Well...now it looks like a two year old dyed it

- Show previous comments 4 more
-

I'll tell from experience...make sure the window is open. It costs more than the leather, and it stinks to have to replace both leather project AND a window.
-

LOL @ Twinoaks
-
Never thought to try alcohol, but I did use water since it was water based and scrubbed like crazy with a paper towel (good call Chief). It eventually came out looking more vintage than anything, but I guess it's ok for the project since it is for a belly dancer who is in love with arabic culture. Twinoaks...hilarious. I will keep that in mind!
-
Excellent video! I have to admit, I can NOT hold both needles and the awl at the same time lol. I love how you did the close up of the stitching method.
-
Does Anyone Know Why My Finish Is Removing My Dye?
ReneeCanady replied to Natalie O's topic in How Do I Do That?
I just started leather working in December of last year and had this happen to me also. I was soooo ready to just throw in the towel. I am a newb still but this seemed to work for me. The step right before dyeing for me is to use a coat of neatsfoot oil on the project, let it dry completely, and then dye it. -
Water Bottle
ReneeCanady replied to ReneeCanady's topic in Purses, Wallets, Belts and Miscellaneous Pocket Items
Thanks Chris! I did line the inside with a light coat of beeswax and for the final lining I used resin....ecolite I think it was called. -
WOW! Excellent work as always! Drooling over here at that awesomeness of your work. You are excused for disappearing lol.
-
Thank you all I have a ton to learn, but I must admit, I think I am becoming a master at rigging stuff lol!
-
This round box I am maknig my daughter is kicking my butt! Still brain storming. Everytime I think I know what I want to do another idea pops in my head. It has to be atleast 16 1/2 x 6 1/2 with the handle on the top so you can carry it flat.
- Show previous comments 1 more
-
Thanks Spinner! Where in the world did you disappear to lol? Haven't seen you post any pics lately.
-

Disappeared into a very busy shop for a few months...lol. Speaking of pics, I just did a post of a a few of the latest projects in the Showoff area. Did you get any further on the armor?
-
I don't know what you saw last. I did the female armor set you knew about, but also (don't know if you seen any of the male or not) did a male armor set! And a million odd things in between lol. I'll have to go look for your pics

-
Thanks for your response Beaverslayer! I was very curious about his question as well. I made the choice a few months back to use the chicago screws if I needed to hold thick leather together. I had the same issue with Tandy rivets. I found out the hard way as well that they just kinda pop off lol. I will have to check into these copper rivets.....thanks!
-
Replica Armour Set From Conan The Barbarian
ReneeCanady replied to daveydude's topic in Historical Reenactment
Very nice! -
Saddle Found At An Antique Store
ReneeCanady replied to ReneeCanady's topic in Saddle Identification, Restoration & Repair
It is 12 inches in length from the front of the seat to the back of the seat....just the part where you sit. -
Very nice!! My hand is hurting just from looking at them lol! AMAZING!
-
Saddle Found At An Antique Store
ReneeCanady replied to ReneeCanady's topic in Saddle Identification, Restoration & Repair
I paid $80 bucks for it so no matter what the worth it was worth it for my western room I have never seen a saddle around my area for any less than $200.00 because I live pretty close to the Cowtown Rodeo. I have been looking for one to use as a decoration so this works great! I may eventually try the tandy mini kit and see if I like the process or not. The tiles on the floor are 12x12. The the strings had a lot of mildew on them before I cleaned it up. These pics were taken after my sad attempt of cleaning it lol. It does look much better than it did. The wool underneath is in GREAT shape. Usually when I find a decent priced saddle that is the first thing to look really beat up. Thanks guys for your input! -
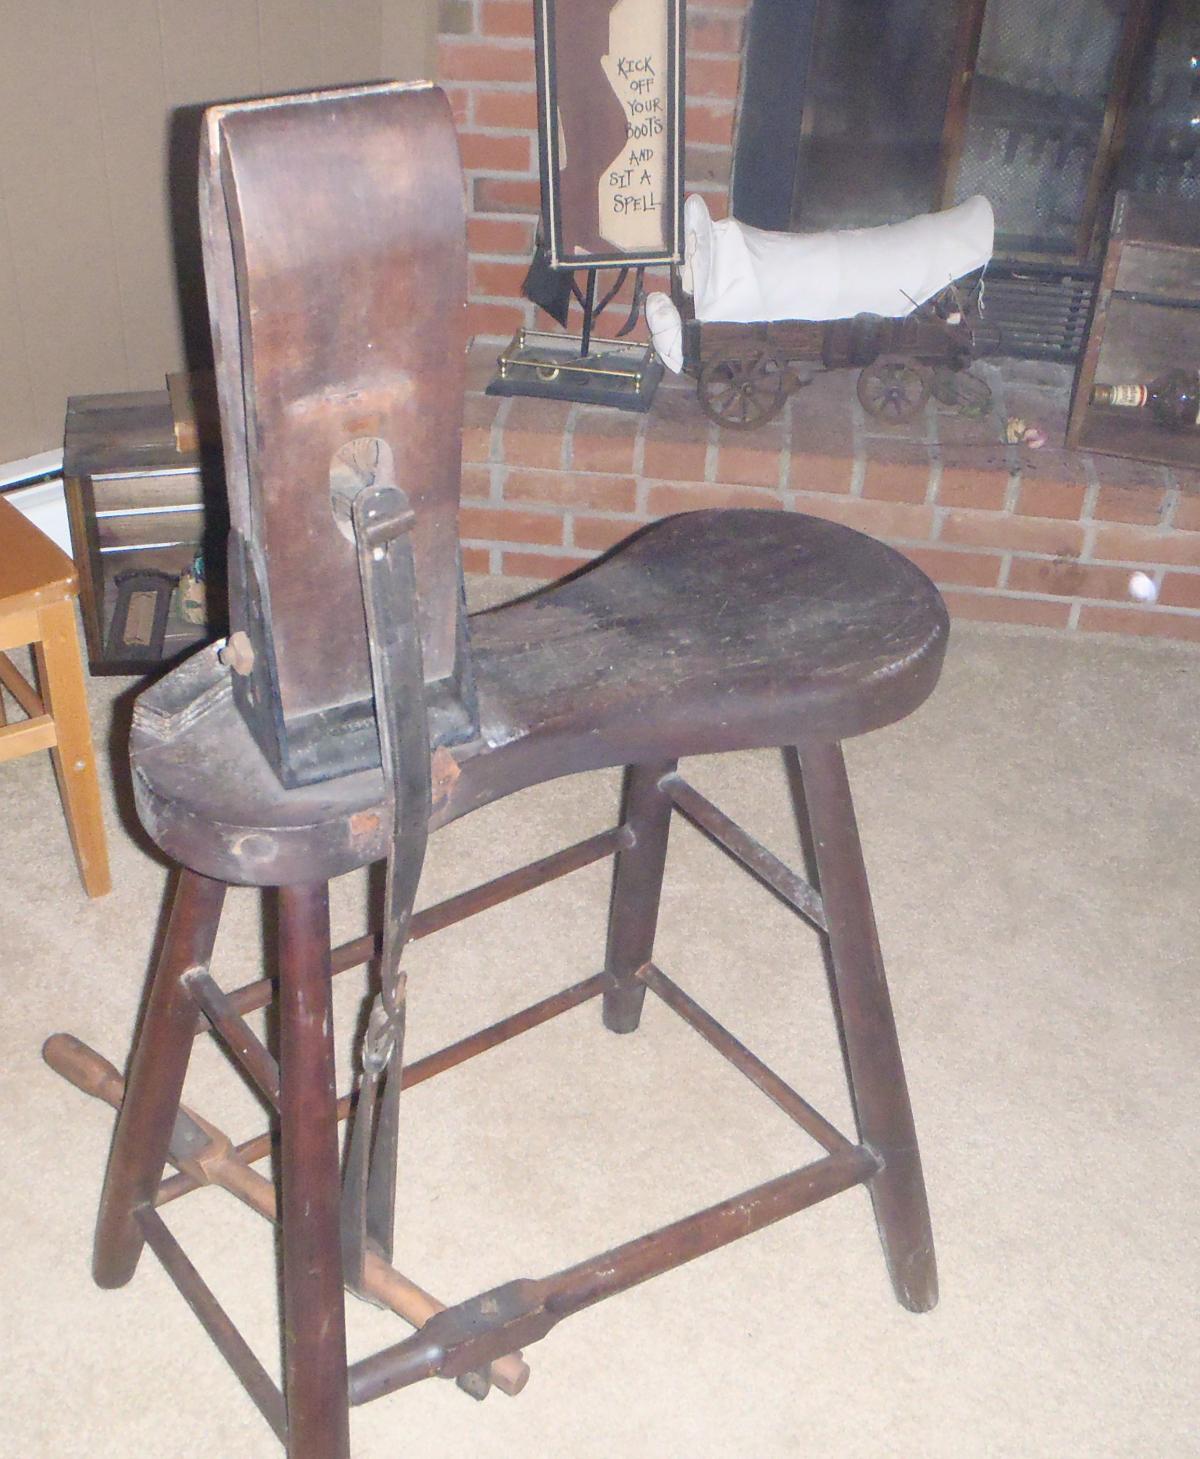
Hello all, I found this saddle at an antique store last weekend. I know NOTHING about saddles. I thought it was really cool looking and would go just right in my fireplace room I assume it is a pony saddle because it is small. The only markings I see on it is the #601 stamped into the back skirting (i think that is what that part is called lol) Anyone have any idea if that is a series, a certain makers mark, or what? Any info would be cool news to me such as age, it's condition etc.. Thanks for looking! I cleaned it up as much as I could, but I am sure it still looks pretty dirty to you all.
-
LOL You made me go look to see if it was a left or right footed. I wasn't sure after that. Great idea with rasping the edges! Before last Christmas I wouldn't have had a clue what this thing even was. Don't mind the dust Just came in my door yesterday
-
ROFL! Sorry for the HUGE pics. I am horrible at getting them right on this site. The bench I have from Tandy is not a bench much less old. It is that little one you put under your legs.
-
WOW! Very nice (and pretty)
-
Oh yes, it sure beats the little wooden one that is entirely uncomfortable that I bought from Tandy. Wonder if the hubby will mind if I park this right infront of the T.V LOL
-
Thanks! We paid $95. I think I would have been stuck at more than that also 1. because I don't know how old it is 2. I haven't attempted making saddles (never know though lol) and 3. Pfft I have spent that much on any other of my really cool finds so why not. I looked up other pics and it looks like the spot where I thought something might be missing might be wear and tear on the wood from so much leather rubbing it. Either way with it cleaned up nicely it will make a great part of my western style fireplace room.
-
I spent the weekend antique shopping in Lancaster, PA and I found this awesome (or so I think) saddle maker's bench. There is one spot that looks like it is missing something, but I have no clue what would have been there, any suggestions? It still clamps shut really well and seems fully functional. Any clue what I should have paid for something like this LOL?

-
Very nice I have a friend that would drool over that belt!
-
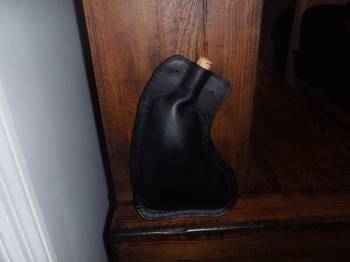
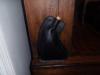
A water bottle for the Hubby I made. This was tricky since I used leather that was very soft and was already grey. I wasn't sure if I could dye it another color or not...it worked.
-
Left Delaware and ran to Western PA to avoid Hurricane Sandy. All to find out we had to run back to avoid the snow storm approaching PA. All is well at home, thank God. Seriously thought the creek would have been in our house.
-
Score! He loved it!
-
That's the truth! I can imitate almost anything, but the problem with that is, it may not be functional LOL! I hope to God it fits. He lives in NJ and I live in DE so for the few dollars I guess it was worth it to let me guesstimate it. It would have cost him $4 to cross the bridge and who knows how much in gas. Good news is he is a amature blacksmith and could possibly be able to make another hawk to fit it