jimi
-
Posts
1,418 -
Joined
-
Last visited
Content Type
Profiles
Forums
Events
Blogs
Gallery
Store
Everything posted by jimi
-
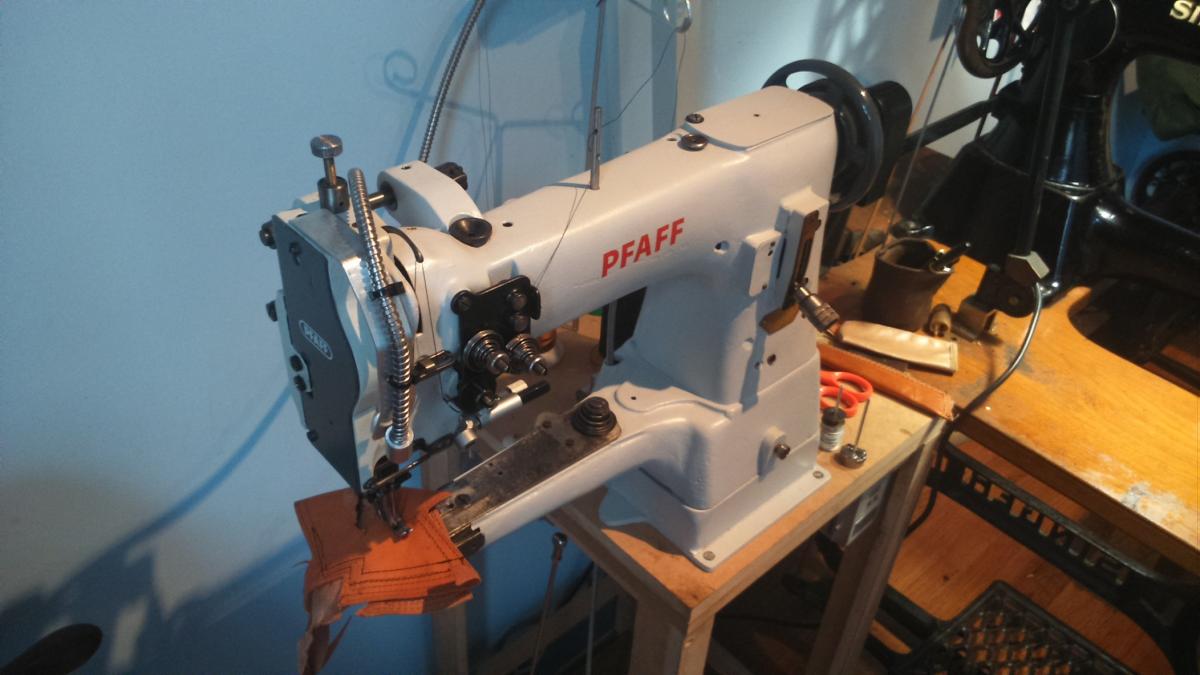
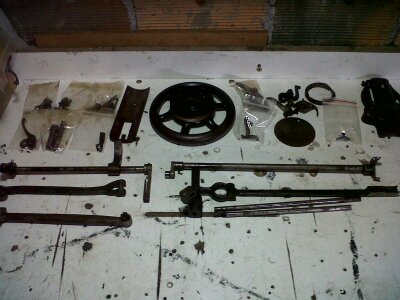
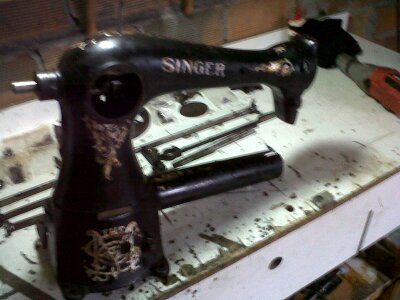
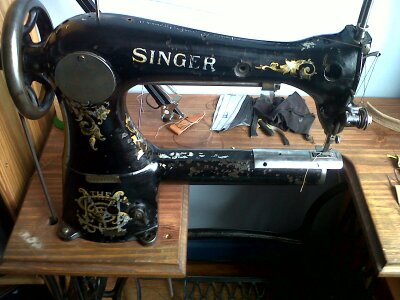
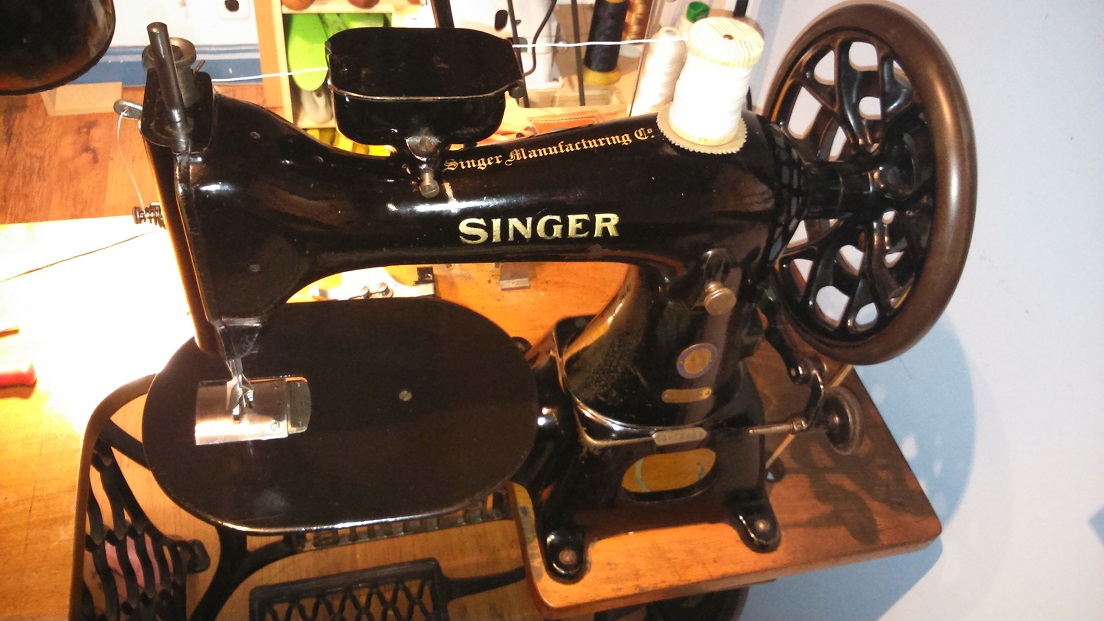
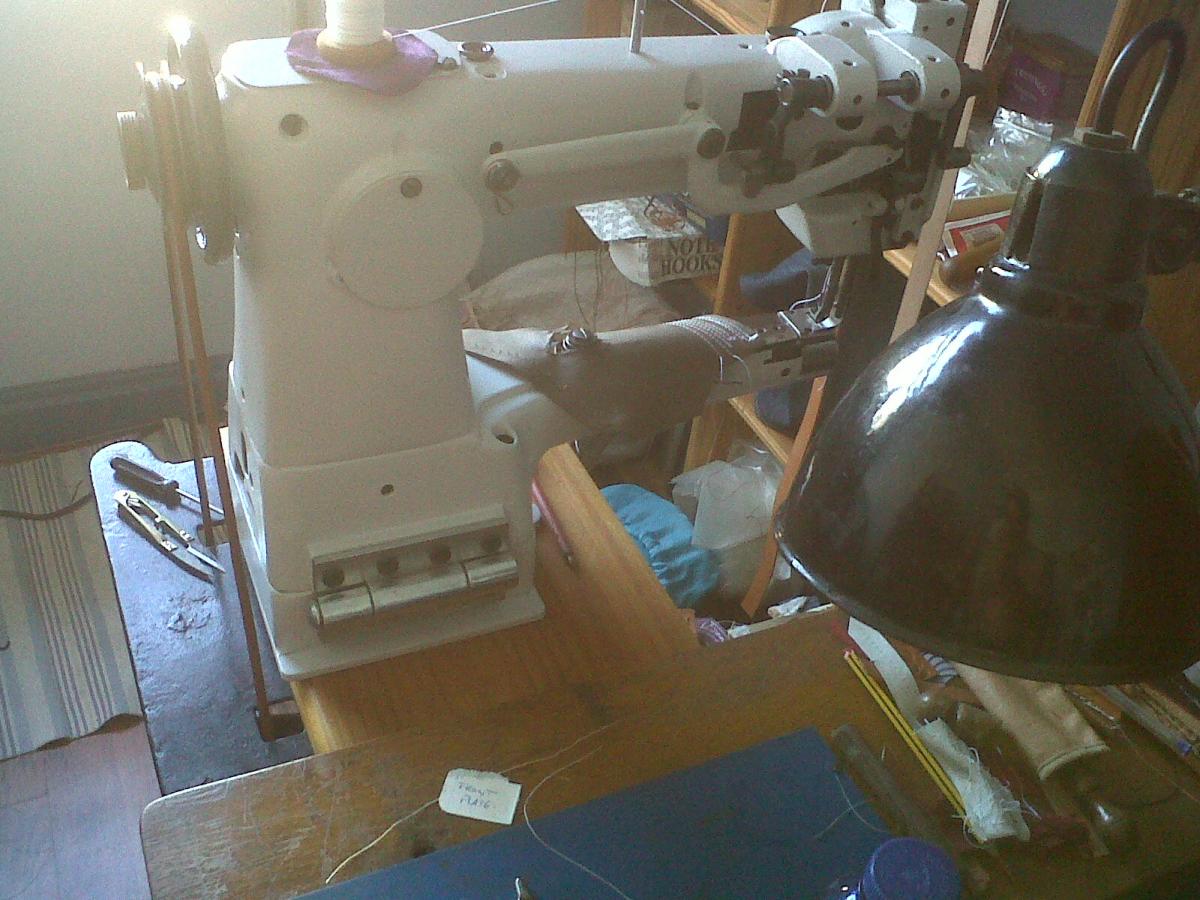
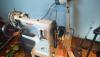
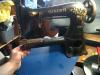
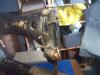
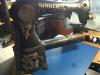
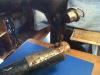
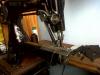
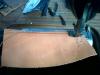
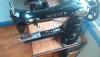
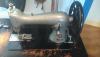
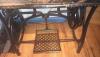
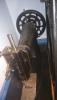
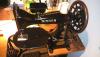
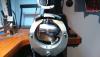
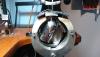
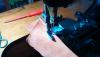
Here is the update on the machine. now it has a new 1Hp servo motor fitted to a "mean time" table and some new decals on, new swing down guide drilled and fitted and some new feet and binder plate. thanks again to tor,contstabulary and other LW followers for their help and comments. just to say, dont think that it is impossible to get that chunk of metal going again. some of them just need that clean up and oil part that was left out and a little bit of your time.

-
Would Appreciate Your Advise On Restoring This Singer 45K25
jimi replied to Evo160K's topic in Leather Sewing Machines
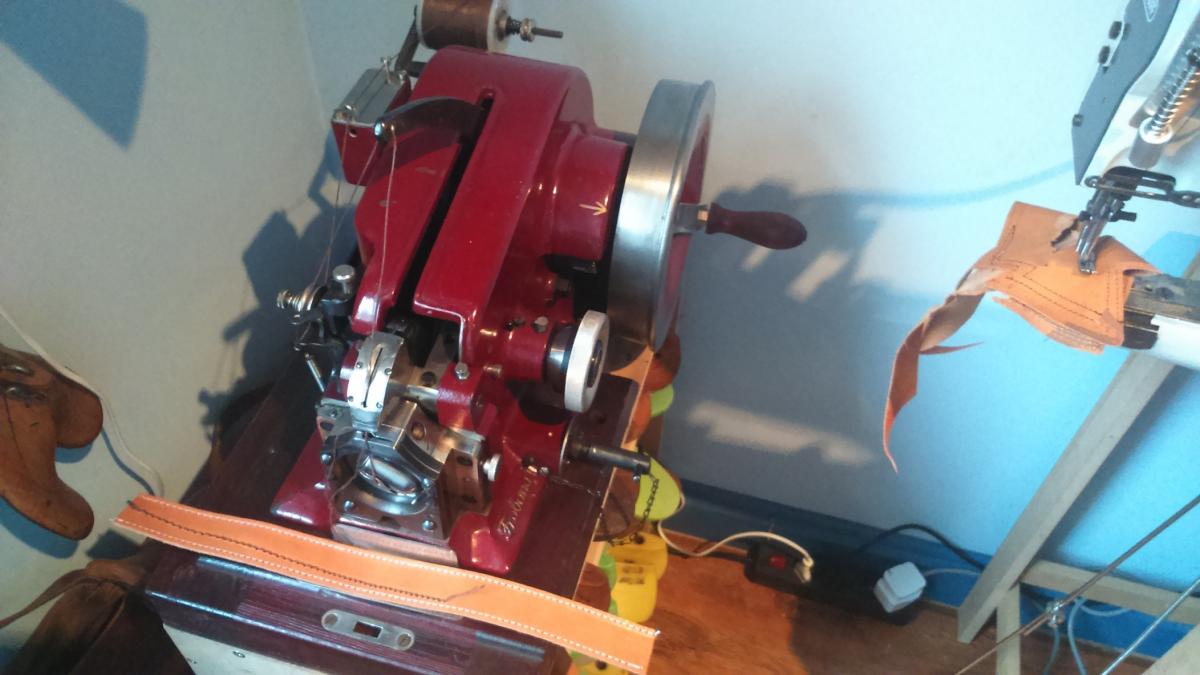
Evo this is the machine that was fully restored, the pfaff not the frobana. thanks again to folker for being able to aquire the tension unit. The frobana is for sewing soles on shoes or sandals etc..

-
Would Appreciate Your Advise On Restoring This Singer 45K25
jimi replied to Evo160K's topic in Leather Sewing Machines
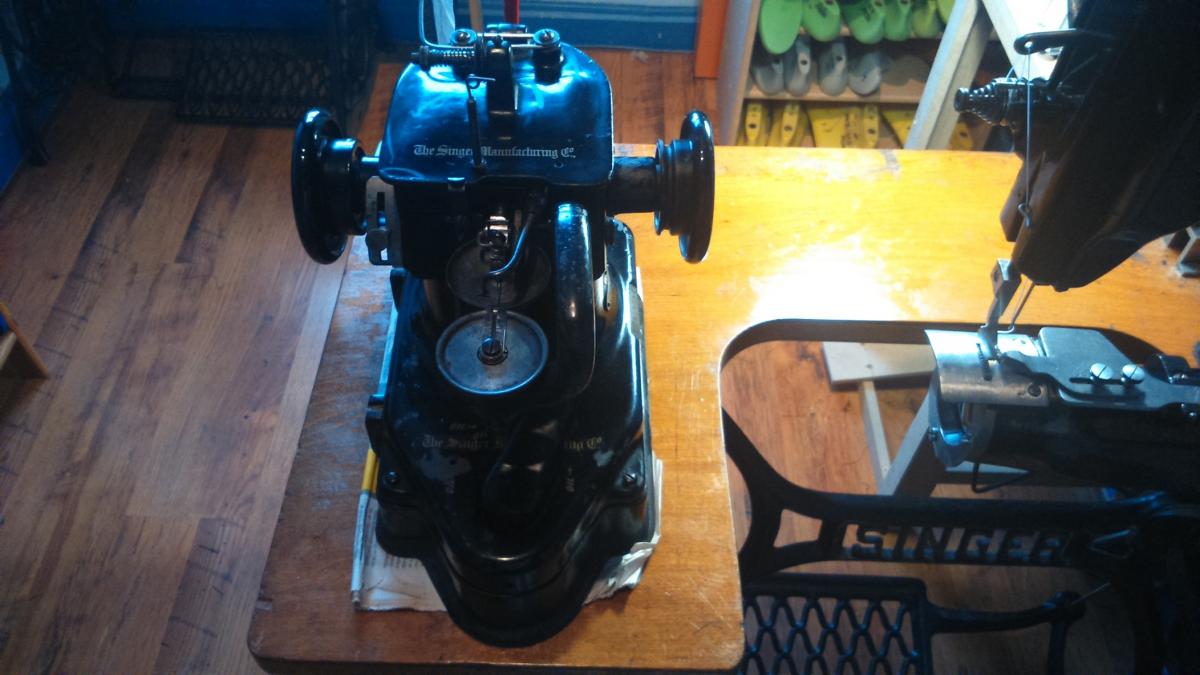
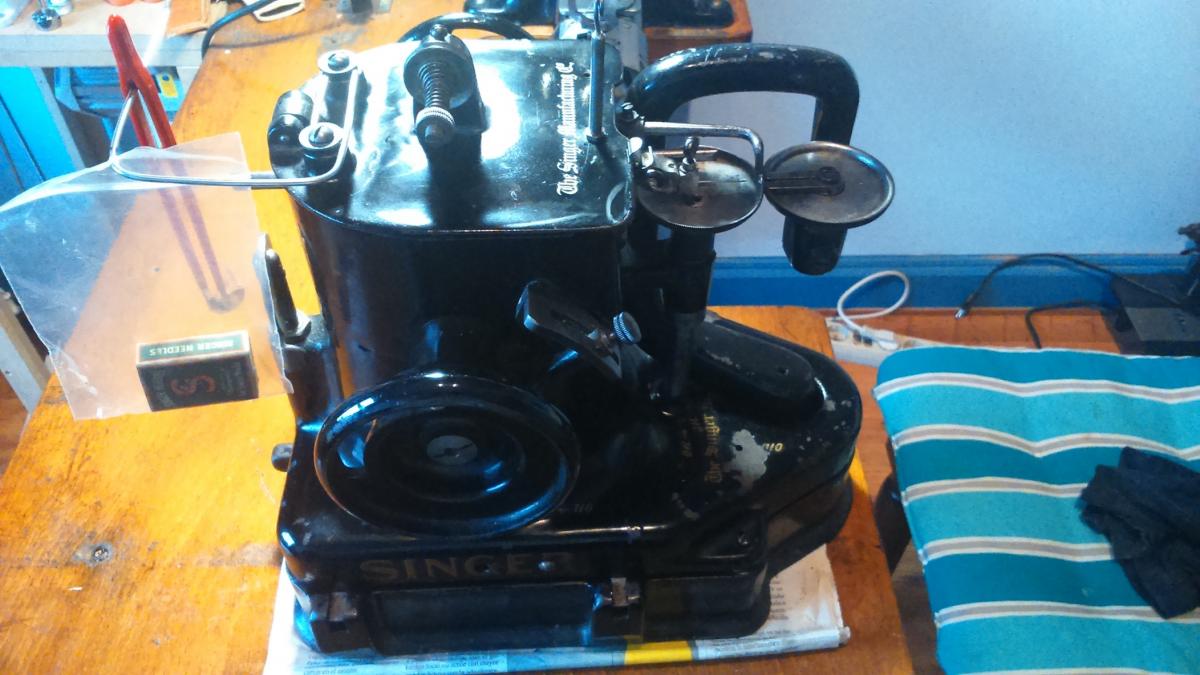
Very cool decals foker. did you see "the birth of a sewing machine" above mentioned?? looks like they possibly wet the area before putting on the decal then wet the paper again once on?? with hot water. as for letting it dry? maybe. personally i dont think they would be unusable. thanks for the comments, i only used a drill,file and a grinder and for the curve of the arm i put the milling bit in the router i use for wood!, i had them bent in a machine/press. iam sure there is pipe of this diameter and thickness also somewhere around. iam sure Evo can rustle up some parts for his machine too. just cleaned and oiled again, and a couple of months latter i was lucky to find a box of needles for this 46k49 fur sewing machine on ebay. they have the long channels on both sides of the needle. nº 215x15 if i remeber. this machine does a chain stitch and is used for joining fur pieces or sewing gloves, Hats and the like i think. the only thing that was wrong with this is was the needle bar was slightly bent so it was straightened and now works again.

-
Would Appreciate Your Advise On Restoring This Singer 45K25
jimi replied to Evo160K's topic in Leather Sewing Machines
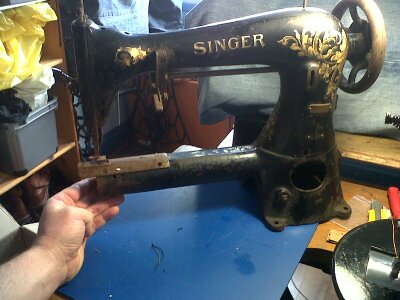
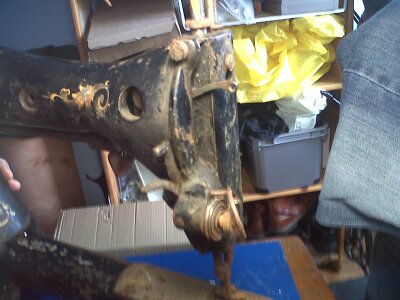
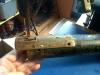
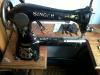
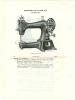
The 18-2 across the arm singer was just cleaned,oiled and a needle bar,feed dog, shuttle and needle plate replaced. to liven up the dull paint i use shelack with a cloth, just like french polishing an old piece of furniture but you need to move fast with the cloth!! this is from 1917 and has its original decals. This next one was left out in the rain to rust and was saved. it was stripped down and cleaned and polished. it is a 17-10 up the arm singer and it has all of its original parts to it i would think. the reason i say this is because there are two similarities to this machine and the old 45k1 on the floor. this 17-10 is from 1894 and the 45k from 1895 and looking closely at the parts you can notice that they are not finished like the latter models, they seem to be finished off roughly and maybe not squared up exactly. i managed to save some pictures of this restoration: After it was cleaned and put together the only thing missing was the needle clamp, nothing else was needed. so i made that and put a needle in and it did not skip a stitch!!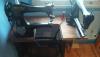

-
Would Appreciate Your Advise On Restoring This Singer 45K25
jimi replied to Evo160K's topic in Leather Sewing Machines
Evo, you can see the process for the restoration of the pfaff in the last two pictures in another topic called "journey to the unknown". 45k21 is from 1950 the 45ksv99 is from 1962 and the 45k1 i think as it has no plate is from 1895 (and still sews!!)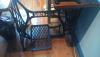


-
Would Appreciate Your Advise On Restoring This Singer 45K25
jimi replied to Evo160K's topic in Leather Sewing Machines
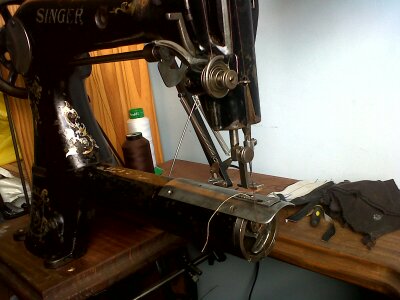
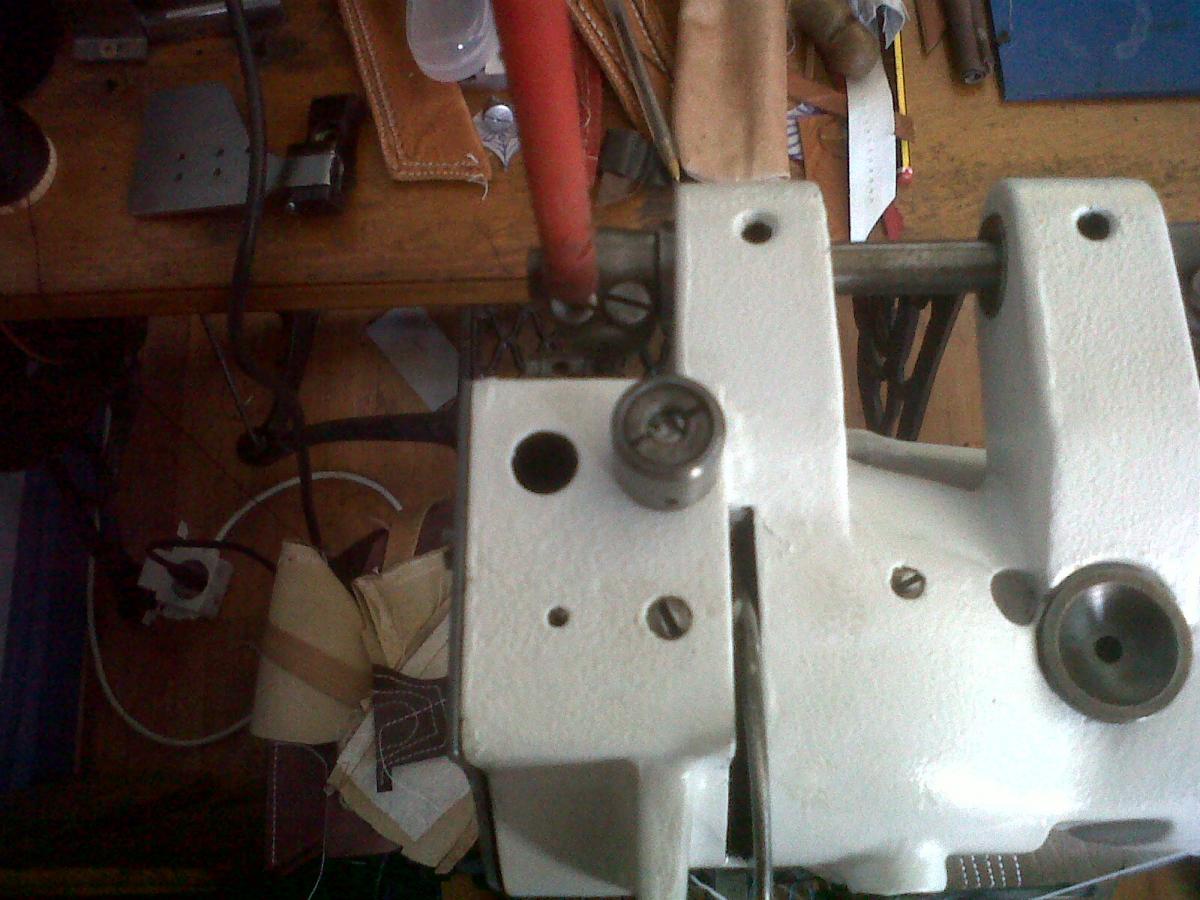
the alternative swing fence was made from the measurements of the drawing. the needle plate and feed dog were also made for the right toe foot which came with the machine. look for these screws if you are looking for your oil box: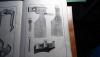

-
Would Appreciate Your Advise On Restoring This Singer 45K25
jimi replied to Evo160K's topic in Leather Sewing Machines
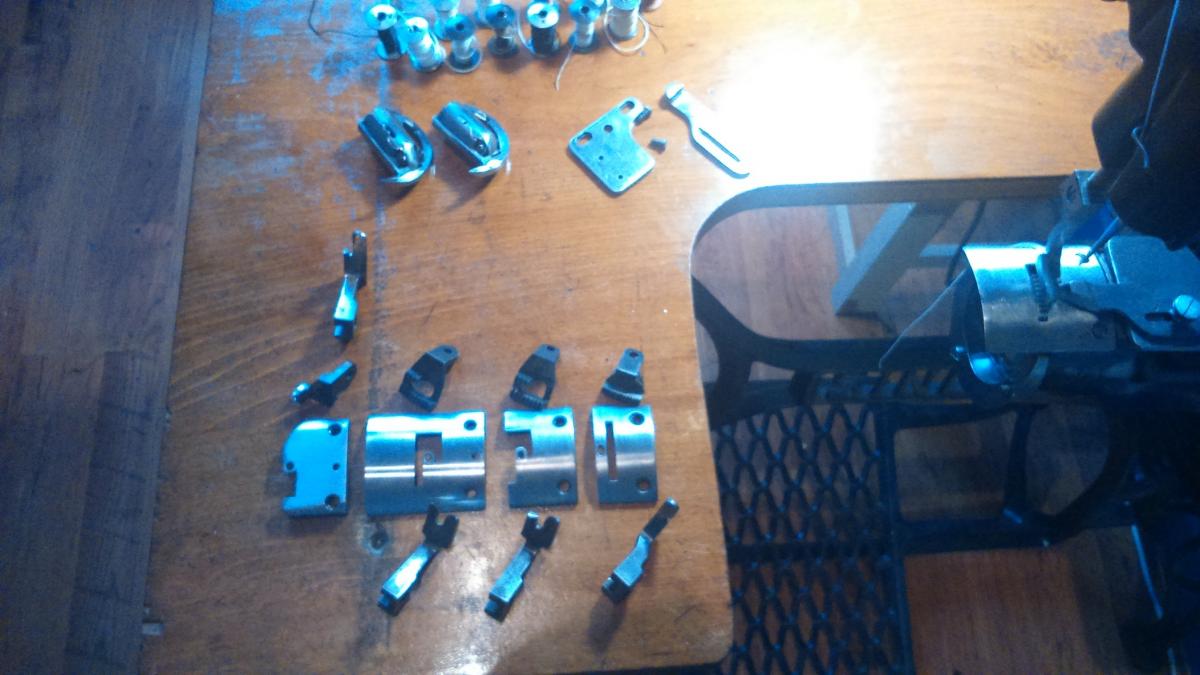
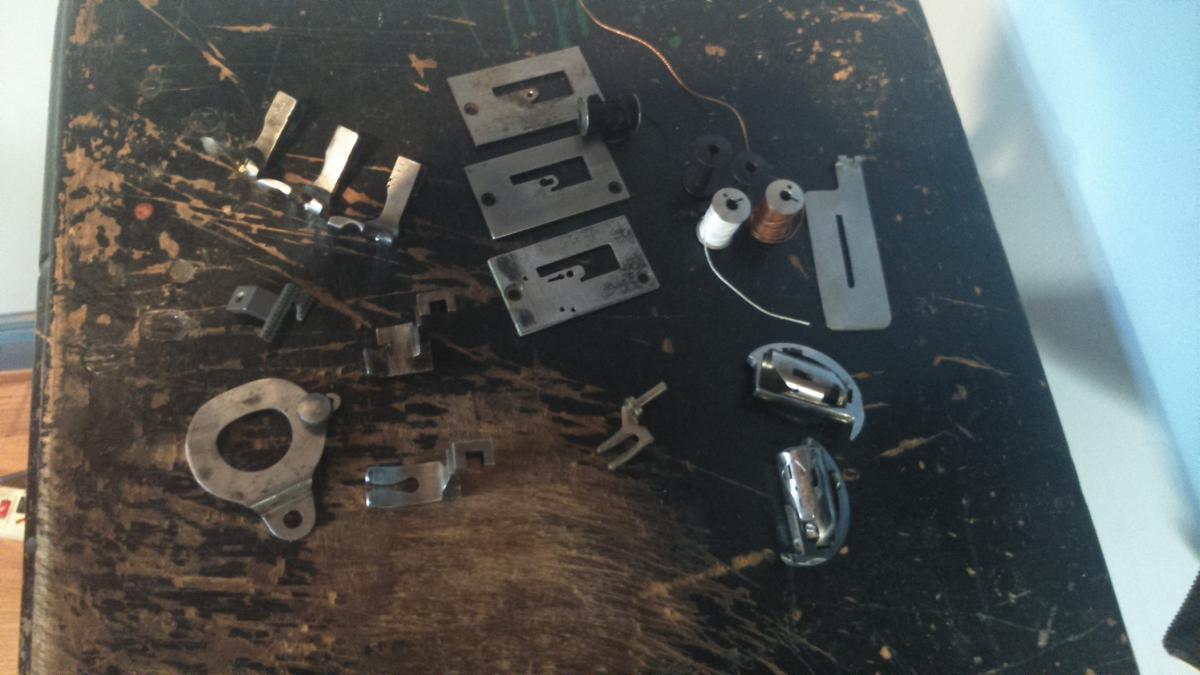
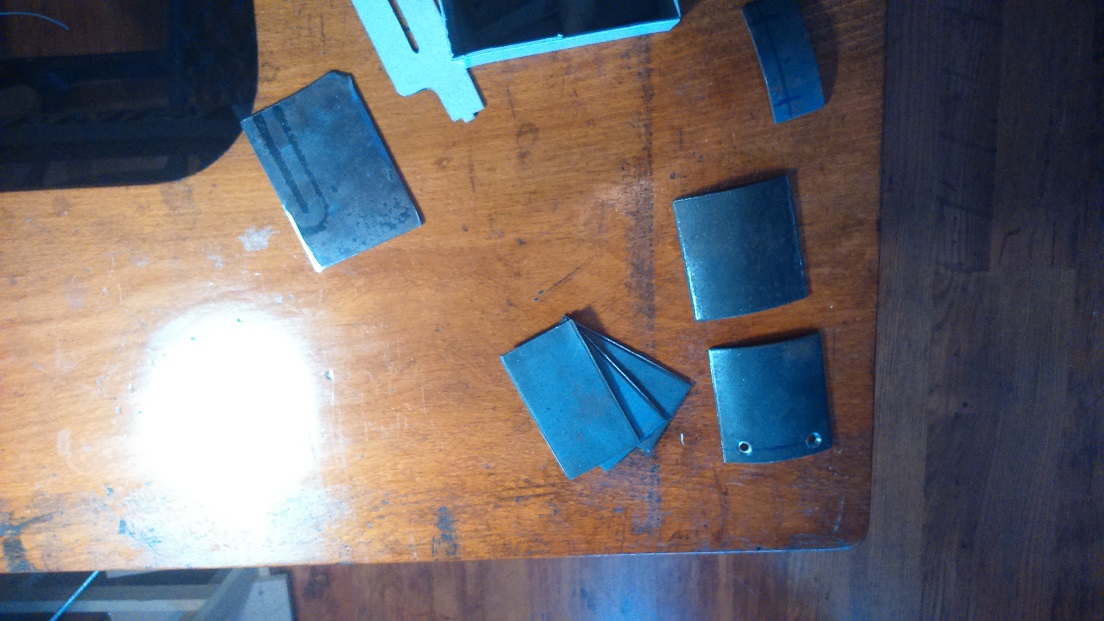
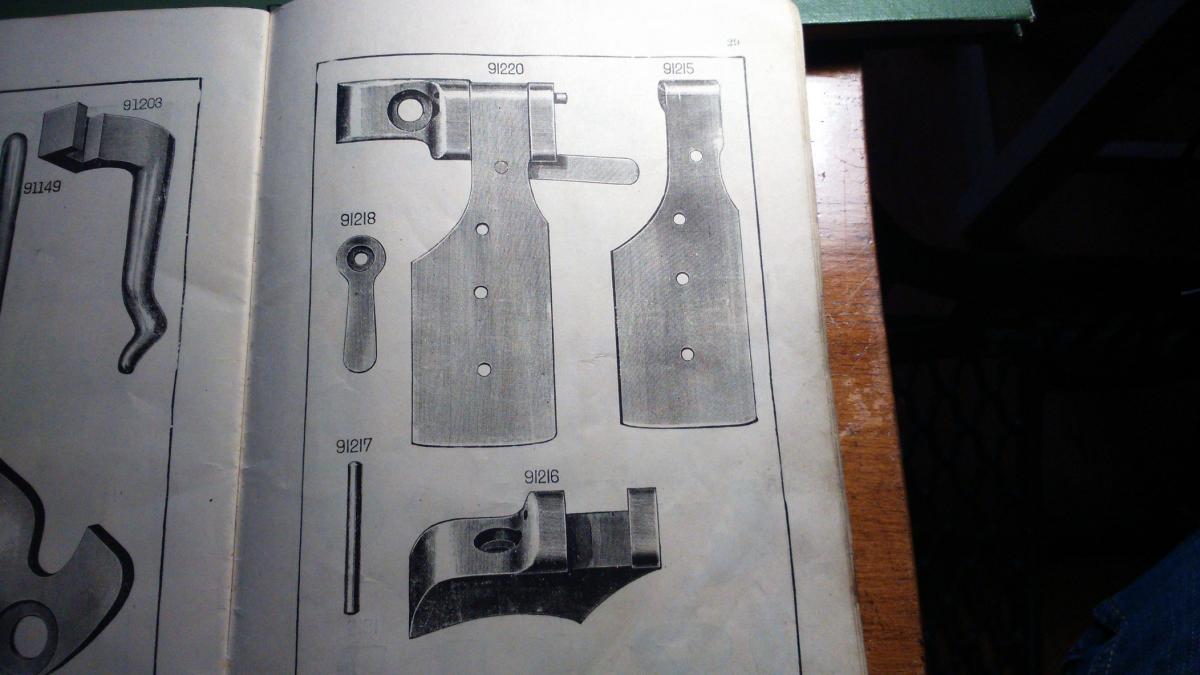
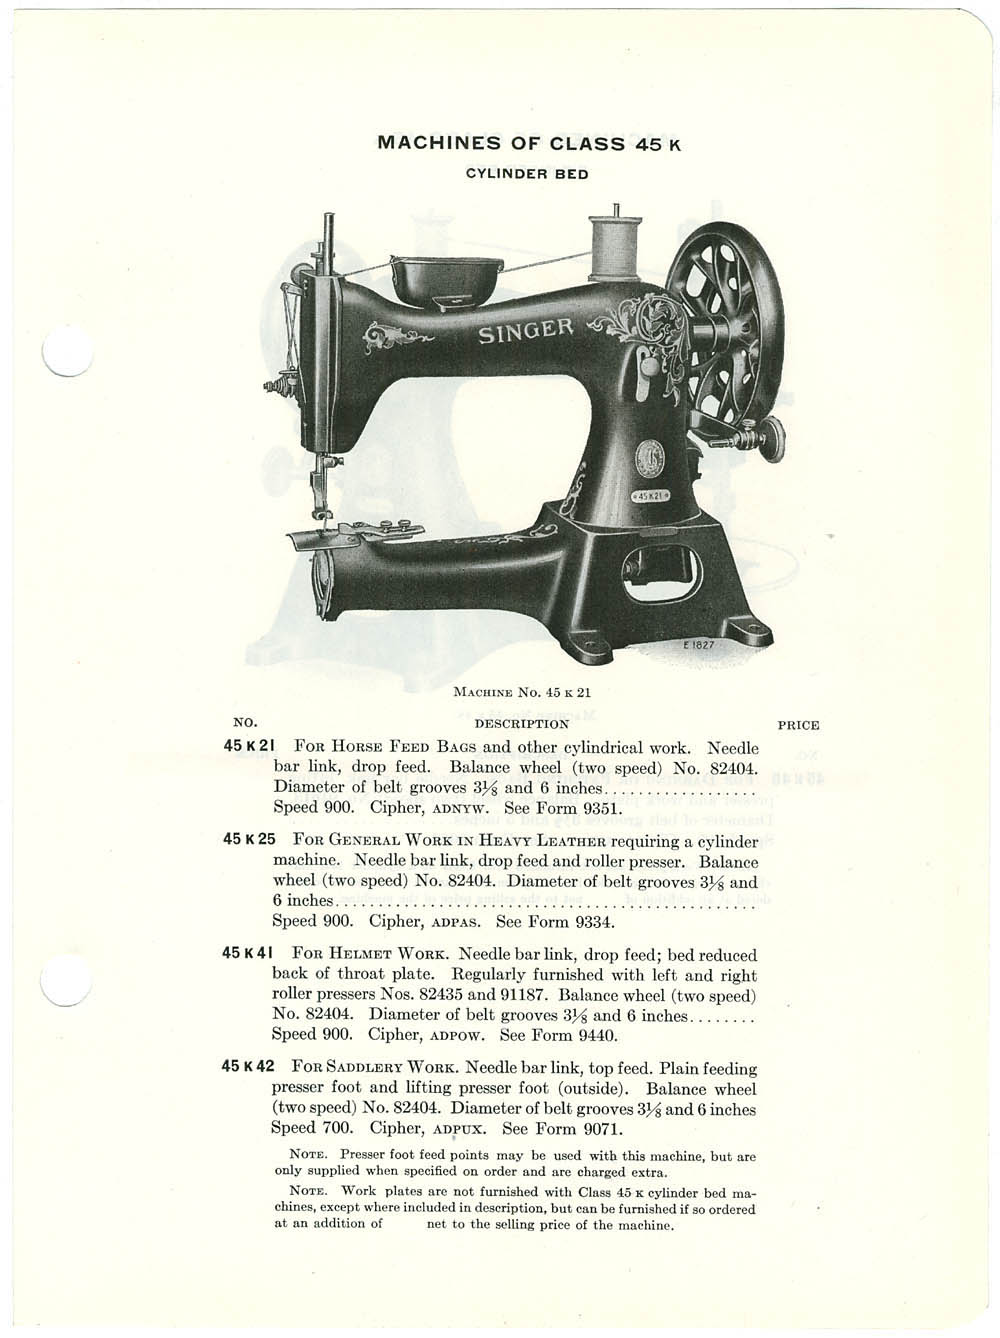
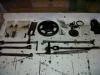
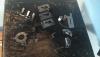
Oh so i bought the work plate from you foker lol! Evo, yes the machine came in this condition and with the treadle included, it only needed to be threaded and oiled. and the decals are original. if you look up the documentery called "the birth of a sewing machine" it is taken in the singer factory in killbowie and at one point you see how they were put on the machines and at another point you see them being made in sheets. that looks like gold leaf they were made of, looks similar to the way you would book bind with gold leaf, stamped/pressed? maybe constabulary can give us a little info on his flaky ones lol? are they made of gold leaf folker?? Good luck with finding the oil box and bobbin winder Evo, remember to get all the screws that go with them if you can. if you are handy with your tools you can make these parts up. i ended up making 5 plates and 3 feed dogs up from some steel plate. for your machine you need to get someone to curve it. i looked for some 6mm steel pipe with the aprox radius then got them to bend the thinner plate over this and made up the plates i needed. first thing is to square up your plate and get your two screw holes in the right place, screw it on and then put in a new needle and mark your needle hole. for your feed dog opening you can either use your old plate or scale up a picture from a parts manual. these were drawn to scale and are good for references (i dont think they are exact). http://dixiesewingmachine.tzo.com/MANUALS/SINGERPARTS2/45K21,%2045K25,%2045K63,%20&%2045K78.pdf. if your feed dog is original then i would try to file the teeth nearly to a point again, remember you need a good file as they were hardened. the hardest part was the feed dog as this needs to be grinded little by little and the screw hole needs to be milled flat bottom not with a bevel like with a normal drill. i done mine with a small 9mm milling bit in the drill, first with the 9-10mm hss drill then with the milling bit. you can do this in your pillar drill. the two holes on the plate need to be finished the same. otherwise if you find the same thread type on other screws with the bevel head then just change them. Drill out the bulk then fine adjust with a file. here are a coulpe of examles: -
Would Appreciate Your Advise On Restoring This Singer 45K25
jimi replied to Evo160K's topic in Leather Sewing Machines
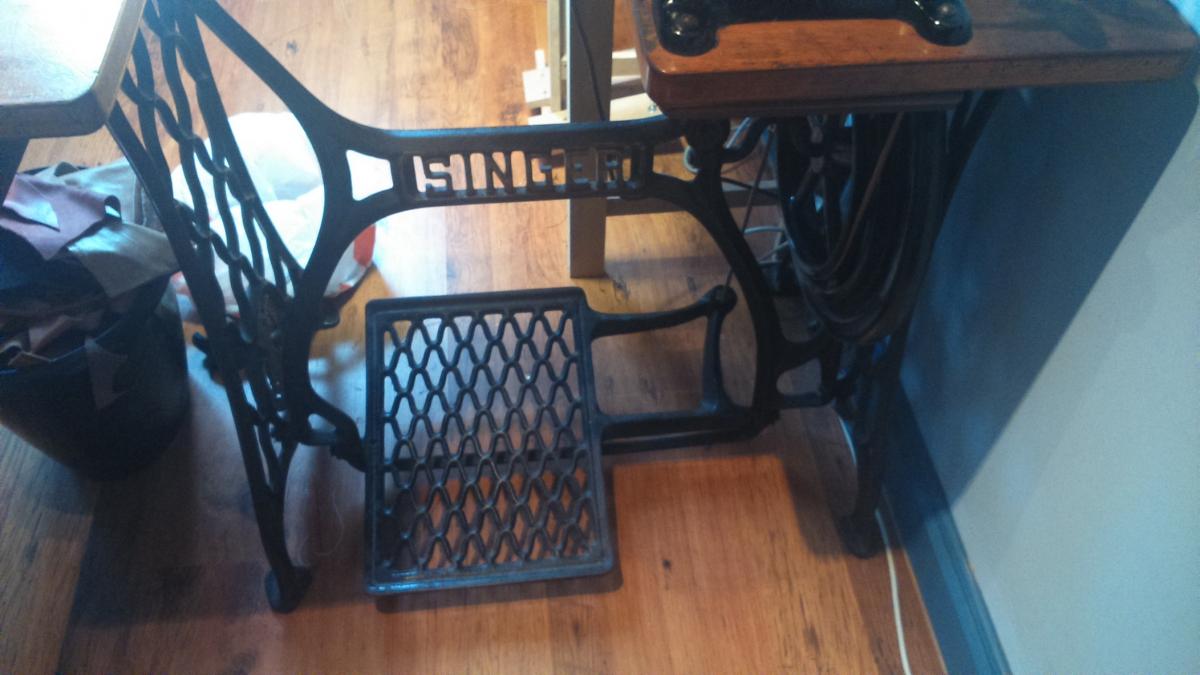
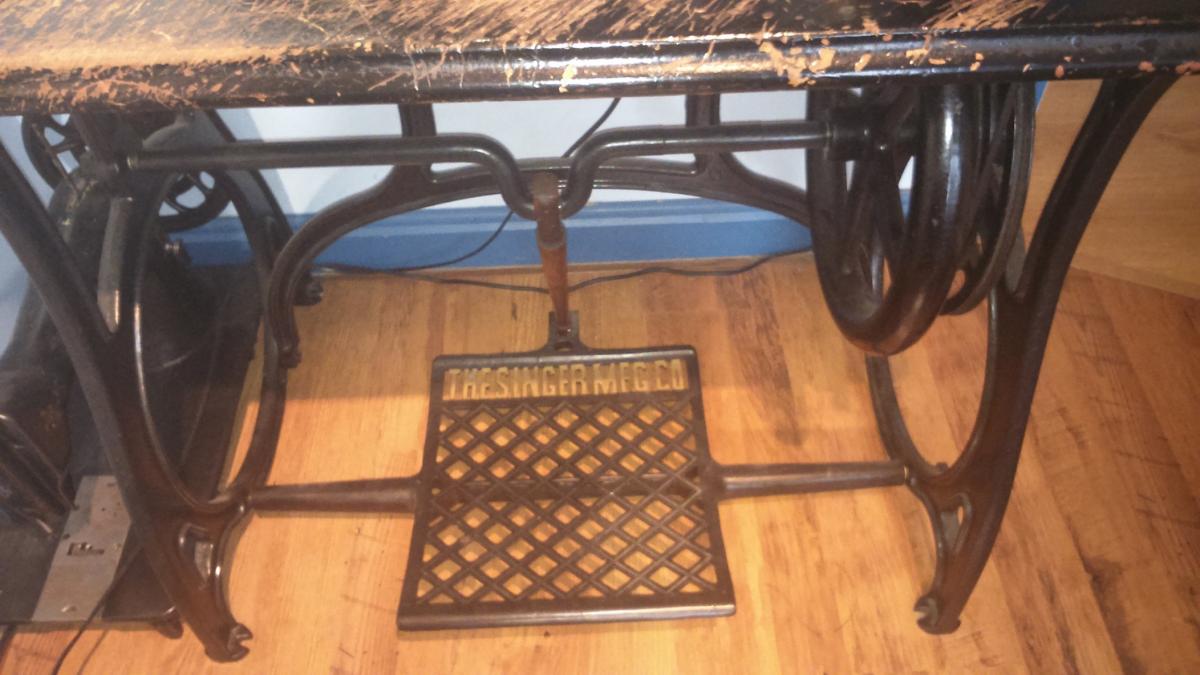
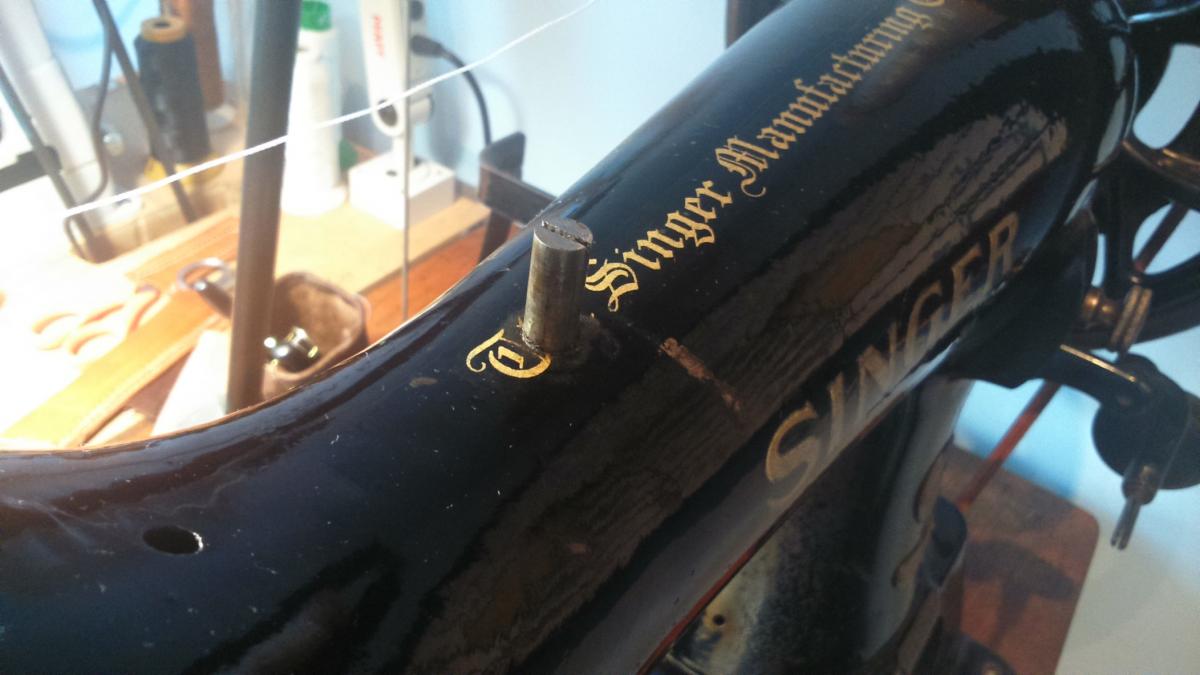
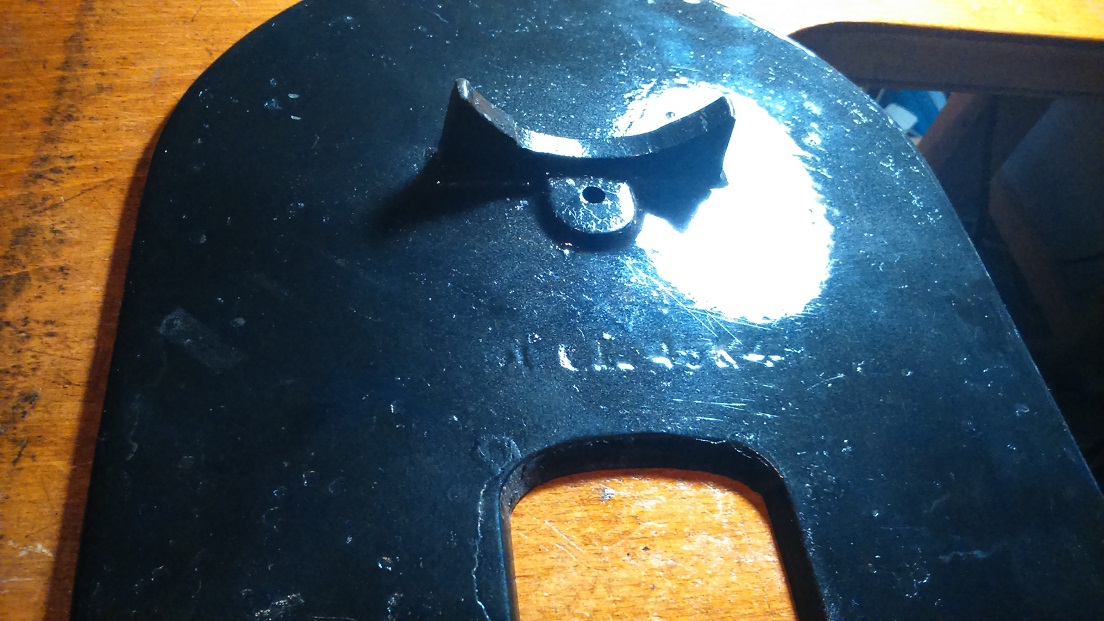
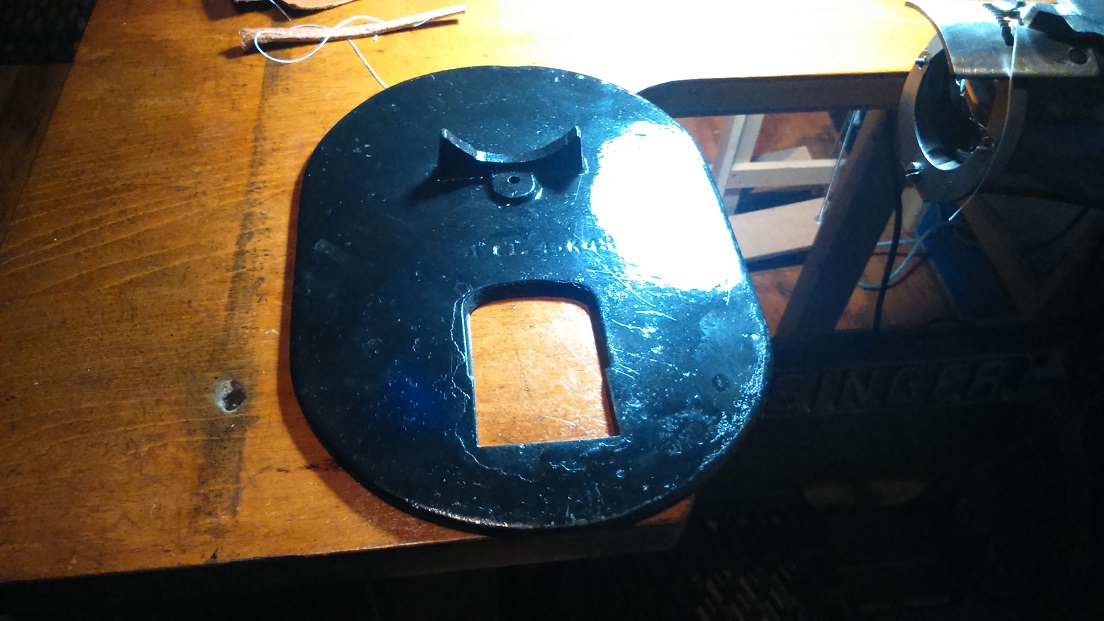
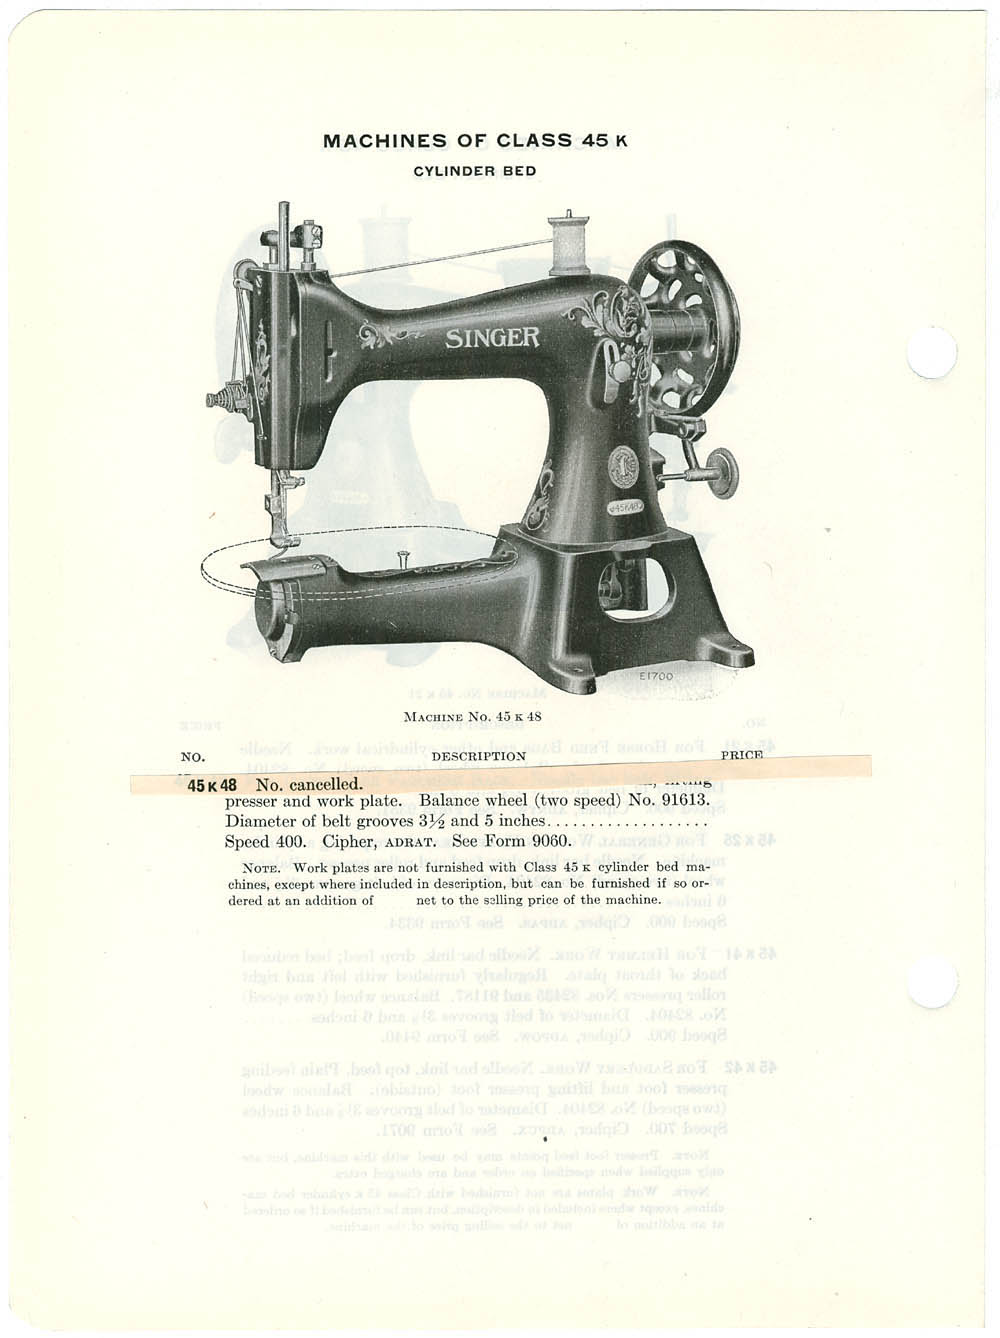
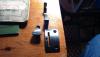
Here is an idea if you needed a flat surface for sewing. If you look on the bottom of the page with the description of the 45ks it says that work plates were supplied at extra cost. they have the nº 91261-45k48 stamped on the underside. they were cast iron but you could even make a wooden one, only thing you would need is the screw to hold it on with. it is the same screw that holds the wax pot on which i see you dont have present. also your balance wheel is on back to front??

-
Would Appreciate Your Advise On Restoring This Singer 45K25
jimi replied to Evo160K's topic in Leather Sewing Machines
Yes, that would be one and a half times around.
-
There are some parts here but i dont know if they would fit the singer 45k?? http://www.ebay.co.uk/itm/ADLER-105-Needle-Plate-Suits-some-models-Almost-see-text-details-/321475250146?pt=AU_Sewing&hash=item4ad96b07e2
-
you mean this: you can clean up the metal parts with a small wire brush in a drill.
-
Sorry i misunderstood that one?? when i let the foot down it rests on the feed dog
-
Looks like about 3mm
-

-
Would Appreciate Your Advise On Restoring This Singer 45K25
jimi replied to Evo160K's topic in Leather Sewing Machines
Sorry,No i dont, i have 3 45´s a k21,k99sv and k1 i think because it has no plate. but they are just regular ones like yours. i left a comment on your other question about the machine not sewing. if you need any pictures just say. -
Hey Evo, so did you change the needle plate?? could you get a closer picture taken of your needle plate? it should not move up and down with the feed dog? maybe your feed dog is set too high. although when raised to its highest it should not touch your plate anyway. i would say it is a combination between the short stitch length and the high feed dog. this happened on a singer 18-2 of mine and the problem was the needle plate was worn down on one side and the feed dogs teeth were also worn and could not be lowered so the material kept coming back.
-
Would Appreciate Your Advise On Restoring This Singer 45K25
jimi replied to Evo160K's topic in Leather Sewing Machines
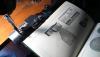
No Problem Evo, here is another interesting one, although it is not your exact machine it is still interesting. as for the service/mechanics manual??? you cannot even find a normal original printed user manual for these machines!. i would get it sewing well before restoring. sil10-160.pdf -
Would Appreciate Your Advise On Restoring This Singer 45K25
jimi replied to Evo160K's topic in Leather Sewing Machines
Hi There, this is the only manual i have seen for this class of machine on the net. 45Kmanual.pdf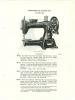
-
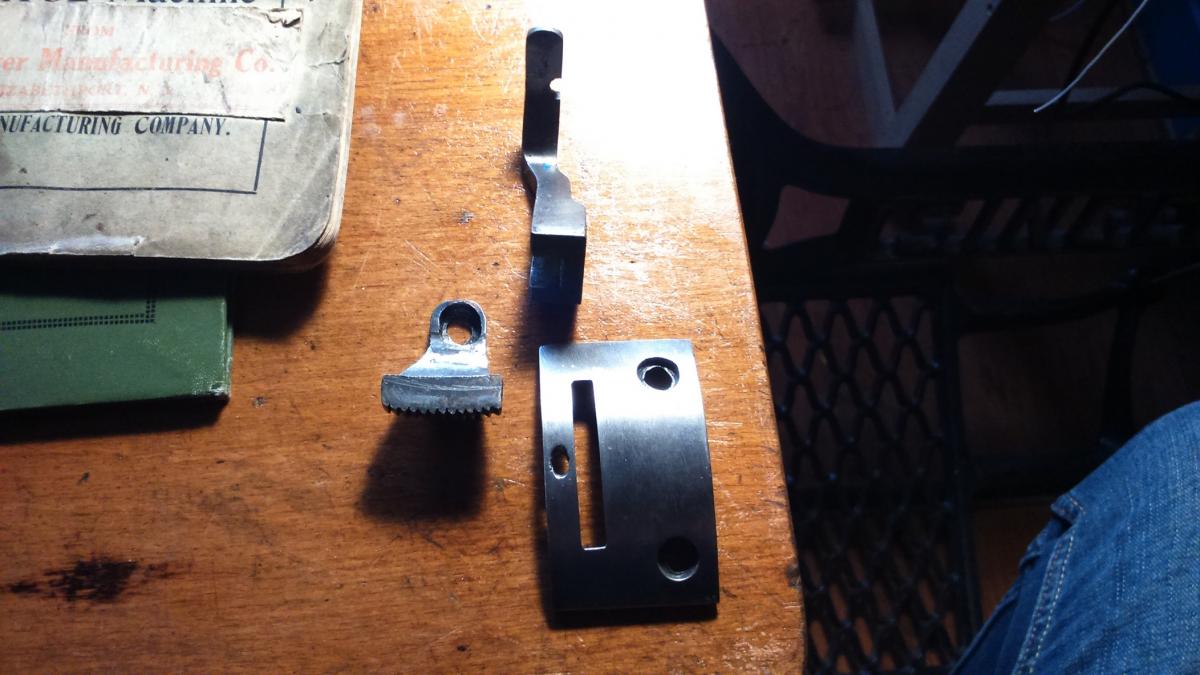
Hi Dave, i think the feeding dog for this needle plate is a two toothed one, there is also another plate for this machine that has the normal two rows of teeth and a small blade in the middle which cuts a channel in the sole. the plate is slanted like the foot in the picture. iam shure you could use this for normal sewing but you may have to make up a few parts. if you are still interested i can upload a few pictures of my 45k and its parts as i tried to do the opposite, i tried to make that plate for my 45k21 and it works (more or less)
-
Hi Dingus, how did you get on with the adjustment?
-
Hi Tor, maybe it dosent look like it has been done but it has been brushed with the brush in the drill, although you are probably referring to the cloth wheel and jewlers rouge maybe?? looks like it still has its original marks when it was machined.
-
Now this journey has been explored and is known??? we are almost finished. thanks everybody for your help and comments!

-
Oh, sorry dingus i didnt see your reply. i loosened the ones near the wing nut but it dosent matter if you loosen the ones on theother side because it is on the same rod.

-
Thanks trox, in the end i had the newer parts manual downloaded. i tried writing to pfaff a couple of months ago but no reply. i have just sent another email, so lets see if they reply this time. the hinge is on and the machine is hooked up to my patcher treadle, so will put some more pictures up soon! almost there!
-
if you type in "pfaff 335 journey to the unknown" on the forum you can see how an old rusted machine was whipped back to working again??