jackd942
-
Posts
195 -
Joined
-
Last visited
Content Type
Profiles
Forums
Events
Blogs
Gallery
Store
Everything posted by jackd942
-
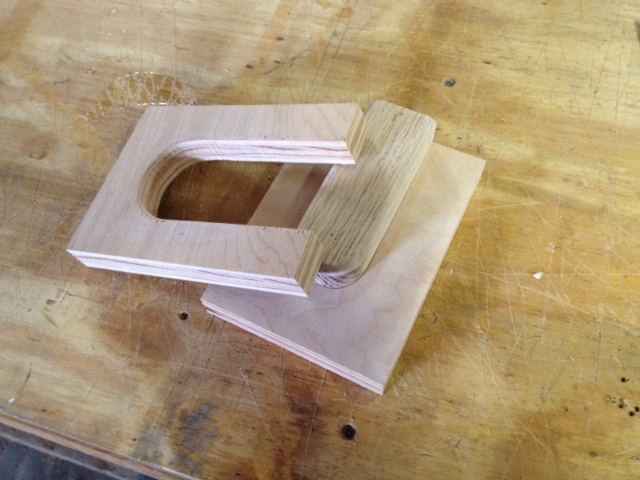
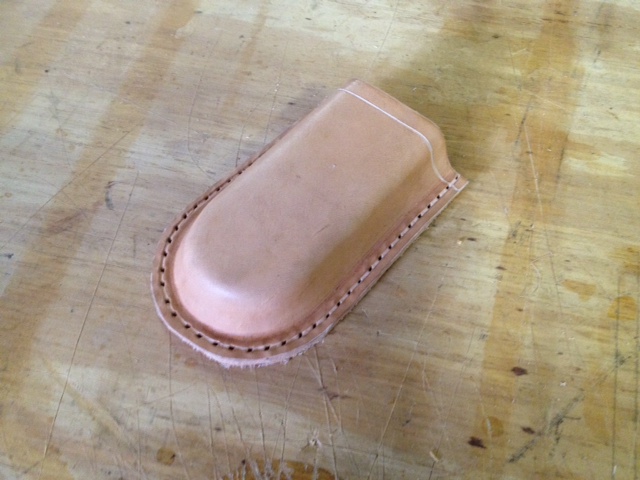
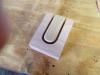
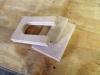
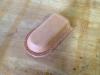
You have to dart the leather out past the edge and stitch line. A series of "v" shaped cuts around the corners and you should be able to tuck it in and smooth it out. All of the ones I have made have had more of a rounded bottom, but the same principle should apply. It will take some finesse. As far as doing it with no cut, sometimes I make a form out of wood mounted on a base piece. I then have another piece of wood with a negative cutout of the form (with a little extra room for the leather. You can use this to slowly clamp down on the leather and accomplish it without cuts. Look up Ian Atkinson on youtube. He has a video where he wet forms a pouch like I'm talking about. Here is an example form and then a leather piece it produces...
-
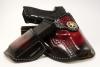
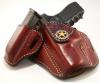
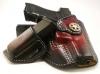
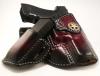
Sheriff's Dept Order Complete
jackd942 replied to jackd942's topic in Gun Holsters, Rifle Slings and Knife Sheathes
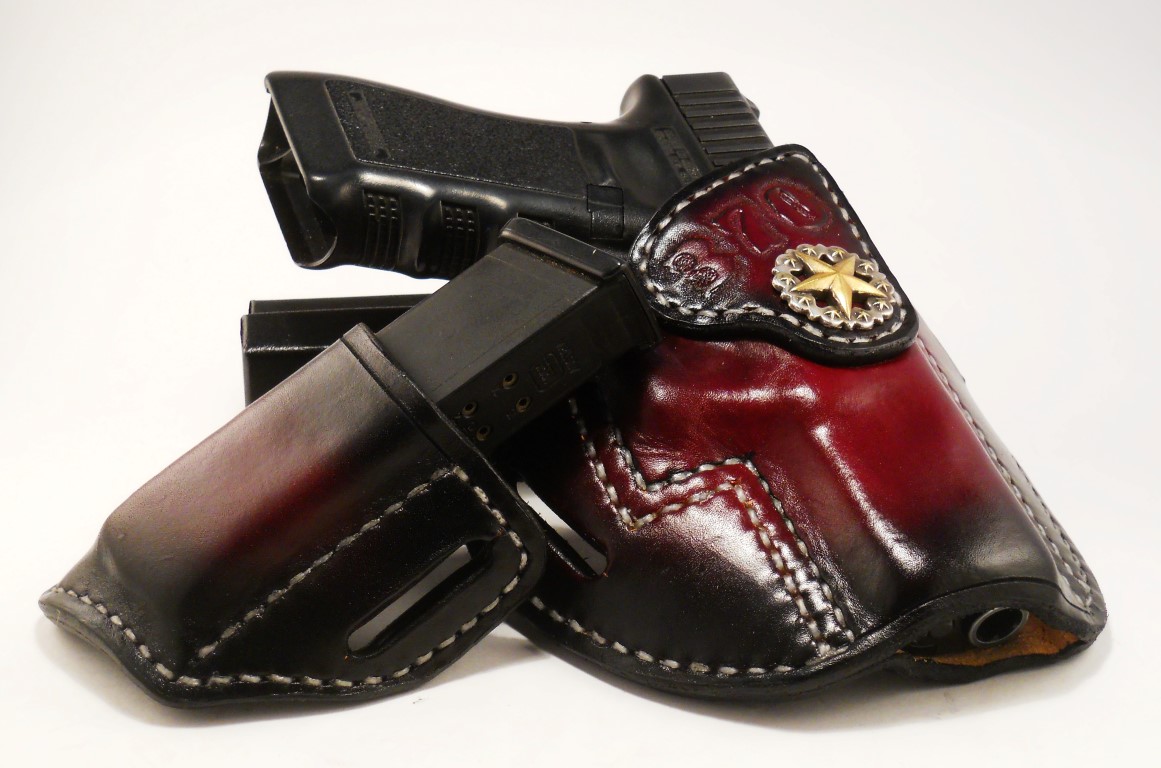
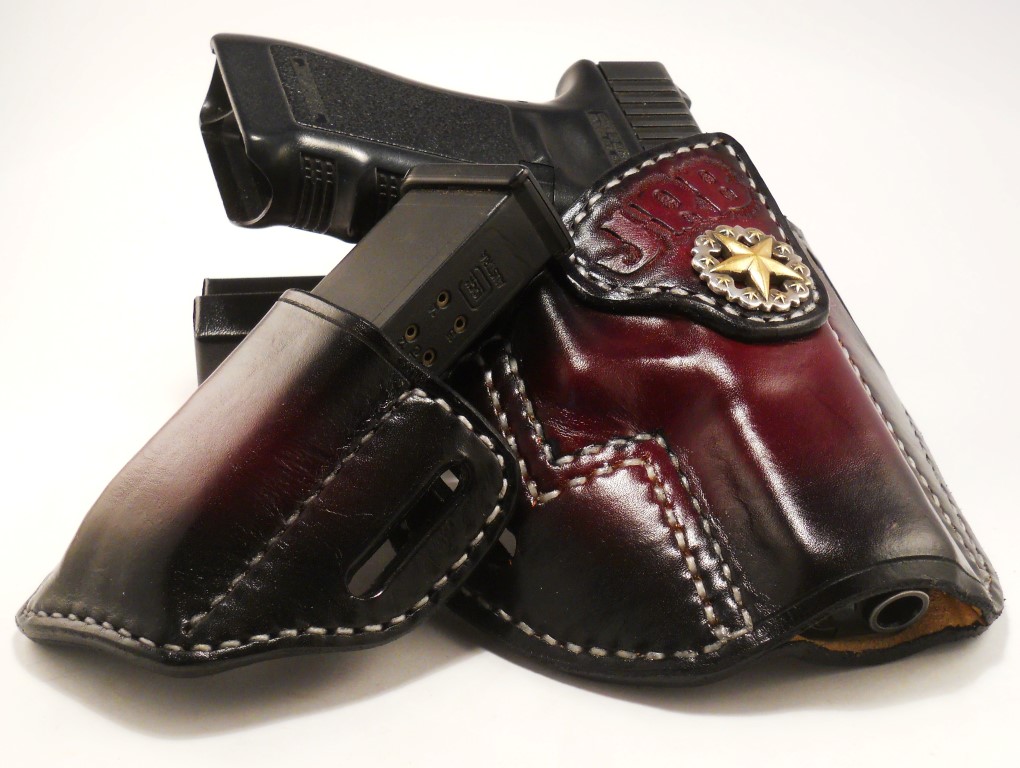
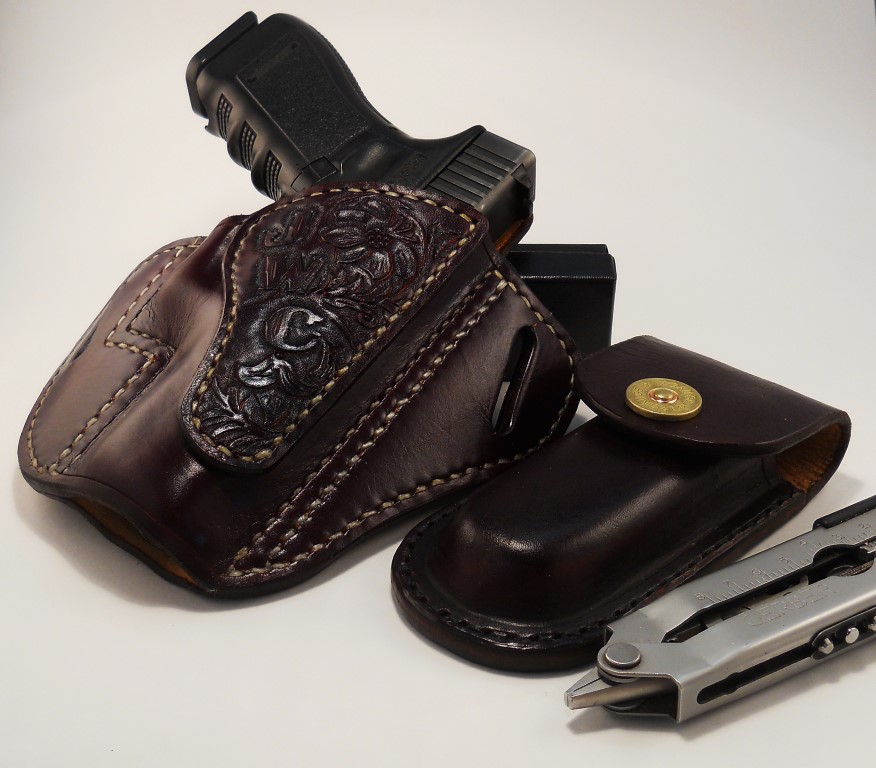
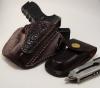
Thanks vaalpens. The Leatherman pouch and holster were for the same guy, but not exactly a matching set. The smaller black thread just looked better on that pouch in my eyes. The black thread is the regular Tandy waxed nylon. The white thread is the Tejas waxed thread also purchased at Tandy. It is much larger and has a ton of wax on it. I cursed often when I first tried it, but since then, I figured out that I can heat a piece of it just a little with a heat gun and run it between a piece of canvas to take off some of the wax. After doing that, it has become my favorite. I plan to try some Barbour's 7 cord linen some day, but until then I'm pretty happy with the Tejas. -
Couple Sheaths
jackd942 replied to MADMAX22's topic in Gun Holsters, Rifle Slings and Knife Sheathes
Very nice! -
I usually tell them 3-4 weeks personally. I am usually done in around 2 which is nice to deliver early. Of course I'm off for the winter in my full time job right now (agriculture) so I've got a lot of time and I'm not backed up. I'll just have to adjust it out as more orders come in as well as when I have to get back to work at my day job.
-
Two Tone Belt
jackd942 replied to Double U Leather's topic in Purses, Wallets, Belts and Miscellaneous Pocket Items
Very nice! Beautiful work. -
Thanks for the reply guys. I hadn't considered your suggestion, but I think that is the way to go. Dwight, I would like to make a bigger stiffener and carve it, but he's wanting the smaller stiffener with his brass like the others I've made lately. Don't really know why I did that stiffener design in the first place, but it seems to have stuck and now that's what everybody is wanting. At least in the LE community.
-
Gorgeous! Great work.
-
Coonan .357 Pancake Holster Pics
jackd942 replied to Shooter McGavin's topic in Gun Holsters, Rifle Slings and Knife Sheathes
Looks great! I agree on the spirit dye...that in combination with an airbrush is hard to beat IMO. -
Just wondering if any of you guys (or gals) can give me some advice. To this point I have been making some holsters for local deputies and using just a generic star concho. I received a phone call from a state trooper that is wanting a holster, but with his collar brass (miniature metal badge) attached to the stiffener. The problem is that it does not have a screw back, it has two push pins with keepers on the back. I am considering scuffing up the back of the badge and epoxying it to the stiffener while bending over the pins on the other side. Does this sound like a good plan? or does anybody have a better idea? Thanks, Jack
-
Sheriff's Dept Order Complete
jackd942 replied to jackd942's topic in Gun Holsters, Rifle Slings and Knife Sheathes
Thanks guys. I was pretty pleased with them. I dropped them off this morning and they were thrilled. In turn I left with 3 more orders to start and several more they are going to call me about later:) -
A Few Recent Projects
jackd942 replied to Josh Ashman's topic in Gun Holsters, Rifle Slings and Knife Sheathes
Very nice! Love the gunslinger stuff...just wish I had a market for it. -
Just finished my first fairly large order. The one I made for the Chief Deputy really paid off. I already have two more in the queue and probably more to come once the other departments get a look.

-
Thanks a ton Mike. I've heard so much about it I'm gonna give it a shot.
-
Hey Mike, The only one I can find here has a citrus scent. Is that the correct one? And if so, does the scent go away? Jack
-
Very nice!
-
New Bk-2 Sheath
jackd942 replied to vaalpens's topic in Gun Holsters, Rifle Slings and Knife Sheathes
I use Fiebing's spirit dye. The consistency is just right for the airbrush. As a matter of fact, the caps to my airbrush bottles fit perfectly on the dye bottles...I just screw one onto the dye bottle and spray. Like renegadelizard said, it doesn't penetrate as deep as if you flood it on, but you can make medium brown look brown instead of black. Once thoroughly dry, I apply a couple coats of neatsfoot oil and let that dry thoroughly. This will darken it some, but also makes it more resilient. As a final step, I spray (with the airbrush) a few light coats of acrylic resolene and then let that sit for at least 48 hours. It's also not necessary to go buy a high dollar airbrush...the Harbor Freight one works well from what I understand. As I said, this is my process and it has improved my finishing drastically although I haven't been doing this nearly as long as most of these guys and gals. Experiment some and see what works for you. There are a lot of YouTube videos on these subjects and I'd recommend checking out Eric Adams (Adams Leatherworks) (username Particle on here) channel for a similar process. He does it pretty close to the way I do it. I have also found, for me at least that it is better to spray the resolene...if you apply it with a brush, it may pick up some pigment and mix it around in the finish. Once it is thoroughly sealed, this is no longer a problem. -
New Bk-2 Sheath
jackd942 replied to vaalpens's topic in Gun Holsters, Rifle Slings and Knife Sheathes
While I agree that the dye penetration with the airbrush isn't as good, I have found (in my brief experience) that as long as you follow the dye with neatsfoot oil and finally a good sealer (I use resolene), scratches are not an issue. I have worn one of my original holsters every day at my job which involves getting in and out of a truck constantly all day....no issues with scratches at all even though it is riding next to the seat belt. You definitely have to be careful not to scratch it between the dye and oil stages though. -
One Really Big Holster
jackd942 replied to renegadelizard's topic in Gun Holsters, Rifle Slings and Knife Sheathes
That looks awesome! I just got an order for something similar but for glock 22's. Great job. -
New Bk-2 Sheath
jackd942 replied to vaalpens's topic in Gun Holsters, Rifle Slings and Knife Sheathes
I appreciate it, but I think anything you make with your hands is a piece of art in some way and yours looks good. Some are more ornate, some are more utility, but art nonetheless. I just got into leather work a couple of months ago mainly because I couldn't find a holster I liked. After trying some finishes out on test pieces that didn't look good, I dug out my old Iwata airbrush and started using it. That was the key for me. It allows so much flexibility in the look from the shade to doing effects like the sunburst look that most of mine have. The improvement was drastic. That's just my newbie $.02 FWIW. Jack -
New Bk-2 Sheath
jackd942 replied to vaalpens's topic in Gun Holsters, Rifle Slings and Knife Sheathes
Nice job. Looks good! -
Speed Six Holster
jackd942 replied to usmc0341's topic in Gun Holsters, Rifle Slings and Knife Sheathes
Looks good! -
Interior Holster Treatment
jackd942 replied to jackd942's topic in Gun Holsters, Rifle Slings and Knife Sheathes
Gee whiz...I try to keep up with new content every day but missed that thread somehow. Thanks -
Retirement Gift For An Old Friend
jackd942 replied to jackd942's topic in Gun Holsters, Rifle Slings and Knife Sheathes
I agree 100 percent Matt, the time in the shop was more of a joy than usual on this one. Thanks benlilly and Haystacker... -
Interior Holster Treatment
jackd942 replied to jackd942's topic in Gun Holsters, Rifle Slings and Knife Sheathes
Thanks for the reply Ralph. I will have to give that a try. I've got a pretty big order right now, so I'll probably wait til I fill that and then experiment a little. Jack -
So I've been making holsters for a couple of months now and really like what I have been producing. One area that I am curious about is the interior treatment of unlined holsters. What do you guys and gals do? I have been using gum trag after molding and then burnishing the best I can followed by sealing with acrylic resolene as I seal the whole thing. It seems to do ok, but kind of tough to burnish after everything is stitched and molded. Just wondering if there's a better method. Jack