


Halitech
-
Posts
1,229 -
Joined
-
Last visited
Content Type
Profiles
Forums
Events
Blogs
Gallery
Posts posted by Halitech
-
-
Looks like it really turned out good.
I just changed from using Tandy's thread to buying from Maine Leather Co. Little more expensive, especially with shipping to Canada but worth it. And lots of color options as well.
-
Looks good other then what you pointed out. I usually go with the rule of thumb of leaving 1/4" from the edge where I don't tool. That leaves me room to sew it without going into the tooling and if I need to sand the edges to get the parts to match.
-
I should add on a positive note, your wet molding and your stitching actually looks pretty good. If you didn't have to add the piece on the back, you could have trimmed it closer to the stitching
-
The clip you used is fine, it's an issue with your installation method. That clip is designed so you cut a slit in the leather and put the clip back through the slit and then install your rivet. The slit keeps it from moving around. And don't worry, you aren't the first person to not use it correctly

For the snaps, what I usually do is put the male on where it needs to usually be put on before assembly, then once the rest is done, close your cover and press hard, it will leave a dent you can use to line up your female part.
-
I have a cheap one of both. The double action is good for dye and I use the single action and adjust the pressure for spraying resolene.
-
I'm guessing that this is for a large sized dog. I'd be worried about the rivets holding the buckle in place and I would have gone with stitching myself. And with that many rivets and studs, I probably would have lined it just to keep the dogs hair from getting caught.
Stamps look good and looks like you lined the crystal rivets up pretty good.
-
Only issue with using a resist or mask is you end up with a solid line instead of a faded effect. Airbrush or block dying would be the best 2 options
-
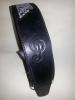
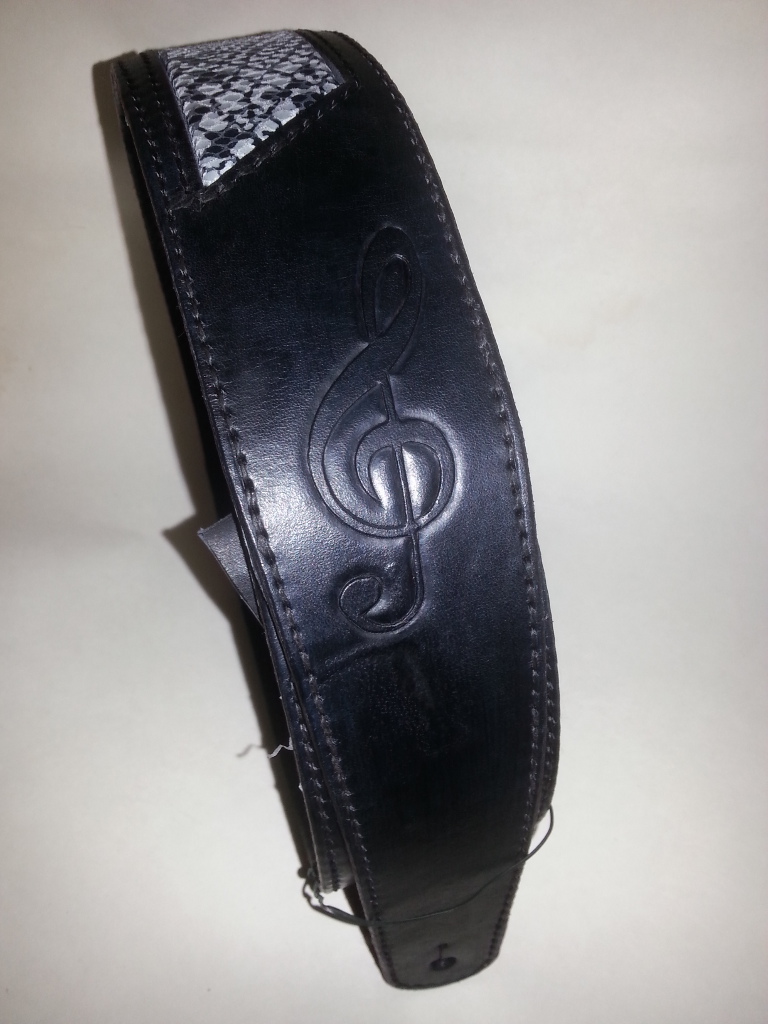
This started out as a natural guitar strap with a verse from a song hand written in ink with the treble clef carved into it. I screwed up and somehow got some red dye on the front so I had to redo the strap. I ordered some python print from SLC and decided to cut out the area where the words were originally and use the python as an inlay. Body of the strap is 7oz (skived down from 9oz) with a 2oz pigskin liner. I had a hard time getting all the resolene off so I used vinegaroon to make it black. It did an okay job but still hit it with some black dye to give it a brighter black. All hand sewn with saddle stitch using 0.030" black thread from Maine Thread Co.
-
Looks good as usual Colt
-
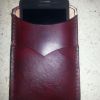

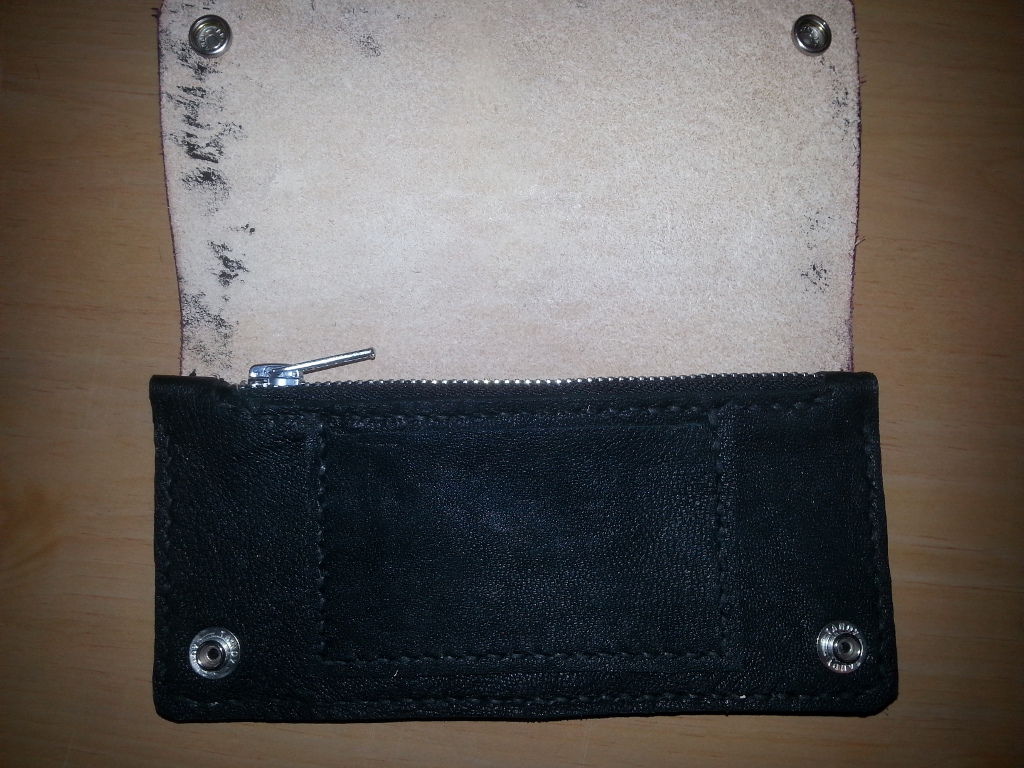
Here is what I came up with. 6oz back and middle, 4oz for the card slot. Dyed with oxblood and black antique. Hand sewn with black waxed polythread from Maine Thread Co. Fits up to a 2.75"x5.25x3/8" phone.
-
Thanks snubby, as I said, I don't have much experience, just going on what I've seen with others. That does make sense that the strap should prevent an accidental discharge but still usually better to be safe then sorry

-
-
It looks like you got a good deep impression on your stamping but you can see a few places where you got out of alignment, especially right below the concho and snap. What did you use to make the holes for your stitching? They almost look way too big for the size thread that you used. And while I'm no expert on holsters only having made a few myself, but the trigger should drop down in farther to prevent it from getting hooked on something and accidentally causing a discharge. Maybe rohn will chime in now that pics have been loaded
-
Somehow I missed this. Looks great but I can see why he's angry, looks like he's having trouble taking a dump between his shoes lol
-
wow, that is just beautiful. Both my mother and grandmother quilt so I know the work she put into that and she did a beautiful job on it
-
I totally missed the part about the red. You will need a very steady hand to do the lines. Tandy used to have a product called Block out but I haven't seen it lately. Most of us usually use super shene as a resit
-
first off, are you planning on painting or dying?
If you are dying, then you can do it a few ways. You can dye each block individually being very careful. Or, you can dye the black ones, then put a resist over them and then dye the entire thing with brown. You could even use the antique medium brown. Or, you could dye the brown and then resist before doing the black but you may end up with the black covering the brown that way.
-
was thinking about this today, will see what I can come up with
-
Check JLS Leather, he has some free and some paid patterns, he might have what you want. If not, you can always make your own
-
Looks good. My only concern would be the rivets working loose on the suspenders. Leather doesn't have the give that elastic ones do so you could find you may need to replace them often. I would have added a little more to the flip side and sewn them into place. Unless you used chicago screws with locktite, then ignore what I just said
-
Looks really good but 2 small things I would have done different. First, I either would have used a smaller snap (line 20 instead of a line 24) or I would have made the retaining strap a little wider. Second, I would have cut the strap shorter so it ended just beyond the snap instead of having it extend what looks like about 2"
-
Thanks for this Kate, I did this yesterday and last night and between the pdf pattern and your step by step instructions, it was easy to follow and make.
-
Send Johanna a message asking for permission to join the Adult section
-
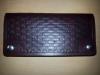
if it's on a belt, chances are it's probably not a stamp but a roller used to do entire belts exactly the same from end to end and by the looks of the leather, I'd say it's a pretty old one too
Belt Clip On A Knife Sheath
in How Do I Do That?
Posted
Here is the direct link
https://mainethread.com/index.php/waxed-polycord
I've been ordering the 0.030" and it is a dream to sew with. Has just enough wax that it pulls through, does not split when you are trying to thread the needle but doesn't drag when you are pulling it through the hole