


MikeG
-
Posts
247 -
Joined
-
Last visited
Content Type
Profiles
Forums
Events
Blogs
Gallery
Store
Everything posted by MikeG
-
New to the forum and wanted to introduce myself
MikeG replied to Second_Chance_Leather's topic in Member Gallery
When I first retired and had nothing to do, it was sort of overwhelming. Then I hit upon the solution -- First thing in the morning, I would call up a random business and say "This is Mike. I won't be coming in today." Then I would hang up. After that, the rest of the day I was free to do whatever I pleased! -
-
A three hour drive for a $400 Adler? https://www.facebook.com/marketplace/item/2054185345347351/?ref=search&referral_code=null&referral_story_type=post&tracking=browse_serp%3Abe10a7d6-6af3-41d8-8614-d6d40fc79993
-
I used to mine Craigslist years ago. I don't care much for Facebook, but today I find most of my deals on Marketplace.
-
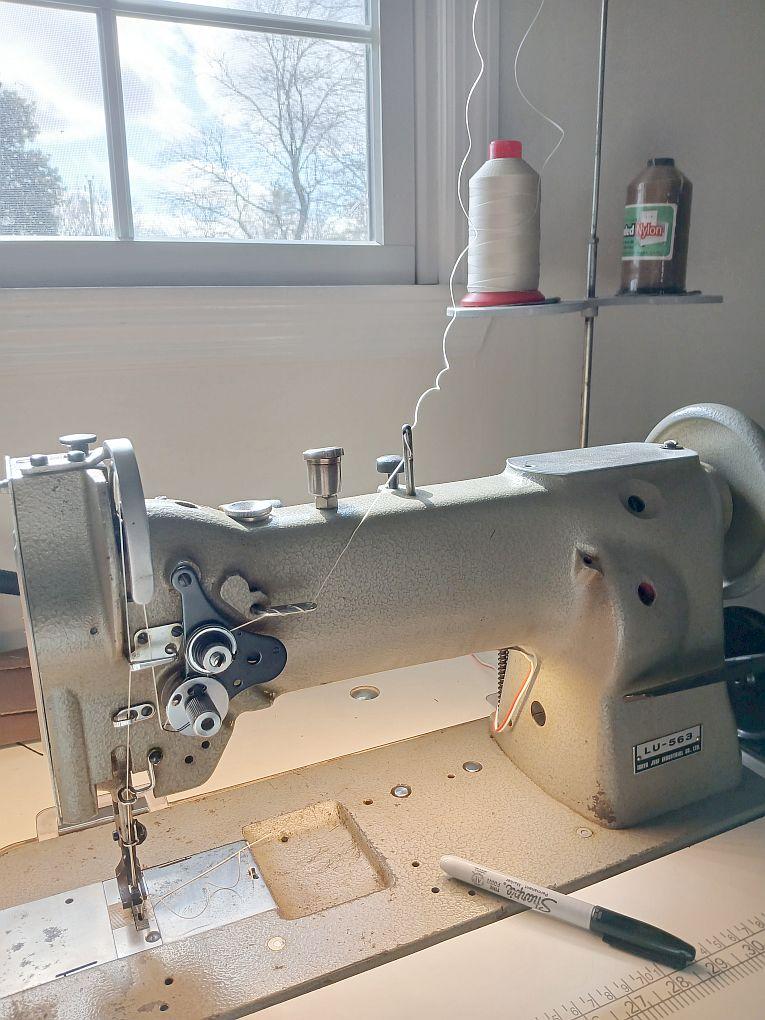
I am the poster child for this. When I first got into this "hobby" I attended a class. Two different students in the class convinced me that a Luberto #9 was the best machine for doing leatherwork, so I traveled three states away to get one. And it was NOT cheap. It turned out it WAS the best machine -- if you wanted to stitch 3/4" leather. As KGG said, that thing punched BIG holes. It took me many years to sell that machine at a fraction of what I paid for it. I now have a 50 year old Juki LU-563 that I picked up for $100. There are a lot of things the Juki won't do, but I use it it way more than the #9. My 2 cents: Read Wiz's article on sewing machines, watch Facebook & pick up a cheap triple feed. Learn how to sew. Learn the ins and outs of machine sewing. Understand how to tune and adjust a machine. After all that, decide which direction to go. If you decide to change machines, the one you bought and tuned will probably be worth more than you paid for it. Just be careful, or you will end up with two (or three, or more!) sewing machines. They are so awesome and fascinating!! Good luck on your journey!
-
I recently had the opposite issue - in reverse, I got horrible looping on the bobbin side. I was told to my needle was too small. A larger needle corrected the issue. Perhaps in your case try going to a smaller needle and see how this affects your stitch.
-
Genius! A larger needle solved the problem, even though I don't understand why it only happened in reverse. I will take the win! Thanks!!!!
-
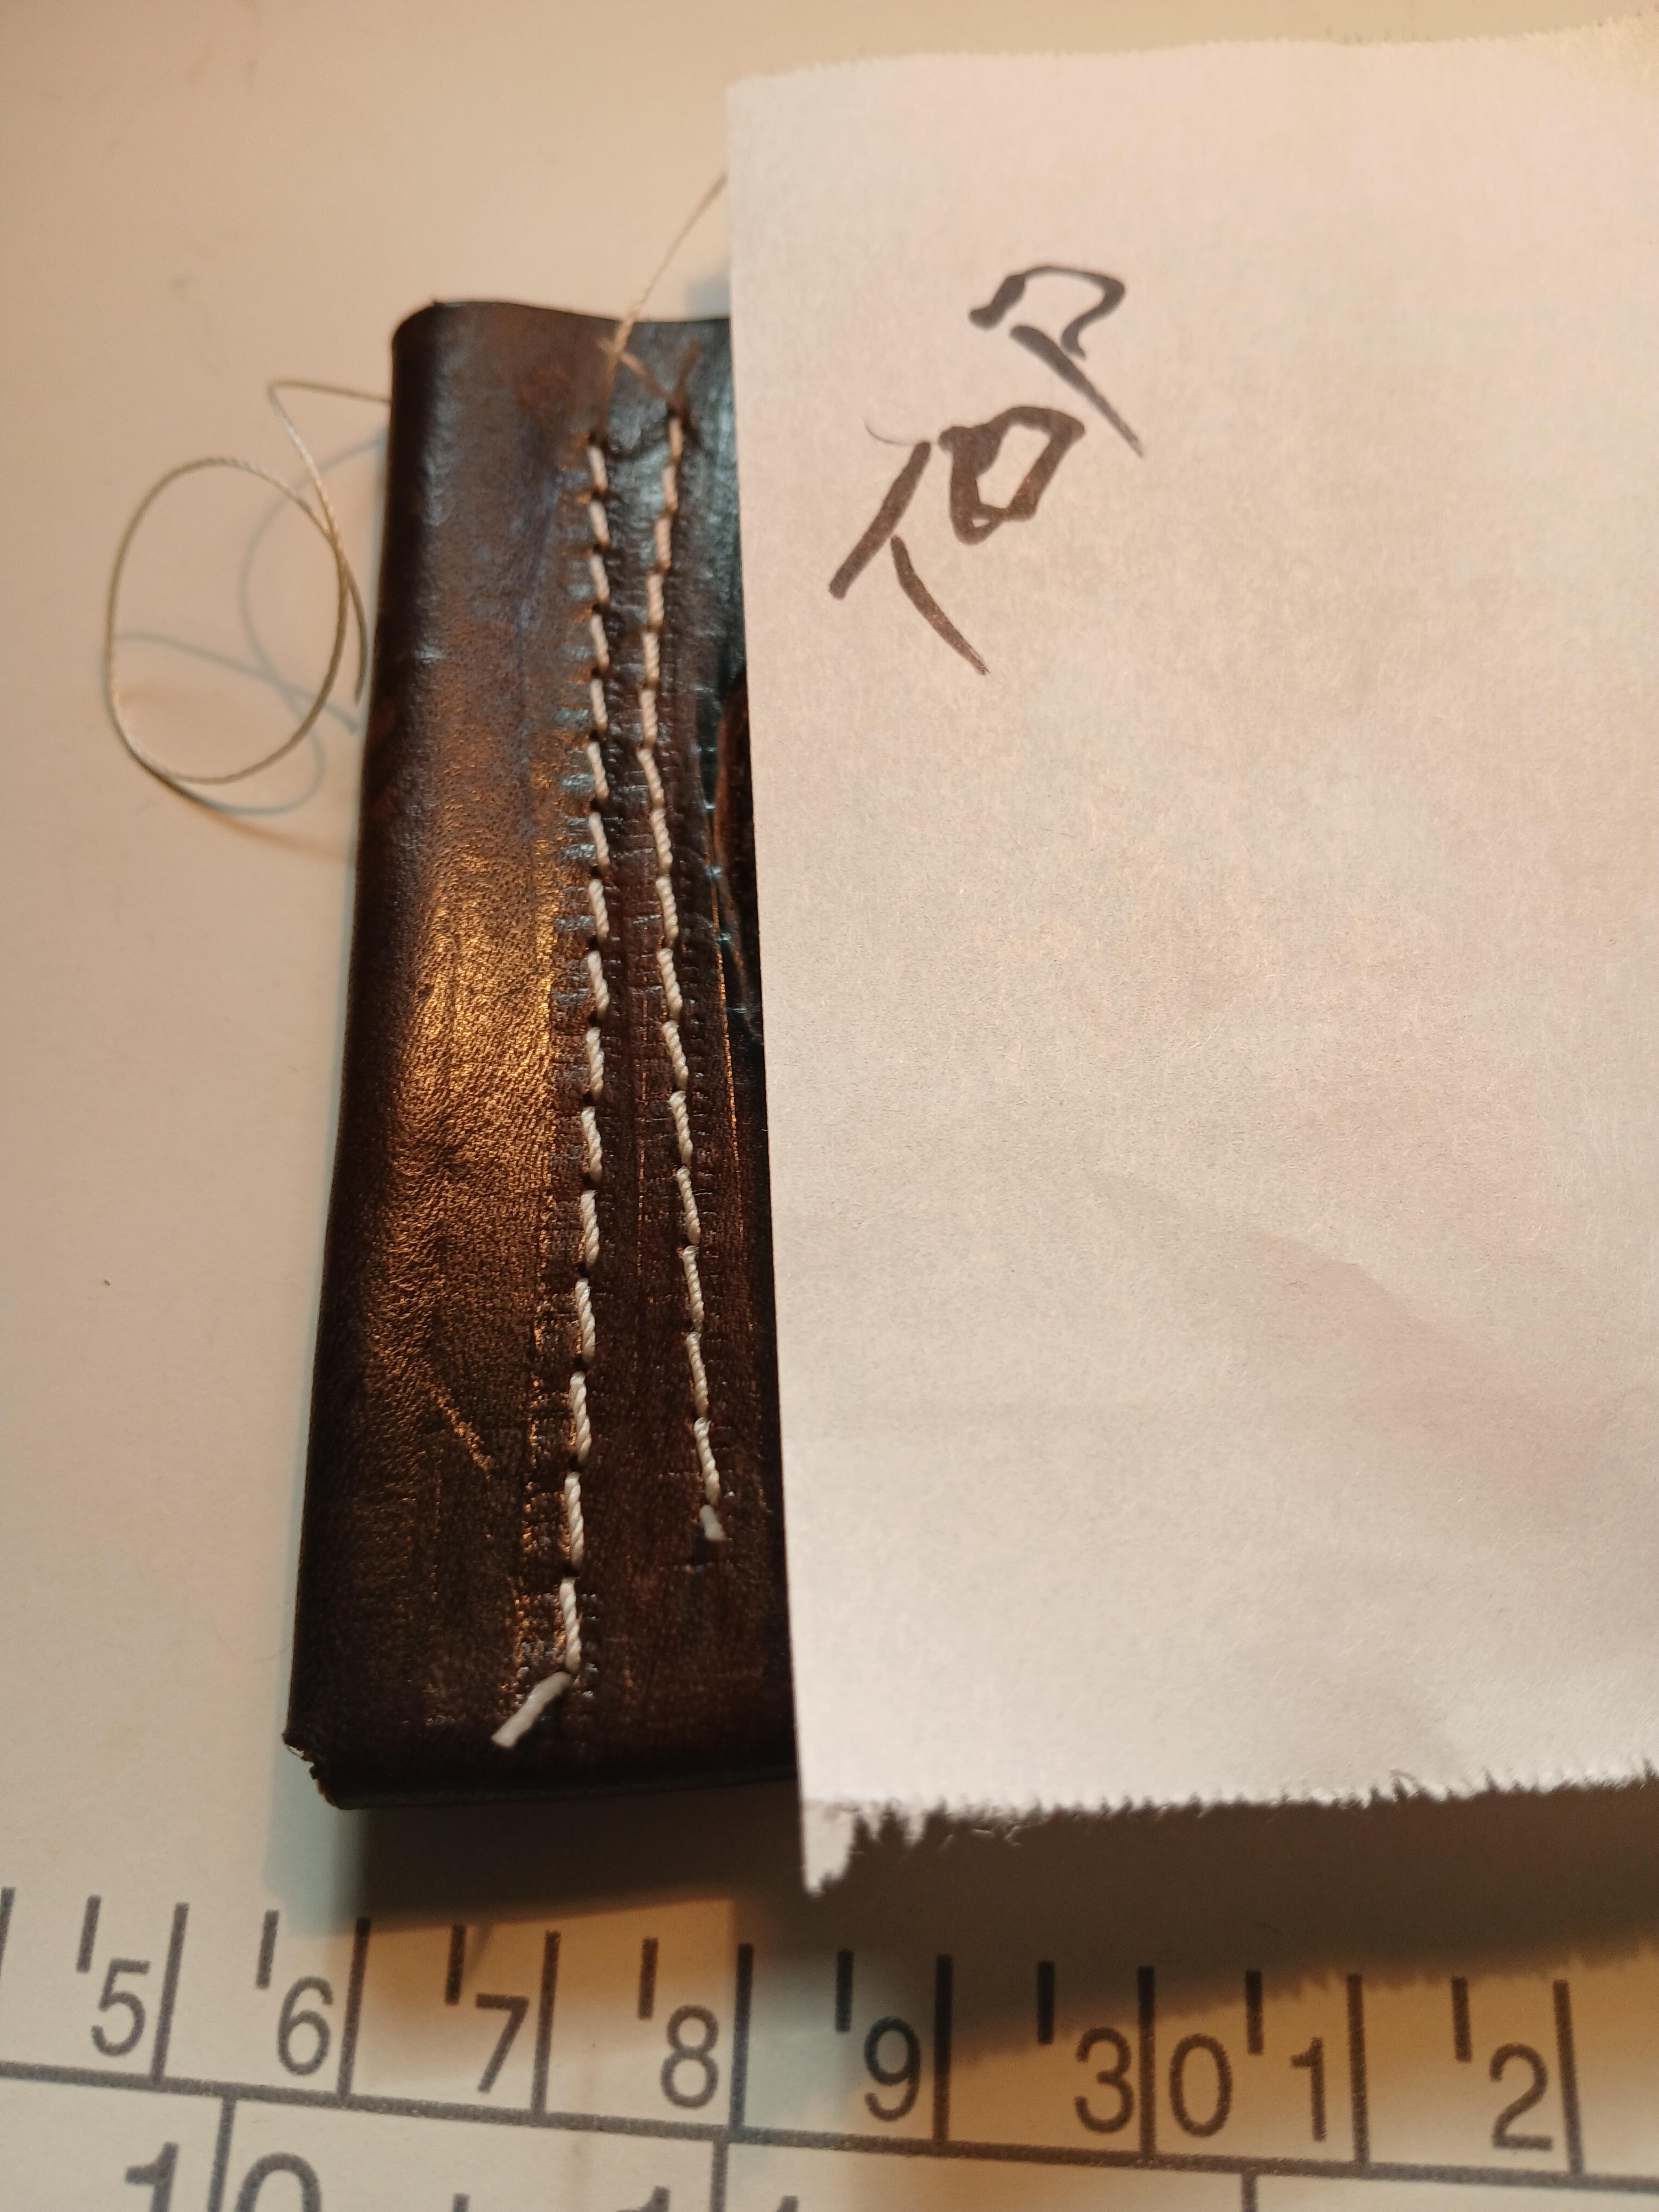
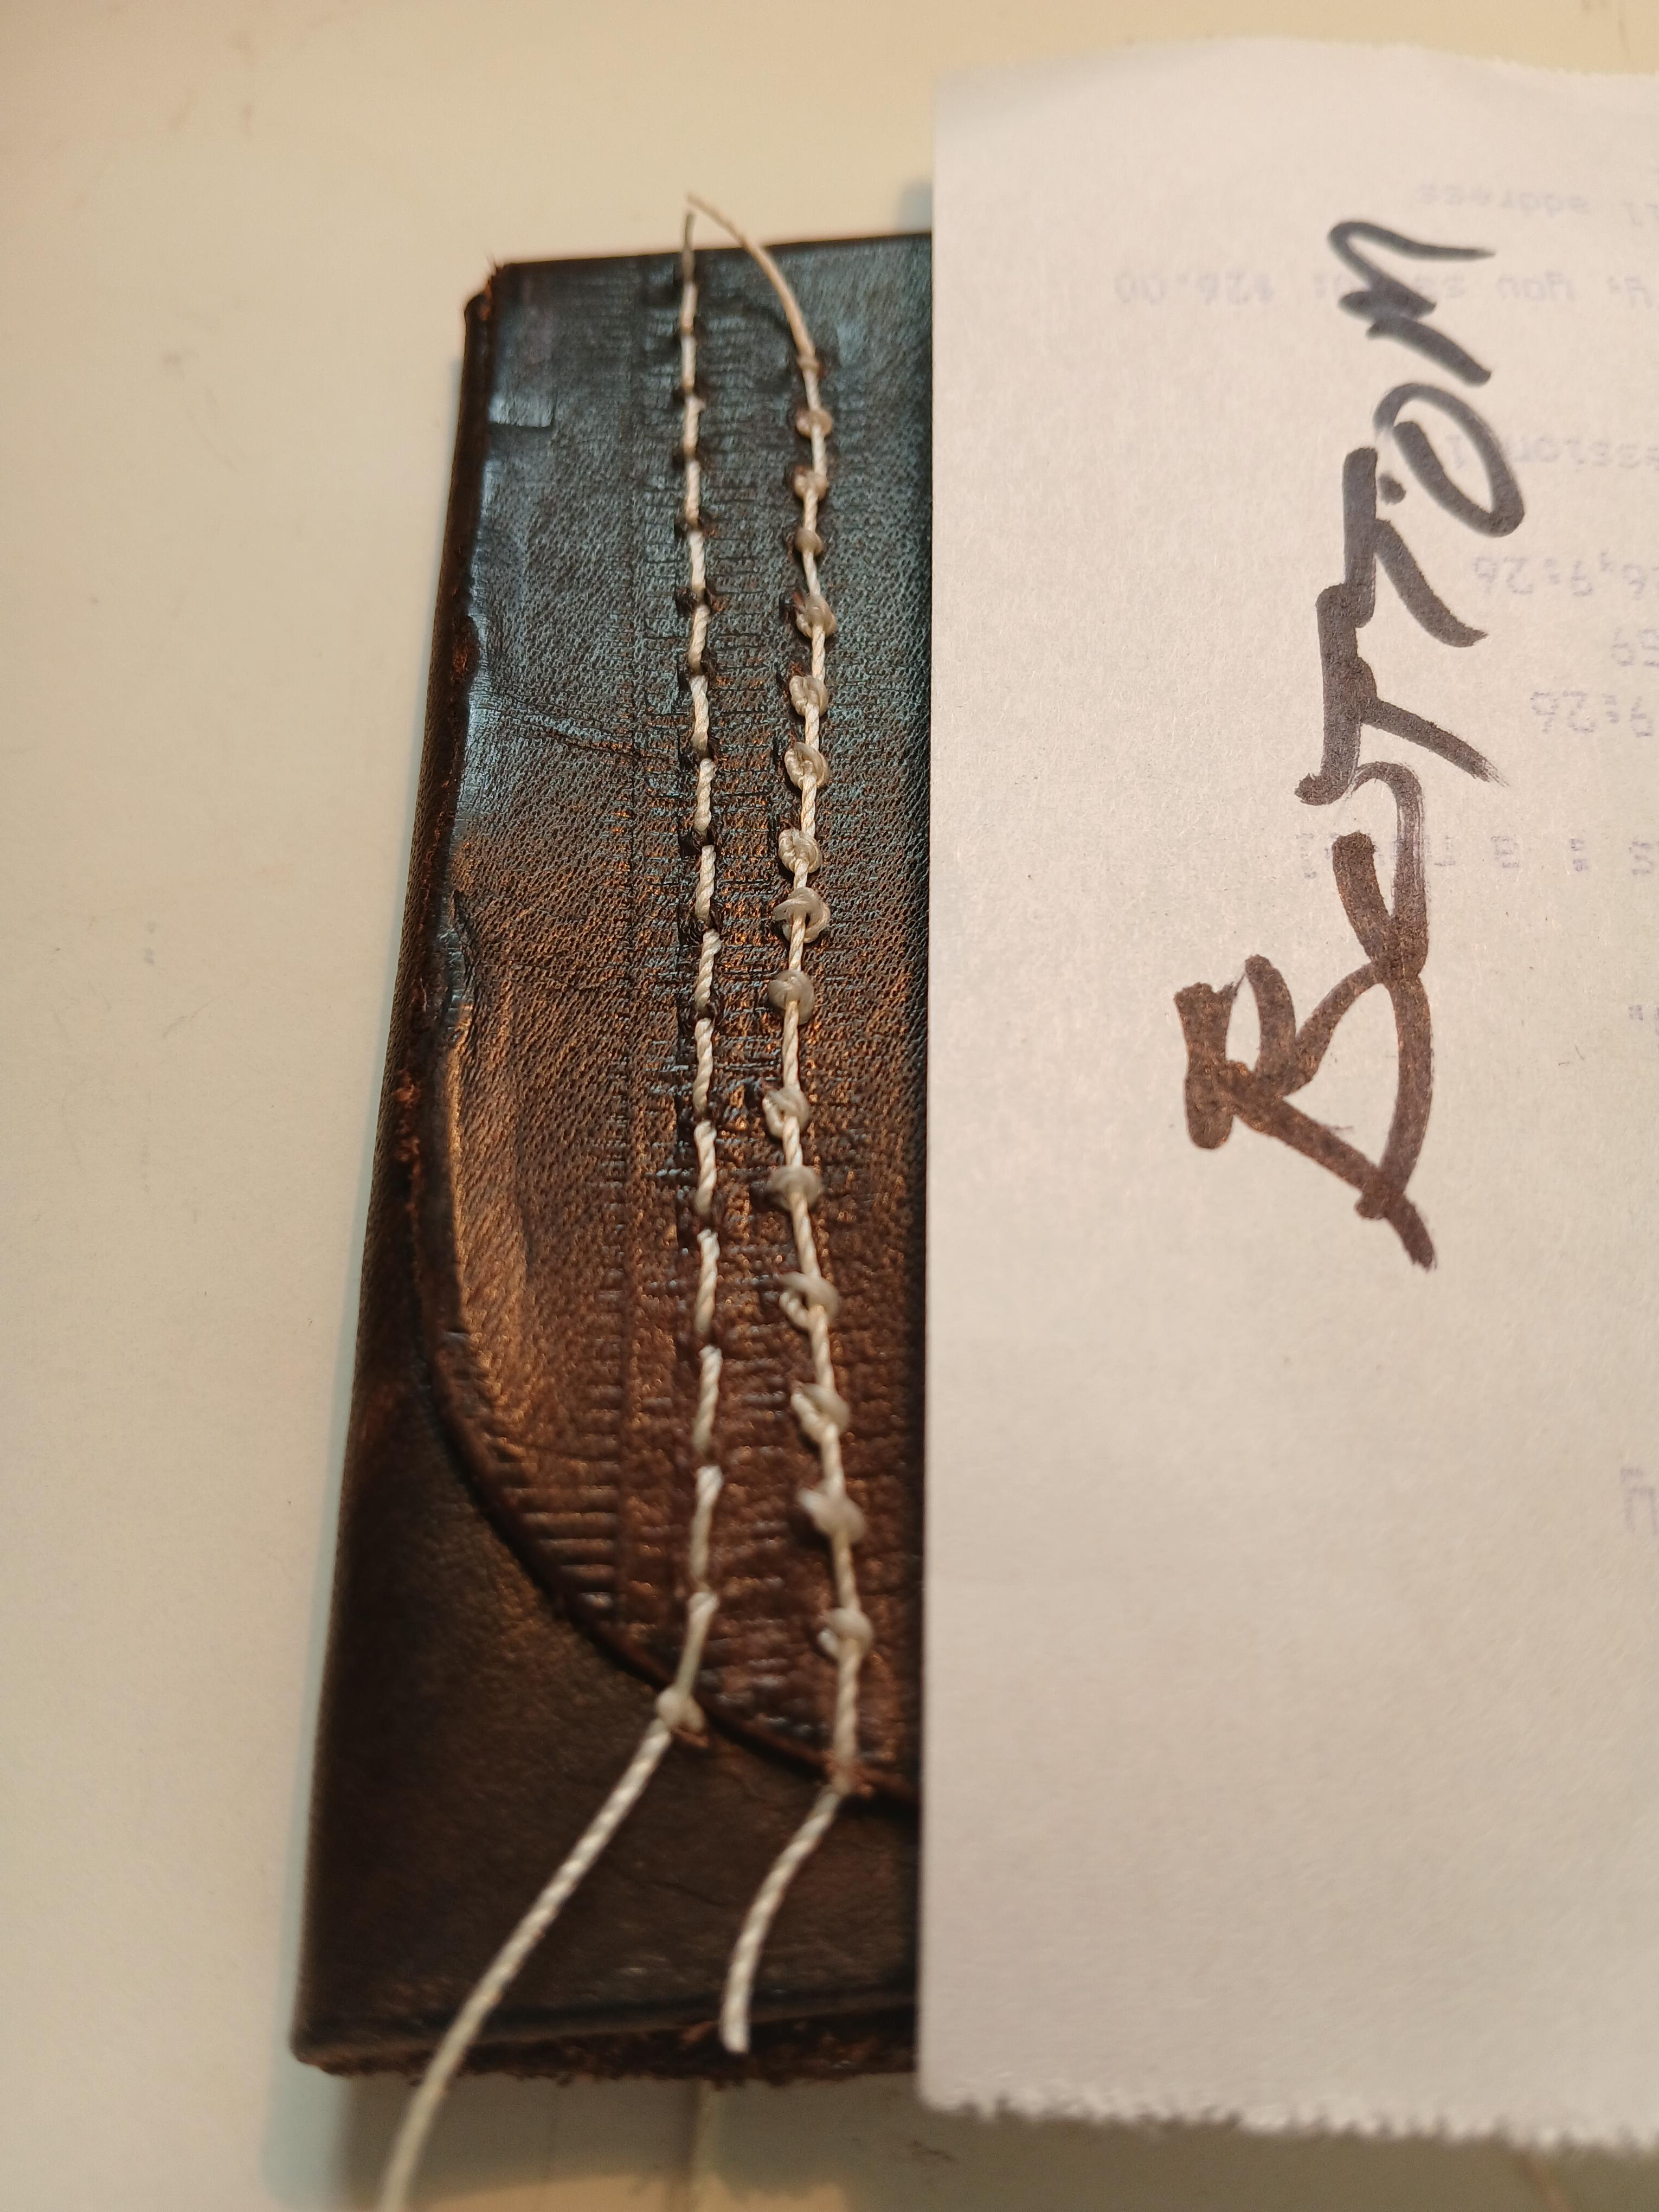
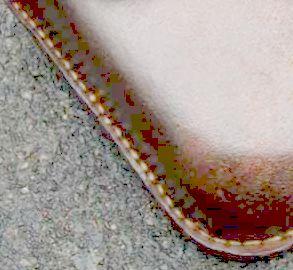
Juki LU-563 135X16X19 needle Tex 135 bonded nylon 3 layers of 3oz veg tan (less than 1/4" total) Stitching forward gives a good result top and bottom (left side in pictures) -- when reversed (right side in pictures), the top looks OK, but the bottom has loops as though the top tension is too loose. Any thoughts where to look to correct this issue? Thanks, all!

-
Maybe check this site - she sells patterns, but might be able to help you connect to someone who could make them for you. https://www.ultimatepapermache.com/patterns
-
Thanks for the reply. It is so well done I didn't even think about an inner sheath. Beautifully done!
-
That is a beautiful sheath. How does such soft leather hold its shape? And do you use a hard leather welt? I'm sure a knife like that is razor sharp. In any case, that is a setup fit for a chief - well done!
-
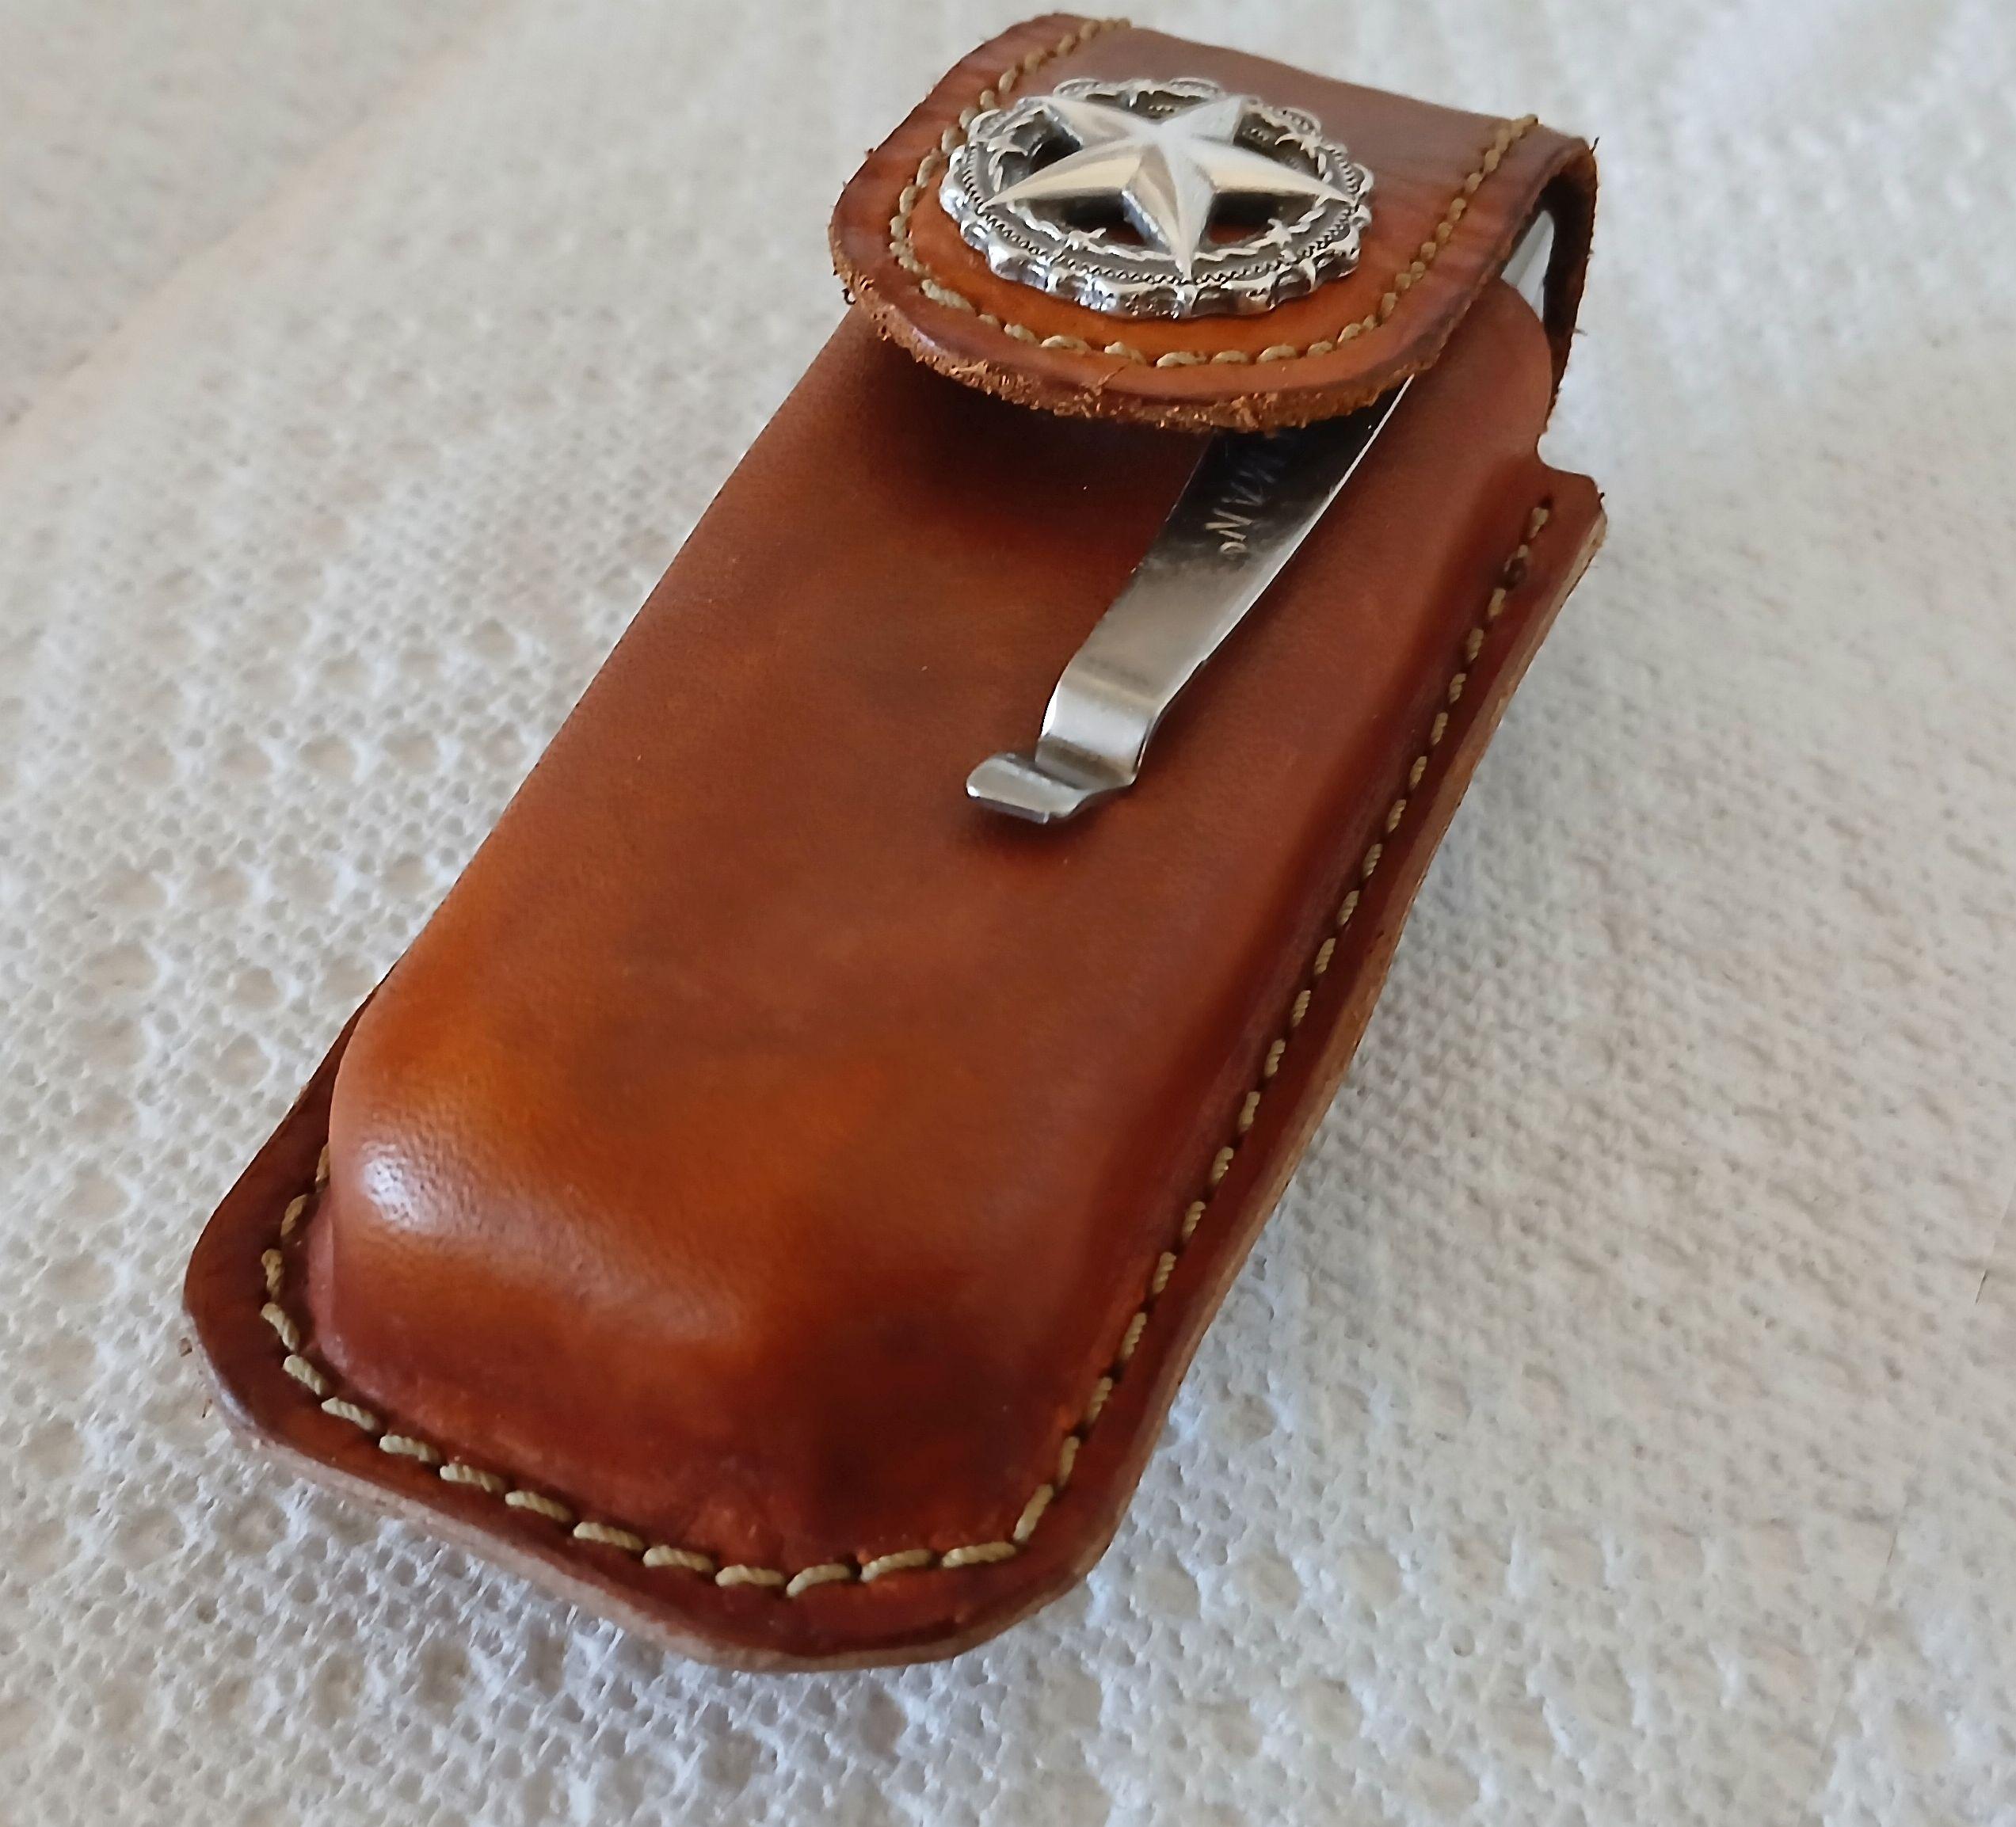
So I purchased the zipper feet and made a quick case as a test. Forgive the edges and finish, as I considered it a quick experiment. In the end I really appreciate the input and suggestions and am quite pleased with the result. For an old guy with arthritis this will be a game changer!
-
I had a roll of 12V warm white LEDs from superbrightleds.com that were left over from under cabinet lights in the kitchen. I just cut off 6 inches & connected to a 12v power supply I had in the parts bin. Amazon has six inch sections of LED strip also. If I was purchasing new I would probably get daylight instead of the warm white.
-
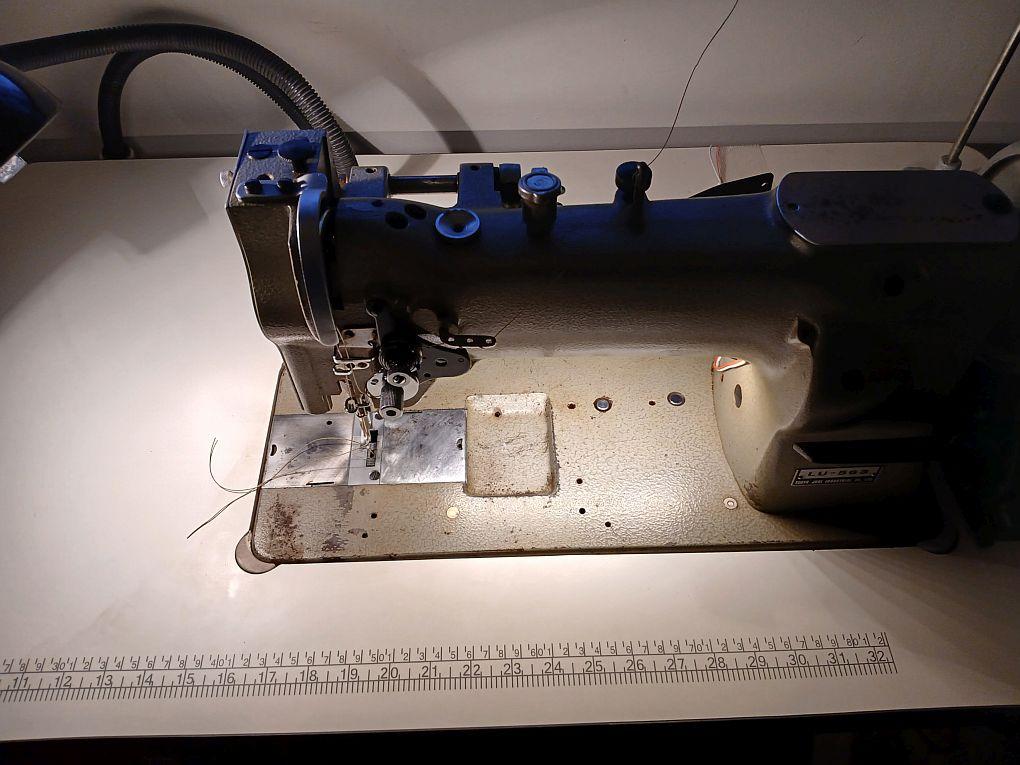
While servicing my Juki, I noticed the underside of the body is flat and free of any oil holes or other objects. As an experiment, I installed a 6 inch self adhesive strip of LEDs and a 12 volt wall wart. The difference in visibility is amazing.

-
Update: removing the roll pin allowed for adjustment of the stitch length forward and backward and the machine now reverses into the same holes, just as in UWE's video! SUCCESS!
-
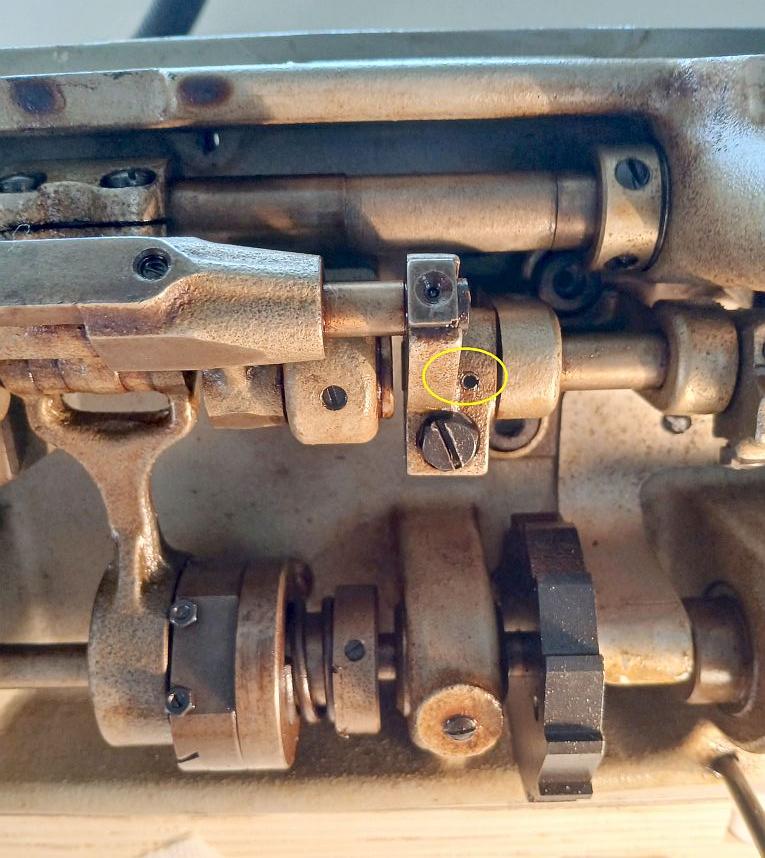
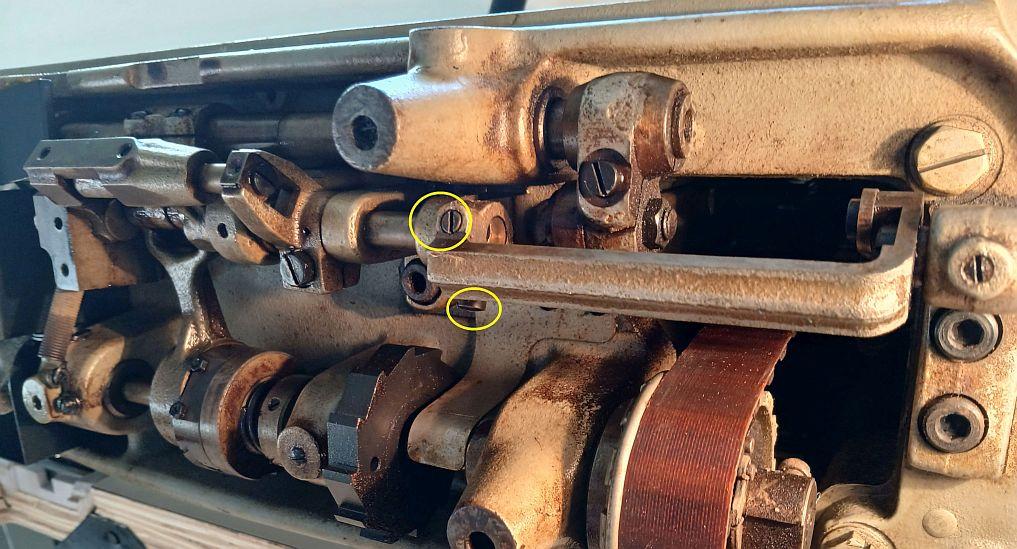
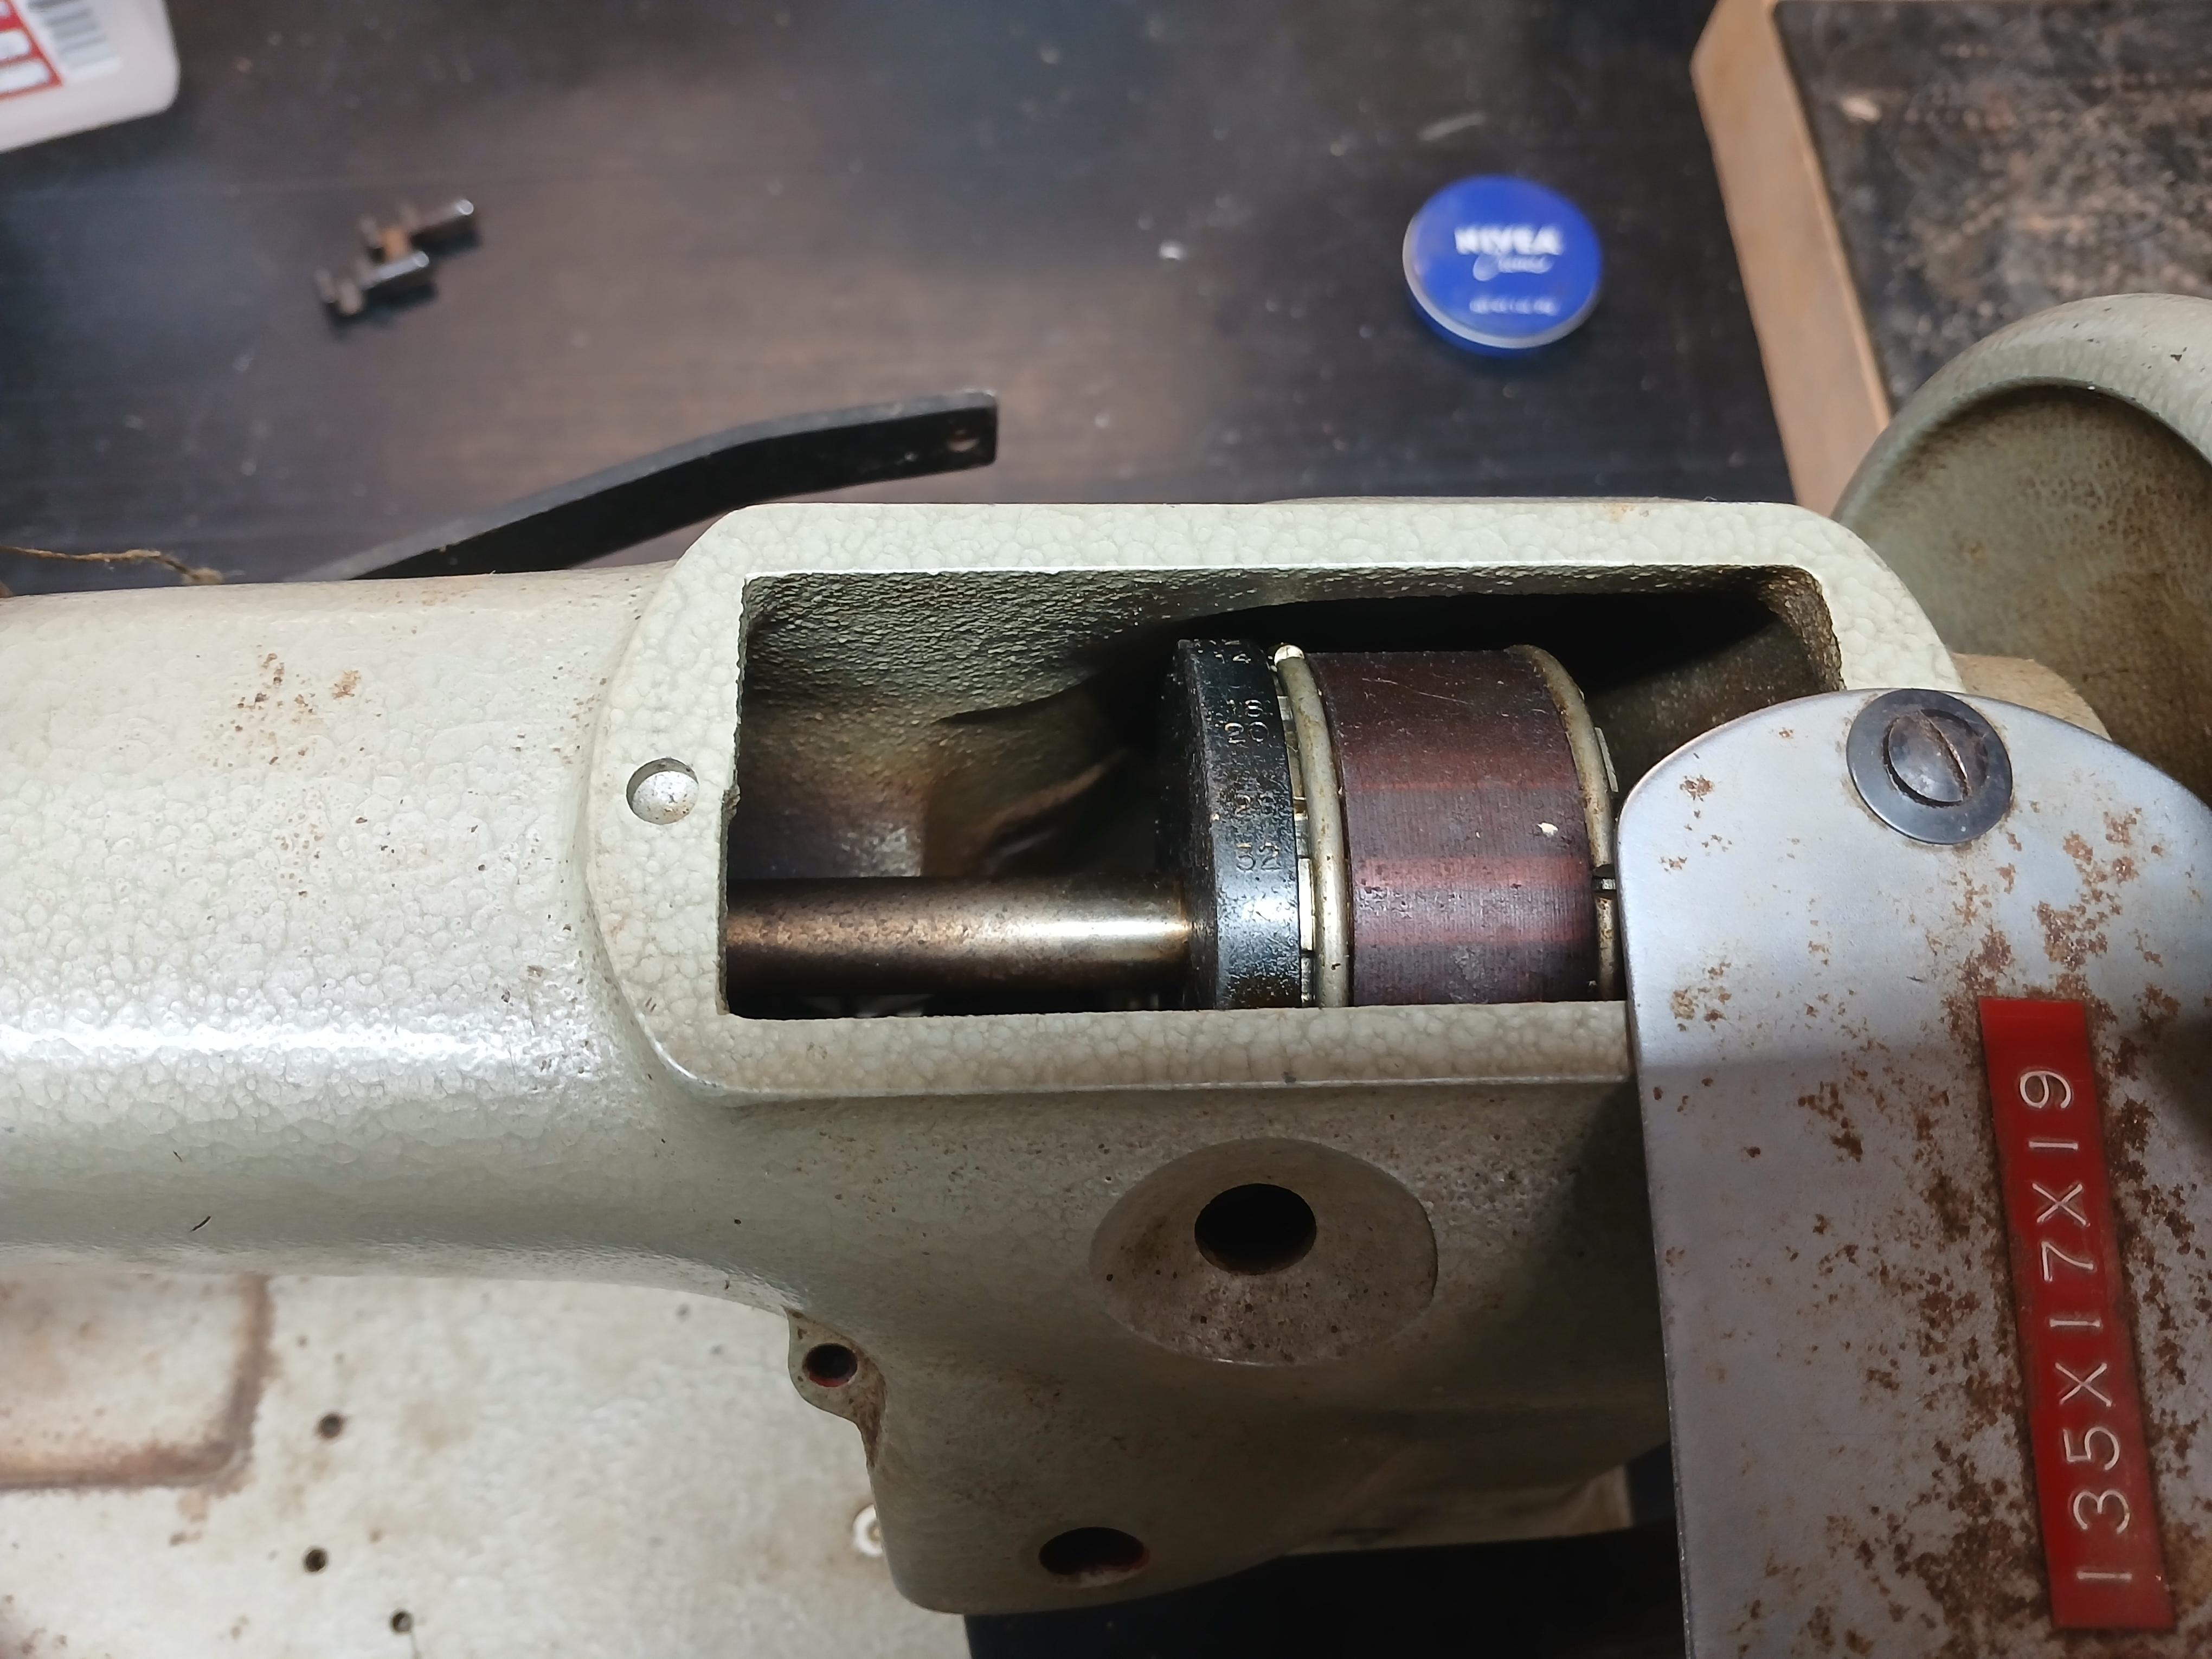
I have the exact same issue with my vintage Juki LU-563. The stitch block cannot be moved because there is a roll pin adjacent to the adjusting screw. Moving to the right, I thought I could make the adjustment using the two screws marked in yellow, but no joy. I believe the only way to adjust this machine is to remove and discard the roll pin. At the present time, I have about 7 stitches/inch forward and about 4 per inch in reverse, so it definitely needs to be corrected. Hoping UWE can weigh in on this. Pic showing roll pin: Pic of Reverse bar screws: EDIT: My theory is Juki set the forward stitch length at the factory and locked it with the roll pin, with the intent of setting the reverse stitch to match using the limiters. UWE removed the stitch limit on the reverse and then adjusted the bar to get equal length stitches, with the result being a longer stitch length than came from the factory.
-
Awesome info, thanks all! I have ordered zipper feet to play with. I had figured leaving excess for the foot to walk on and trimming later would be the way to go -- thank you for confirming that. Again, thanks to all - what an awesome site for REAL information from folks that have experience from doing. Cheers to all and hope you all have a great Thanksgiving!
-
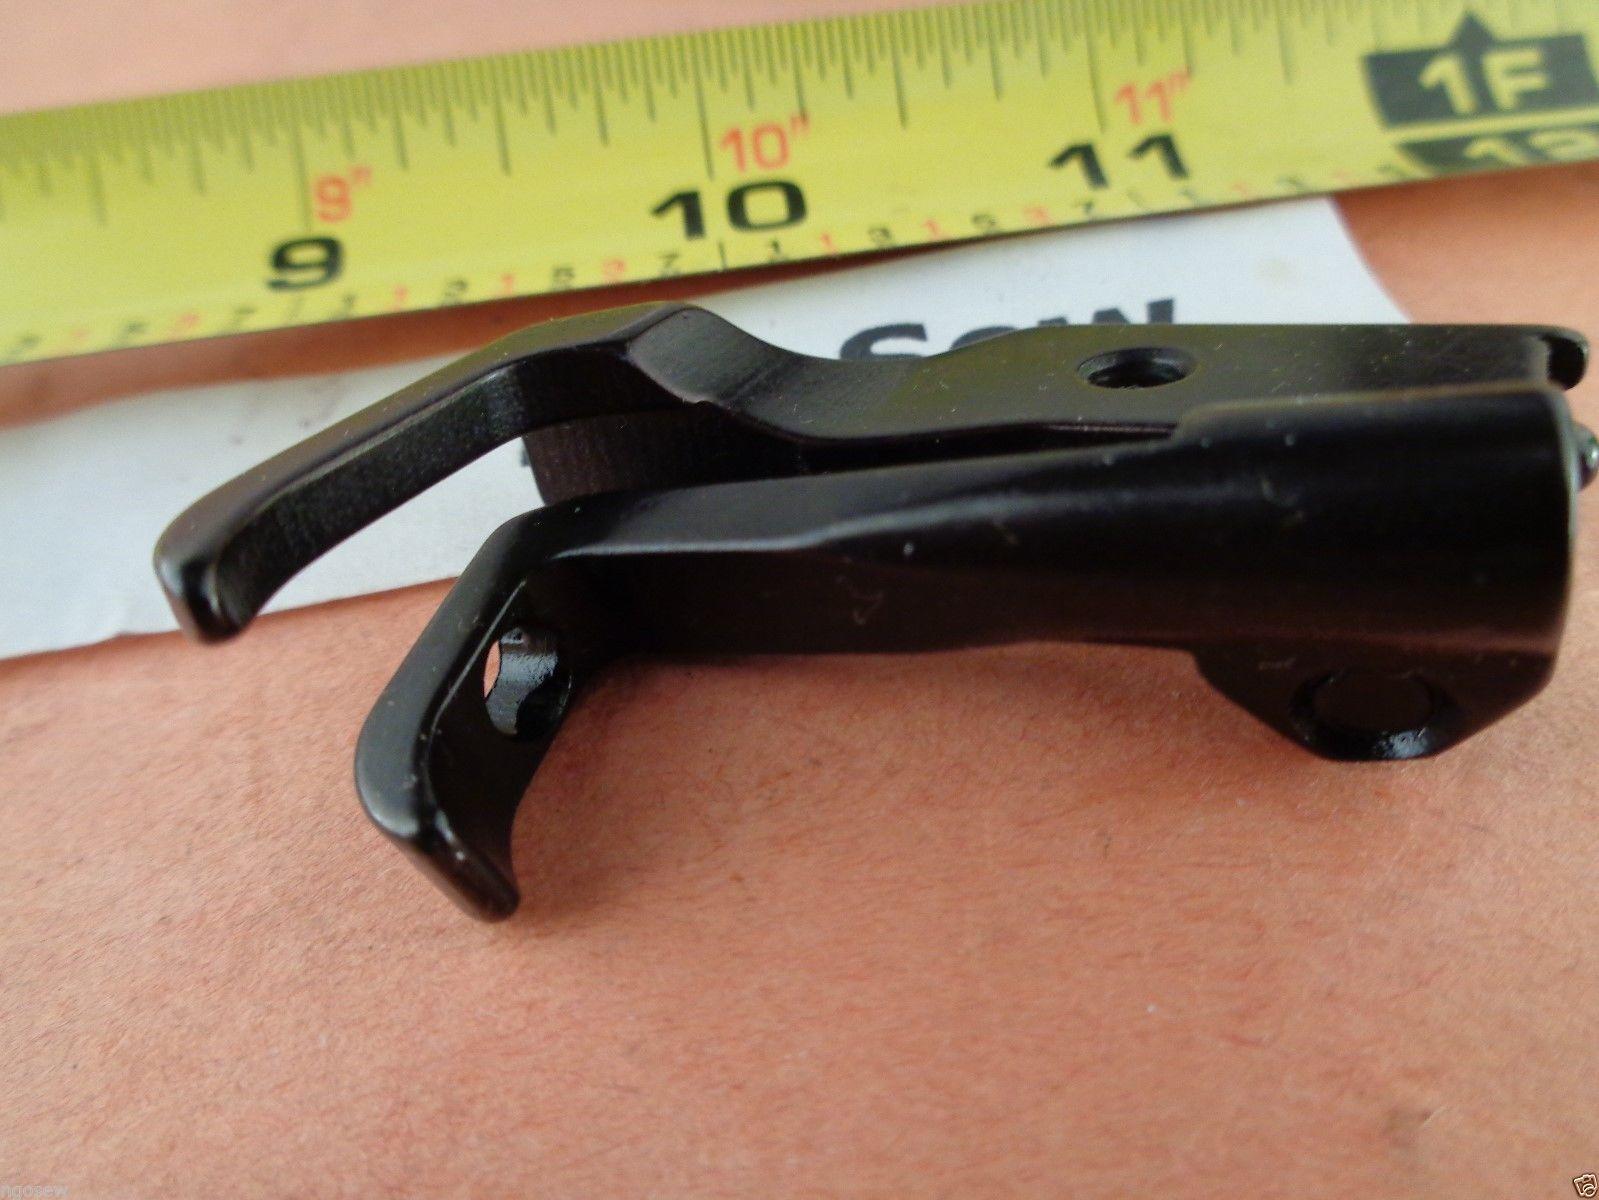
CDK - Thank you for the picture. It helps to know what I am looking for. I found this on ebay - not quite as narrow as yours, but it looks like it could be ground down a little if needed.
-
Thanks, Wiz! I have a Juki LU-563 I am just getting set up. I did purchase a Consew servo from Toledo -- I will contact them about feet for my application. No sir, I didn't update the picture. I really didn't know how to explain wanting to sew right up next to a vertical "wall" when making molded cases. To date it has always been hand stitching. I know manufacturers like leatherman must machine sew their cases, so I figured I would ask here. The answer seems to be a narrow or inline (or both ) foot setup will be the ticket.
-
Thanks for the responses. I have not had any experience with the different feet, so I appreciate these recommendations.
-
Thank you - I will look for piping feet
-
Is there a way to machine sew molded cases like shown in the image? I have seen some recent discussions on special feet. I am guessing that with the proper foot I could sew close to the raised portion of the case, perhaps leaving more leather for the foot to walk on and then trimming after sewing. Any hints on how to do this and/or any special feet needed would be greatly appreciated!
-
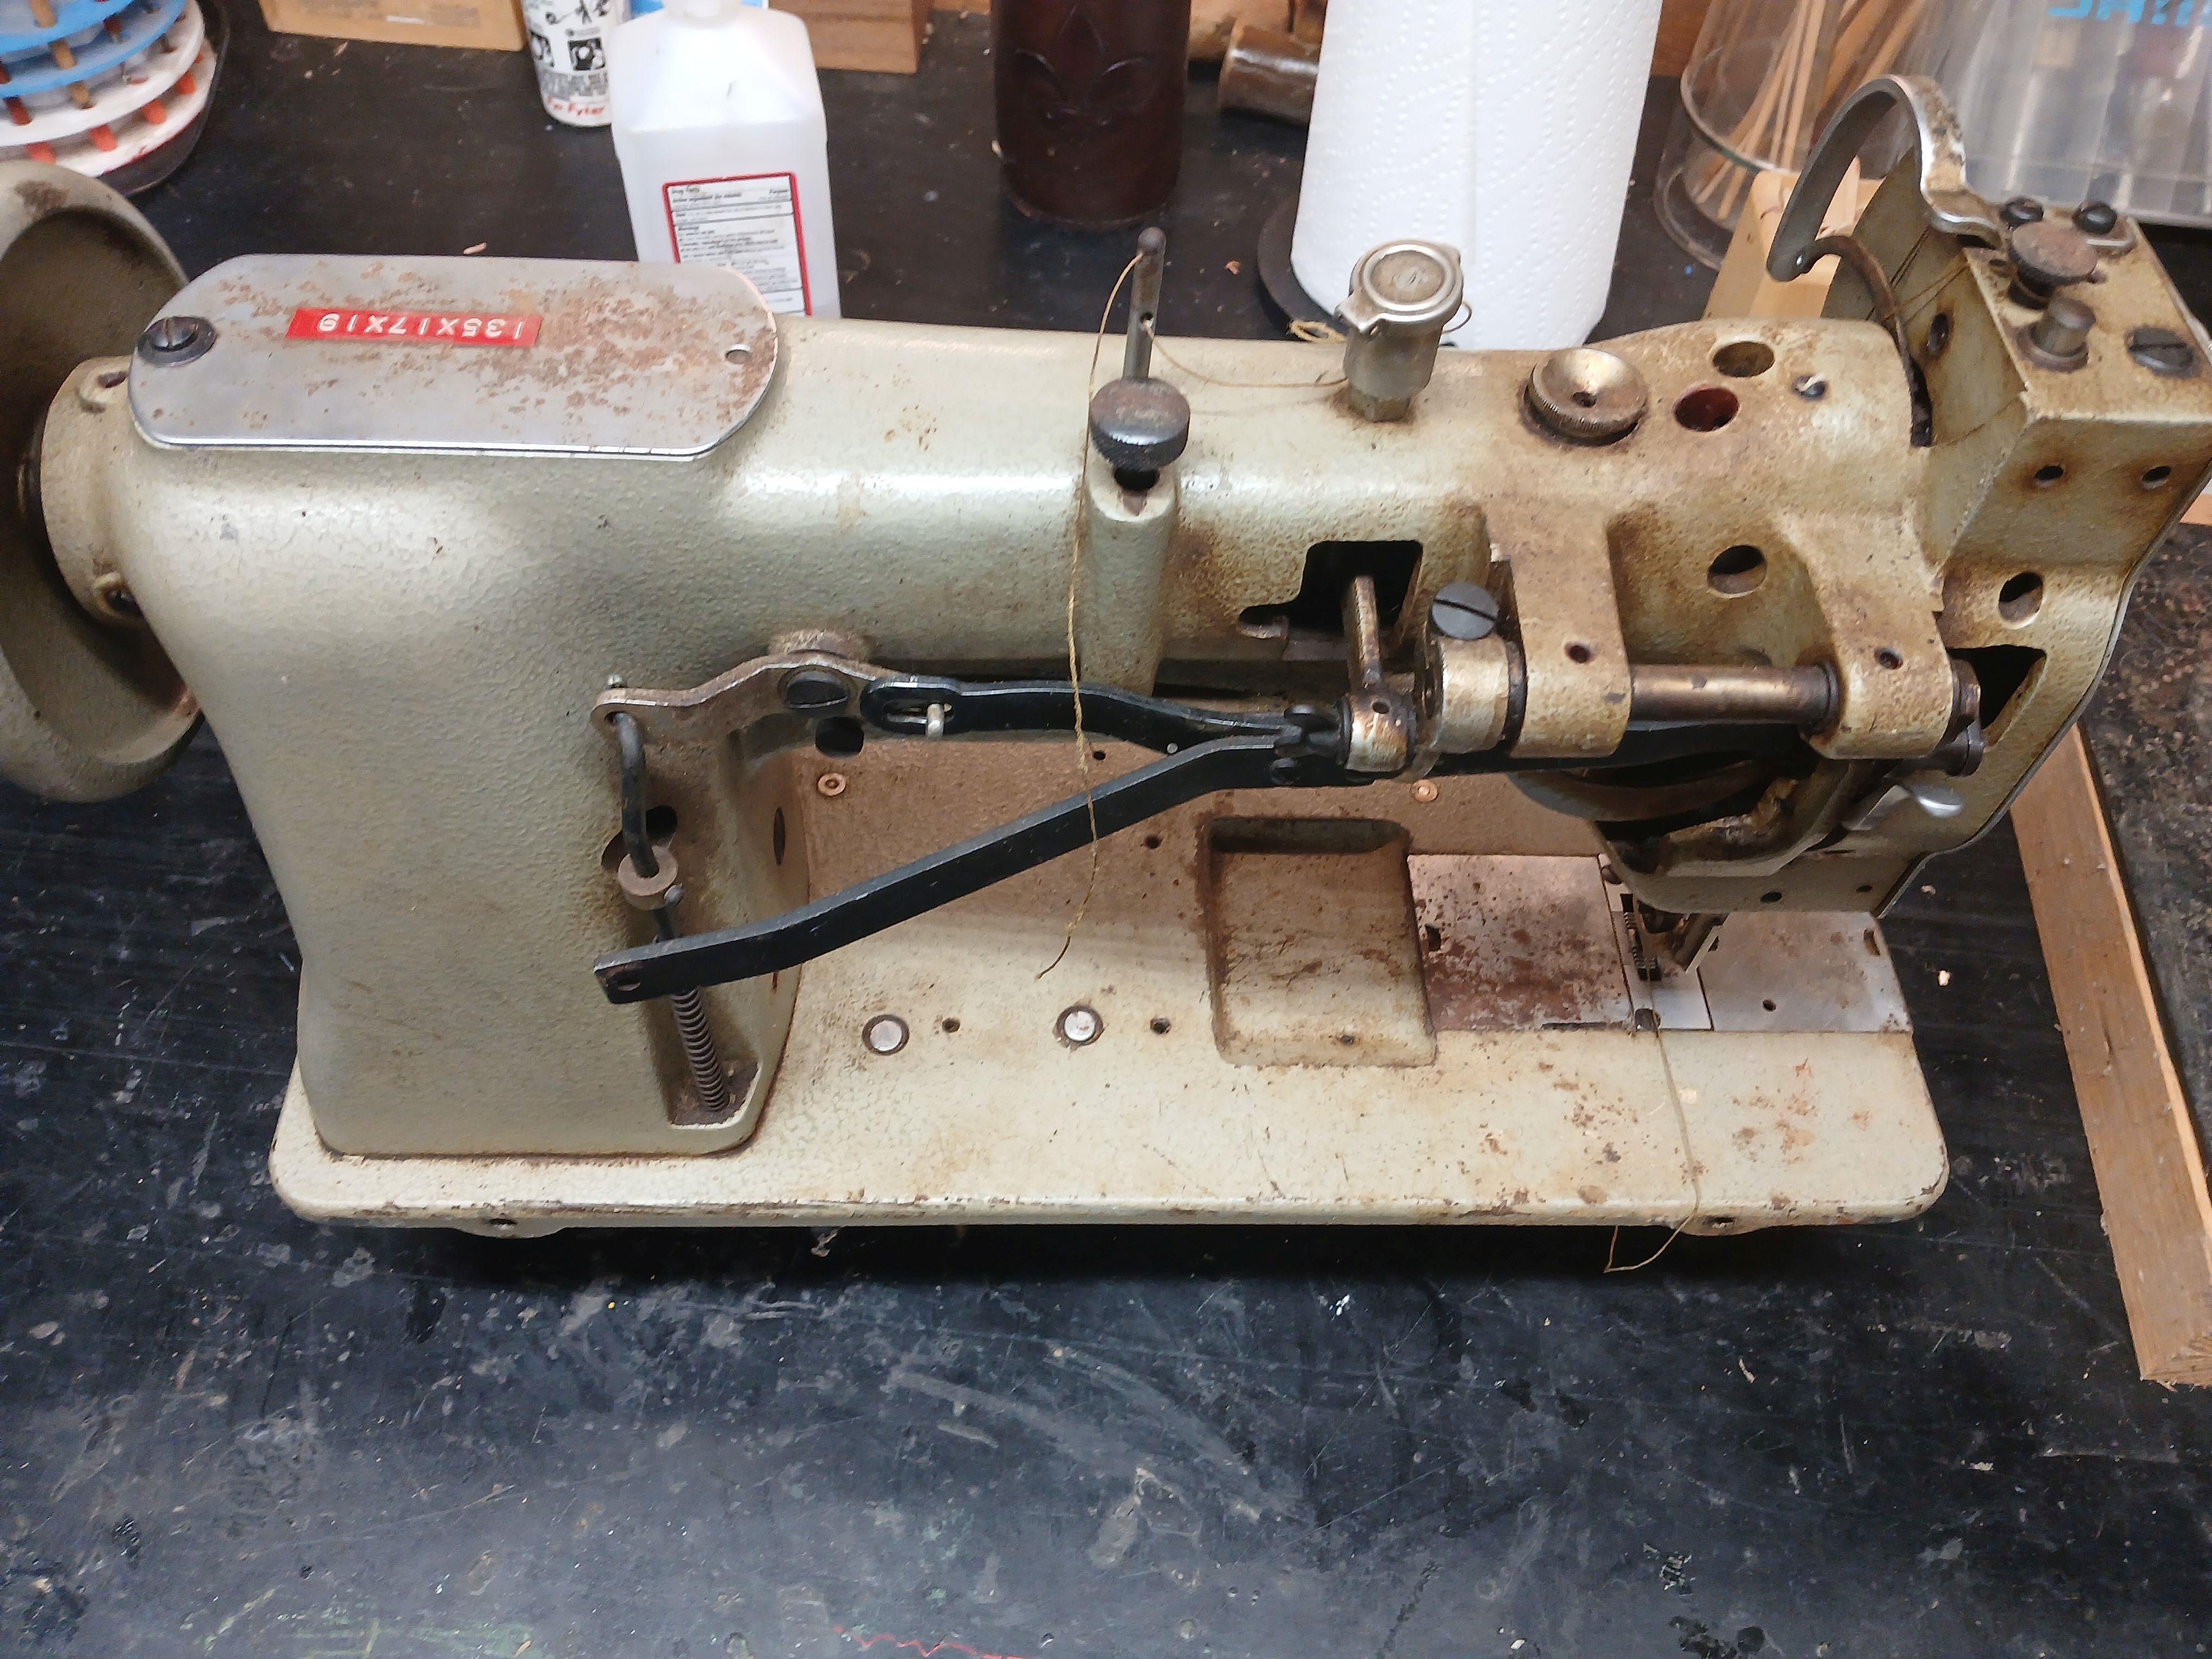
Bringing a neglected machine back to life (Juki LU-563)
MikeG replied to MikeG's topic in Leather Sewing Machines
It cleaned up very well and runs smoothly. After a thorough clean, I blew air in it to dry it out and was rewarded with what looked like a full bag of sunflower seed hulls. Guess somebody was living inside it! I'm very happy with how it is turning out. Thanks all for the encouragement.

-
Bringing a neglected machine back to life (Juki LU-563)
MikeG replied to MikeG's topic in Leather Sewing Machines
Thank you all for the input - that is wonderful news! Yes, I have the table, but it needs a thorough descaling, paint, and a new top. Bob, I will be ordering a Consew servo motor soon.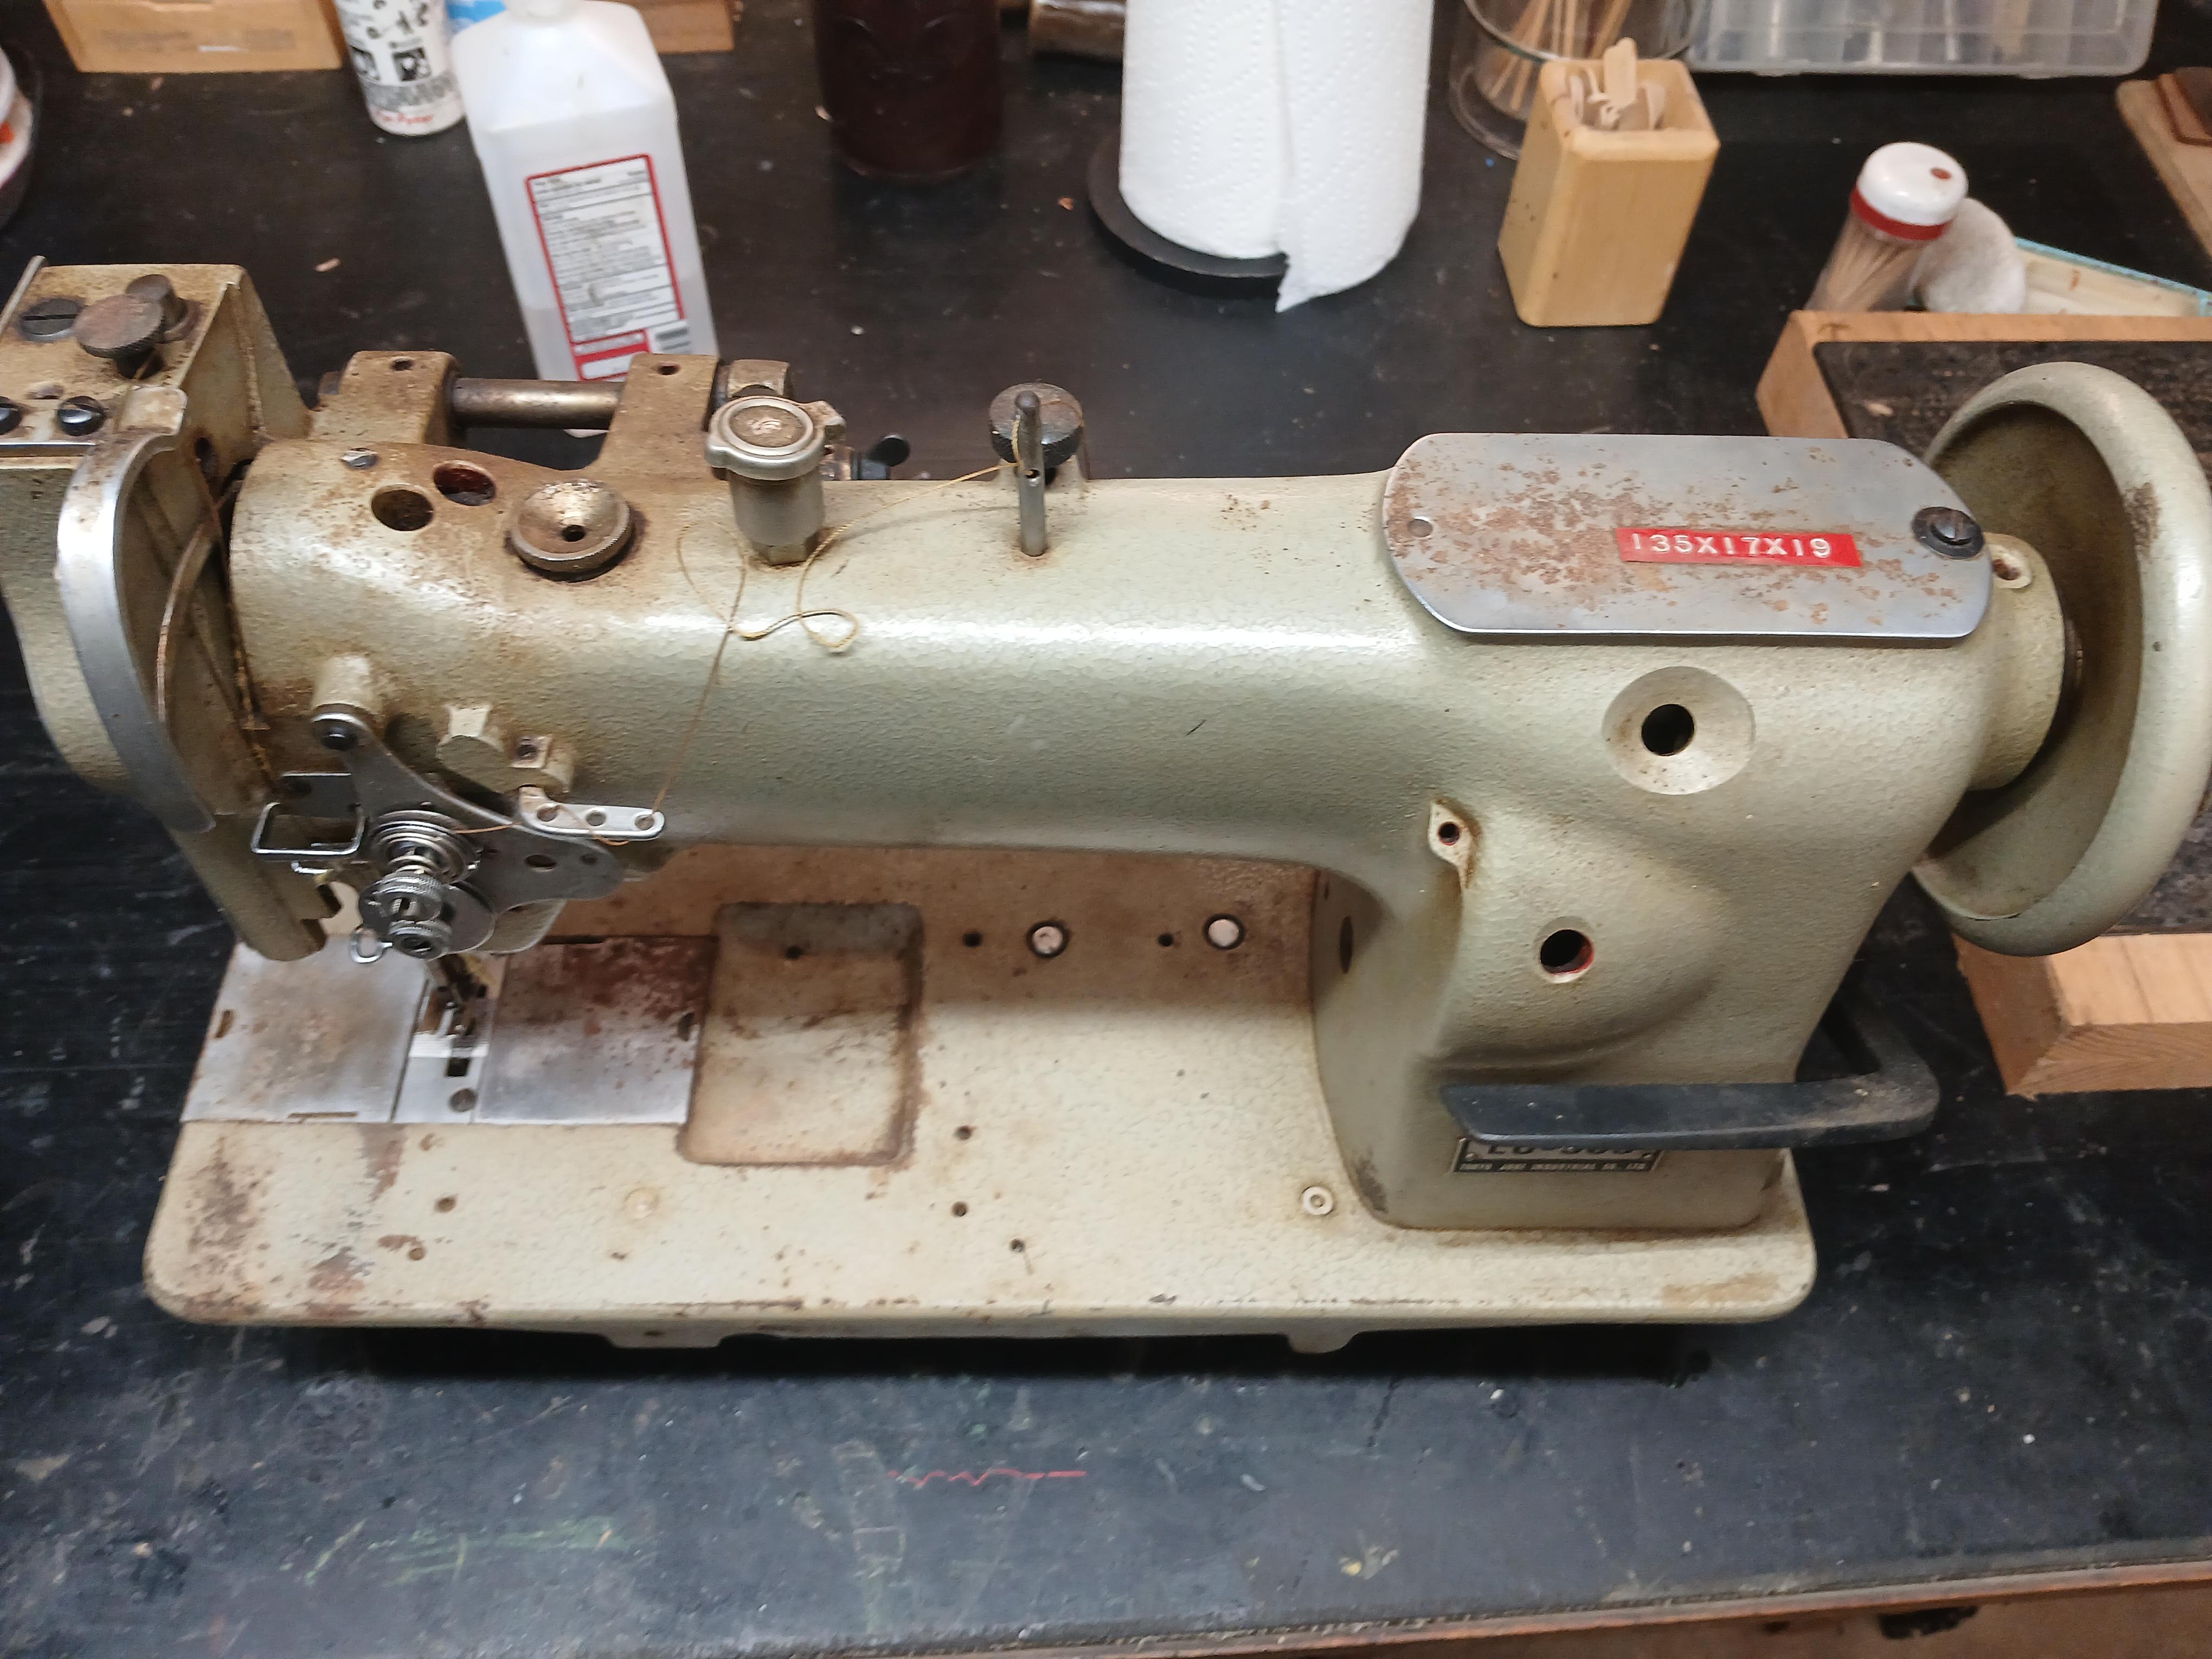
-
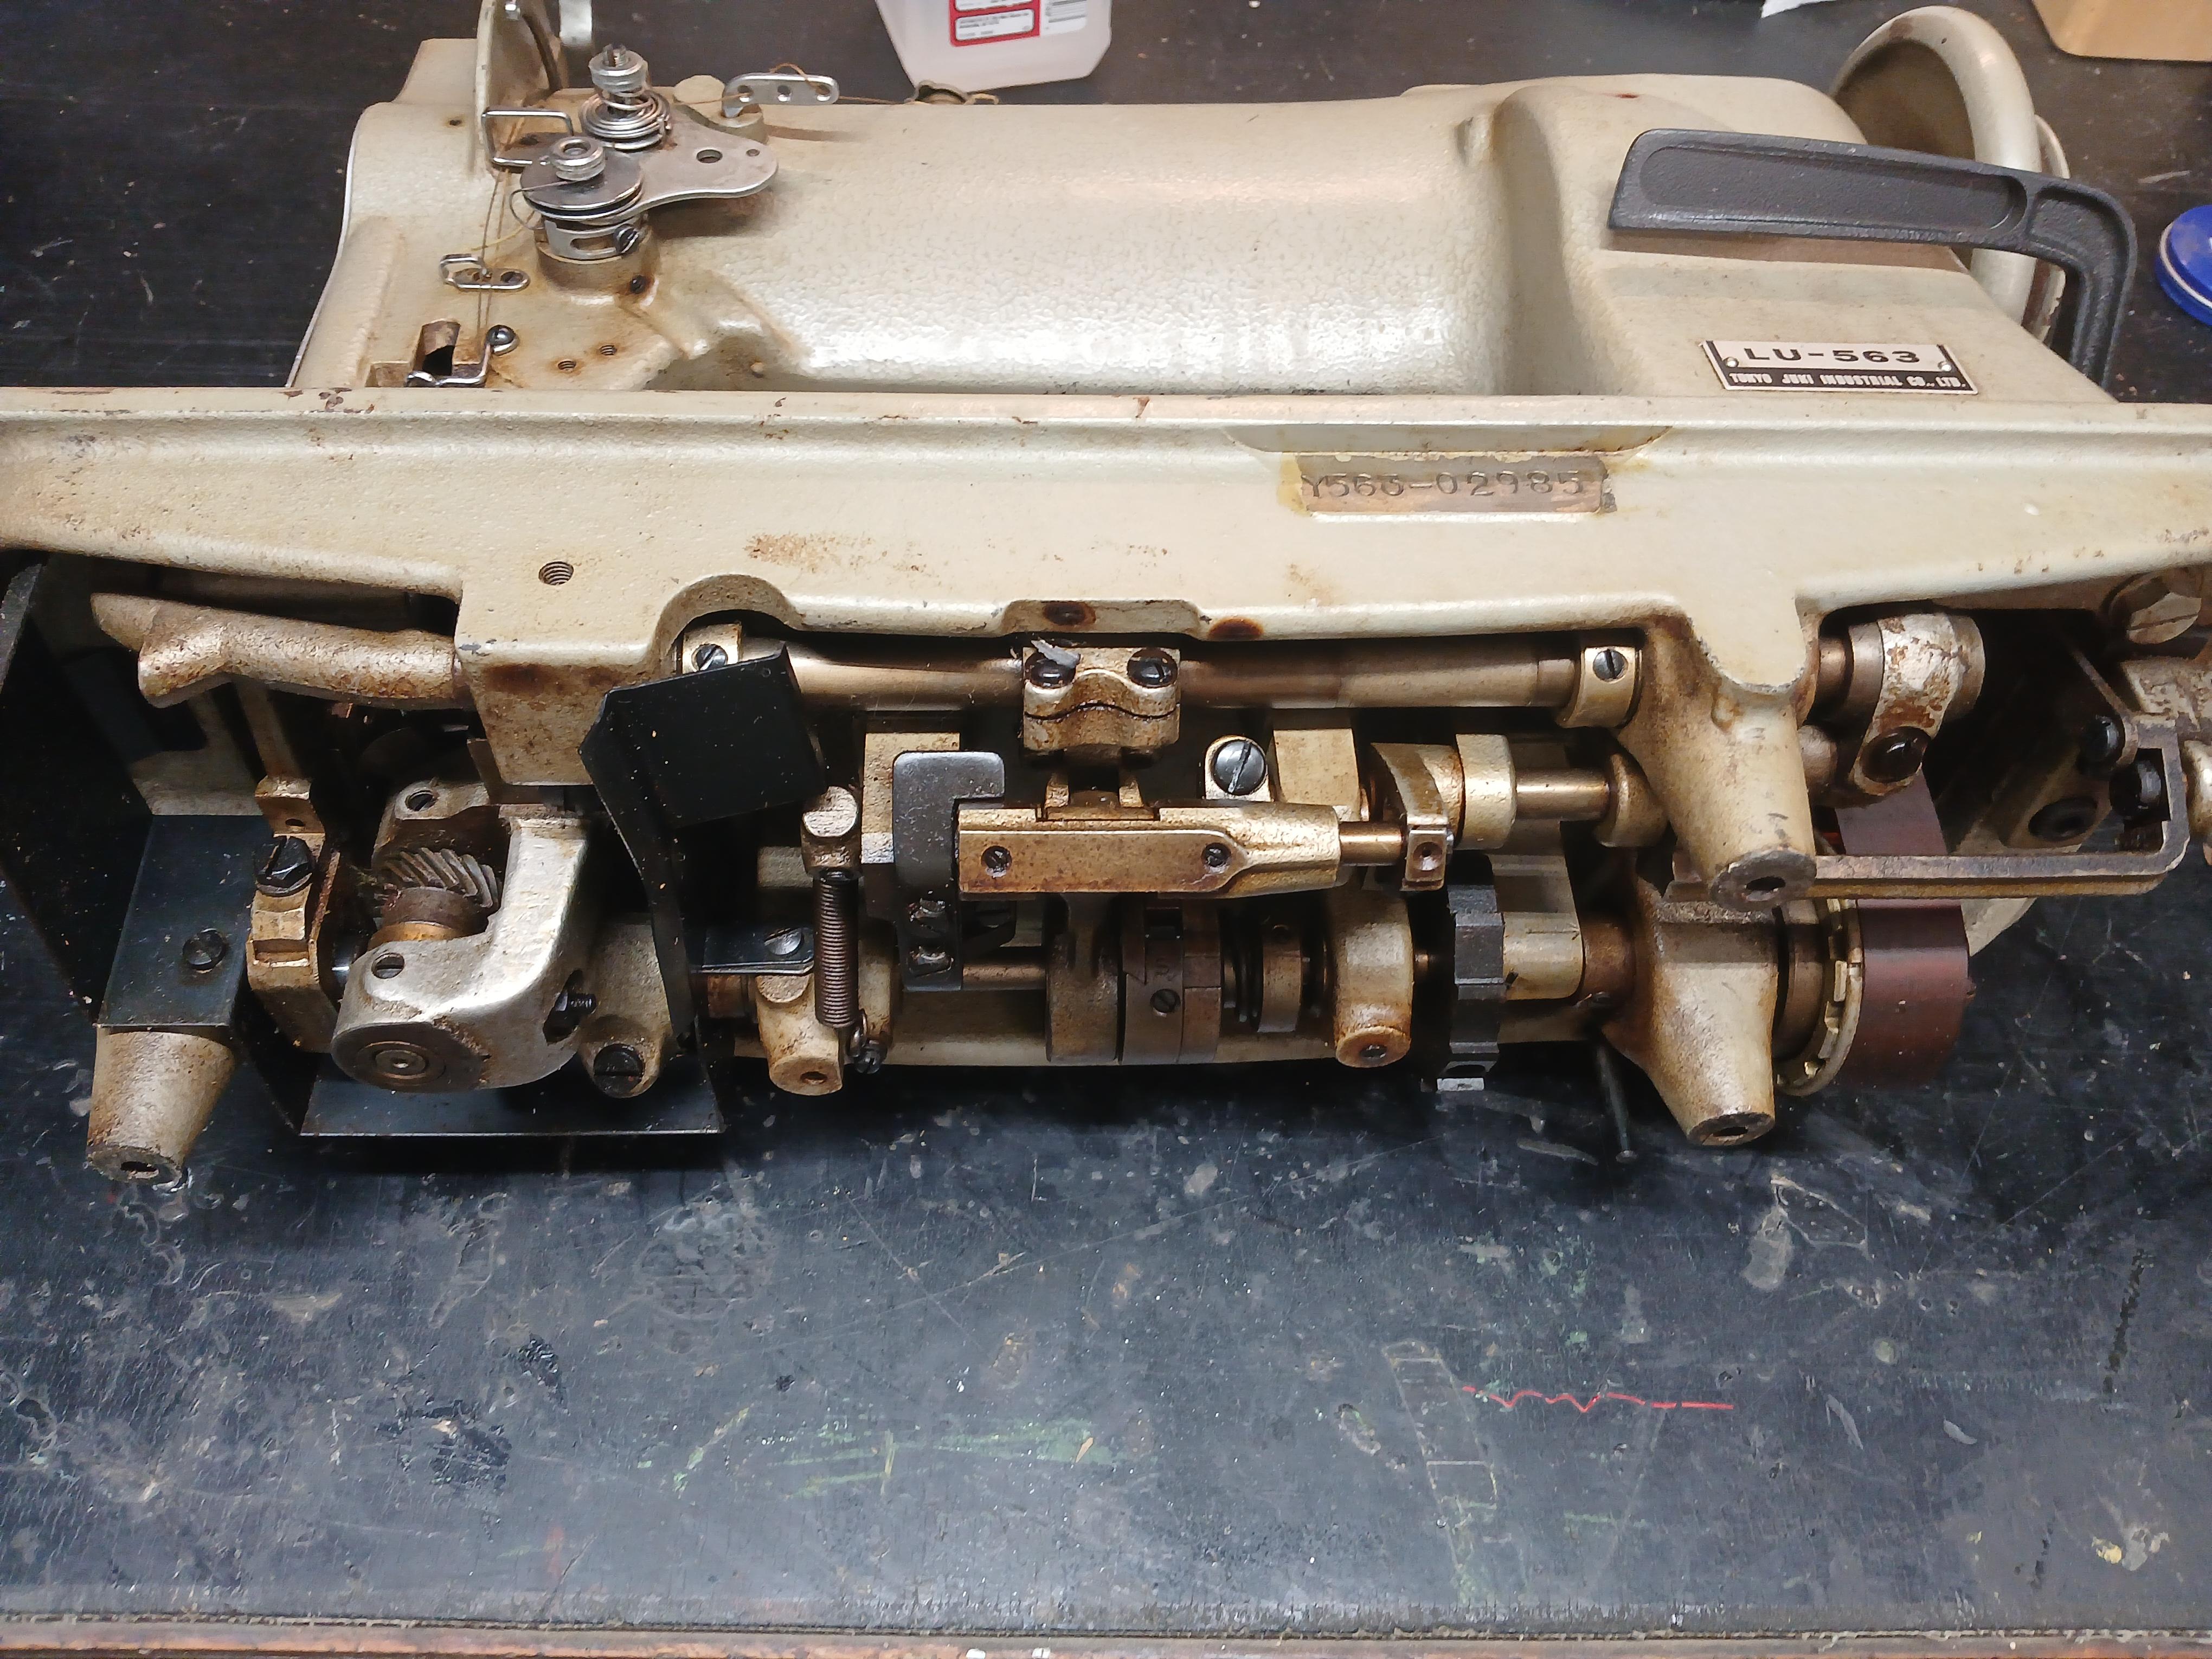
Got a great deal on a Juki LU-563. Essentially a one-owner machine that has spent the last 10-15 years in storage. It is tight and free, but it will obviously need to be oiled and checked out before being put into use. Most of the discussions on this forum seem to deal with damaged or broken machines. This one appears to be in remarkably good condition. My question is: Does the machine need to be completely disassembled? I have not yet found a service manual, and I'm hoping not to have to take it apart using a parts diagram. Thanks in advance for thoughts on how to proceed.