-
Posts
67 -
Joined
-
Last visited
Content Type
Profiles
Forums
Events
Blogs
Gallery
Store
Everything posted by iron1951
-
Going to be ordering from CowboyBob. Thanks
-
Hi. I just purchased a 29k71. Does anyone know what size screw would be used to secure the unit to the treadle table? 1/4x20 seems too loose but 20 threads per inch seems correct. Thank you
-
I also would like to know about the japanning process.
-
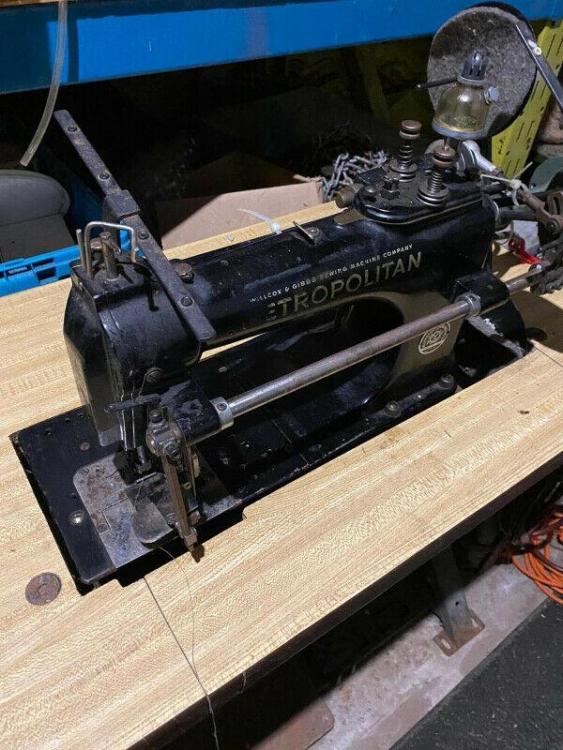
Does anyone know anything about a Metropolitan? The picture is from an ad. There were no other pictures.
-
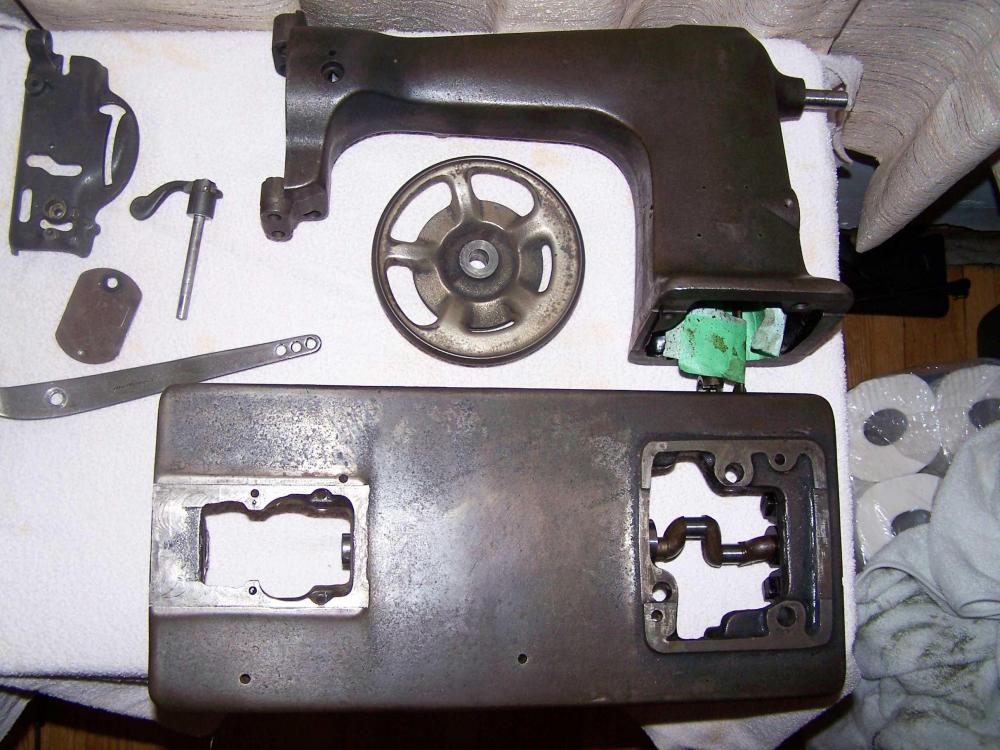
I agree with Constabulary. I took my 21w30 all apart and wish I didn't. Bent the driving shaft. See "Oops I broke it". Good luck on your project.
-

Can anyone help me find this take-up lever
iron1951 replied to iron1951's topic in Leather Sewing Machines
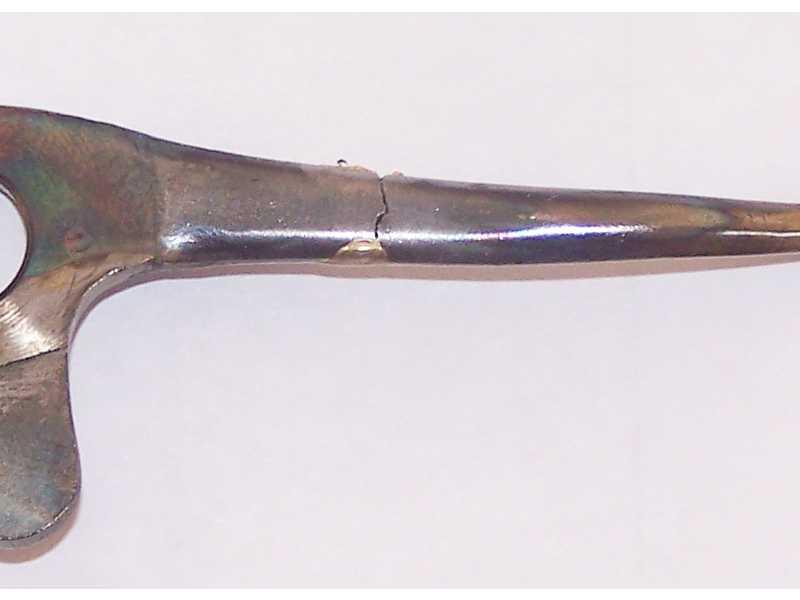
Handstitched, I was afraid that if I tried to braze the back, being such a thin arm, the heat would melt all my braze. So I thought better off to play safe and leave as is. I did scarf out the crack to about a 2/3 depth before I brazed. My torches are industrial size not really meant for this fine work. But once all together, you don't see the braze. I am definitely still on the lookout for a replacement part. -

Can anyone help me find this take-up lever
iron1951 replied to iron1951's topic in Leather Sewing Machines
Thank you for looking. -
Handstitched a couple of people have suggested welding. I was actually doing the welding while you were posting. My take up lever is cast so I brazed it. I am pleased with the results. Seems sturdy enough. I couldn't make it any worse. Pop over to my other post "Can anyone help me find this take-up lever" for pics. I started a new thread because I thought I would get more responses.
-

Can anyone help me find this take-up lever
iron1951 replied to iron1951's topic in Leather Sewing Machines
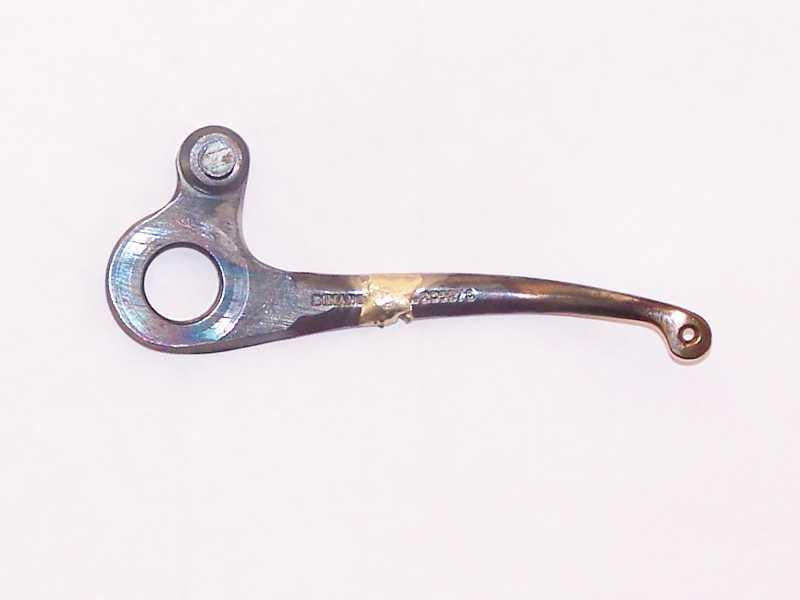
I have had a couple of people suggest that I weld the take-up lever. So that is what I did. Actually brazed the lever. Here are the pics. I decided against brazing the back side because I was afraid the heat might melt everything. I did groove the front side before I started brazing. Here's the pics. -

Can anyone help me find this take-up lever
iron1951 replied to iron1951's topic in Leather Sewing Machines
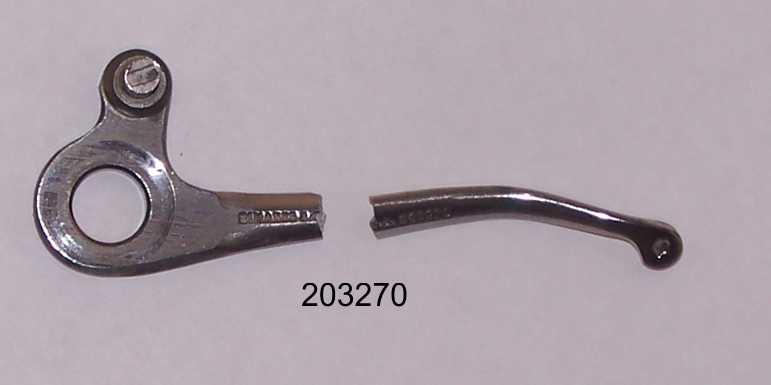
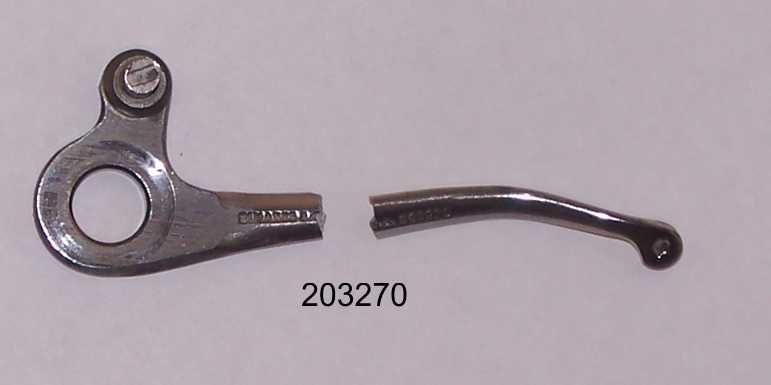
I have the roller, stud and screw. I just left them out of the picture. I broke the take-up lever putting the machine in a table and not noticing that the 21w30 bed was shorter than the cut-out and the machine fell. I had just finished painting the machine. See "Oops I Broke It". -
Any idea where I could chase down this Singer take-up lever, part number 203270 (or 203271 complete)? It is from a 21w30. Thanks
-
Of course, I had to have an accident when placing the machine into a table. I did not notice that the bed was shorter than my other machine and the 21w30 fell breaking Take-up Lever. Part number 203270 (or 203271 complete). Anyone have an idea where I could chase this part down? Thanks
-
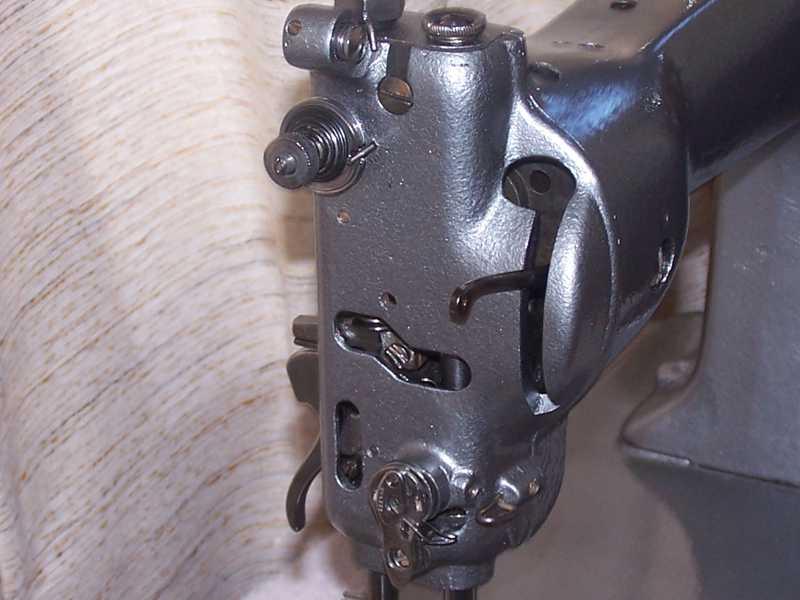
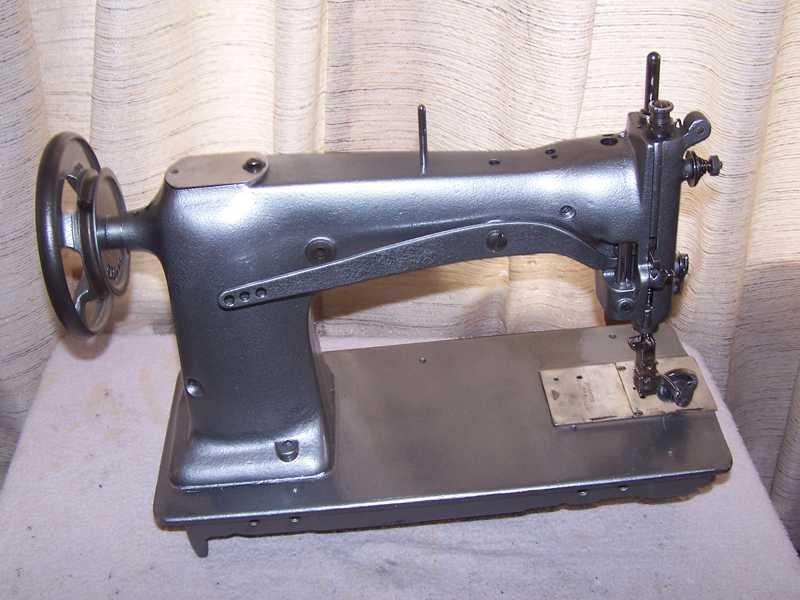
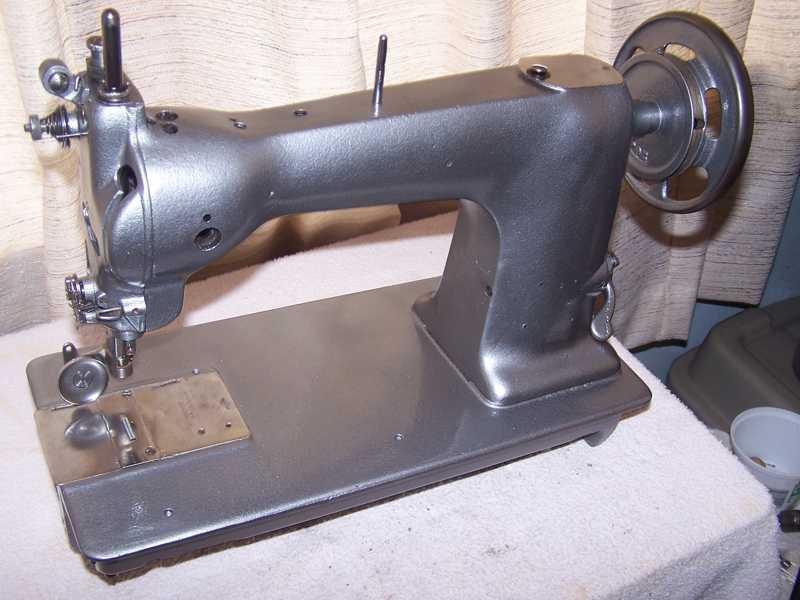
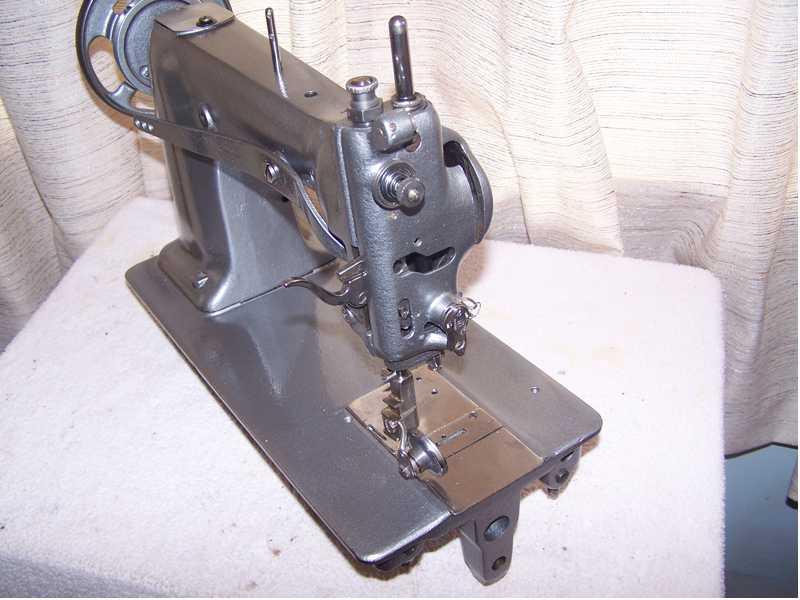
Here are some pictures of the paint. Next time I have to be a bit more careful as I have paint "shadows" in a few places where there were plugs.
-
Thanks Eric.
-
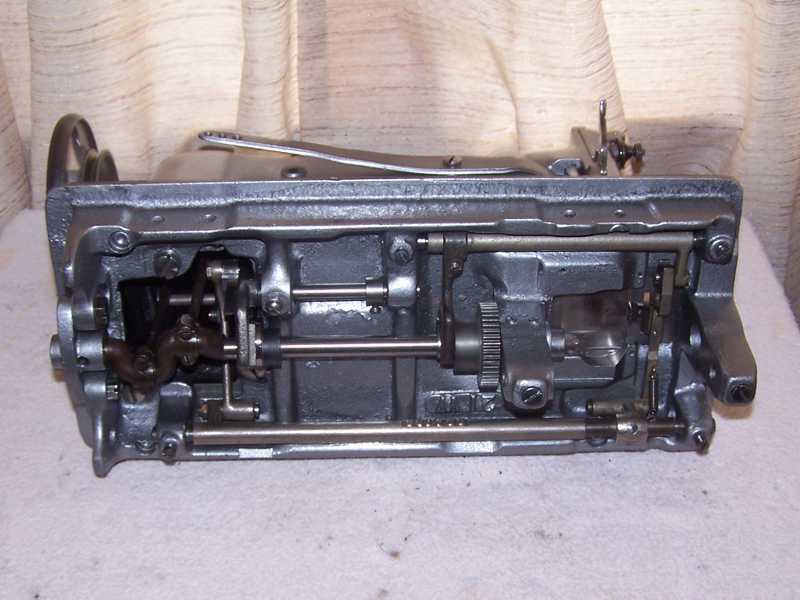
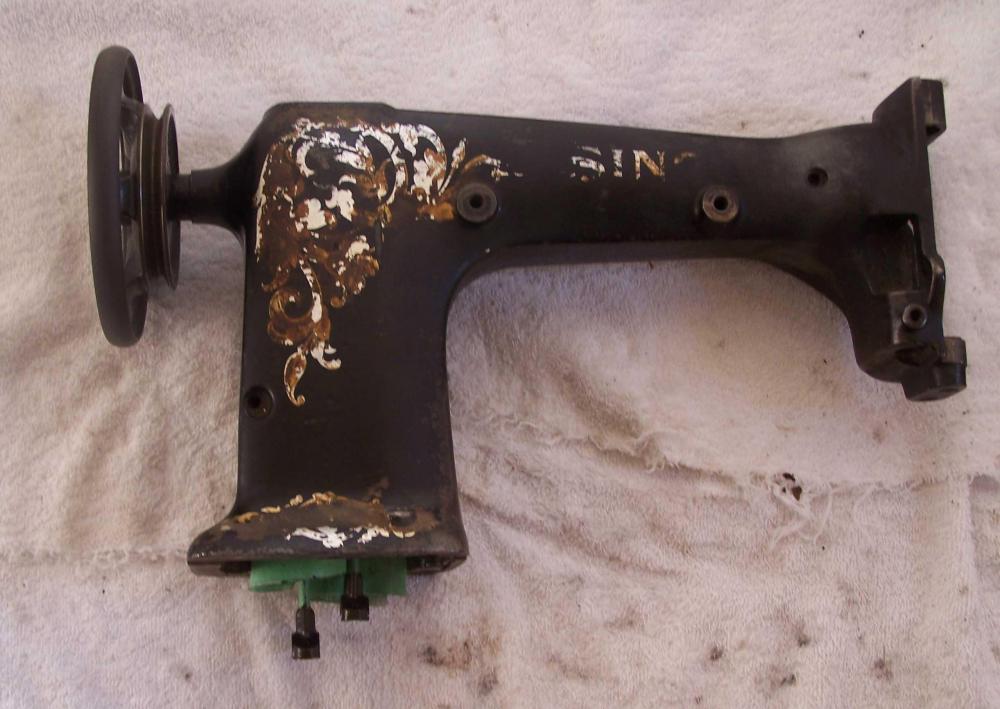
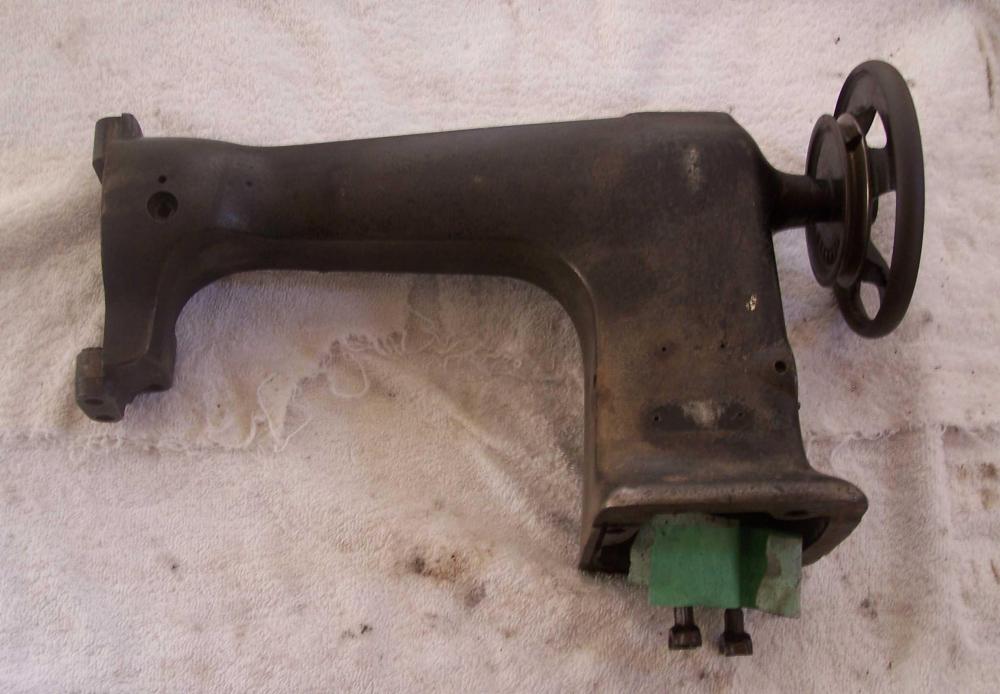
I also have used paint stripper. Works well. I use steel wool with the stripper too. If you check my post "Oops I Broke It" https://leatherworker.net/forum/topic/89004-oops-i-broke-it/ I have pics of my stripped machine. I think fresh paint strips easier than old paint.
-
DanishMan, its hard to tell but are there threads in the hole? I'm thinking of pressing a pin in with threads. The JB weld is a good idea too. You may want to go with a stud and use a nut on your cover. That way you are not working the hole every time you remove the cover.
-
Thanks for the post. I might not say too much, but I will be following along.
-
I have an inexpensive one that you hang and hook the bobbin thread to it. I don't use it a lot. But one time I had a bird nest problem under the material. No matter how I adjusted the needle thread tension, I could not cure the problem. So I used the bobbin gauge to set the tension of the bobbin. Then I set the needle tension. Got rid of the birds nest. But even after using the bobbin tension gauge, I still tweaked the bobbin and the thread tension to get the stitch I wanted. The bobbin tension gauge helped me ball park a starting tension on the bobbin. It still needed tweaking after the initial setting. I am quite certain that some folks can set the initial tension without a gauge (experience) but that is not me. The bobbin tension gauge helped me.
- 24 replies
-
- thread tension gauge.
- thread tensioner
-
(and 3 more)
Tagged with:
-
Lot of good information here. Thanks
-
Constabulary, your restorations are works of art. Do you use textured finishes to help hide the pits in the castings? Do you prime and sand before you paint? Did you use a buffing wheel and a buffing compound to shine up the metal? This is my first total restoration. I hope you don't mind the questions. Wizcrafts thanks for the help with the pics. Handstitched, I take lots of pics during disassembly to help with assembly.
-
Constabulary, nice looking 51W. Like the wrinkle paint. Your 108W20 was also done in wrinkle paint. Have you done any restorations in another paint? I would like to see some pics before I choose a paint. Thanks Wizcrafts, what do you mean by standard resolution? I use a photo editor. I can create a new image, width, height in pixels and resolution in dpi. Would standard resolution be 96 dpi? My photo editor allows resolution range 72 to 600 dpi. What would you recommend? Thanks
-
The journey begins. I have stripped the paint off. There was not much paint there in the first place. My pictures seem awful large. What would be a good size in pixels and dpi. Thanks
-
Well I straightened the driving shaft to the best of my ability. Put it back together and there is a slight bind when I turn the wheel but only in one spot. I am hoping the driving shaft will wear itself in. Never fully strip a machine again. Lesson learned.
-
I'm going for it. Today I (tried) to straighten out the driving shaft. Using my lathe and the torches I straightened it out to the best of my abilities. I then made a plug out of aluminum to replace the bearing, that could easily be removed as I try and error. Shaft spins not too bad. Now to hook up the connecting rods and see what happens. Probably be a few days before I get back with the results. Nothing to lose.


