Chief31794
-
Posts
1,801 -
Joined
-
Last visited
Content Type
Profiles
Forums
Events
Blogs
Gallery
Store
Everything posted by Chief31794
-

When Do You Stop Cutting Yourself?
Chief31794 replied to Chief31794's topic in Leatherwork Conversation
Thanks, treating it is something I'm an expert at. I take some heavy blood thinners so I have to use a coagulent, I keep plenty in my first aid kit. I use super glue and other things too, but my main concern is prevention, not treatment. I've perfected the treatment, I want to work on the prevention. This was a little tongue-in-cheek just because I wanted to vent because I was so irritated at myself, I should know better. Thanks, Chief -
What Is This That Came With My Swivel Knife?
Chief31794 replied to Billy Hell's topic in Leather Tools
That is indeed a hair blade, used to add hair to animal carvings, simulated bark lines to limbs and trees sometimes, and various other uses. Chief -
I started working in leather in 1970, since then I've learned a lot of things, one thing I have not been successful in learning is how to prevent cutting yourself in the leather shop. Several facts: 1. Knives used in leather working are very, very sharp. 2. Bare hands are in close proximity to the cut line when cutting leather. 3. Stupid leather working knives can't tell the difference between Steer Leather and People Leather!!!! 4. Major overhead expense in a leather shop: 1st Aid Supplies Oh well, just venting, cut my self again this week, I'm starting to cut into old scars. Does everyone do this or am I just getting too old to be trusted with sharp instruments??? Chief
-
Another Dobro Strap (Lined) And A Spring Clip Money Clip
Chief31794 replied to Chief31794's topic in Guitar Straps
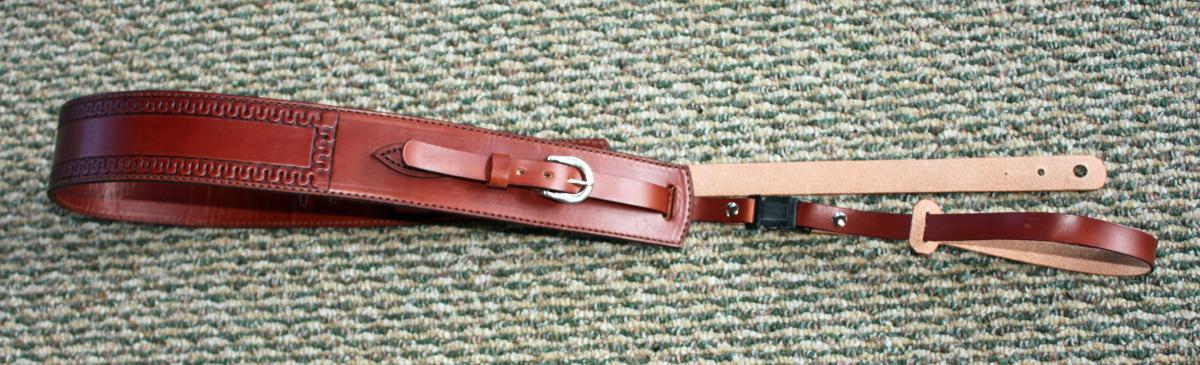
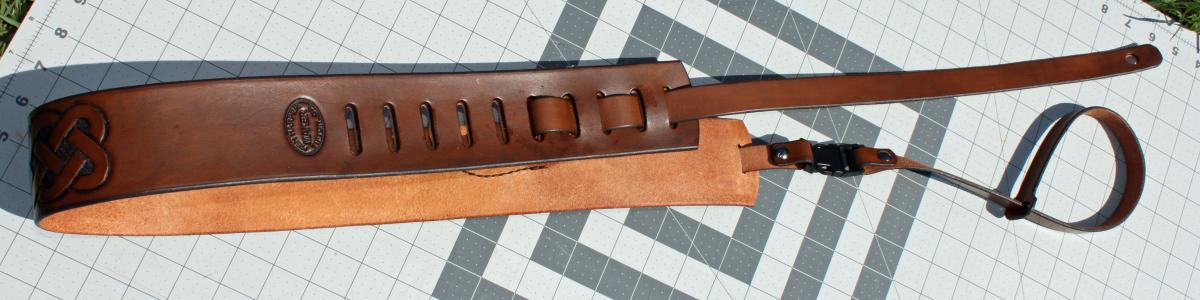
Kid, The inside strap is going to wrinkle a little, I minimize it by conditioning the leather well and only gently rolling the leather, but it will wrinkle some. You can eliminate most of it by curving the main strap before lining, but I don't as it doesn't present a problem. As to work flow, I'm not sure what you mean but if your talking about order of operations it goes something like this: Cut Main Strap to a template and mark the adjustment holes, Cut lining strap 3/8 - 1/2" wider than the main strap and 2" longer Cut Back strap to template and mark slot and holes for end pin and/or Strap Lock assembly, for made to order the customer specifies 1 or the other or both, this strap is punched for both. Cut 3 pieces for the front strap assembly and measure a belt loop for length and cut it. Put painter's tape on the back of all pieces. Case main strap, then emboss my maker's mark, then do any tooling, carving, etc. Groove the main strap and the buckle strap assembly for sewing. edge the top side of all pieces except the lining strap. Dye all pieces, let dry at least overnight. Remove tape and edge the back of all pieces except the main strap and lining strap (since they'll be glued together) Condition all pieces with Feibings Aussie conditioner, front only on the main and lining straps, all other pieces both sides. Put it on liberally then heat with a heat gun until it liquifies and then buff all pieces really well with sheep's wool. Apply 2 coats of Clear Lac with at least 4 hours drying in between coats. Punch slots and holes in the front strap assembly and the back strap assembly and set them aside Mark holes in buckle strap and main strap and hand sew the buckle assembly to the main strap. apply feibings leather cement to the backs of the main strap and lining strap and let it dry till tacky then carefull place the main strap on the lining strap flesh side to flesh side, apply pressure ( I two boards (2X4) that cover the back of the strap slides under the front end of the buckle strap then place concrete blocks on them for pressure and let them dry for 1-2 hours. Trim lining off, edge top and bottom and then re-dye the edges. Machine sew the entire strap following the groove on the main strap. burnish all edges punch slots and holes in the main strap hand sew the buckle loop assemble the buckle and keeper Assemble the quick release to the front strap pieces Assemble the back strap Final Buff Pack for shipping. Got 2-3 days ~ 24-30 hours in the strap. Hope that's what you were wanting or I just wasted a lot of computer time. Chief -
Another Dobro Strap (Lined) And A Spring Clip Money Clip
Chief31794 replied to Chief31794's topic in Guitar Straps
Thank you, Chief -
Another Dobro Strap (Lined) And A Spring Clip Money Clip
Chief31794 replied to Chief31794's topic in Guitar Straps
Thanks Rohn, Thanks, Chief -
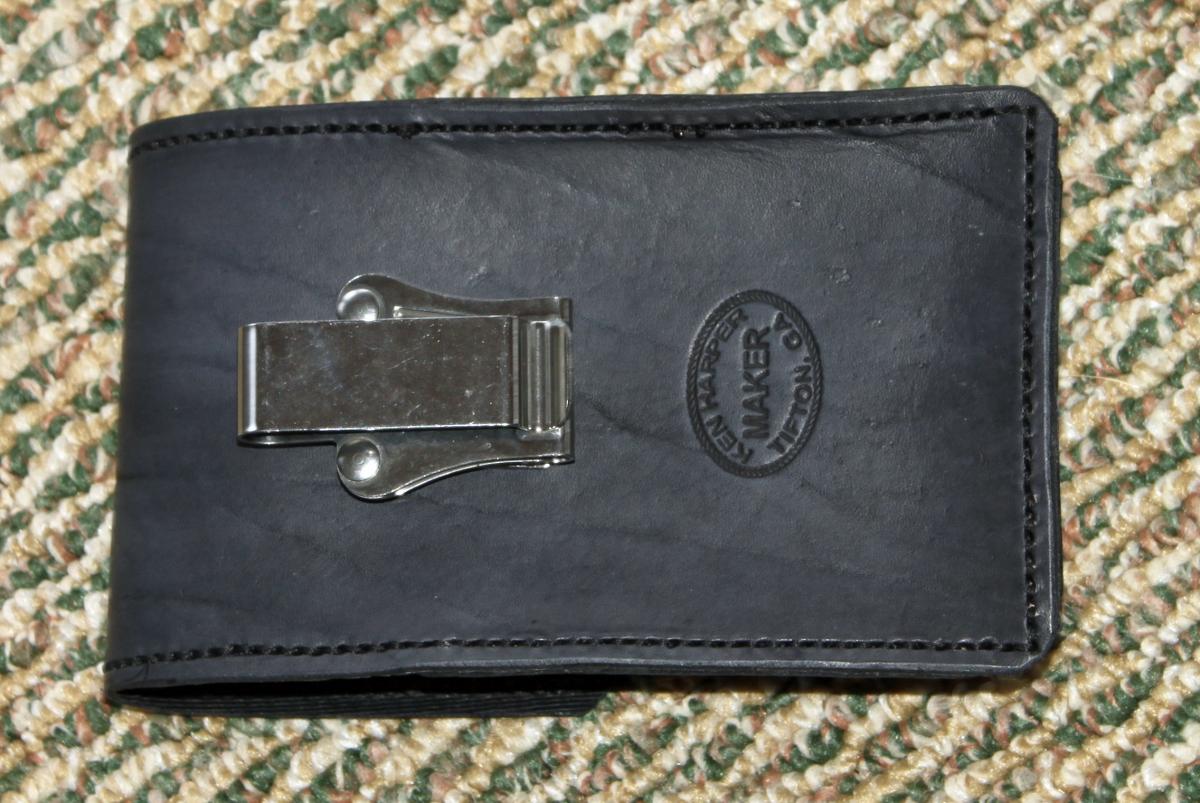
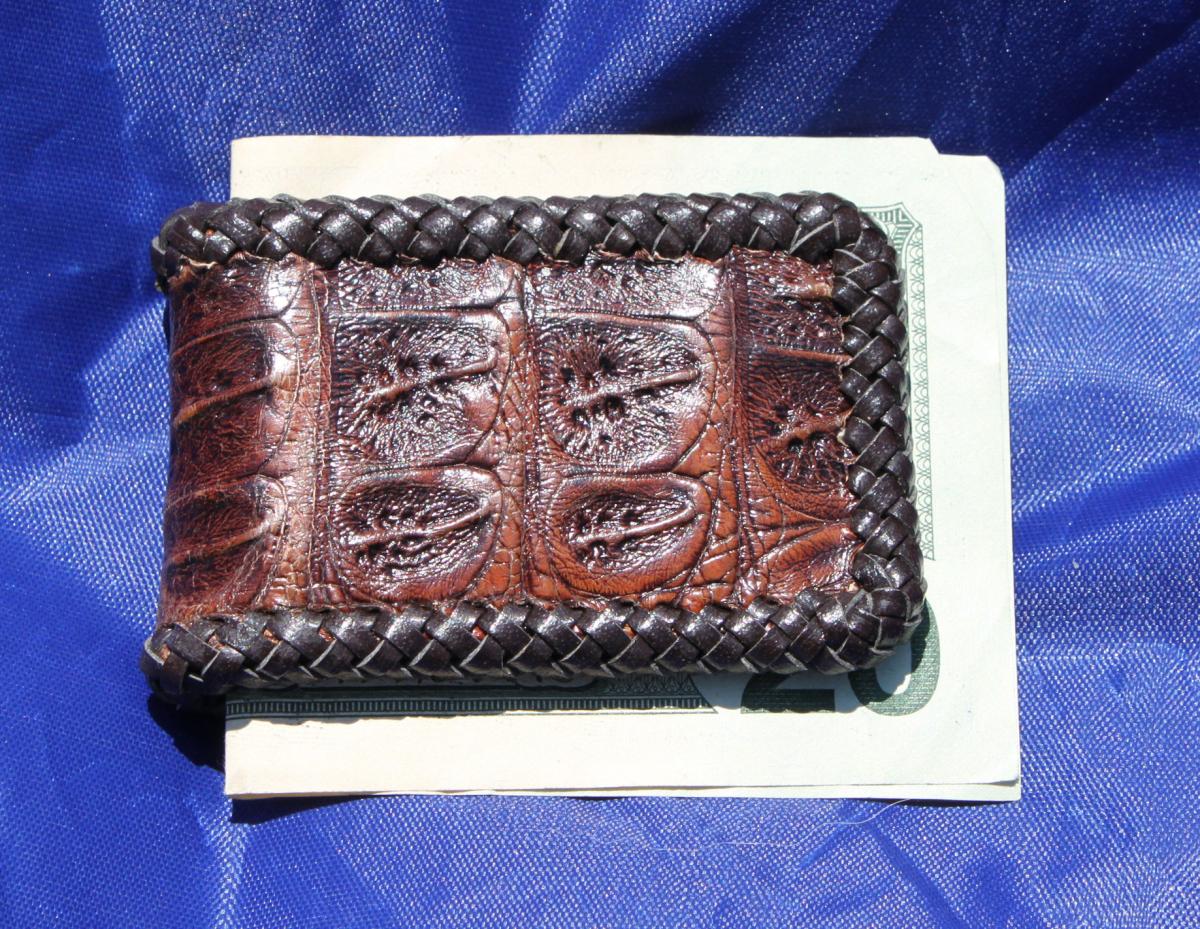
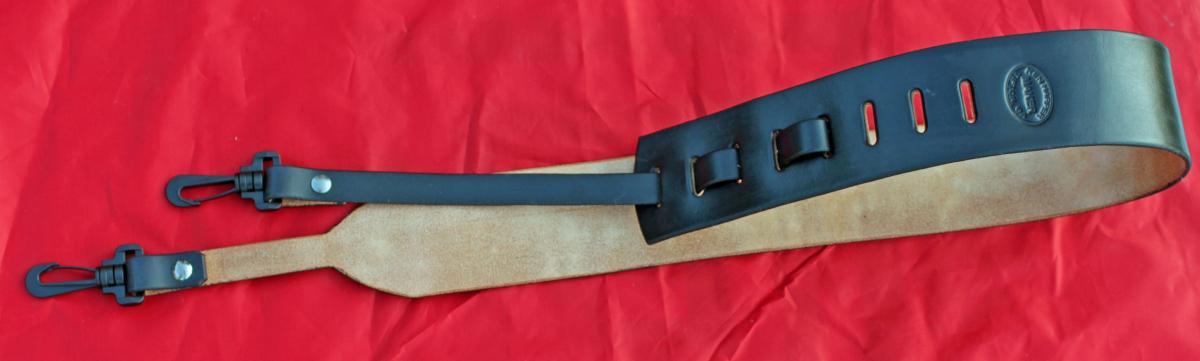
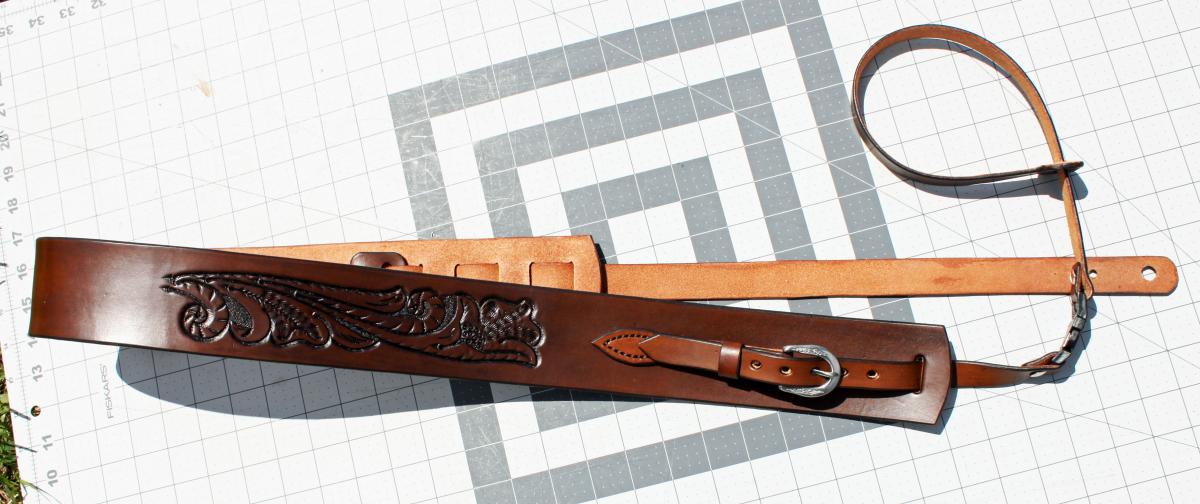
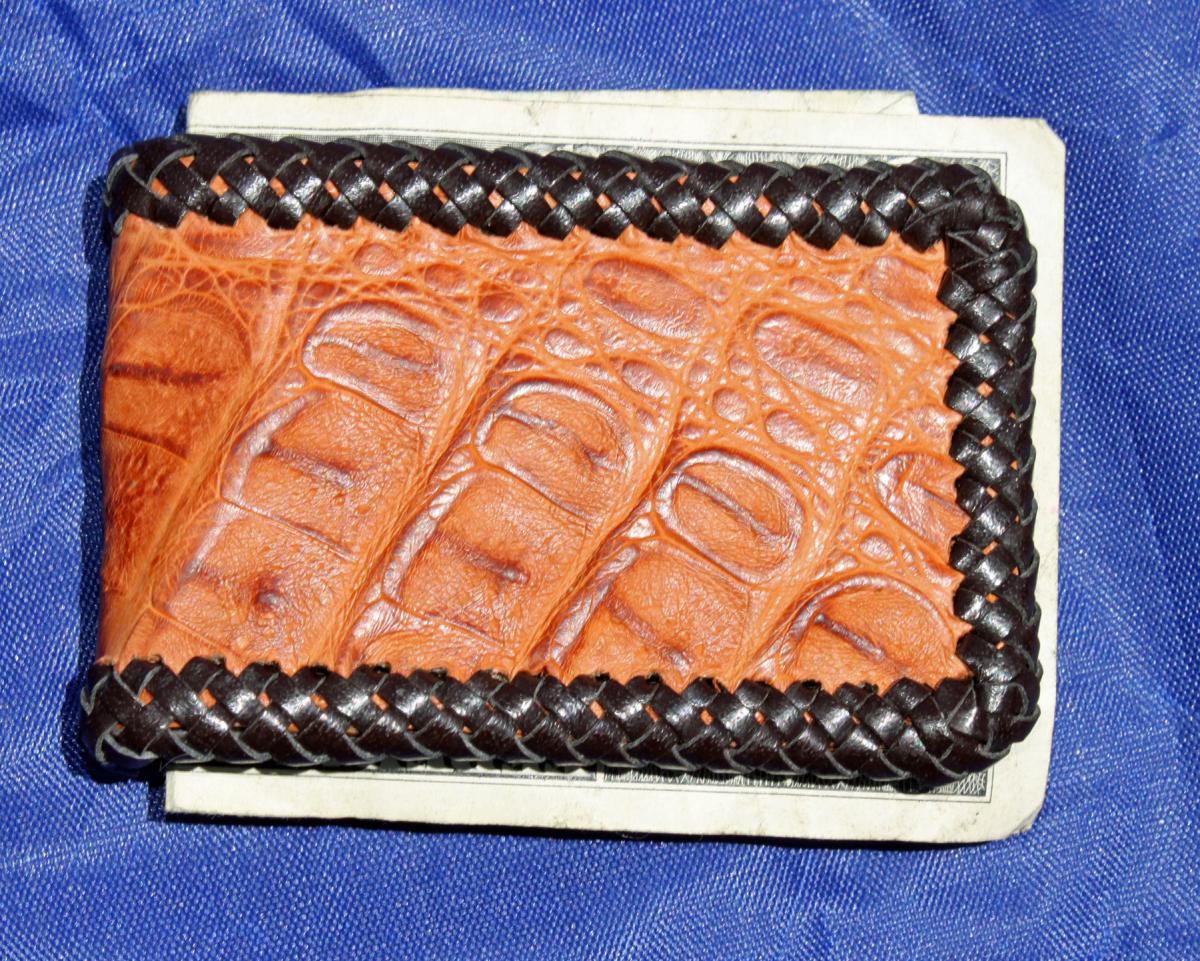
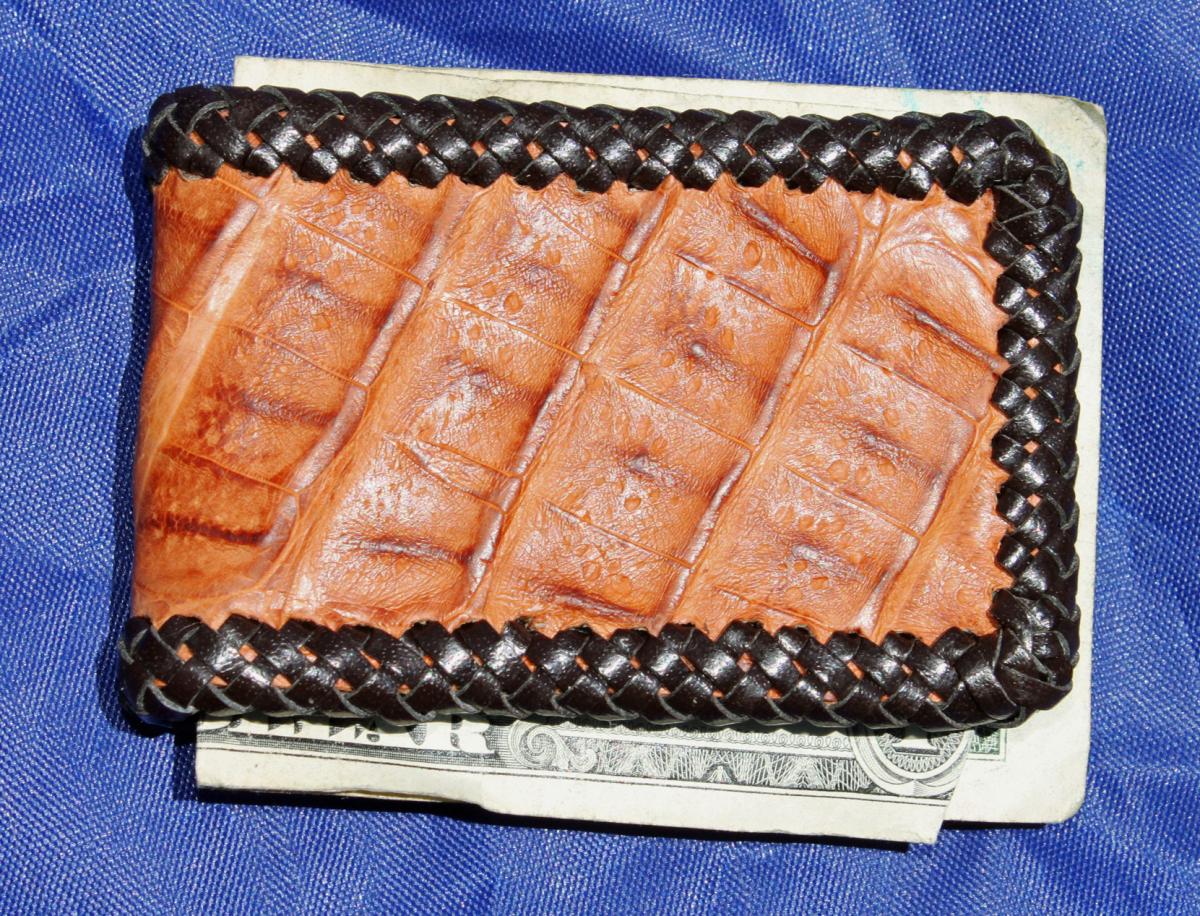
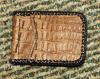
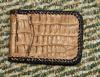
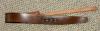
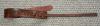
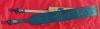
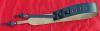
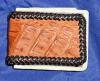
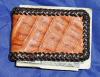
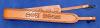
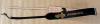
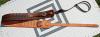
Money clip has 4 interior card slots, a spring clip style money clip, and 2 pockets on the exterior, it is made from Tan Caiman backed by Hermann Oak leather. The Dobro strap is 2 layers of 4 oz Herman Oak on the main strap and 7 oz Hermann Oak for the front and back straps, this strap is standard and is adjustable from ~ 64" to 74" long from loop to pin. Chief
-
Phone Case With Swivel Clip
Chief31794 replied to Chief31794's topic in Purses, Wallets, Belts and Miscellaneous Pocket Items
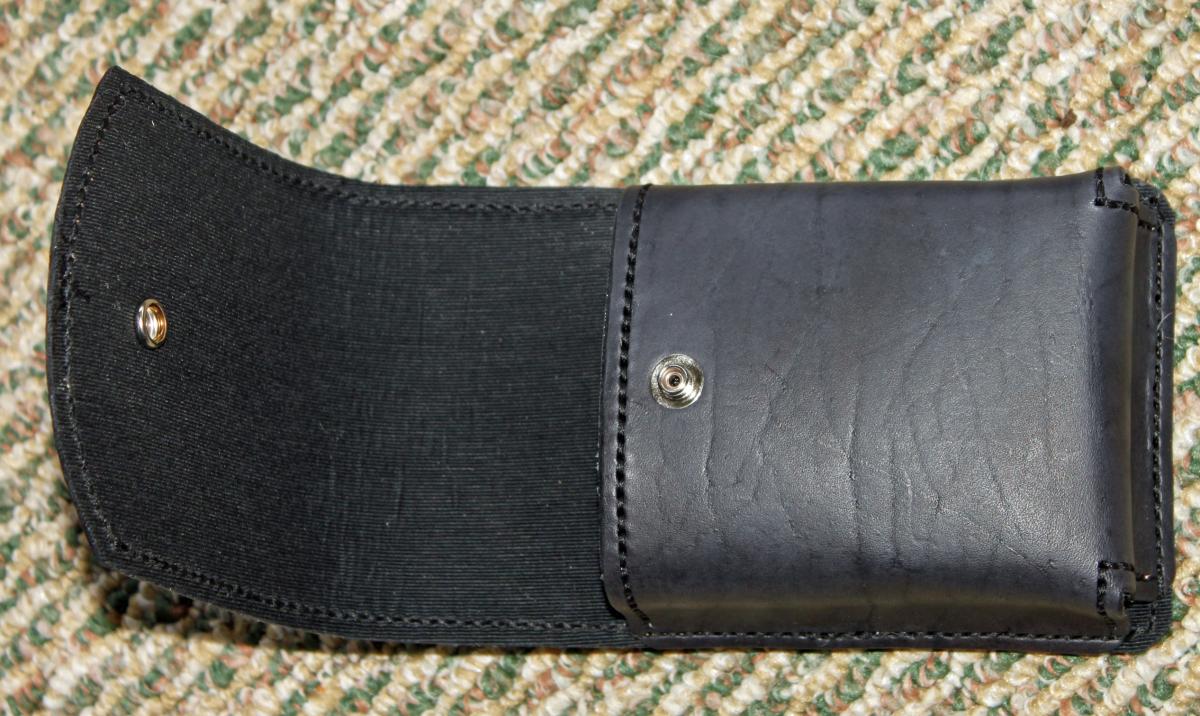
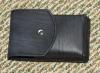
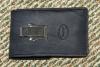
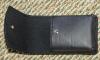
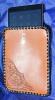
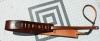
I bought that clip from Springfield Leather Company. It has a feature that I like, it is a "one-way" clip, the swivel stud will only slide on the clip when it is oriented in a particular direction, that allows you to install it so that to remove the case from the swivel, you turn the case upside down on the swivel and it'll slide out. Not very expensive either. Chief -
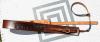
I normally use belt loops on the back of these, but the customer wanted to be able to swivel the case (quite large for a large phone with an armor protective cover) when they sit. Lined with Faille Lining Cloth. Chief
-
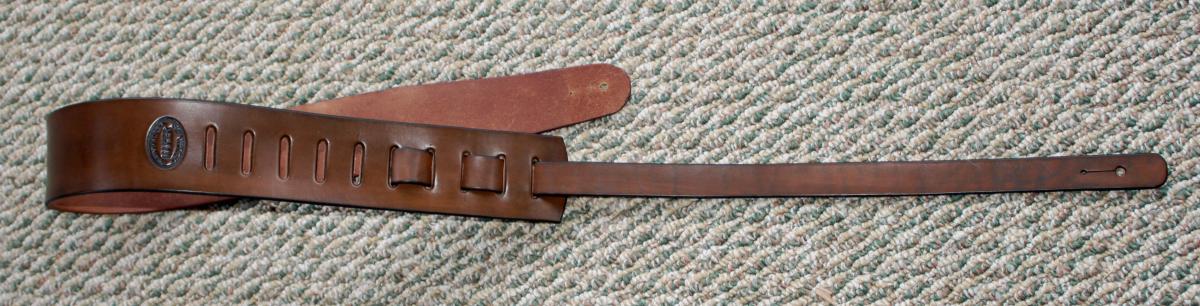
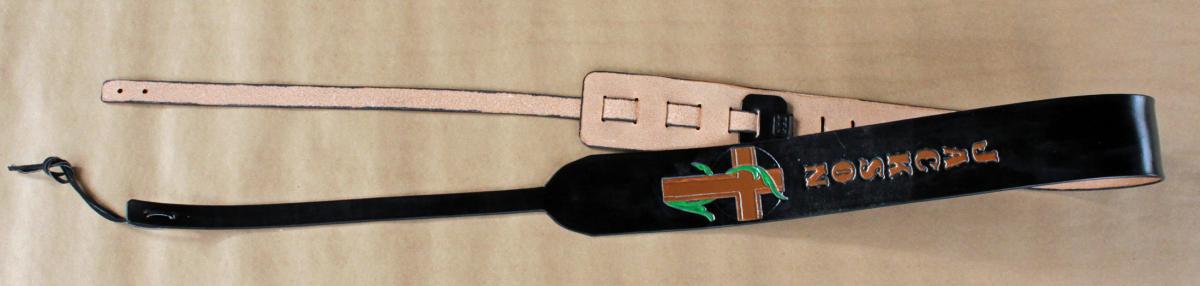
I get more and more orders for either plain or just the name on a strap. Things change, used to always get orders for carved straps. Chief
-
Really nice work Colt, Chief
-
A Few Items Out This Week
Chief31794 replied to Chief31794's topic in Purses, Wallets, Belts and Miscellaneous Pocket Items
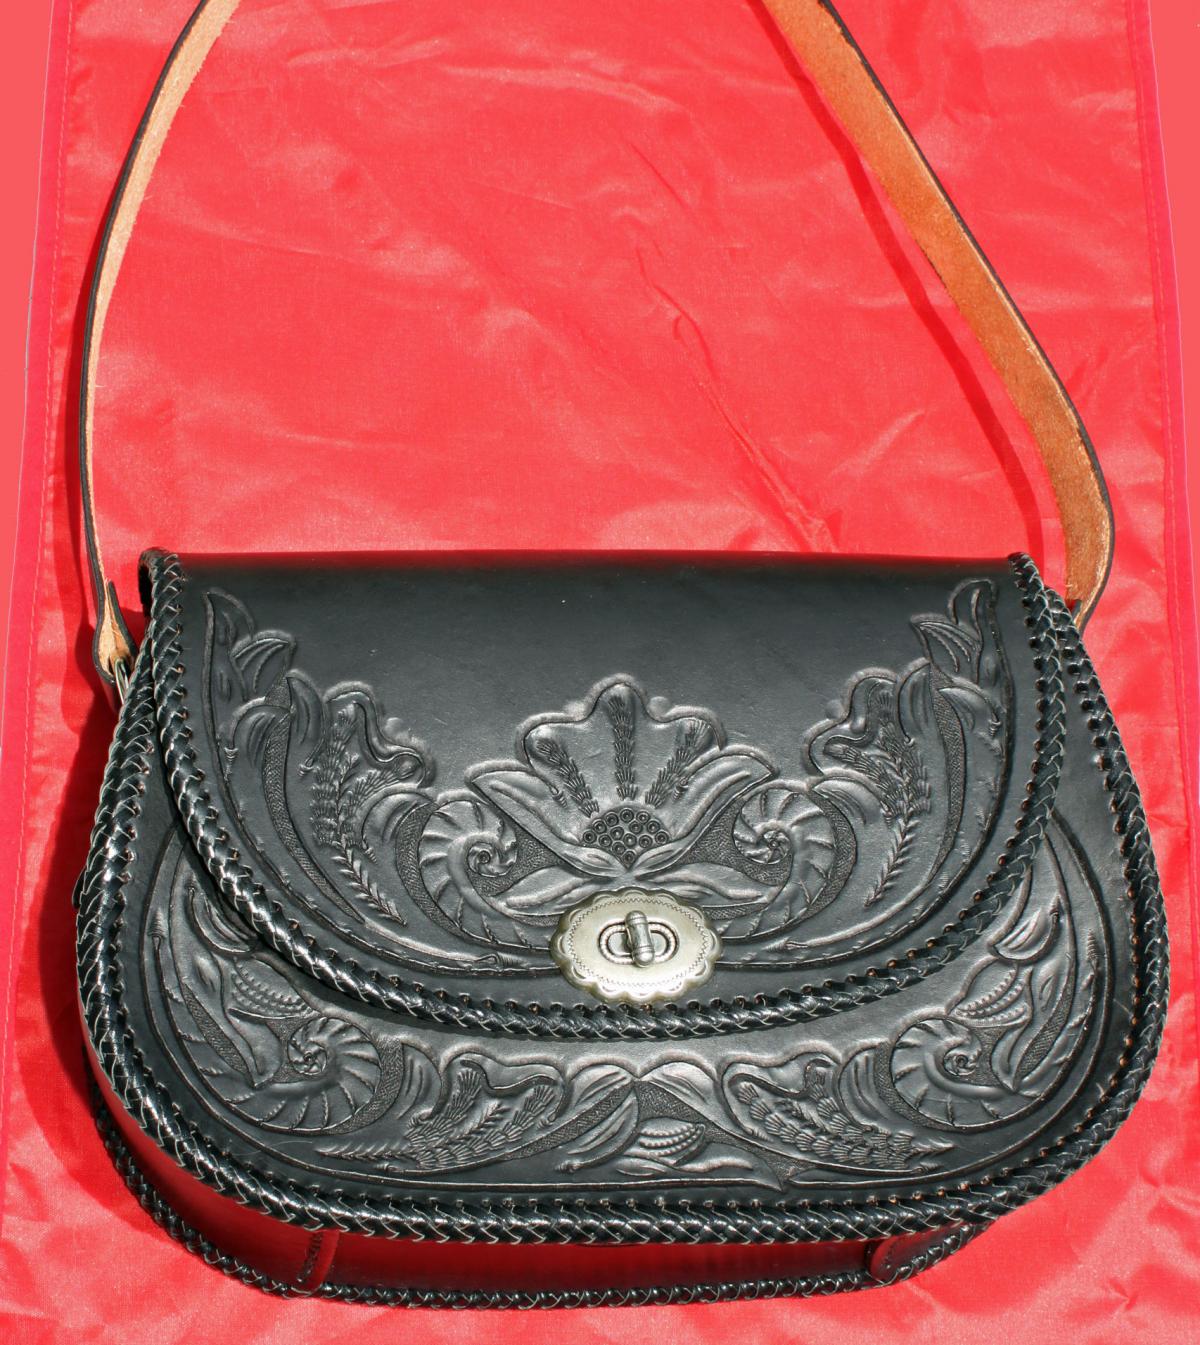
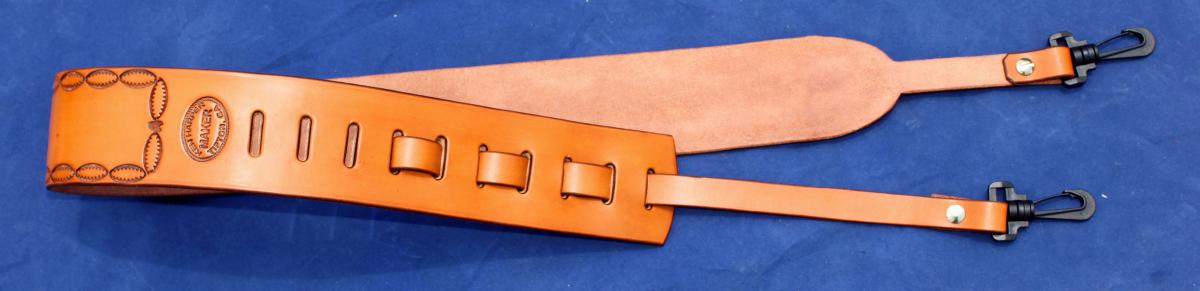
Hi Lonewolf, yes that lacing is called either Mexican Basketweave or Round Braid. I seldom do double loop unless someone asks for it. The Maker's Mark on the straps is from Blackriverlaser.com. I have two from them a 1" and this one, I also have one from Grey Ghost that I use some times but my favorite is the ones from blackriverlaser.com. Chief -
A Few Items Out This Week
Chief31794 replied to Chief31794's topic in Purses, Wallets, Belts and Miscellaneous Pocket Items
Thank you, the color on that last strap is Tandy Medium Brown Antique Gel, thanks for the comments. Chief -
A Few Items Out This Week
Chief31794 replied to Chief31794's topic in Purses, Wallets, Belts and Miscellaneous Pocket Items
Thanks Rohn, Not exactly sure what you mean, I don't bevel the lace like braiders do, but I do bevel the edges of the project normally to help the lace lay a little better, no sanding, just edge them on both sides with a Barry King Edge Beveler. Thanks, Chief -
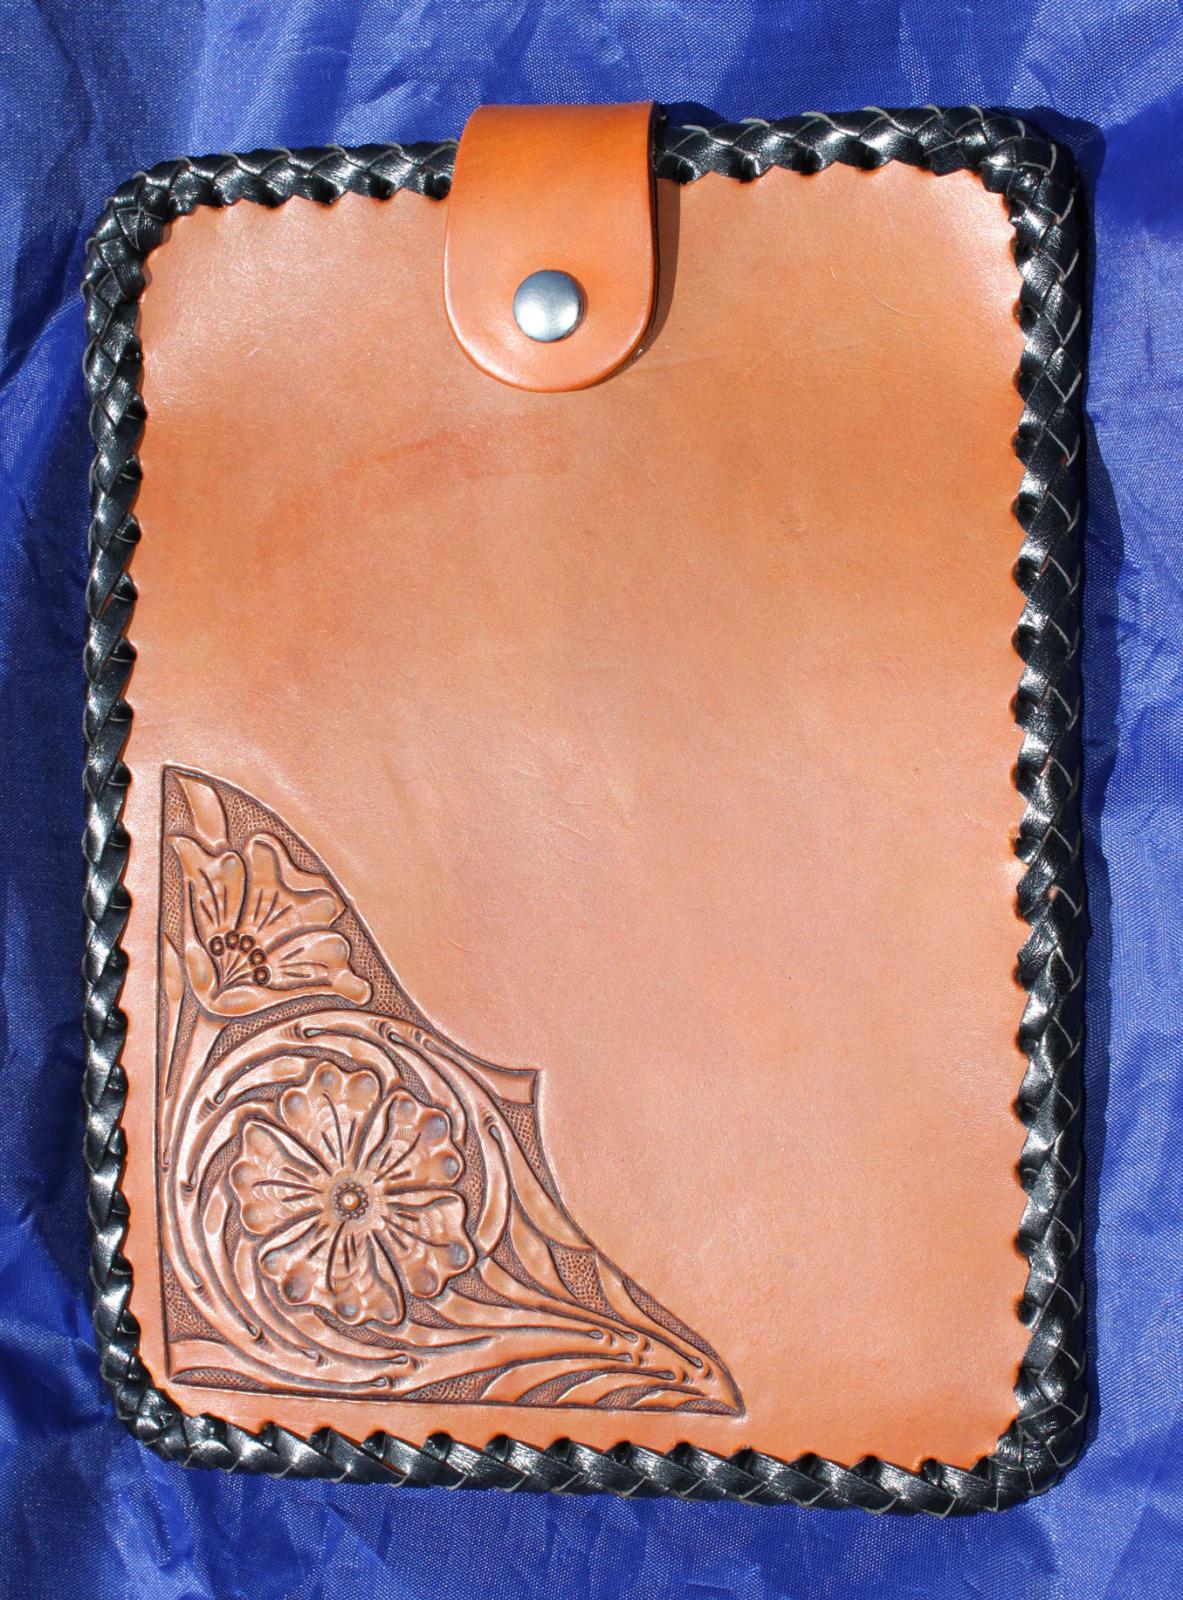
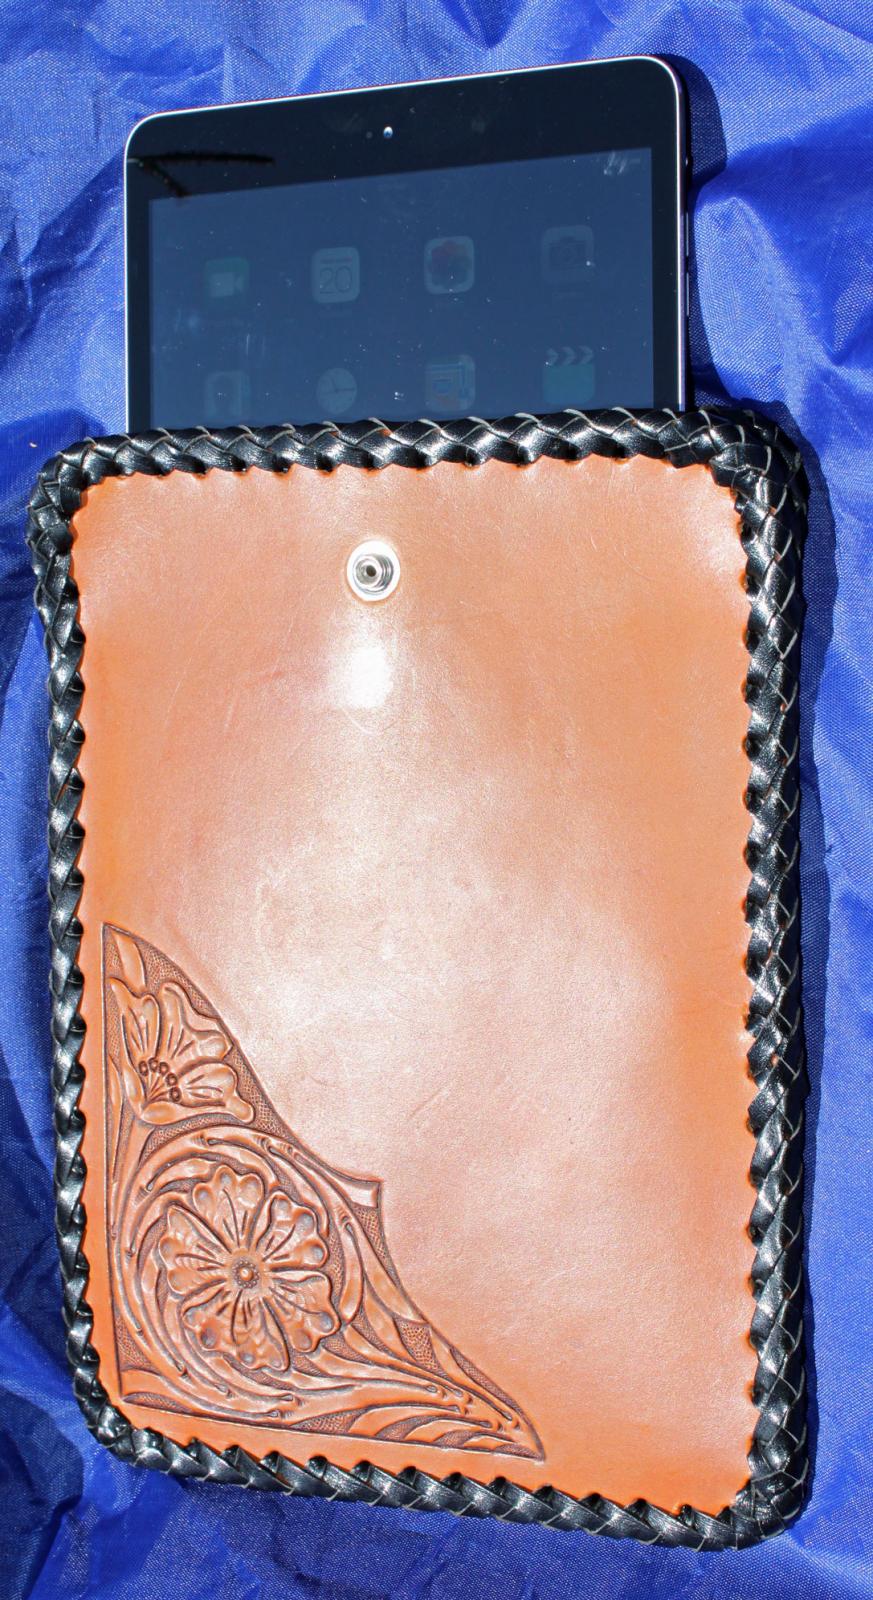
Here's a couple of items that went out this week. A couple of Caiman Magnetic Money Clips, an IPAD 2 cover, a Banjo Strap, a Dobro Strap, and a musicians belt buckle. Chief


-
I have a pattern I use, it is a combination pattern with one that is for a cradle type banjo strap which not all banjos will accept (normally only the more expensive ones with bell tone rings, Gibson, Huber, Deering (Except Goodtime), Stelling, Huss and Dalton, etc as seen in the last picture. The other is for what we call an attachment type which attaches to either the J-hooks directly or by swivel snaps. I had Blackriverlaser.com make a template but they don't offer them for sale. PM me with what you want the pattern for, whether it's for you to make a personal strap or if you're making them to sell. Chief

-
I don't normally glue them either, some come with a threaded hole and a smooth hole, if you bought them from Tandy that is probably the case, the rear one is normally the one with the threads. I make sure the end is trimmed to fit very snuggly like JLS said, mark the hole, I normally use a scratch awl to start the hole then slide it on and install the screw or screws. Chief
-
Durn, Didn't think of that, oh well, live and learn. lol, Thanks, Chief
-
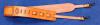
Here's the latest off the bench. I sell a lot of cradle straps but this one is for attaching to the J-hooks (Some banjos won't accept a cradle strap). It's for a Deering Goodtime Deluxe. Chief

-
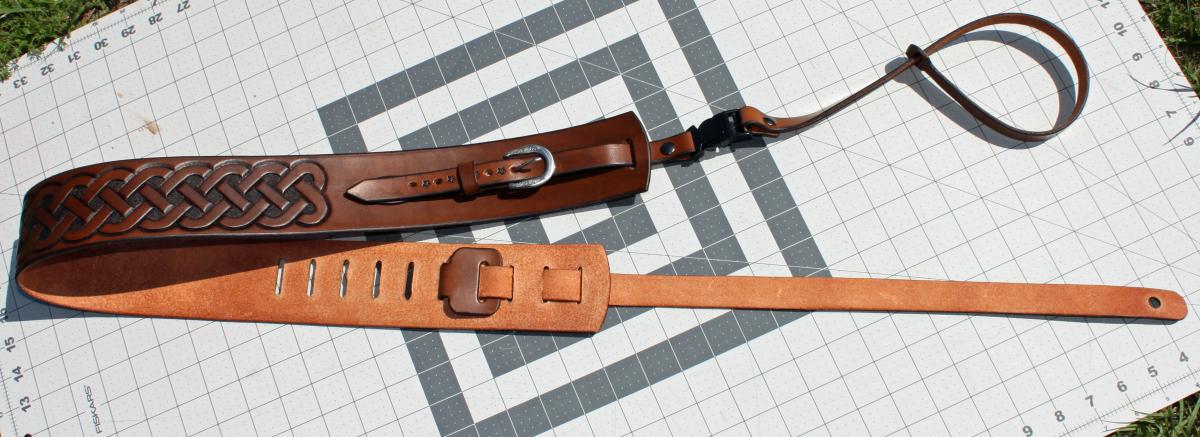
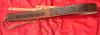
This one goes to the post office tomorrow morning. Don't get much call to carve Celtic Knots. Thanks, Chief
-
Thanks, Thanks, I've been playing a Peavy for years, a deal came up on this one and I couldn't pass it up. Sold the Peavy the same day. Thanks, I think she'll love the Jazz Bass. Chief
-
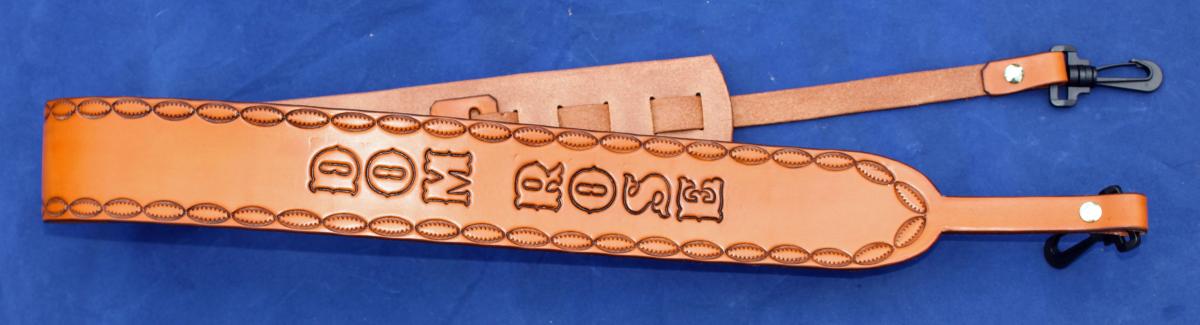
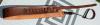
This customer has a mandolin with Rose inlay, so she wanted a strap with Roses. It is for an A-Style Bowl Back Mandolin. Chief
-
Agree with Twinoaks, bench splitters aren't overly expensive. One note, if you're wanting to split 5" wide leather, you really want to think about a crank splitter. Pulling a 5" wide strap through a splitter isn't child's play, hard to hold and pull, etc. The one I have I use to skive belts in the buckle area, I keep it set right where I want it and keep it sharp. I can pull a 2-1/2" strap through but it's a little hard, I normally pull 1-1/2" belts through and it's a snap. Just my opinion, younger folks might be able to pull wide straps through, not me. Chief
-
Let's Say You Have $100, $200 Or $300 To Spend
Chief31794 replied to smirak's topic in Getting Started
Great advice from Monica, additionally, if you're interested in belts, you will need punches for making the holes in both ends for the chicago screws or snaps (Recommend Chicago Screws), and the adjustment holes a good mini punch set will get you going without a major investment. You will also need a poly mallet or maul to drive the punches. Chief -
Minimalst Wallet
Chief31794 replied to LeatherLegion's topic in Purses, Wallets, Belts and Miscellaneous Pocket Items
Very nice. One thing you might want to try; The back of the snap detracts a little from the appearance, you can use the button on both sides with the male on one and the female on the other, then both snap pieces look finished on the outside of the wallet. The posts are the same for the male and female snaps so they are interchangable. I would use the domed cap on both sides. Chief