Chief31794
-
Posts
1,801 -
Joined
-
Last visited
Content Type
Profiles
Forums
Events
Blogs
Gallery
Store
Everything posted by Chief31794
-
I've used them, same comments as JLSleather. I bought a consew just for sewing wallet interiors, and I design my own on Inkscape. I prefer it that way. Their liners were ok, just not quite the quality I was looking for. I also tried the CF line they carry, nice but way too pricey and they are way to thick. I've designed mine to use minimal thin pigskin and use as much faille cloth as possible to keep them slim. Chief
-

Five Holsters Off The Bench
Chief31794 replied to Rohn's topic in Gun Holsters, Rifle Slings and Knife Sheathes
Rohn, Looks like they get better every time, these are really nice. Chief -
Oxalic Acid
Chief31794 replied to Gump's topic in Dyes, Antiques, Stains, Glues, Waxes, Finishes and Conditioners.
Oxalic Acid is carried in most home improvement stores, it is sold as "Barkeepers Friend", it is powdered. 1 tsp in a pint of water is what I mix, one can of barkeeper's friend lasts me forever. It costs less than $2.00 for enough to last a lifetime. Chief -
If the leather is cased properly (see Hidepounder's pinned post on casing leather), then you shouldn't have to pound the stamp, basically a medium tap with a mallet or maul and the impression should be deep and beautiful. I suspect that the leather is too dry and that the pounding is misshaping the leather. I would also invest in a marble or granite slab (12X12") or so, you can find them in many places, a poundo board of the same size to fit under it and that should improve your tooling and your back pain if you're bending over and tooling on a concrete floor. The basket weave in this picture wasn't hit very hard at all, proper moisture content is the key to deep impressions not hitting it harder. Hope that helps, Chief
-
Dye Spreading
Chief31794 replied to Eero's topic in Purses, Wallets, Belts and Miscellaneous Pocket Items
I always sew after final drying. I dye then immediately wipe the dyed area with a soft cloth while it's still wet (this helps even the dye as well as remove loose pigment before it gets dried on to the leather, let stand for 24 hours, Buff, buff, then buff some more, apply conditioner, buff, buff, buff some more, apply clear-lac, let dry overnight if possible but at least several hours, then you guessed it, buff, buff, buff some more. Then sew. I buff with sheep wool pads. Of course, white thread will still pick up dirt, dust, machine oil, etc. It is very hard to keep white thread totally clean but extra care with machine maintenance and cleaning and the finishing process will be a big improvement. Chief -
Really nice Rohn!! Chief
-
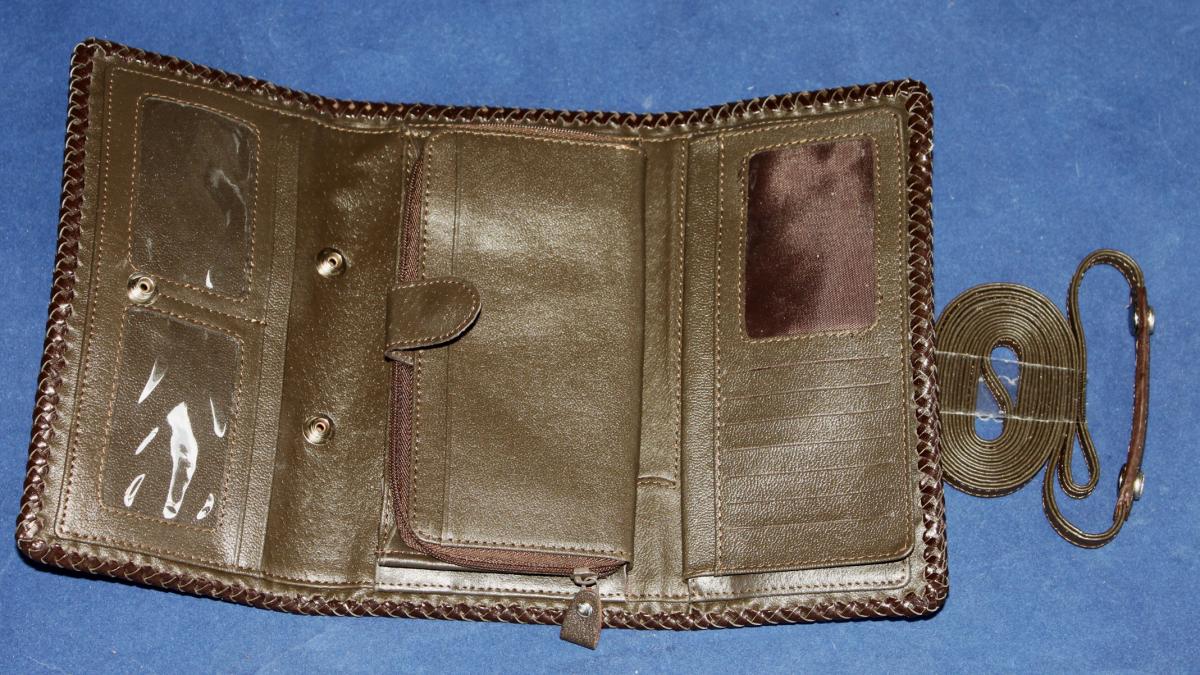
Funny, my wife likes the yellow better as well. Go figure. Thanks, I didn't make the interior on that one, I bought it, but yeah they're pretty popular, lot of ladies like the option to put the strap on it and wear it cross or over the shoulder. Thank Rohn, when I got the skins and saw the brown, I fell in love with it. I got to figure out some items to make out of it, now that I've paid it off with the four projects the guy wanted. psst: I've already made a money clip for me..... Chief
-
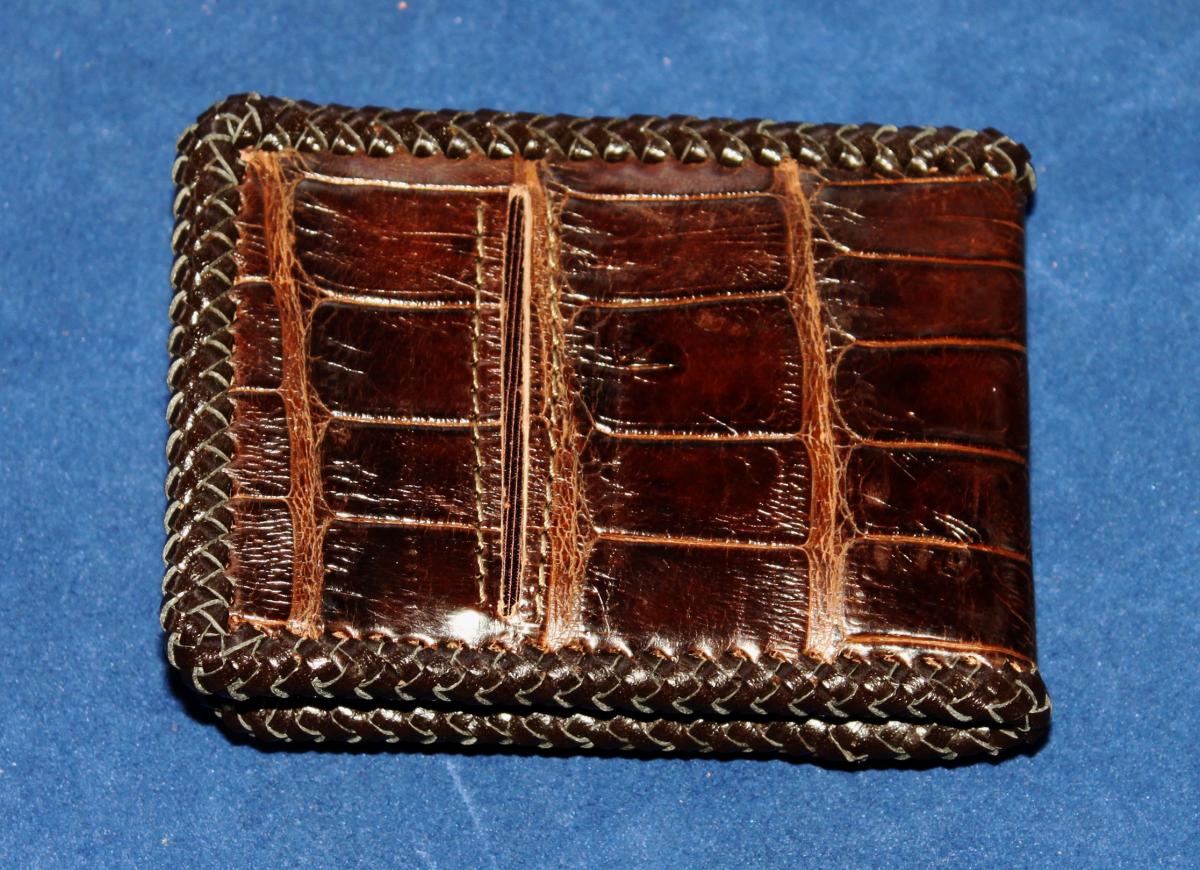
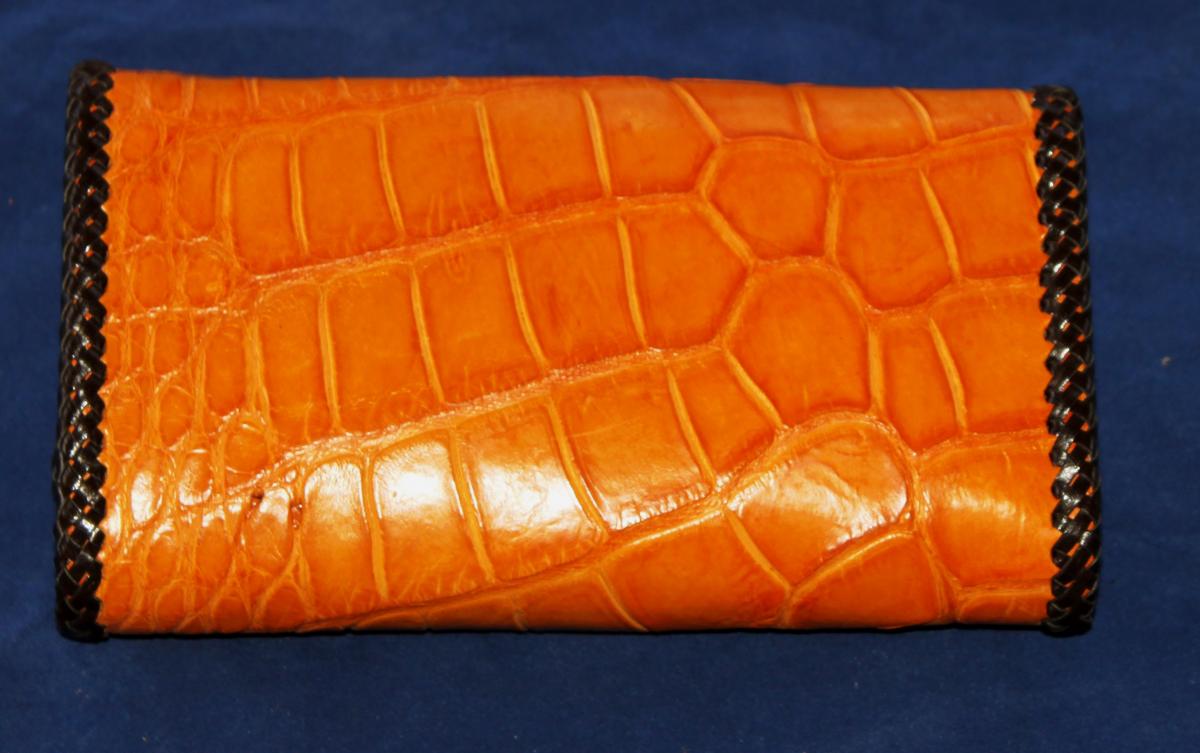
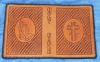
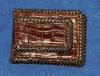
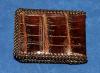
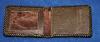
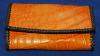
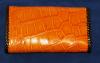
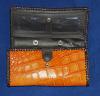
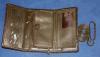
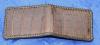
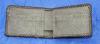
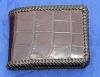
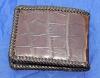
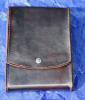
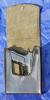
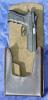
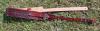
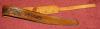
Here are a few projects out in the last couple of days, these are the last of the gator hide projects I had to do to earn 3 gator hides, I have over two hides left after completing the 4 projects, I think it was a pretty good deal. The brown gator skin is absolutely beautiful, I can't get into the yellow colored hide, but I think some people might like it. The first gator hide project is a front pocket wallet with a magnetic money clip sewn on. I had to copy a design from pictures of an old wallet he's been carrying. The wallet has an external card slot, one internal card slot, a card area under the card slot and an Id window. It's lined and the pockets are made from Faille Cloth to keep the thickness down. The second is a ladies clutch purse, I bough the interior then cut an outer shell from a gator hide. Thanks, Chief
-
I use the same one, does a good job. I never tried the one on the original post. Chief
-
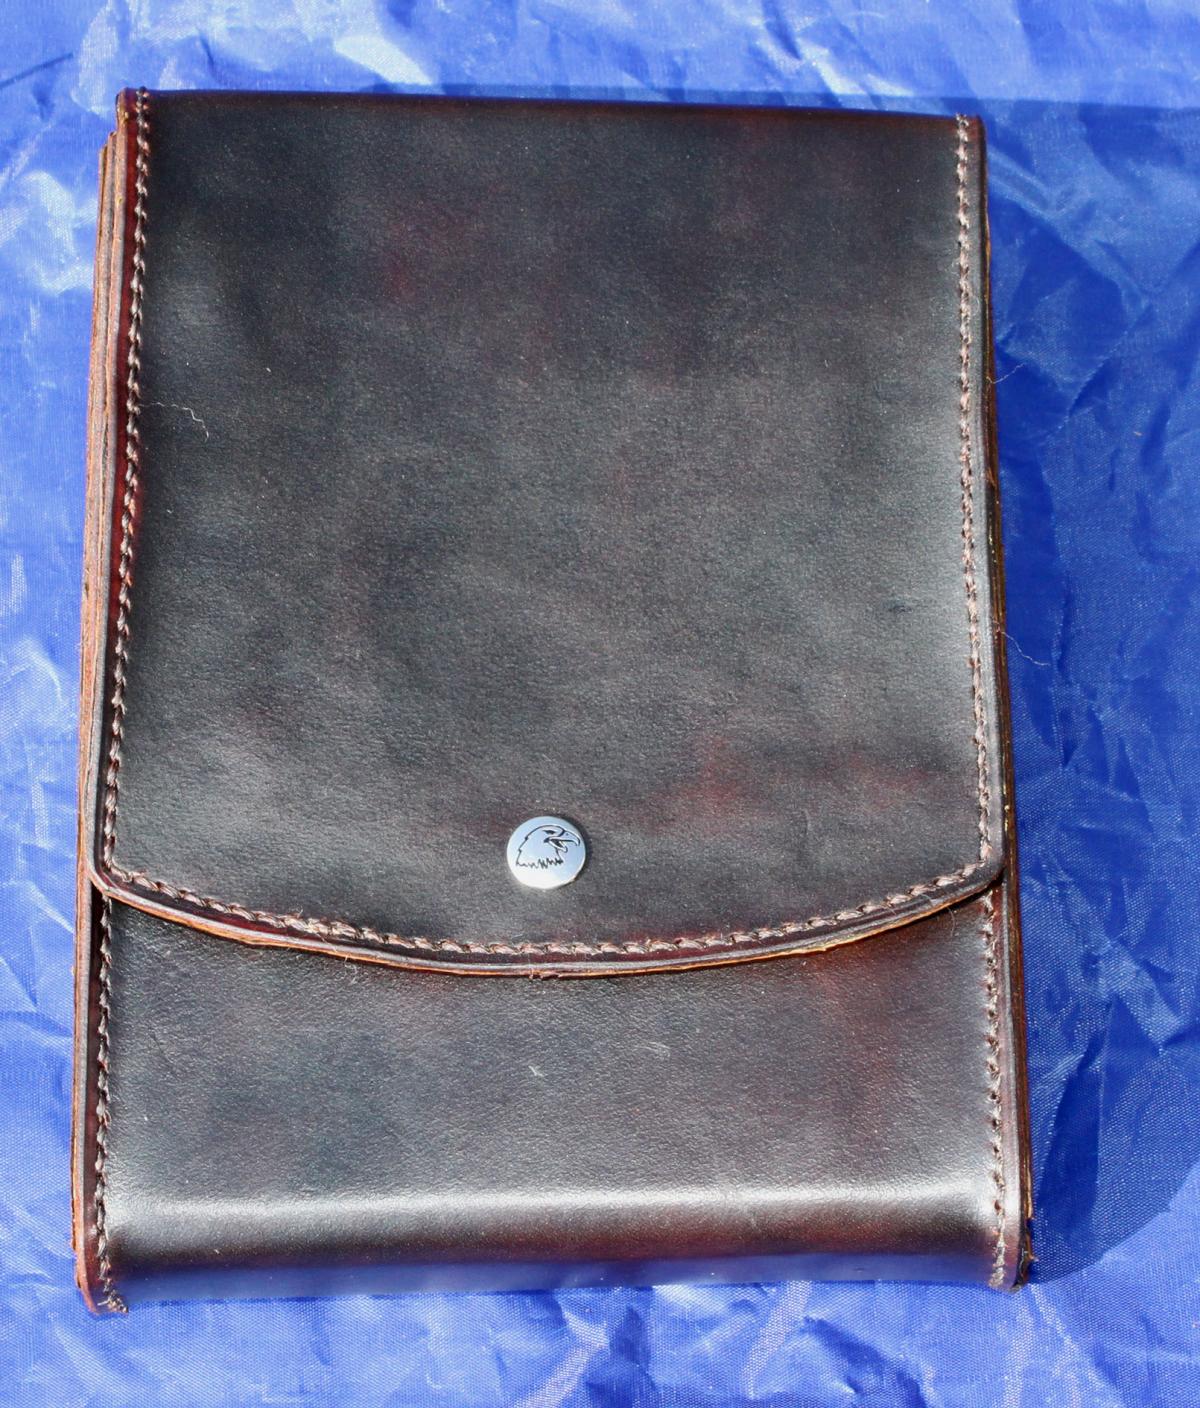
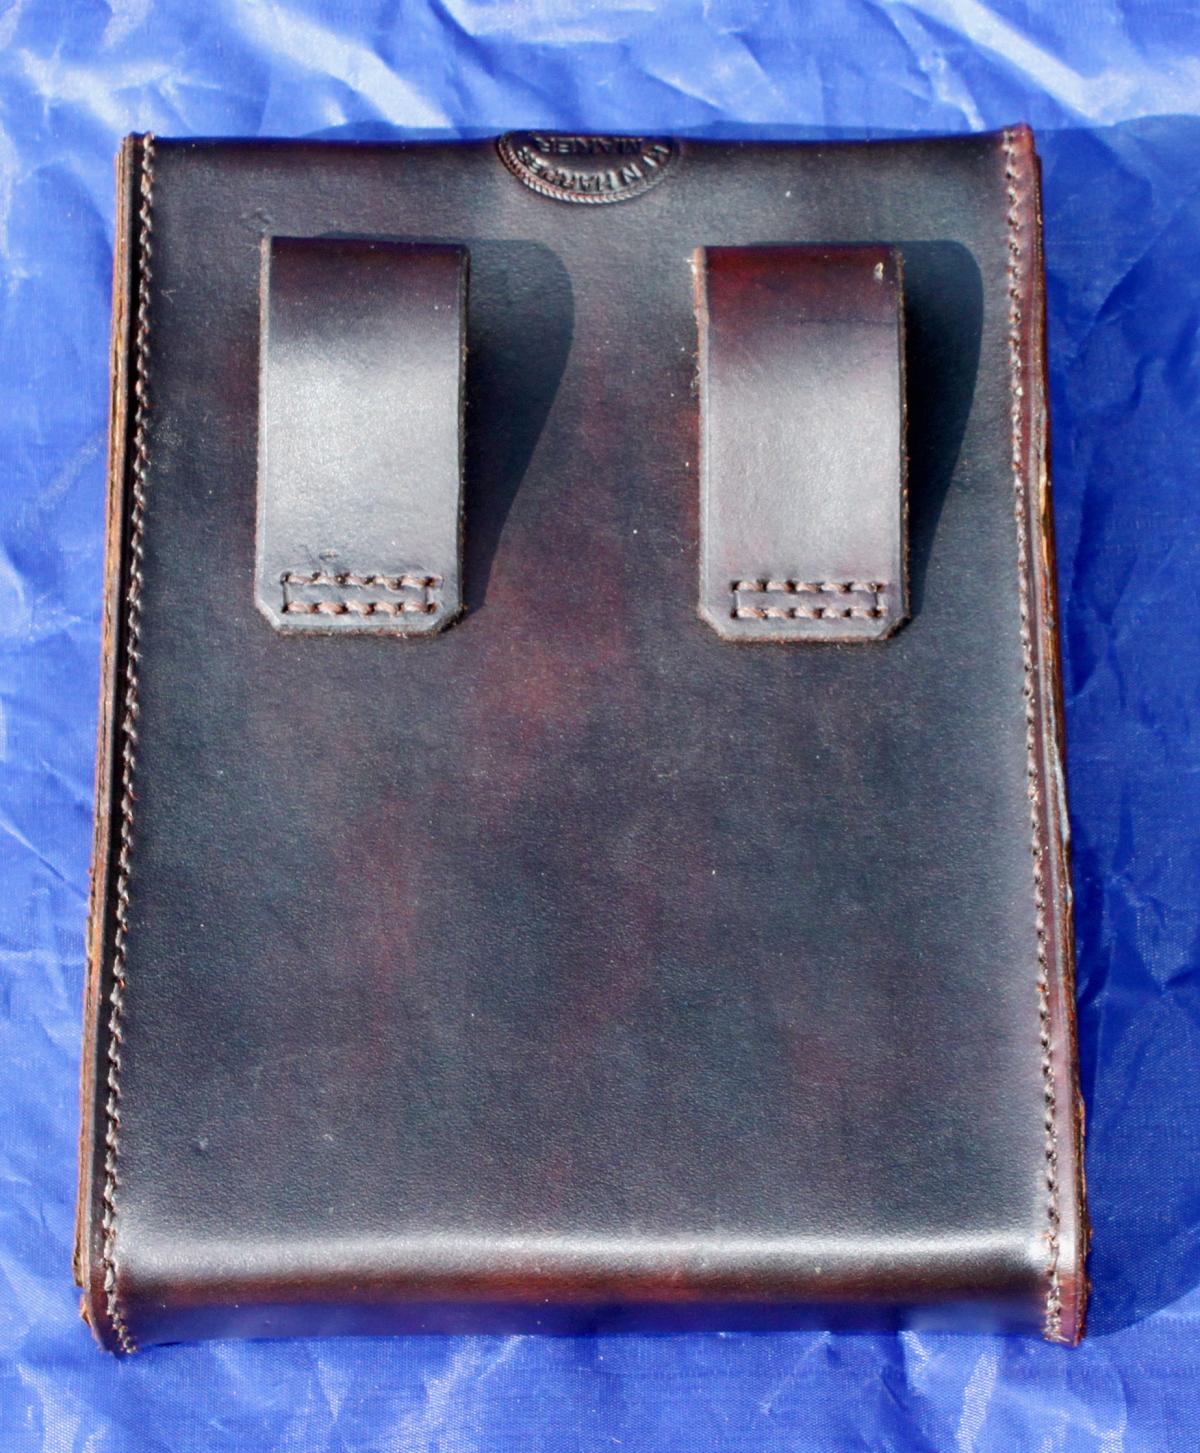
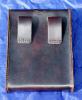
Sneaky Pete Type Holster
Chief31794 replied to Chief31794's topic in Gun Holsters, Rifle Slings and Knife Sheathes
Not sure how it sets, I didn't like it, these are better for smaller pistols, this one was fairly large. I didn't put it on my belt. He liked it, looks like an Ipad mini case on your hip, guess that'd be okay, I just as soon just wear an avenger and leave my shrit tail out. Chief -
Oak Leaf Holster
Chief31794 replied to Rohn's topic in Gun Holsters, Rifle Slings and Knife Sheathes
Rohn, I've got to agree with all the other comments, this is a really top notch piece of work. Chief -
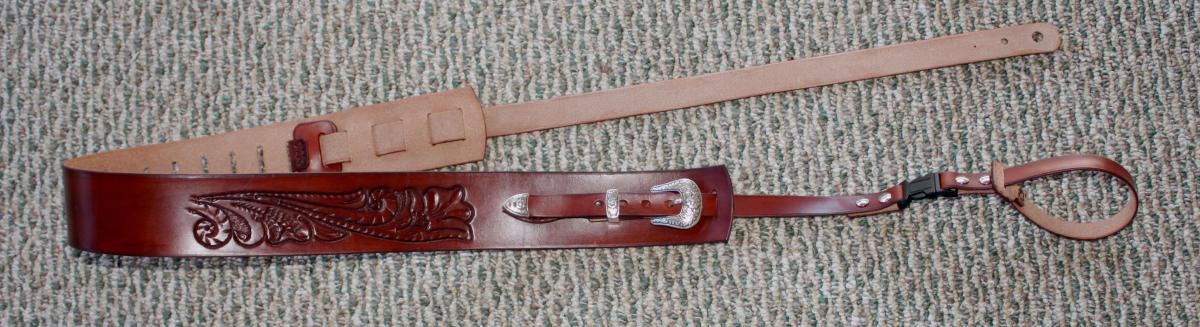
Guitar, Banjo, And Mandolin Straps Out This Week
Chief31794 replied to Chief31794's topic in Guitar Straps
Thanks, Chief -
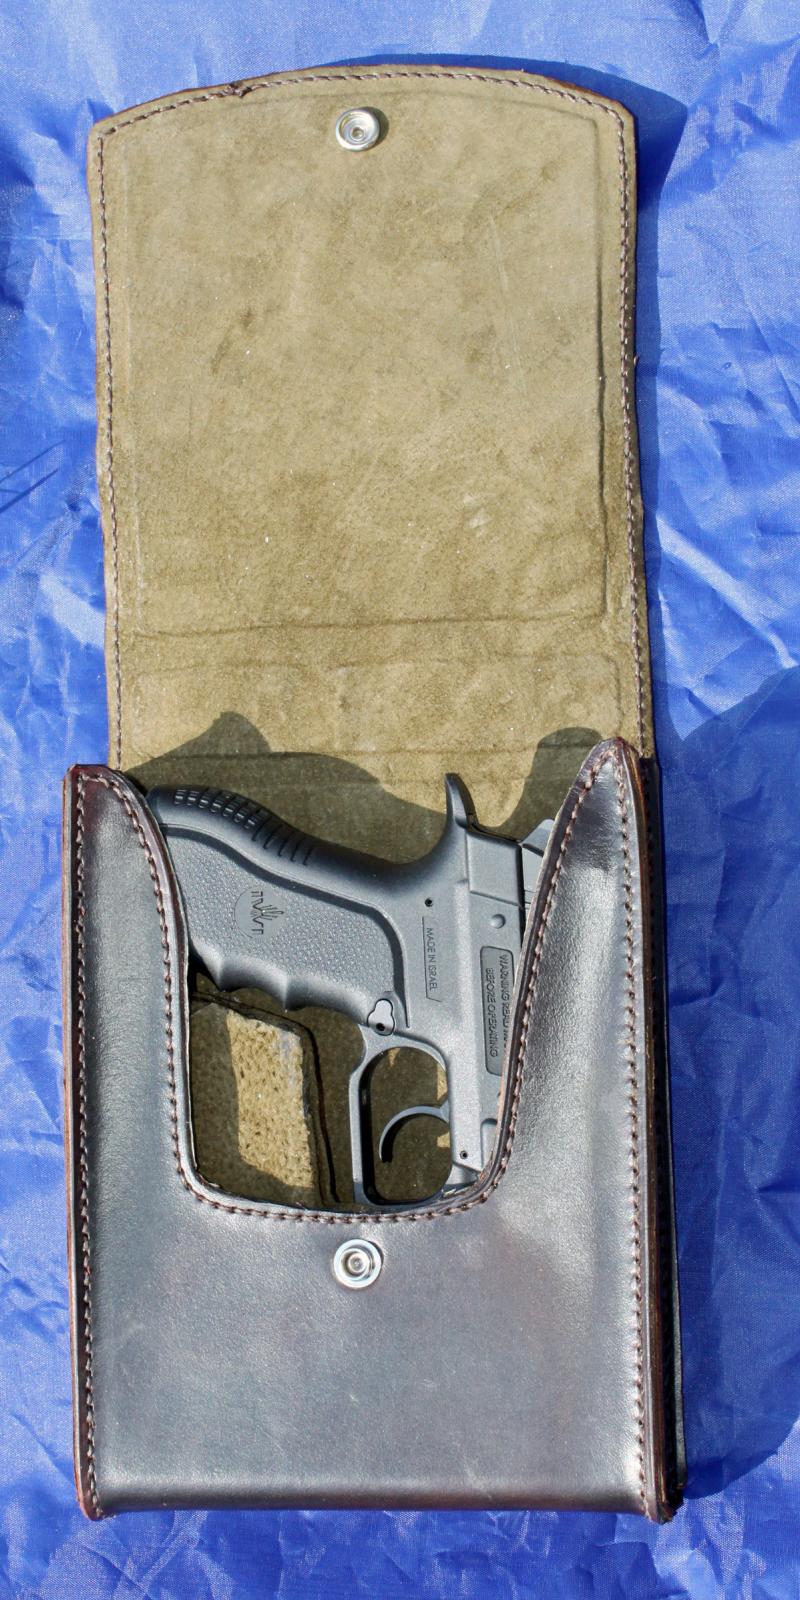
Sneaky Pete Type Holster
Chief31794 replied to Chief31794's topic in Gun Holsters, Rifle Slings and Knife Sheathes
Thanks Rohn, Thor, you're probably right, this was a rush job and the first time I'd tried this. Never had one in my hands, so I came up with the design as I went. Next one will have more thought and effort behind it. Thanks, It is a Jericho, it seemed to be well made, the only thing I did with it was check and clear it and then use it to make the pattern. I know it was a 9mm, he said it was a Jericho 941. Thanks, Chief -
Thanks, the nice gator makes it easy to make it look good!!! Thanks, Thanks Monica, Thor, thanks, I use 3/16" between the holes Center to Center, the holes are punched with a 00 punch except the three corner holes at each corner which are punched with a 0 punch. The holes are run 1/8" from the edge. I lay these out in Inkskape and then cut the back pattern to size after determining the nearest 1/16" that will accomodate the holes evenly spaced. Not sure of any rhyme or reason behind my measurements, they just always worked for me on 3/32" lacing. Chief
-
Here is the first wallet, it's lined with Faille Cloth, Pigskin interior, etc. Chief
-
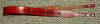
Gator Inlaid Rifle Sling
Chief31794 replied to Chief31794's topic in Gun Holsters, Rifle Slings and Knife Sheathes
Thanks, I'll post pictures of the wallets and clutch purse as they're completed. I bought an interior for the clutch purse, it'll be here on Tuesday or maybe Wednesday. I'm making the interiors for the wallets, one is a standard, the other he wants a magnetic money clip attached to the outside (He has a similar wallet that appears to be many years old), he sent pictures of the old wallet so I have to design an interior for it. I think I'll be starting that today, I should finish the regular wallet this morning. Chief -
Gator Inlaid Rifle Sling
Chief31794 replied to Chief31794's topic in Gun Holsters, Rifle Slings and Knife Sheathes
Thank you, Thanks, Chief -
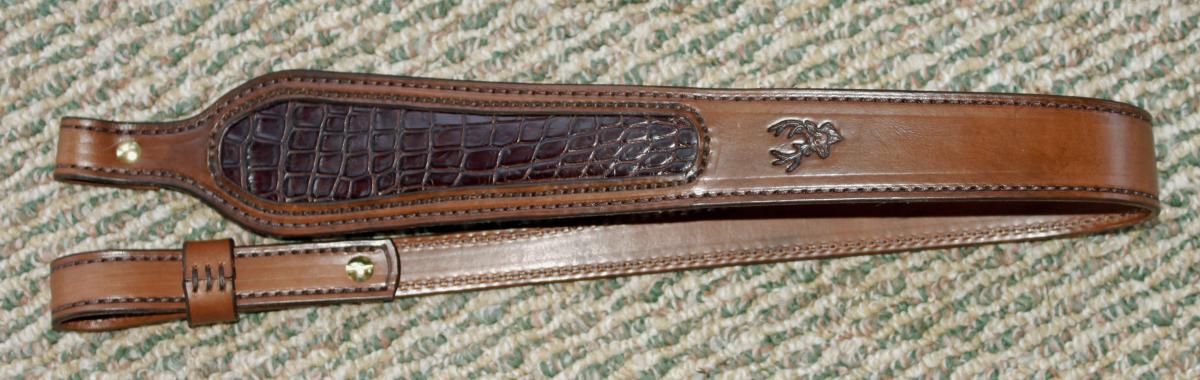
I have a customer who sent me three 7 foot gator skins, tags on, been professionally tanned, really nice. He wants this sling, two wallets and a clutch purse in return I get to keep the remainder of the gator, I jumped on the deal. Chief
-
Sneaky Pete Type Holster
Chief31794 replied to Chief31794's topic in Gun Holsters, Rifle Slings and Knife Sheathes
That's the first thing I thought when I saw the pistol. It is a hefty load. I told him I'm gonna call it "Concealed Open Carry", it actually looks like an ipod case, or an epi pen case, the weapon is totally hidden from view. I kind of like it too. I think it would be better with say a Taurus PT 709 Slim, or a 25 cal or something small. Thanks, Chief -
I hadn't tried one of these, but I had someone who wanted me to make one, so I layed it out and gave it a try. A few things I would do differently next time but all in all I think it came out pretty good. Chief
-
Black Holster With Red Straps
Chief31794 replied to Rohn's topic in Gun Holsters, Rifle Slings and Knife Sheathes
Nice work Rohn. Definitely eye catching, looks better than I thought Black and Red would on a holster. Chief -
Guitar, Banjo, And Mandolin Straps Out This Week
Chief31794 replied to Chief31794's topic in Guitar Straps
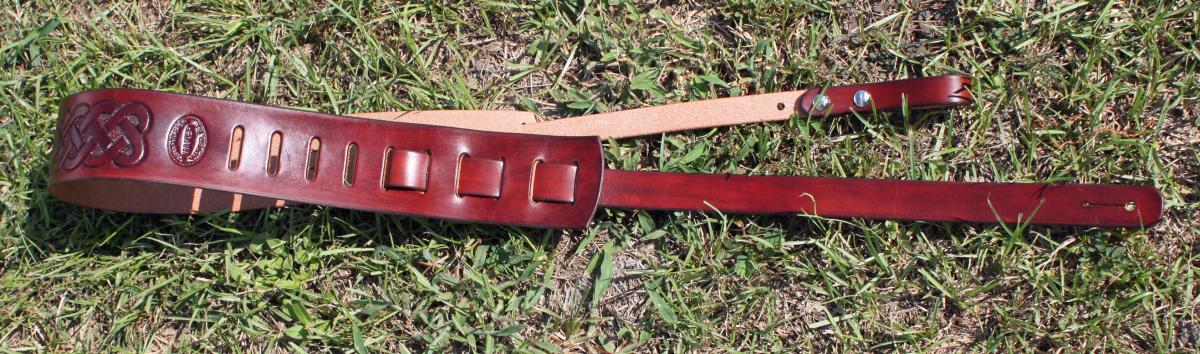
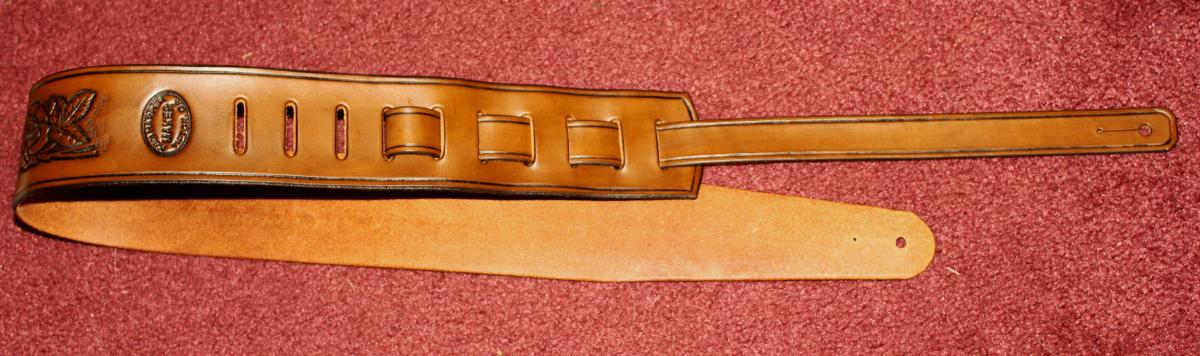
Sir, The best way is to go to Blackriverlaser.com, they have a template for 2-1/2" guitar straps. That would give you a standard sized strap, however, you can adjust it up or down as necessary, the normal size will fit about 90% of adult players. If he has a strap already, the best way is to have him measure it from hole to hole and then set that measurement in the middle of the adjustment range. That being said, to answer your question, my straps are ~ 38" X 2.5" for the main strap tapering down to 1.5" on the front, there are 10 adjustment slots, sometimes I use 12 for a smaller person. the back strap is 22" X 1" and the tab is 2" X 1.5" and the 22" strap is sewn on it about 1/2" up the tab. THere is a PDF that was posted on this site that someone did which has a strap laid out, sorry, can't remember who and hope they don't mind me reposting it. Hope that helps, Chief guitar_pattern_31.pdf -
Thanks guys, I appreciate the nice comments. Chief
-
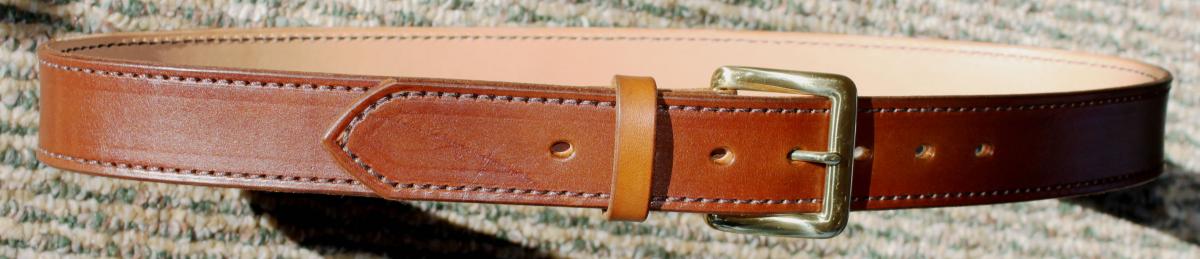
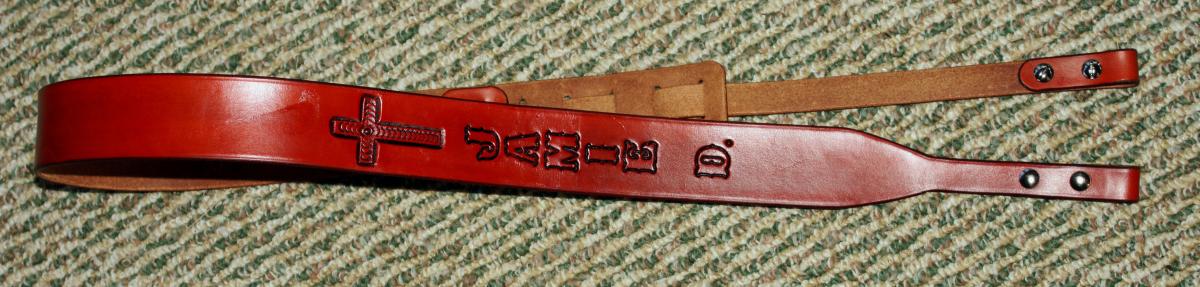
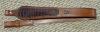
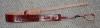
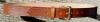
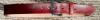
Some Items off the bench this week. In order, a dobro strap, a lined belt for carry, a basic belt, a banjo strap, an octave mandolin (bigger than a normal mandolin) strap, and a guitar strap. Hadn't carved many roses on straps and this one is for a guy, maybe "ROSE" is his wife or girlfriend. Chief


-
Durn, Tandy all ways drops the really good items. Chief