calanneh
-
Posts
413 -
Joined
-
Last visited
Content Type
Profiles
Forums
Events
Blogs
Gallery
Store
Everything posted by calanneh
-
LOL...no one asked ya to shut up hun! Advise is always welcome! I plan keep an eye on the points you have mentioned and let ya know how thrings progress. Unfortunetly, I just couldn't do the duct tape progress with the young ladies. We have discussed the 'well-fitting' issue and are doing to 'dry fit' the pieces before we punch any hoels for the grommets in case we need to make adjustments. Yell if you have any other advise. It is always welcome! cal
-
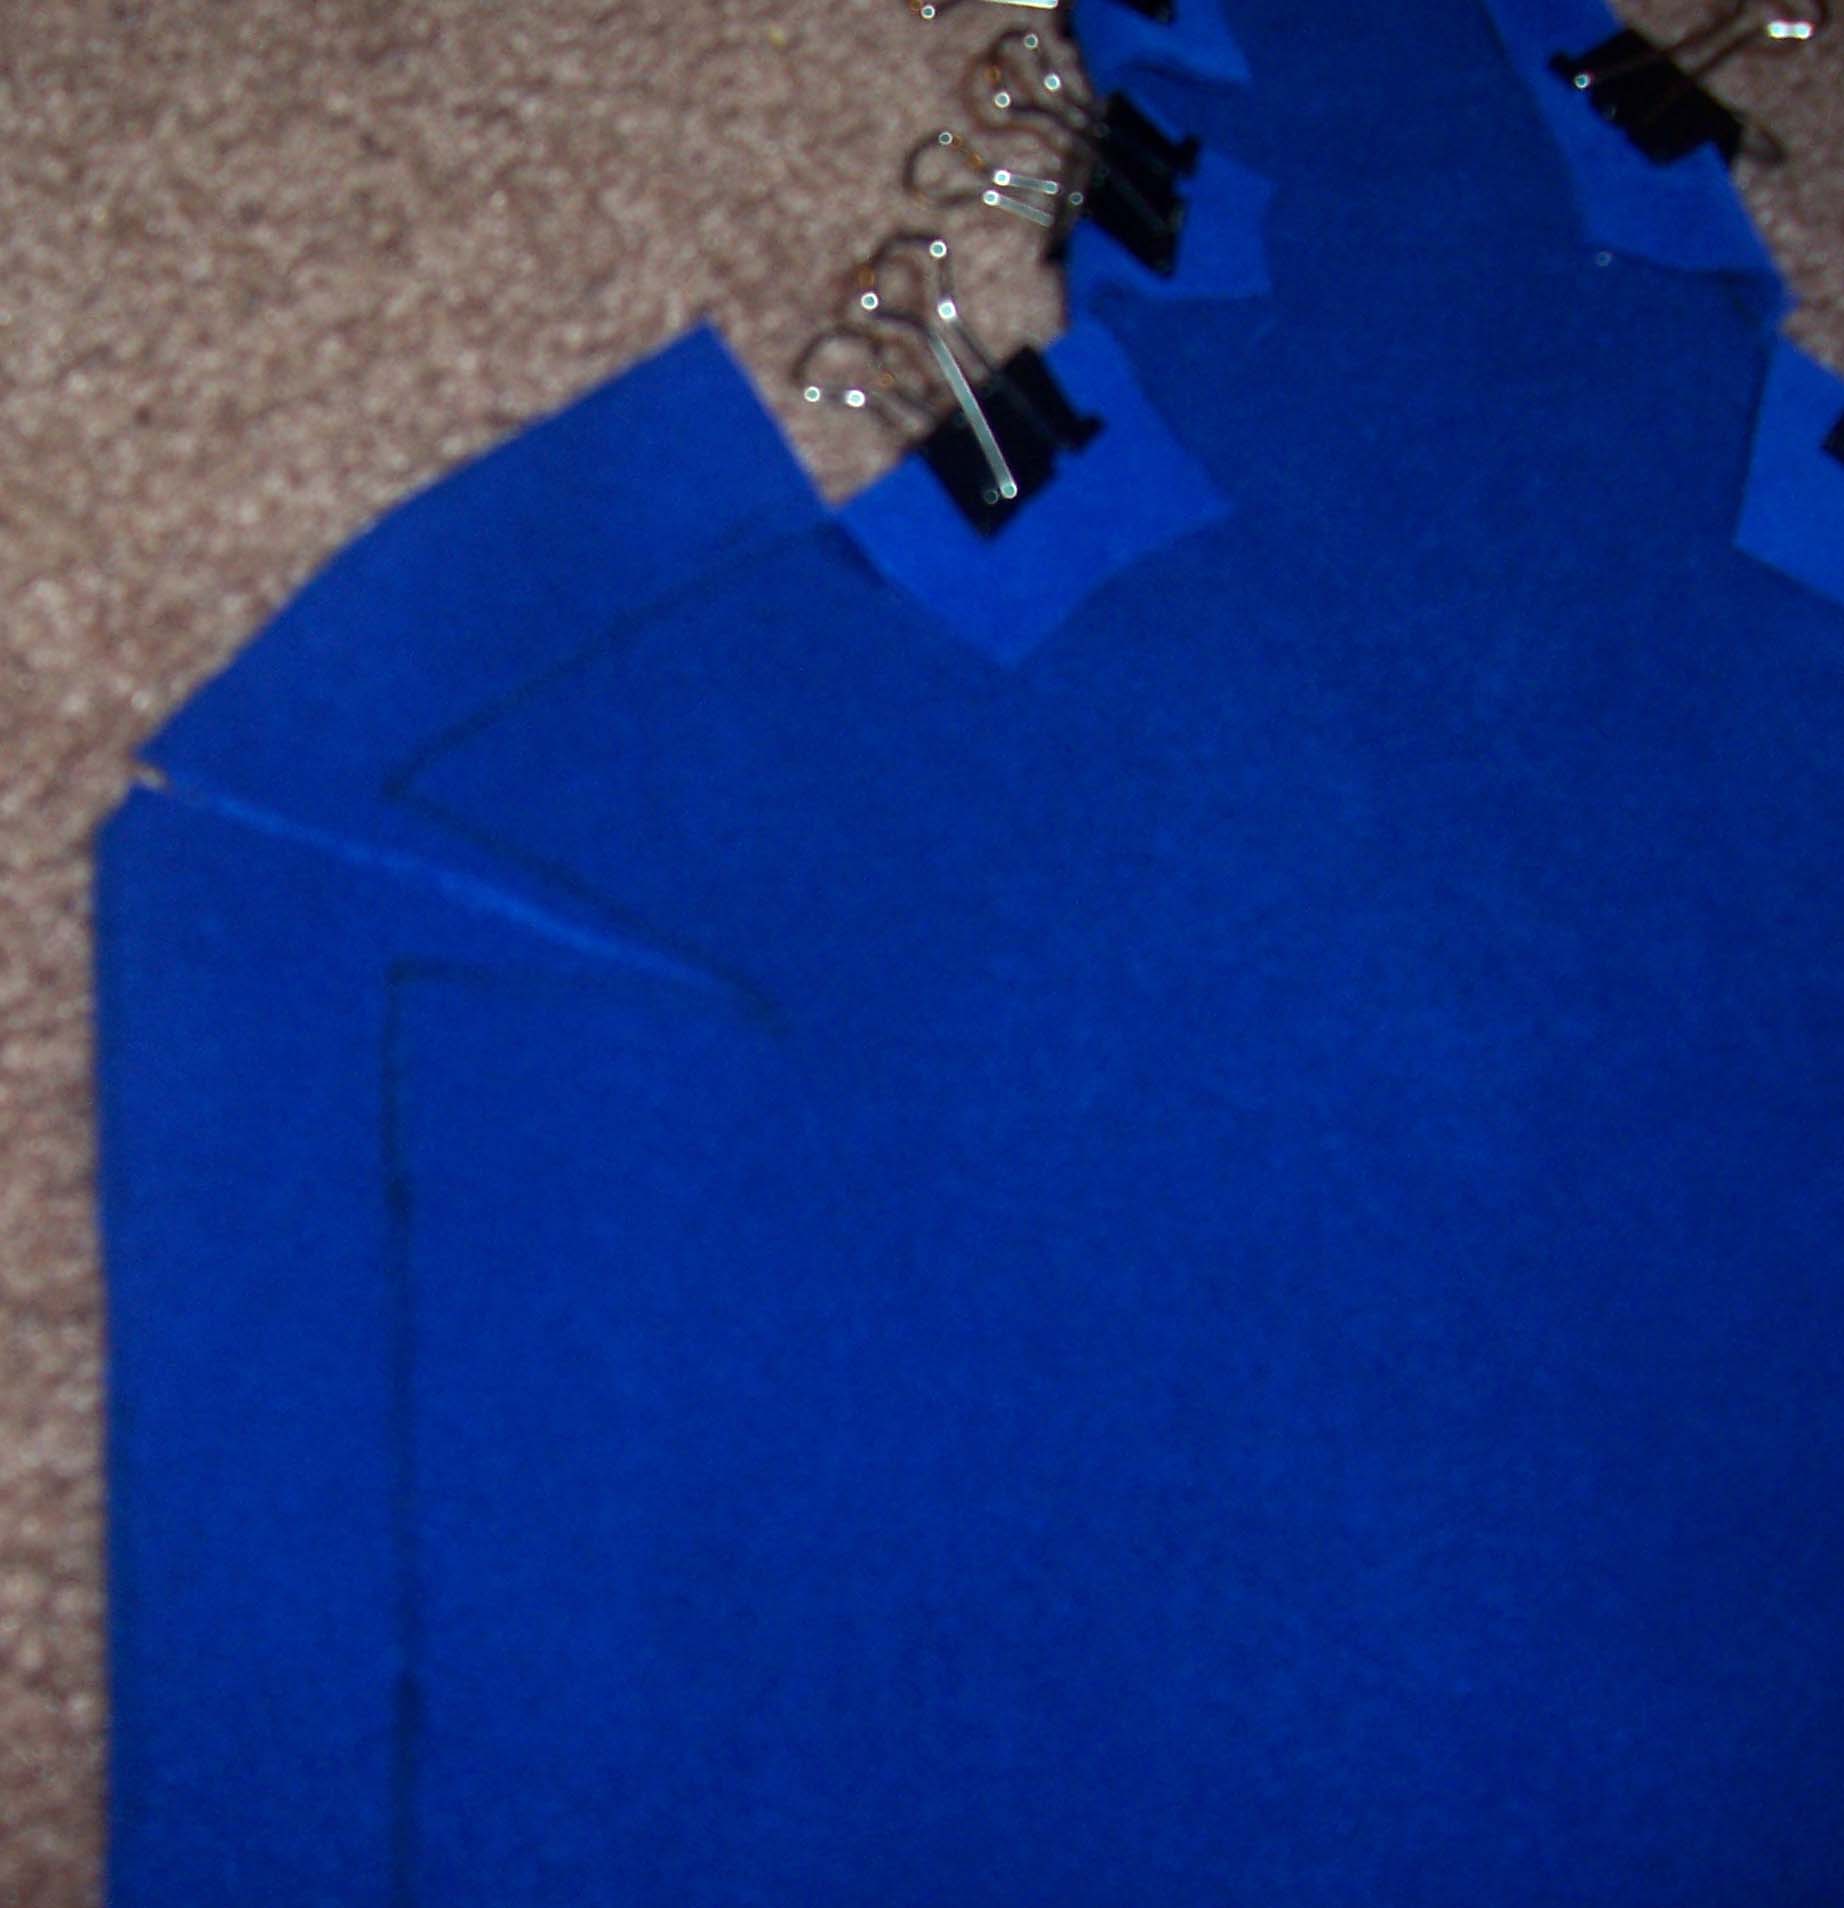
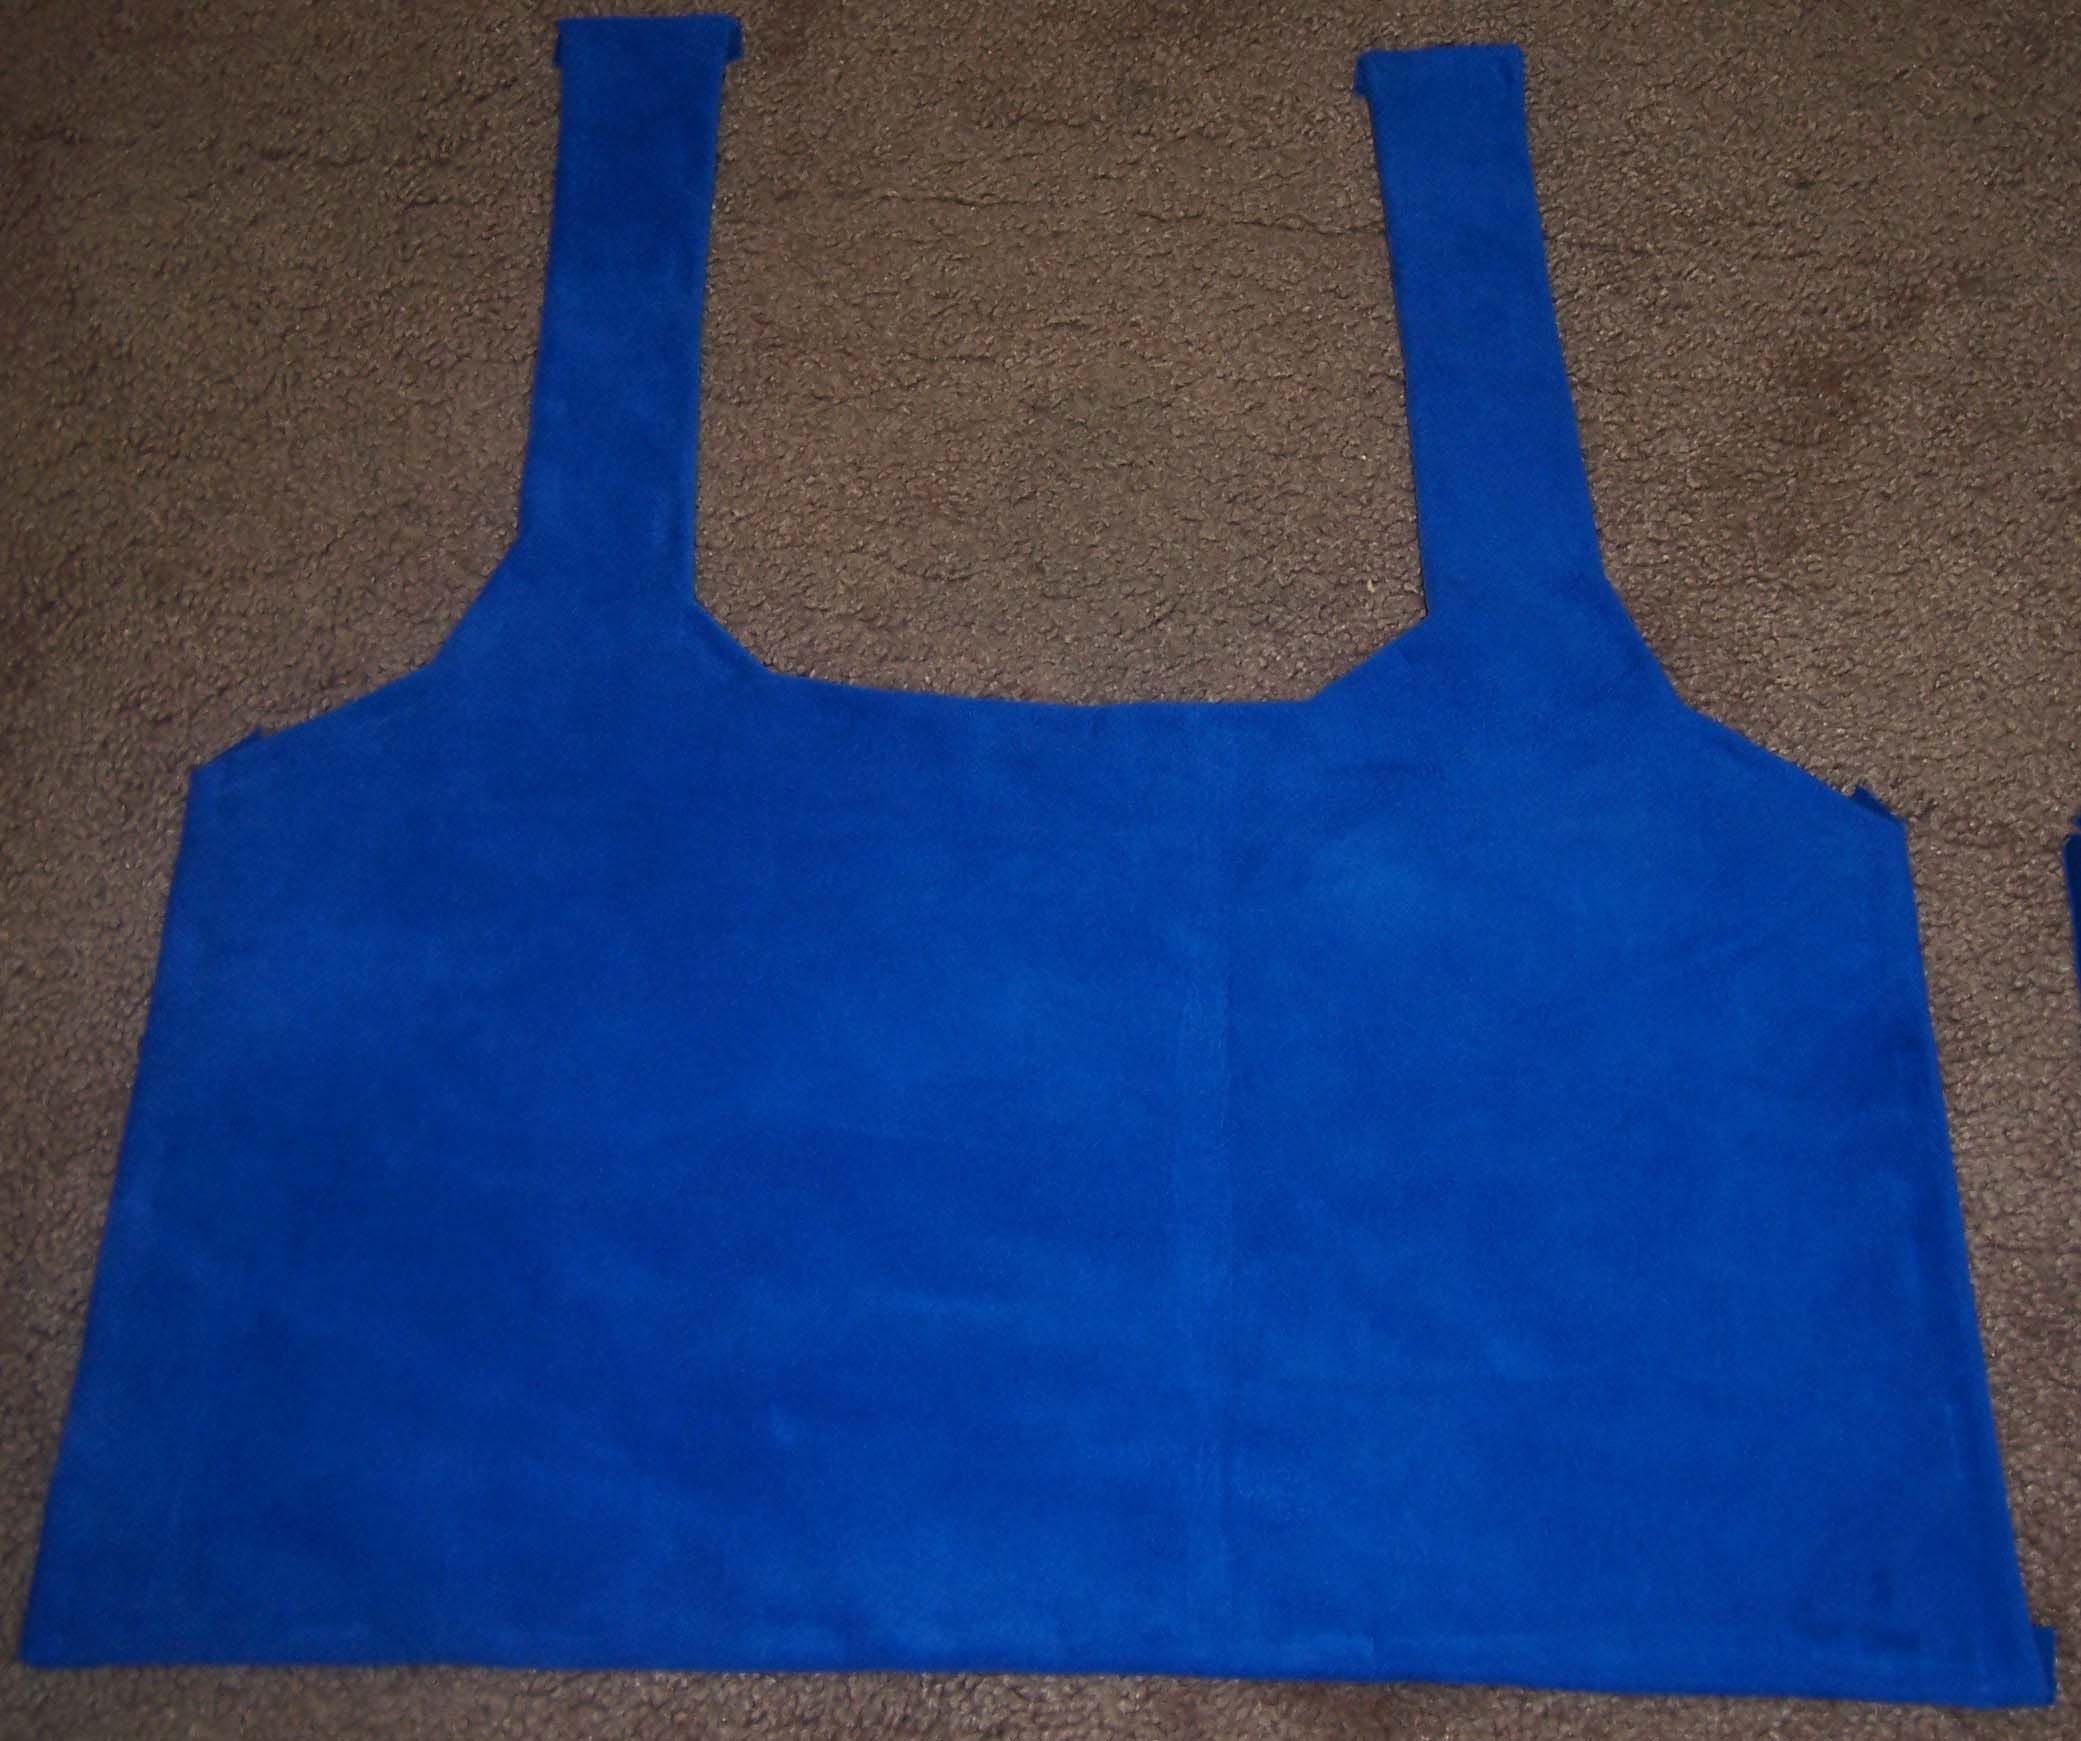
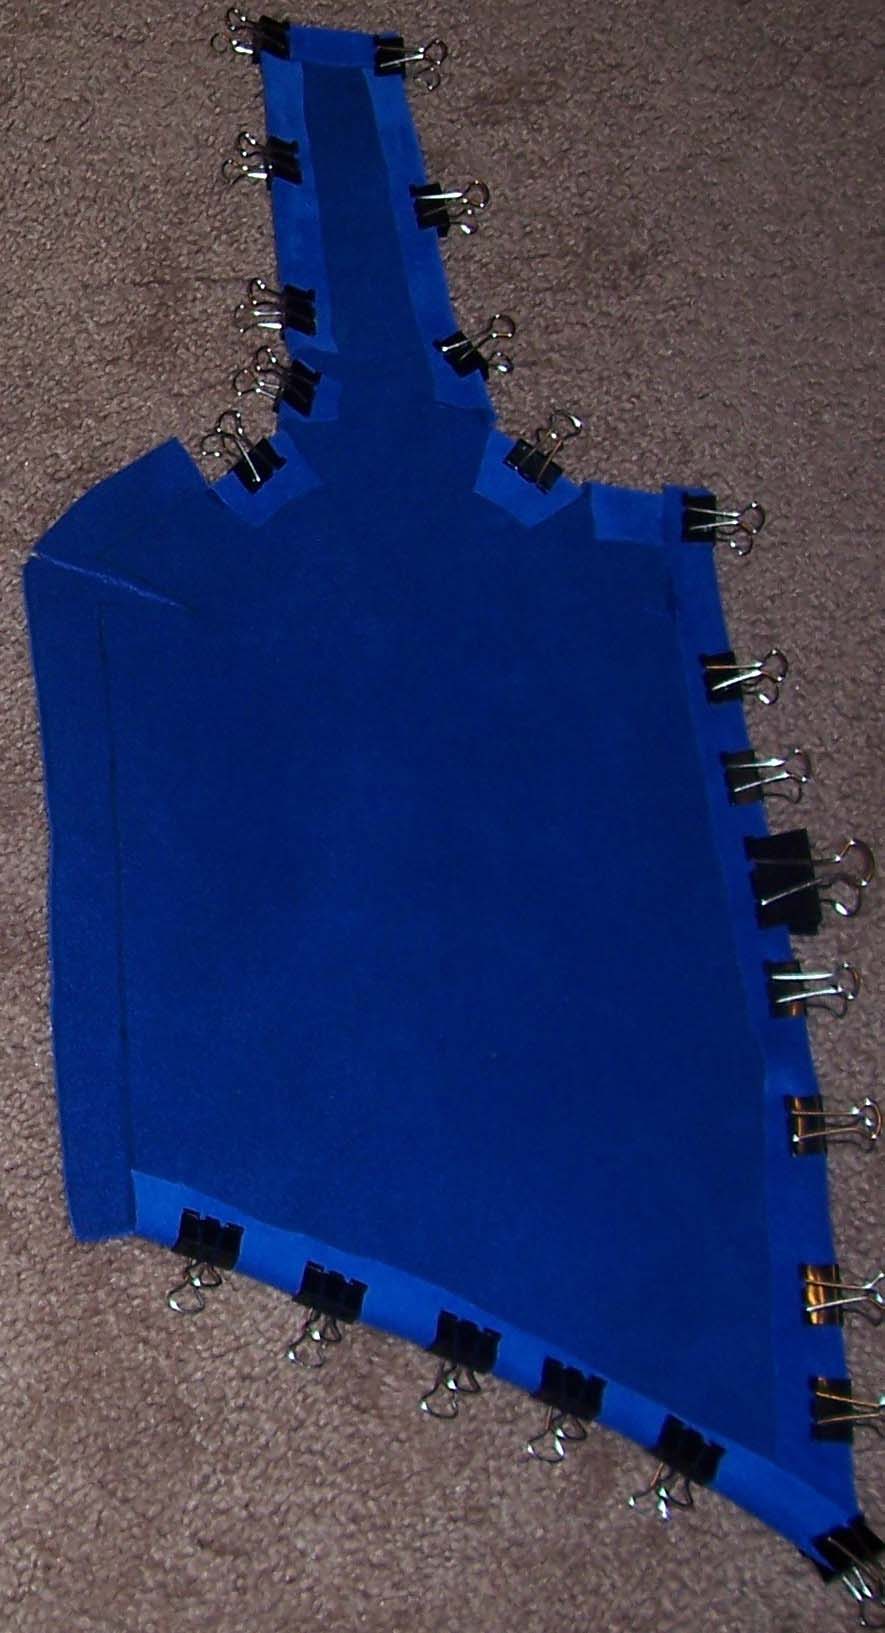
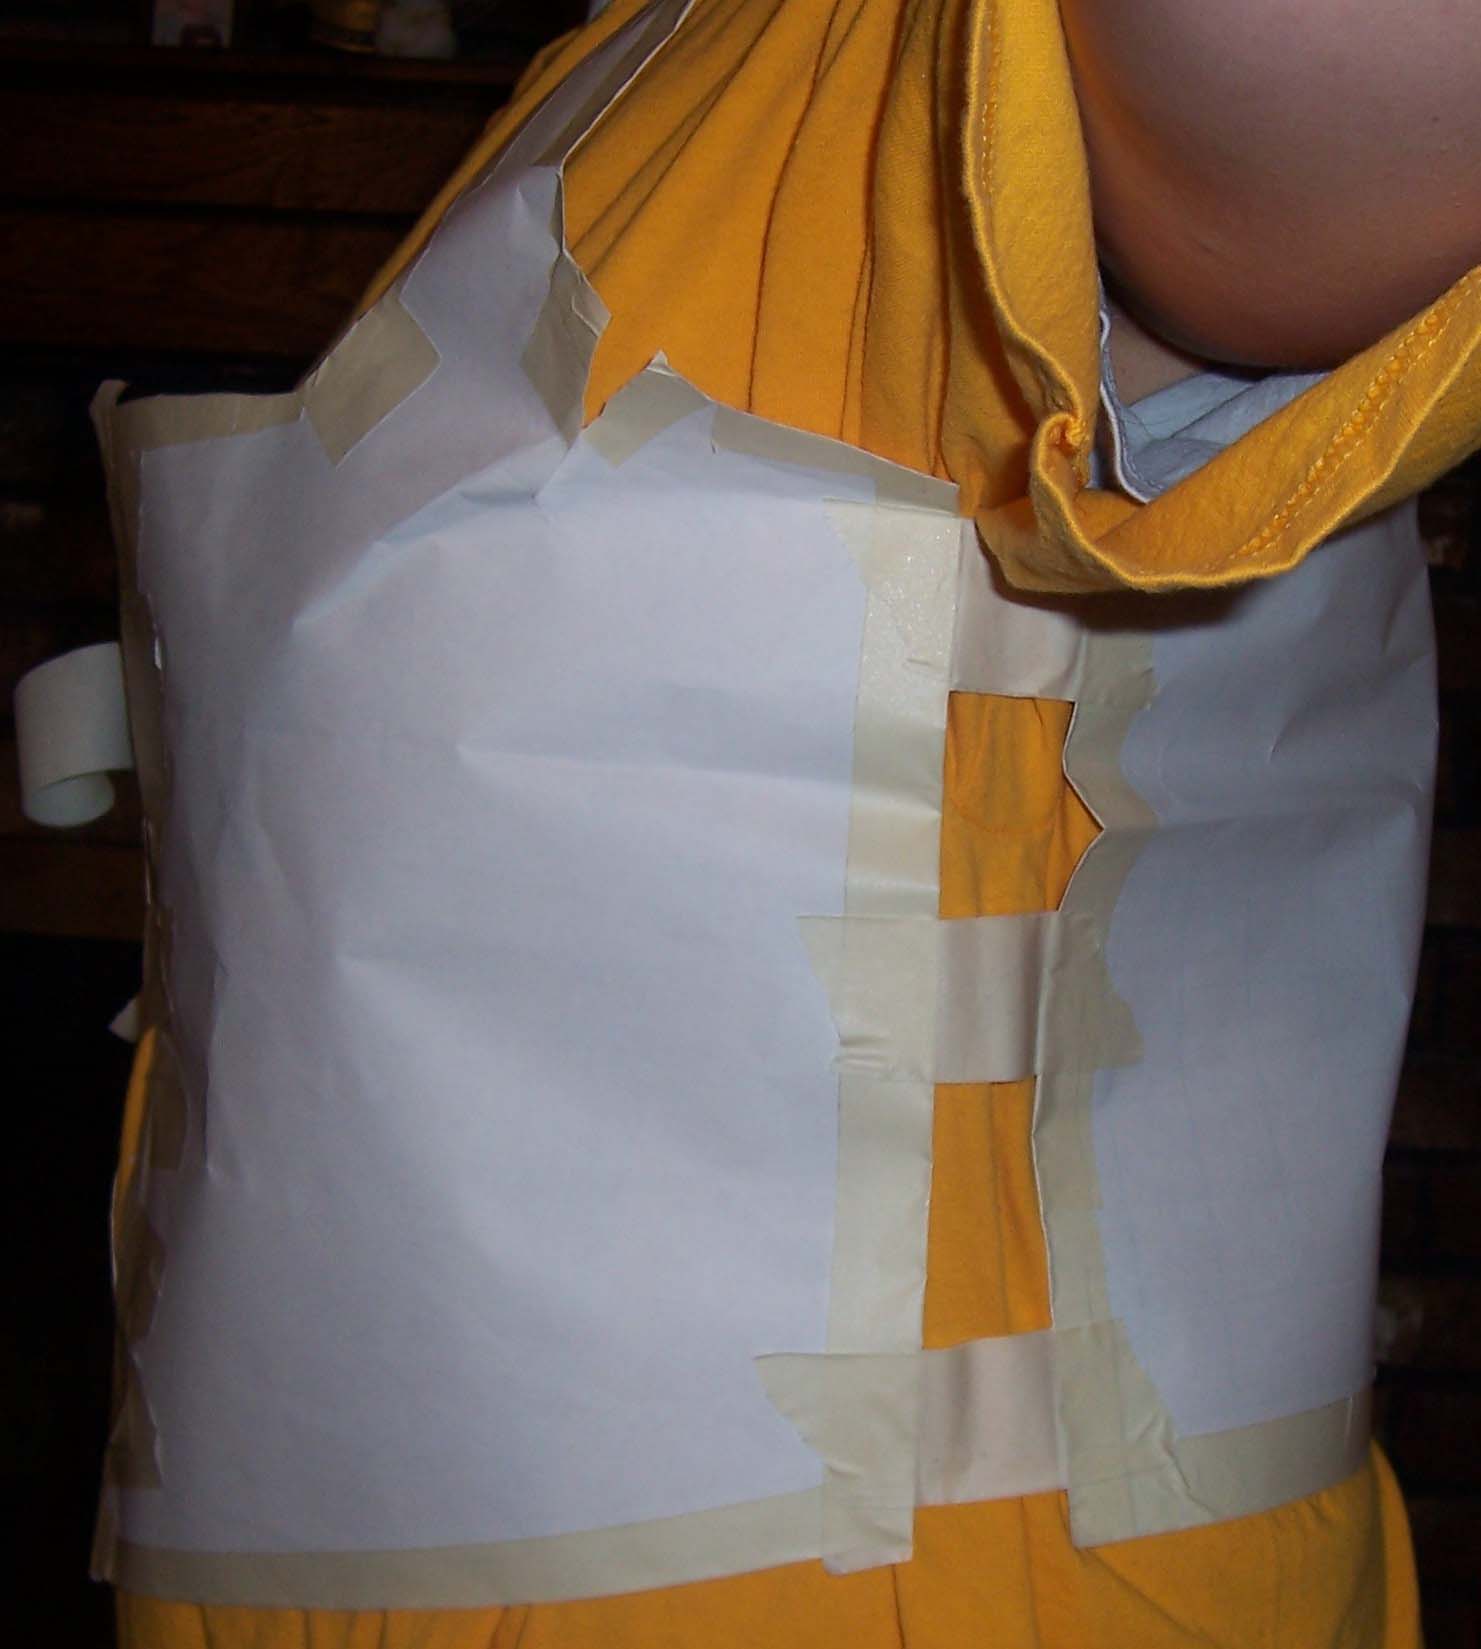
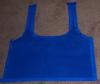
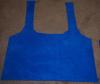
Thanks for the suggestions Tashabear. I had thought of the duct tape method as the link shows, however, as three of the four ladies are underage, we are not going to make them that tight. Their parents want the items to enhance their outfits....not them, if you understand my point. I will be using the duct tape method when I make my wife's corset. The forth one is a mother of 2 and built about like the model in the taping pics and she wants to go more of the tubular bodice look, but a tight corset. She is also a seamstress, but has never worked with leather, so she is helping with some of the points you made as well. We will be adding boning, the ladies are buying that this weekend. I was told there is a 'sheeting backing' that can be used as well. They are checking into that. After they got the paper/tape models all done, they cut them apart and traced them onto the leather. I had them add a 3/4" border outside that then cut them out. They folded the border over and glued it down to make a reinforced edge. The grommets will actually go thru this border later. Below you will see pix of the border/edge, the inside and outside of the back panel and inside of the front panel with the clips holding it all together as it the glue dries. There are a few spots that need trimming, but it is an work in progress..... More later! cal


-
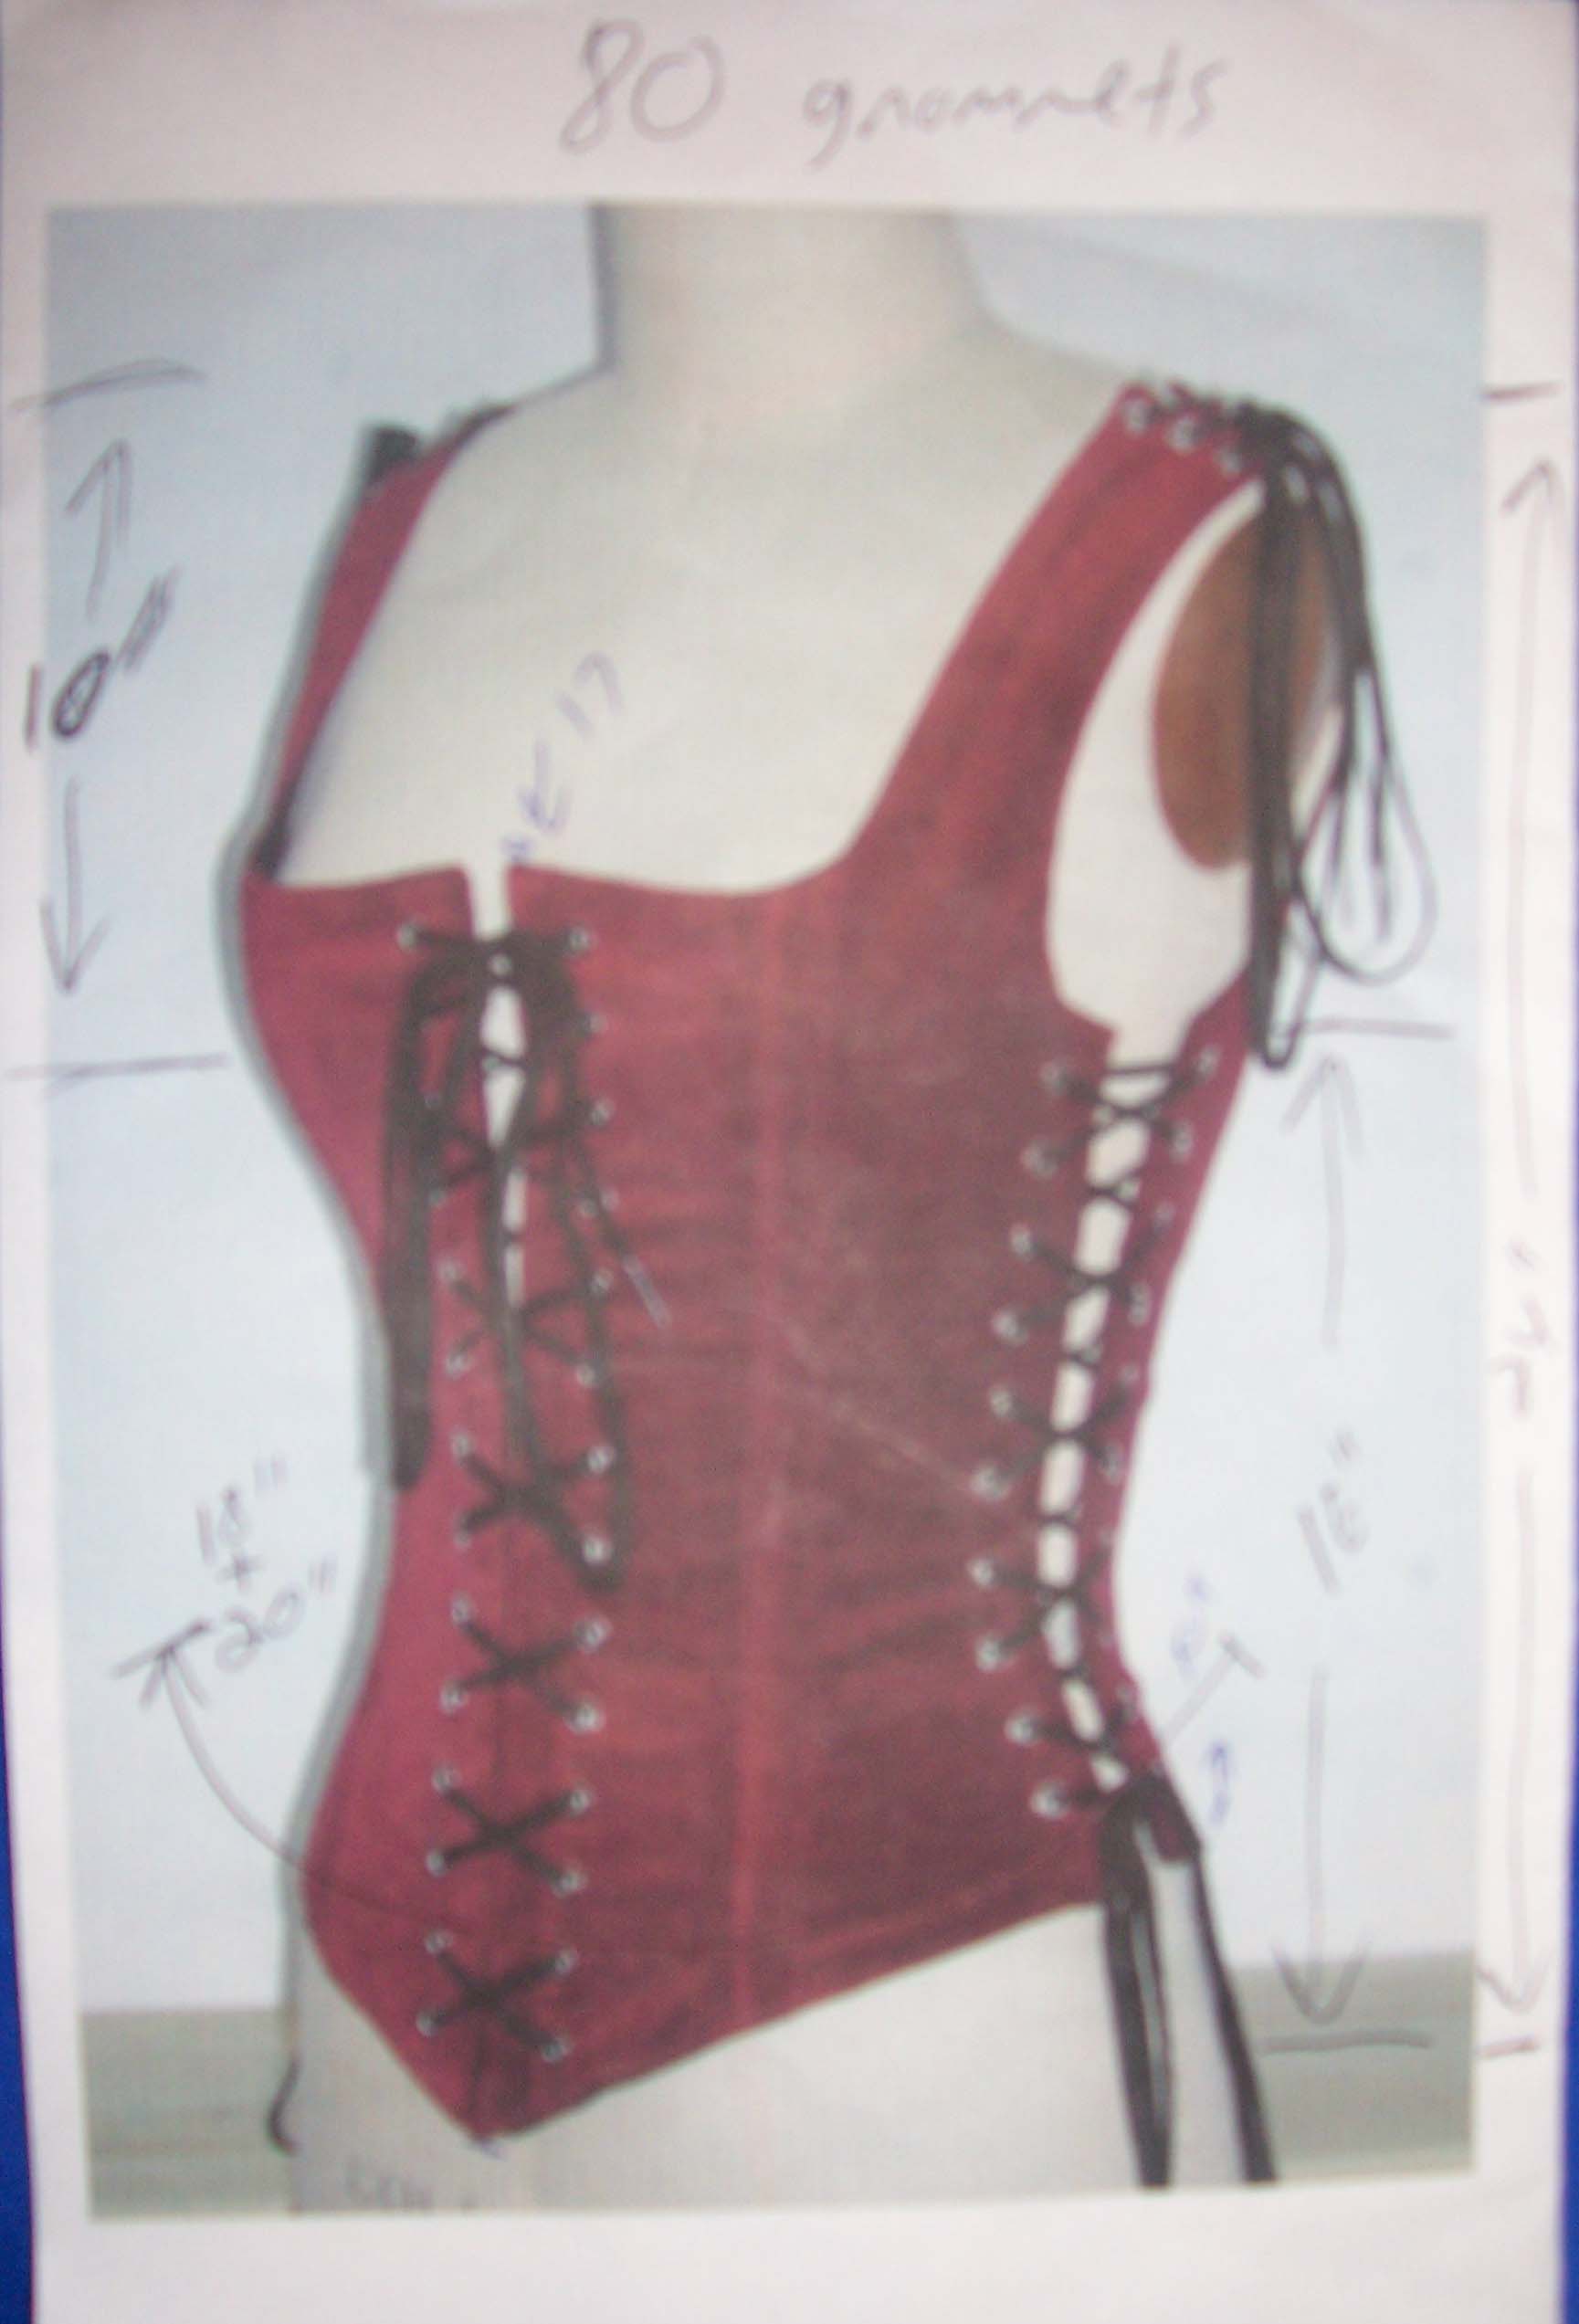
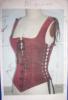
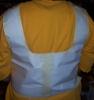
Project update.... Here is a pic of one of the young ladies in her paper and masking tape corset. You can also see the pic we were working off of. This is one they found out on the web and we are using as a model. Mearsured them, drew the measurements in on the pic, drew the design out on large flip chart graph paper and the cut it out and started taping.... Once we got the size right, we cut it into the back panel and the two front panels and then laid it out on the suede and started cutting..... I will upload some more pix of the leather panels tomorrow....


-
The duct tape model works well for making 'casts' or models. I made a pair of boots using a paper and making tape cast, then slicing it off my foot. I am also in the process of helping 4 peopel make leather bustiers and I have them start with a paper and masking tape pattern first to check size and such. Then slice it into 3 pieces to get the pattern to trace onto the leather. I have a few pics of one of the girls with the paper bustier on before we cut it off. I will post them in the bustier thread I started here a few weeks ago before we started working on them. cal
-
This is slightly off topic, but I actually tore a muscle in my shoulder from hand sewing two pair of knee-high moc boots in 1 week..... Doc made me lay off for 4 week b4 I could do any more...lol cal
-
Been there...done that....over and over and over........... So if lotsa broken needles means the hole is too small or the needle is too big..... Whats it mean when you have to use pliers to pull it thru?? Most of my leatherwork is reenactment gear or tool cases so I use wax thread instead of lacing cuz I want good tight stitches. I tend to use a awl to punch holes by hand instead of a punch. This makes it tight and does cause a few broken needles...... What I can tell ya about using the pliers to pull the needle.....grip it jsut above the eye.....and if u grip the eye, grip the flat part.... cal
-
Wonderful work there Clay!! I help the Scouts in our Troop do Native American ceremonies and they use real turkey feather (painted to look like Eagle feathers) as props. So this gives me an idea.....How about a leather eagle feather?!?!? I'll have to see if I can't hook one or two of them into trying soem wiht me. hhhmmmmm cal
-
Well you've convinced me to give it a shot. But first, what is wool roving and what is a spinner? I am totally lost. Do you have an lol source you can pass on? cal
-
No prob Tasha, the questions help us all.... I got the pattern from a uk website recommended by my local vikings re-enactment group, Texas Branch of the Army of Jomsborg (http://www.vikinginvasion.org/texaselag/index.html). They are part of a world-wide group known as the Jomsvikings (http://www.jomsvikings.com/) and stick to authentic as much as possible. The site had the above posted pattern and directions on how to make it from sheepskin or lambskin. They even had a pic or two if I recall right of some of their members wearing their hats. Their's had wool or fur as the trim. The link is as follows: http://www.vikingsonline.org.uk/resources/...ickit/index.htm I have others bookmarked, but this is the most complete I have seen. I would love to hear your thoughts after you look thru this site. The more input the better! cal
-
I would love too, but as I am in Texas and it is way to frigging hot here....and I am a bit..portly....I need the comfort without the sweaty feet.... hehehe
-
Well, I have two dr scolls insoles in each when I wear them to help pad the bottom, but I do not plan to put a true heel on them.....I want to keep them as authentic as possible. cal
-
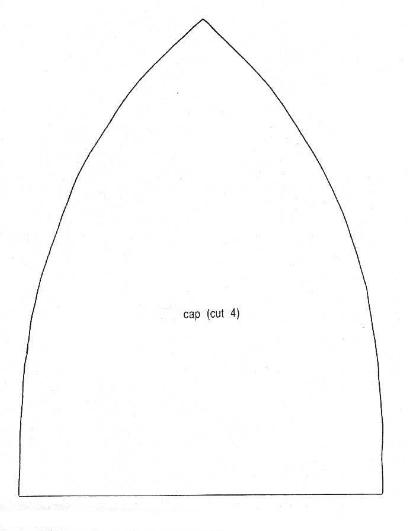
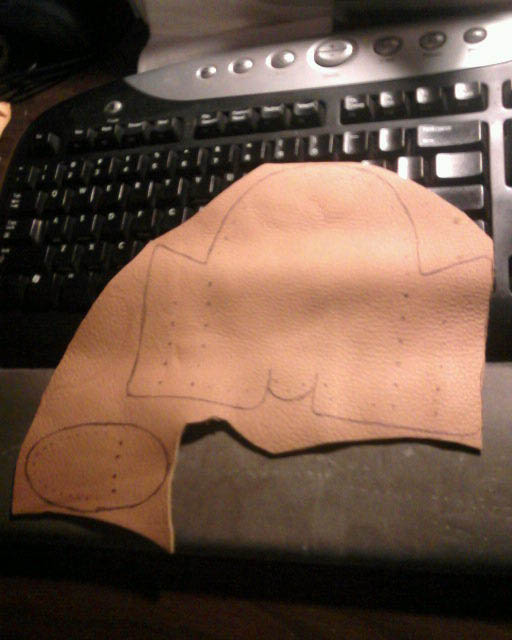
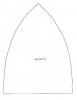
Thanks for the compliments Darryl! This was a fun piece to make. My son has his assembled but not dyed or trimmed yet. The pattern is really simple (attached below). Just pop on a ballcap that fits you the way you are comfortable and then measure around your head right where the cap sits. Then print out the attached pattern and enlarge it til four of the pieces make the right diameter. We did not do this on my son's (as he started his first) and the resulting cap was too small. He worked a fifth segment in and re-engineered a few things and it will be fine for him. My head is right at 23.5 inches diameter so I rounded up to 24 and then added 2 inches to have room for the trim. Then took the 26 inches needed and blew the pattern up until it was 6.5" wide at the bottom. If you are going to butt-seam the segments, I would suggest using leather a little thicker than 4-5oz. It will butt up better and stay in place. I used the X pattern on the stitching just to give it a little detail. I know some folks will glue the pieces together in a butt-seam and then stitch it. I did not use any glue on mine before hand as I wanted the 'raw' look mentioned above. I wanted it to pull and contort slightly. Let me know if you have any other questions bro and make sure you post pix as you make yours!! cal
-
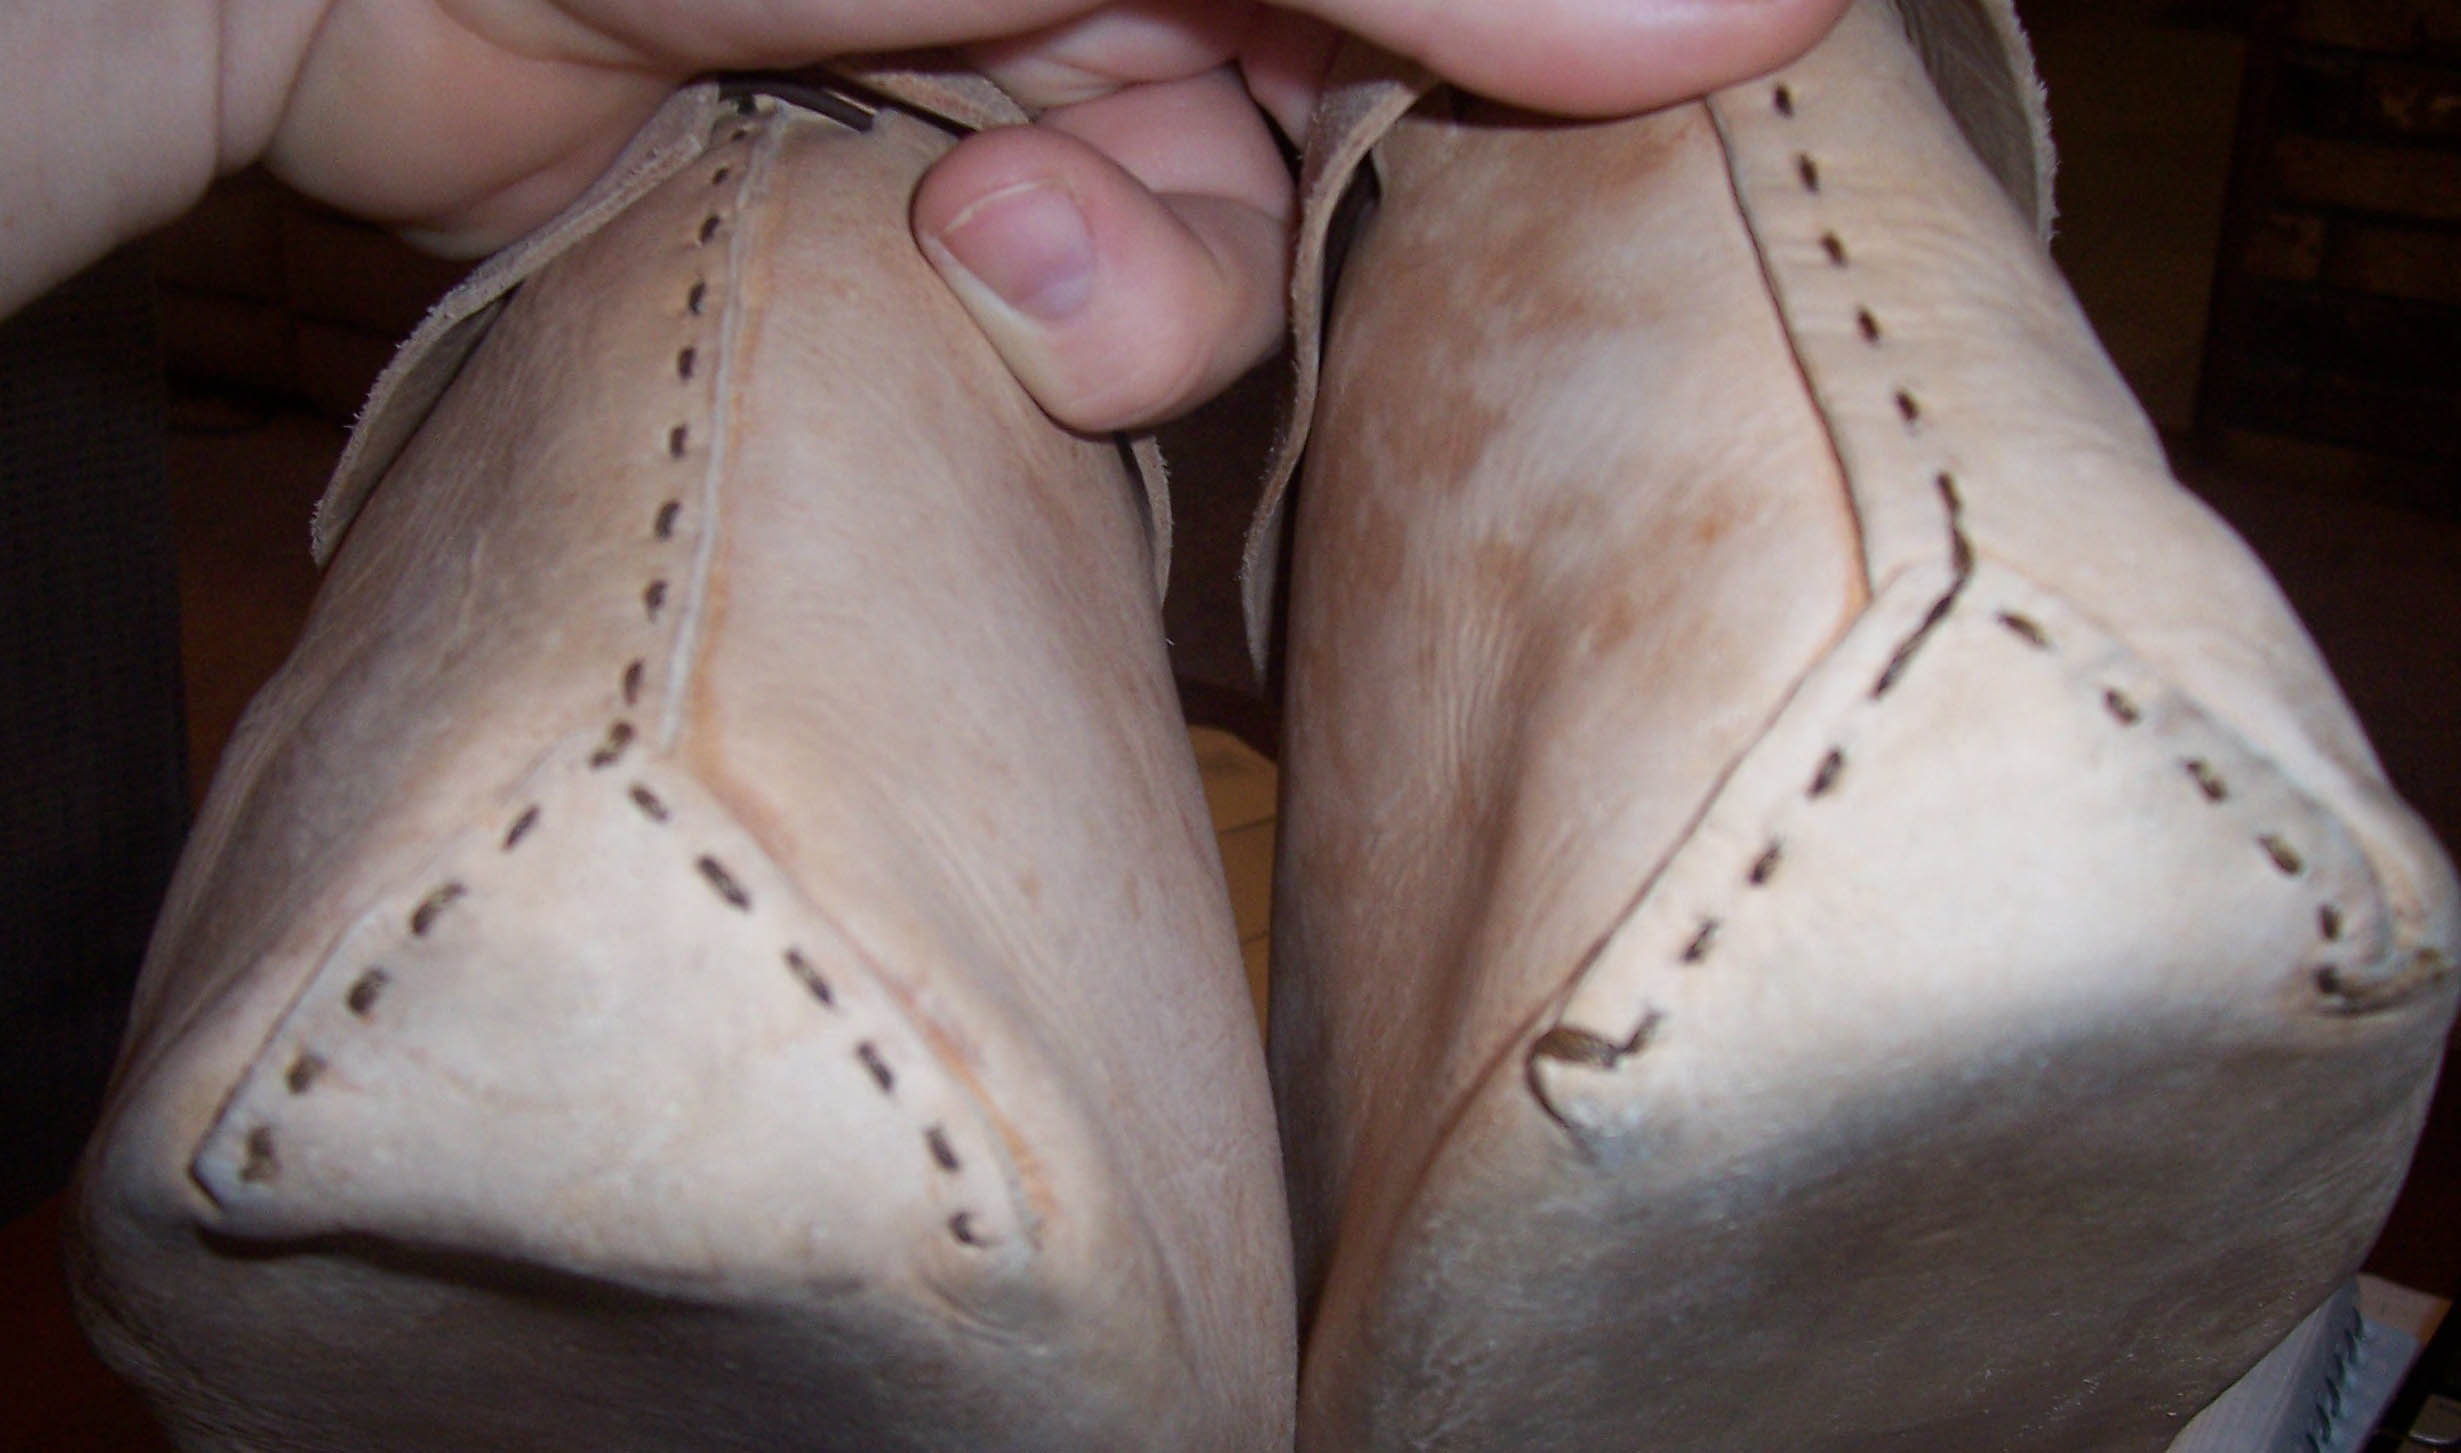
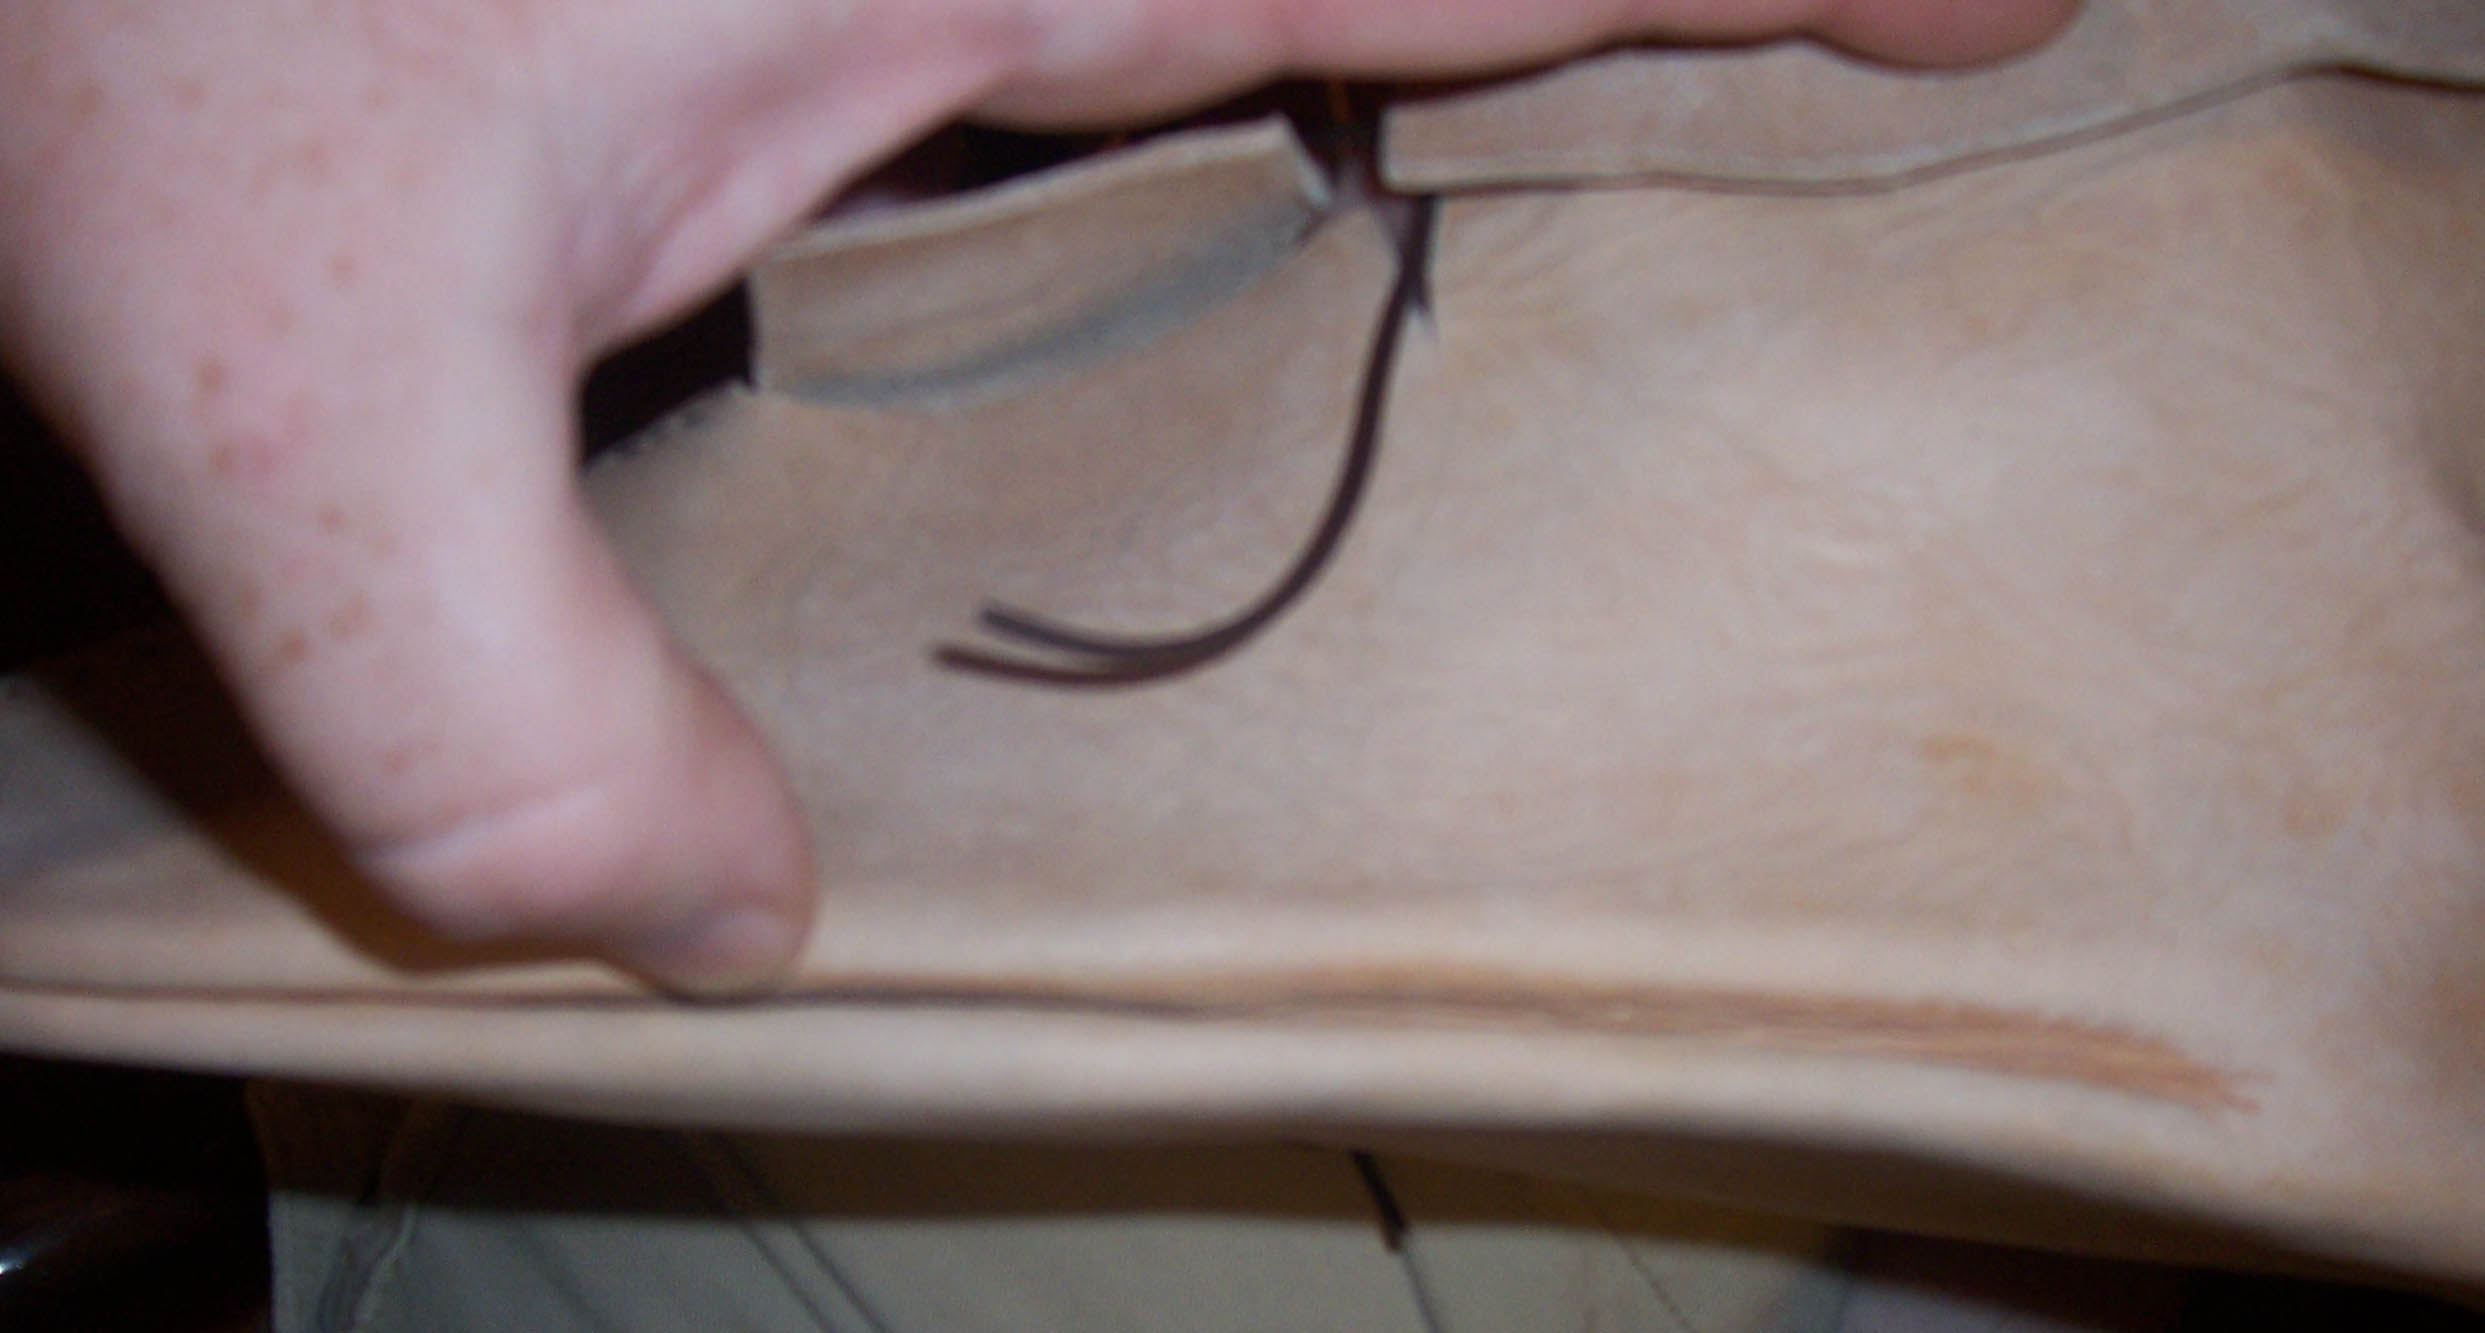
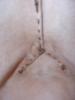
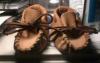
Thanks Dag!! You're right, the heels can be a pain. Especially when you are using a stiff leather like vegtan. I rub them down a few times wiht Lexoll to help soften and lossen them up a little. It helps. Below are a few heel shots. I simpley folded the back side pieces over each other, stitched them, then folded the heel 'triangle' up as high as it would reach, stitched the top tip of it to the back to hold it all in place and then stitched up and down the triangle sides. I included an inside shot for that it's worth. One thing i had to engineer on the fly was the sides. The outside seams stuck out a bit far, so I wet-formed the sides to draw them in a good bit. On the side view below, the stitchign stops were my thumb is. The crease after that is all wetforming to get teh shape of the shoe right. I have not added the outer soles yet. I plan to use the normal 'contact cement' that Tandy sells. I have some rolled toggles made of the same vegtan I will put on after the boots are dyed black. The toggles will stay tan for a bit of contrast. Thanks for all your great comments and questions!!!! Ask away as it makes me thing of ways to tweak the next pair!! cal
-
Thank bro! I know just what you mean. I was going for the 'raw' or 'natural' look on this. And yeah, replicating leather items that were made and used hundreds of years ago is a little hard as most of the leather decays completely. There have been a few lucky finds unearthed that have pointed us in the right direction tho. Thanks for the compliments bro!!! cal
-
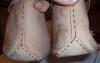
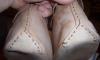
Hey folks, These aren't a work of art but I figured I would post the pix for the 'cuteness' factor. I am making them for some friends up north who are expecting in Dec. Even some of the simplest project can present challanges. After cutting and stitching the vamps in, the hardest part was getting the laces stitched thru the tops! These things are so small I had a hard time working my big ol' beefy fingers in and around them! At the very back, two layers of lace have to go thru 4 layers of leather and still lay flat against the back of the heel. That was a pain. I used the standard Tandy baby moc kit, but cut and punched my own leather. The leather in the kit is real thin and I dont think they would have stayed white very long!!! lol cal
-
Thanks Tom!! I have ancestors I have traced back to Ireland, Finland, Norway and Greenland so the 'wild Northman" blood is in my veins...heheh I dont have a sole on the outside as of yet. I have worn them as they are (with padded insoles inside) and they are quite comfortable, but a little slippery. I will most likey take another piece of vegtan and glue it to the outside with the flesh side down. I did this with a pair of moccasins I made and it worked well. cal
-
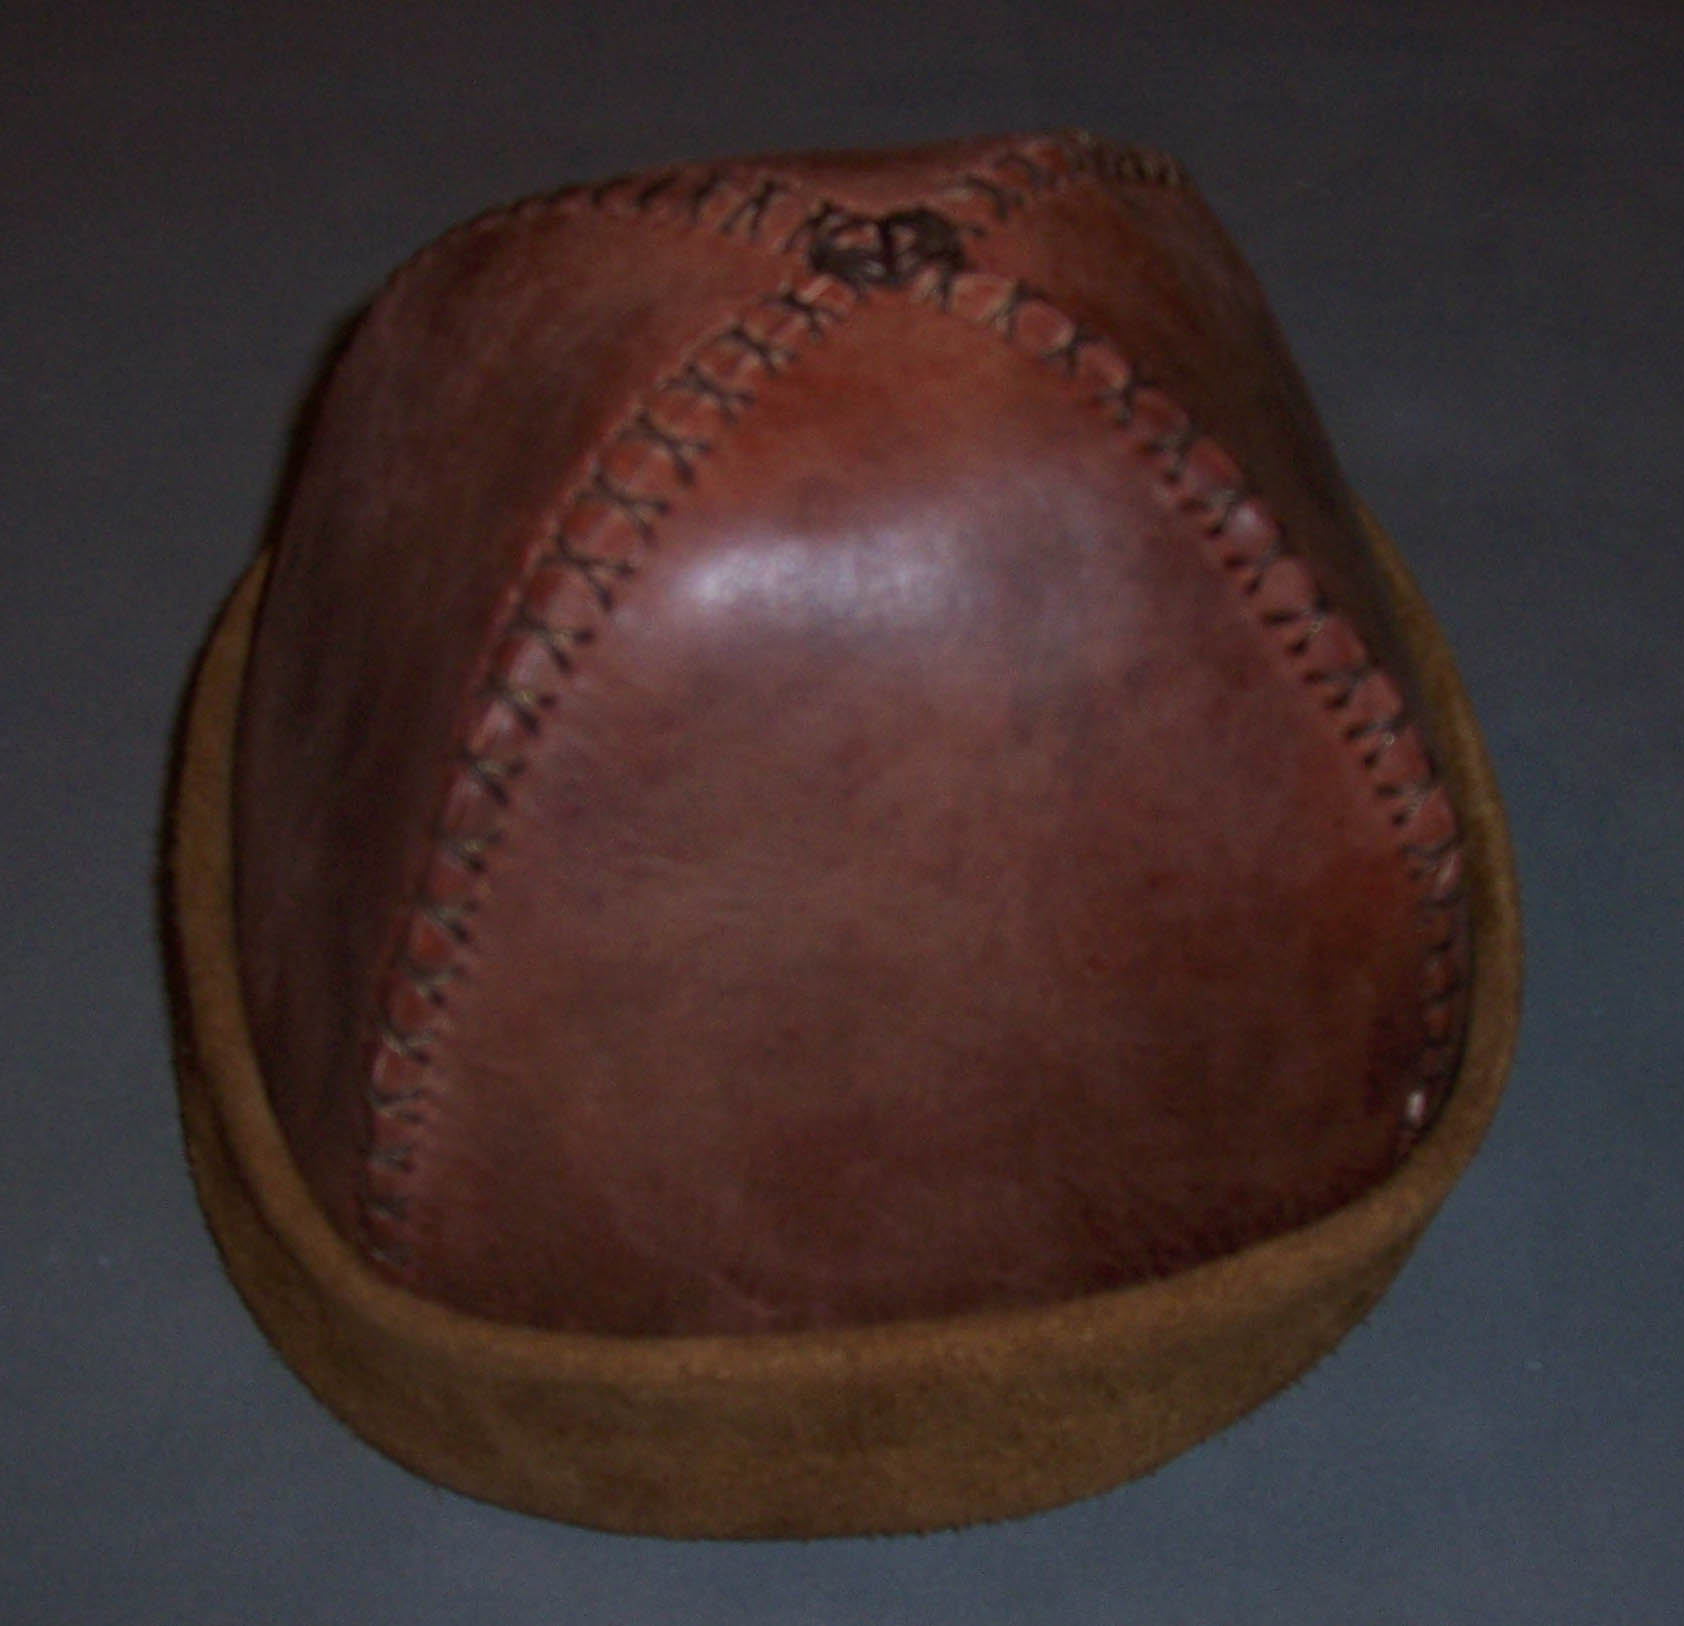
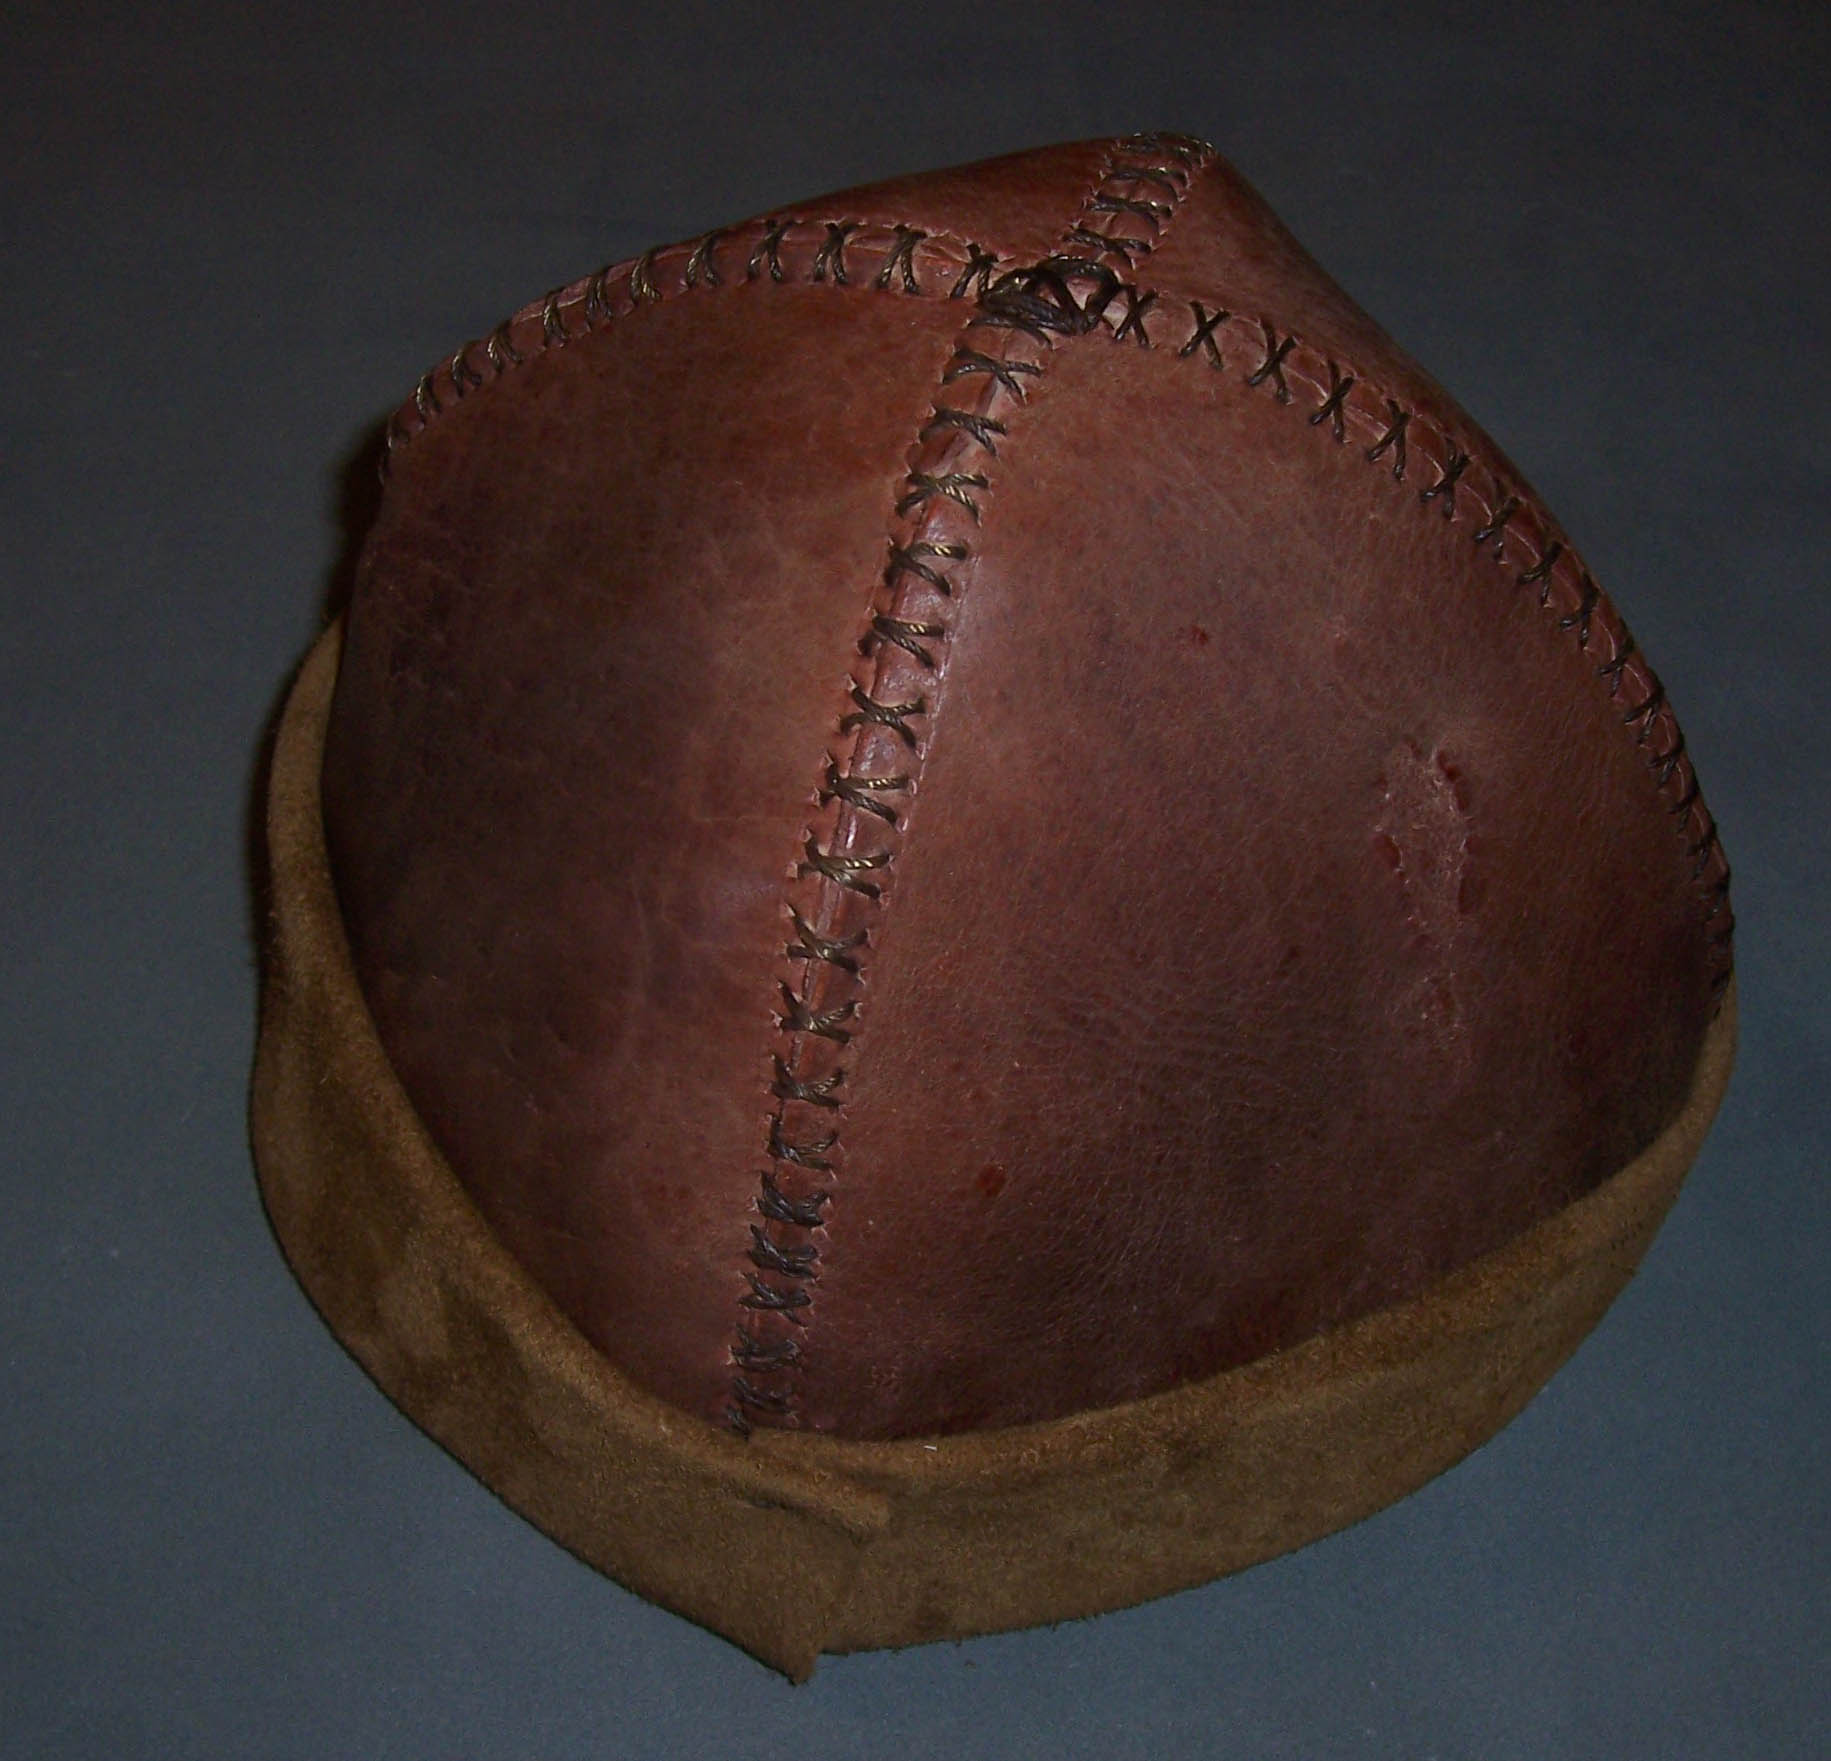
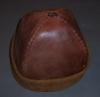
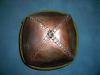
Attached are photos of a viking style leather hat I just finished. These were worn to keep the head warm or under the standard metal helmut as a little padding. It is made from 4 segments of 4-5oz vegtan leather that are cut out and then sewn together. I attempted a 'butt-seam' but as 4-5 is kinda thin, the edges pulled over one another in a few places. I didnt stress over it as I wanted this to look like a well worn item, not something brand new and spotless. I even used a piece of leather that already had a few 'character' spots on it. You will see some on the back side of the hat real good. Dyed it using Eco-flo 'canyon tan' in a sprayer. This gave it a little uneven look which played into the 'well worn' concept. I tryed to glue some fake fur into it and was going to wrap it over the edge but it didnt work out too well and was VERY HOT! So I removed it and used a big scrape piece of distressed upholstry hide with the flesh side out as trim. I had planned on stitching the trim but going thru 4 layers of upholstrey hide and the veg-tan was a pain! So I just tacked in it back. As the hide is glued into the inside of the hat, it is all staying together nicely. The 'in process' photos are of my son's hat. He is making one like mine, but I forgot to take in process. Have a look at the photos and let me know what ya think! cal

-
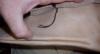
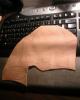
Hey folks! These are un-dyed as of yet. I plan to dye them black and I figured I would take a few pics now as some of the detail will be lost in the black when photos are taken later. These are a single piece 'turn shoe' style. I layed out a basic pattern I found on the net, made a big paper and masking tape version, then slit it where you see the seams and then traced it onto the 4-5oz veg tan leather. The toe and side were sewn by hand while inside out, then turned right side out, hence the name, turn-shoe. Then stitched the middle seam up the vamp and then the heel. I was going for a boot that would go part way up the thigh, but had a few 'enginerring issues'. I cut them down to ankle boots and I am really pleased with the way they came out. I am already making a second pair out of distressed upholstrey hide with the skin side out. I have a belt pouch I made last year and it has aged wonderfully. The distressed leather looks very very nice after a little use. I will post a pic of them when they are ready. Enjoy the pic and let me know what yall think please!!! cal

-
Looks great Tim!!! Good luck with it buddy! We all pulling for ya! cal
-
My take on a 10th Century Magyar tarsoly pouch
calanneh replied to Tracker's topic in Historical Reenactment
Looks great Tracker! I an't wait to see more of your work. Keep it up!! cal -
Good thought!!! I will try that if the febreeze isn't strong enough!! Thanks! cal
-
I was thinking that but I was not sure if it would stain the leather or not......I will try it and let everybody know how it goes. Well, I divided it into a few mesh bags and had it hanging out on our covered back porch today. A nice storm blew thru so it got plenty of wind and fresh air, but it did not help much. Thanks guys! cal
-
Hey folks, I made a viking style leather helmut and I am applying the standard fake wool to it to help finish off the look. The helmut is made from 4-5oz vegtan and dyed (waterbased). I had thought to put a 3 inch wide piece of the wool on the inside and fold an inch out. The leather rolled good before I glued the wool to it. In my zest to complete the project, I used a good amount of rubber cement to hold the wool on the inside and now that it has dried, IT WONT FOLD OUT....lol. The cemenet hardened or course. I have adapted the plan a little and will just apply some of the wool to the outside with out rolling the leather. The hat will jsut be a lil taller then I planned. What is the best thing to use to glue the wool to the vegtan? The rubber cement I used on the inside foamed and didnt really hold well. Any ideas? cal
-
Hey folks, I have been asked by our local Tandy store manager to assemble some plainsmen boots for a special customer who has health problems and can not finish them himself. He has the leather cut and such so mostly just assembly work left to do.... This is his final leather project ever and I want to use HIS leather. The problem is that his family smokes and I don't. The leather has a STRONG cigarette smoke smell. I want to do this project for him, but I am a non-smoker and the leather has this smell inbedded in it so bad I can't even bring it in the house....... Any ideas how to get the smell out so I can use his original pieces that he cut? cal
-
Wonderful work my friend!! I'm sure the mighty Mjolnir is pleased with your offering of leather!!! cal