-
Posts
101 -
Joined
-
Last visited
Content Type
Profiles
Forums
Events
Blogs
Gallery
Store
Everything posted by SLP
-
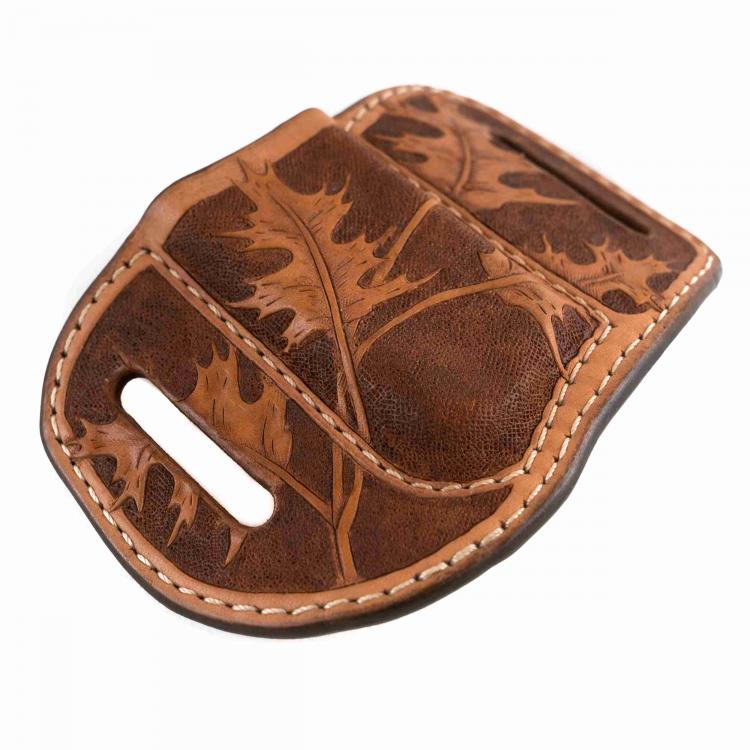
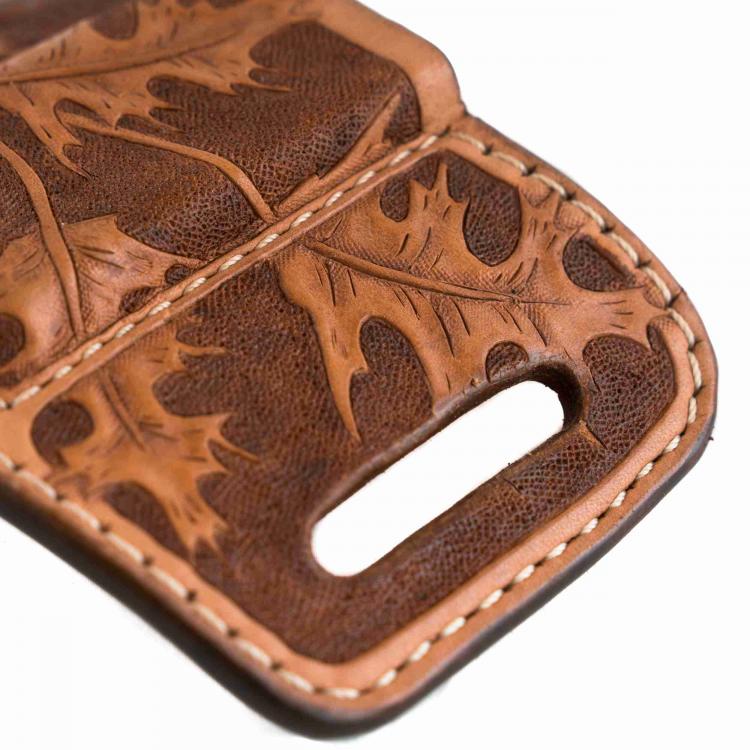
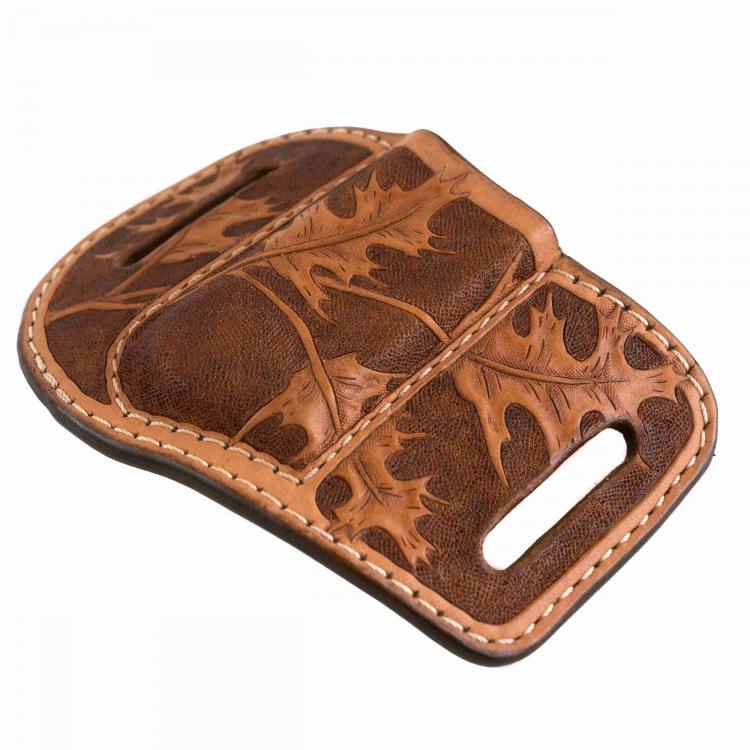
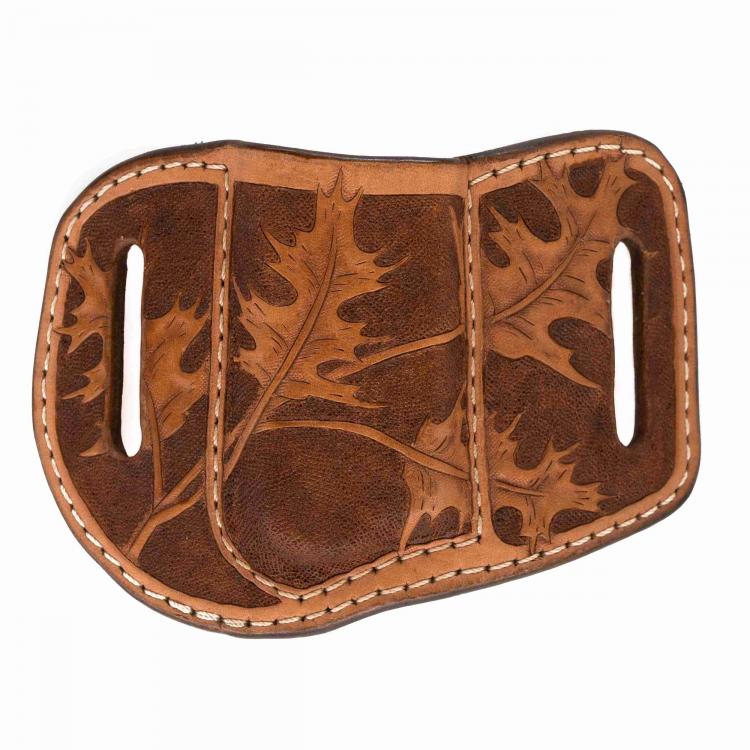
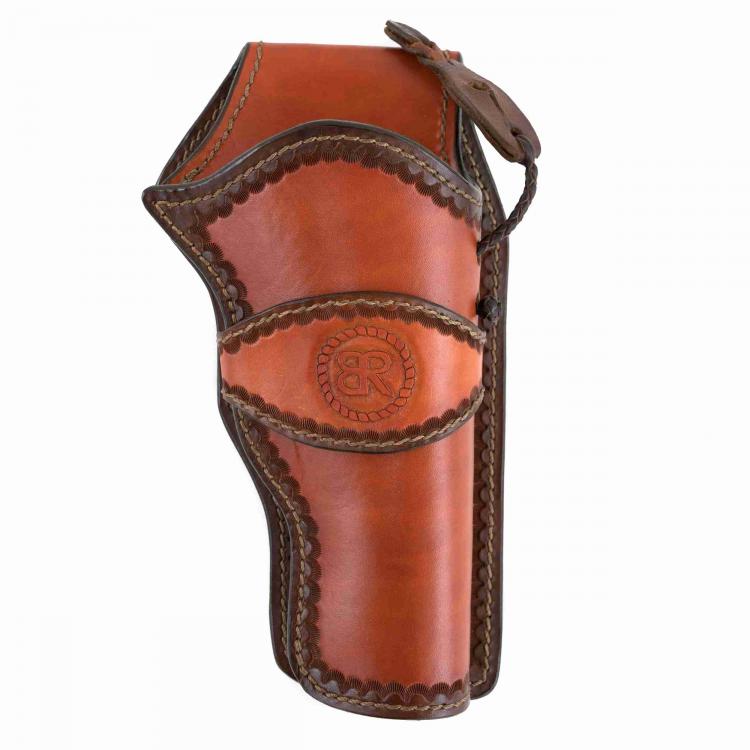
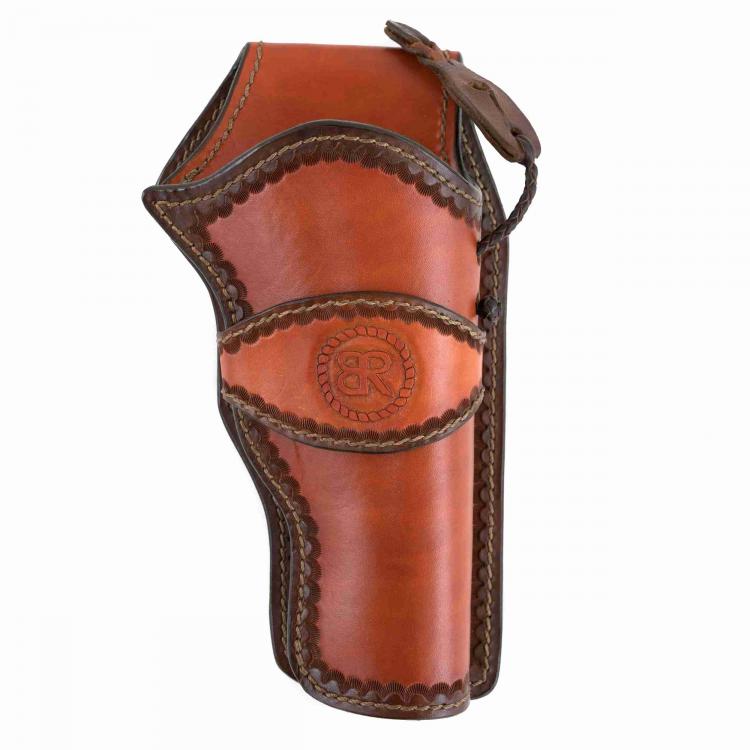
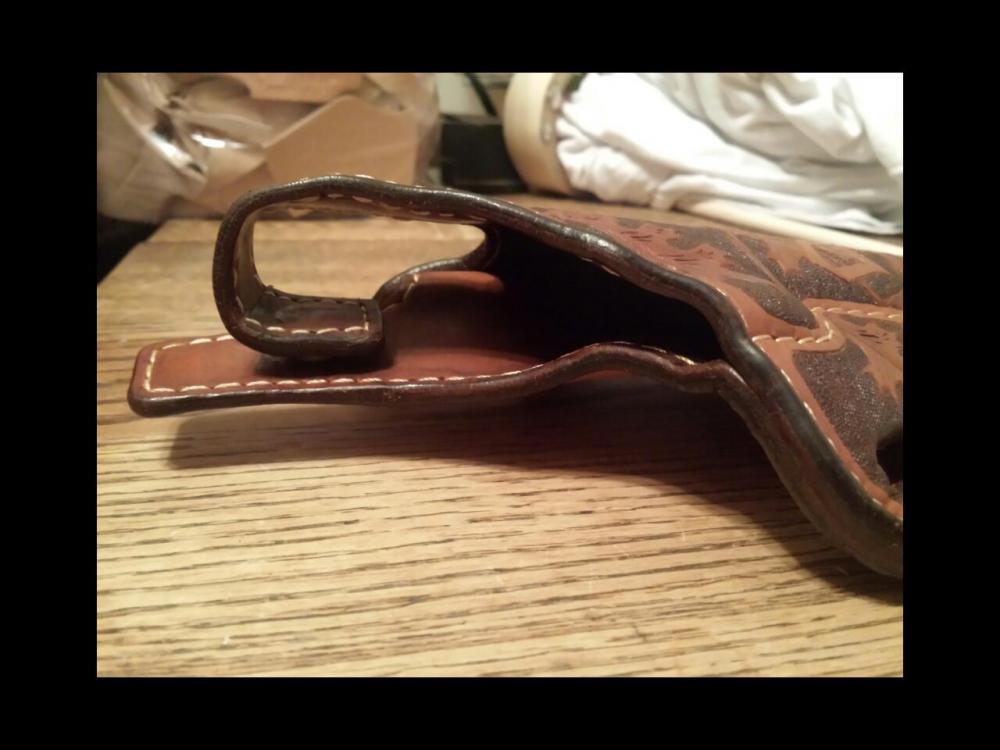
I've attached a link to a more detailed explanation of my process. Generally, I dyed the whole holster british tan, then hand painted the camouflage tooled edges with a mixture of brown dyes.
-

Ruger SBH New Model dummy gun?
SLP replied to CaptQuirk's topic in Gun Holsters, Rifle Slings and Knife Sheathes
Thank you. Glad it is going to work out. I'm looking forward to seeing the finished holster. Please do post. -

Ruger SBH New Model dummy gun?
SLP replied to CaptQuirk's topic in Gun Holsters, Rifle Slings and Knife Sheathes
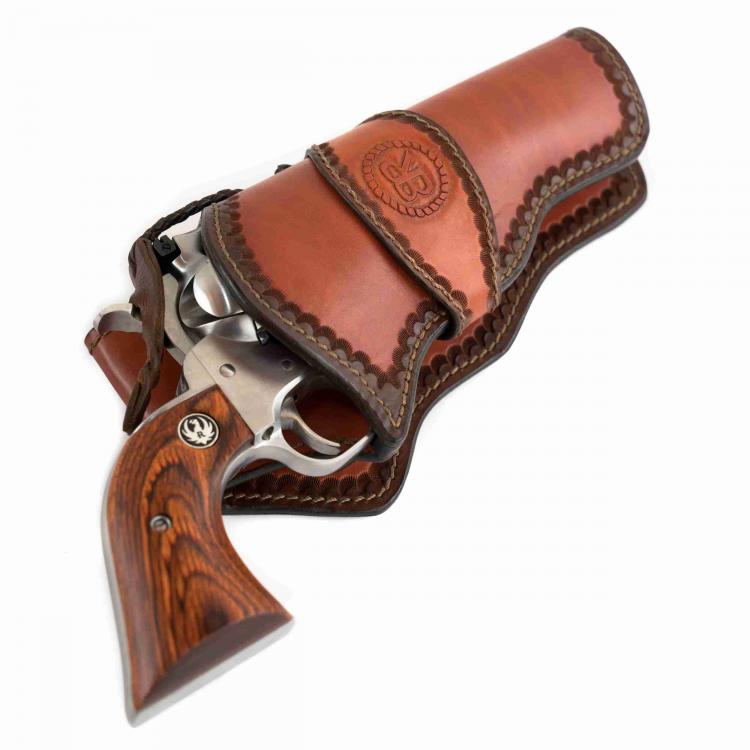
I just finished one not very long ago. I found the dummy on Bunkhouse Tools. It doesn't have a rail, but it's probably the closest your going to get without the actual gun. The holster I made is for the 5 1/2", but I used the 7 1/2" mold. The gun you see in the pictures was only used for photos after the holster was completed. http://shop.bunkhousetools.com/Super-Blackhawk-75-HM940.htm -

Two new California Slim holsters
SLP replied to Forester's topic in Gun Holsters, Rifle Slings and Knife Sheathes
Very nice! -
Nice work Dwight! I can't believe you whipped that out in a day! I guess aside from your noted stiffener relocation, I would just say that you might end up wanting a bit more room for a good firing grip. That said, I am inspired and reeeaaallly wanting a hot box right about now. Steve
-

Tooled .45 LC Rig
SLP replied to Josh Ashman's topic in Gun Holsters, Rifle Slings and Knife Sheathes
Absolutely beautiful rig! I am inspired by your work. -
WOW! That is very impressive. I have no idea how you make boots, but it looks HAARRRDD! Those are beautiful! I especially like how the toe turned out. Very clean.
-
Thank you very much, gentlemen. I am a bit partial to the oak leaves.
- 6 replies
-
- 45
- magazine holder
-
(and 1 more)
Tagged with:
-

Simple bifold wallet
SLP replied to AKworkshop's topic in Purses, Wallets, Belts and Miscellaneous Pocket Items
Wow! That is beautiful! Please tell. What did you do to those edges? Edge Kote? and What dye? -

Ruger Super Blackhawk Cowboy Holster
SLP replied to SLP's topic in Gun Holsters, Rifle Slings and Knife Sheathes
As a side note to the dying of the edges, the Chocolate/Light Brown dye of the border was applied after the entire thing was dyed with British Tan. I was going for a very chocolaty color, but on some test pieces I did, the Chocolate dye was too dark, hence the 2:1 (Light Brown:Chocolate) over the British Tan. -

Ruger Super Blackhawk Cowboy Holster
SLP replied to SLP's topic in Gun Holsters, Rifle Slings and Knife Sheathes
artist brush, two coats. and thank you very much for the flattering comments. -

My first time workun
SLP replied to OLDNSLOW's topic in Gun Holsters, Rifle Slings and Knife Sheathes
That's sharp! I always have liked red thread on black. What kind of thread is that anyway? Do I see two threads passing through each hole? -
Hey there. Just came by your topic, and while I don't have any tips for you, I was hoping that you had completed the order and could maybe show some pics and explain how you met the challange. Thanks, Steve
-

Ruger Super Blackhawk Cowboy Holster
SLP replied to SLP's topic in Gun Holsters, Rifle Slings and Knife Sheathes
It's heavy stuff, but I like the way the heavy stuff looks with 5 stitches per inch. I did #207 at 5spi, but it did look a bit weird, as was pointed out to me. After looking again, I'd have to say that I agree. The thinner thread needs at least 6spi. -

Ruger Super Blackhawk Cowboy Holster
SLP replied to SLP's topic in Gun Holsters, Rifle Slings and Knife Sheathes
First, let me say thank you to everyone for your positive comments. As a budding holster maker, it really means a lot to me. Thank you JLSleather, I really appreciate the positive feedback and criticism. That's a good idea to recess the stitching. I was trying to get away from using the stitching groover on the parts that show so that the slant on the stitches is not forced flat; however, on the inside, I think that the integrity of the holster would be well served by the recessed stitching. I am partial to the thicker thread (rope). On my first couple of holsters I used #554, but downsized because the gun was rubbing on the inside stitching at the trigger guard and I could not groove deep enough to protect the stitches. The rubbing was partially due to back-stitching near the trigger guard, which I have since moved to the other side of the mouth. I have not done a holster without a lining yet, and would prefer to continue making fully lined holsters. -

Ruger Super Blackhawk Cowboy Holster
SLP replied to SLP's topic in Gun Holsters, Rifle Slings and Knife Sheathes
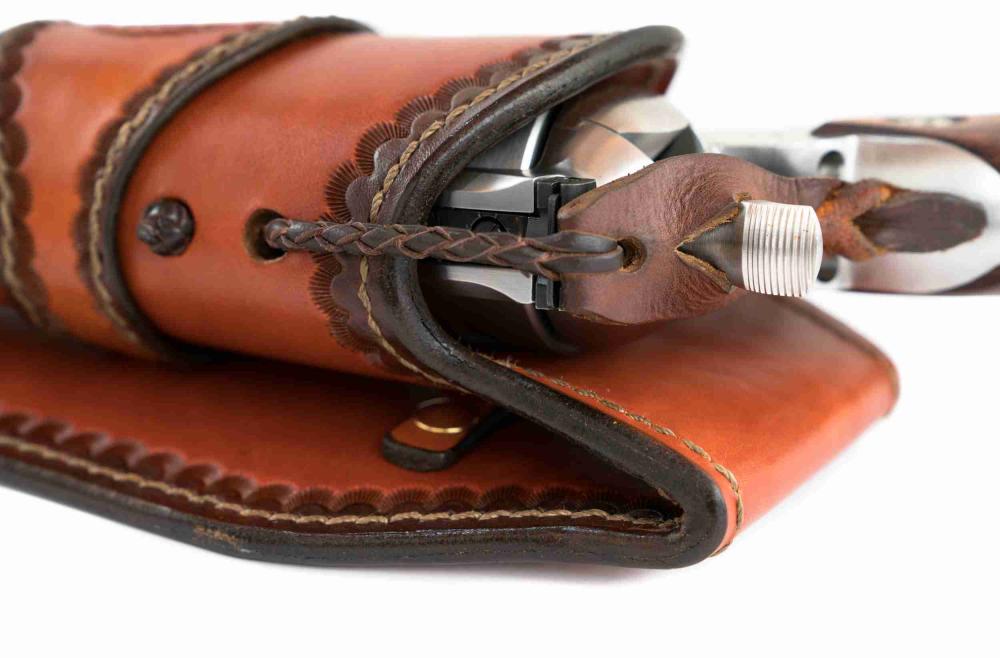
I know, I know. I ask for criticism, then I make a bunch of excuses. Well, I have no excuse for this one. I got that feeling in my gut as soon as I punch the holes, that they were going to be too big. This was the first time I ever braided leather, and I had no idea what diameter the braid was going to turn out to be, but I was fairly certain that it would not fill those giant holes. I didn't even have the lace that I would use to braid the strap when I punch the holes. Dumb mistake, but lesson learned. -

Ruger Super Blackhawk Cowboy Holster
SLP replied to SLP's topic in Gun Holsters, Rifle Slings and Knife Sheathes
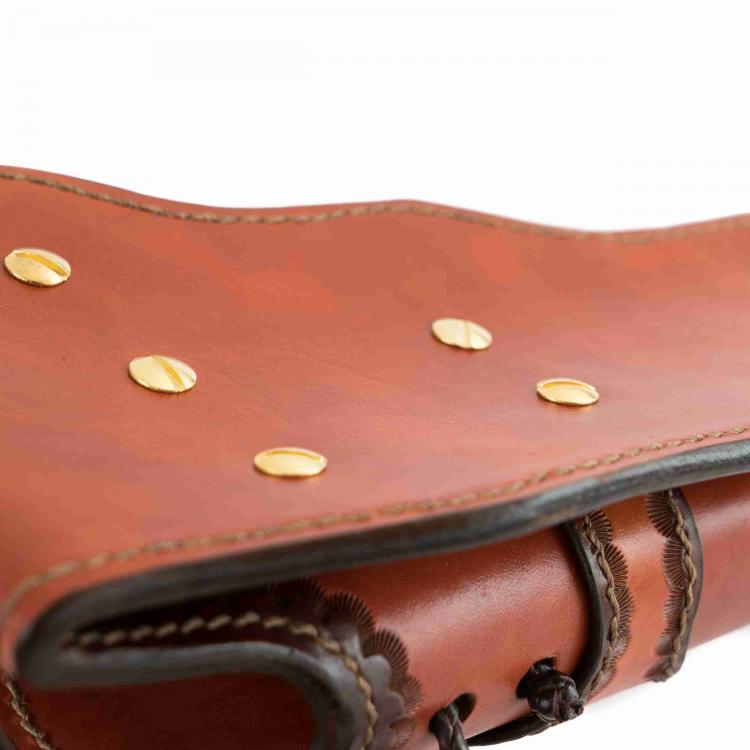
Thank you Dwight! Generally speaking, I prefer to bury stitching and hardware between the layers; however, I chose to follow Jim's tutorial rather strictly. Since it was the first holster of this type I've done, I didn't want to add any variations yet. My wife always criticizes me for the same habit I have with cooking recipes. First I do it like the recipe, then the second time I make my own adjustments. The hardware is solid brass. I would like to bury the hardware between the two layers, but it would take some serious thought and consideration. Essentially, I would need to know the precise location of all the screws from the get-go, and I'm not quite that confident in myself yet, so I will likely attempt it in the future. -

Ruger Super Blackhawk Cowboy Holster
SLP replied to SLP's topic in Gun Holsters, Rifle Slings and Knife Sheathes
Thank you dikman. Yeah. When I did a test it came out quite red. I forgot to mention that I diluted the dye approximately 7:1 (denatured alcohol:dye), then applied liberally in several directions. I found that the regular dye, in contrast with the professional dye, did not dye evenly without very liberal application in several directions. -
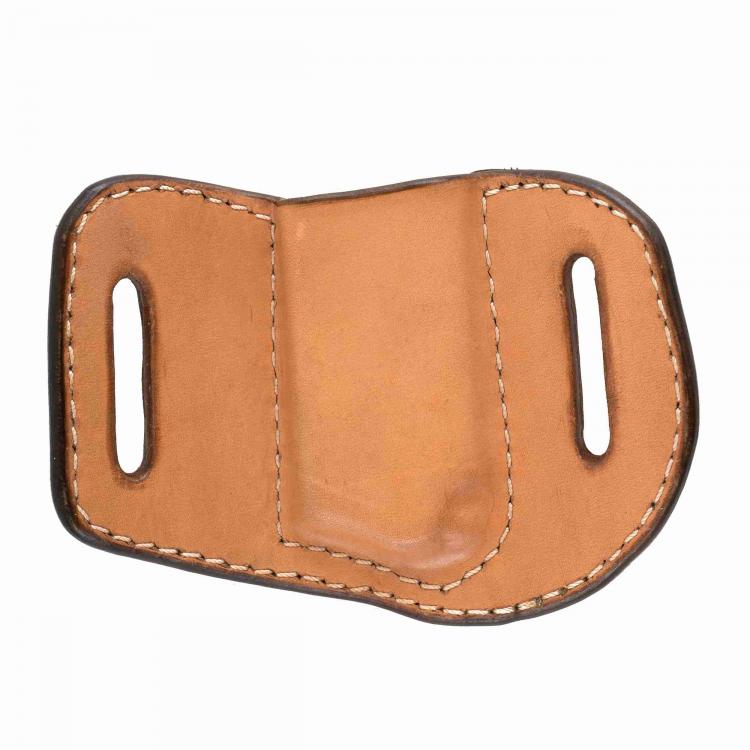
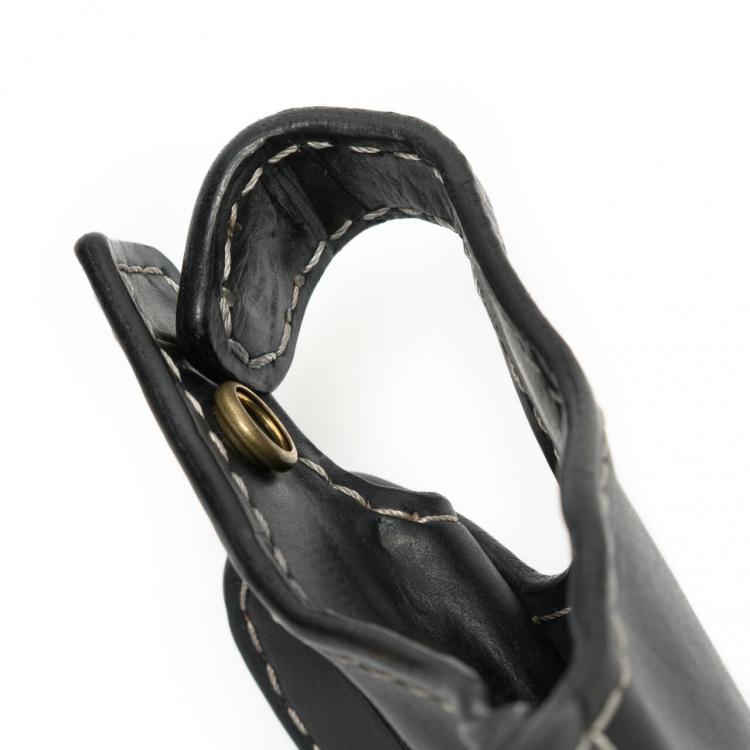
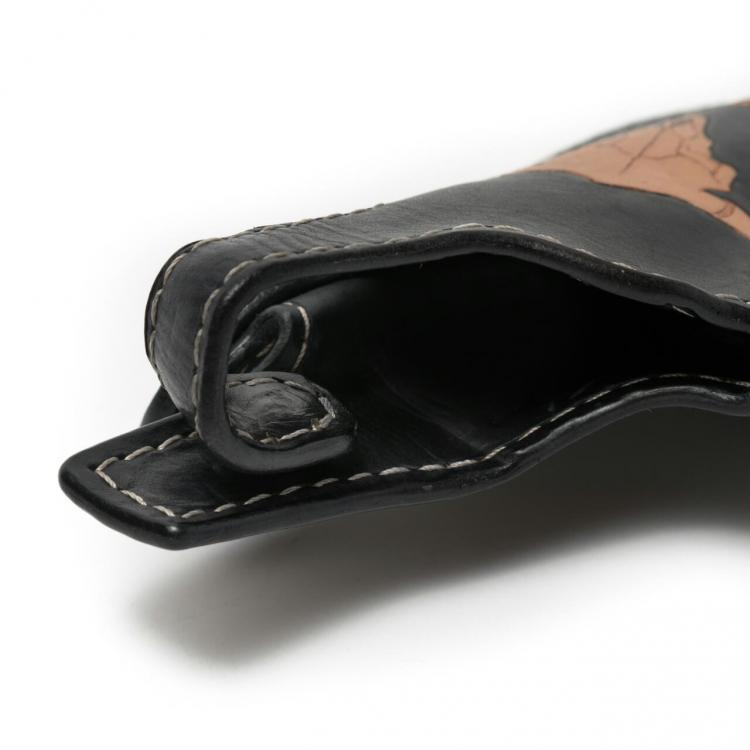
Put this one together for my Dad. I made him a holster a while back, and decided that he should have a matching magazine holder, well sorta matching. They match as long as he wears the holster on the right and the magazine holder on the left. Hand stitched. I used my new Roarockit Thin Air Press to form. Not too bad. It does great on the 4/5oz. We'll see how it fares with the thicker stuff later.
- 6 replies
-
- 45
- magazine holder
-
(and 1 more)
Tagged with:
-
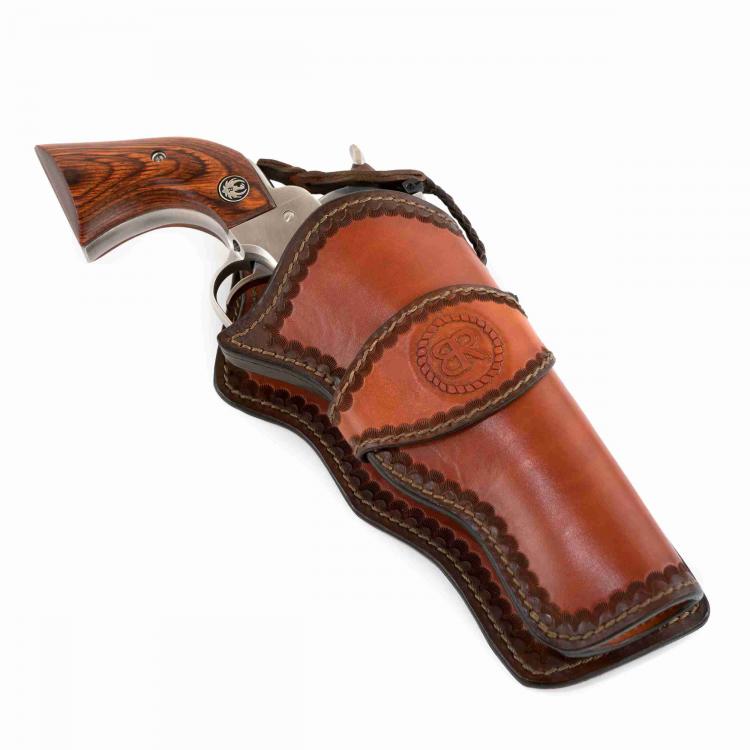
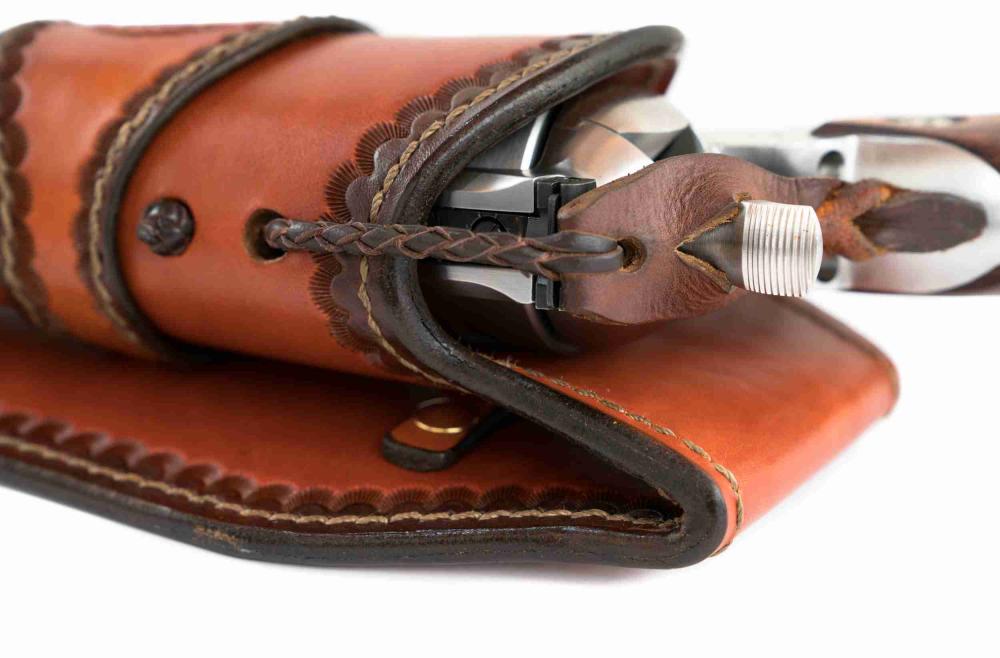
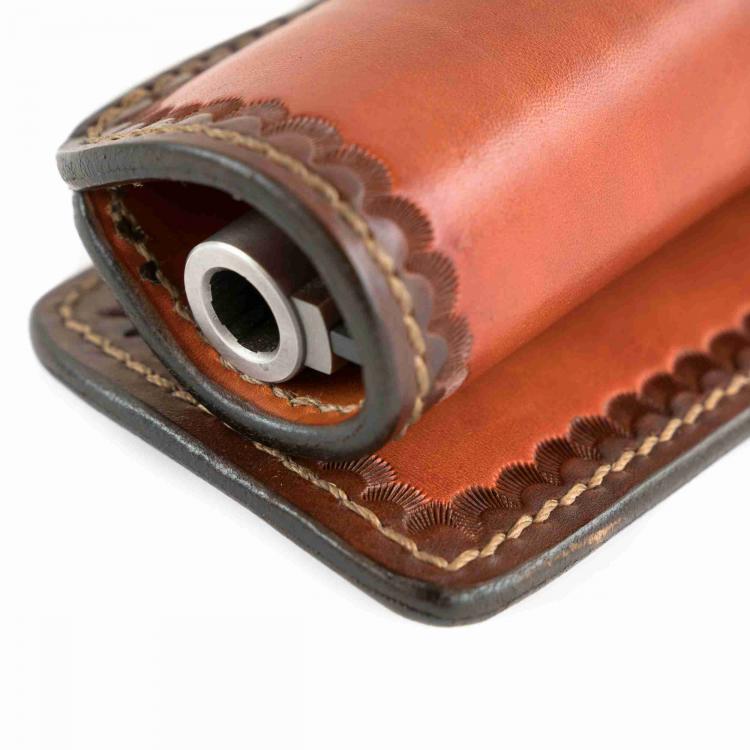
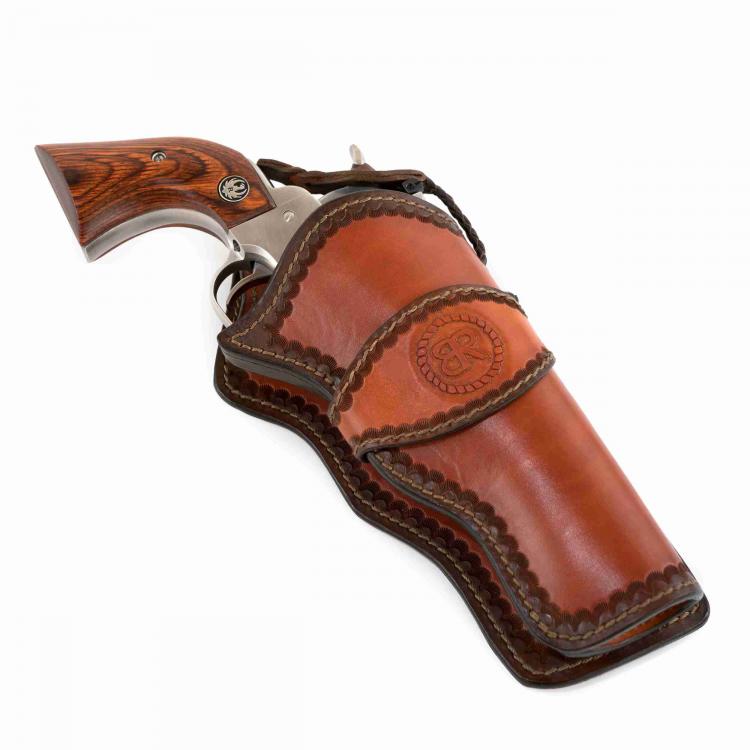
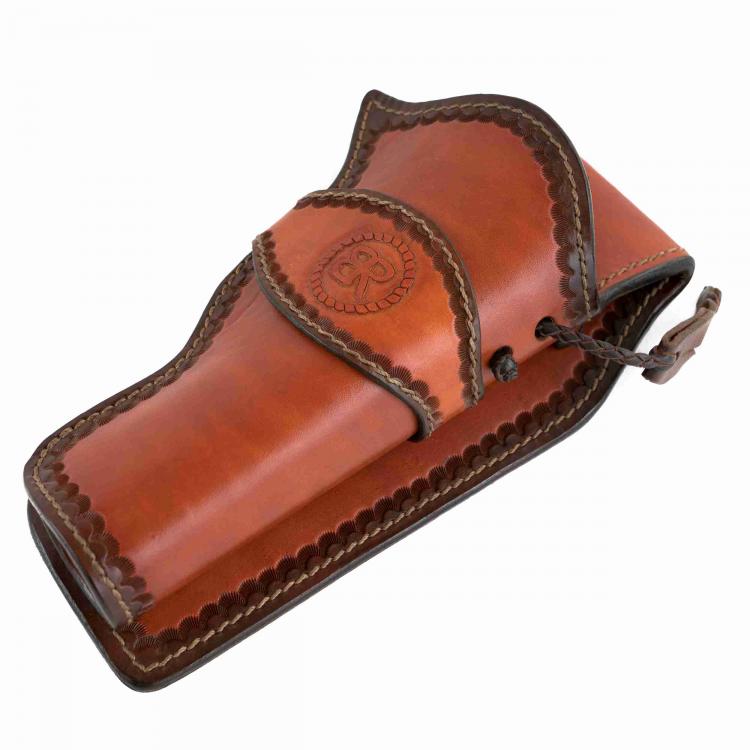
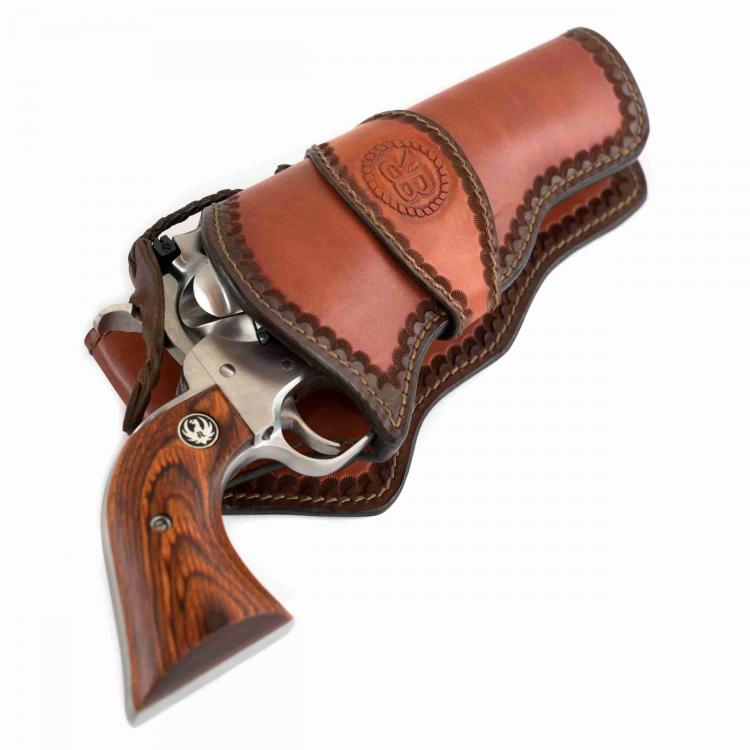
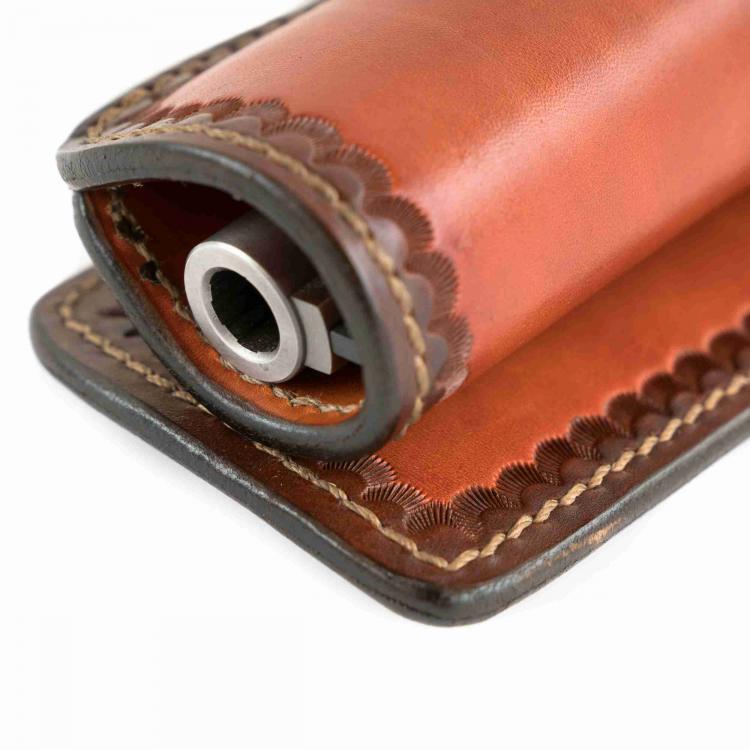
This one just might be my favorite one to date. It was not heavily tooled, but more of an understated classic. I really enjoyed the challenge; and, it was a challenge. I had a great time with it, though. Thanks to Jim Simmons for the awesome tutorial. Anyway, to the meat. Ruger Super Blackhawk 44 mag. 5.5" 6/7oz. lined with 4/5oz. Fiebing's Leather Dye British Tan Border was Fiebing's Professional Oil Dye 2:1 (Light Brown:Chocolate) Thumb Break from Will Ghormely's Hand of God Rig (boy that blood knot was a pain) Designed the pattern and built the holster using the Bunkhouse Tools mold, then borrowed the actual gun for some photos. (The Bunkhouse Tools mold was the 7.5"; you have no idea how nervous I was the first time I slipped the actual gun into the holster for the first time...in front of the client.) It fit perfectly, almost like it was made for it... Hand stitched with #415 Bonded Nylon (Coyote) from The Thread Exchange (Thanks to Nigel Armitage and Ian Atkinson on YouTube for the stitching tips) I'm not elated with the stitching, but it's the best I've managed to date, so I'll take it. I like the holster so much, I may have to go out and get me a Super Blackhawk just to make one for myself. Ha, yeah, like I have time to make stuff for myself. I have a couple more orders for 7.5" models on the list, so please let me have it. As always, I appreciate the criticism, so keep it coming. I've learned a ton from the great constructive criticism here. You guys are the best. Thank you, Steve
-
Thank you Jim. I enjoyed making this one quite a bit. I admit that it was a bit of a challenge, but well worth it in my opinion. It's my fifth holster so far. I built it for the client's Ruger Super Blackhawk 44 mag. 5.5". He was very pleased, but probably not as much as I was. I think this is my favorite holster to date, although It's not my most extravagantly tooled. Some of the details: 6/7oz. lined with 4/5oz. Fiebing's Leather Dye British Tan Border was Fiebing's Professional Oil Dye 2:1 (Light Brown:Chocolate) Thumb Break from Will Ghormely's Hand of God Rig (boy that blood knot was a pain) Designed the pattern and built the holster using the Bunkhouse Tools mold, then borrowed the actual gun for some photos. (The Bunkhouse Tools mold was the 7.5"; you have no idea how nervous I was the first time I slipped the actual gun into the holster for the first time...in front of the client.) It fit perfectly, almost like it was made for it... Hand stitched with #415 Bonded Nylon (Coyote) from The Thread Exchange (Thanks to Nigel Armitage and Ian Atkinson on YouTube for the stitching tips) I'm not elated with the stitching, but it's the best I've managed to date, so I'll take it. Anyway, I had a blast. I think I've got a couple more Super Blackhawk orders to work on. Both of them are the 7.5" and one guy wants all kinds of elaborate tooling. Should be fun if not a little nerve wracking.
-
Beautiful! What kind of dye did you use and how was it applied?
-

Lower profile snaps or fasteners?
SLP replied to GaryNunn's topic in Gun Holsters, Rifle Slings and Knife Sheathes
I love that cue tip idea! -

Holster/Motorcycle
SLP replied to BarHLeather's topic in Gun Holsters, Rifle Slings and Knife Sheathes
Sweet! I love it! -

Lower profile snaps or fasteners?
SLP replied to GaryNunn's topic in Gun Holsters, Rifle Slings and Knife Sheathes
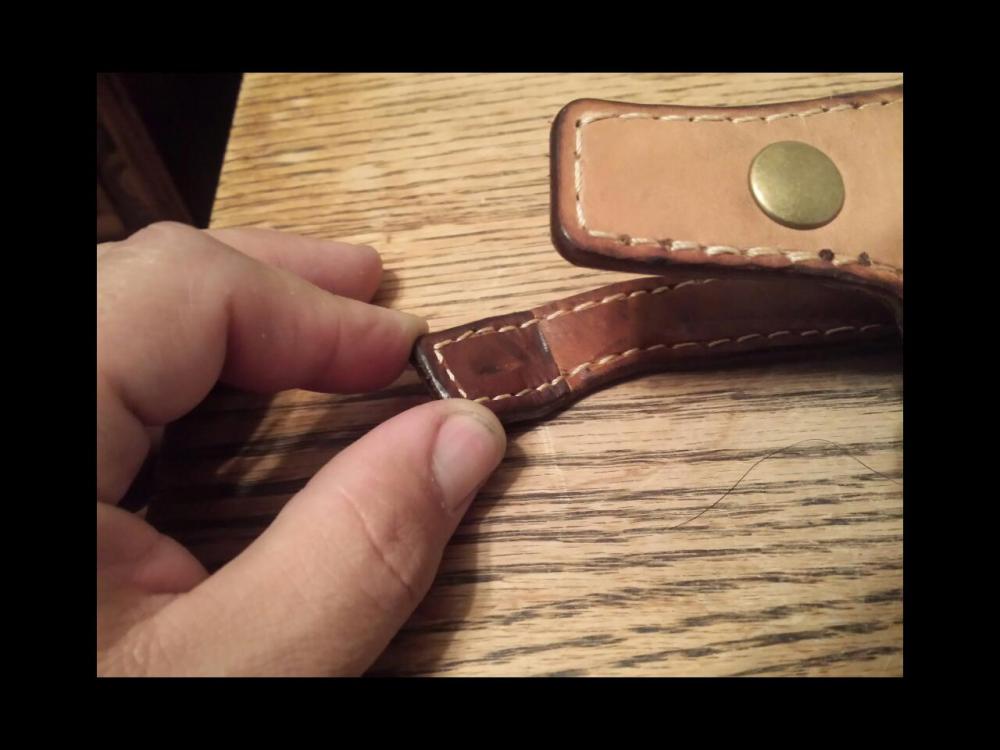
I have used a pear shader and edge beveler to compress a small circle, recessing the snap (socket side) slightly into the leather a bit when trying to get a line 24 snap through 6-7oz. lined with 4-5oz. (effectively beastly thick). This might help to reduce, albeit very slightly, some of the bulk. I do the the tooling prior to punching the hole for the snap. As I had to learn the hard way, pounding on the leather adjacent to a hole will make a messy hole that tapers off into a uselessly thin edge. I don't know if this affects the strength of the snap (don't think it should as long as you are using a stiffener), but I have not had any issues yet. If you are not comfortable with the tooling thing, you might consider getting the leather a bit moist and just pressing the snap down into the leather with a good amount of force prior to setting. I have had limited results with this method, as I bury my thumb break stiffener between two layers and only have the 4-5oz. leather to compress. I think you would probably have better results, with the thumb break on the back. You would have that whole chunk of 8-9oz. leather to compress. Also, while 2-3oz. leather is pretty thin, you might consider skiving it down even thinner. That has worked well for me. Please let us know how it turns out and if you find any good snap alternatives. I know that Ohio Travel Bag has long post (7/16") line 24 snaps (not cheap but the only place I've ever found) , but on a quick search I was not able find any line 20 longer than 3/16".


