


oddball
-
Posts
66 -
Joined
-
Last visited
Content Type
Profiles
Forums
Events
Blogs
Gallery
Store
Everything posted by oddball
-
Very nice been meaning to do one for my ride, absolutely love the little skull piece
-
https://tandyleather.com/blogs/leathercraft-library/1917-saddle-bag-pattern-pack?_pos=1&_psq=1917&_ss=e&_v=1.0
-
you only need one but size my make vfds a cheaper option
-
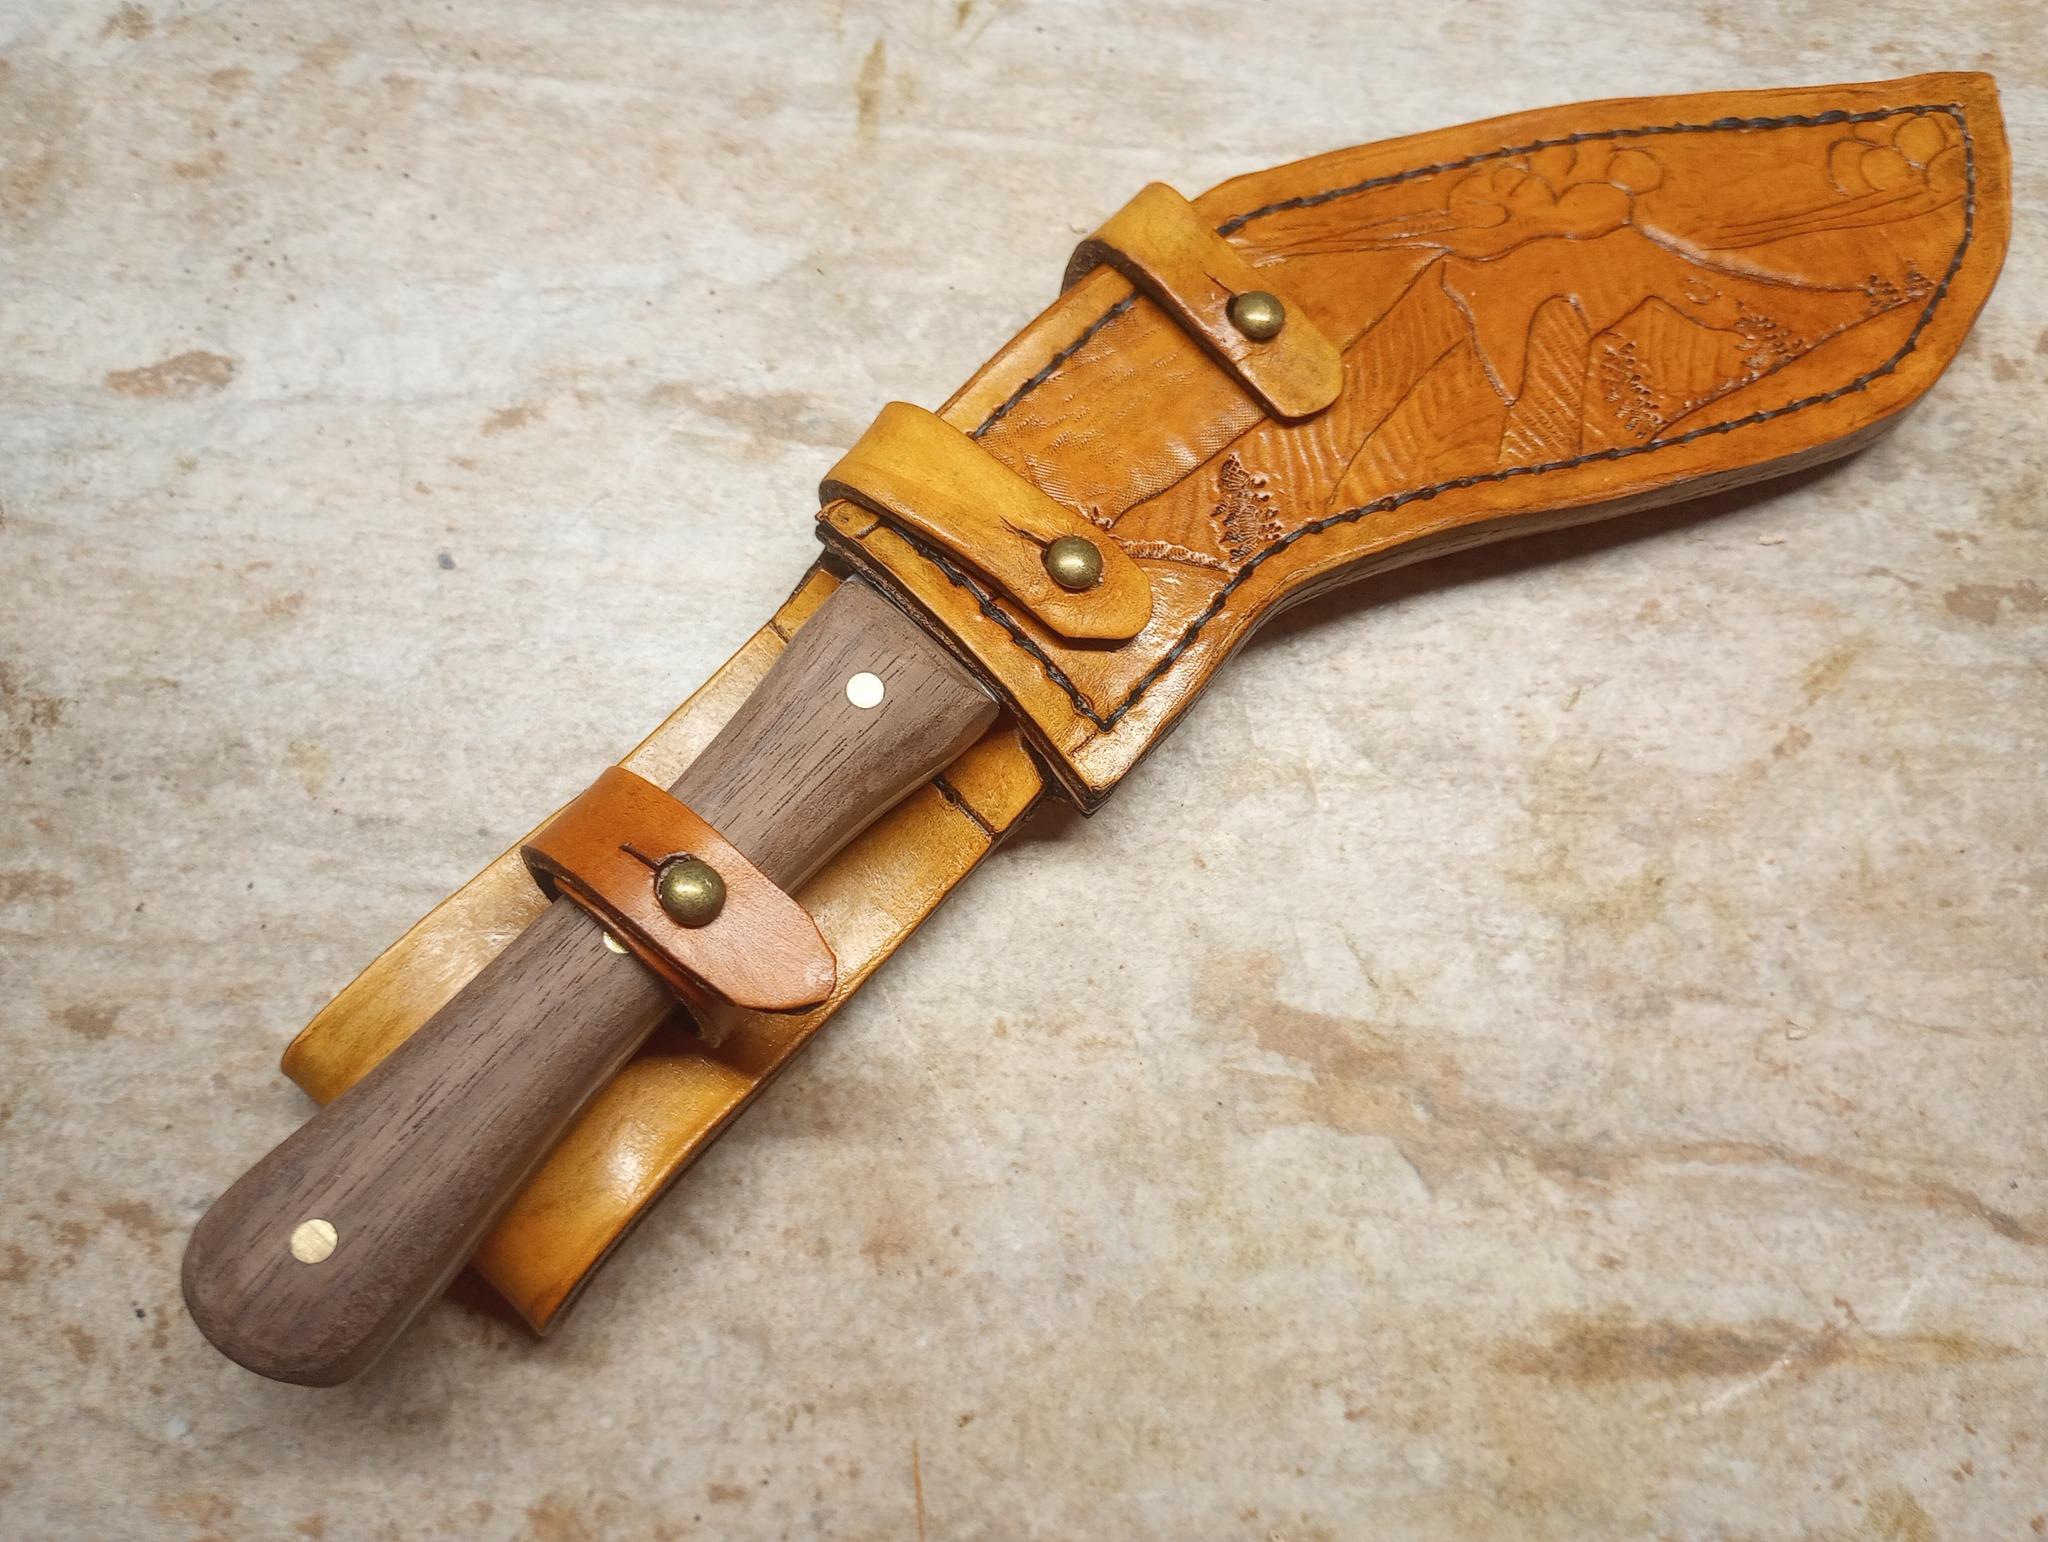
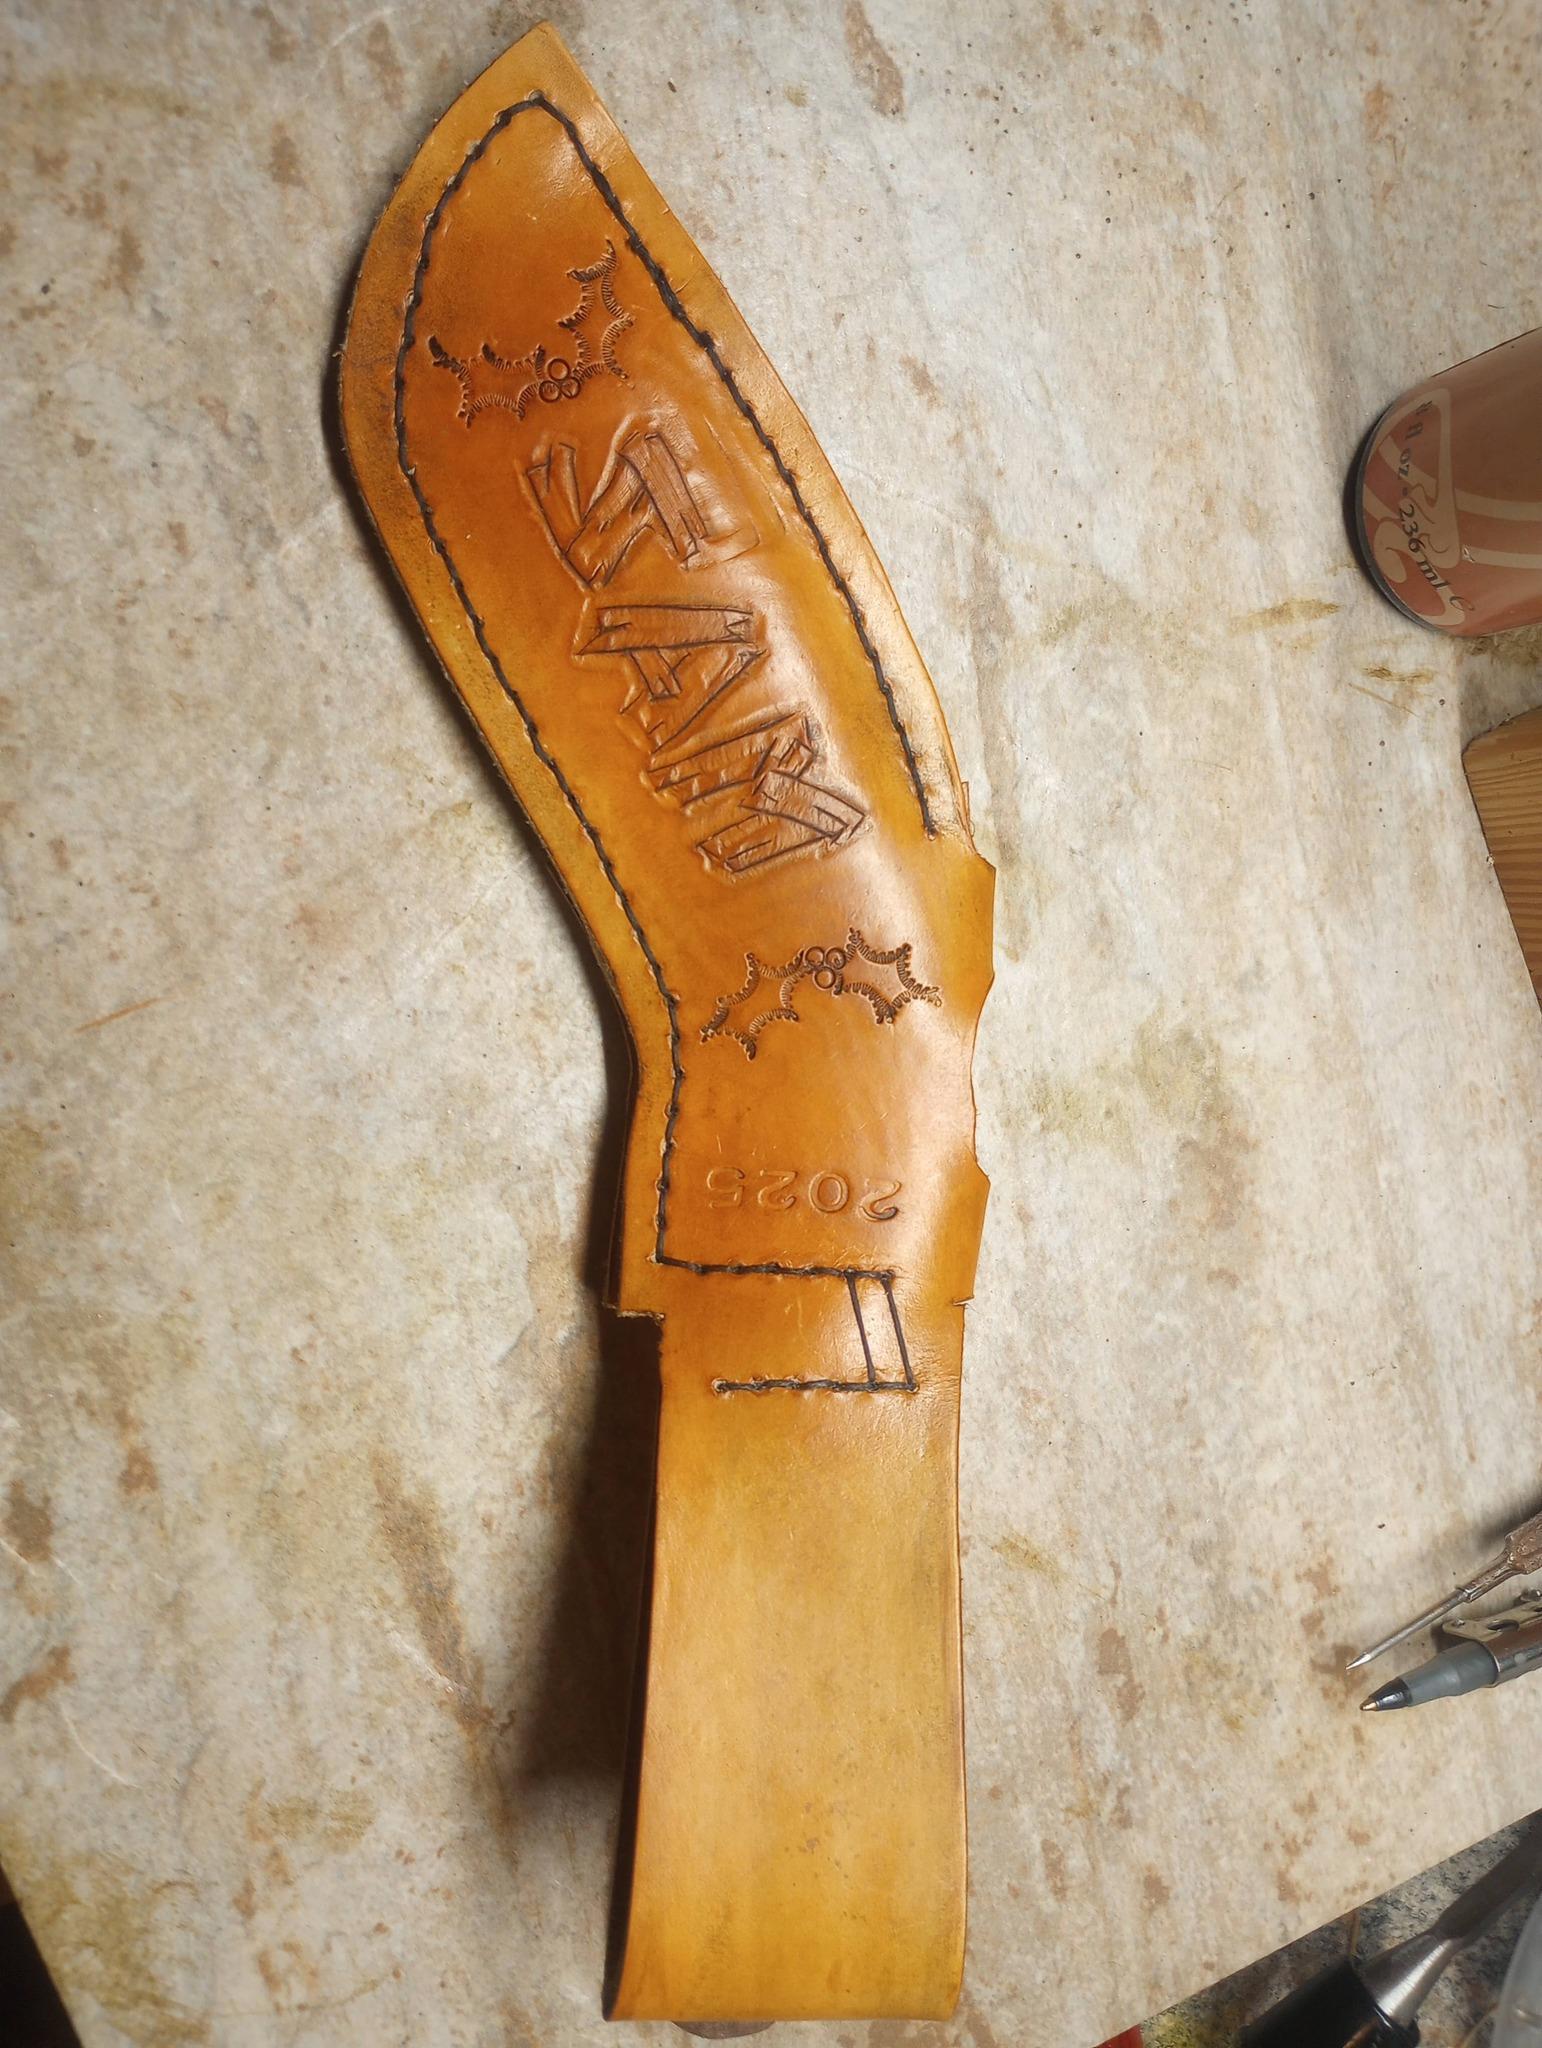
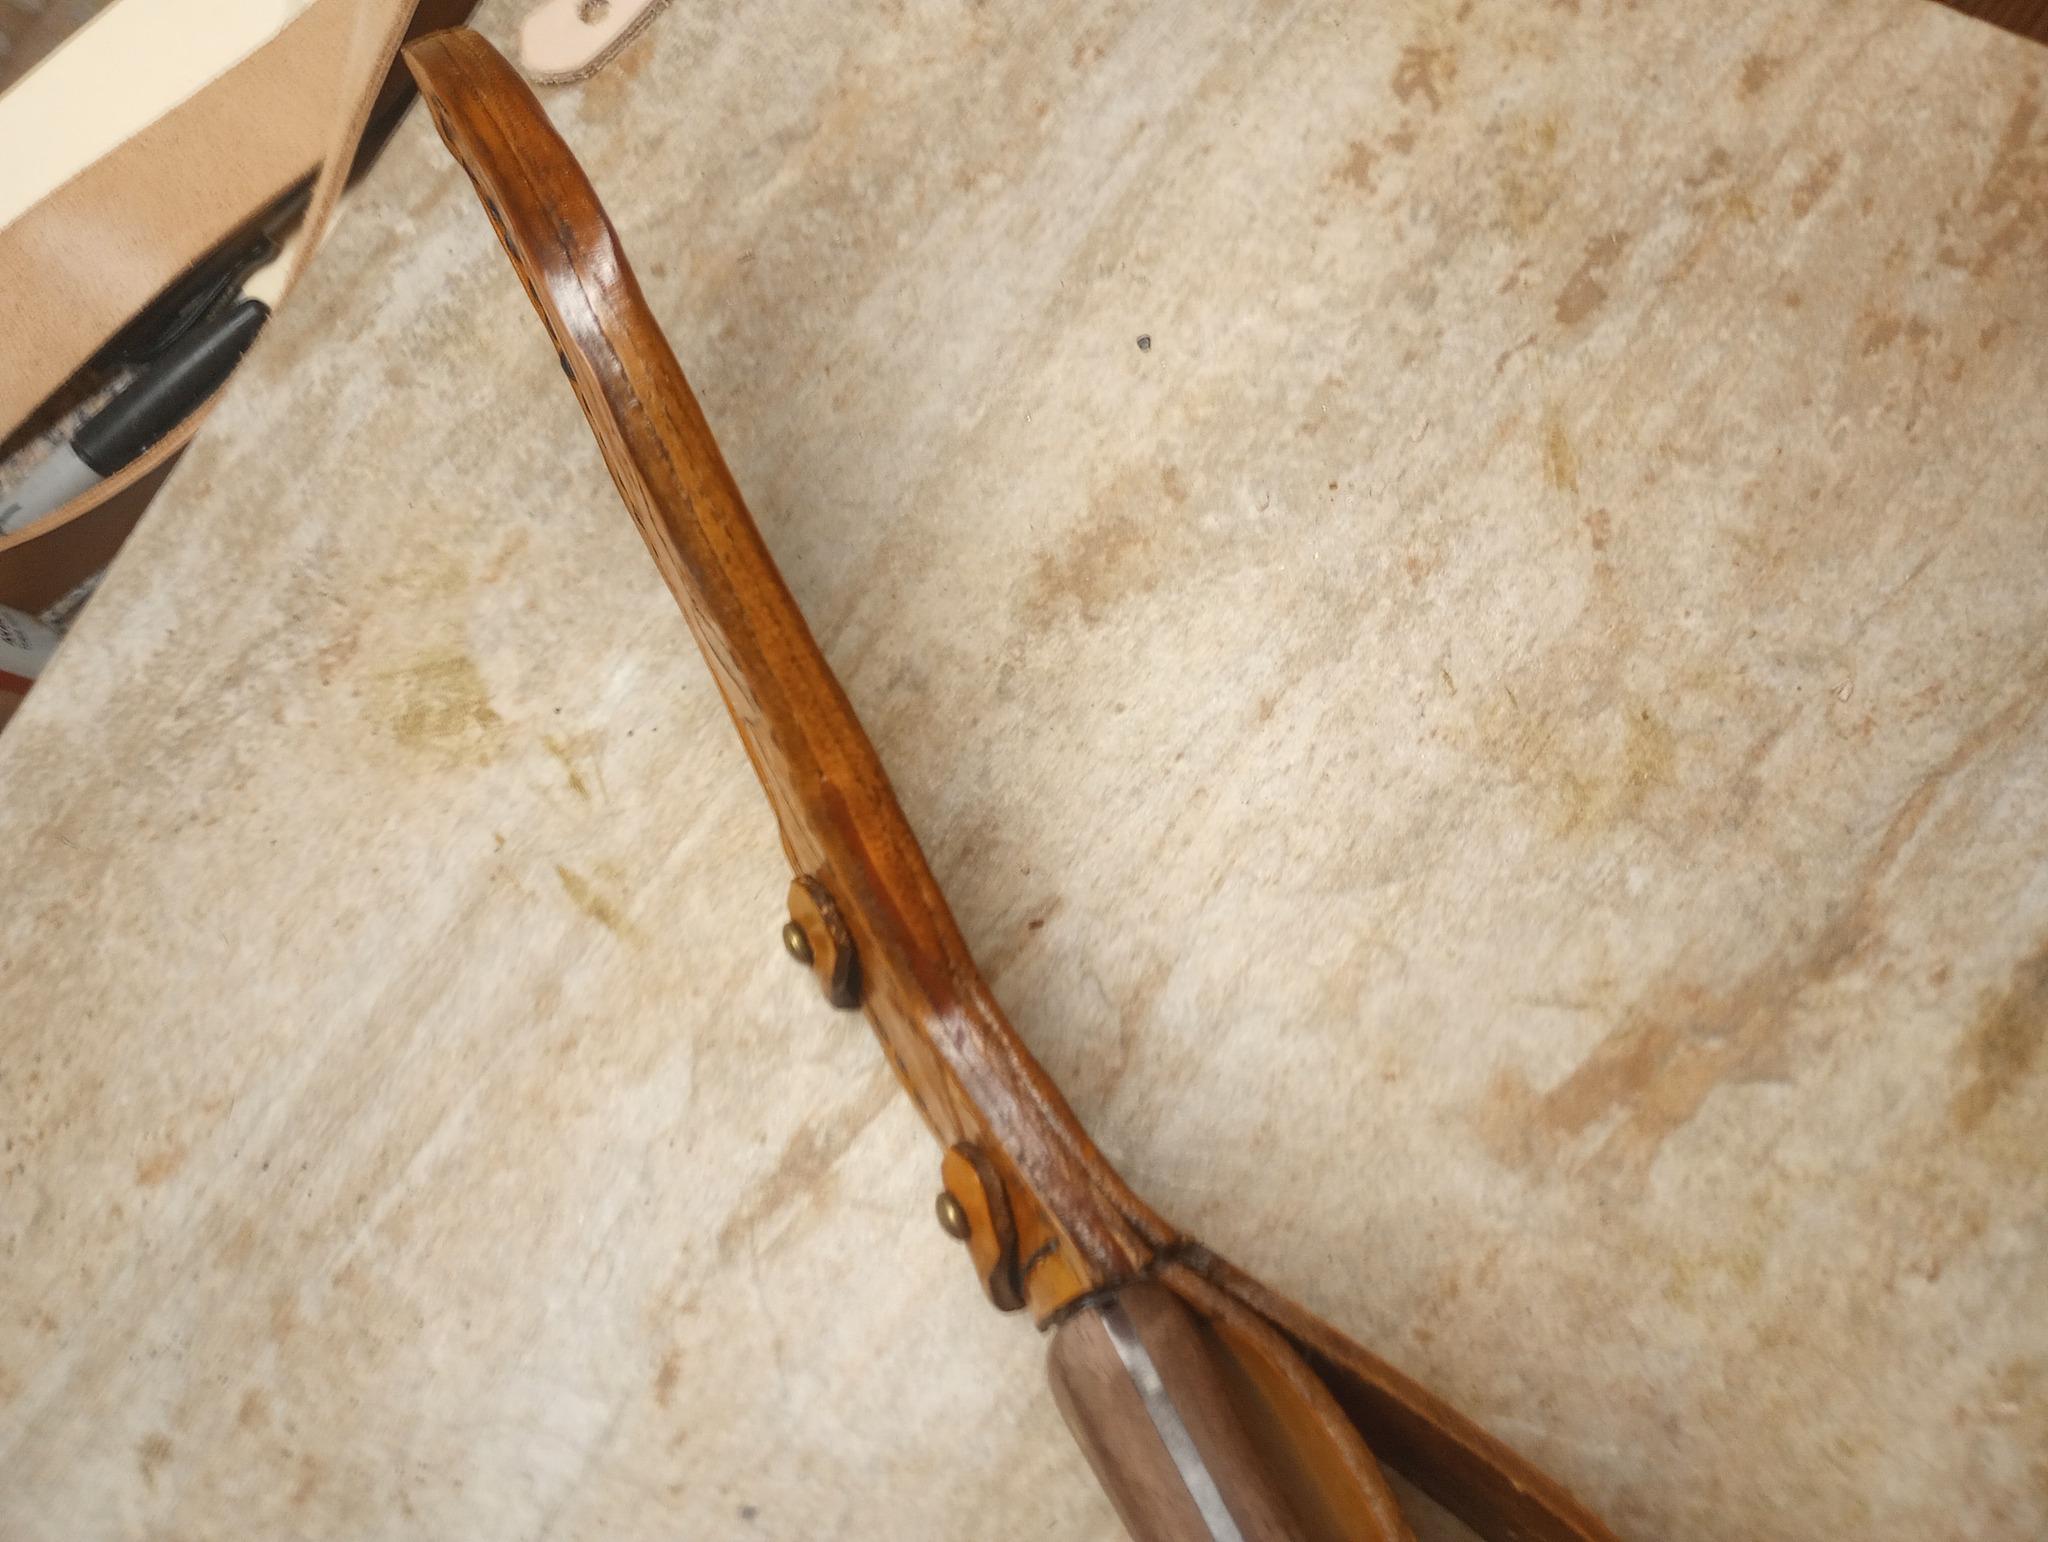
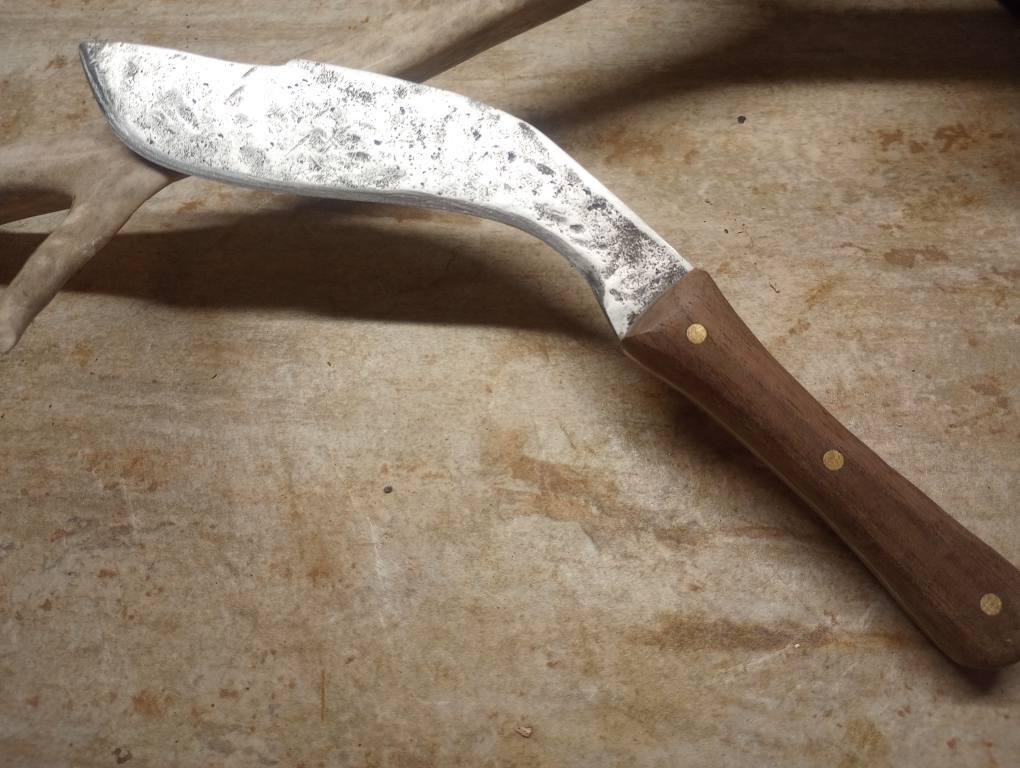
The knife was made by my blacksmithing mentor, I have tried teaching him sheath making but something just don't work out for him. I don't make many knives.
-
-
Ideas for intro to stamping/carving class
oddball replied to oddball's topic in Leatherwork Conversation
Thanks -
Ideas for intro to stamping/carving class
oddball replied to oddball's topic in Leatherwork Conversation
That is one of the items I was thinking of journal/day planner -
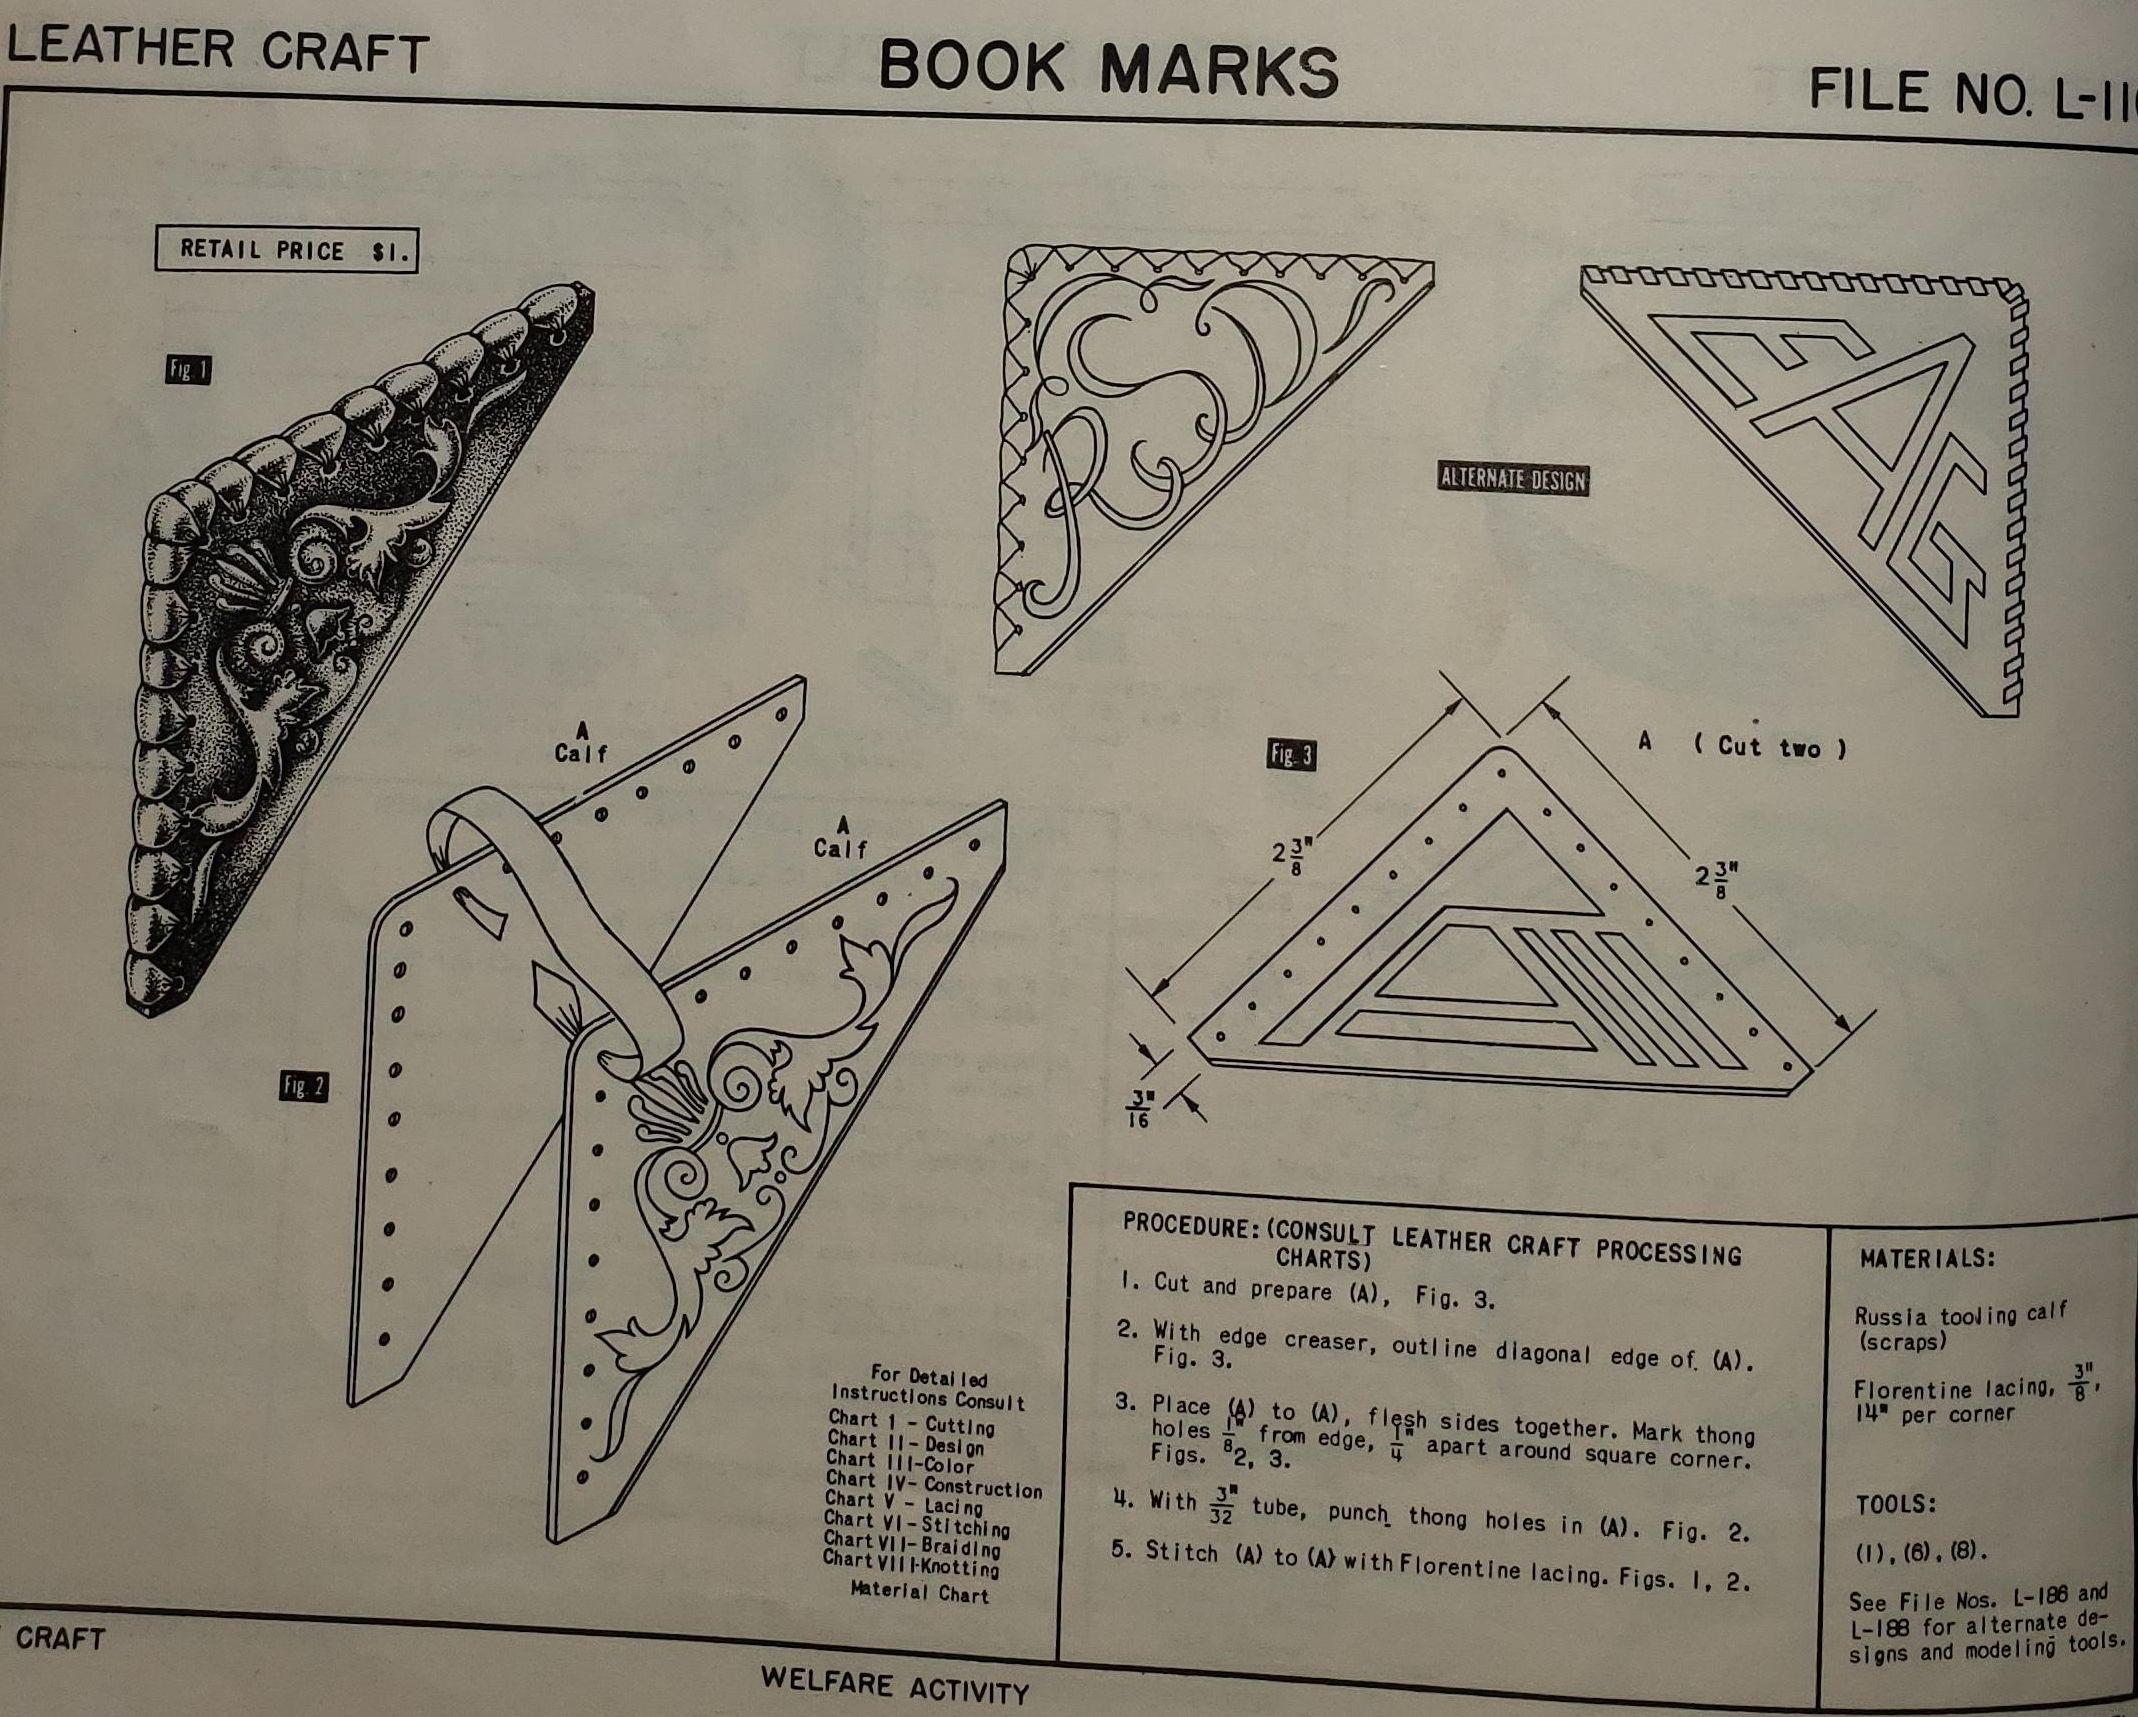
I teach adult evening courses at my local vocational/technical school. My main class is Intro to Blacksmithing but have taught Intro to leatherworking/sheathmaking. The sheathmaking course was a 3 night 3 hours each course. We made key fobs the first night so people could learn to layout, cut, punch, stitch and dye. The students all brought knifes needing sheaths and at the end of the first night we laid out our sheaths on manilla folder, they were sent home with more folders so they could try a few designs. Night 2 templates were tweaked and leather was marked cut out and punched. Stitching was started and requested to be finished at home. Night 3 we did button studs dressed the edges and dyed the sheaths. The school has asked me to come up with another leatherworking class. I want to do an introduction to stamping/carving with stitching and lacing with a few simple projects that would be attractive to both men and women. So far I have corner style bookmarks, and a coozie type thing for a mason jar with a mug handle. Any other ideas would be appreciated that class would not be until fall session so I won't need a full plan until June. The class would be 8 students 6 sessions of 3 hours with less than an hour of demonstration each night. Leather-Mason-Jar-Holder-Pattern.pdf
-
Alzilla, I have enough home made mallets and end grain wood blocks for punching. I started class with 4 then bought 3 more sets of 3 (2, 4, 6,hole punches) I had 2 mini punches, and a few rotary punches. I was a couple pairs short on shears but had a few utility knifes and some roughly 1 foot square plexiglass for cutting. I had tons of needles and a few awls. I had like 4 stitch groovers and 4 dividers, 1 stitch wheel. I can send you links for some of the things I bought on amazon. I am glad to help in any way I can. I am thinking of running an intro to stamping and carving class that would require students to buy some basic tools. I would do this with all the same project for the class and I am trying to narrow down a few project sand would teach it as a 6 week class.
-
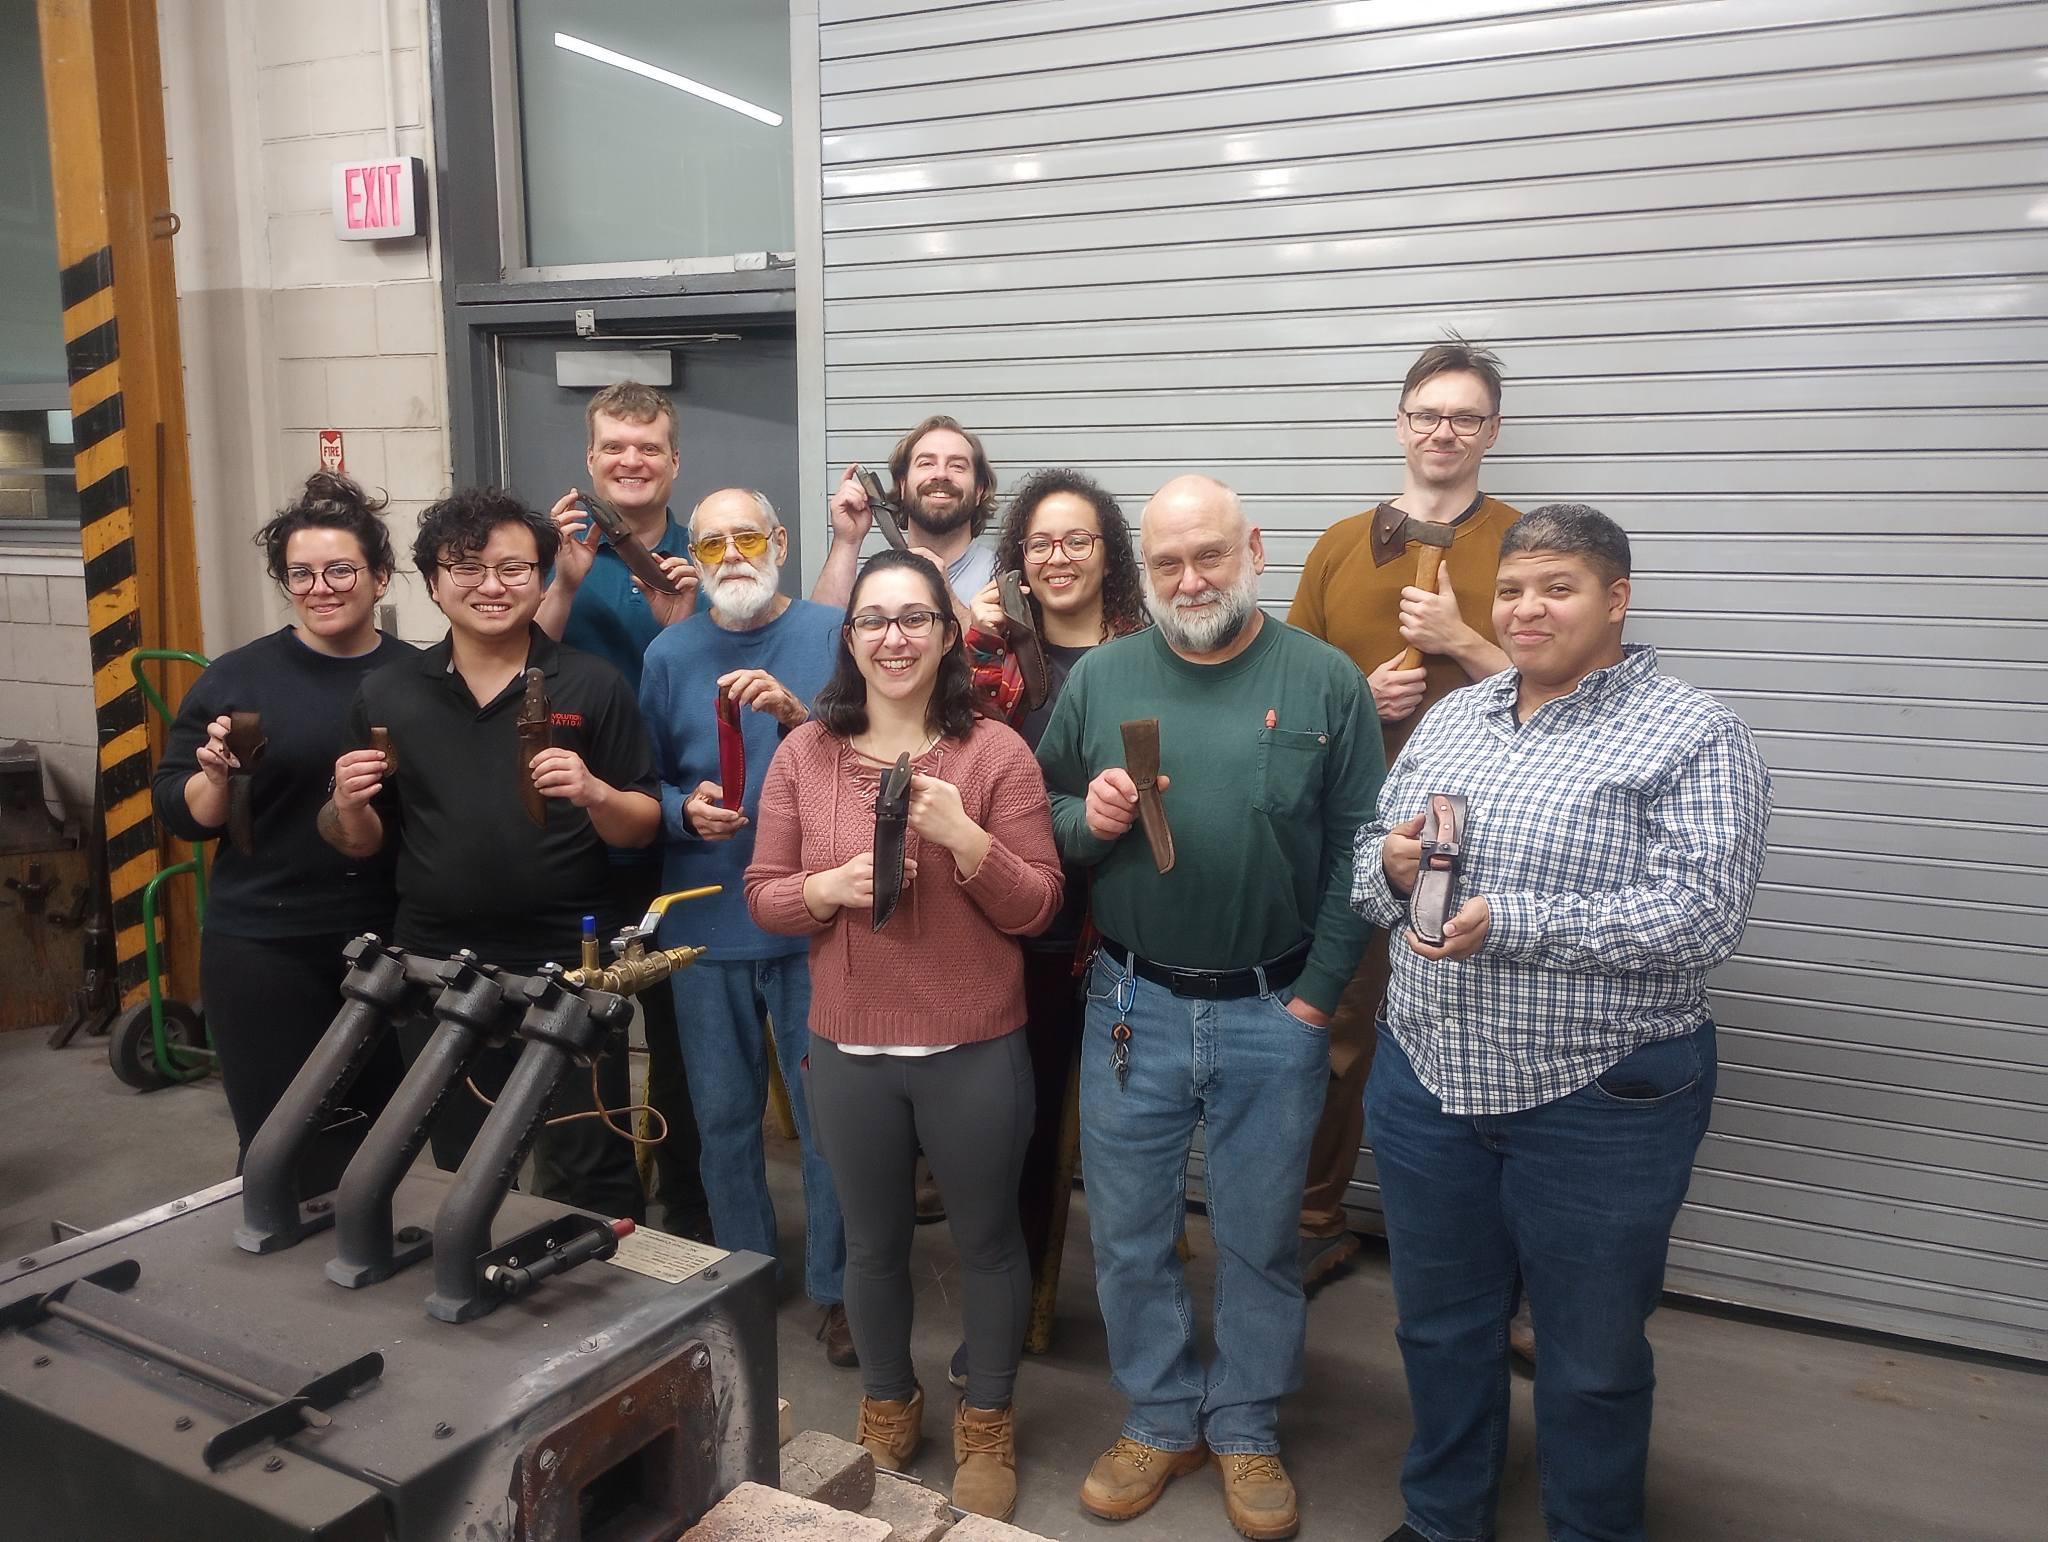
This the metal fab shop at my local Vocational High School. I generally teach blacksmithing as a volunteer on Fridays for the high schoolers and as a paid position for the adult evening school. This is my second time teaching the sheath class the first time I did 2 nights we got things mostly done but many students need to finish stitching at home and never dyed. This session was 3 nights 3 hours each. I had them bring their knife and in one case an axe. We started with key fob kind of a figure eight shaped piece. I have a hand full of 1/4 thick acrylic templates that I had them trace and cut out explaining to be frugal with their leather I gave each their own piece. They were big enough for the key fob and 3 or 4 sheaths.I demonstrated multiple ways to layout out and punch for the stitching, using a divider or a stitch groover for position and then using a divider, a stitch wheel or a multi prong punch. I demonstrated saddle stitching let them show me they new how to stitch. I assigned them to finish at home. I demonstrated using a manilla folder to make a template and explained if the stapled the template together about 3/16 from the edge the could test fit their knifes. I sent them home with extra folders so they could try it a couple ways and get the sizing right. Week two we dyed their key fob, made adjustments to templates transferred to leather, cut, punched, and started stitching. They finished stitching at home the final night we did staps and button studs for those who wanted them, burnished the edges, and dyed. I only took 10 students because I had worked with 6 out of the original 8 my class was originally capped at and seeing the 2 on the waiting list were former students. Knowing the dexterity and abilities of the majority made it easy. Having 10 slightly different designs was a little challenging. Having enough tools so no one had to wait long. I had many tools from being a merit badge instructor. The only real requirement was sturdy tables, a drop cloth for dying. Having a belt sander to even out some of the sheaths was useful but a sanding drum and electric drill would have worked. A couple of the minor failures were with 20 students not realizing 2 of the students accidentally constructed off hand sheaths, couple need some last minute wet forming to fit their blades properly and in one case when we made the template I did not catch that the blade near the handle was narrower than middle of blade so the throat was too narrow we ended up cutting his welt short and not stitching a few holes. We did stitch them as single layers just for looks. I should mention we made one piece sheaths with a fold by the spine This reply is a little long if you have further questions please hit me up.
-
The sheaths are not my work but I showed them all how to do it. This is my second class teaching sheath making. we spent a little time making a simple keychain that was featured in a "Skiver" newsletter many years ago . This served as a lesson in cutting stitching and dying before moving on to designing a sheath and working with larger pieces of leather. Most of the students had taken a knife making course at the school and now wanted a sheath for their creation.
-
If you looked through the whole album you can see my whole process, tear drop templates, then rough sketch of the fill in based on the stamping tools available on of the things that helped the most was stamping a scrap strip and marking the tool number so I could see what I was working with.
-
here are some pictures of what I came up withexample
-
I was hoping to give it another go this weekend, I filtered through all that stuff and really did not find anything but looked at so much Paisley I got a few ideas to try.
-
Did a search but I am not seeing much to help with my dilemma, the patterns are too busy to try carving and don't translate well into what tools I should be trying to use for the fill spent the whole day ( my work shutdown for a blizzard)messing around and maybe came up with one or two that were close to being okay.
-
I have been asked to do a paisley pattern and it is kicking my but I can get the "coma" shapes alright but I am having trouble decorating the insides any suggestions/hints/
-
Just my experience but most guys in the trades like the leather loops they get sick if the click clack from the hammer on the loop.
-
Thanks anyways, I decided to cement it as a liner and the fold lines pretty much disappeared.
-
Nice work I really like your color work.
-
Beautiful
-
Back awhile ago I bought some pigskin lining leather that has been folded for years is there any hope that I can get those foldlines out? There was a post back in 2014 that suggested dampening and hanging to remove lines has any one tried this or does anyone have any other suggestions?
-
A few bags I've made
oddball replied to pzampino's topic in Purses, Wallets, Belts and Miscellaneous Pocket Items
Nice bags! -
Nice work!
-
Digital printed holsters
oddball replied to justingschneider's topic in Gun Holsters, Rifle Slings and Knife Sheathes
A couple of years ago I made a journal cover for my son's girlfriend at the time I used transfer sheet like you would use for fabric and covered it with satin sheen. -
Piteado Anyone?
oddball replied to Santo's topic in Purses, Wallets, Belts and Miscellaneous Pocket Items
WOW love the little portriat