BearMan
-
Posts
710 -
Joined
-
Last visited
Content Type
Profiles
Forums
Events
Blogs
Gallery
Everything posted by BearMan
-
Great job John!! Very nice design,,, Ed the"BearMan"
-
Good Morning Bigtree, Bob Parks method for doing edges, is the absolute best thing going. The way he does it, doesn't require any fancy, or expensive tool. Bob has helped so many people create so much better edges,,, myself included. If you follow his instructions,,, you edges will look better than the ones pictured in your post. Ed the"BearMan"
-
Show us your home-made leatherworking tools!
BearMan replied to candyleather's topic in Leather Tools
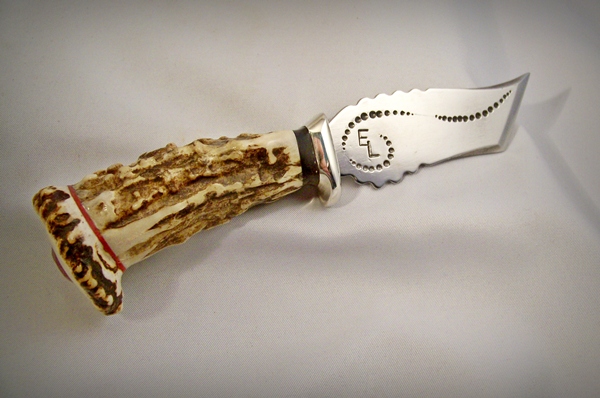
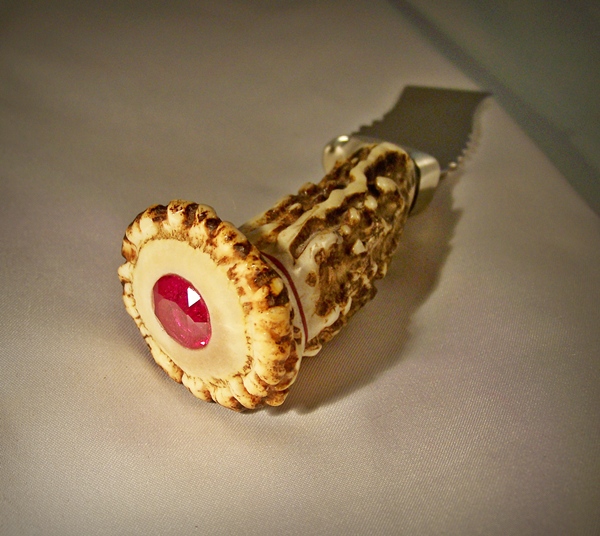
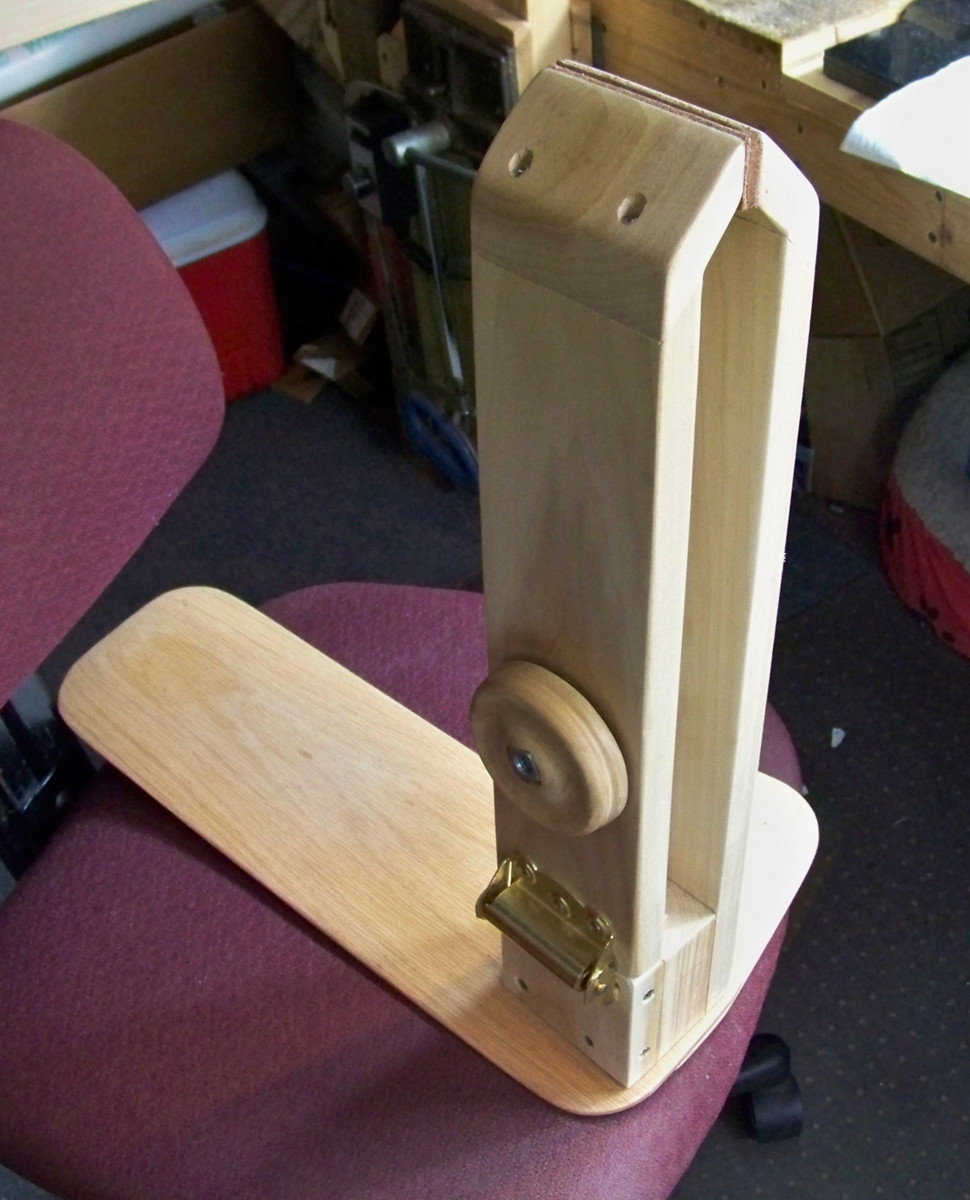
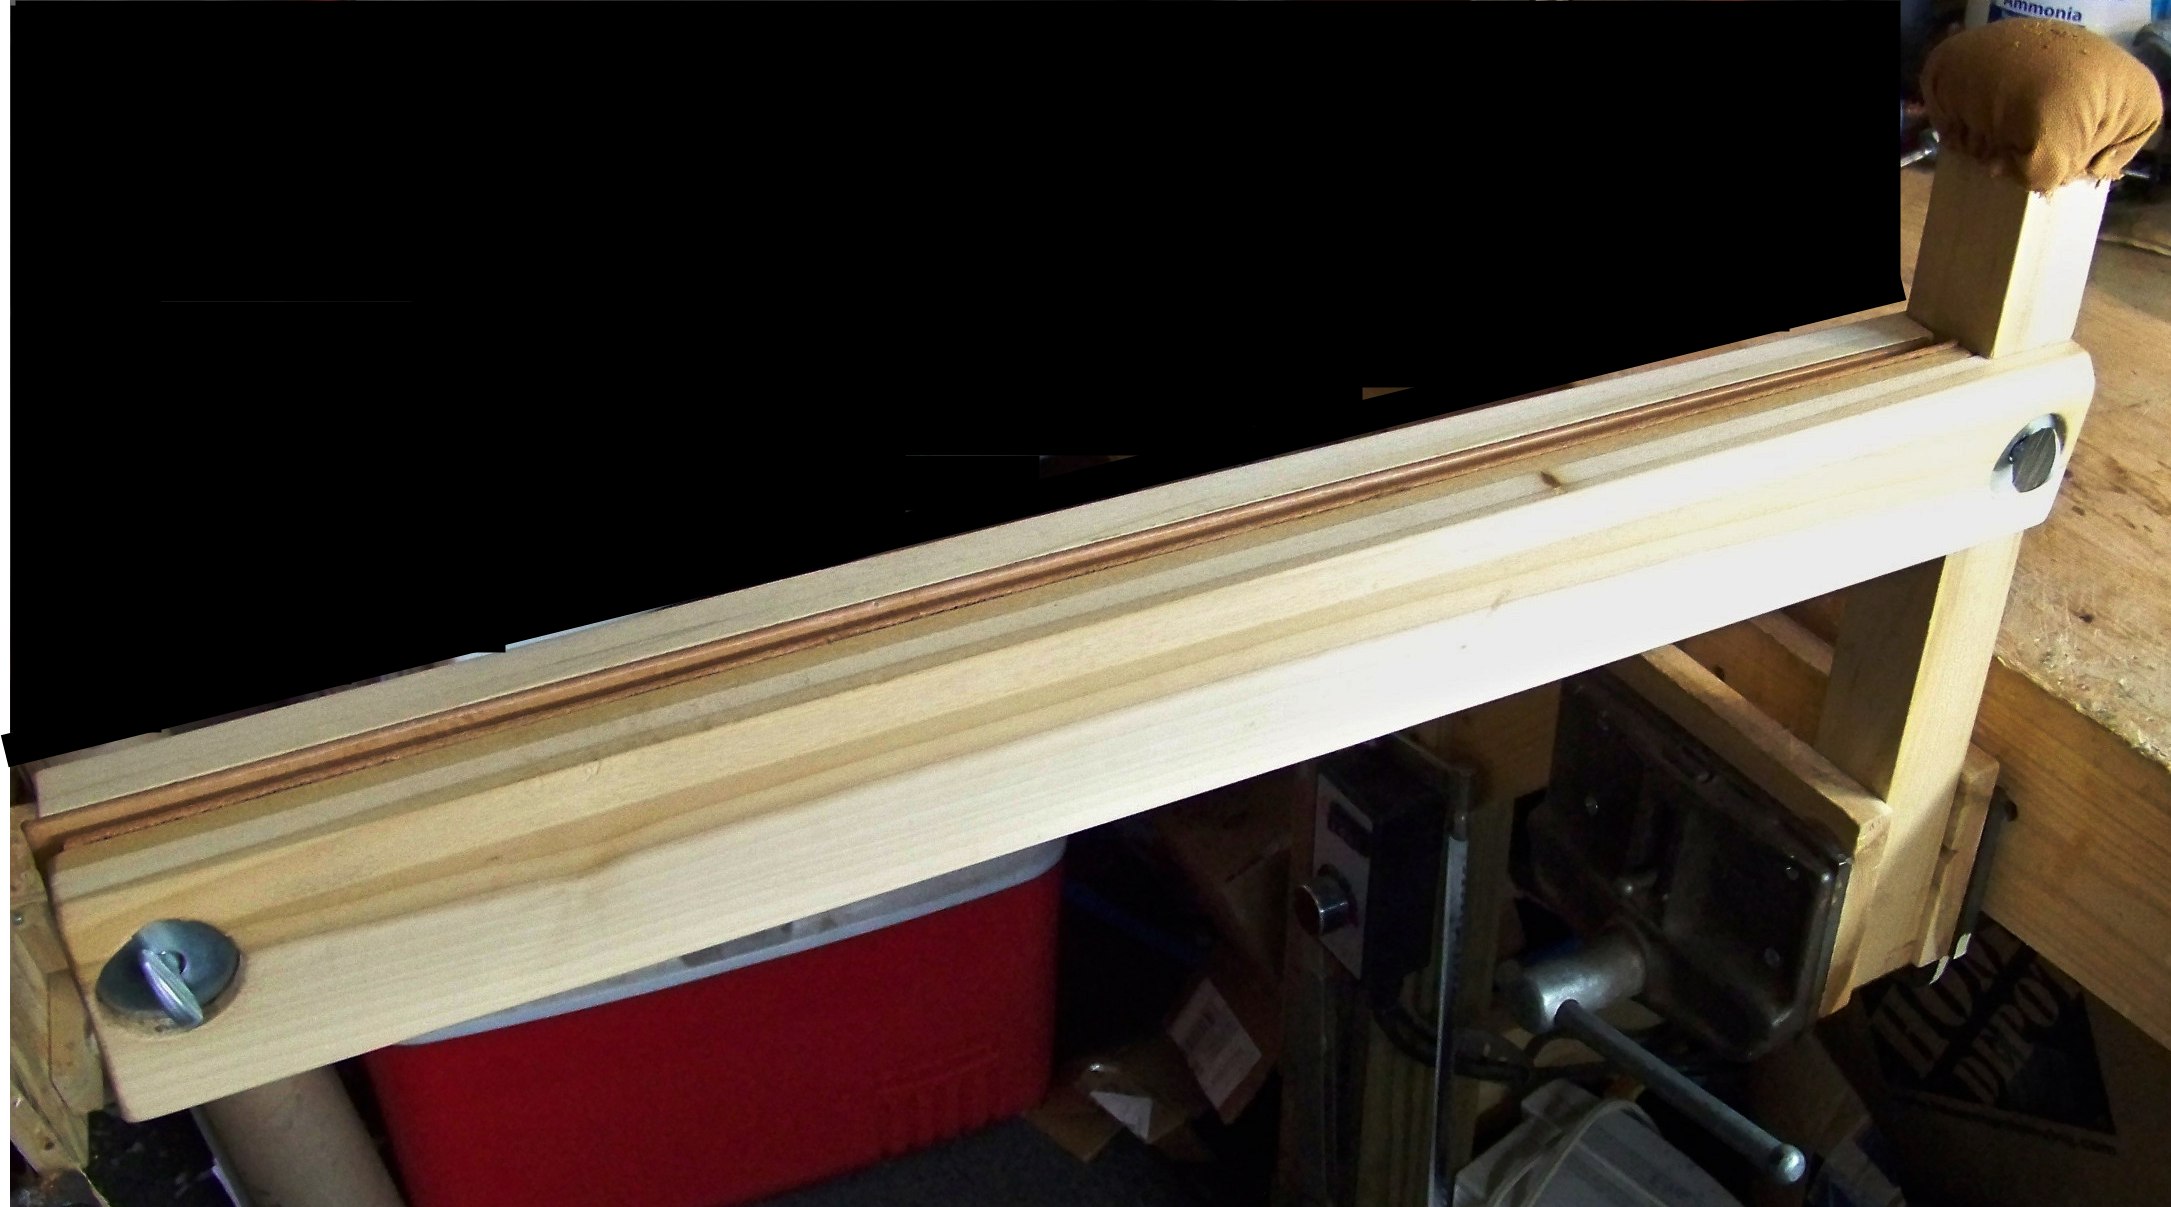
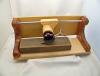
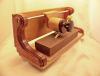
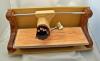
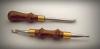
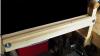
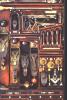
Hi Everybody, Here are a few of my "Homemade" tools. The first is a "Skiver" made using some O1 steel I had on hand with a Sika Deer antler, nickel silver bolster, some decoration on the blade & a Garnet in the end,, just because. The next is a "Sharpening Jig" very simple design,,, but works great for both sharpening & stropping. The swivel knife mounting block is adjustable, for different angles. The next are a couple small tools, a Petal Lifter, & a modeling tool,,, these went in my Son's box. Next are a couple types of stitiching clamps,,, one you sit on,,, & the other is for long & deep projects, like Bible covers. The last one here is my "Rapid Repeater", to punch all the stitching holes in a project, using a very sharp awl blade. Thanks for looking,,,, I have more,,,, but don't want to overload Ya'll,,, hehehe Ed

-
Now This Is Gater
BearMan replied to kid terico's topic in Gun Holsters, Rifle Slings and Knife Sheathes
My Goodness!! Great looking Rig!! Ed the"BearMan" -
Hi Everybody, Thanks for all the compliments!! Yes, my Son is very gaurded with his box. He keeps it locked behind glass in his display cabinet,,, & only brings it out when he uses it,,, or to show it off. I haven't figured out, how I'm going to top it this year. The boxes I make for him have progressively gotten more elaborite each time. Thanks Again,,,, Ed
-
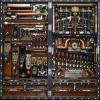
I just checked, it appears to be at the Smithsonian now. Here are a couple detailed pictures:
-
Hi Jimmy & Everybody, A few years ago, I lived near Boston, & I had the opportunity to see that tool box up close. The video, just doesn't do justice to all the time & effort into building it. I'm sure Mr. Studdly had over a thousand hours in making it. The box I made for my Son, which is not even a 100th of what the "Studdly" box is, it still took over a 100 hours to make. http://leatherworker.net/forum/index.php?showtopic=25877&st=0&p=163021&hl=bearman&fromsearch=1entry163021 So if you ever get a chance to go see that box,,, I'm sure you will be amazed also! Thanks for sharing Jimmy. Ed the"BearMan"
-
Hi Pete, This is actually a thread that started about 1 1/2 years ago. I just noticed that it popped up again. No need to worry,, I'm still using the brown head material, but I'm also using the same material in Black, & a lighter "Russet" color brown. You're right, the "Brown" material, is quieter, & it grips the tools a lot better,,, the Black, & lighter Brown are the same. My Son is now making the white head mauls, which is a different material,,but the type he uses, is the very best of that type available. He uses the same white head material I used to use, which doesn't flake, shed or dent, like most others out there. Thanks,,, Ed the"BearMan"
-
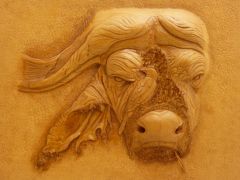 Great looking Cape!! Fantastic job!!
 -
Hi Craig, Just like what Dave said, I wouldn't do it. I'm sure the knifemaker just wants the silicone, because he thinks it will help protect the knife as well. The only problem is, that silicone, while it does make the leather somewhat water resistant,,, for a while, in the long run, it's just not a good leather preservative. Besides, if your name is on the sheath,,, how can you stand behind it, using something of his, in the making. Just some thought,,, Ed the"BearMan" Yes, I used to train & control Bears for a living,,, so watch out!! hehehe
-
Rawhide Maul - Construction Of Rawhide Blank Question
BearMan replied to rscow's topic in How Do I Do That?
Hi Bill & RDS, Please let me know how those proceedures work out. The way I was taught, by a person that made the rawhide heads on a regular basis, take quite a bit of time. I've made a few myself. My understanding was that if the disks were just stacked up dry, & then clamped,,, the head wouldn't be as hard as it is when done using the "wet" method. Here is the proceedure. The disks are soaked in slightly warm water until pliable, then the center hole is punched, & the disks are stacked on a mandrel. The mandrel is usually a stainless bolt that is the same size as the center shaft of the maul. Keep in mind that the hole will shrink slightly, making it VERY tight on the mandrel. The best mandrel is one that has an un-threaded section, about the same length as the thickness of the stacked head. Make sure you have some very large heavy washers both top & bottom, to apply pressure when you tighten down the rawhide disks. Keep in mind that something should be between the washers, & the rawhide, to keep from staining the rawhide. I just used some 1/2" exterior plywood, a little bigger than the rawhide. Once all the damp disks are stacked up, put the mandrel with the loose disks back in the warm water, to make sure all the disks are at the same saturation. About 10-15min. Next, mount the head of the mandrel in a vice, install the heavy washers on the nut end, with the nut,,, & tighten! Now, about every hour,,, re-tighten. You will need to do this, throughout the day,,, & maybe some more tomorrow. Once it gets to where it's staying tight,,, let it sit for about two weeks. It will take at least that long to dry! Try to make sure there is always some good air moving over it. Once it's dry, remove the nut & washer carefully, so that You don't loosen the disks. While it's still on the mandrel, apply a couple clamps, leaving room enough room so that you can drill a couple small holes, a little bit smaller than the nails you'll drive in about 3/4 the thickness of the head. Carefully drive it off of the mandrel, while still in the clamps & re-drill the center hole to the size of your maul shaft. Now, carefully remove the clamps, & drill & nail from that end, so that the head is solid, & won't fall apart. Now, drill & add a few more nails. You should now have something that looks like a rawhide head. It's NOT ready yet! Re-install the washers & clamps,,without the bolt,,, & let it dry for another week, so that the head dries from the center hole in. Now, as long as it feels dry, it's ready to shape & sand to the outside diameter. Once it's sanded, apply some thinned down shellac, a couple good coats, both inside & out. Once dry,,, it's ready. It's not quick,,, but it works. I hope this helps.... Ed -
Thanks,,, I'm an old Army brat,,, my Father had 89 years in the reserves, & 28 years active duty. I've done a couple conchos,, but nothing really fancy. I think a silver concho, with some gold inlay would be Very nice,,, expensive,,, but it would be a stunning addition. It just needs to be 1.5" in Dia. If it's a few thousands of an inch smaller, that would be Ok,,, but any bigger, it would need to be modified slightly. Thanks for looking,,, Ed
-
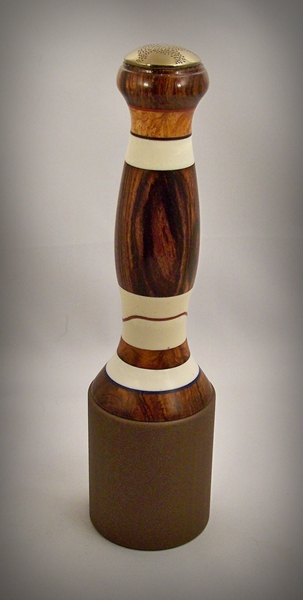
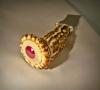
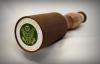
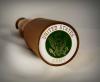
Hi Everybody, Here is something I've been wanting to do for quite some time now. These are to honor those who have served. I've been able to aquire some beautiful Medallions, for the major Services: Air Force, Army, Coast Guard, Marines, & Navy. This one, is on a Custom Mequite 11oz maul, but the Medallions will fit all of my mauls. This is not about trying to get any more orders, it's just something I want to do for our people that have served, at No extra cost. Thanks for looking,,, Ed the"BearMan"


-
Properly Stropping Swivel Knife/ Learning Proper Technique
BearMan replied to LilRay's topic in How Do I Do That?
Hi Everybody, There are a couple points that should be addressed. First off, while "stropping" the blade, you have to make sure that you aren't rolling your wrist, if you do, you will wind up with a rounded over edge. The stropping movement, comes more from the shoulder & elbow, so that the blade stays flat at the correct angle. The "trick" is, to pull it back, without changing the angle, or tilting it. Also, when making your stropping block, make sure you don't use anything thicker that about 2oz leather. If the leather is too thick, it will actually round the cutting points off of the blade. Some people suggest poster board, or cereal box material, instead of leather as it doesn't give nearly as much,,, yet it will still hold the stropping compound. Whatever you use, it needs to be mounted, on a very flat board, heavy glass, plexiglass,,,ect. A type of board called MDF, usually works pretty good, as it very flat. Sometimes regular lumber, even though you'd think it's flat, it's really not. I hope this helps,,, Ed the"BearMan" -
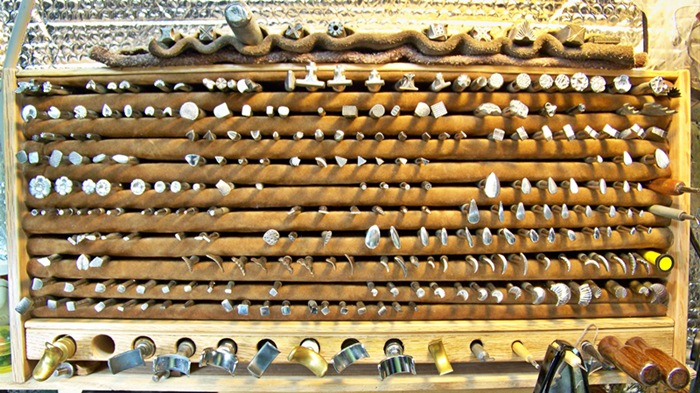
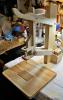
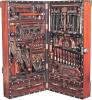
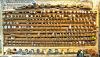
Hi Everybody, Looking back at my earlier post here, I see how fast I've changed my tool rack. I made a new tool rack, a few months ago. This new one was such a pain to make, I hope it's big enough to last me a while. At present, it holds about 225 tools,more than what it shows in the picture, & soon to hold about 10 more comming from Bob Beard. It's actually a pretty nice design, & works out very nice,,, but I'm not going to be making another. It's about 18" x 11". Thanks for looking. Ed the"BearMan"
-
Hi & Thanks Everybody, I will pass on the comments, as he isn't on LW.net,,, yet. I'm very proud that he likes doing something like this. After he gets through the group of mauls he's working on, he's planning on getting some more materials & supplies on hand, so that he won't have to wait on shippments, to speed up the process. This is a great thing for him to do, on the weekends, & evenings. Ed
-
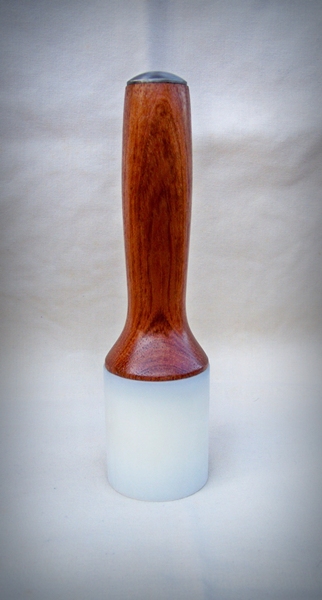
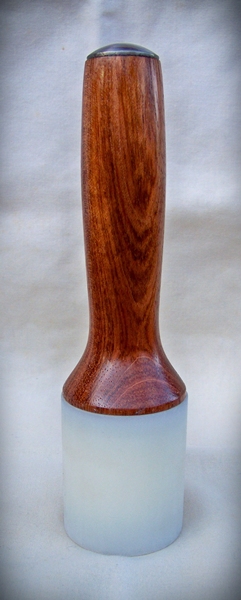
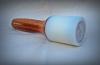
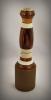
Hi Everybody, My Son, Beary, has started making some Basic mauls. "Kodiak Power Mauls" His mauls are kind of like the "base" model,,, but they are very well constructed, with top quality materials. They have stainless steel construction, either Brazillian Cherry or Thin Win (a darker wood kind of like Wenge), handles, & the white head material is a better grade than most of the others out there. The head material he uses, is the same as the white head material I use,,, & have used for many years. His mauls range in size from 14oz to 21oz. He's in the process of switching his email address,,, but for now, his email is: kodiak50004@aol.com Here are a couple pictures of one he just recently made. Thanks for looking!! Ed the"BearMan" & Yes,,, I'm a proud Papa!!


-
My Goodness Joel, The one I ordered, came from Atlanta,, about 4 hours from me,, with no freight. But,,, when it got here,, one of the corners was chipped. After I contacted them by email, they told me to discard it, or use it as it wasn't worth shipping back to them, & they are sending out another one, to replace the first. I couldn't have asked for any better service! I'm sure my Son will be taking the chipped one home with him, the next time he comes up. Come to think of it, everytime I've had any dealings with ENCO, they've been excelent to deal with. I guess your situation must have something to do with where it's going too??? I guess the shipping is free,,, as long as it's not too far,,, Ed
-
Good Morning Everybody, ENCO still has thier free shipping on items over $25.00. The 18"x24"x3" Granite surface plates are on sale for $89.95. The free shipping code is: FSCJAN which is good until 2/28/11 Here is the direct link: http://www.use-enco.com/CGI/INSRIT?PARTPG=INLMKD&PMPXNO=951363&PMAKA=640-0140 Just thought this might be good for somebody. Ed the"BearMan" P.S. I am not associated with ENCO at all.
-
My Goodness, You scored Big Time!! The "Rubyat" blade, when sharp, with no chips, actually works pretty good. Not quite as good as a good quality steel blade,,, just my opinion. As far as "fixing" the chipped blade,,, maybe,, This one does look like one of the old better quality blades, so it would be worth a try. But it would take some time & effort, as the Rubyat is very hard. It requires the use of some Diamond sharpening stones, & a good sharpening fixture, & some water with just a bit of soap in it. Once again,,, congrats on the Flee Market score!! If I can help,,, just let me know,, Ed the"BearMan"
-
Thank You Joel, We wouldn't want you to turn into a "Big Ugly"!! hehehe I'm glad you like them so much!! Ed
-
Hi Everybody, Thank you all so much for all the wonderful compliments!! I love making things that people love working with. There are tons of things that I have "ideas" for,,, & maybe,,, just maybe, I'll actually be able to make them all someday. To me, it's lots of fun to take a problem area all of us "Leather" people have experienced, & figure out a way to "fix" it. Some ideas,,, just don't work out,,, & others work great,,, but are just not feasable to make for people, & are a bit complicated for some to make on thier own. When working in the shop, we all run into things that could make the job work better,or faster,, if that tool, was modified,,, or even created. That's where I like to get started. The challenge is, that besides doing what it's supposed to do,,, better than expected,,, it also has to be Fun to use! Take Care,,, & Thanks Again!! Ed the"BearMan"
-
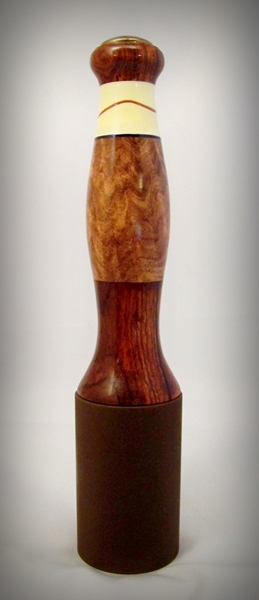
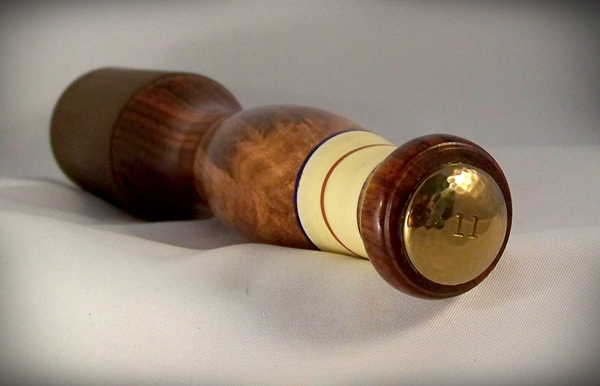
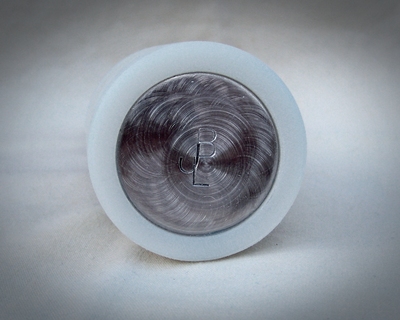
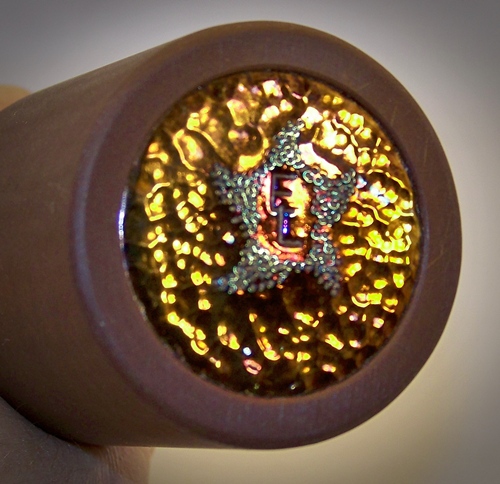
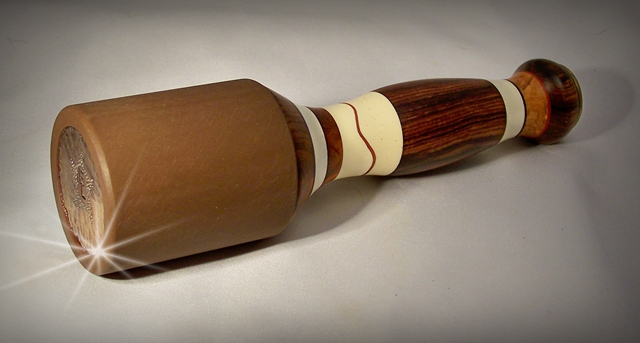
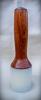
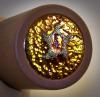
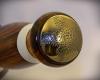
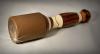
Hi Everybody, It's been a while since I've shown something I made. This is my "BearMaul Custom Gold" in 18oz. It has Gold colored ends, with some punched star embelishments. The Gold is achieved with heat. I was able to also color the star area on the cap an irridesent greenish blue color, all done with heat. The rest of the maul is made up with Cocobolo on both ends & in the middle,,, Amboyna burl toward both ends, & some faux "Ivory" inserts. Of course it uses my Brown Head material, & it's exactly 18oz in weight. Please let me know what you think,,, Thanks for looking,,, Ed the"BearMan"
-
Hi Guys, If all else fails, this is the address I have for him: P. O. BOX 1895 Elko, NV 89803 Ed