BearMan
-
Posts
710 -
Joined
-
Last visited
Content Type
Profiles
Forums
Events
Blogs
Gallery
Store
Everything posted by BearMan
-
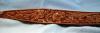
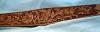
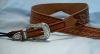
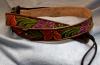
Hello everybody, I finally finished a strap I've been meaning to make for quite a while. It's adjustable from about 40"-46". It's all my designs, using mostly tools I've made. Please let me know what You think. This one is prob gonna be for my Son. Ed


-
Thanks Tina, I'm sure I'll be doing that one! Seems Like I've done it before,,,, But, who knows, my mind might be lieing to me again! Hehehe, Ed
-
Hi John, After a few days of "playing" with this new design, I think I'm gonna just start over. I don't really like it! As far as the "Oil Hardning" process: Start off be getting everything you'll need together. Nothing worse than needing something, & not having it ready. You'll need: The Item You want to harden A small bucket of water A propane or MAPP torch & something to light it with A good strong magnet held in vice grips, or vice. Dont want it to stick to that hot poker! A Small oil can with oil of course I use 30w Vice grips to hold the piece you're hardening Before You start making the tool, You should Aneal the stock by heating it up to about 1500deg, & then let it cool down Very slowly. Just heat it up, usually a bright Cherry red, untill the magnet is not attracted to it, & then just set it aside & let it cool down naturally. By doing this, it make the stock a lot easier to cut & file. It also aligns the molecules inside. AFTER You have shaped, & polished the tool You've made, Now You are ready to Harden it. Heat it up, starting about half the way up the stem, working toward the tooling surface. This compresses the molecular grain toward the tooling surface making it more durable. As it heats up, You will see a color change happening; first a shiny silver, then a light golden color, then a "straw" color, this is when You coat it with oil. Yes, it will smoke ALOT. This will cool the tool down some. Heat it again, using the same process. As it passes through the "Straw" color, it will go fairly quickly to a blue color, just before it starts turning red. The tool is not at about 1300-1400deg. Turn off the torch. At this point: follow this closely! Quench the tool in the water, & IMMEDIATELY take it out of the water, when it comes back to the "Straw" color, then You can put it back in water & leave it untill cool. Just a few seconds. This process will take a little practice but it's not as hard as it looks. The tool should be nice & dark Blue, & shiny. Note: this process is for Carbon Steel. For Stainless, it's a little different. I hope this helps, Don't Burn Yourself! This stuff is HOT!! Ed
-
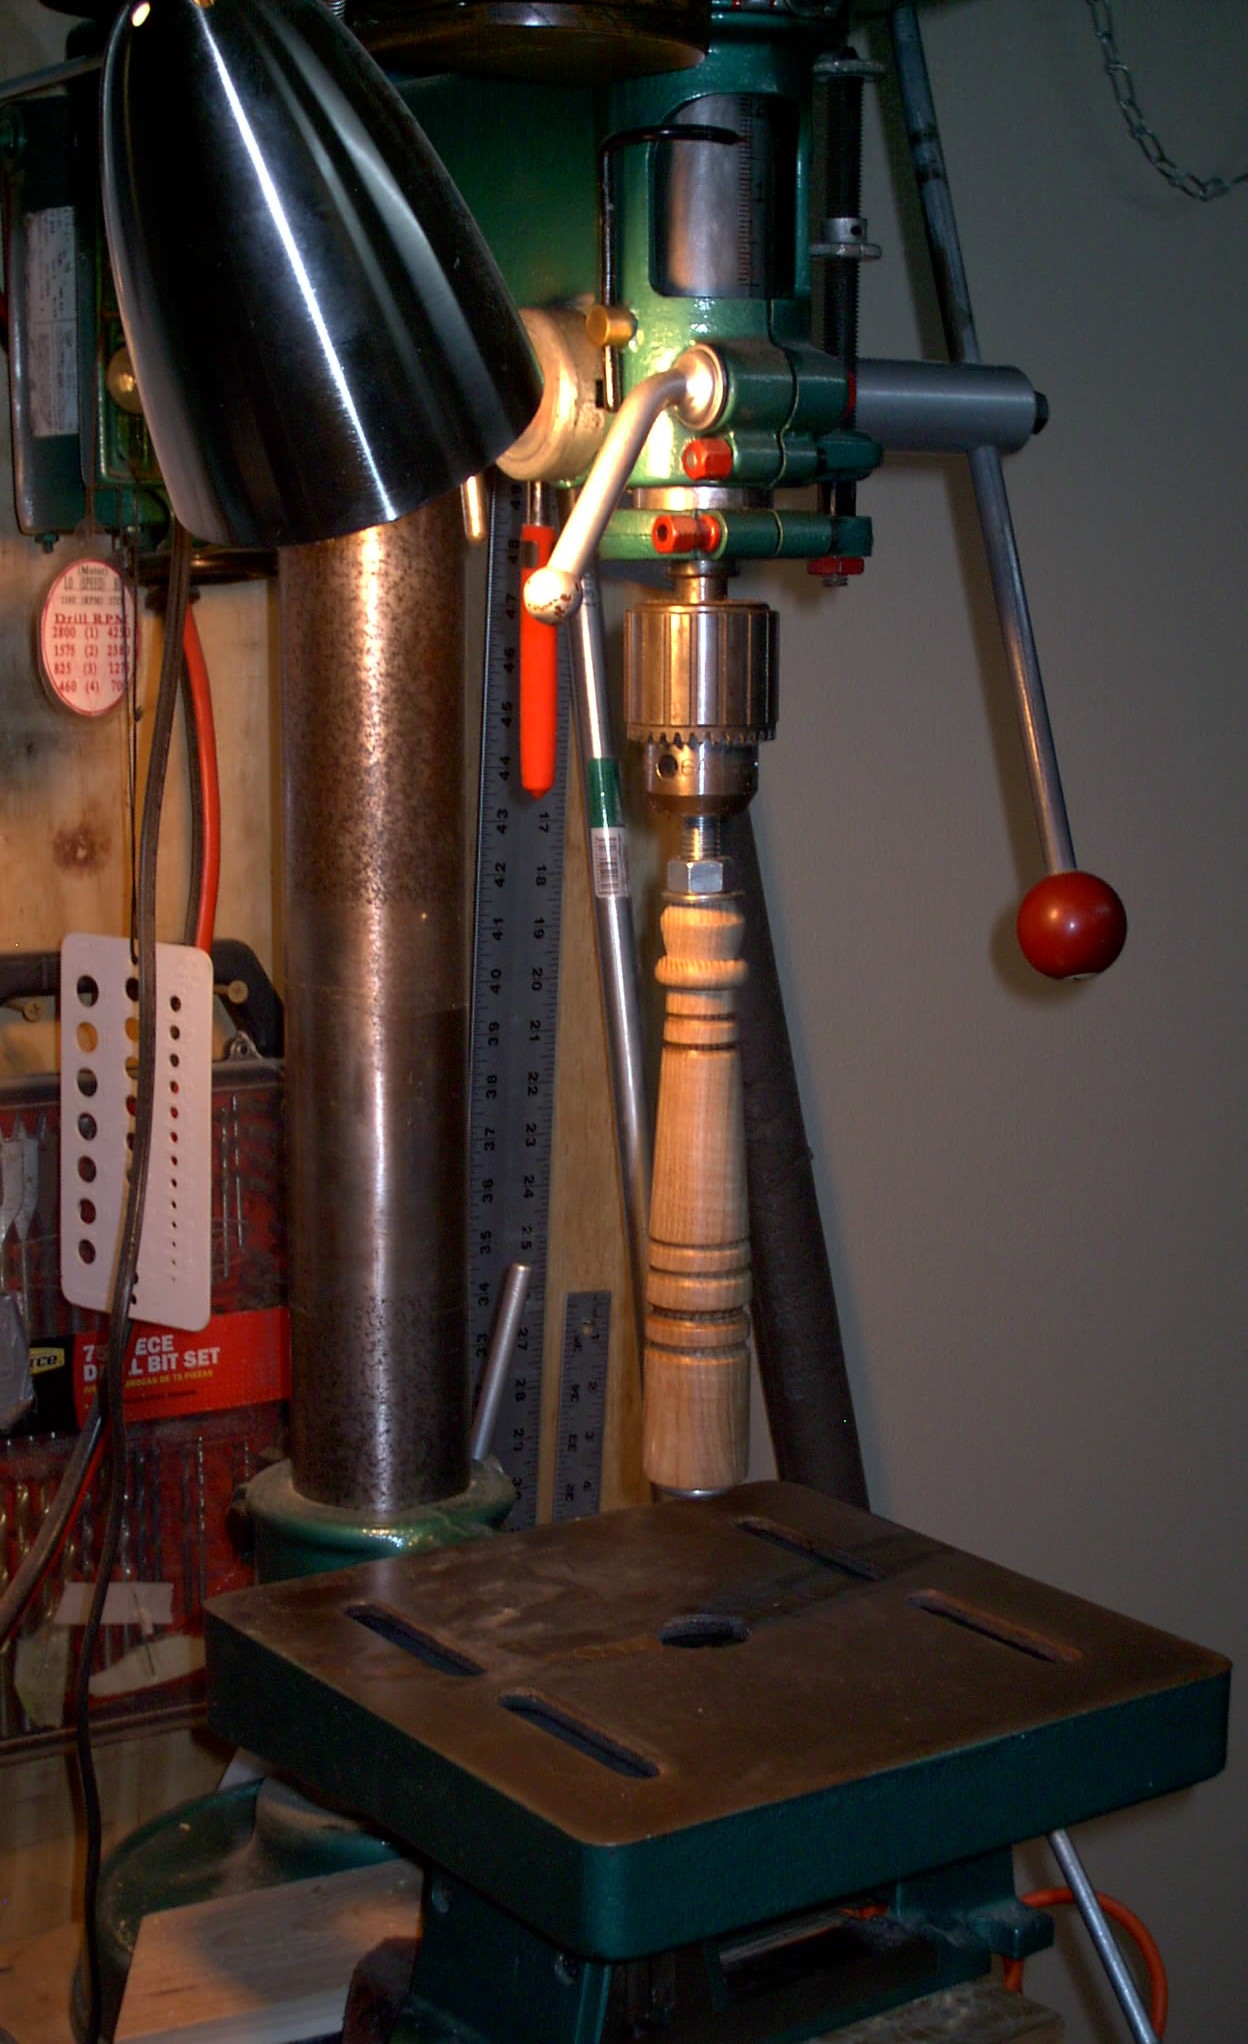
Hi Tazzman, I did almost the same thing with a short table leg I got from Home Depot. It's about 10" long, & I drilled a 1/2" hole through it, inserted a 1/2" carriage bold & nut. It works great! & it has 5 diff. positions to slick on, with diff. diameters, & widths. Ed
-
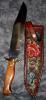
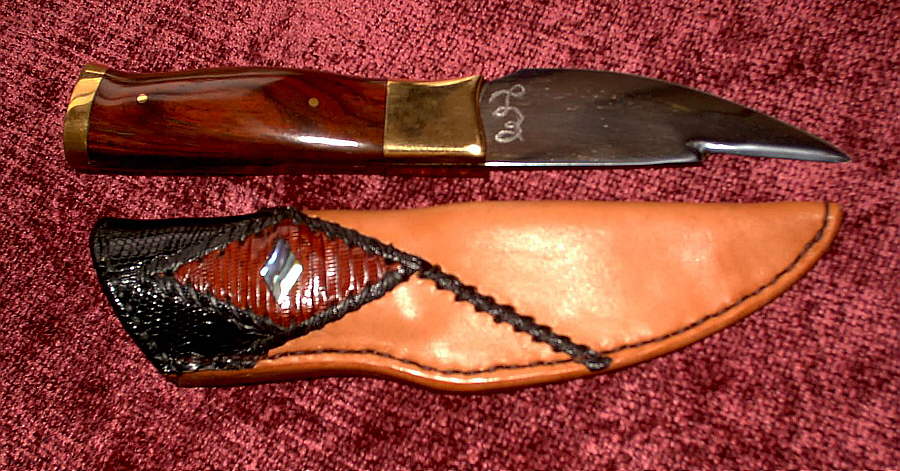
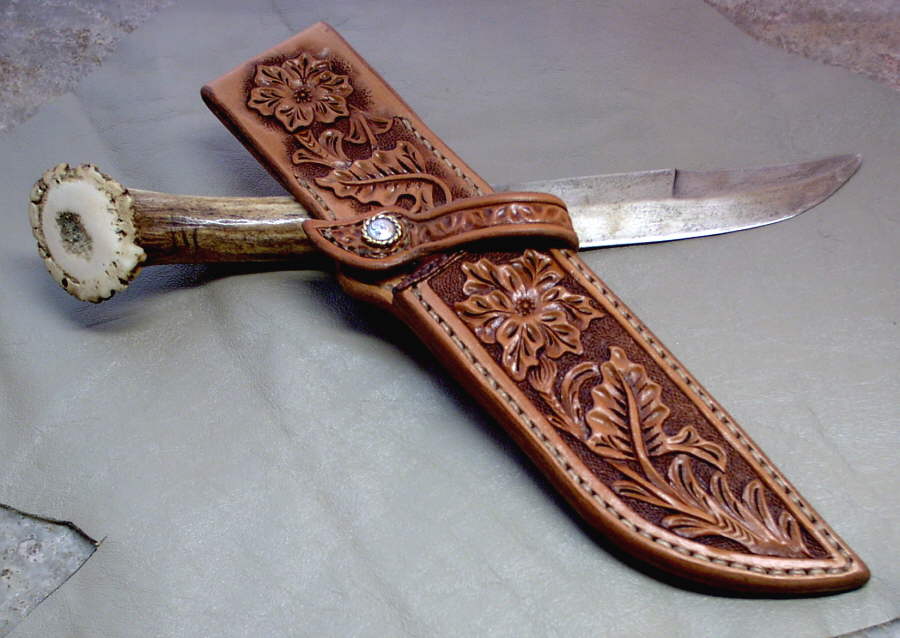
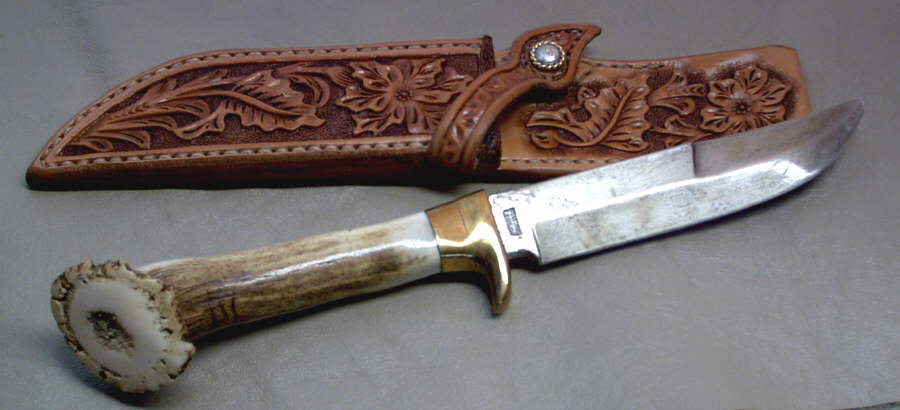
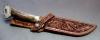
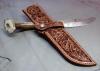
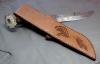
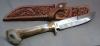
One of my Knives, & Case
BearMan replied to BearMan's topic in Gun Holsters, Rifle Slings and Knife Sheathes
Hi Bill, The handle is just polished, no stain or finish of any kind. Just lots of polishing. Yes, it was a pretty old knife that I found at a yard sale, all rusty without any handle,,,, but I saw potential!! -
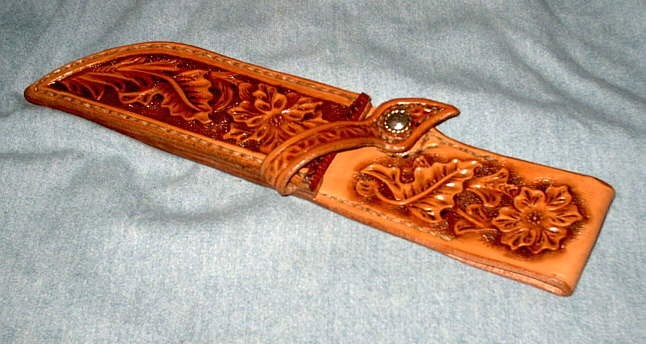
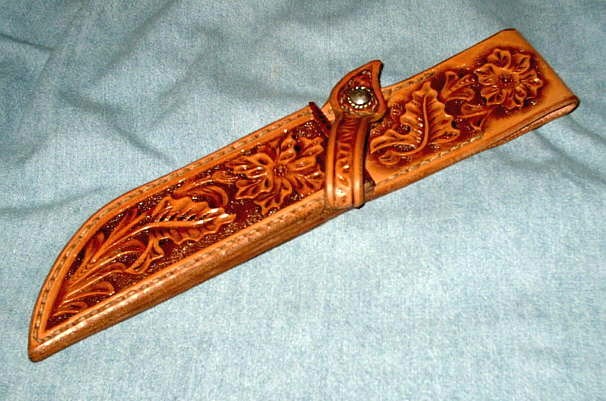
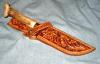
Hi All, Here is a knife I made a while back with the case I made for it. The knife was made out of an old Army combat knife. Lots of shaping & filing, & polishing! The case has lizard skin with an Abalony inlay. The knfe handle in Cocobolo, with brass guards, & hilt. What Ya think??? Ed

-
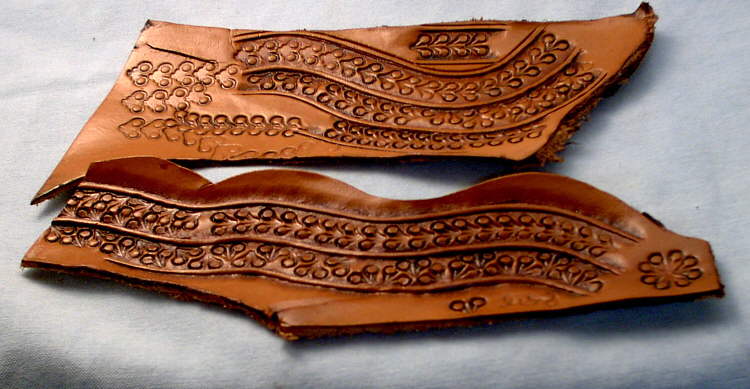
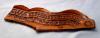
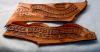
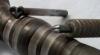
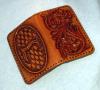
Hi All, Here are a couple new tools I just finished. The double swivel knife blade I finished a few days ago, it works very nice. The boarder stamp, I just finished, is just a prototype. I started out trying to make something unique, I'm not so sure now. hmmm I need to shrink it down as it's about 3/8" wide, & by the time you add the to beveled lines, the whole thing is just under 5/8" wide. Kinda big for a boarder. I will make a couple other changes when I make a smaller one. But I don't think I've ever seen this design before,,,, have you? All the stamping tools I make, I always try to make them a little different than the originals. I always oil harden the tools I make, which not only makes them pretty tough, it makes them almost rust proof. I have some tools I made over 20 years ago, & they are still going strong, even after, all the pounding I've done. Please let me know what changes, You think I should make. Thanks, Ed theBearMan
-
Thanks Everybody, She picked it up yesterday, & she loved it! She also put in an order for something else. She works at an Art Gallery, & wants to put some of my work there.. Ed
-
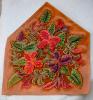
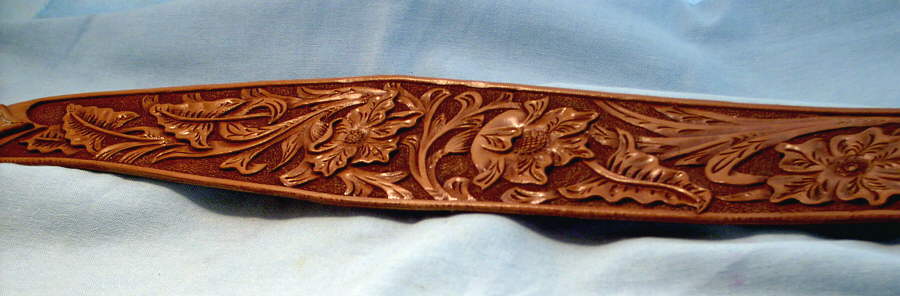
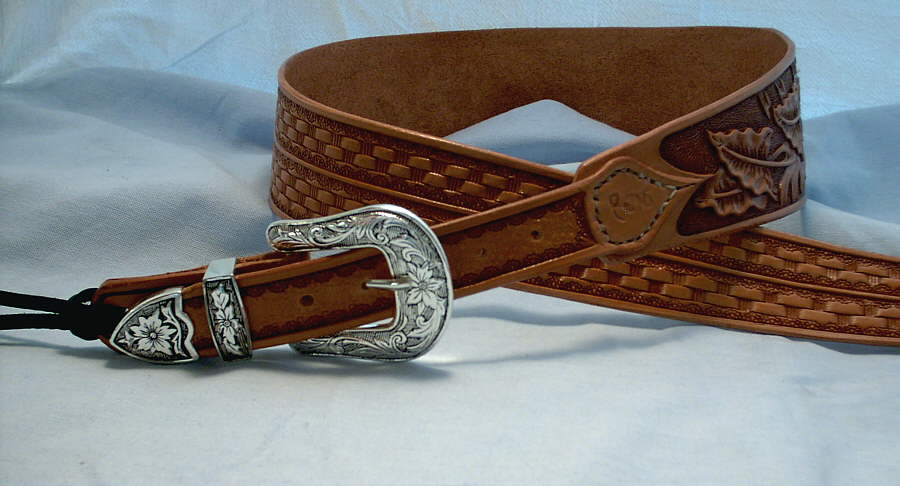
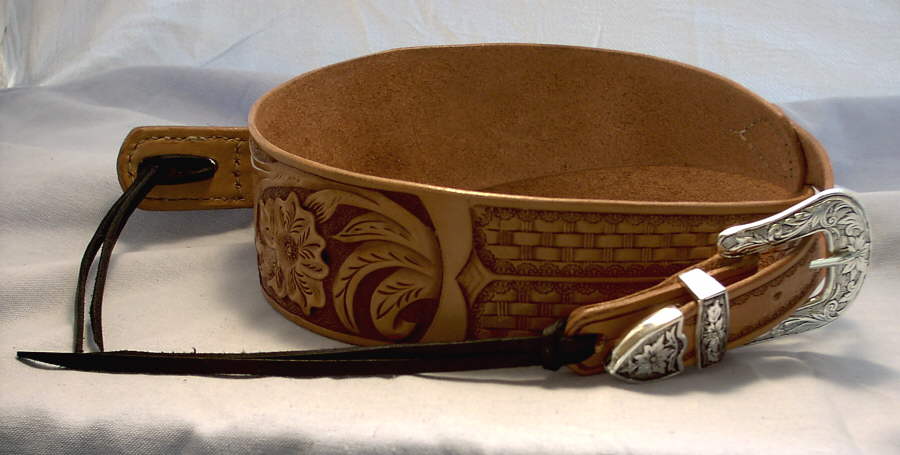
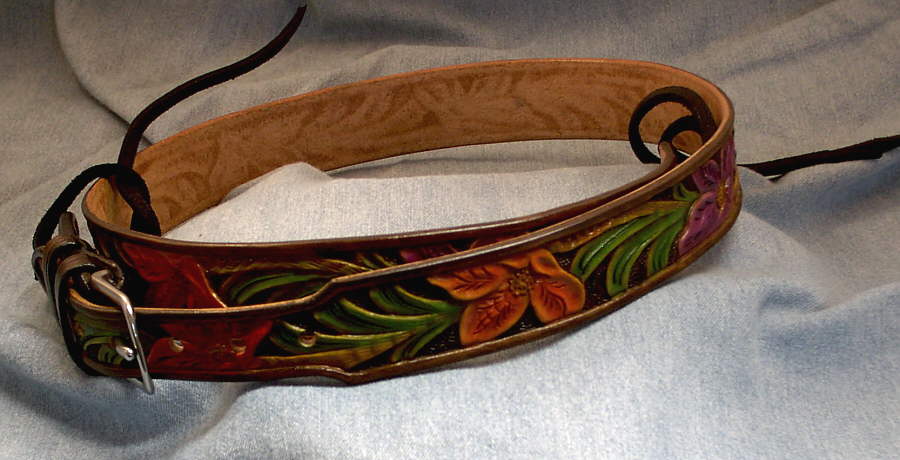
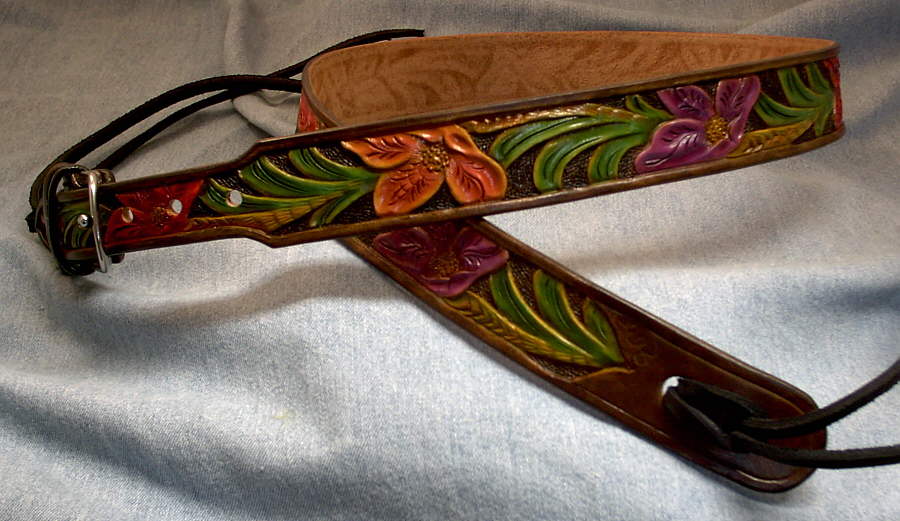
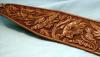
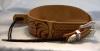
Hi Everybody, What's everybody working on lately? I just finished a Banjo Strap for local player. What do you think? She said she wanted some purple flowers on it, but the rest was up to me. I love it when people give me pretty much free rein. I made a "Capo" case for her also, but I didn't take a picture of that. Take Care, Ed


-
One and a half holster...
BearMan replied to Tina's topic in Gun Holsters, Rifle Slings and Knife Sheathes
Hi Tina, Very NiceWork! What would You do, if you didn't have this creative outlet?? I think, I'd just go "Crazier"!! hehehe -
Outstanding Work!!
-
This is for MaddMax, here are a cpl pictures of the knife out of the sheath. This gave me to opportunity to try out my photo tent, to see how it works. It looks like the pictures are somewhat better,,, don't You think?
-
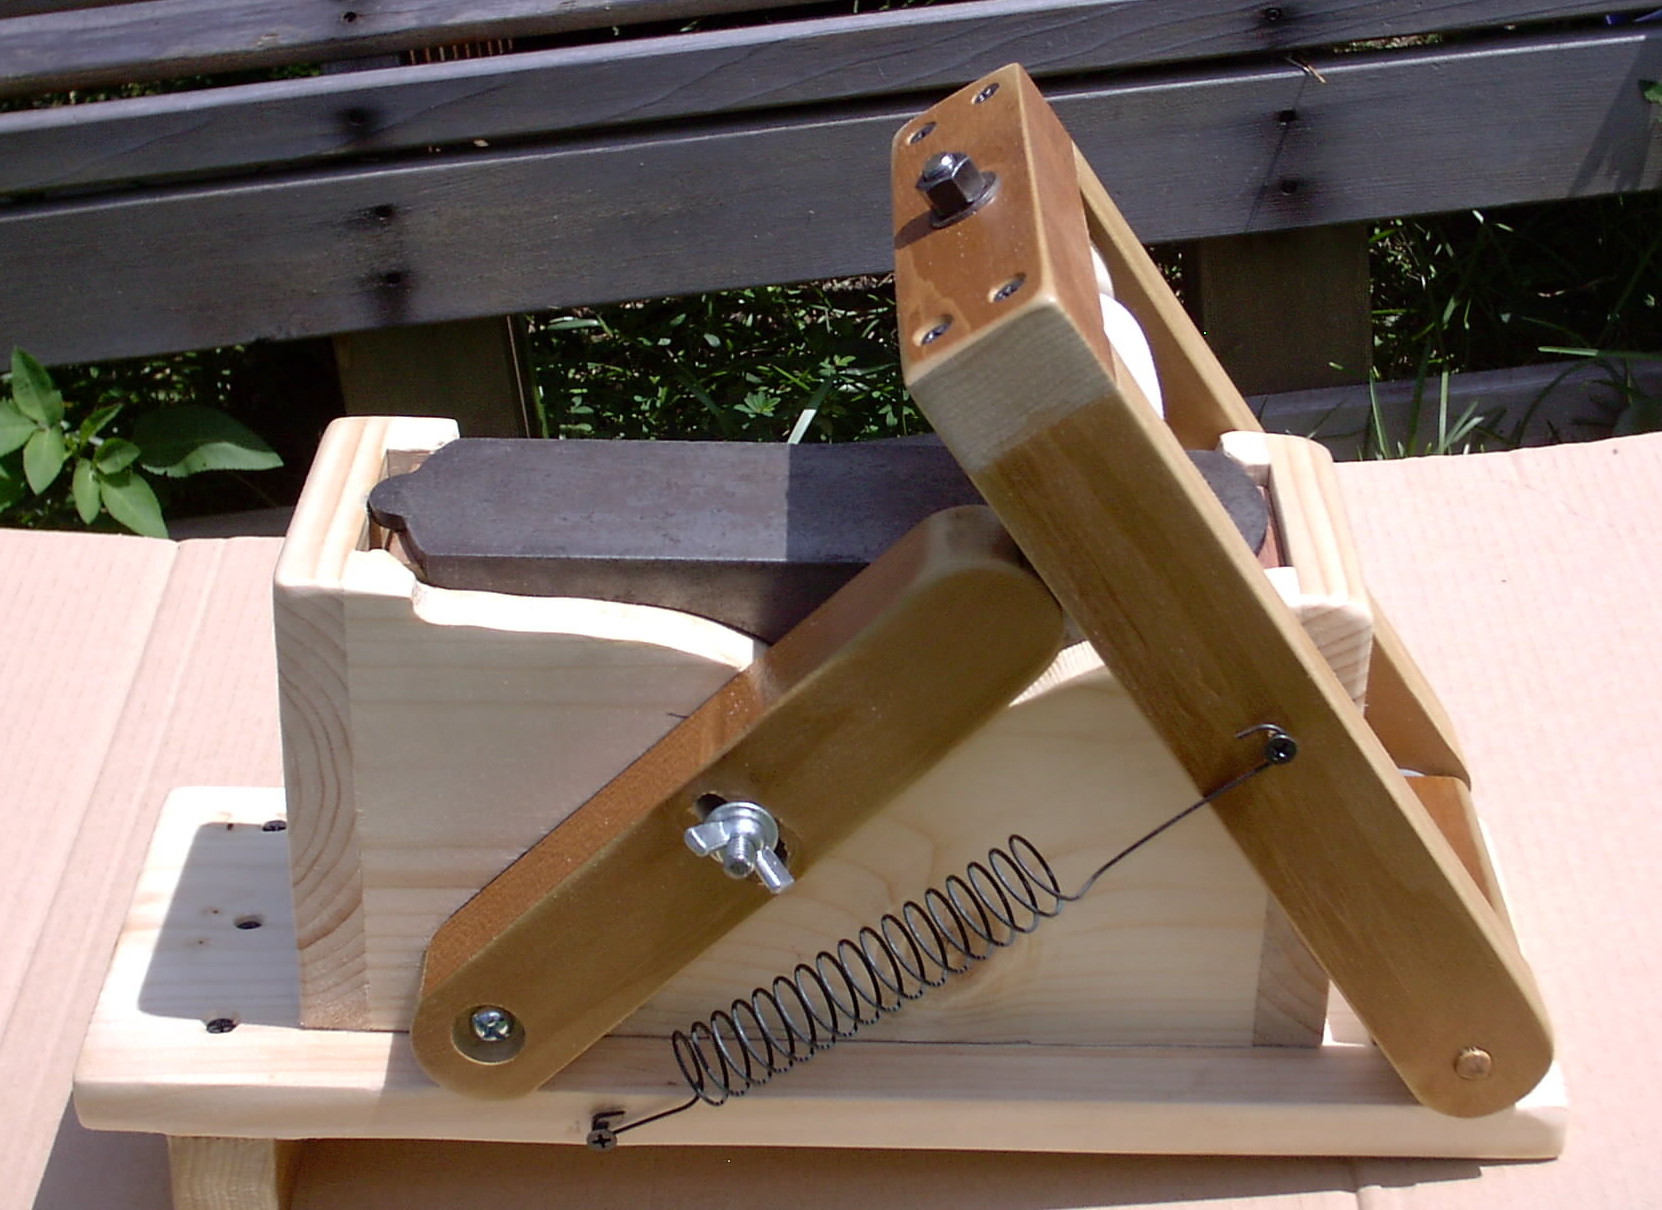
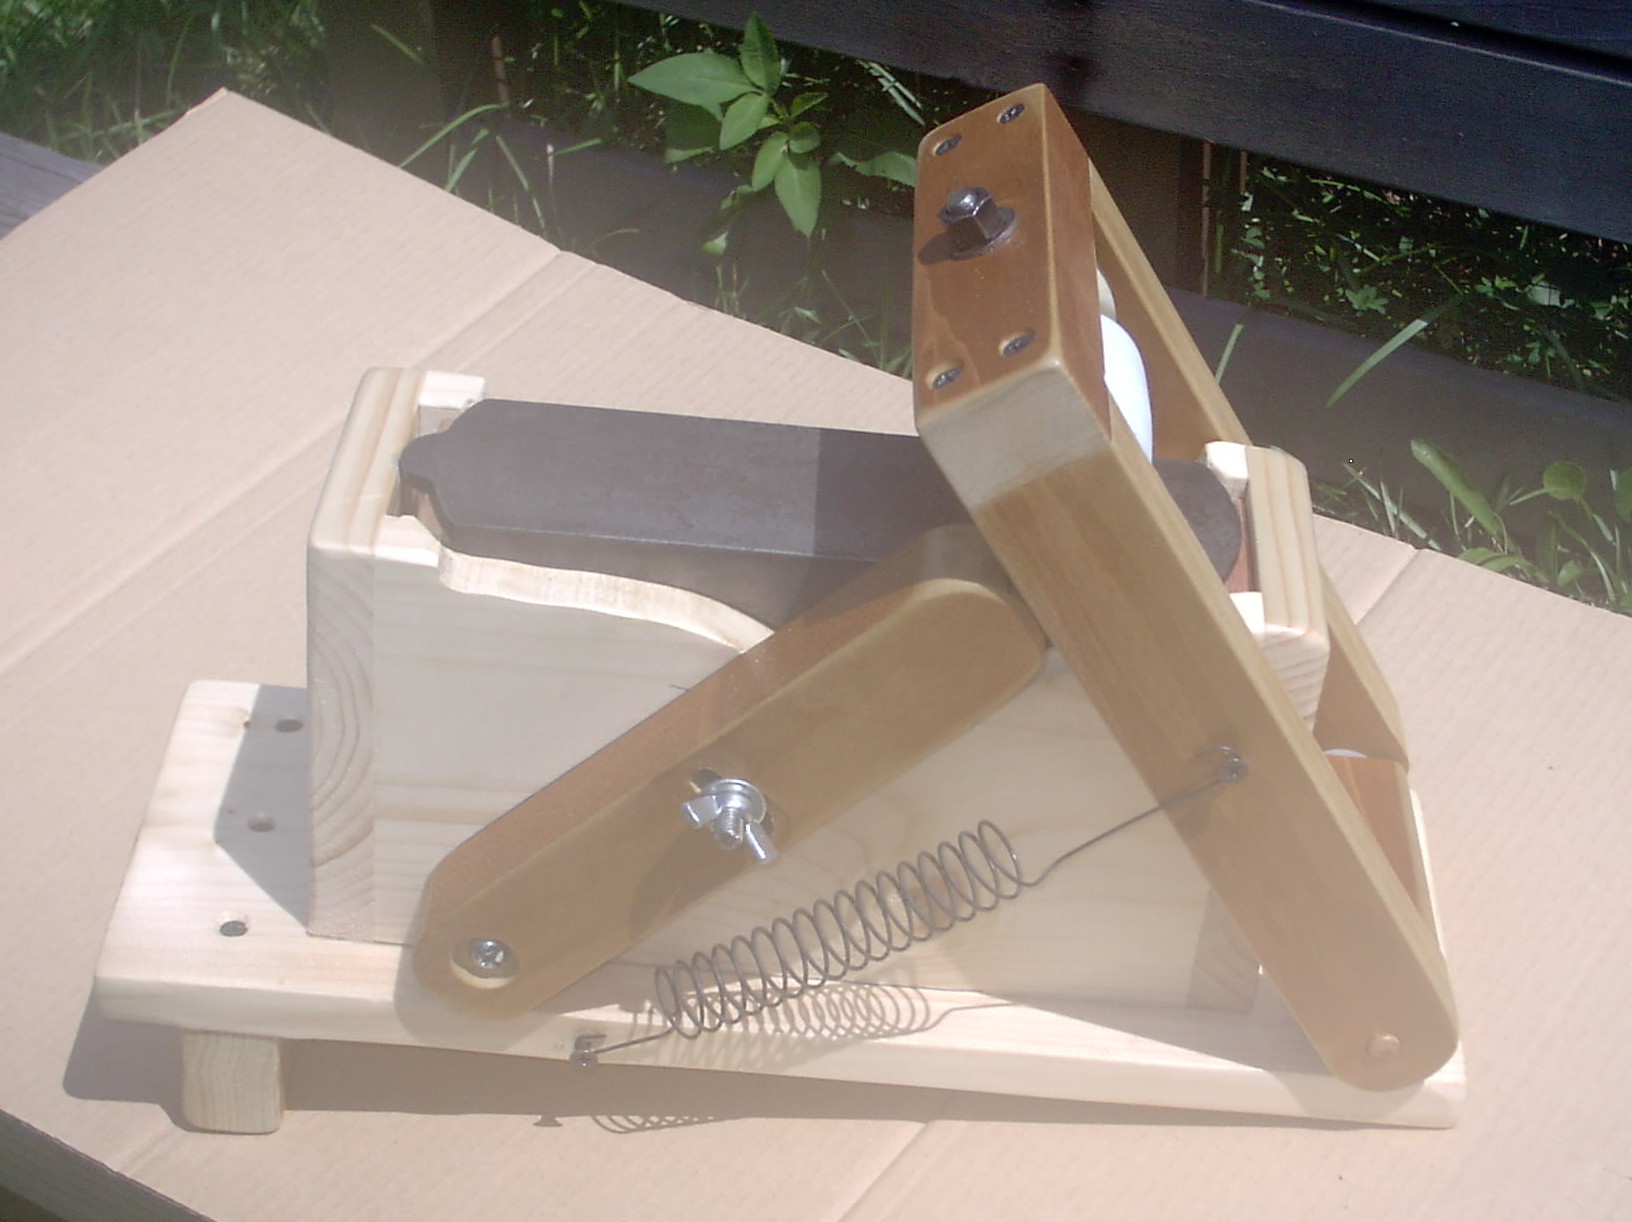
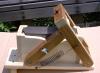
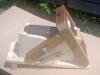
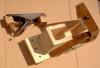
Hi, Some of you know just how cheap(frugal) I am! Well,,,, Here I go again,,,, hehehe Here is a homemade spliter I just made. About the only things I really needed a spliter for is straps, belts, dog collars, & such. Soooo I figured out that if I took an old hand plane I had sitting around & modified a new blade for it, I could make something to hold it, so I could split with it. So, this is what I came up with. I modified the cutting angle on the blade, I made it more acute, & sharpened it really sharp. I replaced the handles on the plane with retaining blocks. I didn't want to modify the plane in any way where I couldn't put it back to original condition. Just in case this didn't work. I then made the box to fit the plane in securely. The plane just slips in without any retainers. I then figured out that I'd need some kind of roller, to hold the strap down to the blade. I added a moveable stop, to adjust for diff. thicknesses. And there it is. Believe it or not, it works pretty good. What do you think?? Ed
-
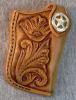
Hi All, & thanks for all the nice compliments!! As far as the holding power of the magenets, there are 2 rare earth mags, & as the strap gets more broke in, & flexable, the mags hold even better. I've been using them for several years, & so far, nobody has lost a knife. I do make the sheaths fairly tight to the knife also, so that they "wear fit" themself. Also, I Never attatch the strap on the edge side, since one of my first sheaths, where I promply cut the strap half off when re inserting the knife. Thanks again,,, if you have any more questions,,,, bring em on!! hehehe Ed
-
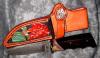
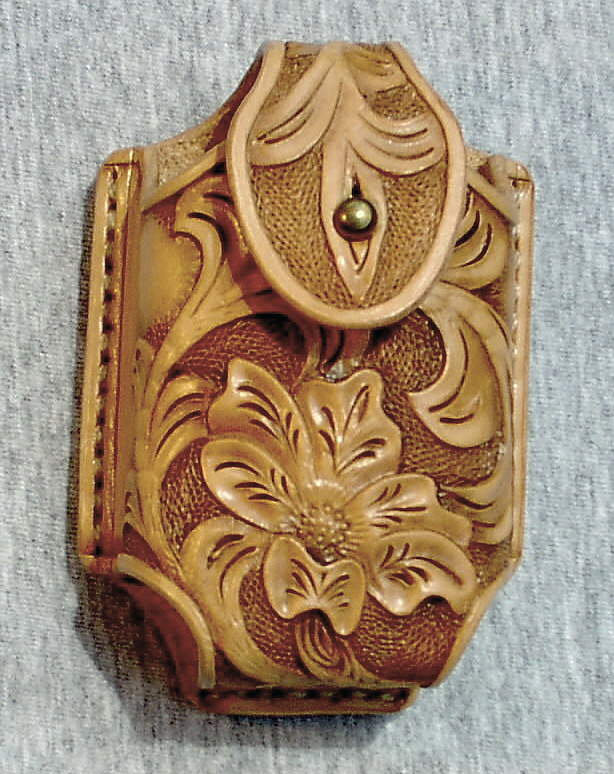
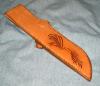
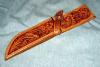
Hi All, Here is a knife case I just finished, for a knife I made many years ago. It has an internal magnetic strap retainer, & is lined. Thanks for looking,,,,, Ed

-
Hi all, I have a question about using pop rivets. I've sat on several seats where I could feel the pop rivets, & sometimes even see a slight bump from the ouside. Are the rivets the best thing to use? Just asking,,,, Thats what I used in the past. I just thought there may be something better. Ed
-
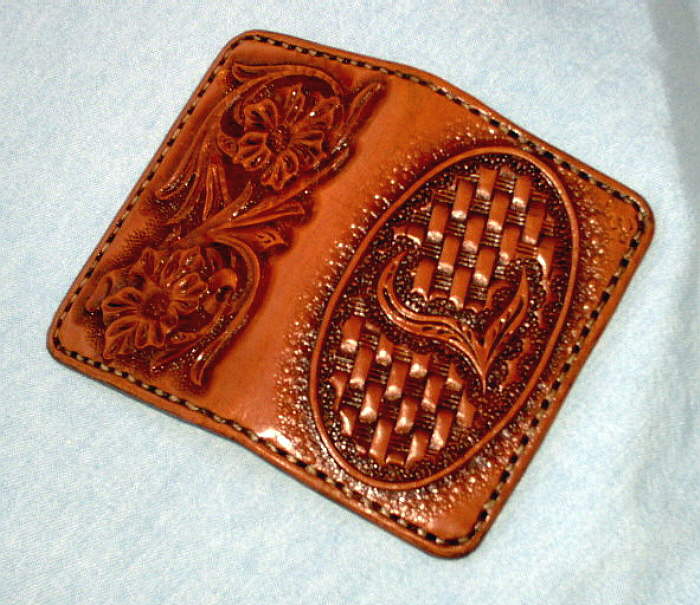
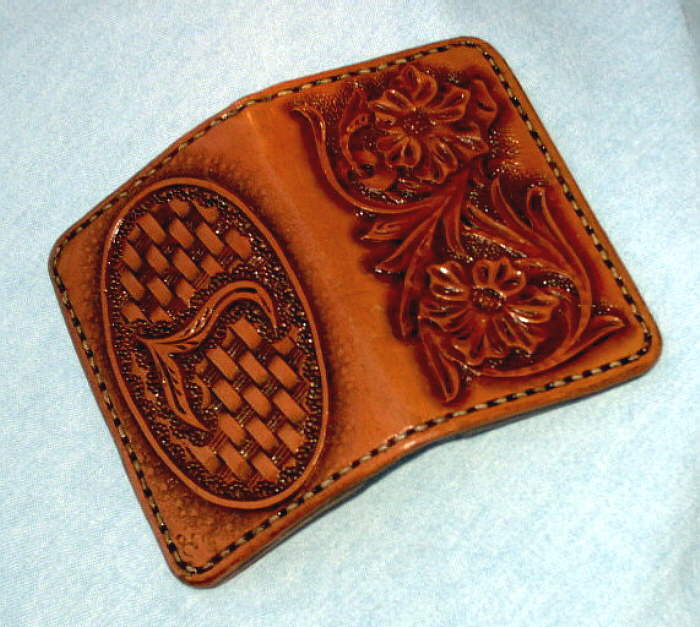
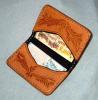
Business Card Holder
BearMan posted a topic in Purses, Wallets, Belts and Miscellaneous Pocket Items
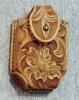
Hi All, Here are a cpl pictures of the Business Card Holder I just finished. I wish my photo skills were better,,,, maybe I can blame it on the camera? hehehe Please let me know what You think. Thanks Ed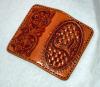
-
I guess there was about an inch left after doing the grinding & shaping, and as wide as the handle. Being as thin as it is, it will have some wiggle if pressed hard,,,, luckily, it's soooo sharp, no real pressure is needed! Hi Kathy, No, I didn't make it replaceable,,, I make alot of knives,,, sooo if it breaks, I'll just make another... Prob better & improved,,,
-
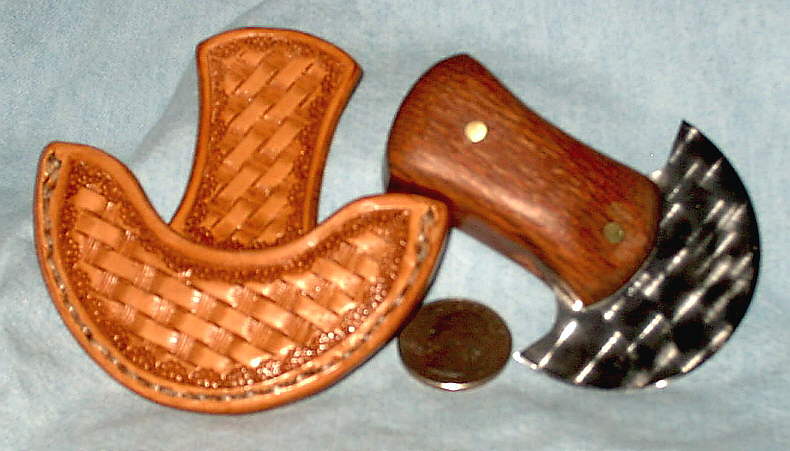
Hi All, I've always liked making my own tool, especially the "different" kind. Does that make me Frugal,,,, or Cheap!!?? hehehe It's made out of a Fiskars 65mm rotary razor blade, and Lacewood. Soooo far it works pretty good. ) Take Care,,,, Ed
-
Hi, I've doing Leatherwork for a while,,,, but I'm new here. Here are a few pics of my work, & a linc to a photo page of mine. Please let me know what you think... http://www.flickr.com/photos/polarb1717/ Thanks, Ed the"BearMan" attachment=14174:Damascus...t_Knife3.jpg] attachment=14172:Big_Bowie2.jpg]