BearMan
-
Posts
710 -
Joined
-
Last visited
Content Type
Profiles
Forums
Events
Blogs
Gallery
Store
Everything posted by BearMan
-
Good Morning Timbo, I modify, & make tools all the time. You may concider narrowing the width of the jaws a little just to give a better grip on the leather. Also, the adjusting bolt could be made bigger, to give a little stronger pivot, for prying. But, it's a great idea using those. I do stained glass also. Back Many years ago, we lived in Avondale Co. just east of Pueblo, when my father was stationed at Pueblo Army Depot. Ed
-
Hi Johanna, Thanks for the Warning!! I thought it was a scam,,, just wasn't sure... till now! Thanks!! Ed
-
Thanks Bruce! I should run over your way one day, I think we are only about 15 miles apart. I live on the east side of PC. Ed
-
Hi Johanna, Thanks,,, Steve helped alot with article. He had to shorten it somewhat,,, I guess I got a little wordy. Ed Johnny, The color is mostly "Russet" spirit dye by febings. I added a little Ox Blood to it also, at about 10 to 1 ratio. Ed
-
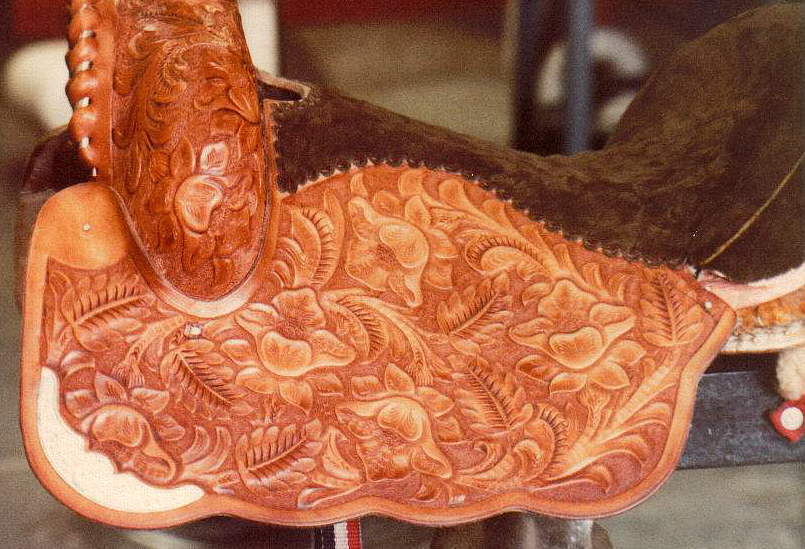
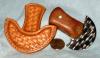
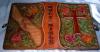
Hi Steve, Here is an example of the "Porter" style that I used to do back in the 80's when I worked at the saddle shop. We actually had 3 diff. Porter patterns, but this is the only one I have a picture of. Hope this helps,,, Ed
-
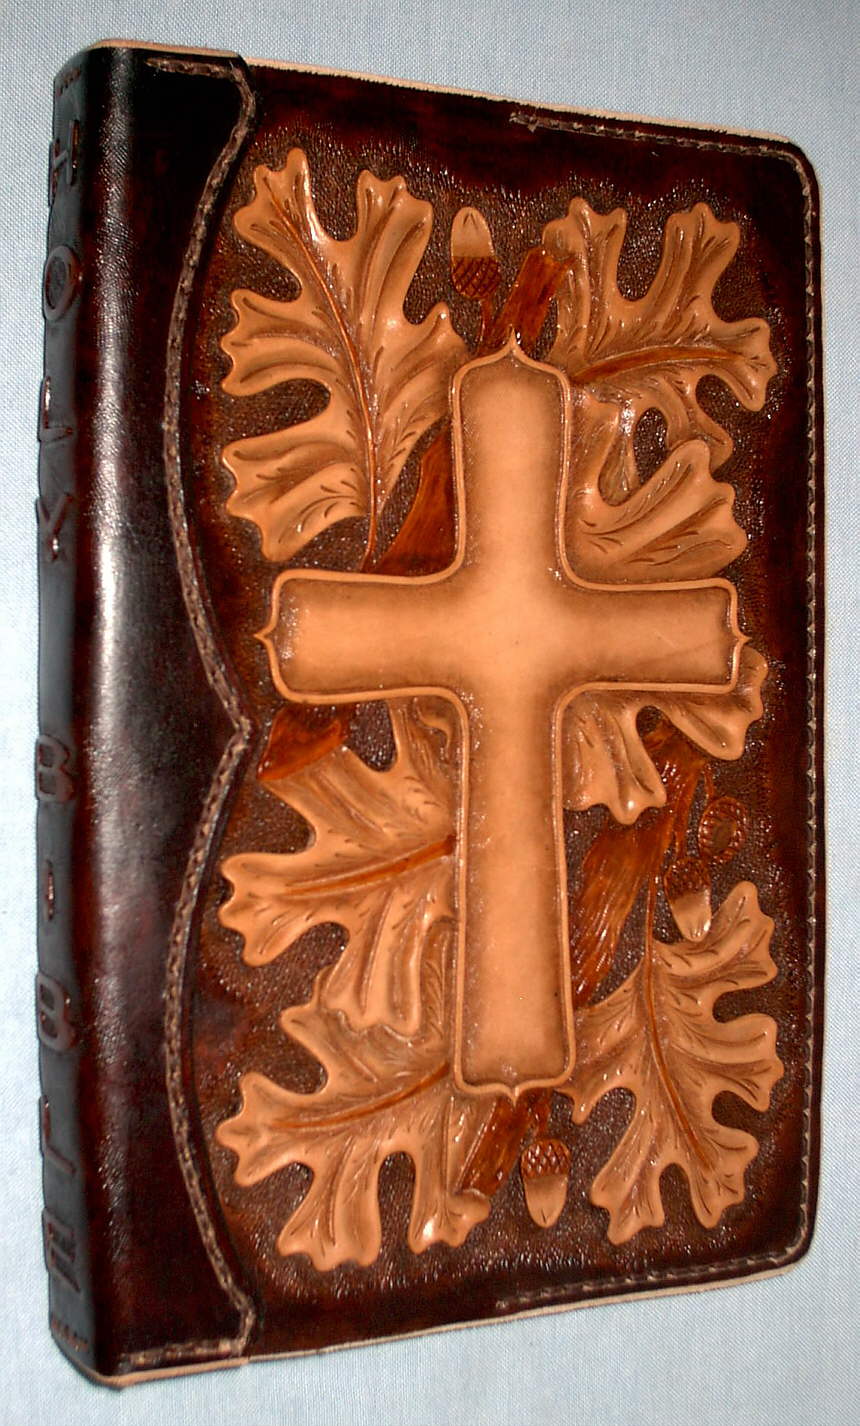
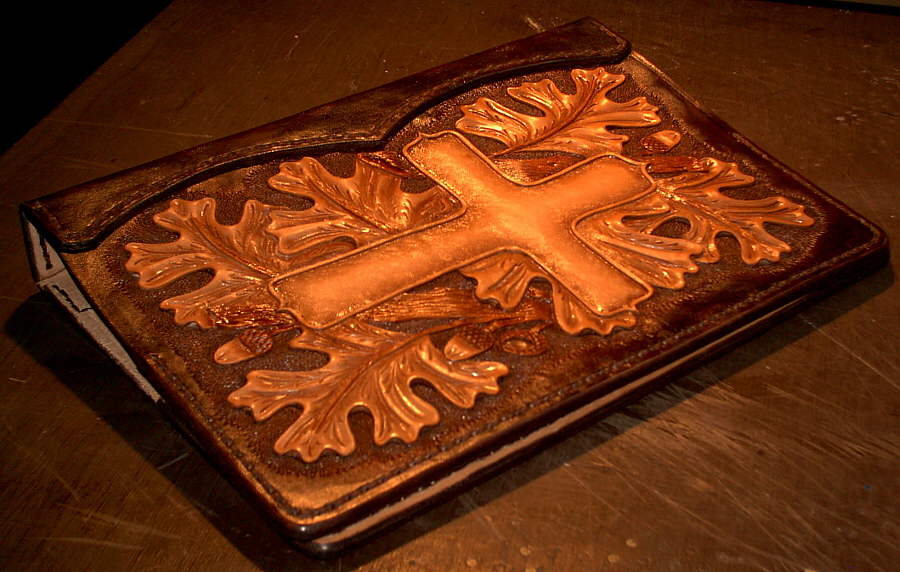
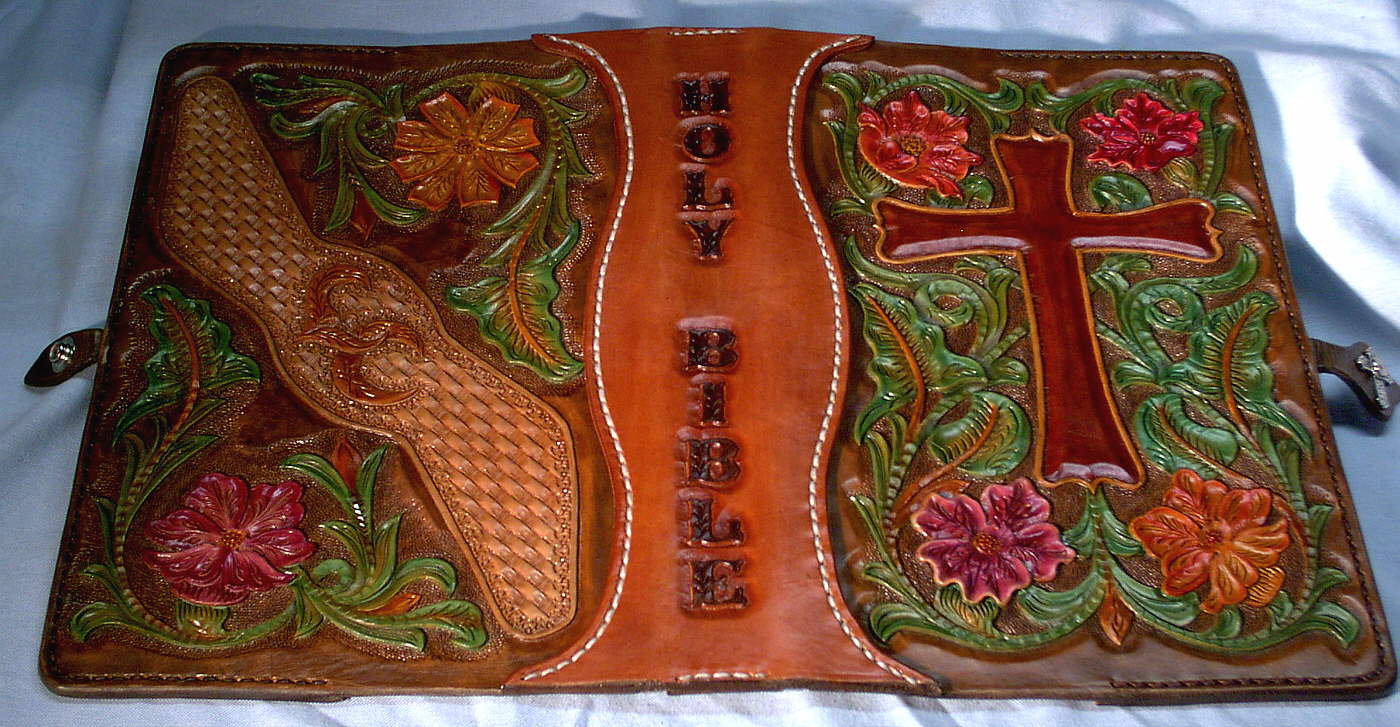
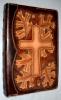
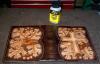
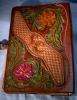
Hello Everybody, Here is my latest Bible Cover. I was lucky enough to have it featured in the Nov. Hides to Art newsletter.http://www.hidestoart.com/ This one is for my Brothers Christmas present. I will make the tooling pattern available for anybody interested. Ed the"BearMan" LaBarre
-
do roses & sheridan style scrolls go together??
BearMan replied to sodapop's topic in How Do I Do That?
Hi Darryl, Just check out some of Tina's work. She does a fantastic job with that. Ed -
Hi, & welcome to the group!! Fantastic work!! Very clean and precise. Great work with the swivel knife too. Thanks for sharing. I really like the your composition also! Ed the"BearMan"
-
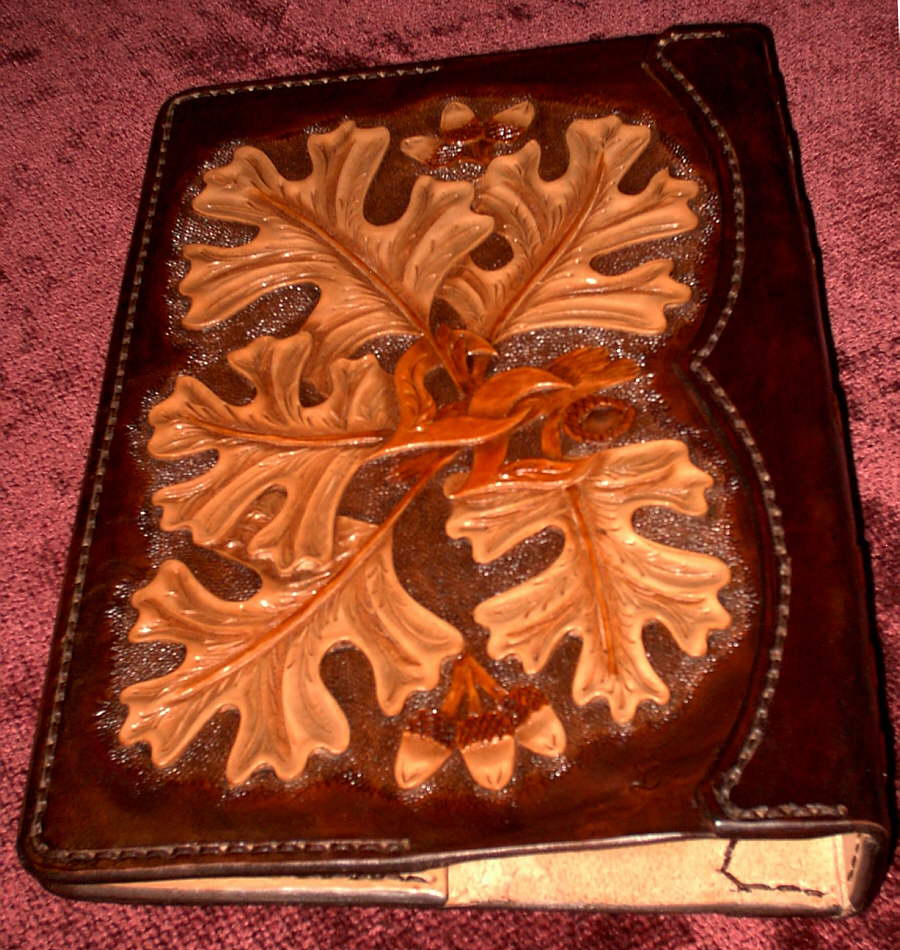
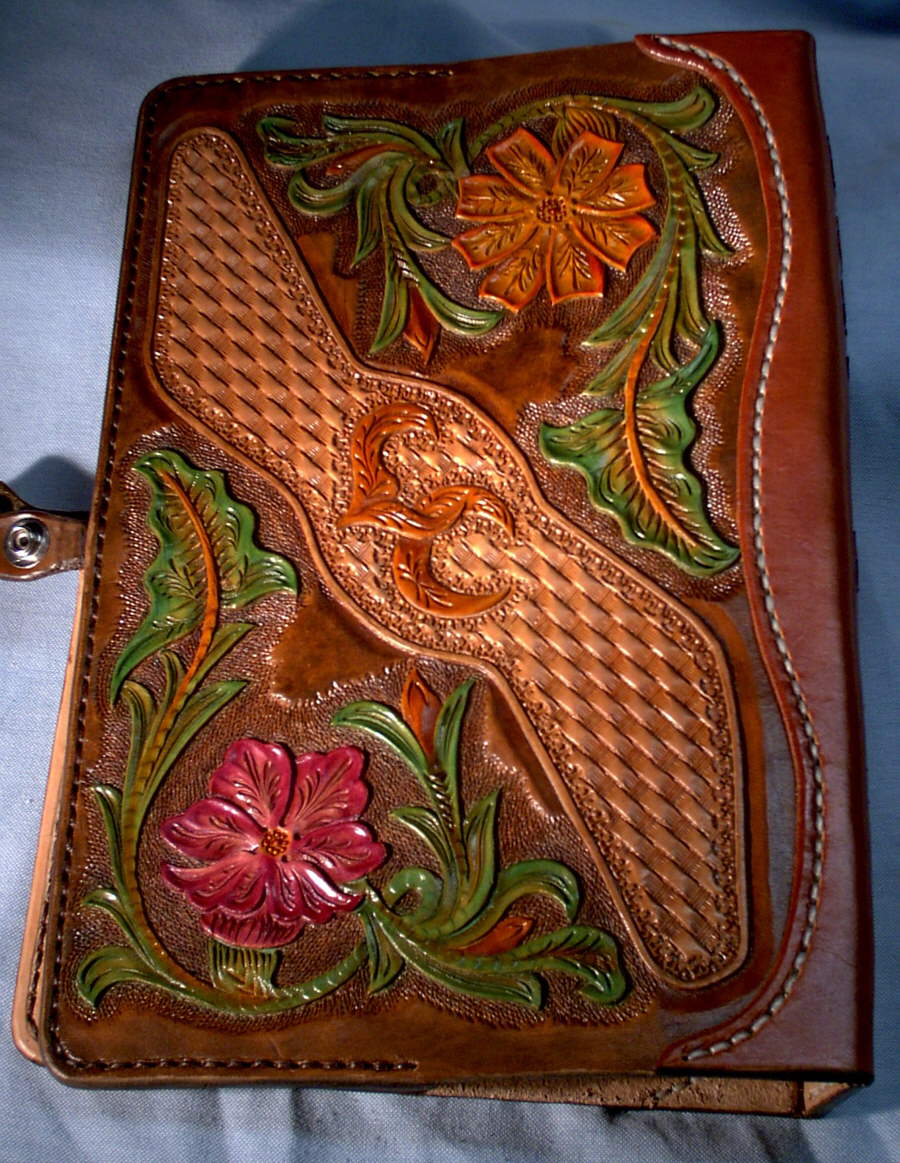
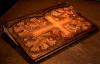
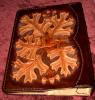
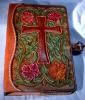
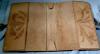
Hello Everybody, I just finished another Christmas Present. This Bible Cover is for My Mother in Law. Please let me know what You think. Seems like I've been making alot of Bible covers and Guitar straps lately. I hope You enjoy. Ed
-
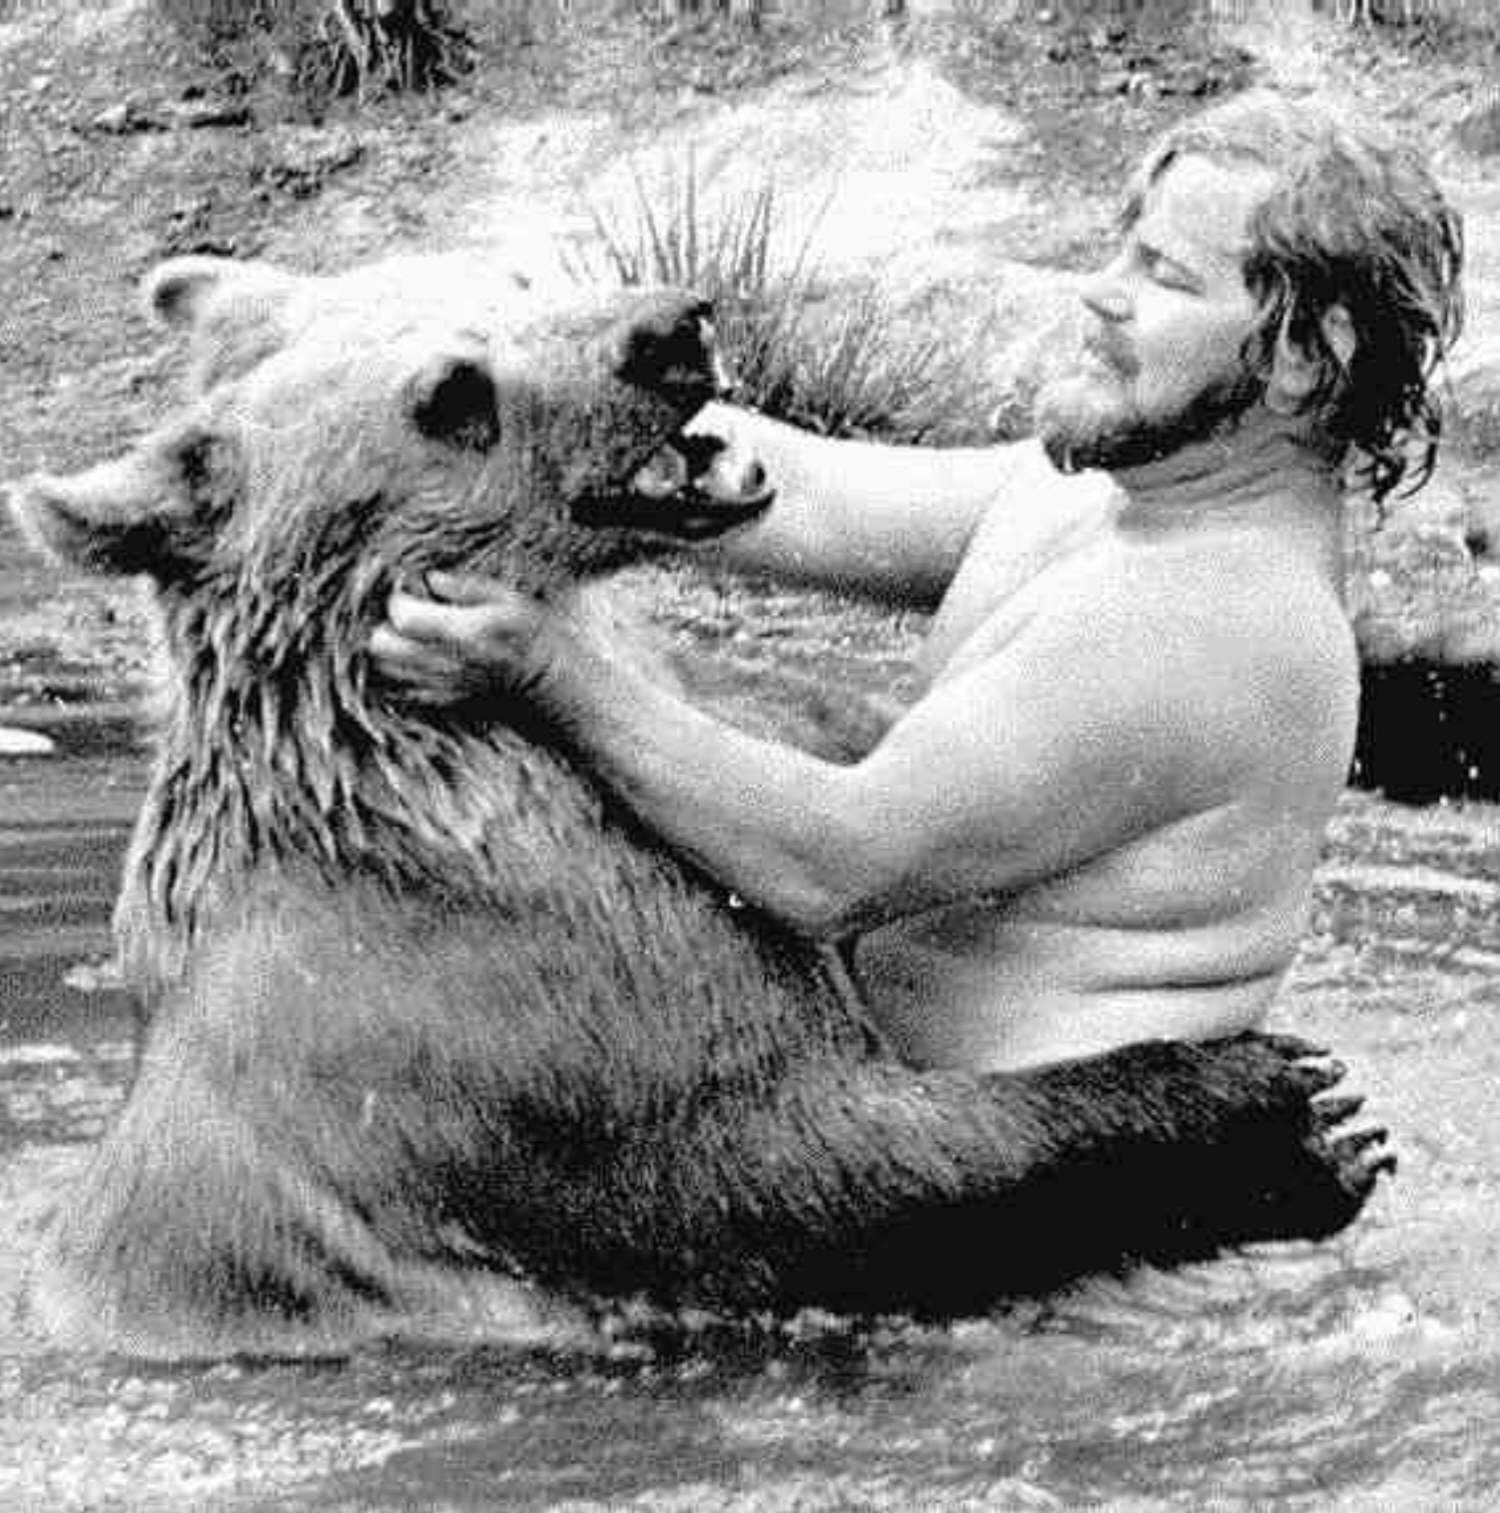
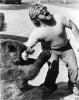
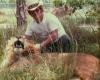
Hi All, What a great looking bunch of people! Well,,, some of us anyway,,,, hehehe Here are a couple pictures of me with some of my best friends,,, afew years ago, I'm Wayyyy uglier now!! ) Ed


-
Mobile phone cases
BearMan replied to UKRay's topic in Purses, Wallets, Belts and Miscellaneous Pocket Items
-
Some of my first attempts at sheridan carving
BearMan replied to bebah's topic in Floral and Sheridan Carving
Here are a couple more site I just know You'll like. http://www.westernfolklife.org/site1/batr/...eak_contest.php http://www.clintfay.com/ -
Some of my first attempts at sheridan carving
BearMan replied to bebah's topic in Floral and Sheridan Carving
Hi, Looks pretty good so far. Practice, practice, practice! The only advice I would give is, find some good examples of carving that You really like, & practice that Makers style, until You can imitate it Very closely. Then, create Your own style. Here is a site you might find a good style: http://www.iilg.net/scrapbook/index.html Good luck, & keep up the good work! Ed -
IWB Hoslter
BearMan replied to BOOMSTICKHolsters's topic in Gun Holsters, Rifle Slings and Knife Sheathes
Hahahaha,,, Thanks for the Info!! At the pool where I go for exercize, they have some Thin Rubber sheets about 6" x 3feet long. They are just right to wrap around a Holster real tight, with some dense foam, to form the holster. It works good for me & best of all, the "broken" sheets are Free! The differnt colors apply differnt pressure also. Ed -
IWB Hoslter
BearMan replied to BOOMSTICKHolsters's topic in Gun Holsters, Rifle Slings and Knife Sheathes
Hi, What are the rubber sheets used for? -
ranger style concho belt
BearMan replied to JRedding's topic in Purses, Wallets, Belts and Miscellaneous Pocket Items
Absolutely Stunning!! Very clean, & sharp design! Thanks for sharing,,, Ed -
How about a thing called an"expansion plug" Some people call them "Freeze Plugs". They come in all different sizes, & thicknesses. Most are basicall flat, but some have a little bit of a dome. You might look for these at a good Old Time type auto parts store. Some of the newer chains wouldn't have a clue at to how to find the right size for you. I managed auto parts store for Many years, & we always carried ours in the Dorman brand name. If I remember correctly, there is about 150 different sizes. Good Luck,,,, Ed
-
Hi, It sounds like you know alot more about Oil Hardening than I do. The process I laid out helps to make the tool more rust resistant, than increadably hard. At least thats what my experiance is. I guess I didn't make myself very clear about that. Some of the tools I've used this process on, I've used for almost 20 years, with no sign of corrosion. & I live in Florida. Sorry if I had mislead anybody. & Yes You are Very Right, We are talking about stamping tools, not High end knives. This proceedure wouldn't just work for those. Ed
-
Hi Mark, Sounds interesting to me also. Let me know, hoow things would work. Ed
-
Here is the linc to where I explained it before: http://leatherworker.net/forum/index.php?s...ost&p=63226
-
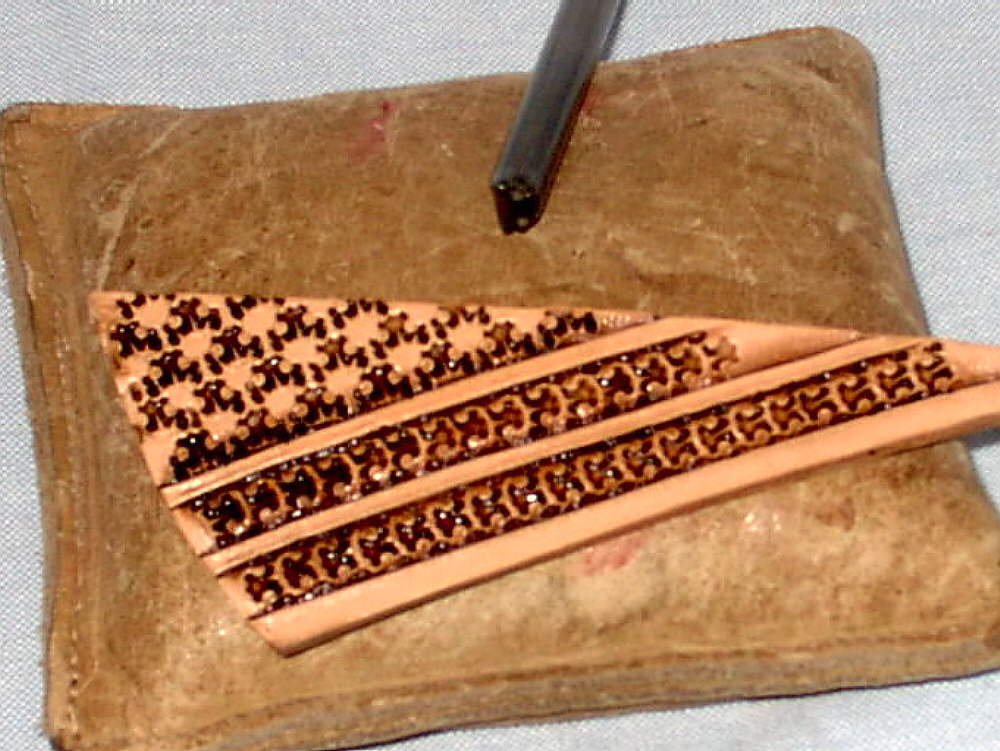
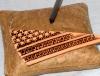
Hello everybody, I just finished a new Border Tool design,,,, This one is ALOT better than the last one. I threw the last one away,,, I didn't like it! Please let me know what Yo think.... Ed
-
Hi Ed, I make alot, if not most of my own stamping, & other tools. I would not use automotive valves, as alot of them are made with Sodium inside. I've made that mistake before, Sodium valves will explode. There are alot of valves out there that are made out of hardened steel, or stainless steel. But, figuring out which ones are Sodium, can be difficult. The best bet, is if You get some used valves from an engine that was made before about 1975. I make most of mine out of either: 1/4"-5/16" Grade 8 bolts about 5 1/2" long, or Large Non coated nails. After making the tool, I take it thru a hardening process. So far, after about 20 years for some of my tools, I haven't wore one out yet. Ed
-
Very Nice Tine,,,, & Thanks I'll add it to my collection!!
-
Hi Tom, Those are some good ideas, Flat guide with rounded edges, to held guide it better. How about a more substantial blade shank, with a stronger adjusting screw. With a rosewood handle? Hmmmm, maybe my next tool. Anything else You'd change? Maybe a short version where your thumb rests on top of the blade, while the first two fingers straddle the guide post, to help guide the tool? Just an idea. Ed
-
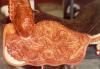
Excellent Job Shelly! It reminds me of a Saddle we used to make. Thanks for sharing! Ed