motocouture
-
Posts
475 -
Joined
-
Last visited
Content Type
Profiles
Forums
Events
Blogs
Gallery
Store
Everything posted by motocouture
-
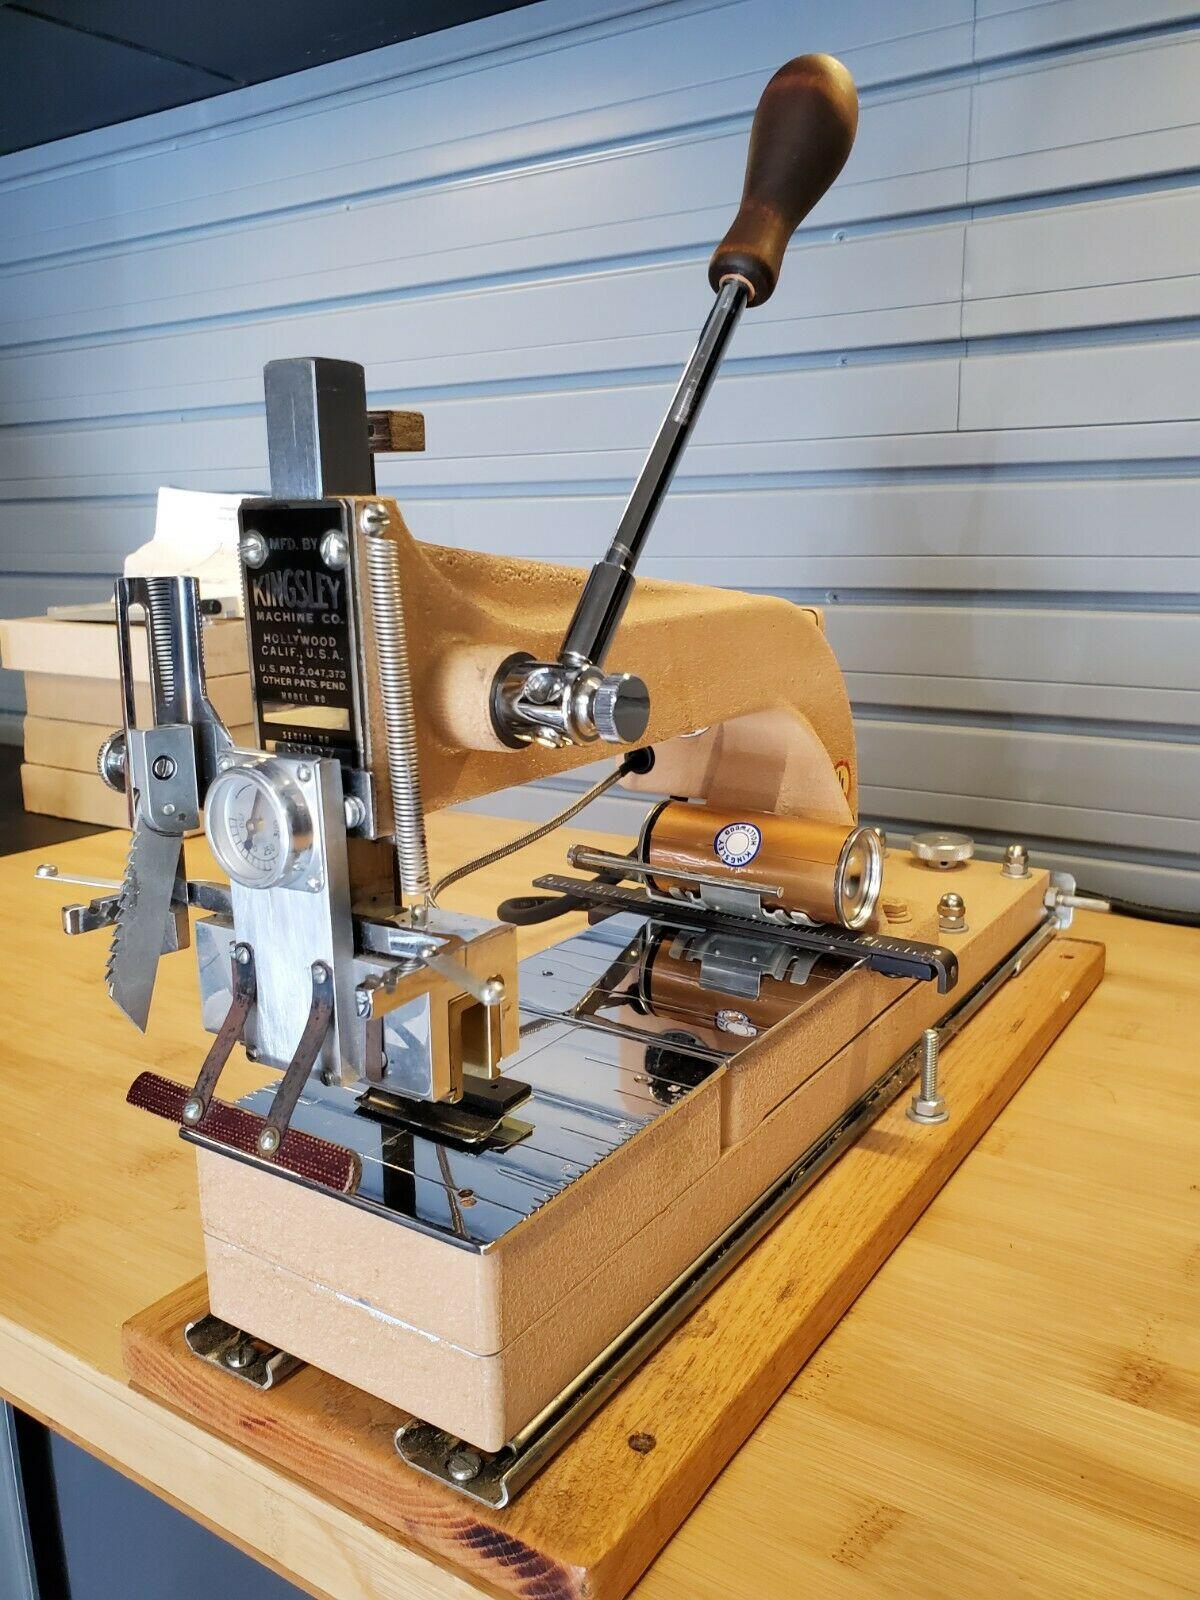
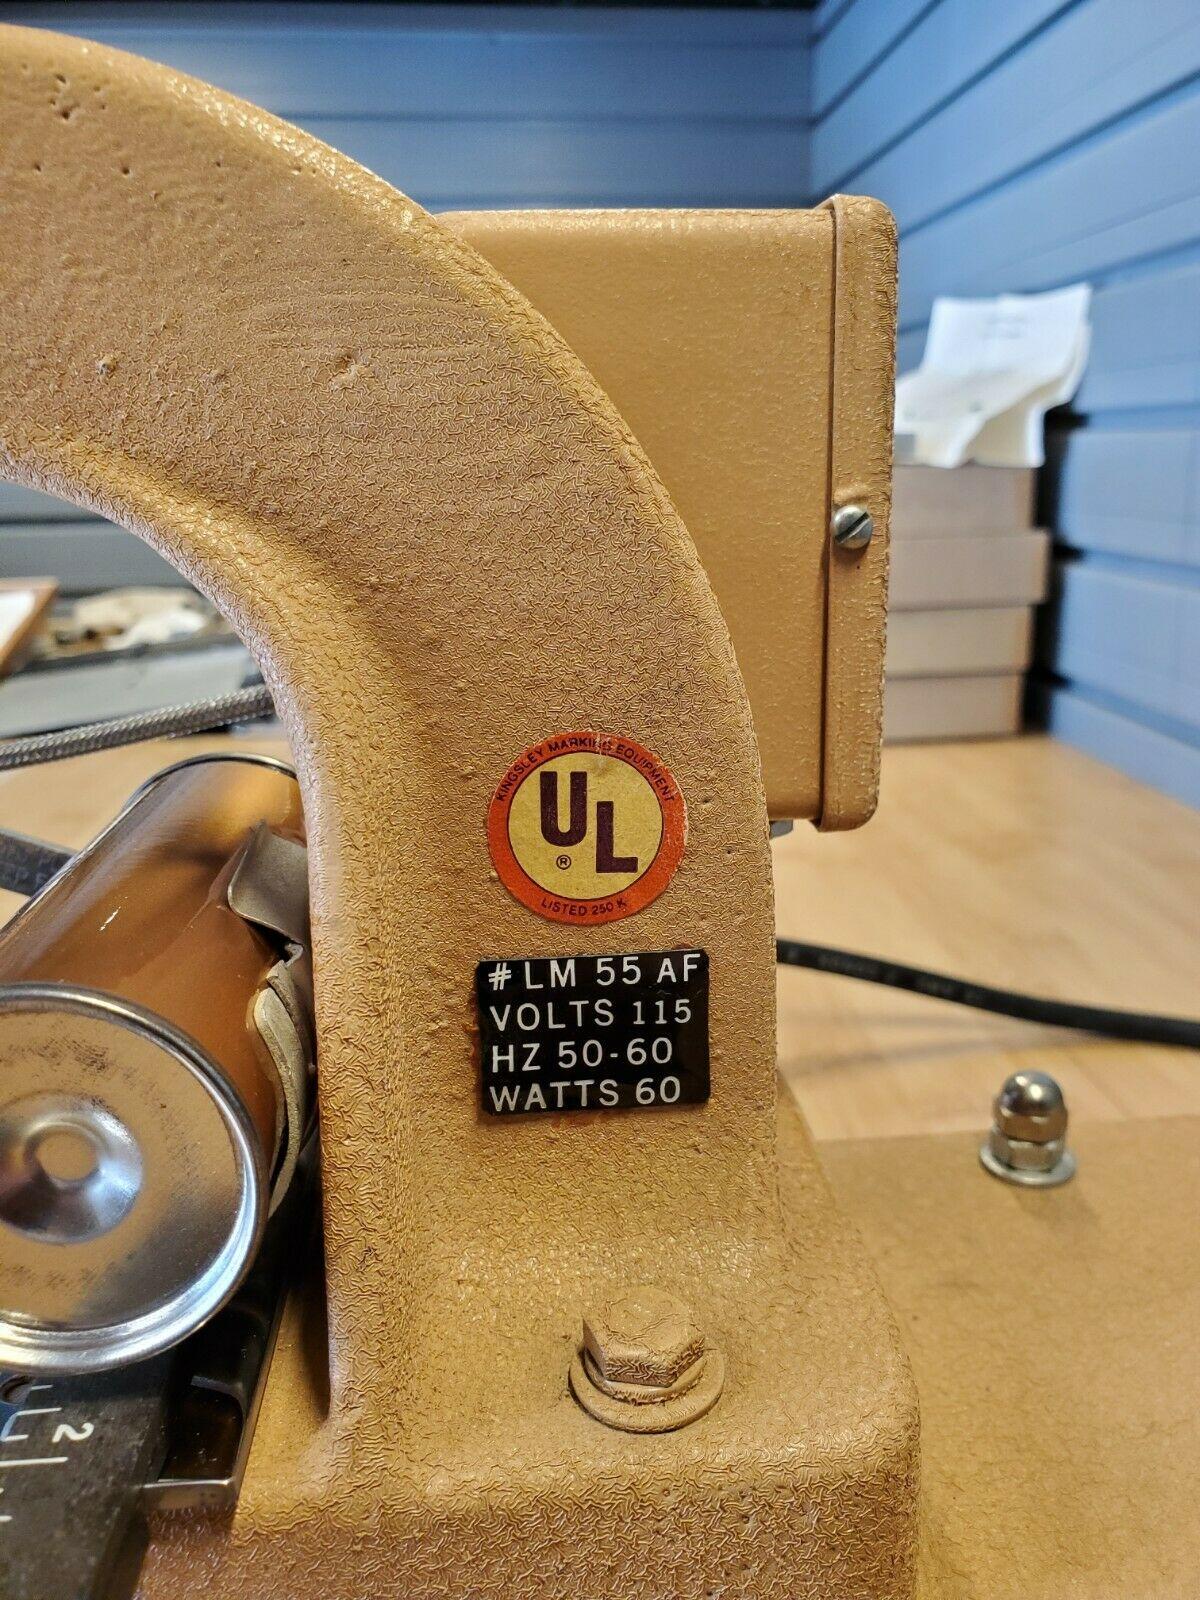
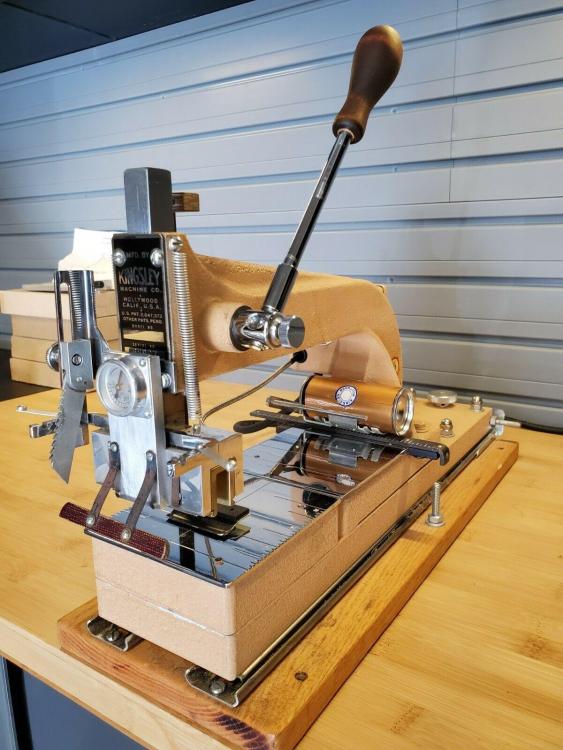
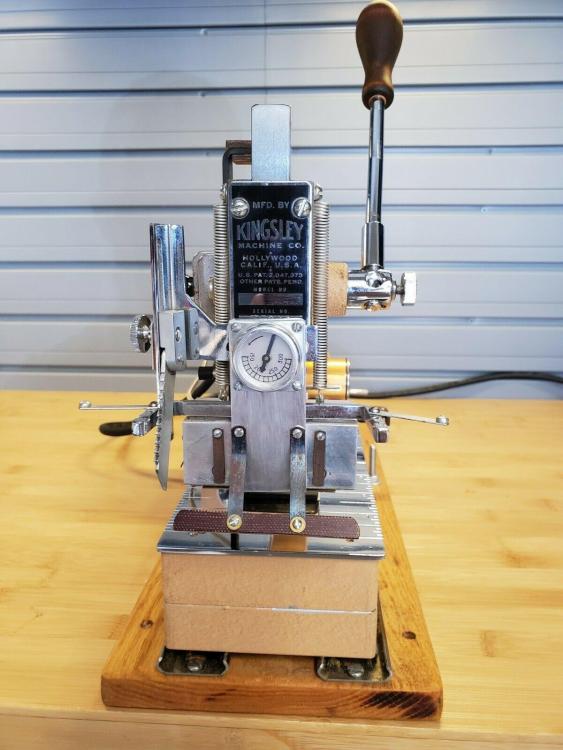
Hi all, sharing some pics for info of a vintage Kingsley hot foil machine I just bought through eBay. From the brief research I’ve done and the relatively high serial number, I believe it’s probably early to mid-1980s (time flies!). The model is LM 55 AF, and weighs about 20 lbs give or take. Welcome any feedback anyone has, especially with regards to oiling and care (even came with some of the original Kingsley oil). I have a number of attachments for the machine as well, including a Christmas card holder, napkin holder, and playing card monogramming attachment. I already set it up and tested using the original Kingsley foil that came with the machine - worked a treat. shout out to @RockyAussie for his sage words of wisdom and help through the process of acquiring this machine!

-

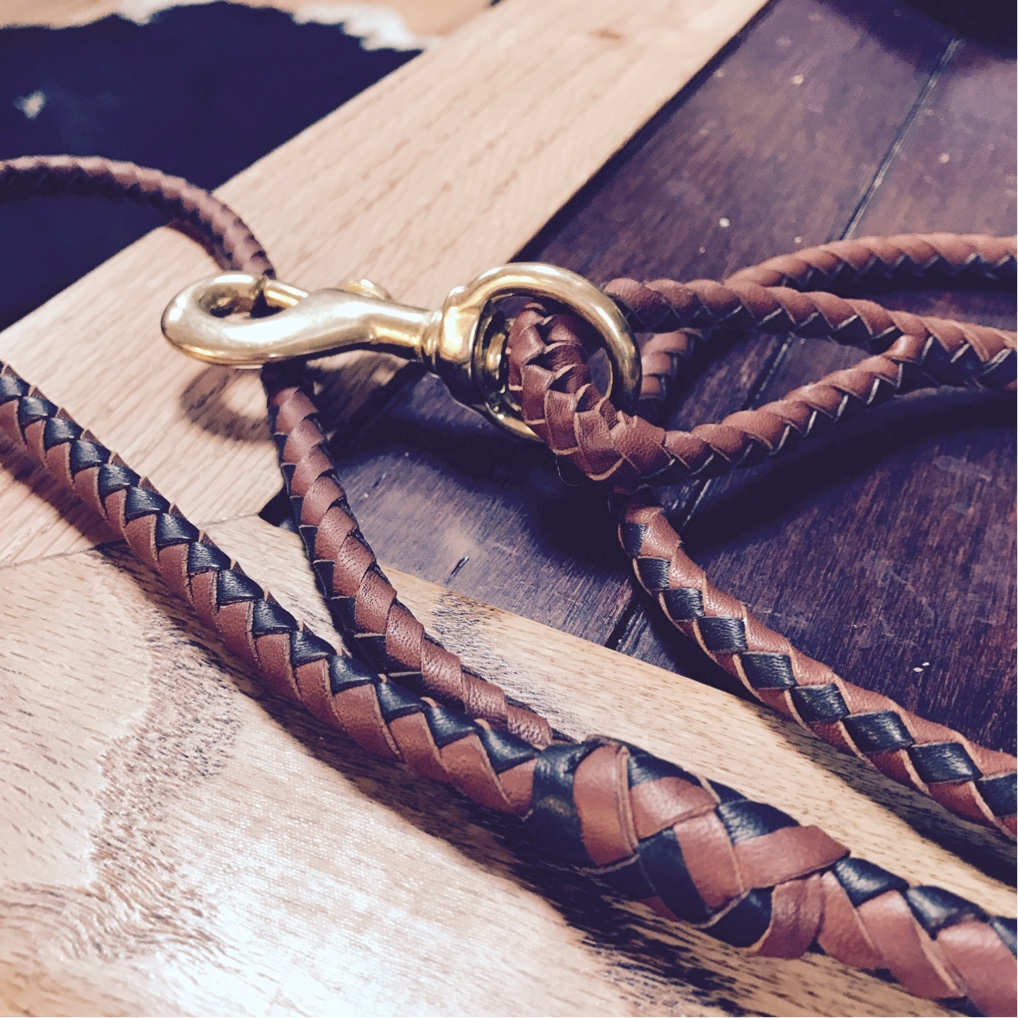
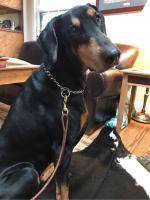
Dog Harness for my pocket bully
motocouture replied to motocouture's topic in Collars, Cuffs, Leashes and Leads
Thanks! Full credit for the design goes to DieselPunk patterns; you can buy them for a minimal price online, then download the PDF. Thank you on both counts! She’s definitely a spoilt fur baby lol. -
Looking to expand my (small) collection of Knipschield knives, so in the highly unlikely event that someone wants to part with one, more than happy to chat... Terry Knipschield also used to make folders and other knives - also interested in those if available, for my hubby (happy husband, happy house )
-
Crocodile / calf leather duffel
motocouture replied to motocouture's topic in Satchels, Luggage and Briefcases
it was hard, but I forced myself to... -
Crocodile / calf leather duffel
motocouture replied to motocouture's topic in Satchels, Luggage and Briefcases
Hi toxo, thanks for sharing! I do plan to join the two zips, exactly as shown in your picture (using maybe a small clip on either end so they can be detached if desired). Just didn’t get round to it before ducking off on some travel to a place with palm trees with my bag ) great idea on the flap, it helps to see a visual, and agreed, would have the flap inside so that it didn’t channel rain. Having a flap like that would also help me run the piping the whole way across which I think would be a nice design touch and help add structure at the opening as well. -
Crocodile / calf leather duffel
motocouture replied to motocouture's topic in Satchels, Luggage and Briefcases
No worries at all, glad to hear someone else does wider spaced stitching on turned seams. Good point for the thinner leathers, probably works best when you have 3-4 layers of firmer leather. I’m a huge fan of Meisi thread, both linen and polyester versions. Just didn’t have it in the right color (of course) on hand for this project, and didn’t want to wait lol. -
Crocodile / calf leather duffel
motocouture replied to motocouture's topic in Satchels, Luggage and Briefcases
Sure! I use KS Blade pricking irons, from memory, the 3.00mm (8.5 stitches per inch). I have a 10 tooth, 4 tooth and 2 tooth in the set. I very rarely use an awl, just use the pricking irons to make holes all the way through. I used a ‘normal’ saddle stitch, no casting, with a grey linen fil au chinois 532 thread. I love these pricking irons, use them for everything. I am looking at getting a set with teeth at approximately 4 or 5mm spacing, for doing the seams where the piping is, as these are flipped and not visible on the outside. I want to do some samples though, I don’t like the leather ‘gapping’ between stitches when the seam is flipped. -
Crocodile / calf leather duffel
motocouture replied to motocouture's topic in Satchels, Luggage and Briefcases
Thanks! Not a problem at all, I will send you a message with the sketch. -
Crocodile / calf leather duffel
motocouture replied to motocouture's topic in Satchels, Luggage and Briefcases
Thank you, much appreciated! -
Crocodile / calf leather duffel
motocouture replied to motocouture's topic in Satchels, Luggage and Briefcases
I also post photos of my work on my Instagram account, mo2couture, if anyone’s interested in more pics -
Crocodile / calf leather duffel
motocouture replied to motocouture's topic in Satchels, Luggage and Briefcases
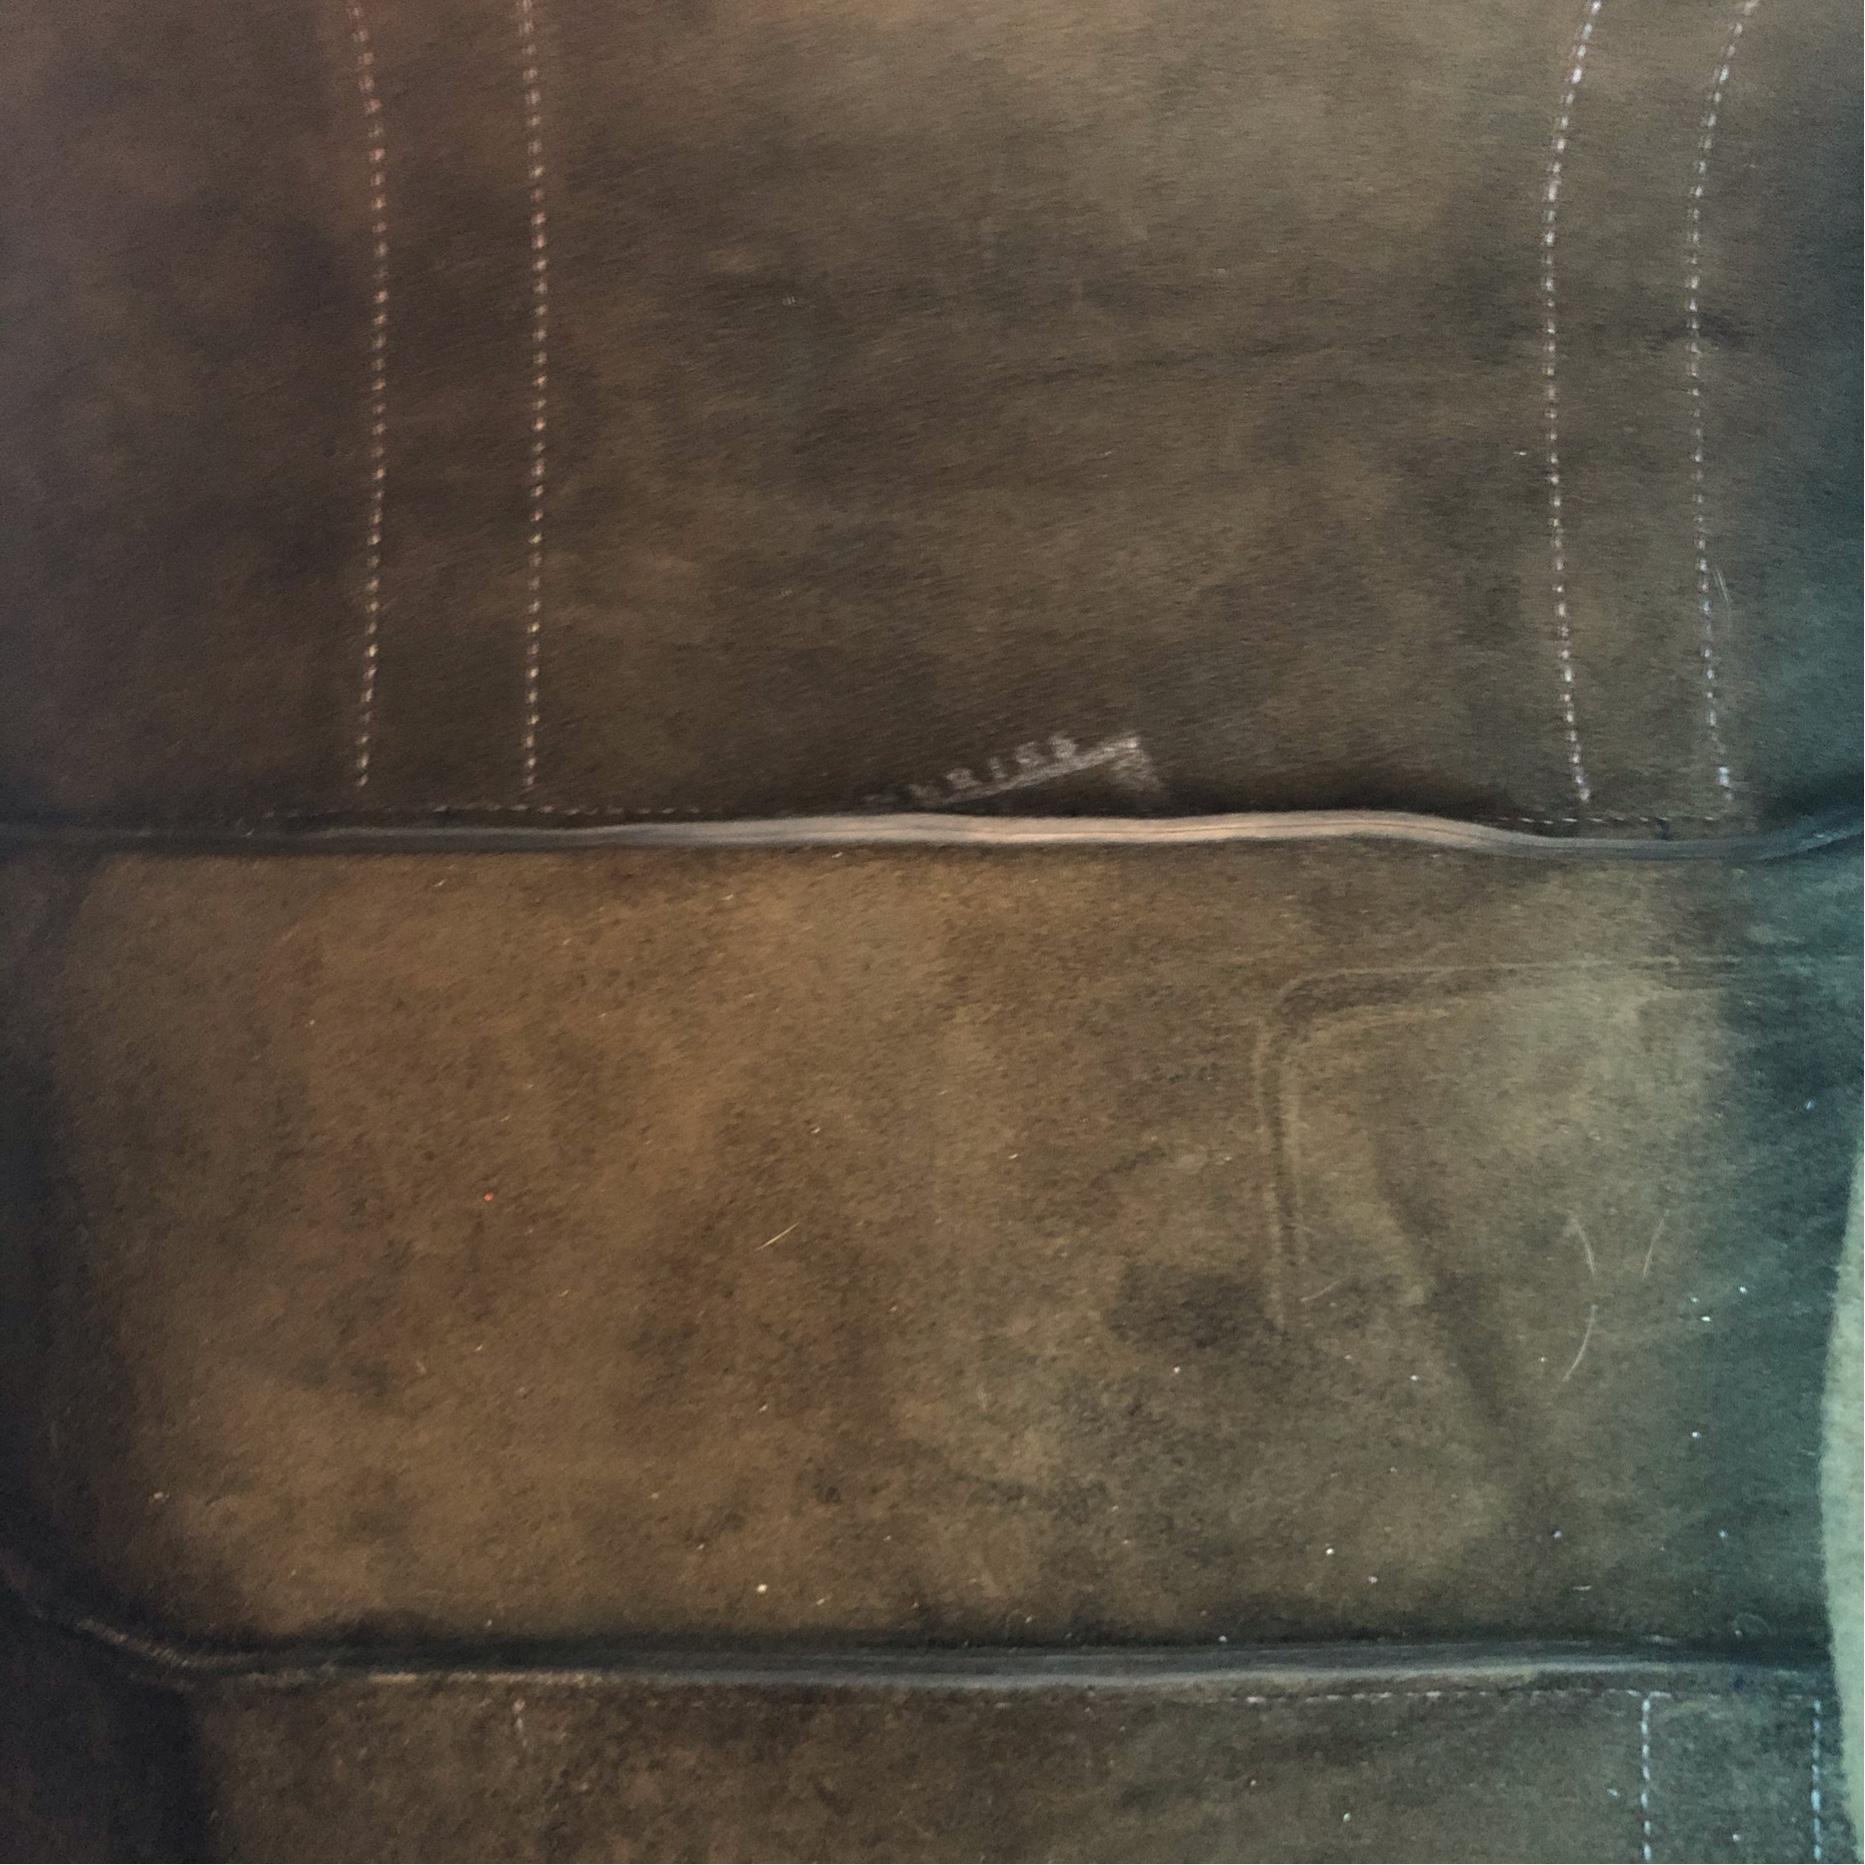
Couple of photos of the interior. To finish the internal edges, after stitching, I cut a mm or two off with my trusty Knip knife (they are sooooooo sharp, and I will shamelessly collect as many of them as I can). I then crease both sides of the cut seam edge with my Regad fileteuse, to round and smooth the edge fibers, and apply a single coat of uniters edge paint. Once dry, I smoothed the edge paint using the flat side of my heated creaser, which gave an acceptable finish I felt for the interior of the bag, without being too ‘heavy’.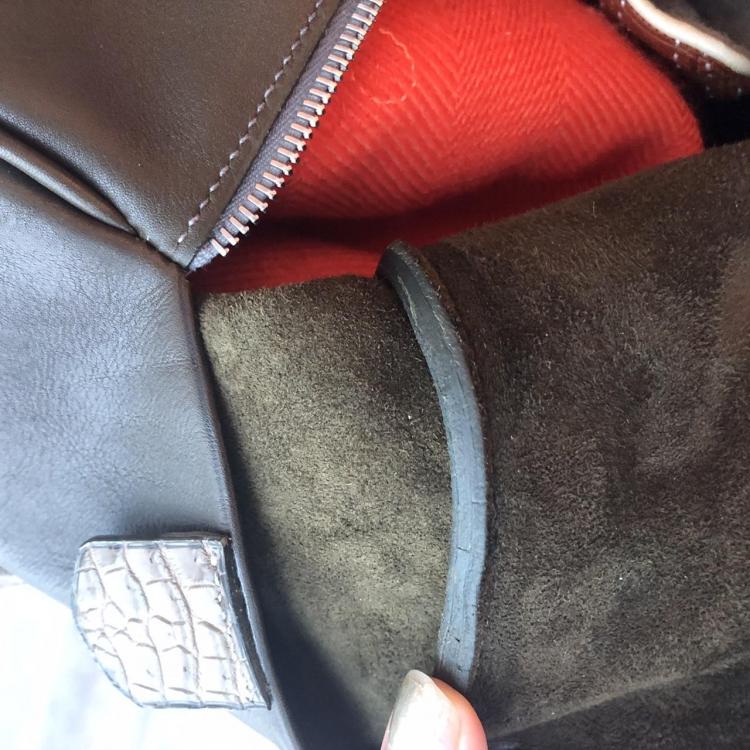

-
Crocodile / calf leather duffel
motocouture replied to motocouture's topic in Satchels, Luggage and Briefcases
@CastleLeatherWorks thank you, and excited to hear that you plan to make one for yourself as well! Sure, not a problem at all, will post some more pics. The bag is unlined, and the tumbled HAAS calf has a beautiful, almost suede like flesh side that I was fine with showing. I did crease and do a single coat of edge paint to finish the internal edges (will share some pics). For the piping, I used a strip of the calf leather folded over a 2.5mm cotton cord....will send some pics of that as well, and how I did the transition on the seam... -
Crocodile / calf leather duffel
motocouture replied to motocouture's topic in Satchels, Luggage and Briefcases
Excellent idea, and love the ‘peg’ clip concept. Thanks for sharing the detailed photos (I love how the scales look like a paw print on the last one!). I think I’ll combine both concepts - small internal flap, and a fold over strap on top. Really appreciate the input! Easier when they’re not alive -
Crocodile / calf leather duffel
motocouture replied to motocouture's topic in Satchels, Luggage and Briefcases
Thanks! Got out of the northeast at just the right time apparently thank you! That was my first time trying a transition like that, still so much to learn when it comes to piping. Agreed on the extra piece of leather, I think I’ll end up trying that plus a strap / clip that I think I can work in without overwhelming the piece -
Crocodile / calf leather duffel
motocouture replied to motocouture's topic in Satchels, Luggage and Briefcases
Thanks - high praise coming from you (your work is outstanding )! hmmm, I like the trigger snap idea. Could maybe work that into a longer flap that clips on to the shoulder strap attachment. I’ll try sketching out some versions. Thanks for the suggestion, it’s amazing how involved what looks like a simple part of the bag can be. -
Chrome tan? Card wallet
motocouture replied to Stetson912's topic in Purses, Wallets, Belts and Miscellaneous Pocket Items
Nice! I like the curved slots -
Crocodile / calf leather duffel
motocouture replied to motocouture's topic in Satchels, Luggage and Briefcases
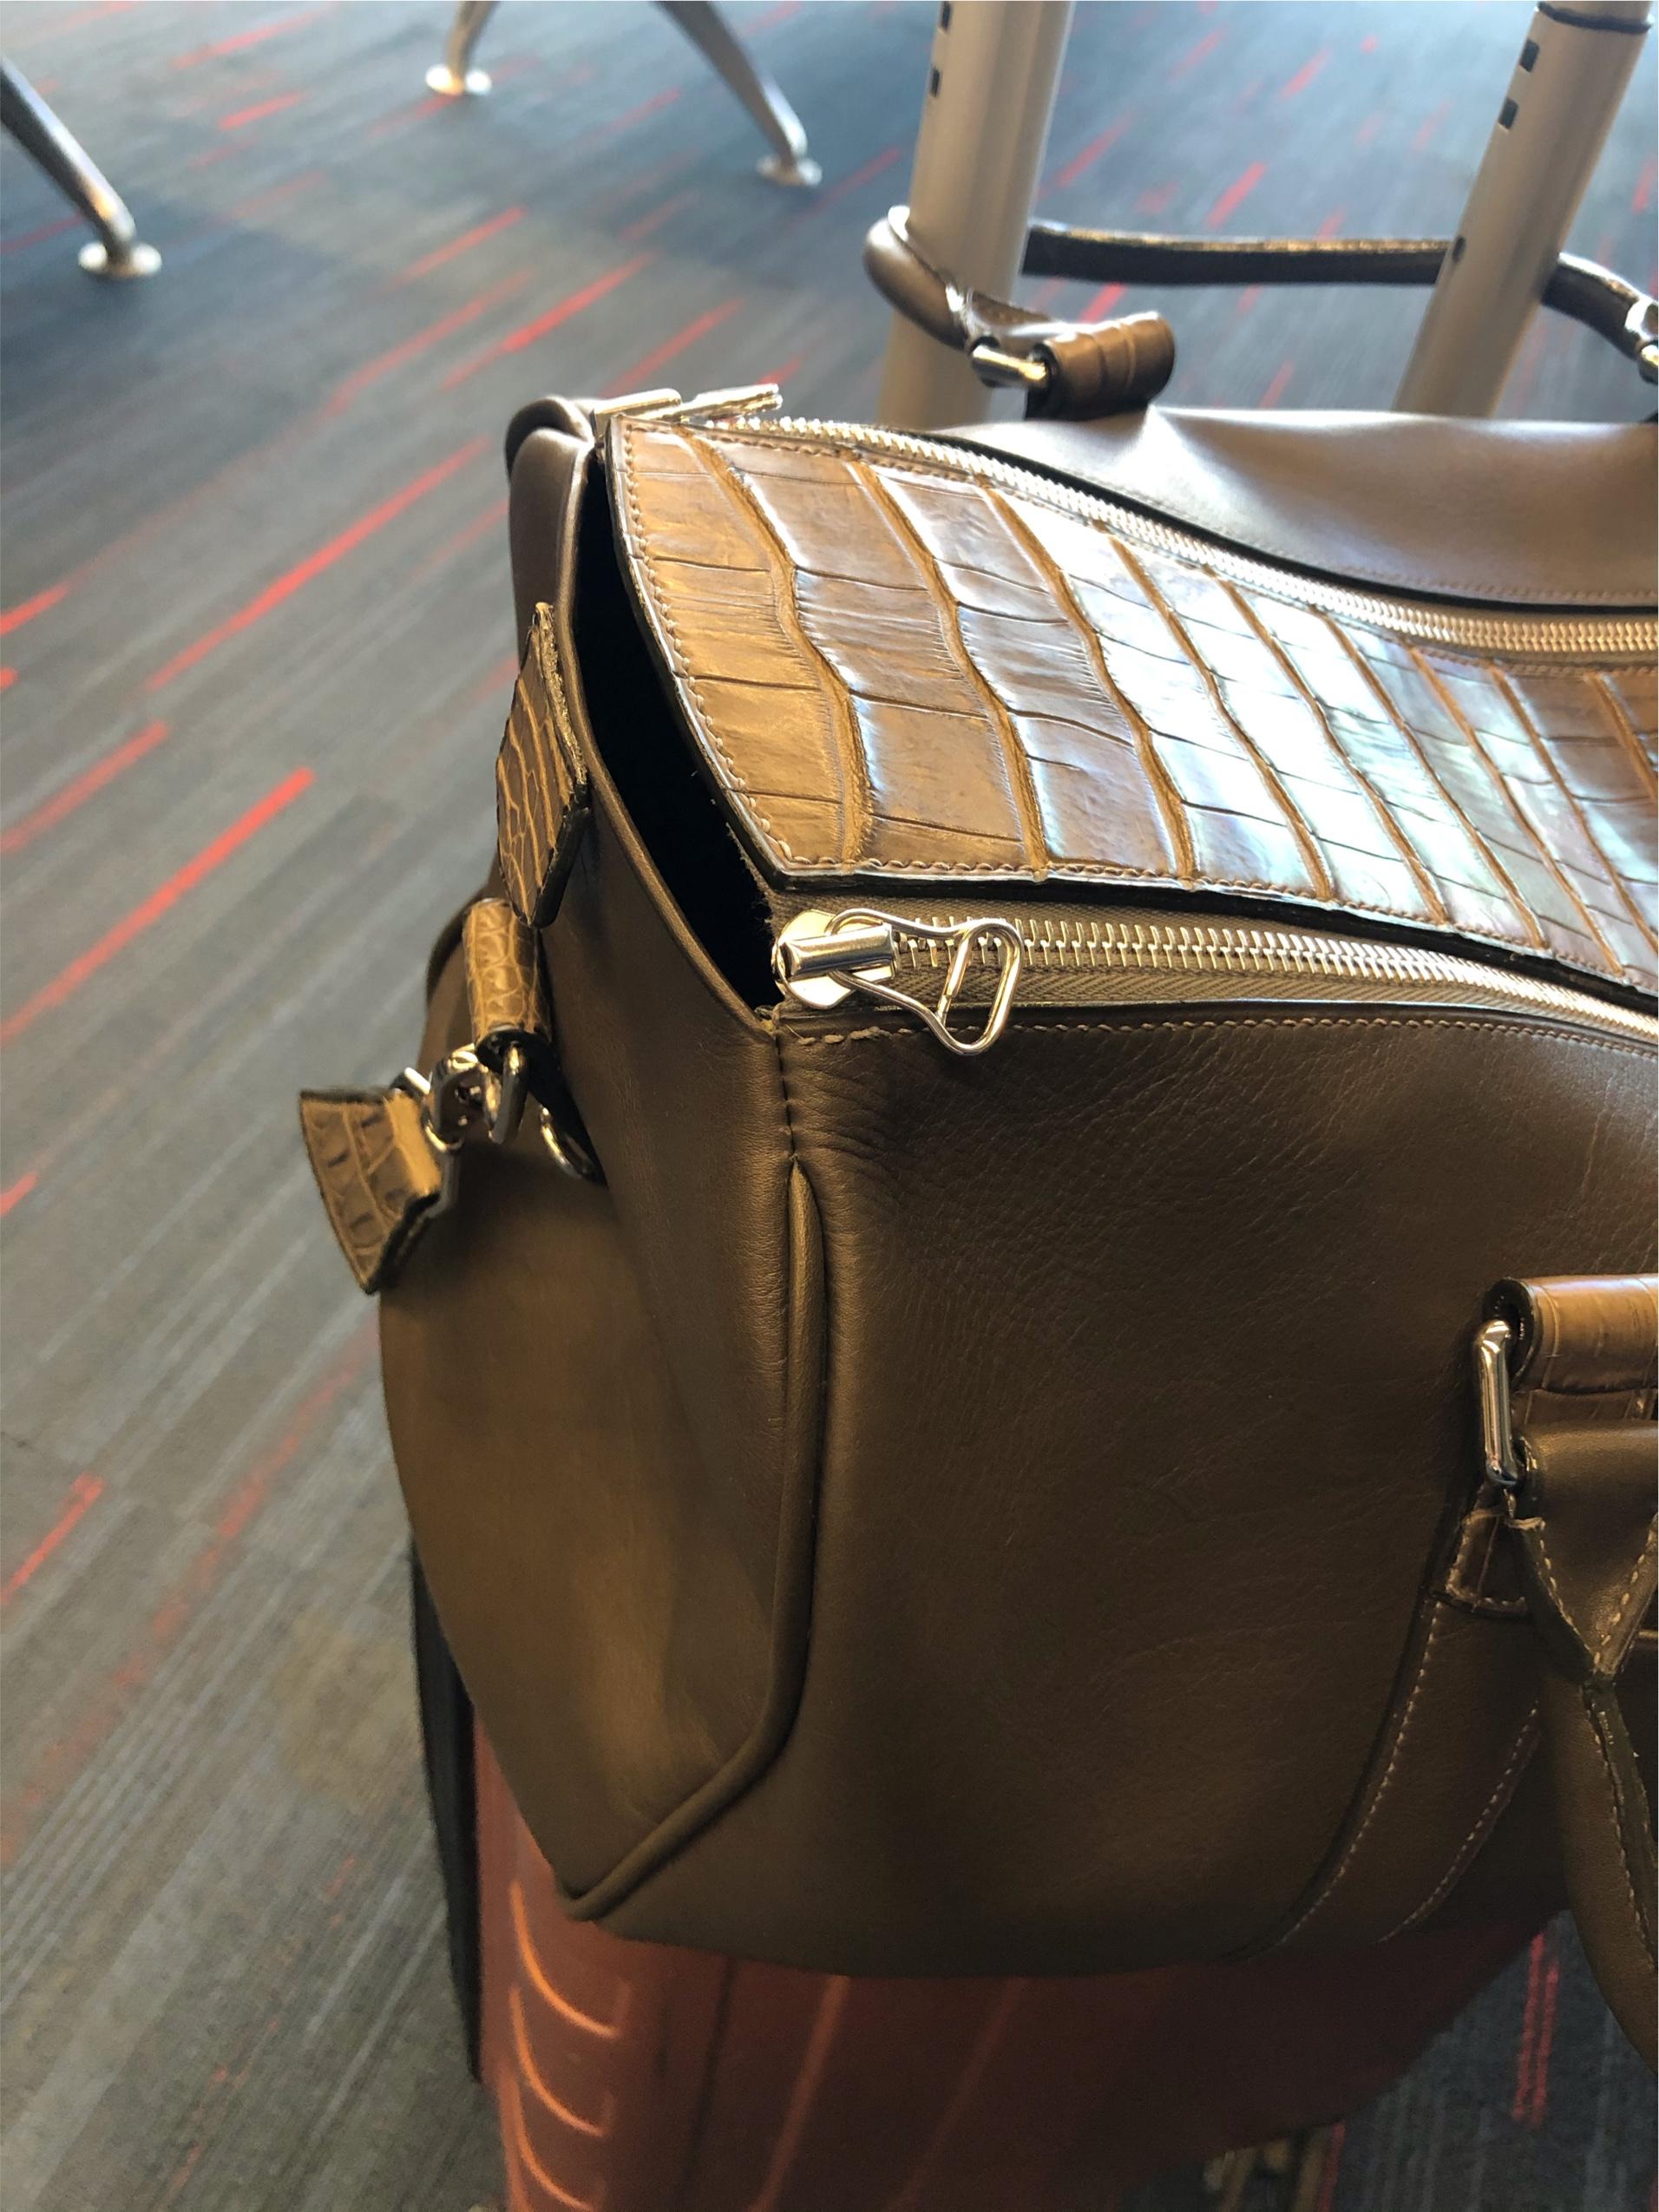
@Tugadude here is another photo, showing a close up of the gap (ironically, I’m at the airport at the moment)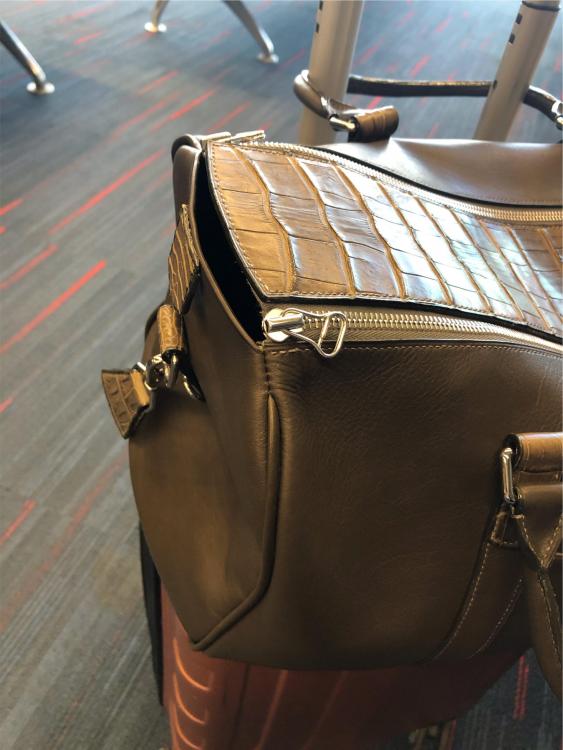
-
Crocodile / calf leather duffel
motocouture replied to motocouture's topic in Satchels, Luggage and Briefcases
Thank you so much! -
Crocodile / calf leather duffel
motocouture replied to motocouture's topic in Satchels, Luggage and Briefcases
I know exactly what you mean, and thanks for the suggestion! I was actually pondering the same problem, and trying to think through how to fix it. I like your idea of extending up the side panel and folding in. I have seen some that have an extra long top flap that folds over and is strapped down, but especially when traveling, I don’t like having to use two hands to open / close a bag or having the extra closure when you’re in a rush (say, hypothetically, running late for boarding ) -
Crocodile / calf leather duffel
motocouture replied to motocouture's topic in Satchels, Luggage and Briefcases
Thank you! I love that HAAS leather, amazing quality and very versatile...thanks for sharing the goodies with us! Thank you! I enjoy trying to match form with function, so you don’t end up with something too large or two small -
Crocodile / calf leather duffel
motocouture replied to motocouture's topic in Satchels, Luggage and Briefcases
Thanks! I enjoy the puzzle of bringing all the pieces together. happy I can give back a little to the forum; lot of knowledge shared here -
Crocodile / calf leather duffel
motocouture replied to motocouture's topic in Satchels, Luggage and Briefcases
Thank you, and not a problem at all! Will send you a sketch diagram via message -
Crocodile / calf leather duffel
motocouture replied to motocouture's topic in Satchels, Luggage and Briefcases
Thanks mate! The more I work with Croc, the more I love it! And I’m always using the tips and knowledge you kindly share! thanks! Yeah, adds up when you do a bag, but I enjoy the stitching. Hope the belt goes smoothly for you! -
Latest project
motocouture replied to Flyman's topic in Purses, Wallets, Belts and Miscellaneous Pocket Items
Nice work, and welcome aboard! -
Crocodile / calf leather duffel
motocouture replied to motocouture's topic in Satchels, Luggage and Briefcases
Thank you! much appreciated! I’m excited to some some different colour combos with similar materials. I like the contrast in textures, too thanks, and welcome to the forum! Looks like you’re in PA as well