motocouture
-
Posts
475 -
Joined
-
Last visited
Content Type
Profiles
Forums
Events
Blogs
Gallery
Store
Everything posted by motocouture
-
 Managed to survive the work week and the ridiculously cold temps up north. Below are a couple of pics gluing the lining in. Was my first go at a full lining, and knock on wood, seemed to turn out ok.
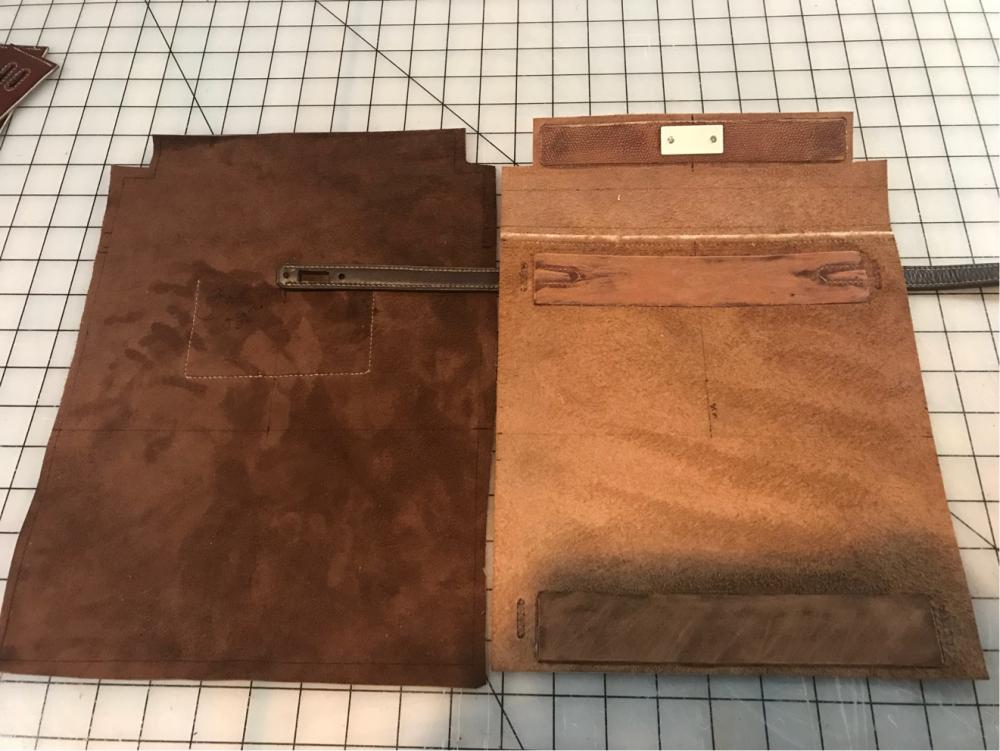
-
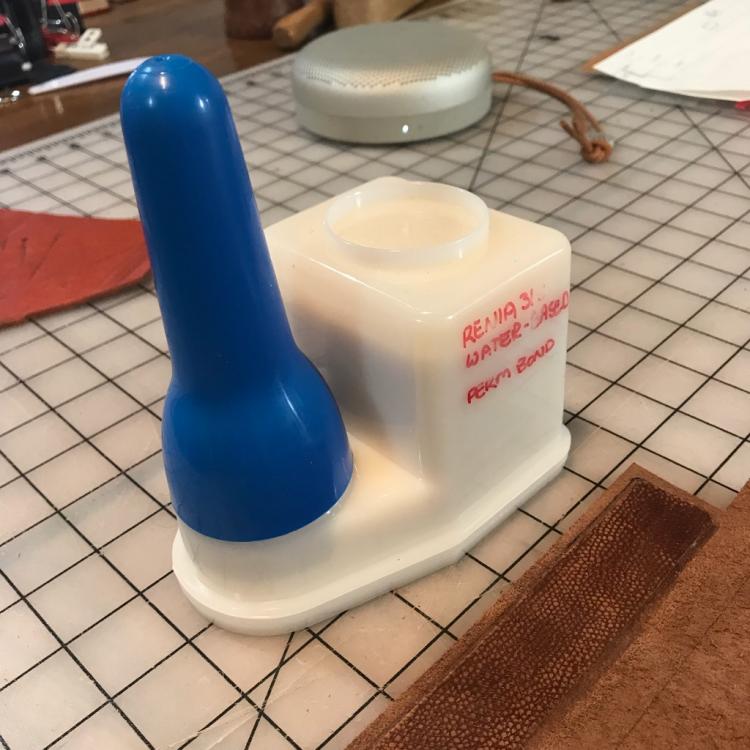
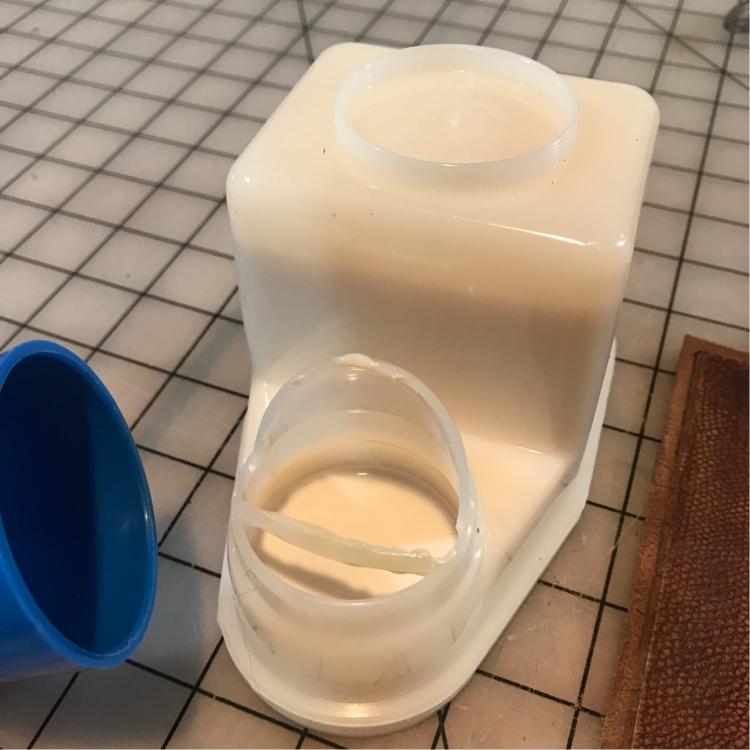
Yep, you just tip the pot on its side, and fill through the front opening. Thanks! Yes, treated myself to a Regad 3000 for Christmas. Still getting the hang of it, but I feel like it really helps improve the finished look of my work. Makes a huge difference with the edge paint, too.
-
Very true!
-
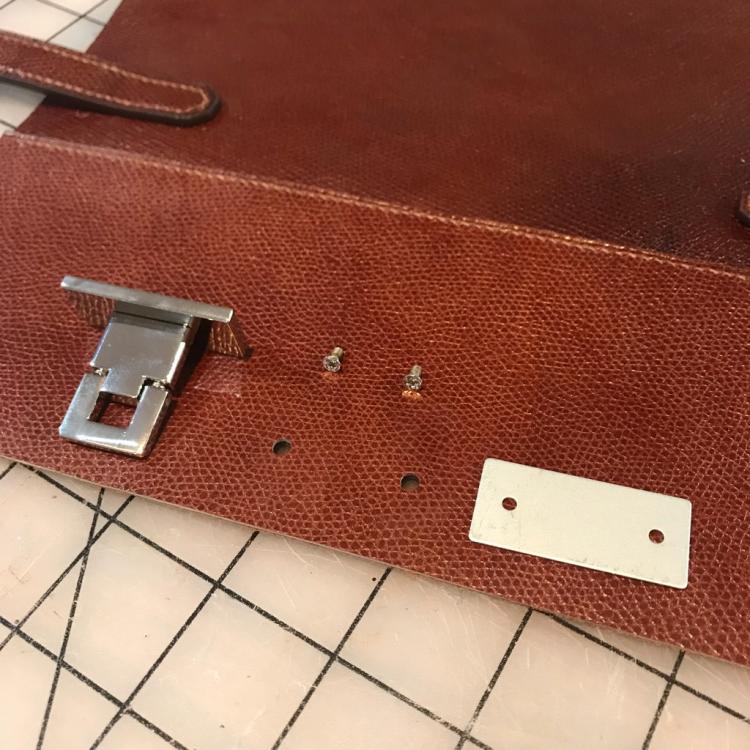
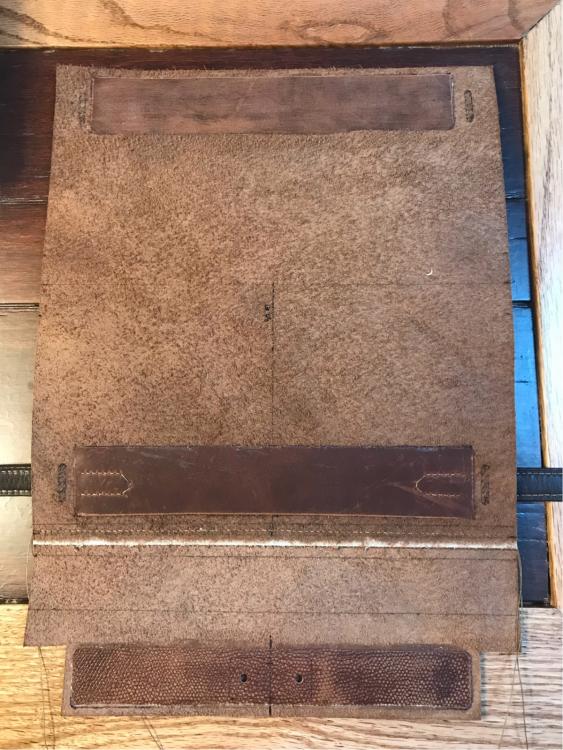
Meanwhile, managed to squeeze some work in today. Attached and stitched the straps to the back of the clutch. Took a photo of the inside to show where I’ve included some extra reinforcement behind the hardware, straps and mouth of the clutch. Kinda winging it, but the outer is fairly stiff, so I don’t think I’ll need a lot. Also installed the hardware on the front flap, ahead of gluing the lining in.
-
Sorry to hear that! I must admit, I don’t leave any brushes in them, and now I know about the Barge! cross that Trvial Pursuit question off the list, then!....
-
Thanks @Stetson912, figured there was someone out there who could explain it better than me!
-
I hear you on that. I must admit, I was skeptical at first and filled it in the kitchen over the sink. I’m sure someone with a far better knowledge of plumbing and physics will chime in, but I can confirm that it stays exactly at the same ~1/2 in deep level. German engineering....
-
Great idea! Much fancier than my old wine corks ....
-
Like the design detail for the pencils, smart.
-
Thanks! It’s fun to work on something smaller than a travel bag, can see the progress faster
-
Eeesh! Not cheap. I was really lucky, managed to pick up a couple of hides at a very decent price and great quality from a forum member. Still enough to make me think twice before carving them up, though.
-
Thank you! Yes, the sanding definitely seems important. I tried just scratching the surface with an awl, and it didn’t bond nearly as well.
-
Thank you! Been playing with my Xmas present to myself, a fileteuse. Edges still frustrate me enormously; I suspect that will be a lifelong process.... i didn’t try the Barge in this keeper, although I believe you can. I would decant some into a small, metal lid screw top jar to store. Bought two of these new containers with the intent on using one for Barge, then was so happy with the Renia that I sent the Barge back to the laundry to sit with the other random household chemicals that we seem to collect.
-
Not too expensive. I sourced mine from Sorrell’s Notions and Findings (slight delay for shipping, since it was %£$!@ cold here for a while), and from memory it was around $30 for an amount I think I’ll struggle to go through in a year. It’s water-based, but not water-soluble once dry. The bond is good, although I think mine got a little frozen (no names, no pack drill, but someone didn’t bring the package inside straight away while I was away on business travel..... ), which I’m pretty sure doesn’t help it any. That said, it’s been fine on straps etc, with holding right to the edge when edge finishing. And worlds better than sacrificing neurons (the few I have left) to the aromatic presence of Barge. I think you’re right about the Teflon!
-
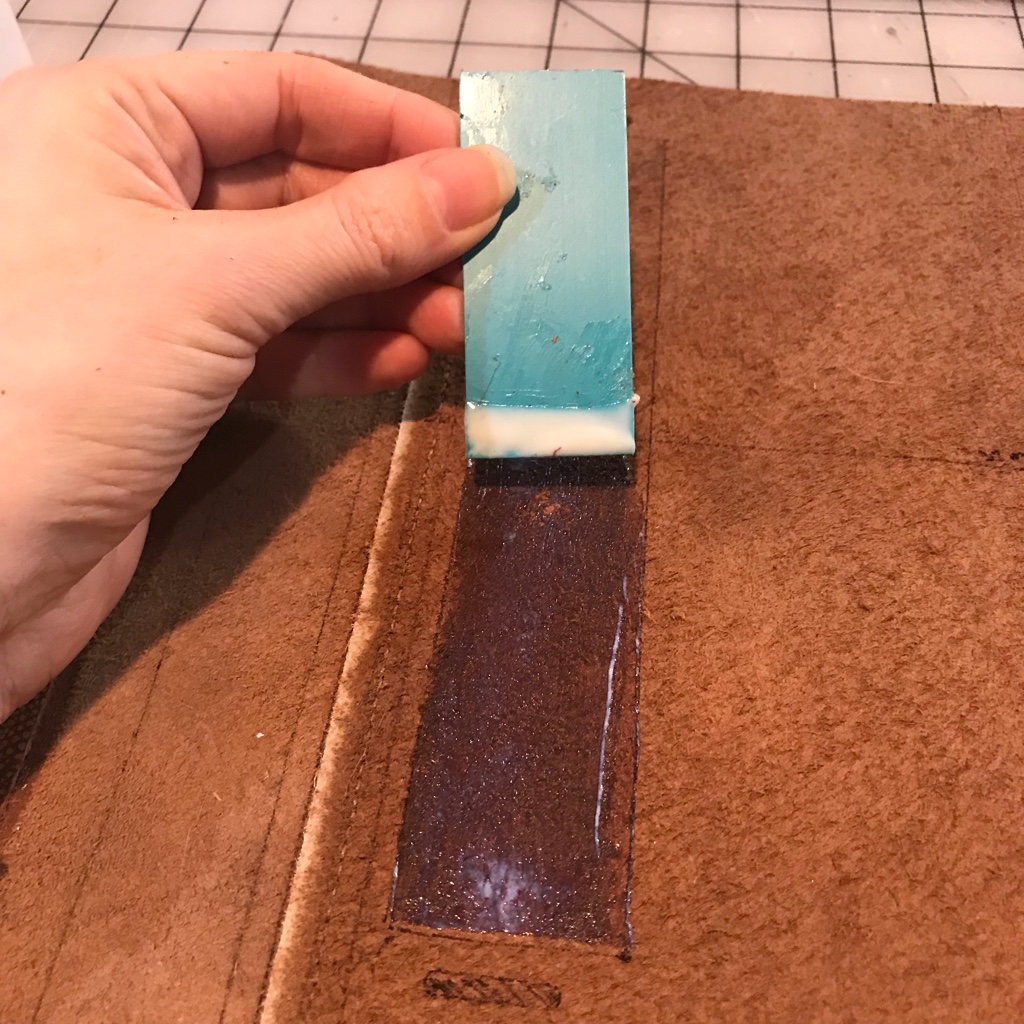
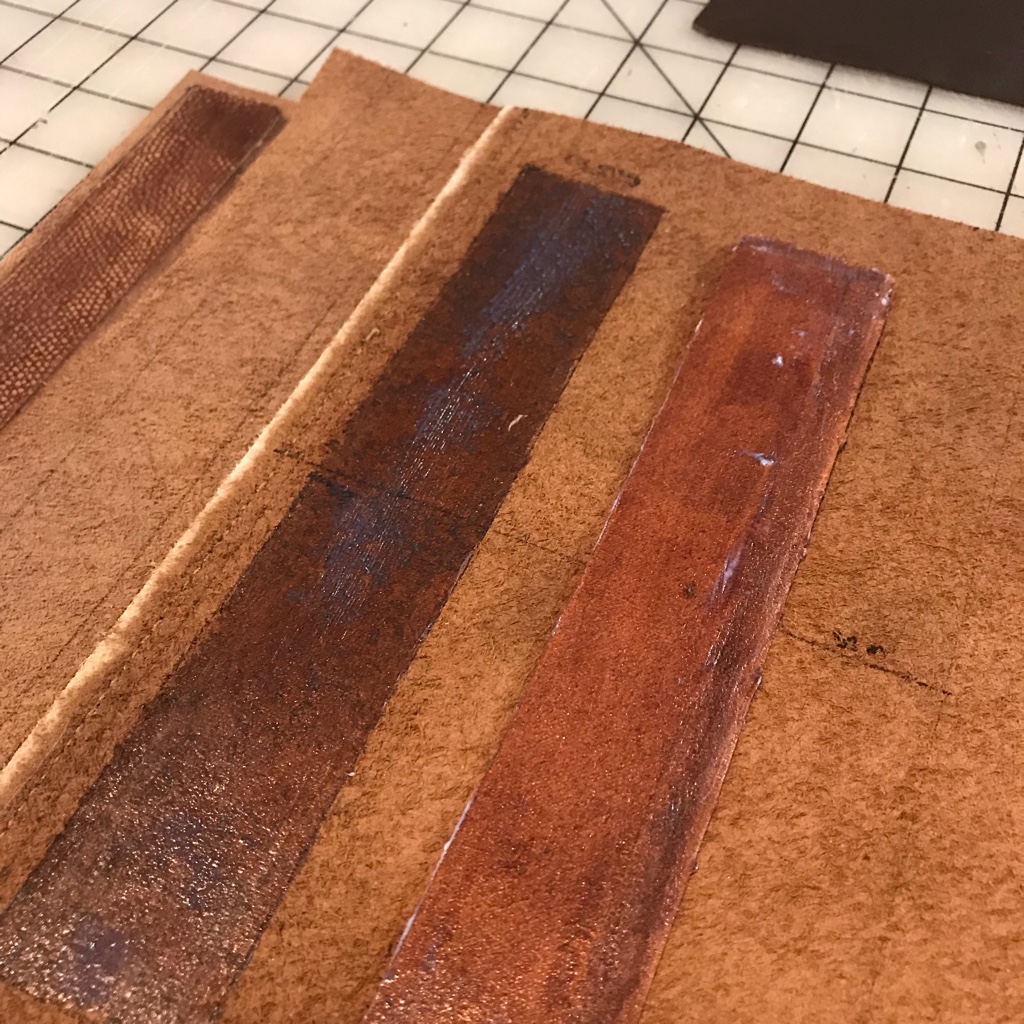
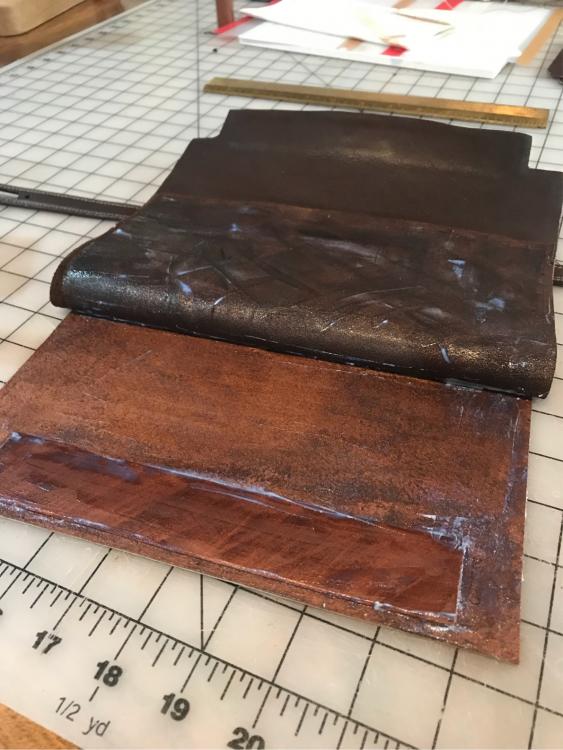
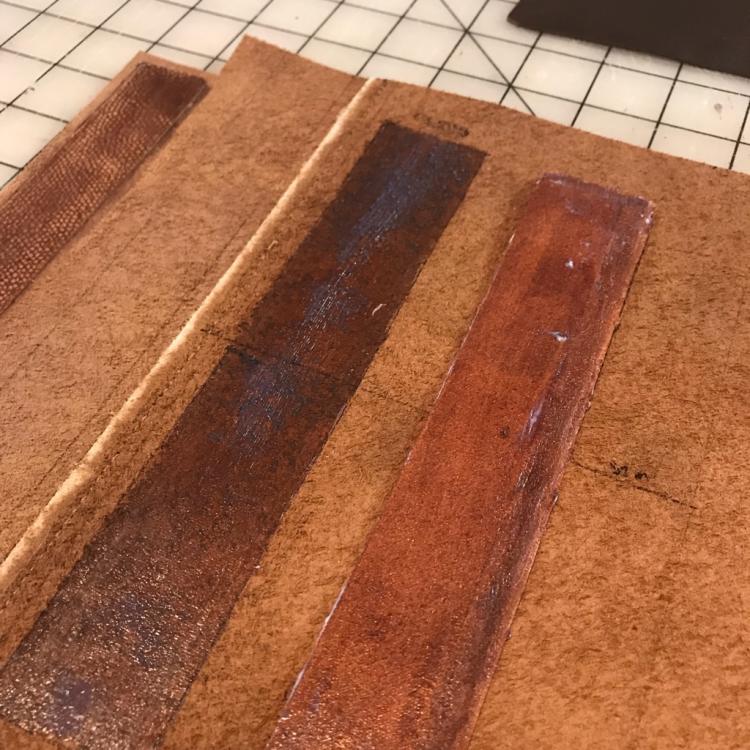
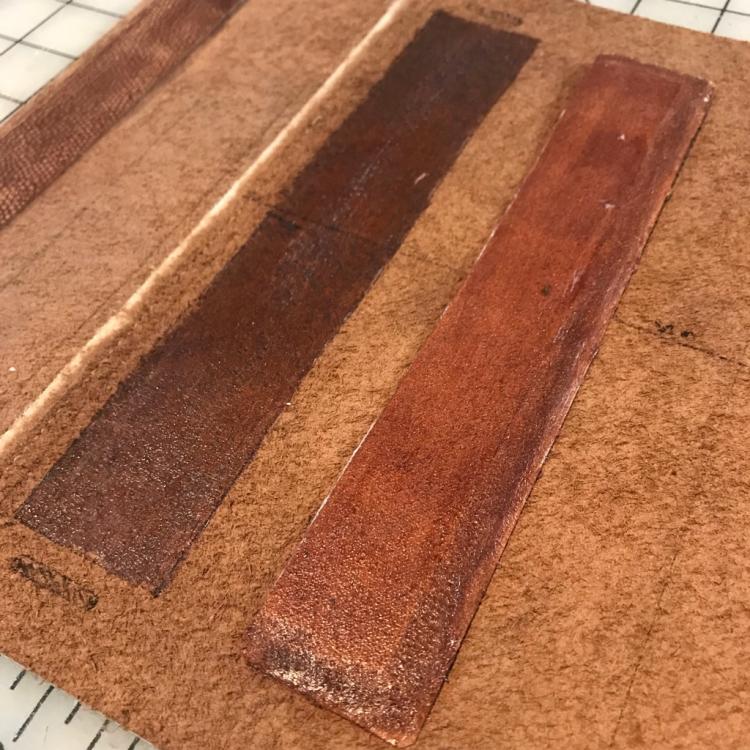
@Mokerson I promised a glue review...I’m lovin’ the Renia glue. Was using Barge, but I found it evaporated quickly to a gooey mess, and was scaring my family out of the basement. I’m using two different glues, the temporary bond and the Aquilim 315 permanent contact cement. For storage, I decided to give the TS Boy glue pots a go. They’re obviously made out of something impressive, as my sharpie wouldn’t even stay put when trying to write on them. Despite looking like small toilets, they work really well. Bought a couple of brushes, but don’t use them. Make do with small offcuts of my thin kitchen cutting boards (use them as bag stiffeners), and just wipe them off after use. I’ve posted a couple of pics that show the 315 glue when first applied, then after about 20 mins. I’m a complete novice with this glue, but from my initial experimentation, it seems to works best if you apply to both sides, then let it dry to fully clear before sticking together. After placing the pieces together, I hammer, then press. Found that it’s a little stickier on needles than the Barge, if hypothetically you’re impatient and try to stitch too soon...once it’s dry though, very easy to stitch through, and remove from edges of a little spills over. And, as always, it sticks reaaaaallly well to fingers, too.

-
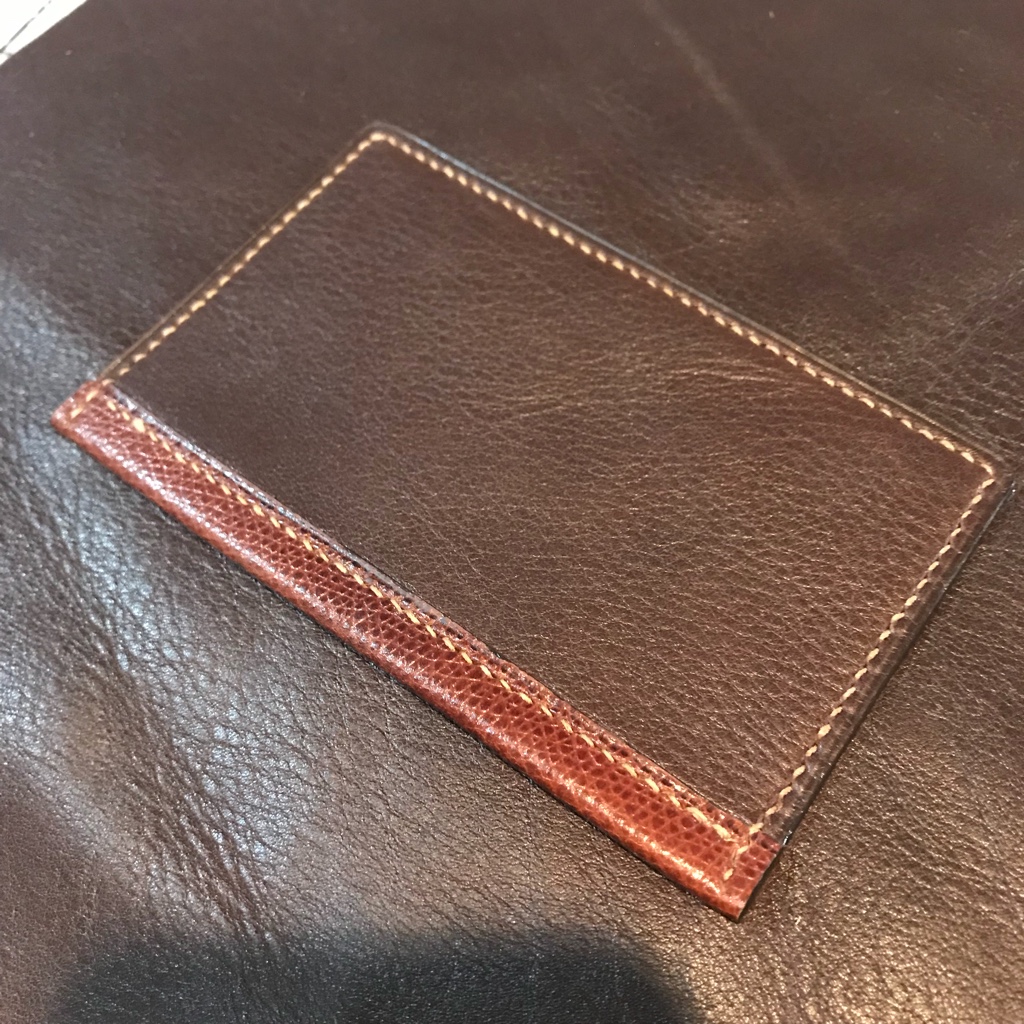
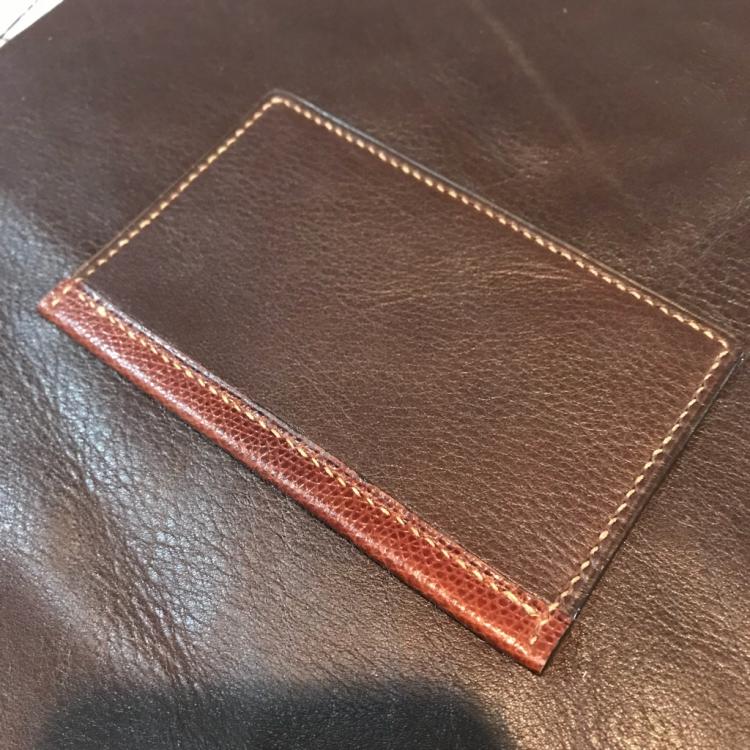
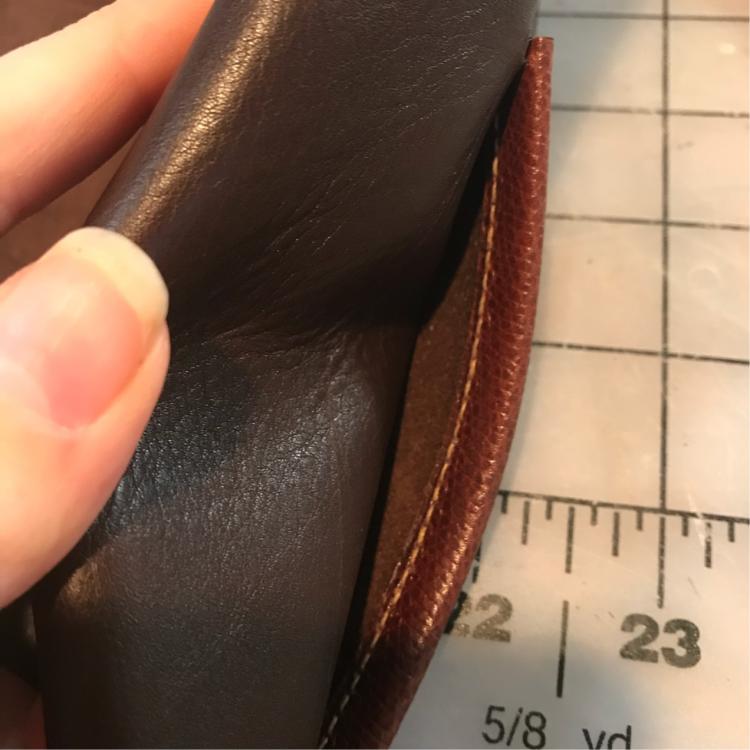
Thanks mate! I really like this color combo, especially the almost cigar shades of the embossed calf against the dark chocolate....been experimenting with mixing custom colors for the edge paint, will see how it goes.
-
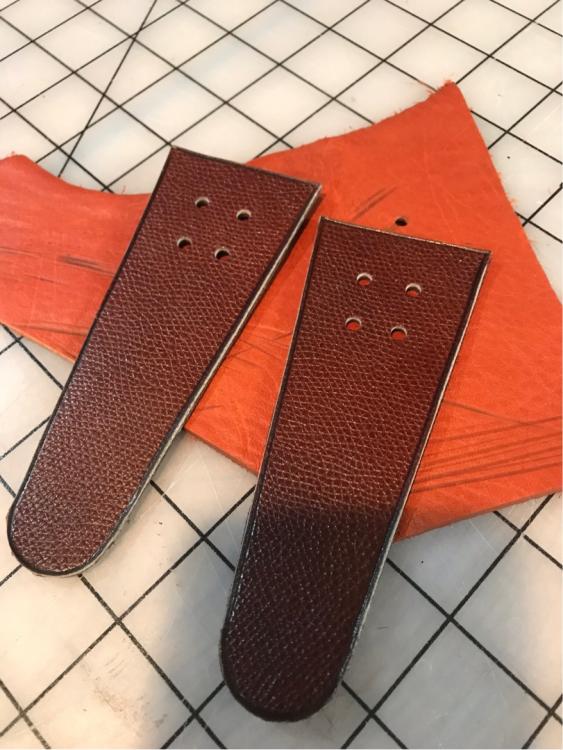
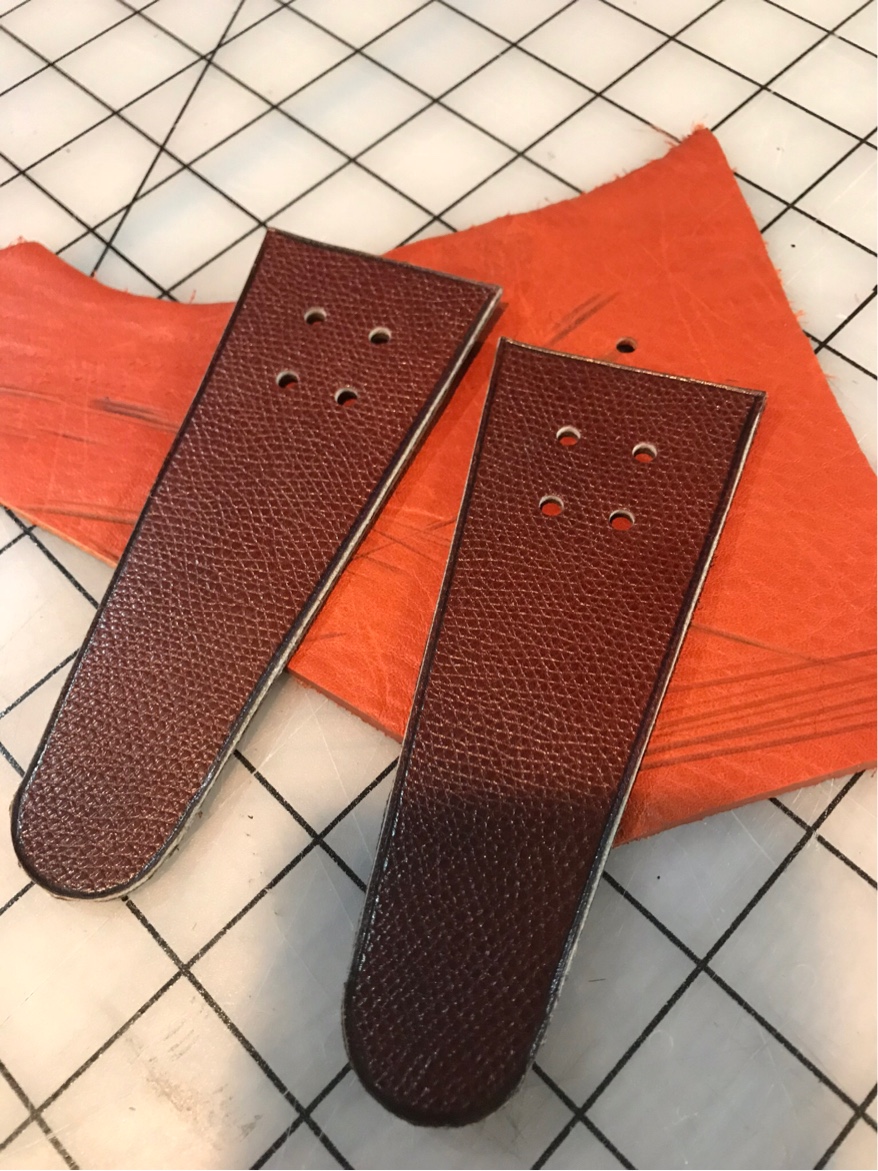
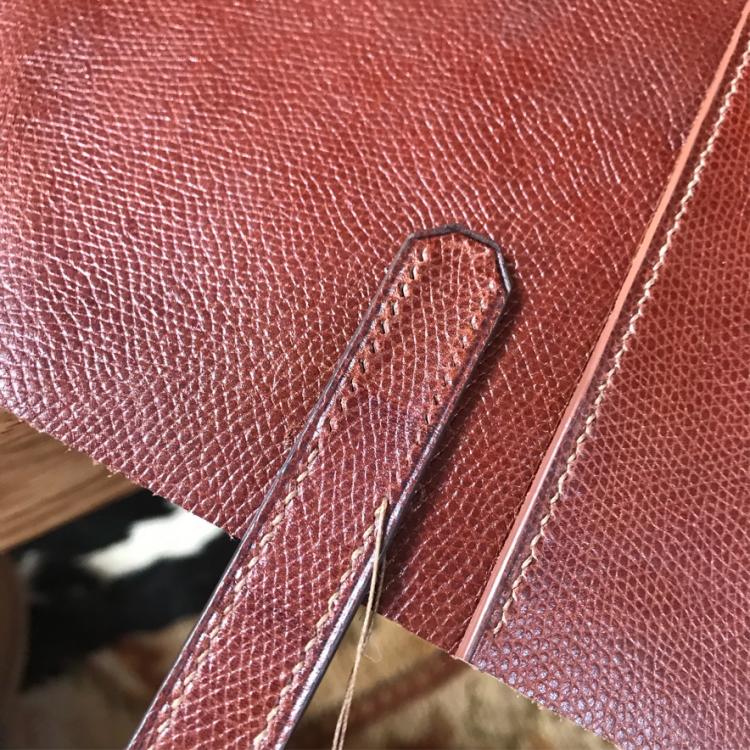
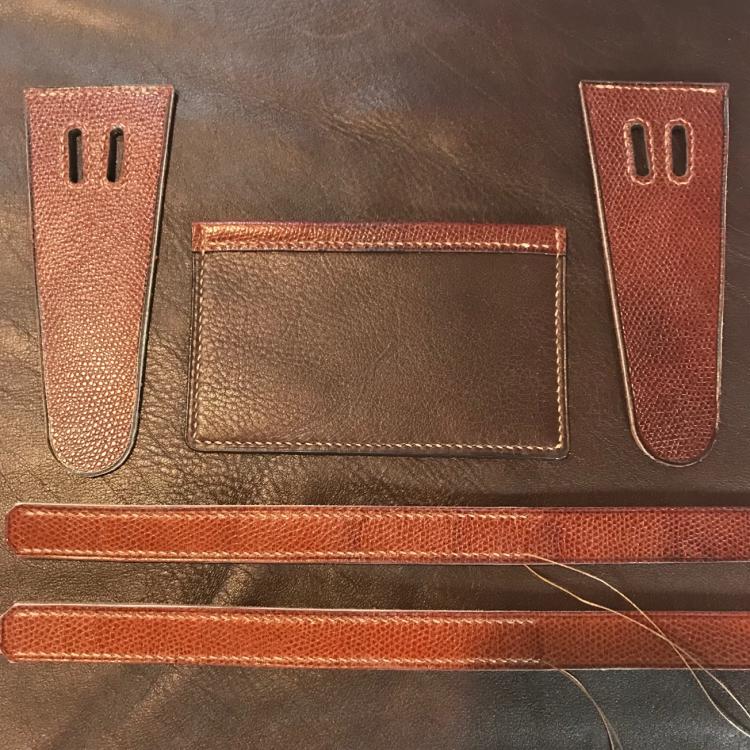
Some progress pics from work this week. First two shots are the interior pocket, out of calf with a strip of the embossed calf as trim. The third photo shows the pre-stitched gussets (realized I will have stitched around 8 of those oval slots by the time I’m done with the body of the clutch...sigh...), along with the initial work on the straps.
-
Side Quiver, first post!!
motocouture replied to CalanColeman's topic in Archery Quivers and Bow Cases
Nice work! Don’t let my hubby see, or I’ll have to make him one (we both shoot Hoyt compounds). Welcome to the forum! -
If you google Cobra buckles (AustriAlpin) they might have what you’re looking for.
-
Hi Betty, I’ve also used yoga mats to pad MacBook cases, that might work here as a plan B One yoga mat goes a long way!
-
Hi John, no worries, will post a detailed review as I progress through the project Can only go downhill from here
-
Travel Guitar Case- Best way to attach shoulder strap
motocouture replied to RKCrowe's topic in How Do I Do That?
Understand completely! That’s what helps make you better at your craft, though -
Travel Guitar Case- Best way to attach shoulder strap
motocouture replied to RKCrowe's topic in How Do I Do That?
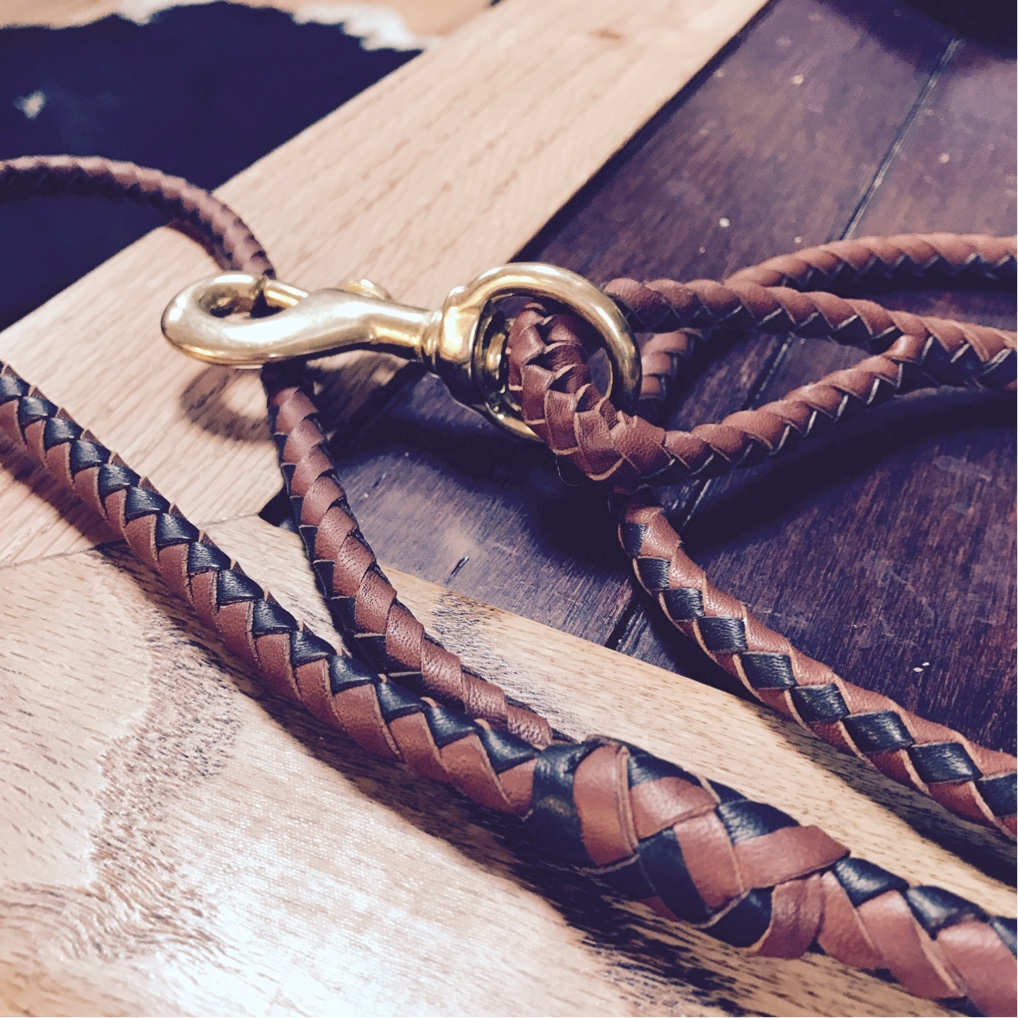
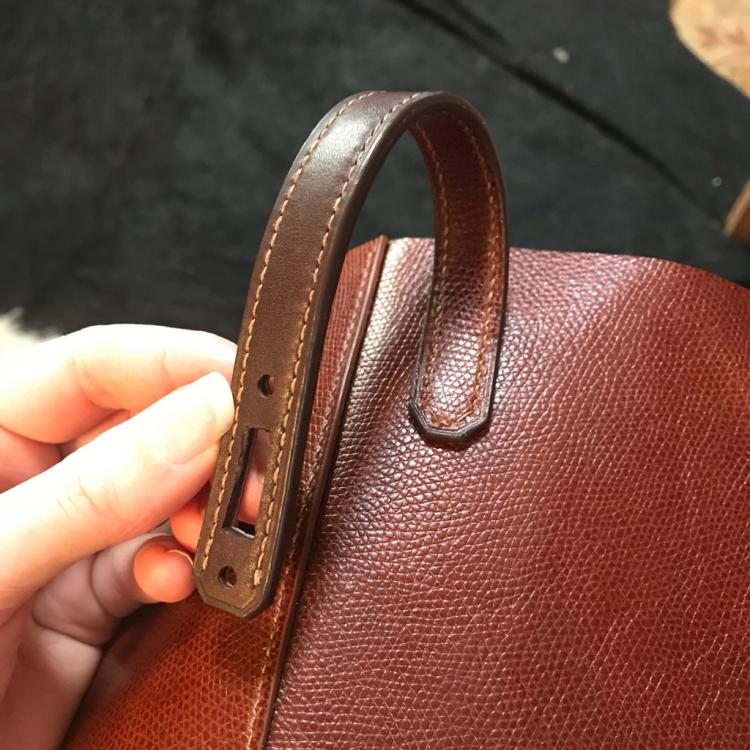
Just thinking aloud, can you design an attachment point using a D ring and a swivel clip? That way you could disperse the strain with being as concerned about the directionality of the load... buckle guy or hardware elf both have some great, high quality hardware. Pic below of how I did the attachment for a briefcase for hubby. Attachment point here is directional, but could easily be tweaked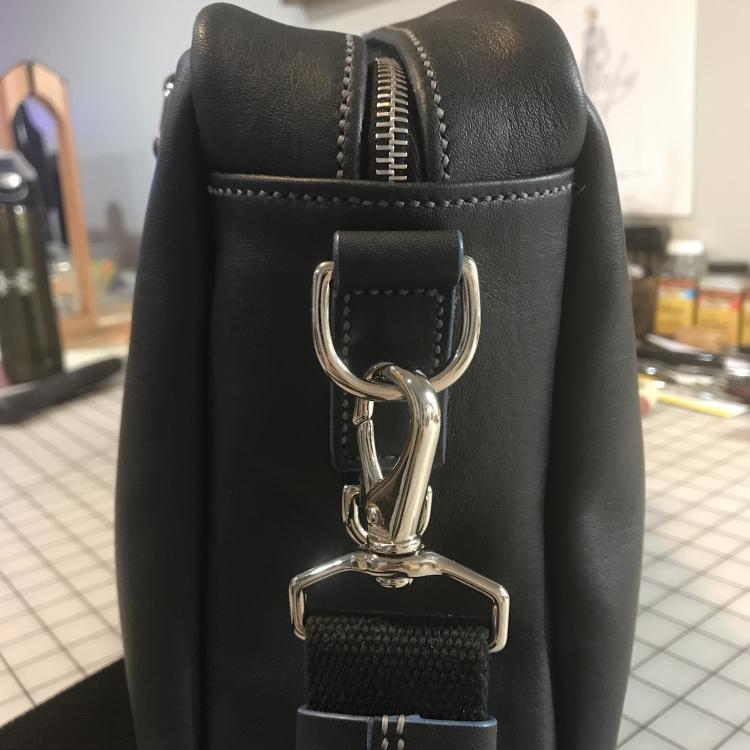
-
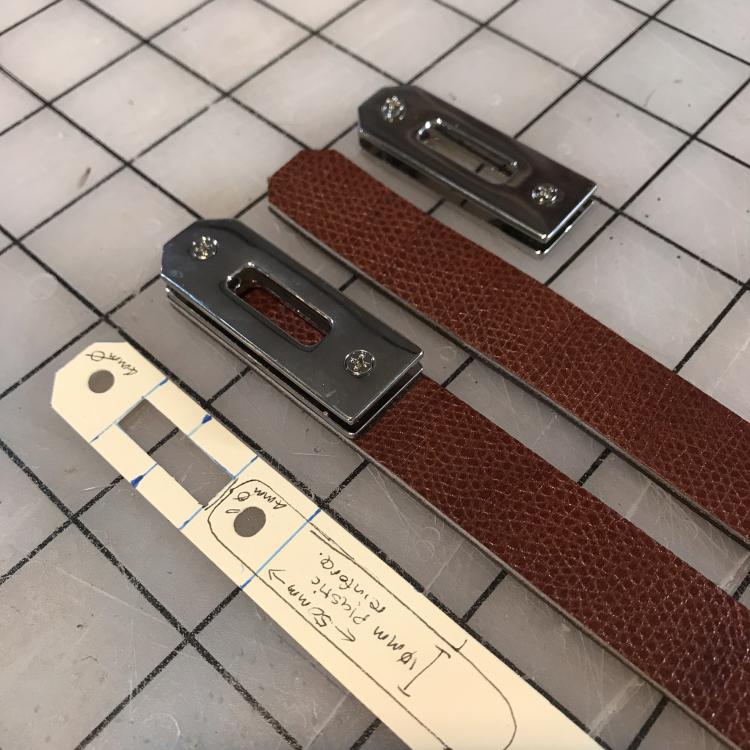
Btw, the seam along the top flap is to mimic the size of the pieces I can cut out of the croc hide. The gussets will have two oval slots for the straps to pass through (will be stitched to the back of the clutch, and fasten at the front)