


Rockoboy
-
Content Count
1,422 -
Joined
-
Last visited
Posts posted by Rockoboy
-
-
You would receive more interest if people knew where you are based. Also some details of what size you are planning.
-
Exquisite piece of artwork. Both faces are dripping with attitude that only the king, and queen, of the jungle has/have. I can only imagine how the colour will improve this piece, because it looks like there can be no improvement.
-
Nothing wrong with your stitching mate. The stamping looks fine from where I am sitting. A blind man in a wheelchair would walk a long way to see it!
-
On 8/22/2019 at 10:24 PM, oltoot said:There was a saying re the older Harleys and these things
I have heard it said, "if you want to upset a Harley rider, ask him what make of ute (pickup truck) he drives". Obviously a suggestion that he is often forced to collect his machine from the side of the road.

-
Stitching is even, I like the hand-carved hooks, the date and the laser engraved detail. I like it all.
-
I am not likely to become a business, but I am interested in different processes, machinery and tools.
There is always a possibility that I could make a basic machine or use a portion of a process as described or demo'd in your videos. So I am definitely interested in your videos.
-
That is a seriously good job. I like the closure so much, I think I can see myself borrowing that idea!

-
I think the idea around left/right or forward/backward cant is all about getting the work piece in the most comfortable position for you to work on it.
Maybe somebody who is used to these features might turn their nose up at a lesser model but, I think the lesser model would still be very handy to have.
I have a store bought small table-top model, a medium size home-made model that sits on a coffee table between my knees and a larger home-made floor model stitching clam for larger projects. Each has their use, with some pro's and con's.
-
Hello Sangrati, I use the 1st method in your enquiry. I use a stitching chisel, so the holes are made all the way through, not just a prick mark for an awl.
If the 2 pieces come apart before or during stitching, I do not care. Once the holes are accurately made, my 2 pieces get stitched together accurately.
I have tried cutting the pieces to their end size before stitching together, but I think I prefer to make the item oversize, so I can cut the item to match the stitch-line after stitching is completed.
If you post pictures of your work, people will be able to make comment based on what they can see, which might be of more assistance to you.
-
4 hours ago, HaloJones said:It’s a shield of invisibility
")
Ohhh. Thank you for showing us that, I have never seen one before.

-
8 hours ago, blue duck said:You might try and do a search for filigree.
Are they filigree or stamped/carved and a really nice paint job?
-
Hmmm ... Did you forget something here?
-
I dyed several pieces of a project last week, one piece was about 14inches long by 8inches wide. I thought I had it nailed by using a strip of lambs wool about an inch wide folded double by 3inches long, effectively giving me a 3inch wide brush, for a very quick dye job.
How wrong was I? The dye came out all blotchy and I could see where the "dye brush" had hit the leather first dumping a lot of dye. At the suggestion of somebody who knows more than I (not real difficult to imagine), thanks @silverback, a light coat of neatsfoot and a few hours to dry, my project has come out as near to perfect as I could ever hope for.
-
On 8/11/2019 at 12:08 AM, wizard of tragacanth said:how would you get the leather out?
Push in on one side and the leather can turn at 90degrees or slip an awl or needle between the punch and the cut leather to fish it out. I do agree that might not be the best option. Maybe it's not a drive punch ...

-
Really nice looking job. Very well finished.
-
Awesome job on both. If they don't love your work, they are crazy!
-
Is the bag lined on the inside? Does the stain originate from the inside? If yes to both, I would try some sort of cleaner or solvent inside the bag 1st.
If not, I would try some saddle soap on the outside to try to remove the oil on the surface. It might take several attempts, if you have any success at all, as the oil seeps out of the leather.
Once you have used cleaners and/or solvents, don't forget to rejuvenate the leather with pure neatsfoot oil or your choice of sealer.
-
On 8/9/2019 at 2:13 AM, Riem said:my prototype didn't work so well
Nice and solid, stitching is even and straight, dye job is ... black!
 Looks pretty good to me.
-
Looking good for your 1st few projects, Sangrati.
Just one recommendation ... watch your widths between the stitch-line and the edge of the project. Usually the width should be approx. as wide as the thickness of the leather, but that can change depending on your personal preference. Some people will stitch a project, then cut, sand and burnish the edge to suit their requirements.
Most important thing of all ... enjoy what you do.
-
On 8/7/2019 at 6:37 PM, mrwatch said:appears unused
Is that bottom edge of the tool, obviously the cutting edge, actually sharpened? In the 2nd pic, it appears to be old, well used and blunt.
-
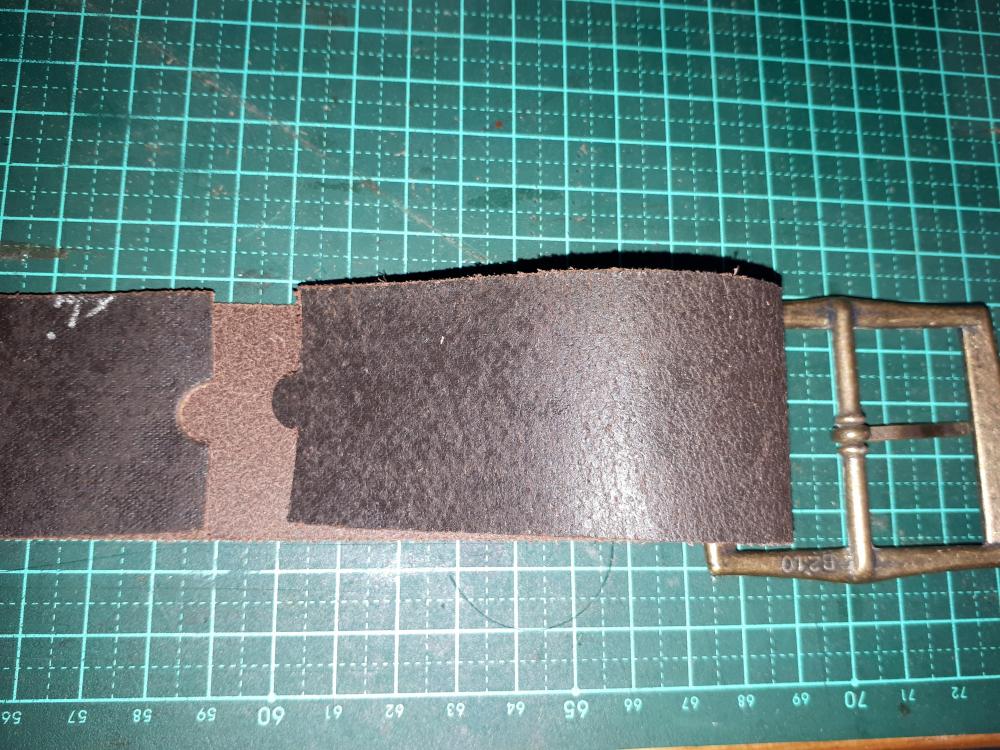
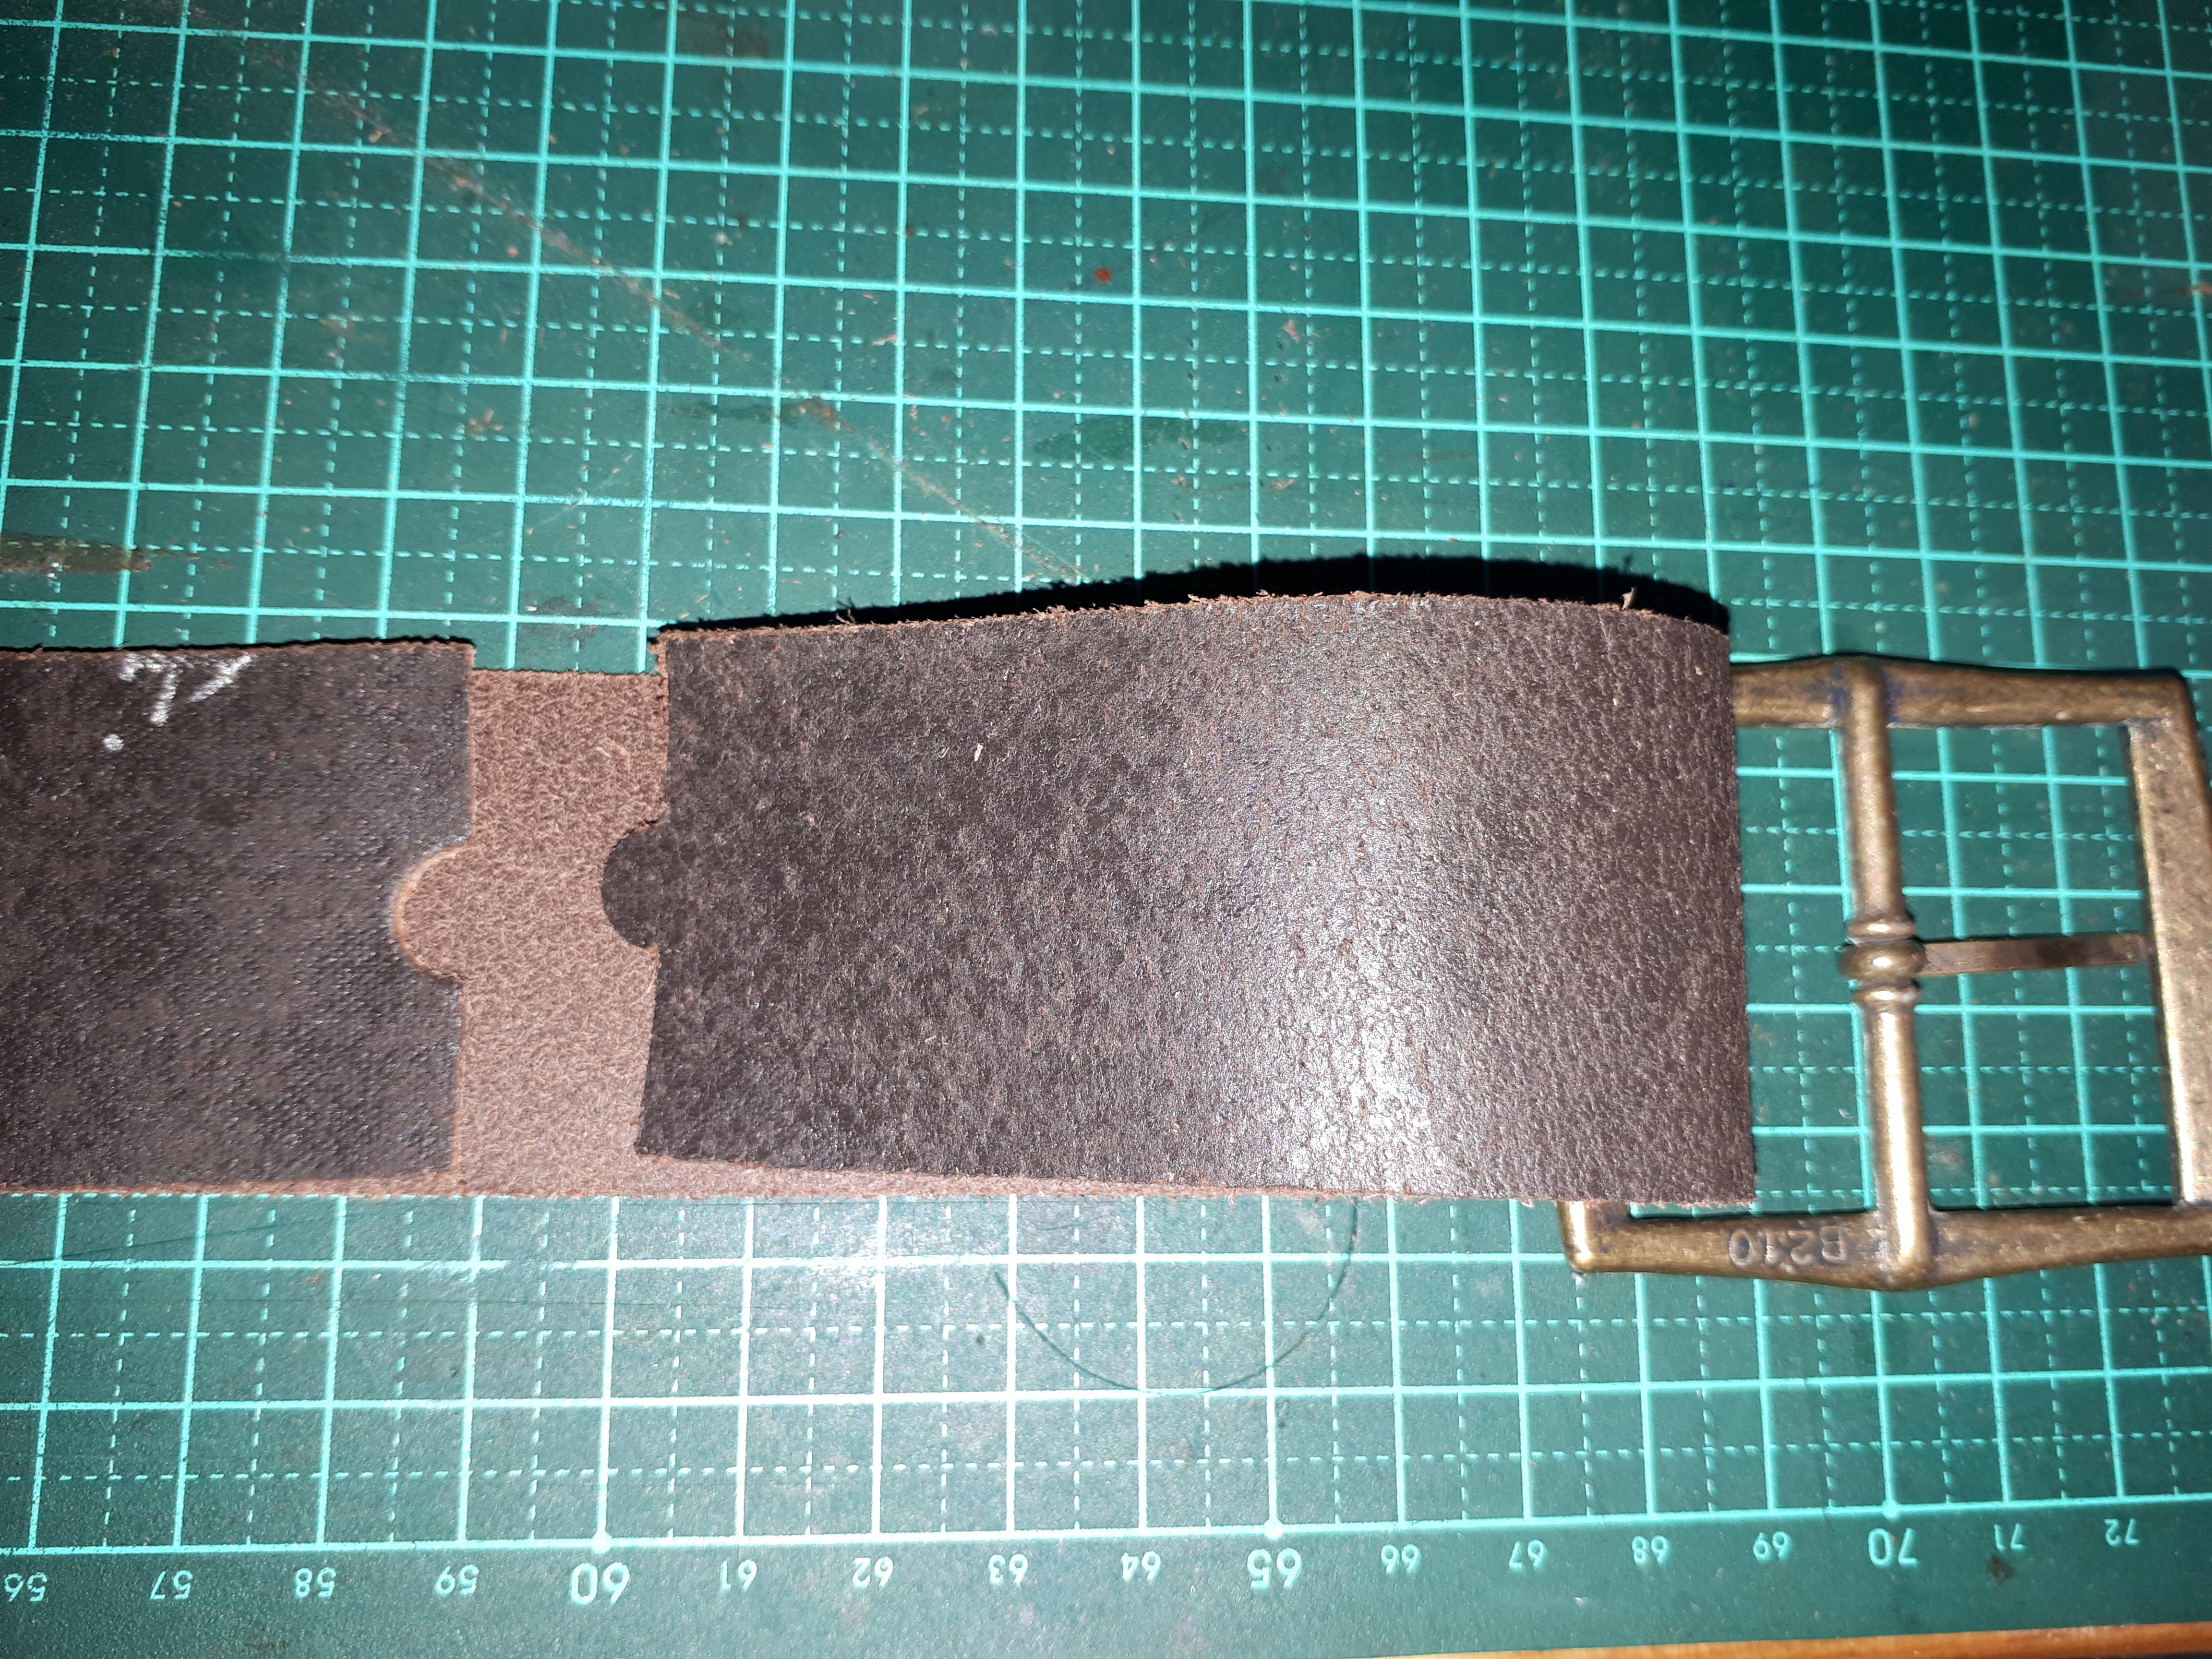
Somewhere on this wonderful anthology of leatherwork, I have seen a video in a post of somebody lining a leather belt in a similar way to my pic below. Unfortunately, I can not find that post. Can anybody provide a link? Thank you.
-
I don't see any reason why it wouldn't work. It's the same principle, one works with steel penetration and the other is leather penetration (or cutting).
-
13 hours ago, Handstitched said:You may already know about this company,
Thank you the reminder @Handstitched. I have spoken with them previously, but it's quite often good to revisit as circumstances change.
-
On 8/7/2019 at 6:40 AM, RockyAussie said:That should give some ideas A?

Still working through the ideas, trying to get the process sorted in my mind. Thank you @RockyAussie for the belt splits. I have a couple ideas of how I can use them, pics to come.
How to get your products to sell well
in Marketing and Advertising
Posted · Report reply
Excellent post. Exactly the sort of information that most people have no idea about, including how or where to obtain said information.