-
Posts
88 -
Joined
-
Last visited
Content Type
Profiles
Forums
Events
Blogs
Gallery
Store
Everything posted by scrapyarddog
-
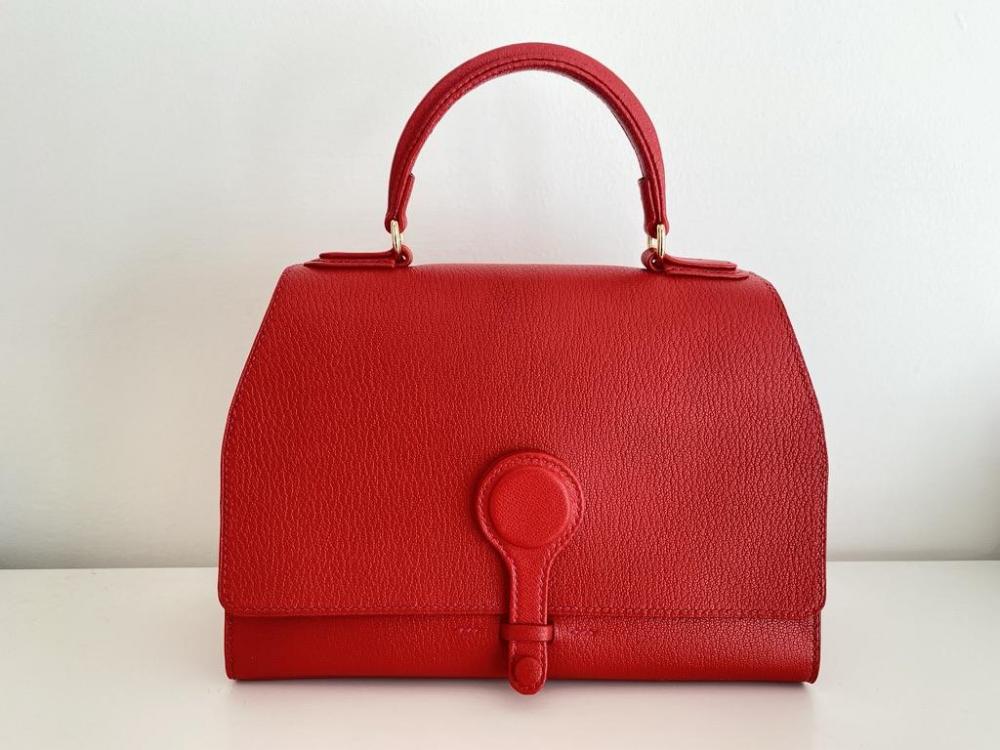
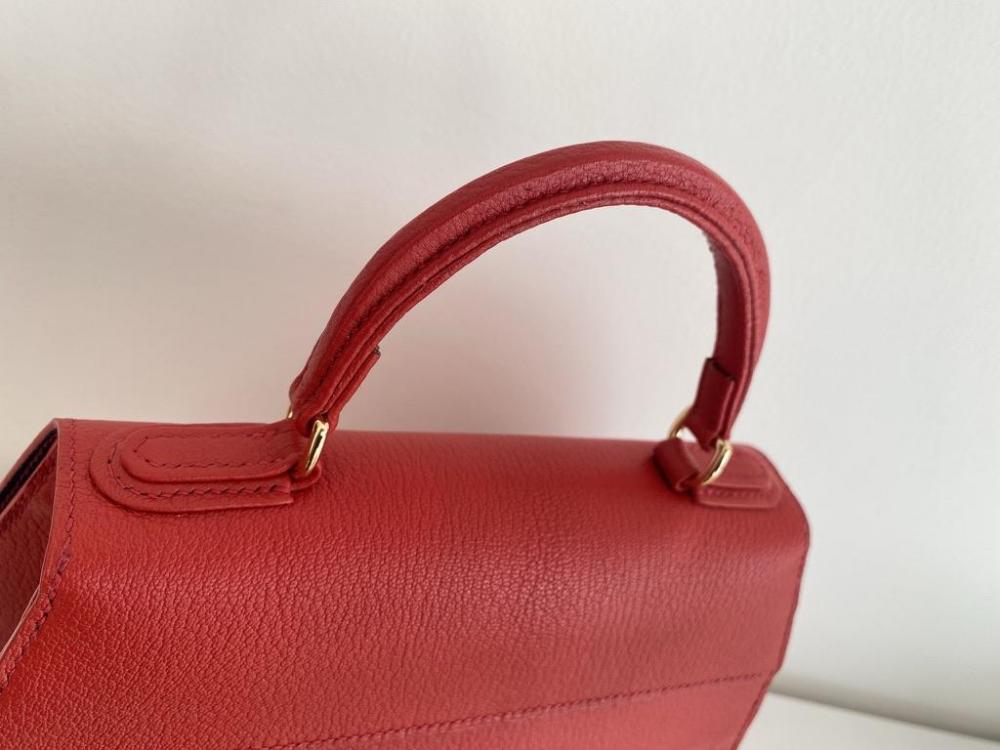
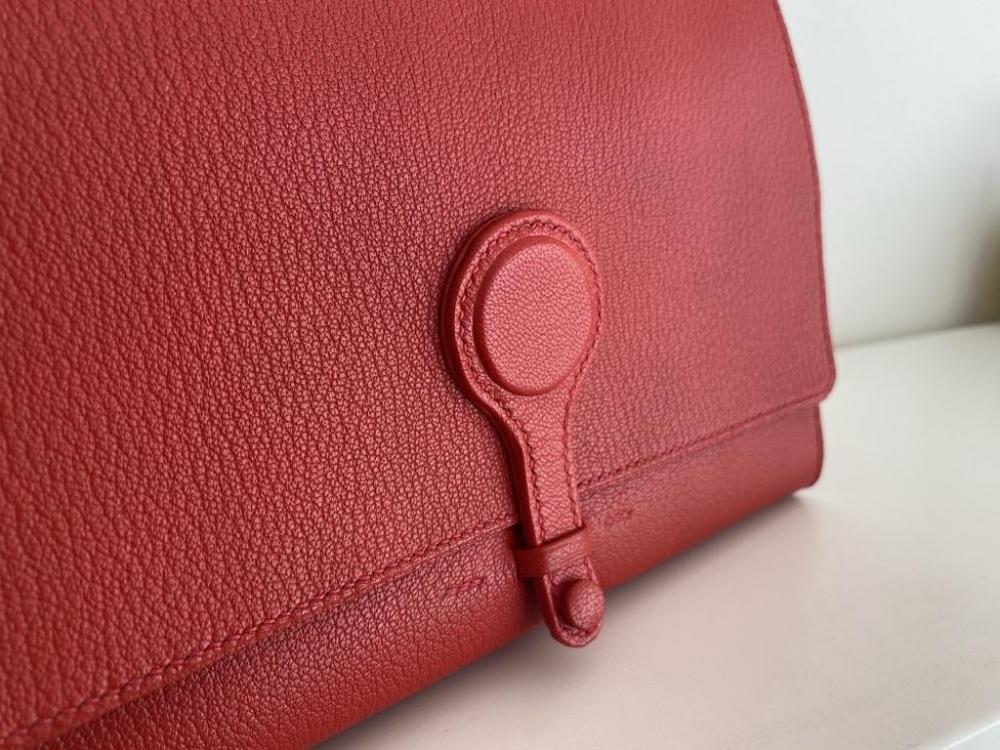
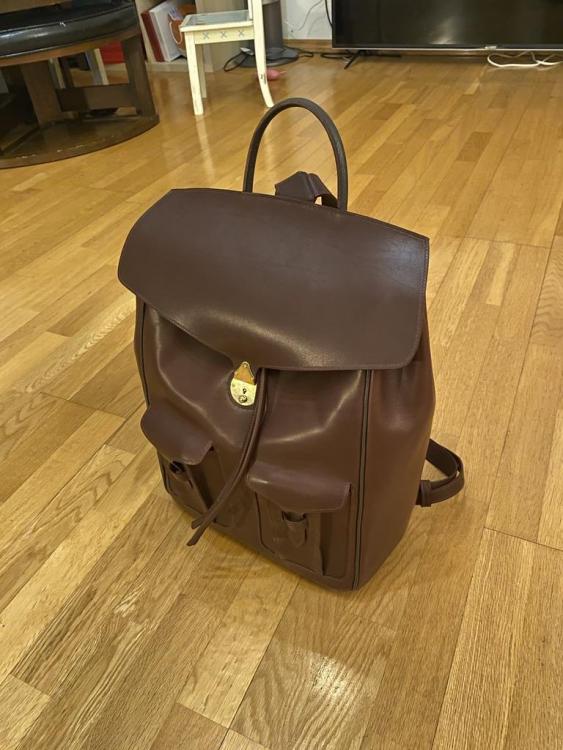
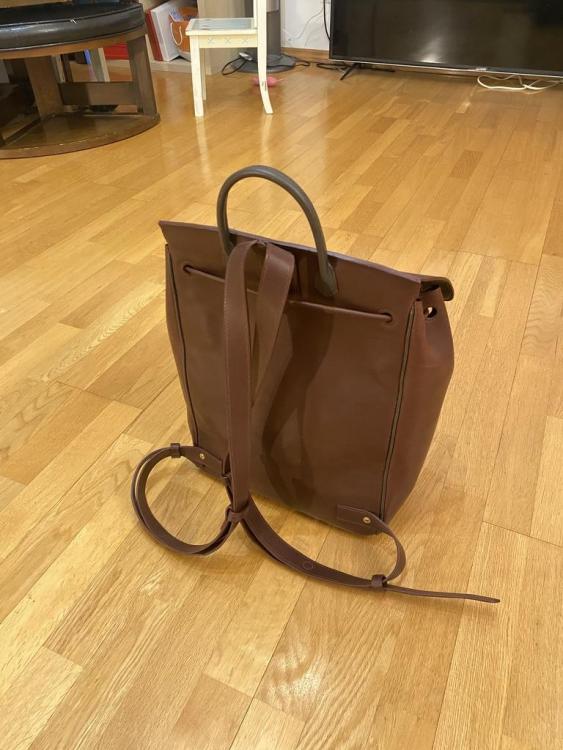
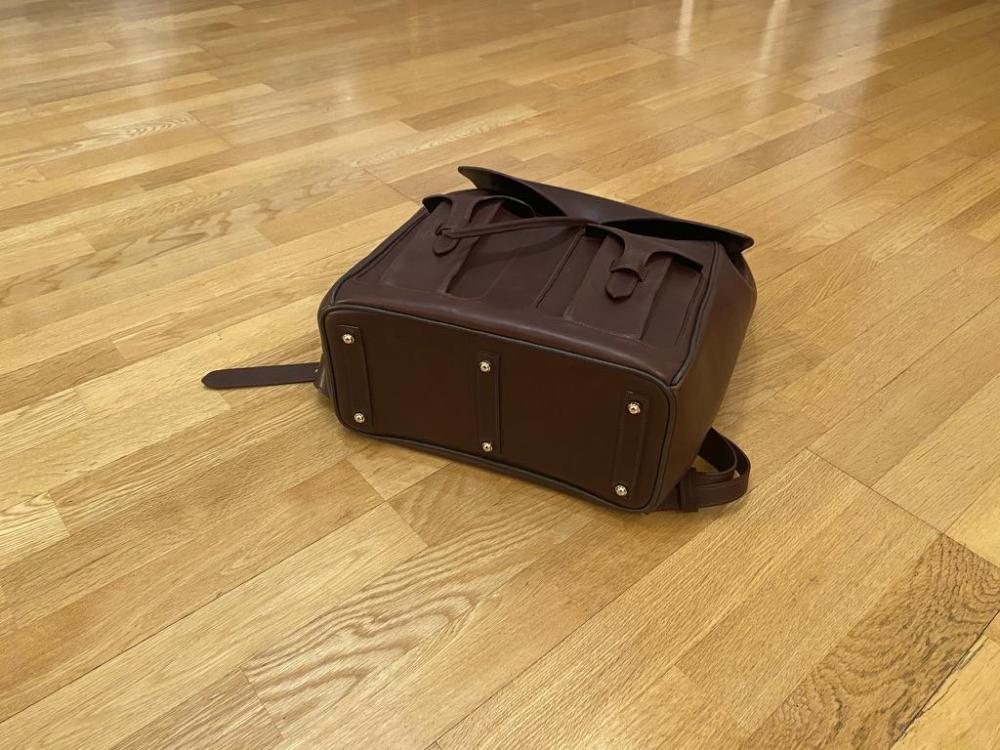
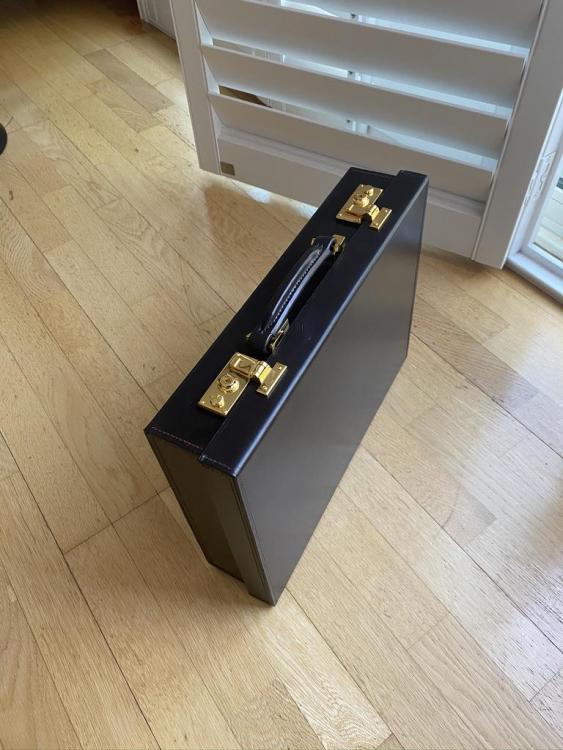
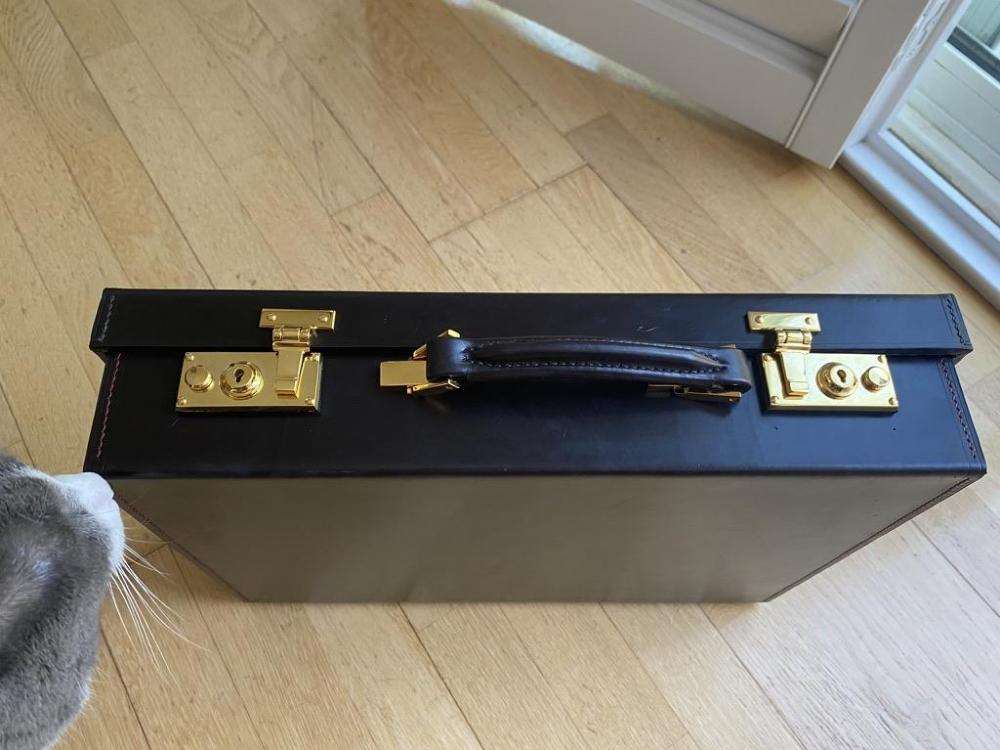
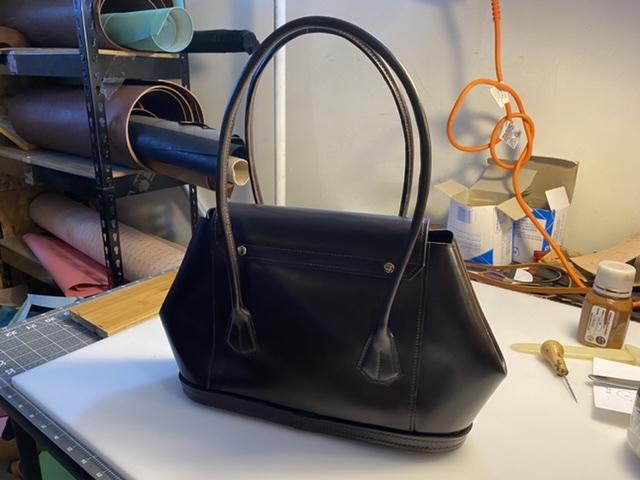
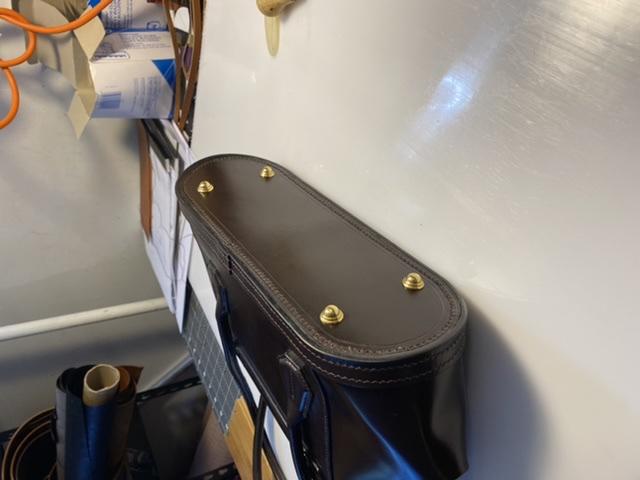
The body is based on a Moynat pattern but shrunken to 87.75%. Changed handle to mostly turned edge and the closure from lock to strap. If I could redo it, I'd change the handle so no edges are exposed. The little knob at the tip of the strap close is a brass double cap rivet wrapped in leather. The belt keeper loop was a bit roomier than I anticipated so had to add some balk at the end of the strap to improve closure. I didn't want to break the color scheme so I wrapped the rivet. Friend asked for a rush order, and I had to use what I had in inventory to produce it, and just didn't have time to develop a brand new pattern.
-
It's been 2 years almost 3, and you reminded me of an embarrassing comment I made back then. It turned out less than stellar. Now, I think 2 oz is the thickest one should go, and depending on the technique you use, you might want to consider skiving further.
-

English Style Briefcase
scrapyarddog replied to expatguy's topic in Satchels, Luggage and Briefcases
A very solid piece, every detail. I can make the same thing but not sure my work looks this crisp and proper. -
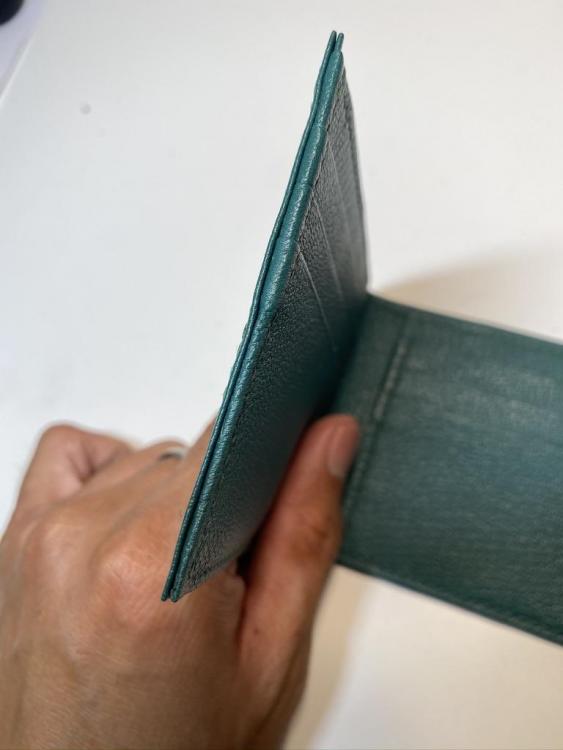
Yes, the dimensions... So far when I turn the edges of opposite sides, the width of the items post turn would increase by roughly 1 mm. That I had to factor into the design. Also, the outer shell is about 2-3mm longer when the wallet is folded. I wish there were a formula to follow when drafting these things, but each type of hide has its own characteristics and the thickness of the leather makes a difference as well.
-
Uh un-uh-ing-uh-believable Amazing. Makes me want to restore that antique chair my cats insist is their second litter box.
-
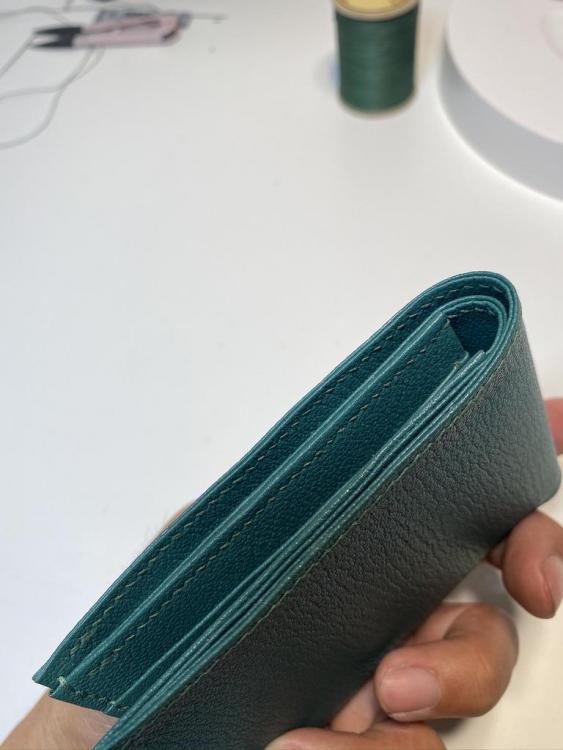
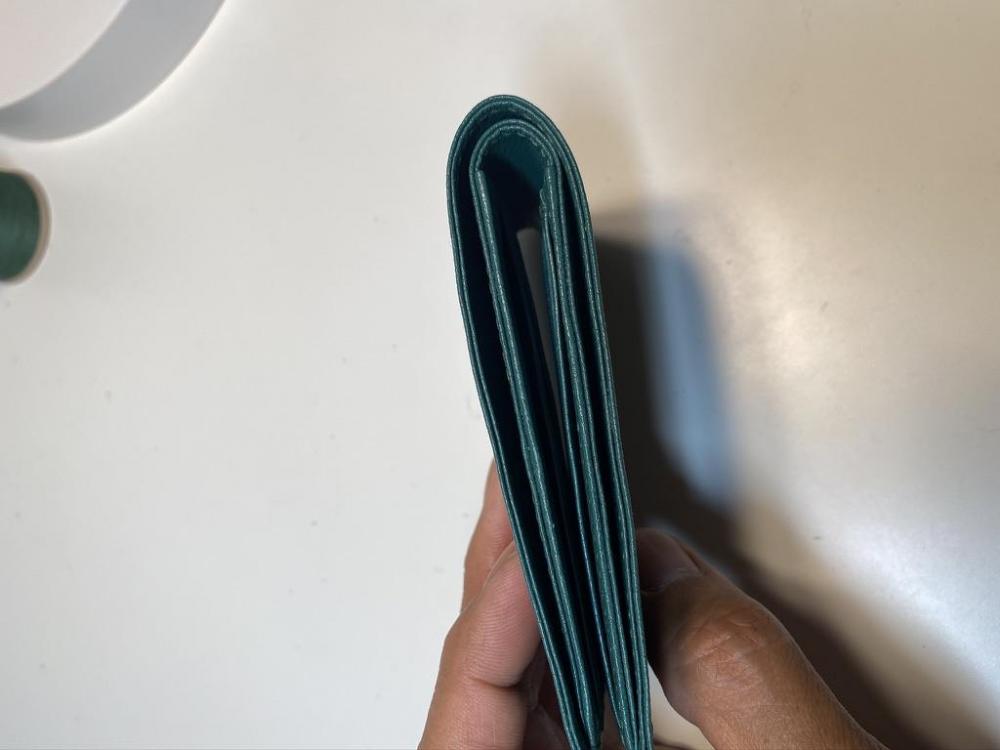
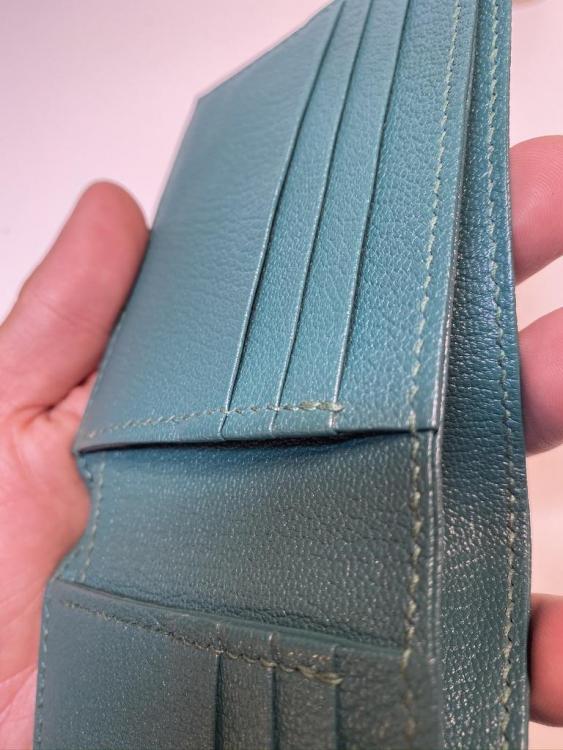
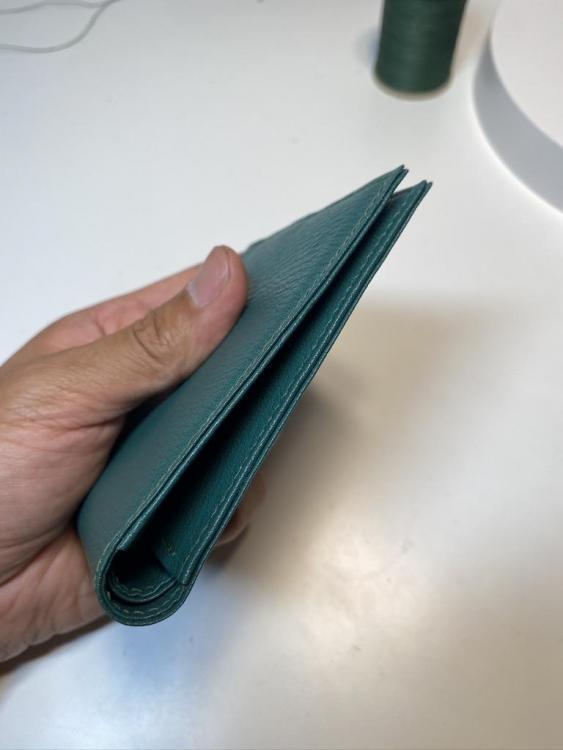
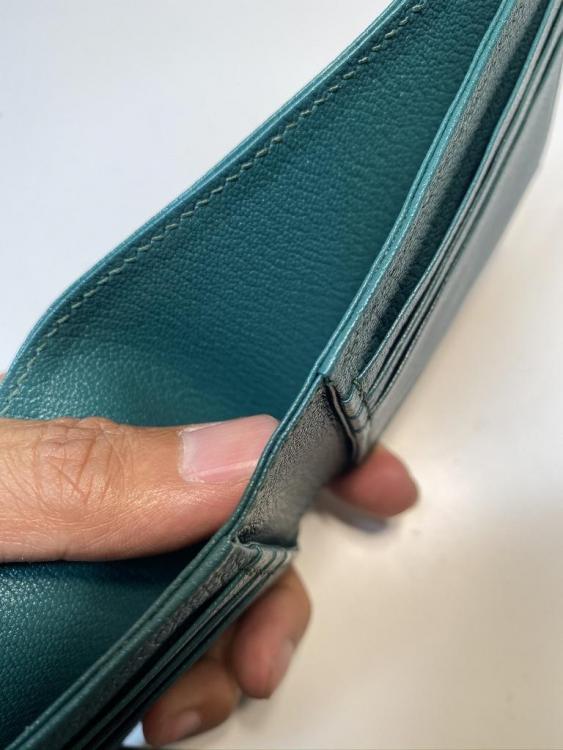
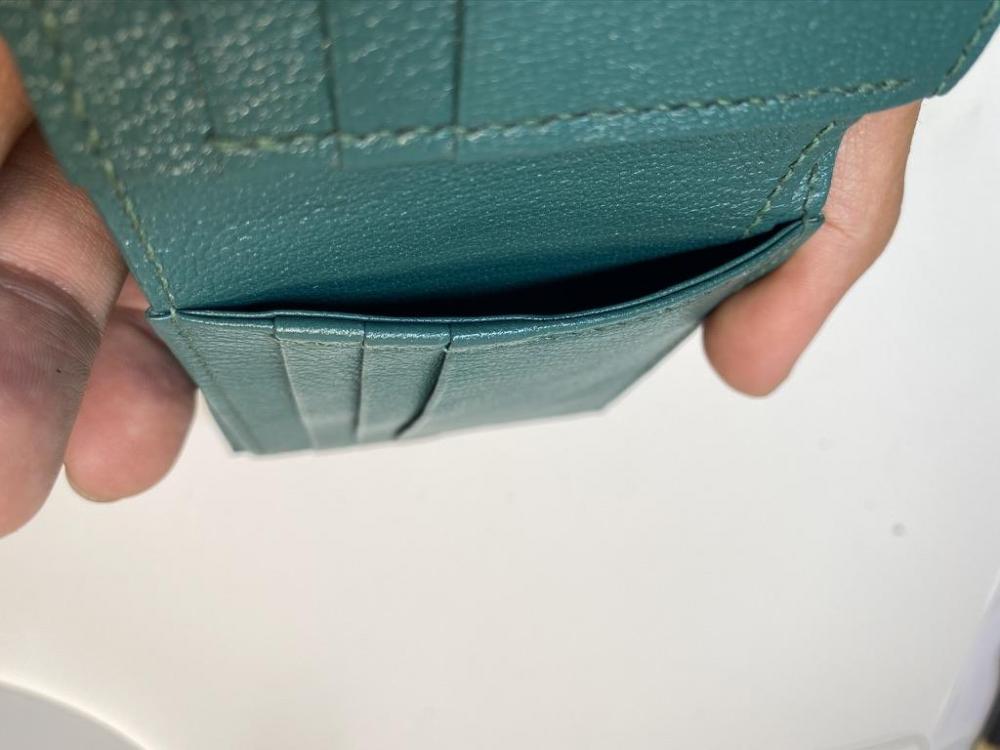
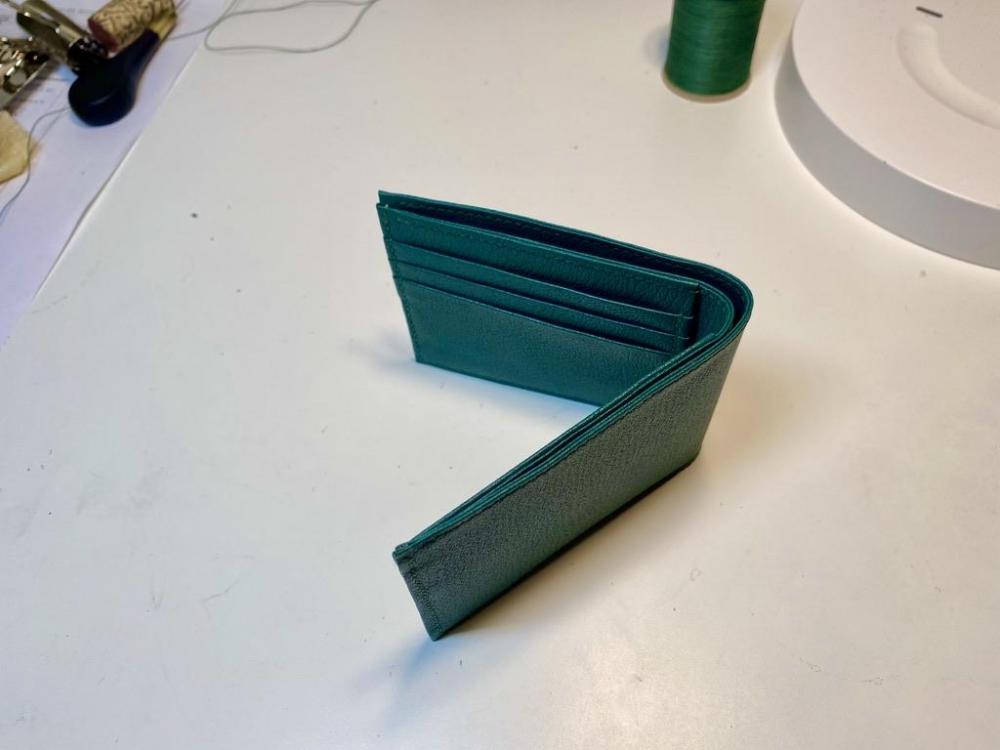
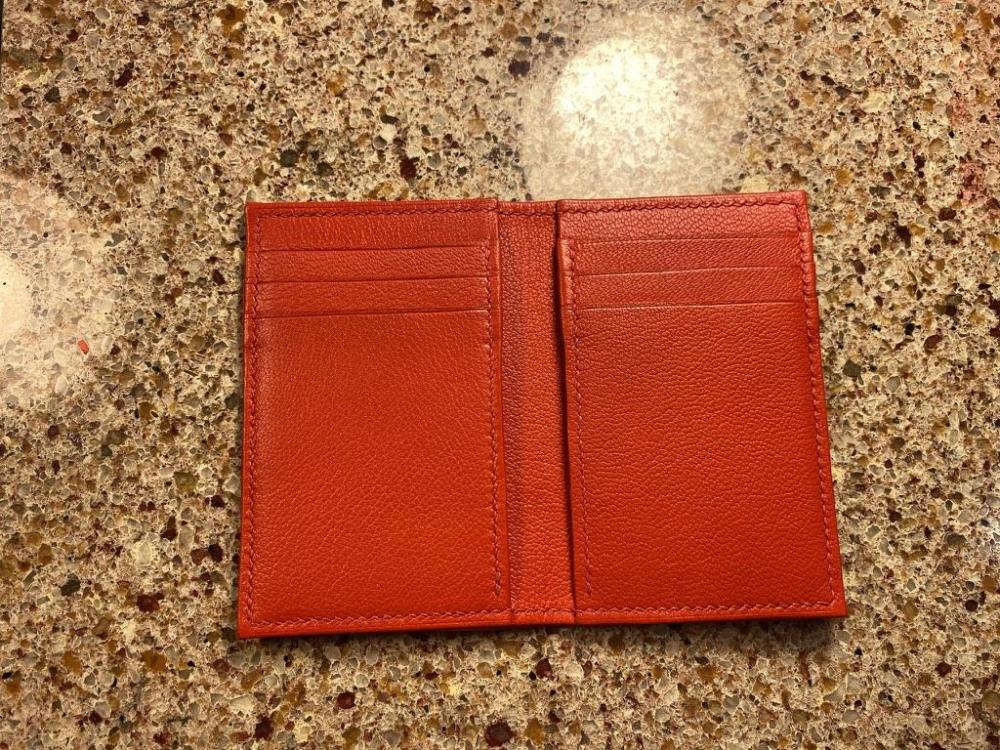
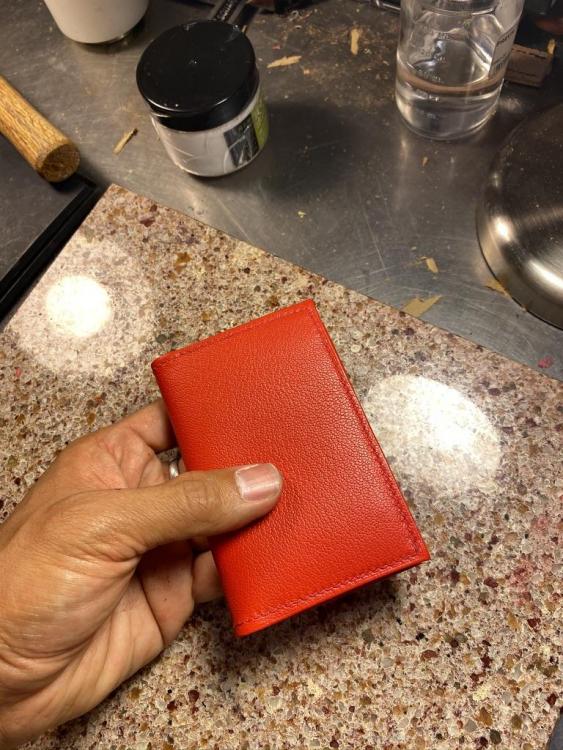
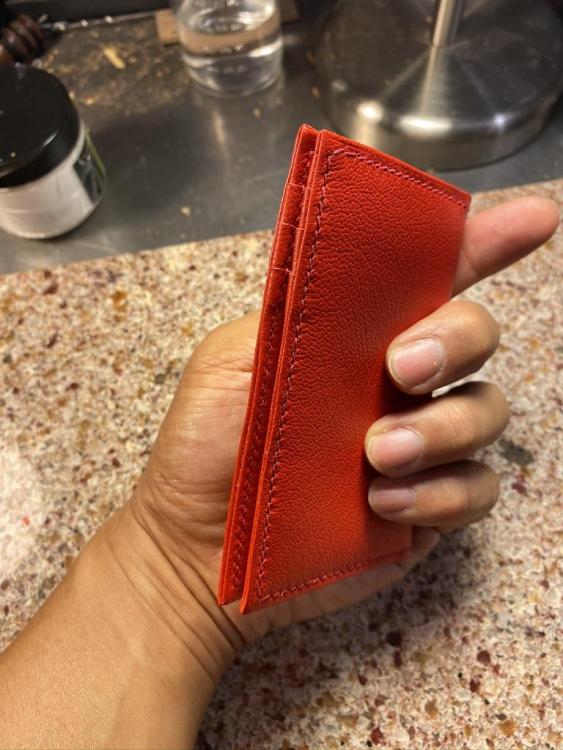
Turned every exposed edge. Started with 1~2 oz Sully and skived the margins to 0.5~0.75 oz. I added 2 pieces of poly lining to the body of the billfold to give it more strength and stretch resistance. 1.5~2 oz Sully would've been perfect but unfortunately, I had the hide split too thin. Made skiving easier but at the cost of strength. You wouldn't really be able to tear by hand 2 pieces of 1.5 oz Sully glued together but I didn't want to risk it so added reinforcement. For finer leatherwork, I'm not a big fan of edge paint to be honest, and while it's better, also not a fan of a single turn edge especially the ones where the excess of the body is turned to cover the card pocket units. This piece took about 10 hours to complete. Color was requested by client. After seeing the finished product, he now wants to add an order for orange +fire red. F36D8C42-4691-4274-8798-6ED4C9F6397E_1_201_a.jp2
-
I meant the latter but now that I come to think of it, it's both. The problem with double turn edge is it takes some skills to match up the 2 piece neatly and so while the placement of stitching holes look nice on one side, it could be a little off on the other. Hopefully, it's something I can resolve through practice. The method you described works too, and with a double turn edge, it would cover up the corner's turn, but it would leave a visible line on the other. The way Philip Jury does it in his video is there would be small overlap of skin. The problem I have is I have yet to find the right angle to skive the corner to get just the right amount of overlapping. Right now, I either have too much bulk b/c of the excessive overlapping or a little cut that exposes an untreated edge (even if it's just less than 1 mm, it still bothers me). Hey, thanks for the photo. I mainly wanted to avoid exposing any edges
-
If you're making a case in which the leather is more for cosmetics (wrapped on frame), check out a video on Youtube showing how Swaine Adeney Brigg makes theirs and also the one from Equus. The frame for this one is MDF and the leather is 6-7 oz bridle, but I'm pretty sure I can use steel or aluminum sheets/plates instead of MDF. Alternatively, Philip's courses are worth the subscription cost. Lining is glued. No idea about weight, but I'm curious too. Will let you know.
-
I haven't finished it and might not since it's a test piece and I was only using it to figure out the construction and procedures shown in Philip's courses. However, this piece was enough to get me actual orders, so it did its job and more. If the photo were of higher quality, you'd be able to see the mistakes I made on stitching and other things. It's surprisingly easy to make, but like many simple pieces, you need to have good mastery of the basic skills. The quilted padding I did by hand this time and it took about 10 hours (3.38 mm KS Blade round dent). Call me a sell out, but I'm using a sewing machine for that in the future. Sedgwick Dark Havana, locks from MMC Colombo (Abas), Fil Au Chinois 532 and 632, KS 3.85 pricking iron (regular and inverse) and 3.38 round dent.
-
It's worth it. I'm at a stage where I can produce better products than most of what's shown in free Youtube leatherwork videos, and from my experience, both Nigel and Philip's paid contents are worth it. If you want to build a solid foundation and you can discern the difference, you'll think what they are charging is quite cheap. What sold me the idea of buying contents is Nigel's class from 2019 in Berkeley because it just answered so many questions I've had since I started in summer 2017, and he gave many simple and clear answers to some questions I'd spent a longtime wondering but received no clear answers online. Nigel's Vimeo breaks down very basic techniques into manageable small chunks and gives you ample information on the why's and how's. Philip's plan videos break down more advanced techniques and shows you step by step how to produce "fancy" leatherwork. If you're interested in tooling, they are not for you. If you're happy with just putting 2 pieces of leather together and are impressed by this one Dunhill briefcase video on Youtube, they are also not for you. If you're interested in foundational skills and knowledge, structure, no nonsense and you want to actually produce higher end English leatherwork, BUY THEIR CONTENT.
-
Ritza Tiger .6 mm to 1.2 mm and Fil Au Chinois 832 (.44 mm) to 332 (.77 mm). Strength, durability and ease of use? Tiger. Fine thread and aesthetic? Au Chinois. If you’re using chiesels, I recommend Tiger though. It’s a flat braided thread and it fills the holes much better than twined linen threads. However, if you want a more refined look, avoid using chisels and use 7 spi prickkng irons or finer + equivalent to Au chinois 532 or finer. Rocky Mointain Leather Supply has a good inventory on both brands.
-

Sticking with chisels instead of pricking irons...
scrapyarddog replied to scrapyarddog's topic in Leatherwork Conversation
Nigel’s reviews are really helpful, and after taking one of his classes and had the opportunity to use some different tools, my opinion changed a bit. In terms of consistency and slanting, there’s not much difference between iron and chisel. However, chisels create bigger holes, and this causes some mostly aesthetic issues: 1. Finer threads: when you’re using finer threads, for example Au Chinois 832 to 532, the threads will not fill the holes created by a diamond chisel, and with linen threads, the movement of threads might increase wear and tear. The bottomline is it’s very ugly. I was mostly using 0.8mm threads and bigger before I started using irons so it wasn’t this downside of using diamond chisels wasn’t obvious to me back then. If you’re using larger threads, chisels work better because, well, they produce larger holes. I tried 332 on KS 7 SPI and it was a miserable experience. 2. Front and Back difference: diamond shape chisels create pretty brutal exits (blasts?). In cases where the backside isn’t visible, this is not a concern, but when both sides are visible, irons or even an awl (granted you have good skills) do a much better job because irons are thinner and the shapes are either just slits (minimal entry/exit) or more rounded. 3. Inverse available: there are situations where you have to pre-punch or mark both surface sides the leather/leathers, and it’s rare (I’ve never seen one) that diamond chisels have inverse sets, but irons do, and that guarantees both sides of the stitches look perfect. To be honest, you can still stitch without inverse, but it doesn’t look good. So again, this is a matter of aesthetics. 4. Pull out: chisels are bulkier, and it’s harder to pull out when it penetrates the leather deeply. Difficulty of pulling out sometimes introduces distortion to the holes, and that leads to inconsistency in the stitches. I’ve used only 4 types of irons: Crimson, Doldoki, Amy Roke, KS. Doldoki does a good job, but it’s rather expensive, and at the price point, I might just go with Blanchard (never used one though). Crimson is fine and cheaper but the entries are a little more rounded due to the shape of the teeth, nothing wrong about it but I prefer minimal impact on the surface of the leather. Amy Roke creates smaller entries but I’m not entirely sold on it. KS does a great job, it’s sharp (punches through with ease), the entries are very small (the exits are small too, sometimes I can’t find it), the teeth can be replaced at a reasonable cost. You can order KS directly online or through shops like RML or Fine Leatherworking. The upside of ordering directly is you can choose the number of teeth you want and I think lead time is 4-6 weeks? The downside is the iron is damaged during shipping, KS is not responsible for it. So, if you’re not in a hurry, I’d suggesting giving RML and FLW some business. They’re both very awesome.


