Hildebrand
-
Posts
422 -
Joined
-
Last visited
Recent Profile Visitors
8,350 profile views


Hildebrand's Achievements
Member (2/4)
-
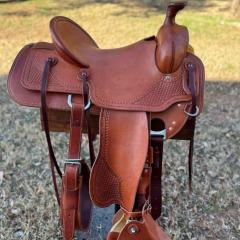
I have gotten 2 sides of Herman Oak from them, both were "branded" sides, I think grade A/B. I have been pleased with both, they are large sides(sold by the side not square foot) and other than the brand the leather has been very good at least to my hobbiest eyes. Todd
-
I have had good luck with Montana Leather in Billings, MT. Get on their email list, they have specials frequently on different types of leather. Todd
-

Chiappa Rhino 60DS drop holster (stange situation)
Hildebrand replied to DoubleKCustomLeathercraft's topic in Show Off!!
Very nice holster, as others said very clean. Hopefully the other shop doesn't completely ruin the look. Todd -
I use the double sided tape with zippers to hold them in place, when I use it I run a strip full length of the piece. If I were doing 1/2" strips I would be tempted to run 2 strips, one down each side just inside where I planned to sew. Todd
-
I have only done one so far but I used the double gusset method shown in the YouTube video by Makers Leather and Don Gonzales, it is fairly simple once you watch them do it a couple of times and it worked well. Todd
-
first pancake holster
Hildebrand replied to Thadrick's topic in Gun Holsters, Rifle Slings and Knife Sheathes
Looks great. Todd -
I would really look a the 3-d printing angle, I know you can print things in pieces and put them together, that would help with the size issue. Todd
-
If this is something you are looking at as a show piece for your work replace it. Todd
-
I have gone to just using a groover that puts an indent in the leather, doesn't scratch or cut the top layer. I found this works better oops situations and if I groove after I die there is not a white streak to possibly show under the stitches. Todd
-
I have pretty much quit stitching backward. To backstitch when I start, I turn the piece around so I am sewing forward toward the starting point, I usually try to mark about 3 stitches out, then when I get to the starting point I turn the work around and still sewing forward go back over the 3 starting stitches and sew it the rest of the way, when I get to the end I again turn the piece around and backstitch 3 stitches sewing forward along the stitch line. Todd
-
Good start, it looks like your leather was a little to dry when you were tooling, there are several good posts on here about casing leather for tooling. Keep practicing and in a month look back at this one and compare it to what you are doing then. Todd
-
Just beautiful, very nice work. Todd
-
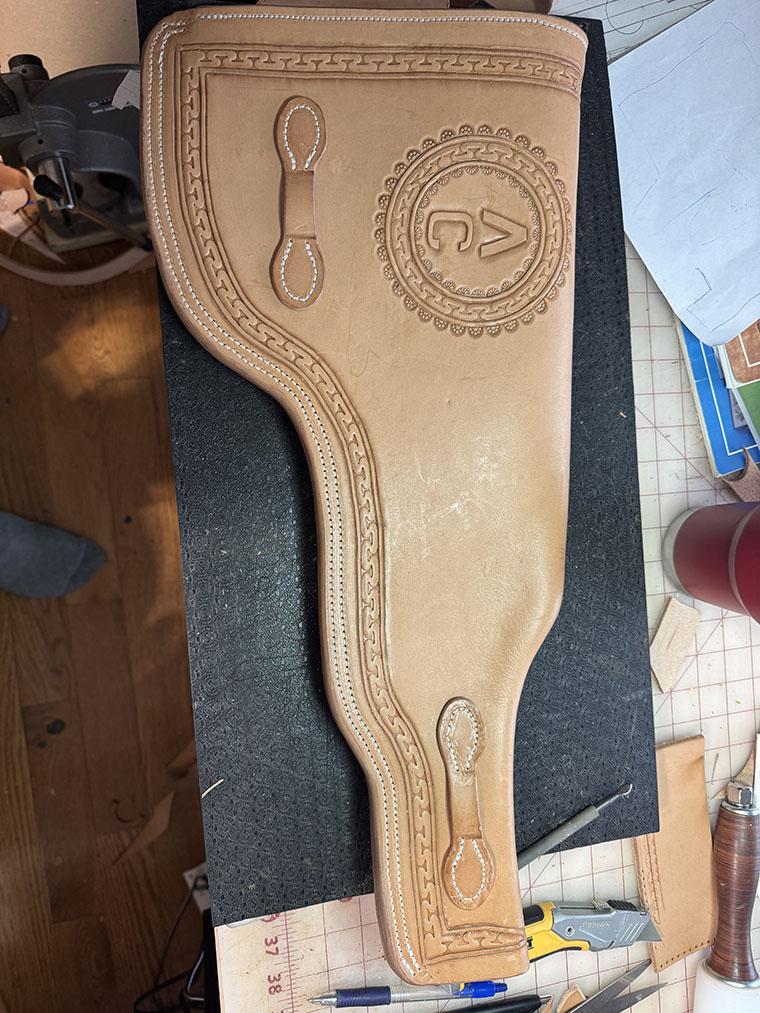
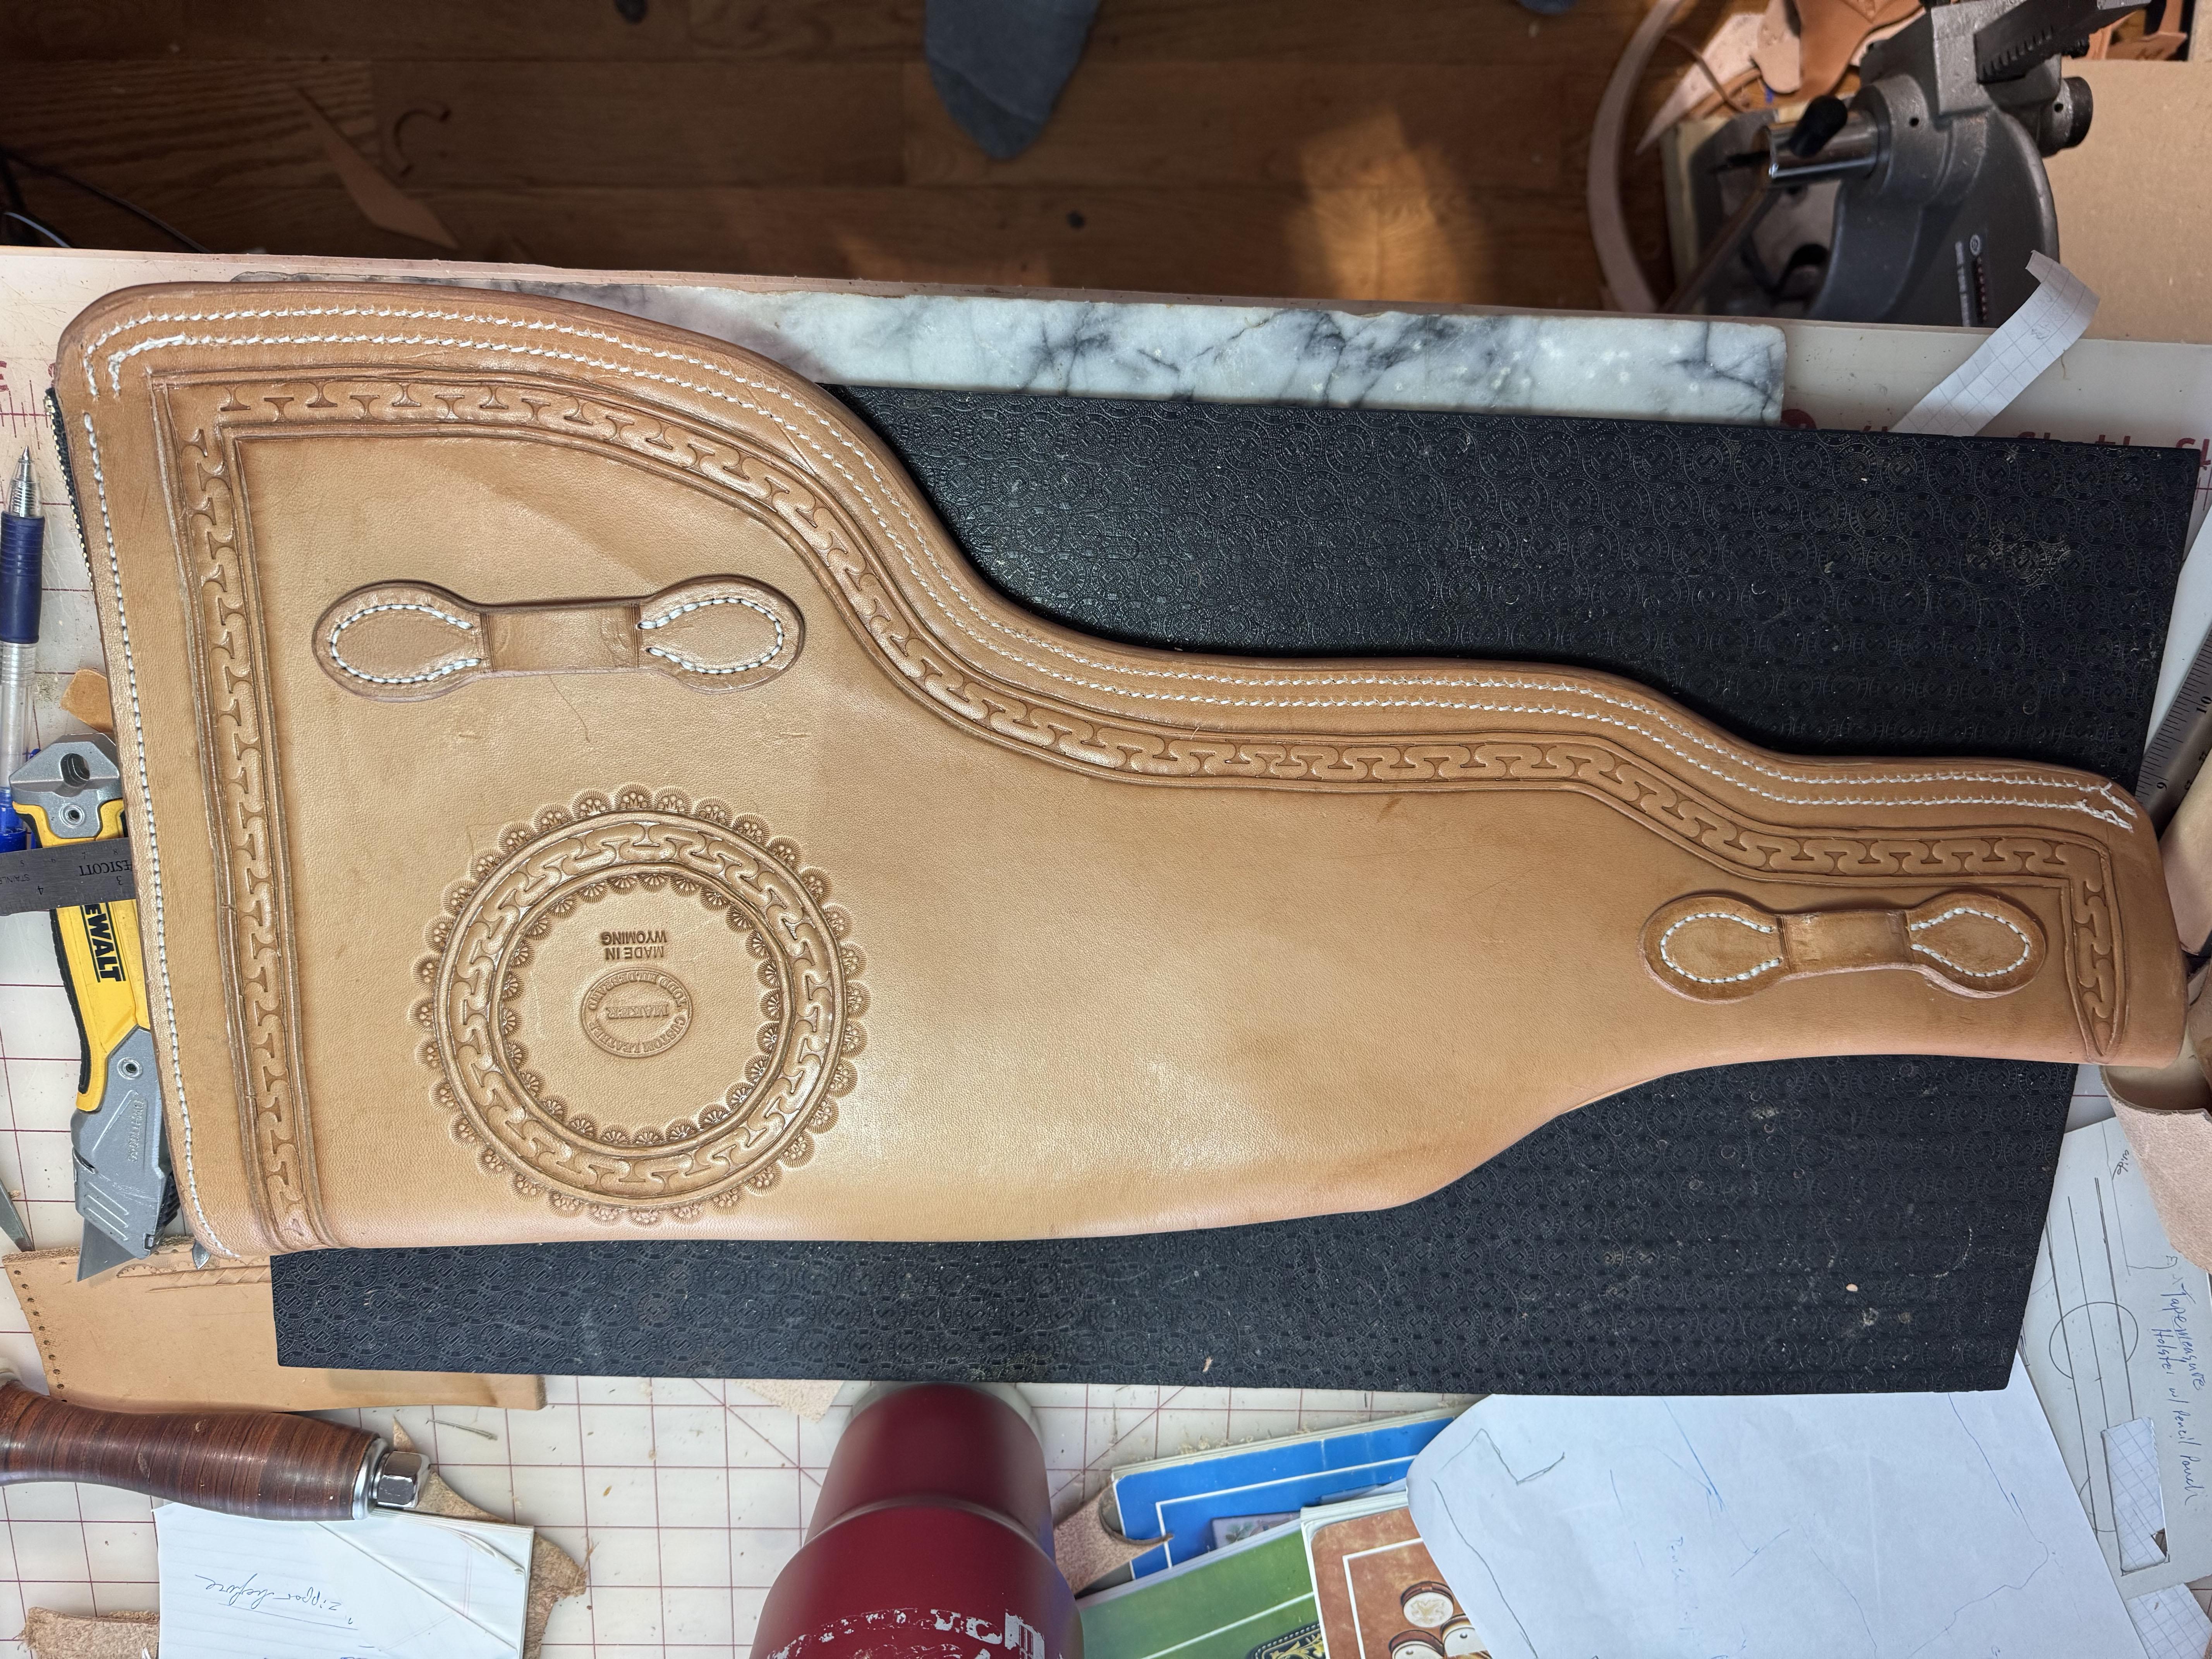
Thank you both for the kind words, the scabbard is for a Thompson Center Encore. Todd
-
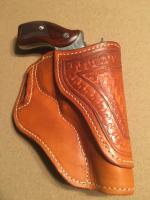
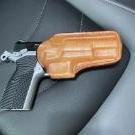
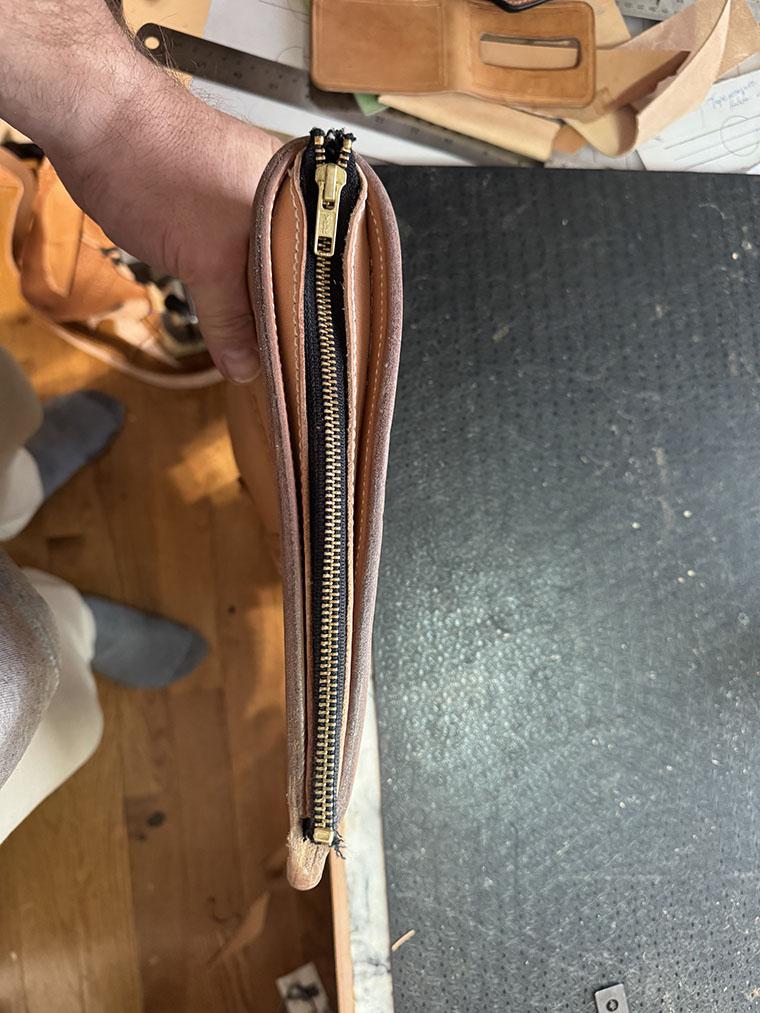
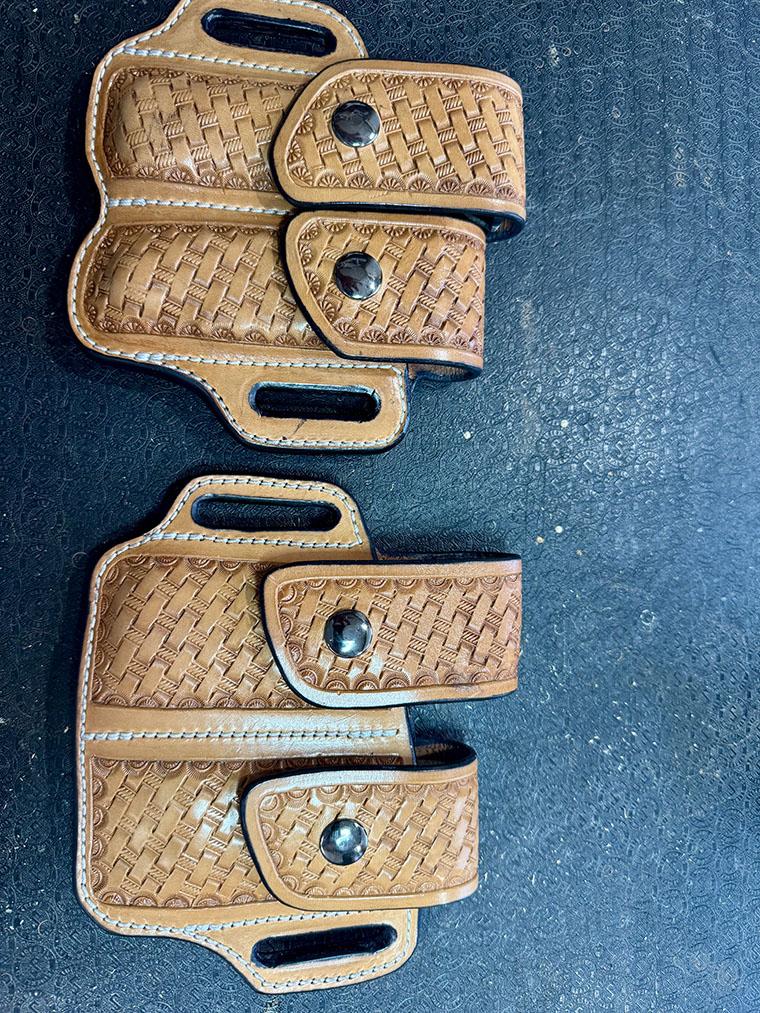
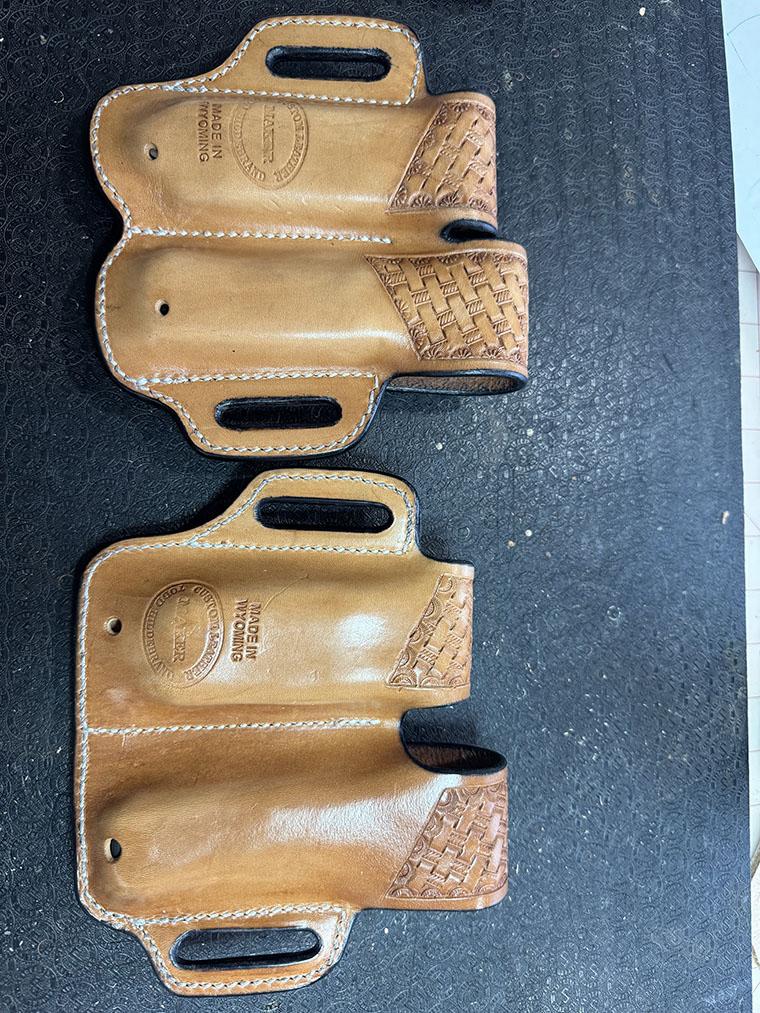
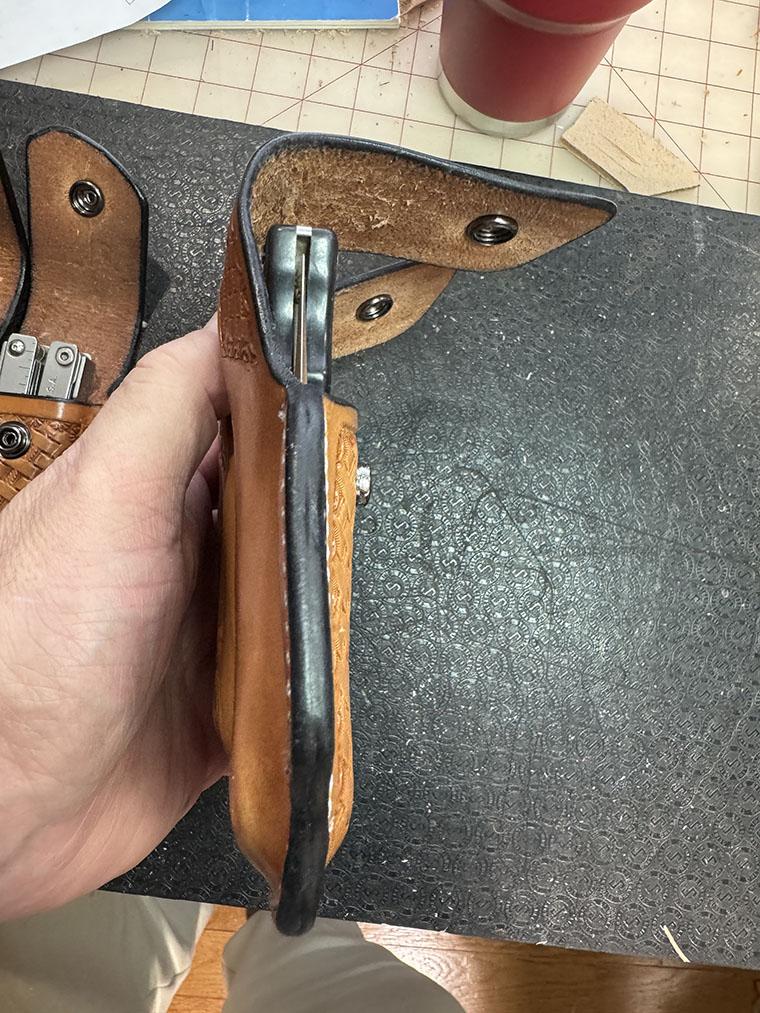
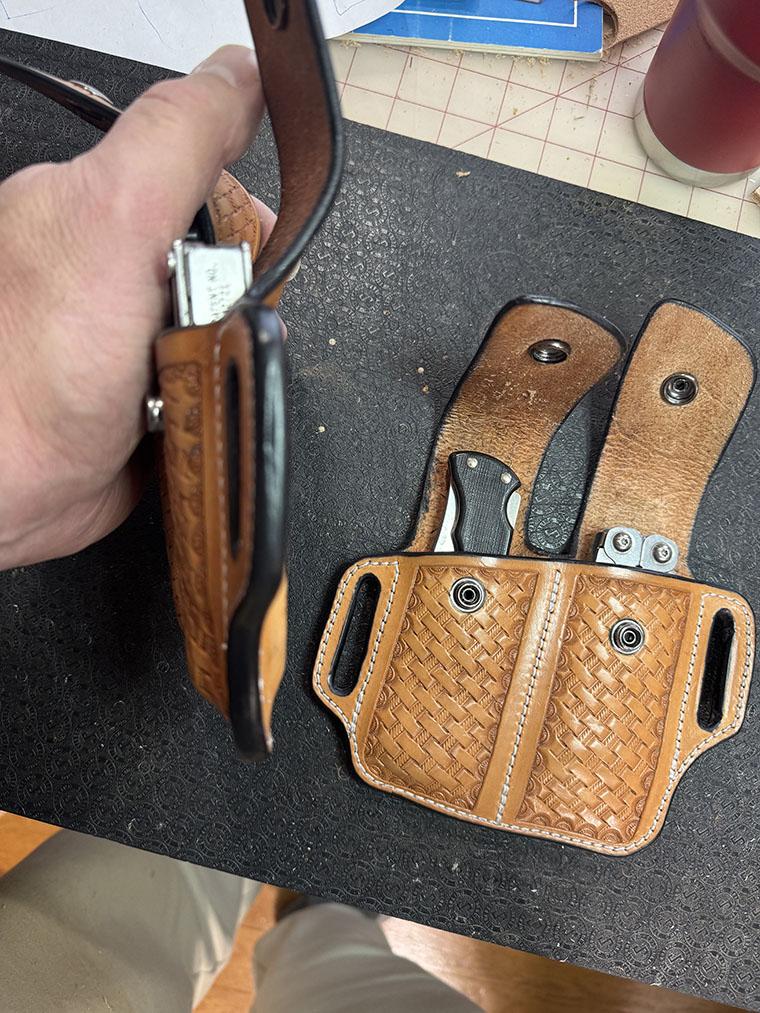
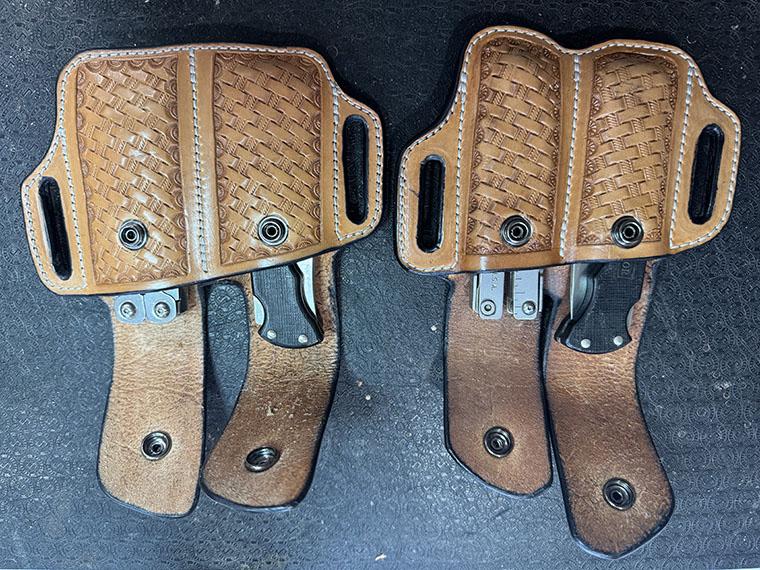
I usually carry a knife and leather man combination when I am working outside or camping/hunting/etc. I have 2 sets one stays on the work pants the other moves depending on what I am doing. Both needed new leather so I took the leather man pattern from the Leather Crafters Journal and modified it to hold both. The scabbard is to carry a single shot pistol in a backpack, you could also carry it on a saddle but I don't have any stock so backpack only. The zipper keeps it pretty weather tight. It is based on the scabbard build in The Art of Making Leather Cases. Todd
-
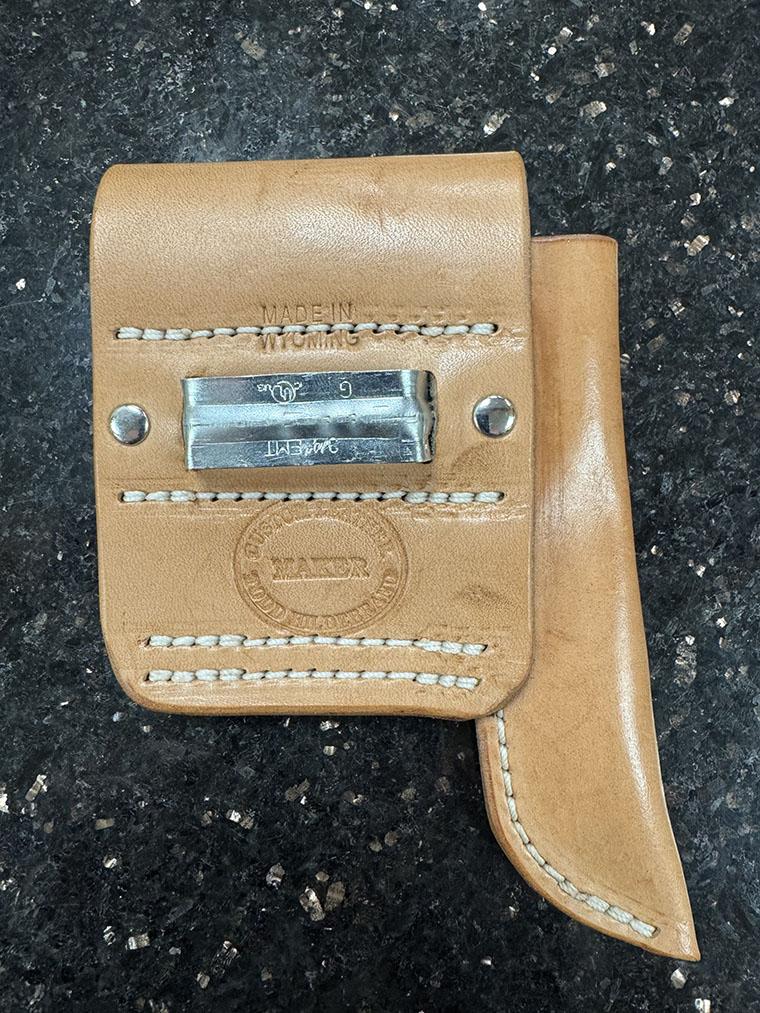
This topic comes up frequently where to buy the metal portion of the clip to hold the tape measure. I made a holder recently, this one has a pencil pouch also, and decided to try just getting a conduit clip with 2 holes in it and bending it into the right shape. It worked great, they are cheap and easy to bend with just 2 pairs of pliers, I was ready to put it in the vice but they are really pretty soft metal. Todd