Frank
-
Posts
642 -
Joined
-
Last visited
Content Type
Profiles
Forums
Events
Blogs
Gallery
Everything posted by Frank
-
Hey Jon. Feel free to drop by any time on your way through. I live a mile from Miller Park. PM me if you get the chance and I can give you my phone #. Frank
-
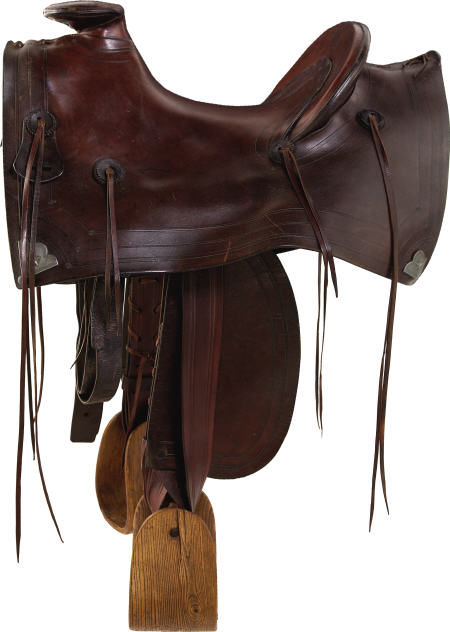
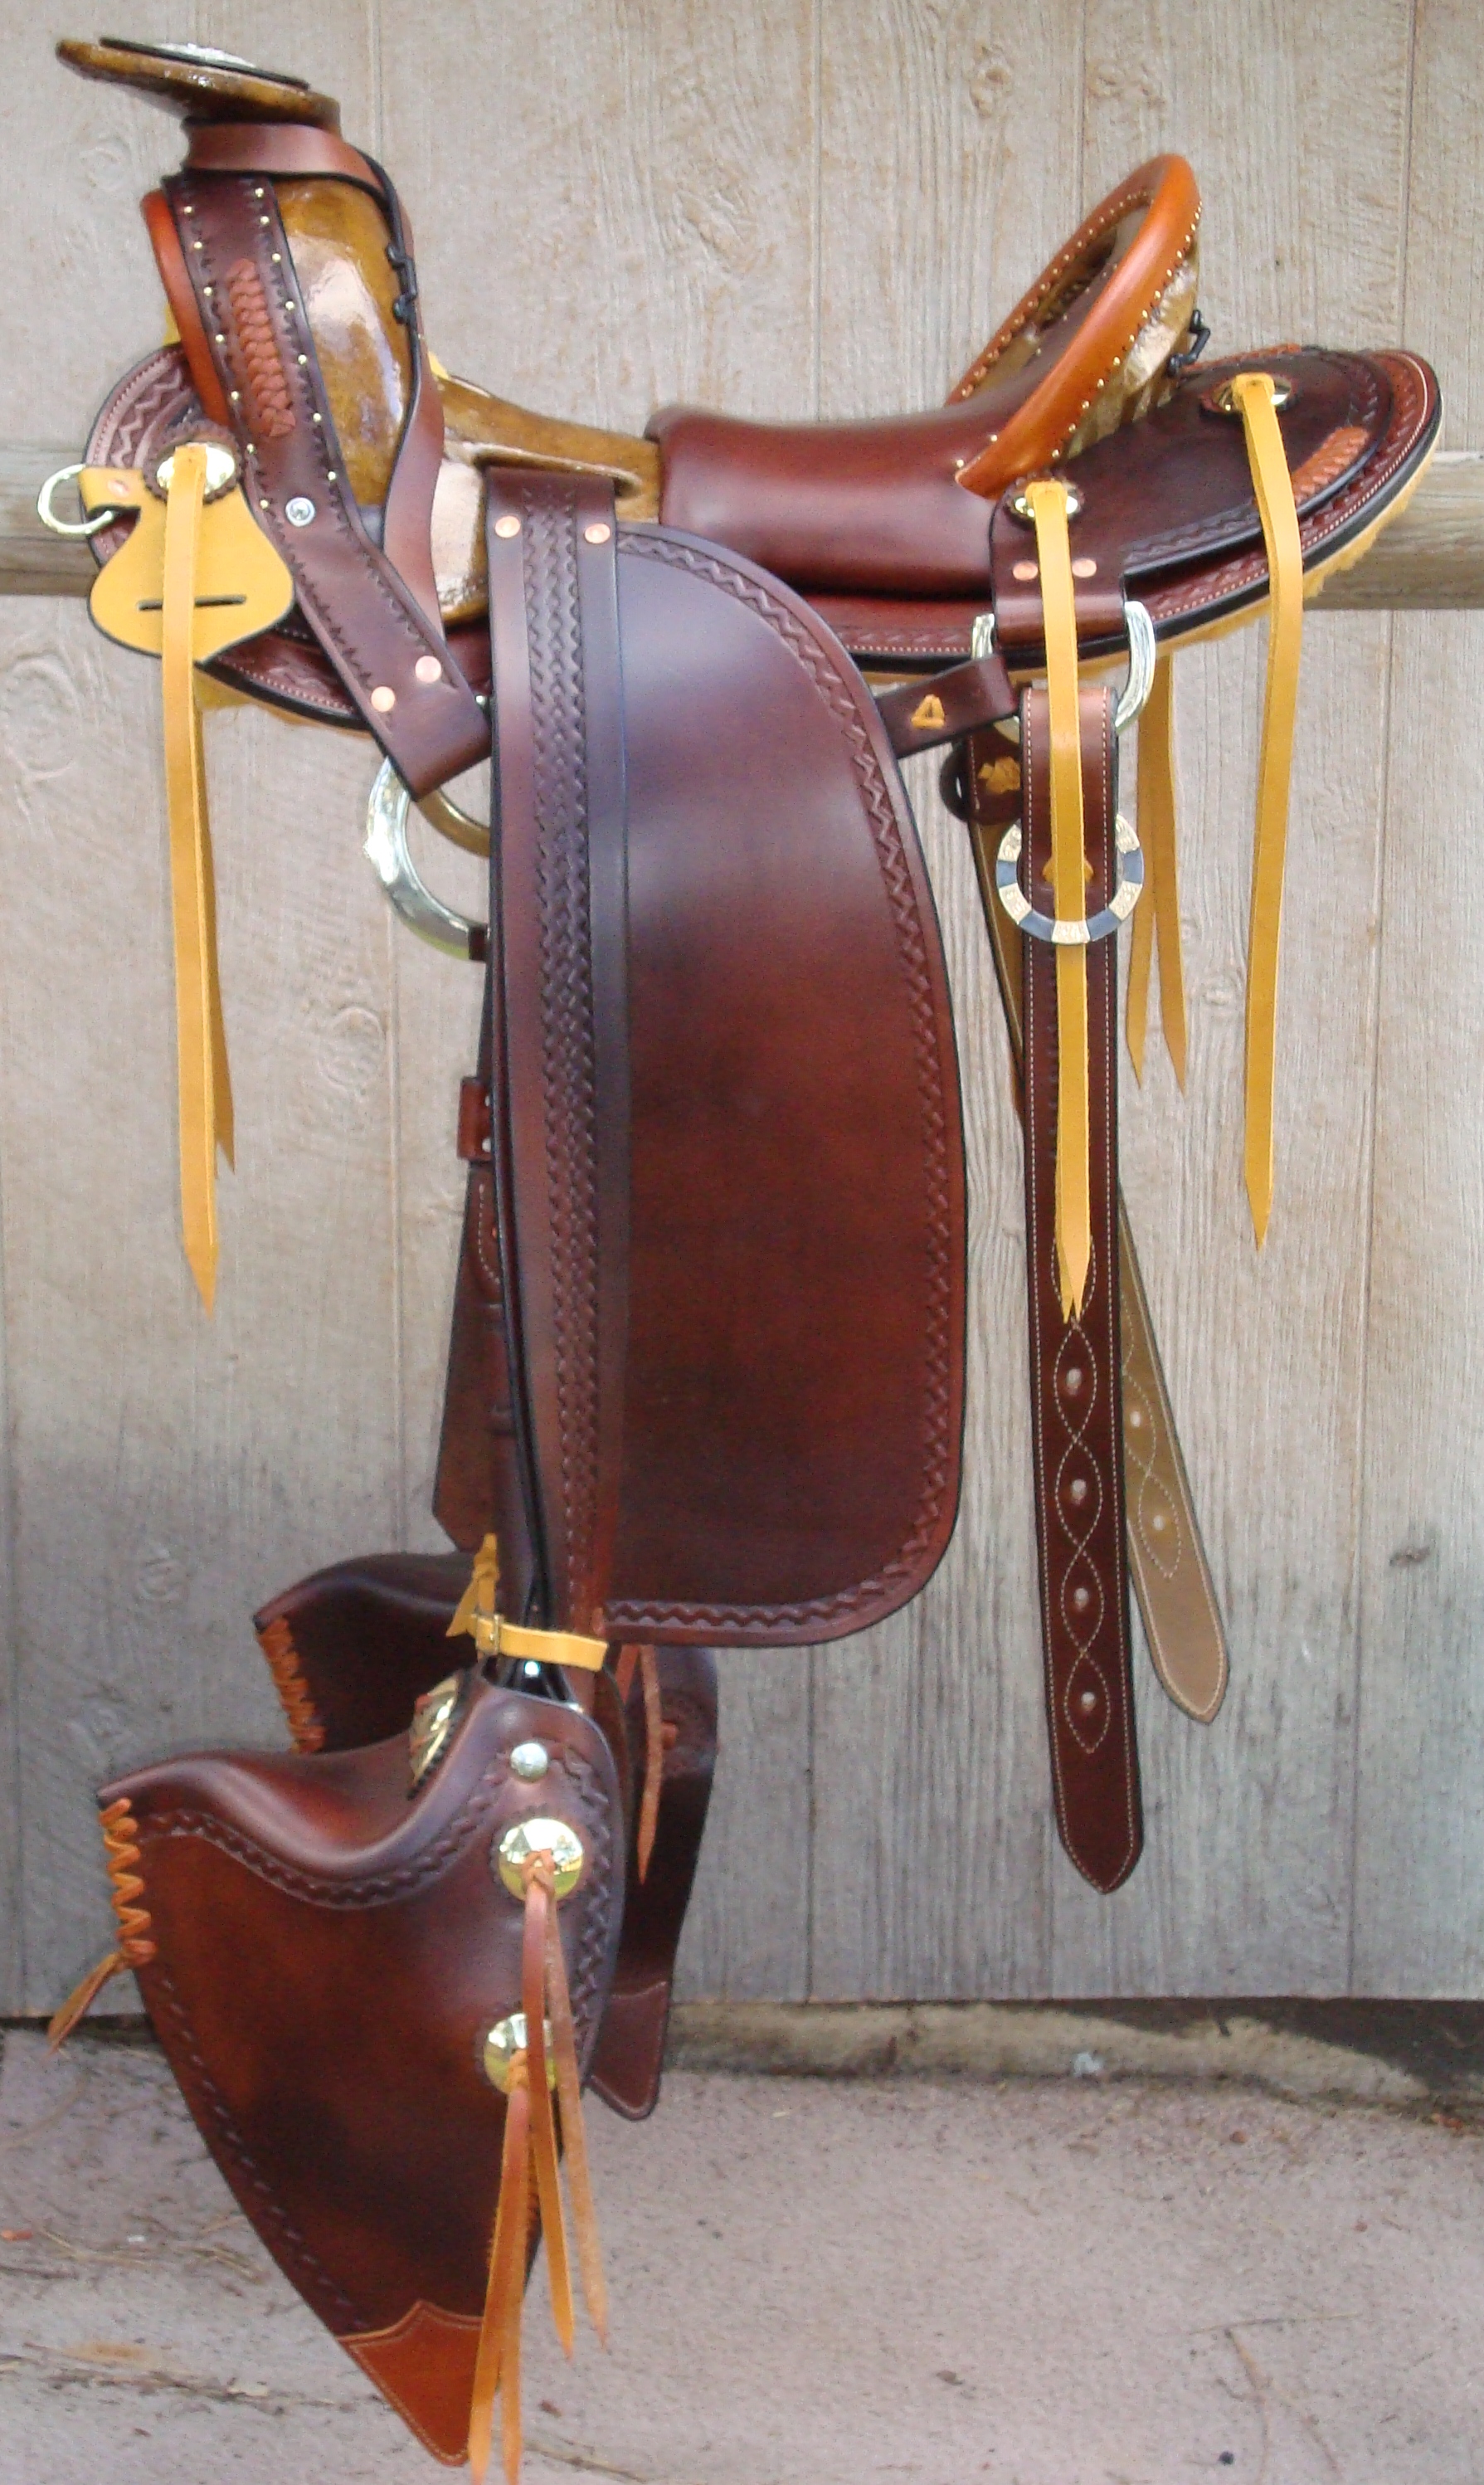
Are you referring to the Mother Hubbard style saddle? It's actually a 2 piece that is laced down the center with a cut out for the cantle. They refer to this as a mochila. Here are a few photos to see if we are on the same page. I know that Knut on the forum has built one or more of these. Frank
-
Welcome to the forum Jon. Where are you located? I'm in Milwaukee myself. There are quite a few of us Wisconsinites on here. Frank
-
The #4 Montana edger has been sold. The #4 round bottom edger is still available. Frank
-
Here's mine. It does have skirts but they are very short. Frank
-
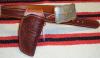
Hey All, I have a customer that is having issues with a belt and needs an extra wide belt keeper. It needs to fit a 2.5" belt. I am looking for either plain black or perhaps brass. I know some of you make your own keepers. PM me if anyone is interested. Thanks in advance and have a great Thanksgiving. Frank
-
I believe Montana Silversmiths also makes them and there is no minimum or setup fee...but that was a while ago that I checked. Frank
-
I ordered 5 specialty stamps from Bob back in January. I got a call from him the other day and he was working on the last one. They should be ready to ship next week, much to my excitement. There is a perk to waiting a year for custom tools though. When tools cost a good amount of money, place your second order right when Bob gets ready to ship your first order. This way you are spreading your tool costs out year by year. It gives you plenty of time to set the money off to the side and also gives you enough time to choose your second order. Frank
-
Hey All, I was going through my tools and found that I had a double of the Ron's #4 round bottom edger (good for heavy skirting leather) and a Ron's #4 Montana Edger (good for lining and chap leather) both with sharpening rods. Both edgers are sharp. I am asking $55.00 for the Montana and $70.00 for the round bottom edger. I will also entertain offers of tool trades....maybe a good sharp head knife other than an Osborne. If interested, PM me with your email and I can send photos. Frank
-
This link doesn't work either. It seems you need to log in every time you need to see the photos. The best would be to copy the photos and add them to your post so you do not have to give everyone your login info in order to see them. Frank
-
I dampen the edge with water, rub a piece of solid glycerine saddle soap lightly on the dampened edge, then rub briskly with a piece of canvas. Read Bob Parks tutorial on finishing edges. Frank
-
"john Wayne" Style Holster/gunbelt
Frank replied to Josh Ashman's topic in Gun Holsters, Rifle Slings and Knife Sheathes
Thanks Josh. I appreciate it. The close up photos did help out a great deal. Matt, glad you like the grips. I thought they were fairly befitting when taking photos of the rig. I think I paid $40 for them through Western and Wildlife Wonders. Frank -
"john Wayne" Style Holster/gunbelt
Frank replied to Josh Ashman's topic in Gun Holsters, Rifle Slings and Knife Sheathes
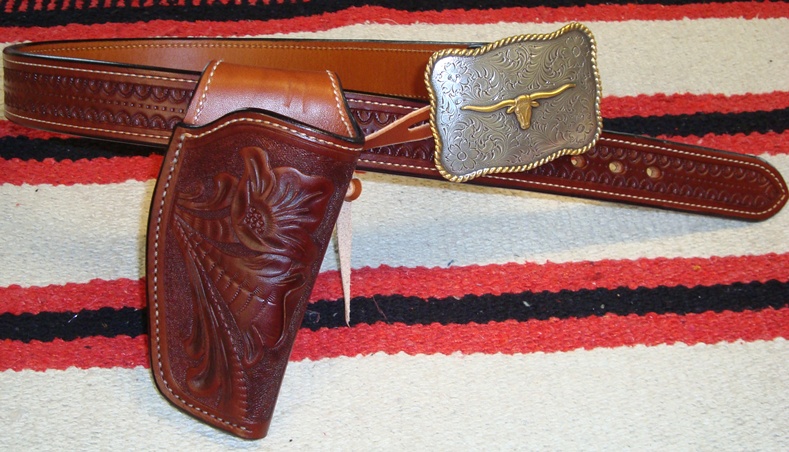
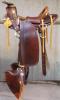
You did a great job on the holster and the belt. There are so many variations of that style out there. This is the one that I did for a customer a while back. I do have several close up photos of a few rigs owned by John Wayne, which help a lot. Most of his were open toe holsters. Frank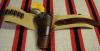
-
Westren Rig Belt And Holster
Frank replied to goodfella's topic in Gun Holsters, Rifle Slings and Knife Sheathes
The holsters are a very nice clean design along the lines of a John Wayne/John Bianchi style. I have one question about the holster. I'm not sure if anyone else has picked up on this or not. Are these holsters lined? I see stitching going all around the holster except for the toe. Is there a reason for this? Frank -
Thanks KT, I appreciate it. They were definitely a bear to do. Frank
-
All I can say is....WOW. I have never seen a white holster in my life. There's no doubt that it was a difficult one to do. Excellent presentation with a very different color. The most difficult ones I have ever done, have a contrastiong color bound edge. I vowed to never make them again. Here's a photo. Frank
-
Thanks very much. I'm trying to make my way up to Lobo's standards. I mostly do 1800's reproductions for cowboy action shooting but have a strong affinity for the old Threepersons style. Frank
-
Thanks Eaglestroker. I tried to go along with the KISS method (keep it simple stupid) and yet give it a little bit of pizazz without going overboard. Frank
-
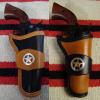
Thanks Mountain Man, I appreciate it. This is a BBQ rig I made for myself. Thanks to Lobo for the Threeperson's pattern. This is for my custom 3.25" Taurus single action 45 Colt. Frank
-
CustomDoug, You are correct. They are the remnants from when the hide goes through the splitter. There are no finished sides to them, they are a rough as a cob. Boy Scouts and the like use them to make bracelets, necklaces, and stuff like that. If the split is thick enough and stiff enough they can be used to put the ground seats in saddles. Other than that, I really do not know many more uses for them. Frank
-
Does Any One Have A Bullnose Tappadero Pattern?
Frank replied to klint fluitt's topic in Saddle and Tack Accessory Items
I do not have a bull nose tap pattern but what I did when I made mine was I took an eagle beak pattern and trimmed the wings (beaks) off until they resembled the bull nose. I laced the front of the seam and then stitched the rear. Frank -
The edgers have been sold!! Feel free to remove this topic from the list. Frank
-
About half way down the page on this link, you will find them. FCSUTLER
-
Ferg, I did send you an email per your request. Frank
-
Ferg, Wasn't sure if you got my PM or not since I didn't hear back from you. Let me know when you have the time. Frank