jdwintx
-
Posts
83 -
Joined
-
Last visited
Content Type
Profiles
Forums
Events
Blogs
Gallery
Store
Everything posted by jdwintx
-
When you say cut the gusset to a diminishing shape, can you describe that or provide a picture, I'm not sure what you are describing. Thanks
-
Well I sat down and gave it a lot of thought last night and I think what I'm going to do is build a wooden jig that will mimic the inside dimensions of the divider and then wet form the gussets around the jig to have top and bottom lips as well as provide the curves. Basically I will build out the shape of the divider and front/back pieces about 1/4 - 1/2" smaller than the actual piece size but the same depth, form the leather around that and then clamp (around the form and top). That should give me enough leeway to sew around and also provide me room to trim and sand the edges. I'll then add the lining prior to sewing over the formed piece. Once I get that built out I'll post a picture (if it works). I think that's about the only way to get the consistency to construct these in a reproducable manner.
-
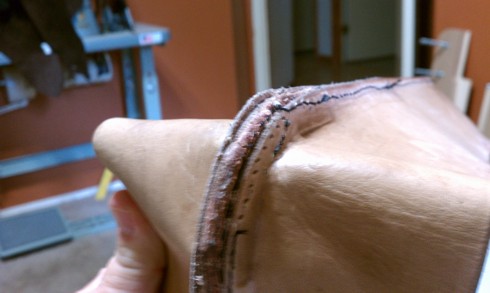
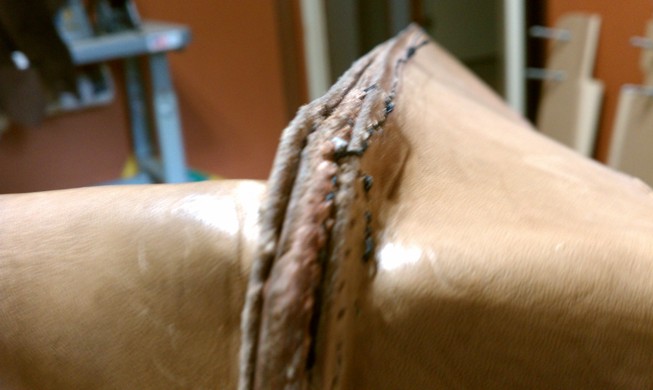
Well I tried the method we talked about and all I can say is luckily this is my prototype so I don't mind messing it up while I'm figuring this out. The results were less than stellar as you can see from the images below. Unless I'm really doing something wrong (other than my poor sewing skills) I'm still unable to get the corners smooth enough to sew straight and there is no way that I could do a double seam on this as moving further into the leather around the curves would be impossible. Any other ideas or suggestions?


-
Thanks Dan, I'll give that a shot. I was hesitant to soak the gusset as I have already glued the lining in place and didn't want to chance that coming unglued, I'll review the saddlebag patterns book, it's around here somewhere...... It does seem to me that this would be very time consuming for someone or company that makes many of these so I was hoping there were other methods.
-
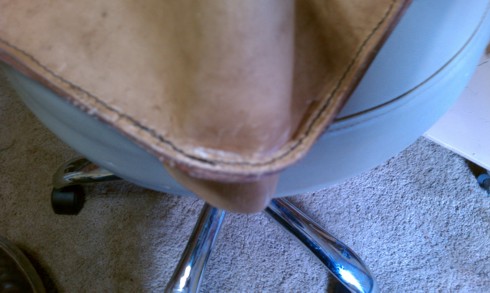
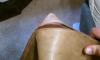
Here's a question for all you master sewers out there, how do you sew around a corner? I'm making a laptop bag (based on the design on the Saddleback site) and I'm having a very hard time sewing around the corners. Basically there is a middle compartment divider (5oz leather) that seperates two compartments. I have made my divider and the side gussets (3oz leather) but when I get to the corner I'm unable to bend the leather and keep it under the sewing foot of my machine (Cobra Class 4 16). In looking at the pictures I do not see any darts or other cuts to make this easier. Do I need to get the leather wet and pliable before sewing? I figure it is something simple but never having done it I could use some advice. Here's a picture of what I'm describing. Thanks in advance.

-
Thanks guys, appreciate the help. I think I have it found now. CS Osborne makes what they call a scratch compass one which has interchangeable gouges and one that is fixed like the one on the vergez-blanchard site. I think the Osborne will be on my next shopping list. I appreciate everyone's input. Thanks
-
In looking through the hand sewing leather book by Al Stohlman I see a reference to a gouge compass, I did an internet search and cannot find any reference to one or a supplier. Does anyone have a source for one of these? Thanks
-
There's a good article in the Leather Crafters Journal Mar/Apr 2010 on how to make these along with a supply list.
-
Well tax refund time is here and I can finally invest in a good leather stitcher. I will be sewing mostly motorcycle seats, bags, chaps, belts, holters, etc. predominately heavier leathers, I've got an old Singer 211 for the lighter stuff. I've narrowed my choices down to the Cobra Class 4 w/o EPS and the Toro 4000 R 600. From here since I've never used either and there isn't a retailer close by for me to compare it's a dice roll. So for those of you that have them, which do you prefer and why. Thanks
-
I'm making a purse for a friend and wanted to make the straps from chain and leather. Came across this picture of barbed wire chain but can't find any manufacturers or ideas on where to get it. Anybody seen something like this or know where I might track it down? Thanks
-
http://www.qedisit.com/index.htm
-
I've Never Seen This Before
jdwintx replied to iwannabeacowboy's topic in Motorcycles and Biker Gear
I saw that a few weeks ago, nice work. Don't think that you could carry like that in most states although.... -
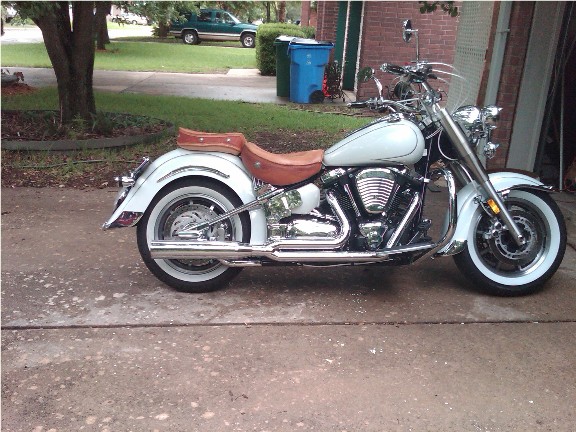
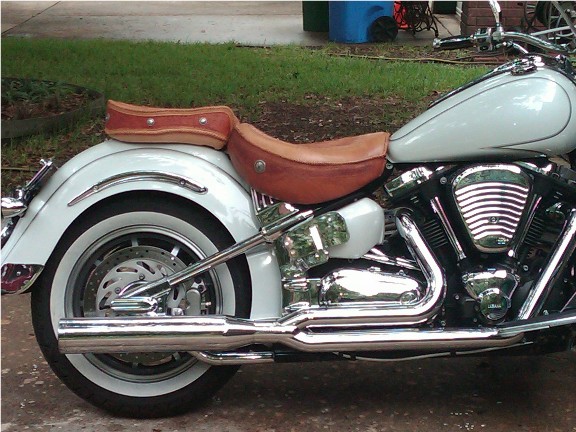
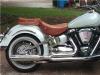
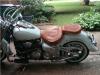
Here's some pics of it on the bike. Now on to the saddlebag and tank bib

-
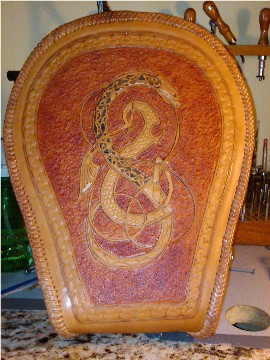
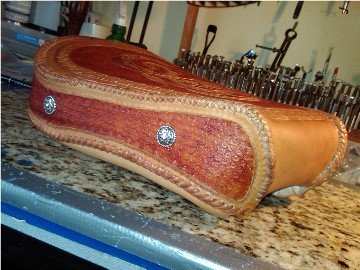
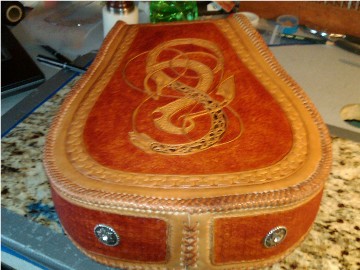
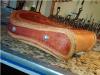
Here's some pics of my new back seat I finished today


-
Red and black shoulder bag
jdwintx replied to leatheroo's topic in Purses, Wallets, Belts and Miscellaneous Pocket Items
Looks really good. I'm putting together a similar bag for a friend of mine that is starting back to school so it's good to see how you did it. -
Frankly, most of my friends are having babies at the moment it seems so I've been collecting baby food jars. I do most of my leatherwork in the house so I like having a solid lid that I can screw down tight.
-
In December was a lot of work
jdwintx replied to arbalet12's topic in Books, Journals and Photo Albums
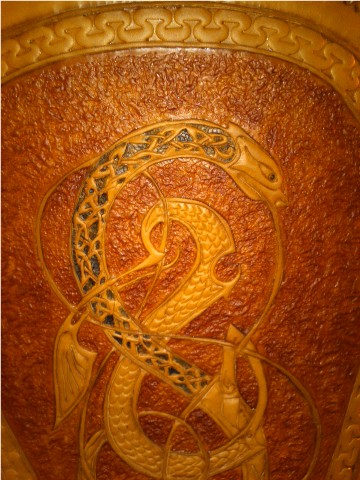
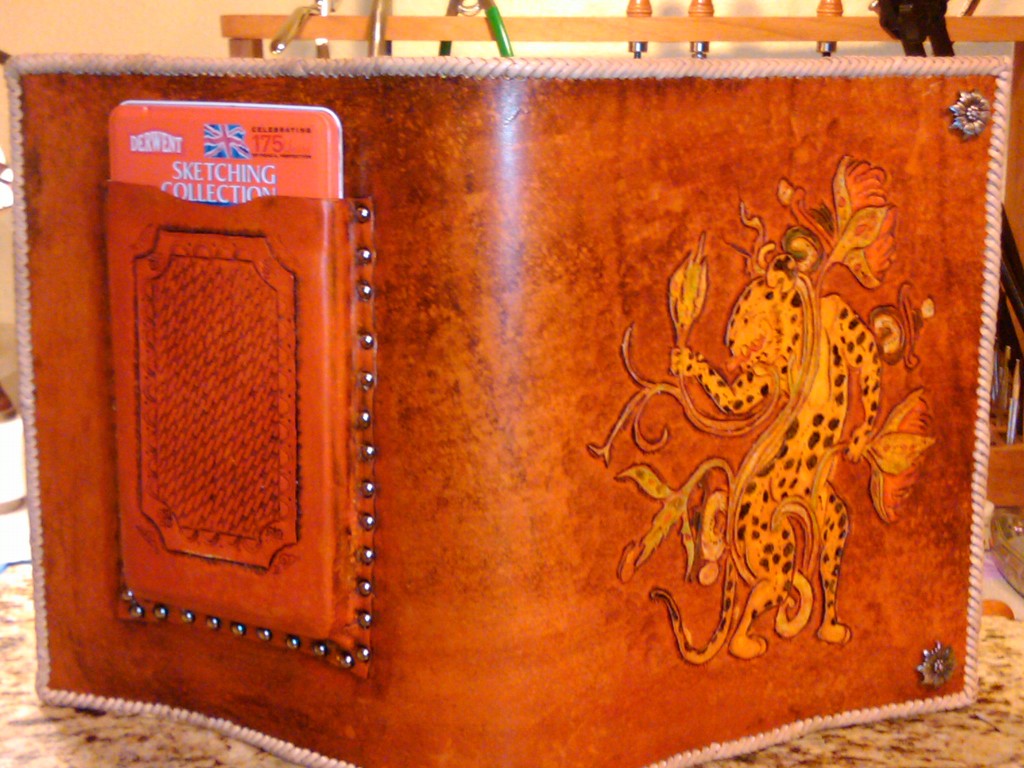
Very nice work, excellent detail. -
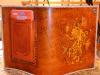
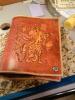
I just used tandy dyes, did some mixing for some of the color, especially the orange of the jaguar. Then used color block on the items in differing number of coats depending on how much color I wanted to retain, I think the most I used was 4 coats, everything else got 2 or 3. Then I finished the whole thing off with saddle tan antique finish, after that kinda dried I splashed some water on it and rubbed that out. I finished and buffed it out with Aussie Wax.
-
Very nice work, love the face. Also really like the "outside the circle" work on the back, it gives it just the right amount of fluidity. Did you plan on doing that from the outset?
-
Thanks folks, the design is ancient Mayan actually so I can't take credit except for copying. As for the charcoal case pocket I figured it wasn't much good without pencils and this way she would always have something to write/draw with.
-
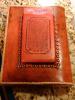
Sketchbook cover.


-
Here's a sketchbook cover I did for my neice as a christmas gift.


-
These are all some great ideas and I know you just made my circle cutting a whole lot easier. On a similar note though, what does everyone use to countersink a circle into leather without cutting out the entire circle, something along the lines of a forstner bit. I'm thinking of when I have to embed circular magnets and metal into a latch piece to. I like to get these as flush as possible to the surface so that they don't stick out.
-
I need help on carving and colouring flames
jdwintx replied to GirlFromScandinavia's topic in Motorcycles and Biker Gear
As far as inspirational patterns you can try deviantart.com, they have a ton of skull/flame and other art work that lends itself well for practice pieces. Most of the art can be downloaded as .jpg and then you can use photoshop, illustrator, corel or someother editing software to scale the work accordingly. I then print it out on ink jet vellum paper for tracing. Just remember this is somebody elses artwork and shouldn't be used commercially unless you get permission. As far as coloring, I just play with different combinations of dye's and paints to get the look I like. The new eco-flow color book from Tandy does a decent job for idea generation on how to use their dyes and paints. -
Cell Phone Case
jdwintx replied to MarkB's topic in Purses, Wallets, Belts and Miscellaneous Pocket Items
Nice case. Just be careful with that snap though. I just did a case for myself and within a few days that snap had cracked the LCD crystal on the phone, didn't break the glass but rather the crystal below the glass. Cost me $100 to replace the phone and you definitely don't want your customers coming back at you for that. I'm reworking my case now to either eliminate the snap on the front or make the snap on the back.