CJJ
Members-
Posts
65 -
Joined
-
Last visited
Content Type
Profiles
Forums
Events
Blogs
Gallery
Everything posted by CJJ
-
is there a leather close to Cordovan Shell?
CJJ replied to ToddW's topic in Leatherwork Conversation
maybe Gaucho Oil from La Bretagna? -
Palosanto
-
Thanks! I'm extremely limited on work space and have to make it as efficient as possible. lol I only have about 9 SF of work space that's jammed into the corner of a closet.
-
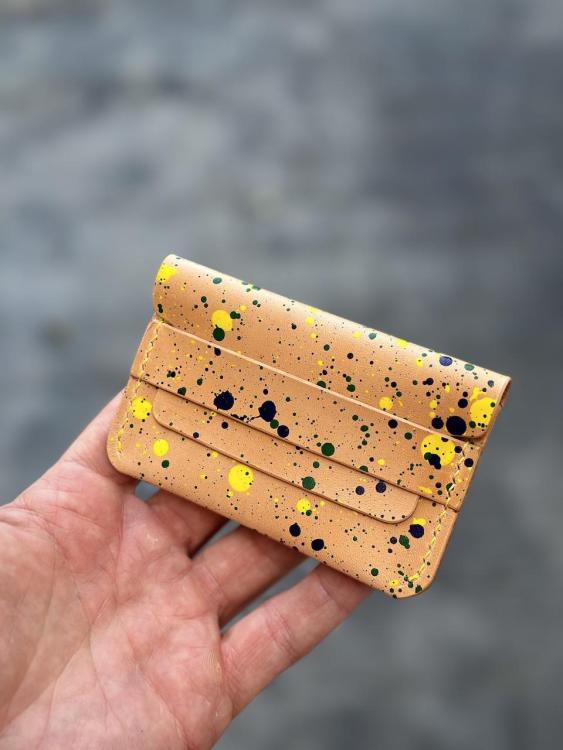
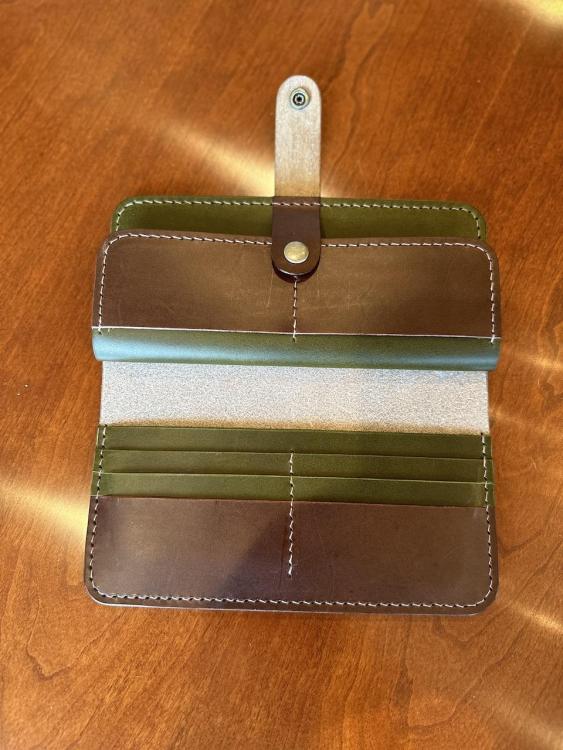
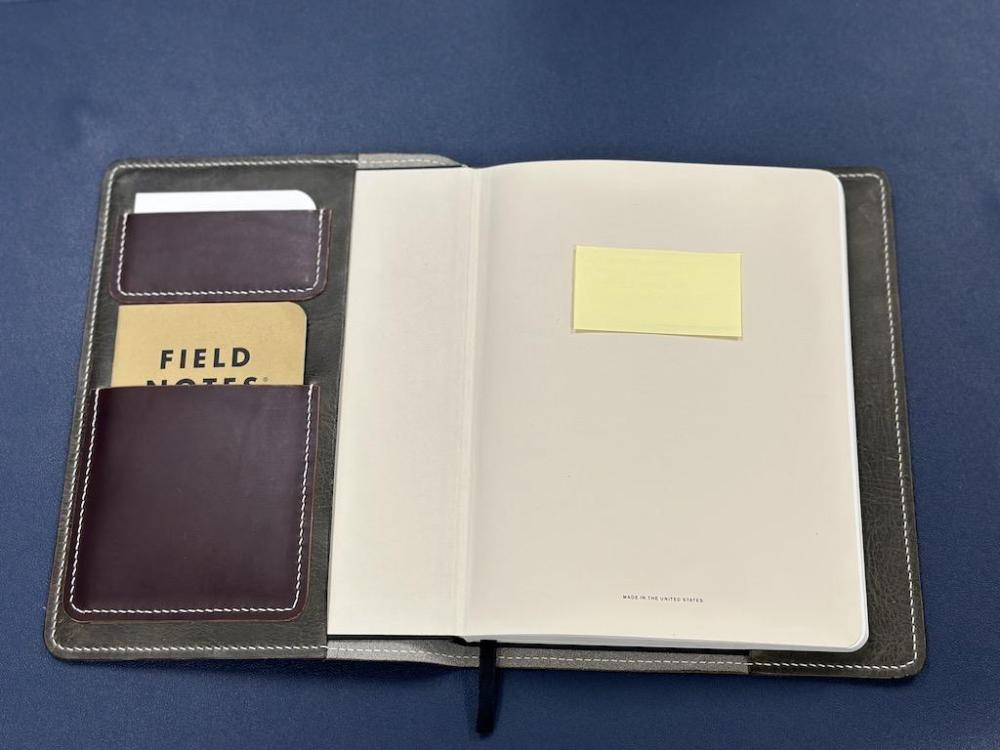
Thank you and yes several of the items are DSLeatherGoods patterns. The flap wallet, the long wallet, the blue shell wallet and field note sleeve are all his. I really like his patterns. they're fun to make and the instructions are great. The paint on the last project is Angelus. Green, yellow and purple with their high gloss finisher.
-
Hello from Portugal - just another newbie...
CJJ replied to stitchgearhead's topic in Member Gallery
welcome and looking forward to seeing what you make! -
Just finished working on something new and wanted to share with y'all. I've been thinking recently about incorporating paint to create something unique. I don't expect this to be everyone's cup of tea but thought some of you might find it interesting. Living in New Orleans it only seemed appropriate to go with Mardi Gras colors. I made a little makeshift paint booth and started splashing paint around on a piece of Natural Buttero. I think it turned out well. Let me know what you think!
-
fair point. In my rush to give it away I forgot to take pictures of the finished product. Here's a couple in progress pics I took and a couple my buddy sent me.
-
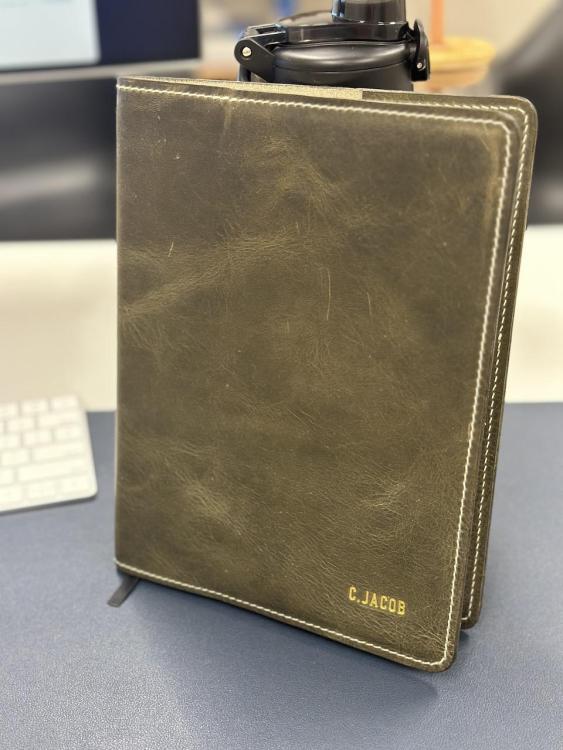
- wallet for my wife - belt for a friend - recovered a baseball for fun - cover for my notebook I use at work with slots for field note book and business cards on the inside - prayer book cover for my dad with bookmark that sits on interior pocket when not in use
-
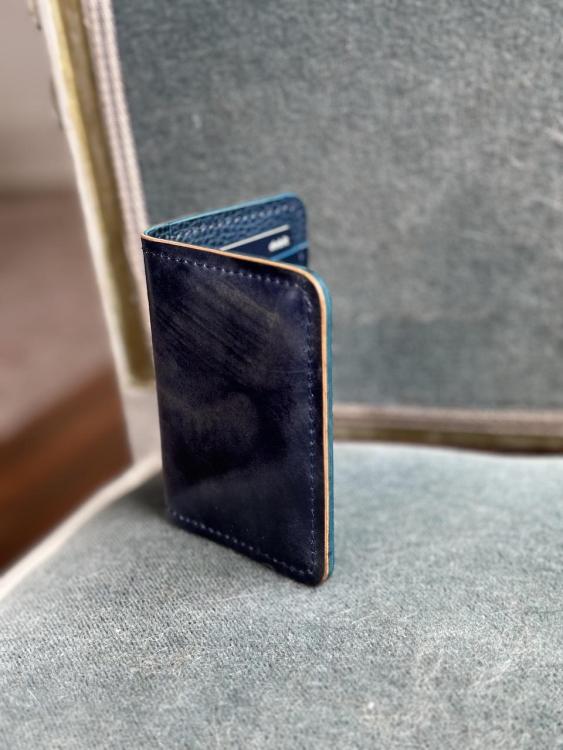
Hey Folks, hope everyone had a great week. I've been trying to stay busy tinkering on all kinds of different things and just wanted to share some with you all. Let me know what y'all think! - Shell Cordovan watch strap and wallet for a friend. The shell is marbled navy blue from Rocado. Inside of wallet is a combo of Navy Buttero and Navy Dollaro field note sleeves with pen holder
-
Really nice. Love the simple natural leather for this. I bet it looks beautiful on the horse.
-
Wanted to share this belt I made for a friend. tried out a new pattern and used the colors from his company logo so hopefully he'll be able to get a lot of wear out of it.
-
the rudder is my everyday wallet. It's a pattern you can buy from DSLeatherGoods on Etsy. fun and simple to make when you're looking for a quick project to scratch your crafting itch.
-
those look great. Clean and simple but still unique. nice work
-
I have the same machine from Amazon with the four springs. Try watching this video. It's way to long and might put you to sleep but you can skim it and pick up some good tips. Particularly squaring up the die and seeing how he builds a jig to get things lined up properly. Hope this helps.
-
thanks everyone! The chicago screws I used for the handles were meant to be temporary. I'm going to make her an interior pocket but ran out of the natural buttero leather I was working with. I'll either need to get more or figure out another material to use that wont take away from the simple aesthetics of the bag. I wanted her to be able to use it in the meantime. I'll likely use the same rivets eventually that I used for the exterior pockets but I do like the idea of being able to swap handles out. Maybe a slightly smaller and subdued screw would be a good idea. I've definitely been wearing the belt with pride. Really happy with how it came out and have gotten a lot of compliments.
-
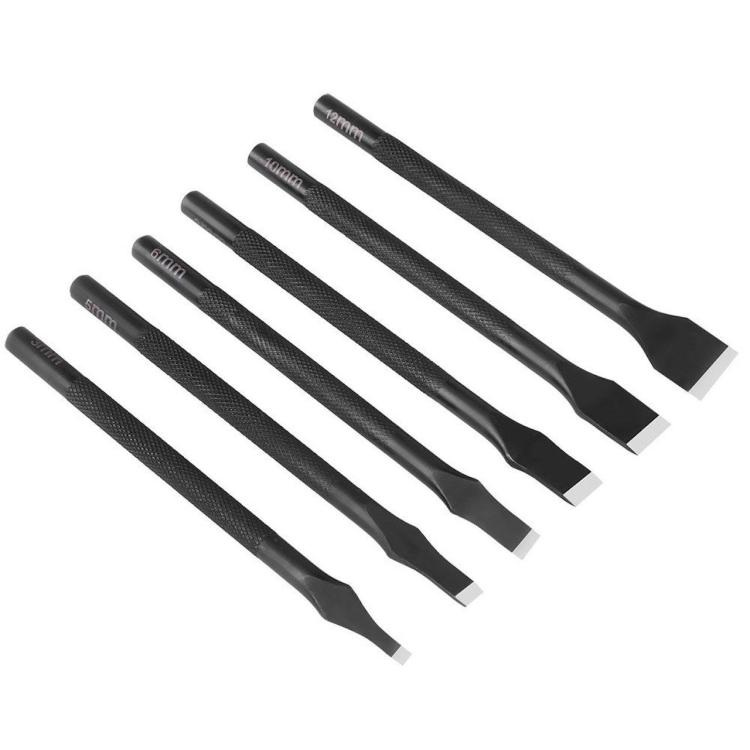
If anyone is interested, this is the process I used... I liked the screwdriver idea from but thought I might need something a little sharper. I found this set of straight punches on Amazon for around $15. Then I made a pattern on my computer with dimensions I knew would work with the punches. Printed that on card stock but thought I would need something sturdier so I transferred it to some framing mat board I picked up at Hobby Lobby. Cut that out and used thumbtacks to pin it to the belt in places where I knew I would be stitching over. Then marked the design with an awl and came behind with an x-acto and ruler to make sure I had straight and consistent grooves to set the punches in. Here's a shot of the punched belt before stitching and a progress stitching shot. Then punched the holes and started stitching. I used 1mm Vinymo MBT thread on the belt and think it worked well. I used a thinner thread on the bag handles thinking it might look a little more delicate and appropriate for that project. As you might imagine though the thinner the thread the more stitching required.
-
Here are some pics of my first finished projects with this type of technique. It's definitely not a fast process but I'm happy with the results. The first is a tote bag I was already making for my wife, which is actually my first time making a bag of any sort. I thought the straps would be a good chance to test out the process. Next I made a belt for myself with a different pattern. On the belt I decided to try a pattern that doesn't wrap around the outside edges, thinking maybe it would be less likely to fray over time. Let me know what you think.
-
Thanks for all the ideas. I like the screwdriver idea. Thinking a sharp woodworking chisel may work even better to create just a little more width with less effort. Here's a pic of a quick test piece I did on some scrap to make sure I understood the stitching. I didn't have the time to figure out a pattern yet so I used a wing divider to lay down some guidelines. Not to bad in my opinion if you can ignore the guidelines and cheap materials. to make these slits I used a craft knife with a square chisel style blade. I agree that the threads may end up wearing over time but that doesn't really bother me. That's the beauty of this hobby. You can always just make a new and improved version of anything you want.
-
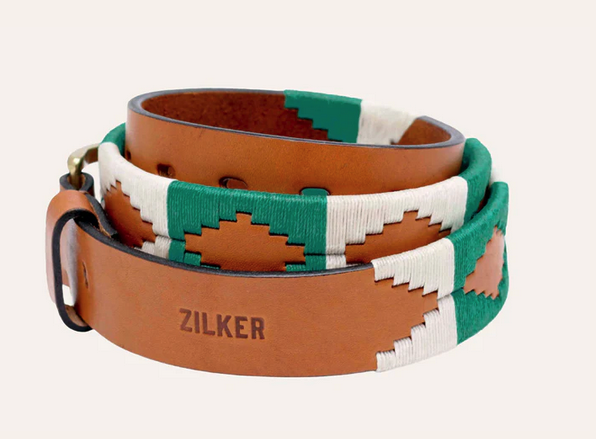
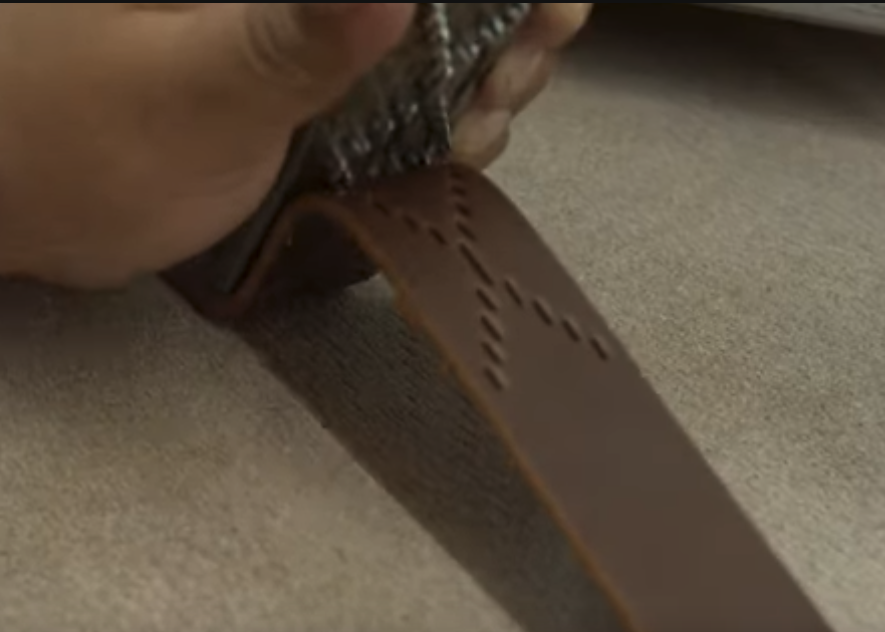
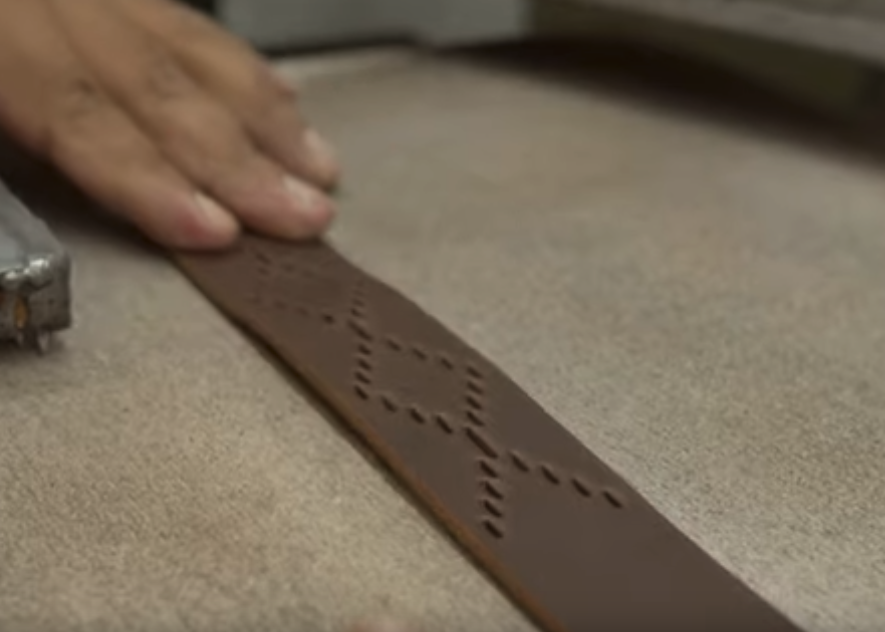
I'm interested in making a hand stitched Argentinean style pampeano belt like the one from Zilker in the image below. Here's a brief video of the process. The other two images below show how they use a cutting die to punch the patterned slits for stitching. Of course, I don't have one of these dies, or a press for that matter. Any ideas how I might go about marking and punching a consistent pattern? Even if I could mark the pattern consistently I'm thinking a simple cut from a craft knife wouldn't be wide enough for stitching. Especially towards the middle of the pattern where there are two layers of thread. Any bright ideas? Also, any thought on what type of thread would be best for this project? Flat, round, material etc...
-
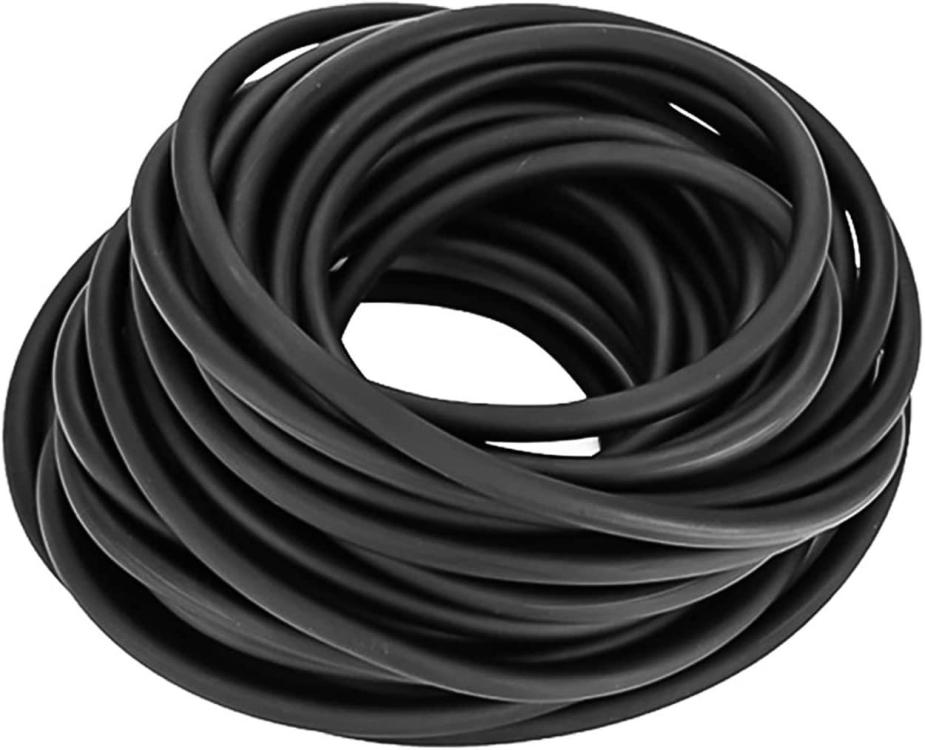
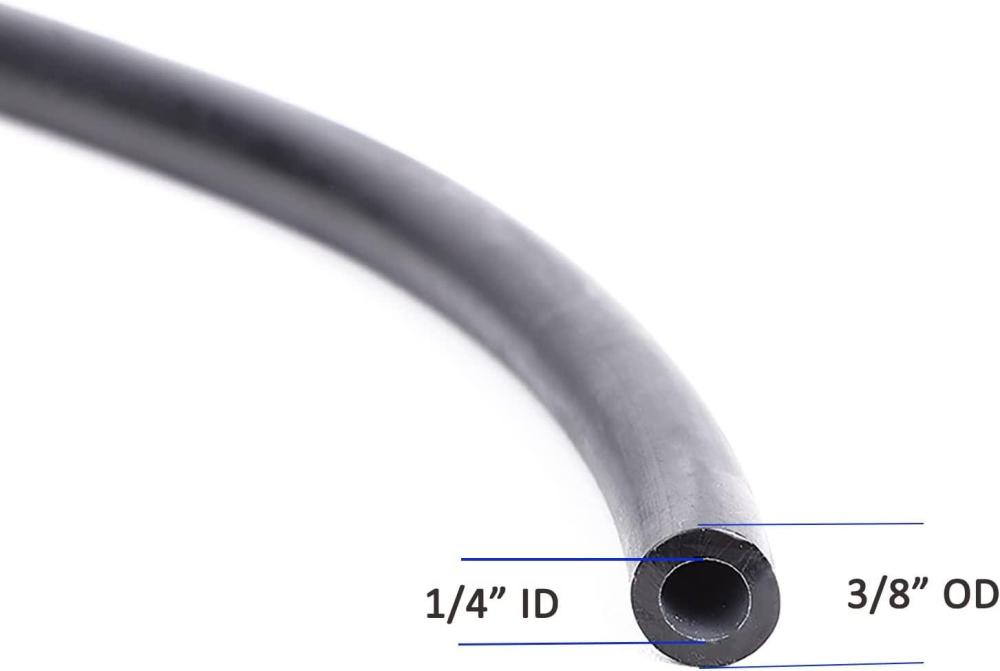
Here's a finished one with the tubing I linked in the Amazon link. I think it looks pretty good for the application and so far seems like it will get the job done. I used double cap rivets to secure it. I'll see how it holds up over time.
-
https://www.amazon.com/dp/B09YH99HX4?psc=1&ref=ppx_yo2ov_dt_b_product_details This is what I ordered. no clue if it will be the right size or material but figured I would give it a shot. I'll update after it comes in and I have a chance to use it.
-
good idea on the surgical tubing. I found something that I think will work. Thanks!


