Search the Community
Showing results for tags 'dragon'.
-
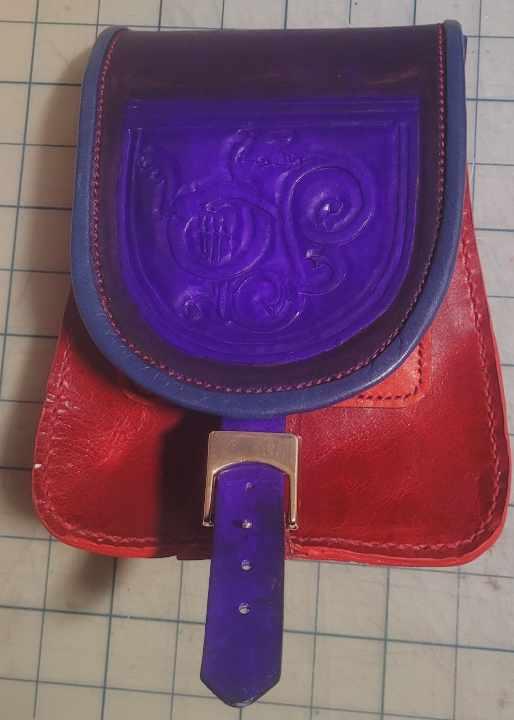
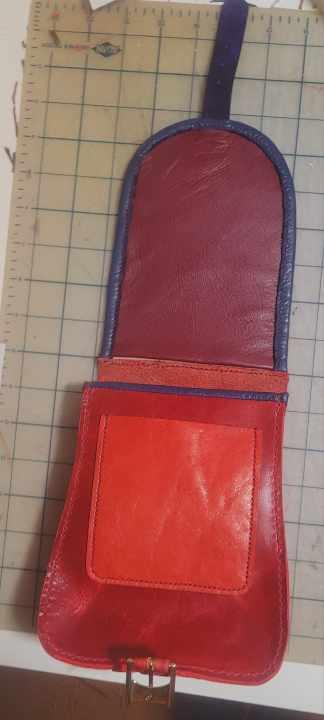
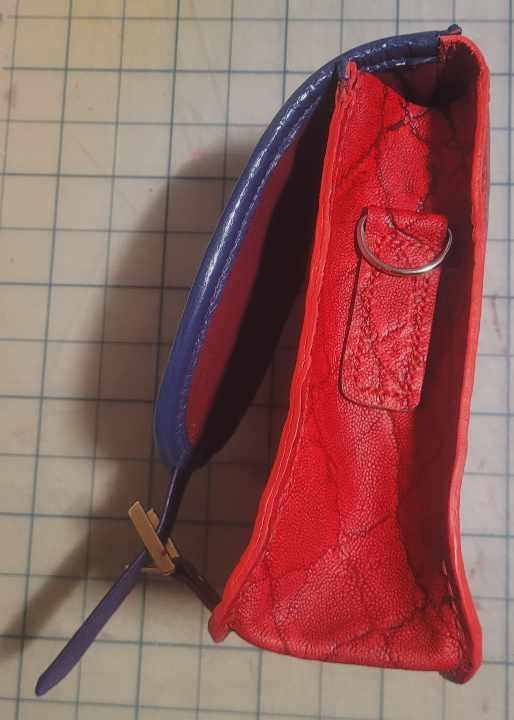
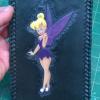
I'm making a series of bags using motifs from the early medieval Ornes stave church in Norway. I finished this one last night. That flap (with the soft raspberry colored leather and the folded edge) was a pain! I won't be doing that very often. ;-) The red gusset is faux elephant, and the red edges are Vernis edge paint from Rocky Mountain Leather Supply. The purple dragon and buckle strap are done with Angelus dye, non-diluted.
-
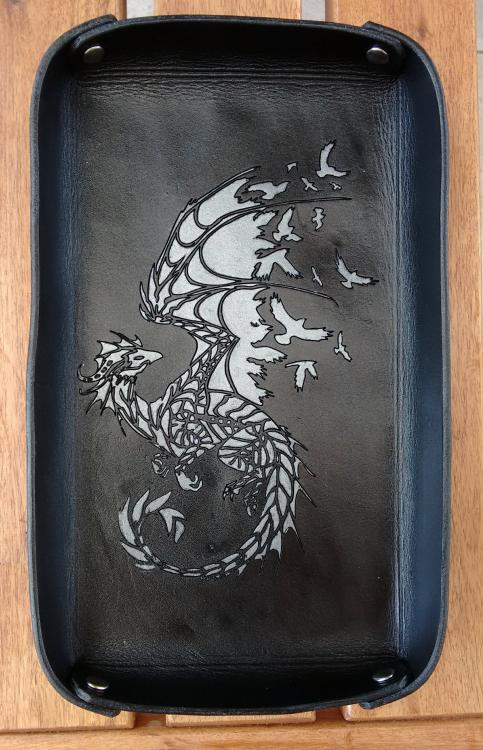
Here's my latest laser engraved offering - a vanity tray made for my daughter. Laser engraving done on an LS3020 desktop laser: http://hpclaser.co.uk/index.php?main_page=product_info&cPath=1&products_id=92 It's a hobby machine and not cheap - but my husband bought it for doing some wood work, so why wouldn't I take advantage of it :-) Dyed first with vinegaroon, then finished with Fiebings black oil dye mixed with irridescent medium (to give it some shine) Dragon painstakingly painted with Angelus leather paint (pewter)
-
From the album: CLebel
-
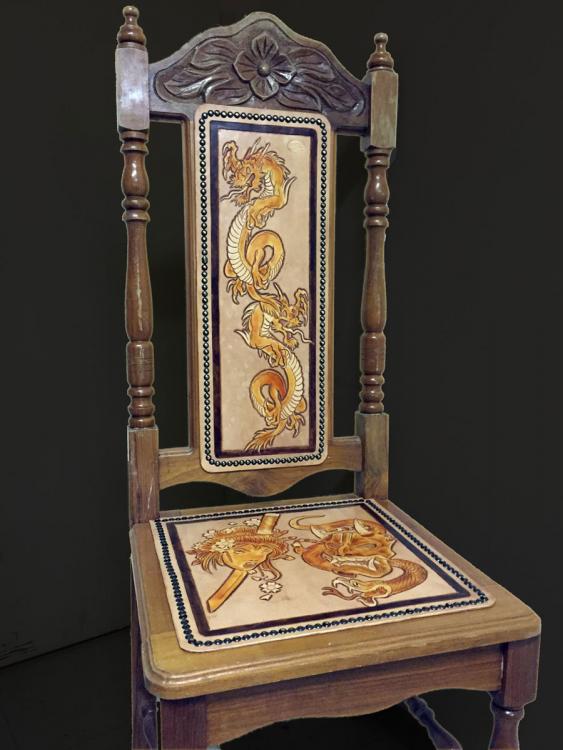
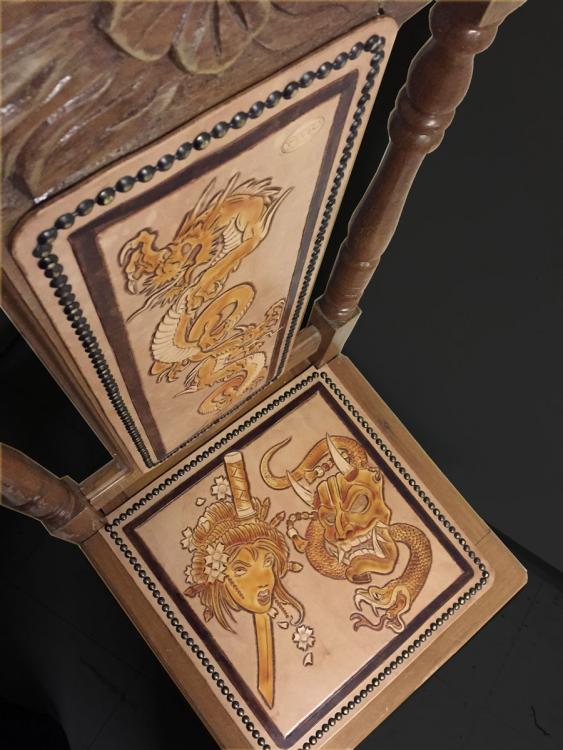
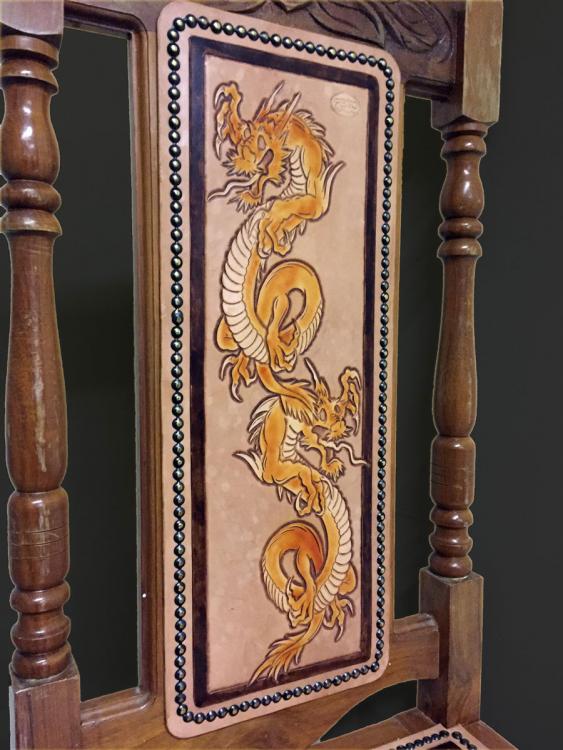
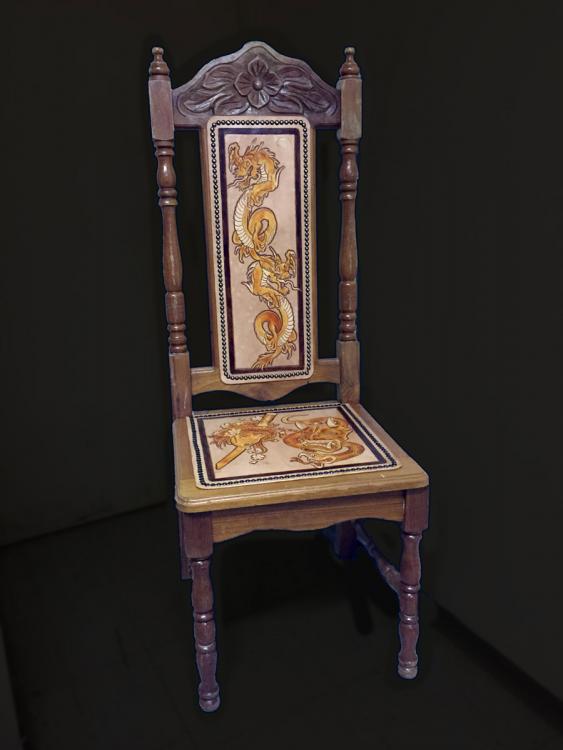
Reclaimed "el cheapo" -chair, covered with 7-8oz leather. Airbrushed Tan spirit dye (narvfärg/narvsvärta/narviväri), border Fiebing's Chocolate Brown. Finished with Mahogany Antique & Aussie Wax. Had fun on this one, would love to make more of these.
-
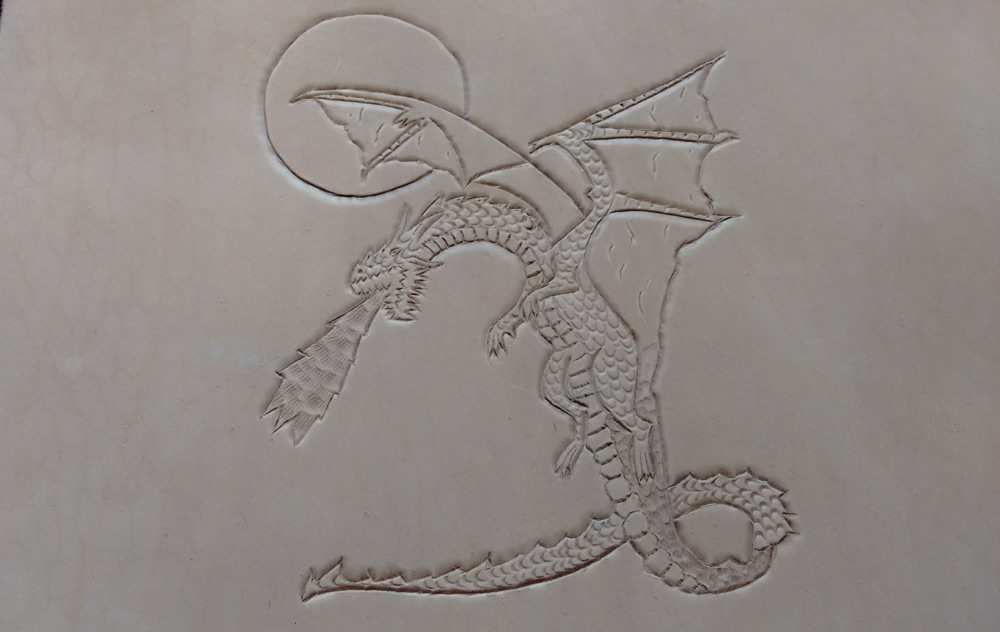
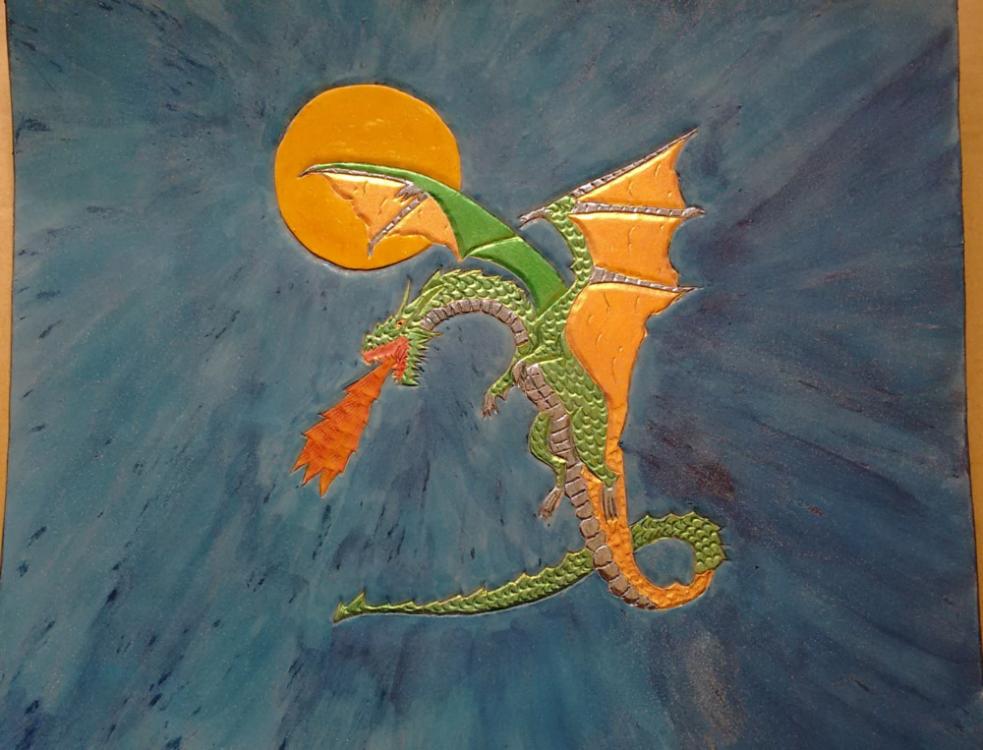
Hi This is my most difficult leather carving to date. I tried really hard to get my leather cased just right, but I still found if difficult to work with. I stropped the swivel knife, but I keep thinking it should be a bit easier than it was. How sharp does the knife need to be? Should I be able to slice paper with it or something? Anyway - after trying out some different dying and painting techniques, I'm quite pleased with the result. Any hints or tips?
-

CkBk---3000-ragon-by-Joni-orginial3.jpg
Joni Lund Trading Post posted a gallery image in Gallery- Our Leatherwork
From the album: My Trade Crafts
-
- dragon
- check book
-
(and 1 more)
Tagged with:
-
As usual, just swinging by to share a couple of pieces, make some comments and say hello. Hope everyone is doing well. If you have Instagram, I finally started an account and have been working into posting progress pics, bike pics, etc. there since it is so fast and easy. #threemuttscustoms
- 24 replies
-
- tooling
- leatherwork
-
(and 7 more)
Tagged with:
-
From the album: DJole -- Completed Work
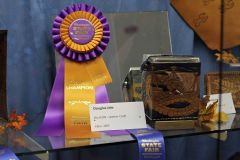
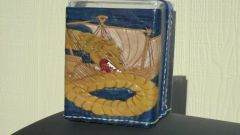
The completed box was exhibited in the 2015 Washington State Fair in Puyallup, and look what it was awarded! It was nice of them to put a mirror behind it so that viewers can see the back of it.© these images are not copyrighted
-
From the album: DJole -- Completed Work
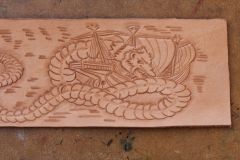
A closer view of the detail on the serpent box. Lots of knifework on this one! Did you spot the serpent's dinner standing on the deck? (look for his hand to the left of the mouth). -
From the album: Sioranth's Leather (Beginner)
This was my first real leatherwork project. I used the pattern from Tandy and a design out of a book of dragon drawings.© 2014 Sioranth Smith
- 2 comments
-
- archery
- accressory
-
(and 1 more)
Tagged with:
-
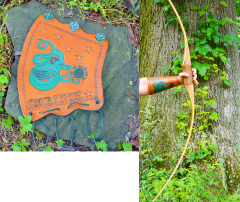
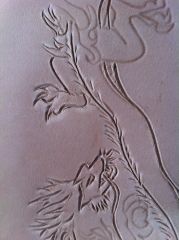
I'm an archer who just finished his first back quiver. Over 40 hours of labor (maybe closer to 50; I stopped keeping exact tally at 38). It's my own design, an adaptation (mutation?) of a very basic Al Stohlman/Tandy template, which had no carving or overlays. This project was a lot of self-education about tools, cutting, carving, stamping, dyeing (including mixing and shading), leather characteristics, hardware, problem-solving, and finishing. The close-up of the dragon carving was taken before I dyed the rest of the quiver. I got the dragon, by the way, from the web, imported it into Photoshop, manipulated it into a line drawing, scaled and printed it, traced it, then transferred it to the leather. I'm really proud of how it turned out, especially since I don't consider myself much of an artist. The overlays took a total of about 10 hours to cut (had to be a bit wider than the quiver to make up for a little extra circumference, especially over the straps), stamp like dragon scales, dye, and sew by hand (had to do that as I curved the quiver, otherwise they wouldn't lie flat). But they were worth the effort. Of course, I hand-sewed the entire quiver and learned how to keep my diamond awl sharp. The Tandy plans called for a 24" strap from the bottom. After sewing, I realized that this was way too short. So I had to improvise, sewing on an extension in a non-visible way. This was my 6th leather making project ever, though many times more complex than the others (coaster, archery arm guard, change purse, wallet, and uncarved and pre-dyed hip quiver). I really couldn't have made this quiver, however, without the comments I found at this site. Thanks to both the pros and novices who wrote about their experiences.
-
From the album: Recent Work
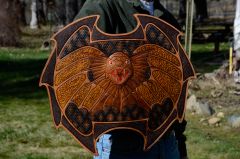
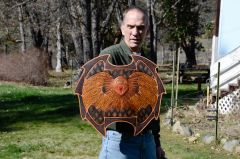
This is a Joe Barth designed shield I made following a tutorial in Leathercrafter and Saddlers Journal. Great fun to make! -
From the album: Projects in Progress
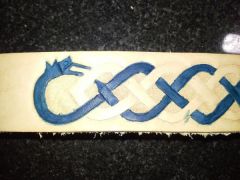
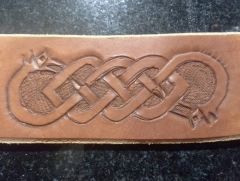
This is with the blue Ecoflow Water Stain applied. -

Celtic Belt Version Two Tooled
alfredleatherworks posted a gallery image in Gallery- Our Leatherwork
From the album: Projects in Progress
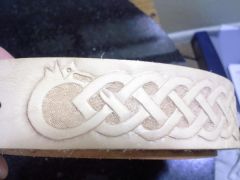
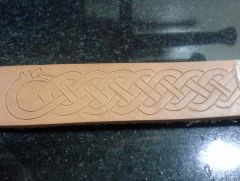
Here is a photo of the design after I finished tooling the belt. -
Hello everyone! I'm still fairly new to the forum and I am enjoying seeing what everyone else is working on, or has done in the past. At the moment I am working on a commission from an old Air Force buddy of mine, a Celtic knotwork belt with a dragon head at the ends of the two knots. This is really version "2.0" of this belt as the first one I made was much simpler and not nearly as nice of a finished product. The first belt had the same knotwork design, minus the dragon heads, the edges were never burnished, and I used Ecoflow Kova Colors instead of dye or stain. Over the years the Kova Colors have cracked a bit, the rough edges of the belt have frayed, and overall I am not satisfied with how it has held up. Thankfully my friend who I made it for still loves it. This time around I am going to burnish the edges of the belt, I added the dragon heads to the design, and I am coloring it using Ecoflow Water Stain. From my research, the Ecoflow Water Stain is a quality product that will last through the wear and tear of regular usage. Also, the additions to the knotwork design, though a pain to draw up at first, were actually very easy to tool in and the look is a hundred times better in my opinion. The first photo is of the original belt that I made, while the others are of the current belt project, the "2.0 version".
-
From the album: Recent Work
Clowning around with shield. -
From the album: Recent Work
A close up of the previous tank bib.-
- motorcycle gear
- tank bib
-
(and 1 more)
Tagged with:
-
From the album: Recent Work
This tank bib was made for a Harley dual tank.-
- motorcycle gear
- tank bib
-
(and 1 more)
Tagged with:
-
From the album: Projects in Progress
And so the tooling begins... -
From the album: Projects in Progress
A test run of my Celtic dragon belt design -
Just a Head (FWIW I've read Joanna's tutorial, John Henry's and couple on the Masks forum) How do I make a molded dragon head purse? I want to make a small purse that's dragon head shaped. I've got some examples that give a general idea. One is more art than usable purse, 2nd is a discarded alligator plushie. I want to mold it like the art purse, but shaped more like the plushie with a more triangular head. Seems like this has to be a turn out in order not to show stitches? If I'm going to mold this 1" up from my base do I start with a piece of leather that's something like 1 3/4" bigger than the base? What's the most 4-6oz belly leather can be stretched? Shoulder leather? Don't suppose the leather gives any kind of warning before it cracks? Is there some kind of conditioning to make leather easier to stretch? I'm making a plug, but why is molding pull down and not push out from back? Do people ever use just foam for their plugs? Any special type? Current plan is take 2 - 1x4s cut into "more triangular" shapes, shim up at back to get a wedge profile, and put a piece on top to get an approximate forehead shape. This is the rough shape, planning to goin with finer tools for some detailing.
-
From the album: Dragon Phone Case for Flip Phone
This is a commission I am working on for a ladies flip phone. She wanted it horizontal, with a clip, removable strap, inside pocket, clasp and a green chinese dragon in front. Will post when it is finished. I am pleased with the dragon...its just the cutest little thing-
- phone case
- case
-
(and 2 more)
Tagged with:
-
From the album: Untitled Album
All done! Dyed and stitched and ready to be filled up!-
- roleplaying
- box
-
(and 1 more)
Tagged with:
-
From the album: Untitled Album
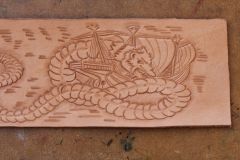
The "raw" tooling completed for the Serpent Dice Box. The image is from a 15th century woodcut. Look carefully to spot the sailor on the ship, about to become dinner.-
- roleplaying
- box
-
(and 1 more)
Tagged with:


