Search the Community
Showing results for tags 'viking'.
Found 20 results
-
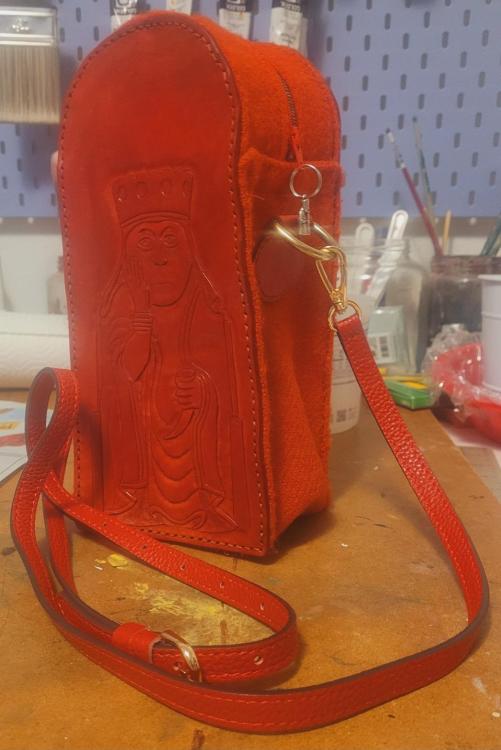
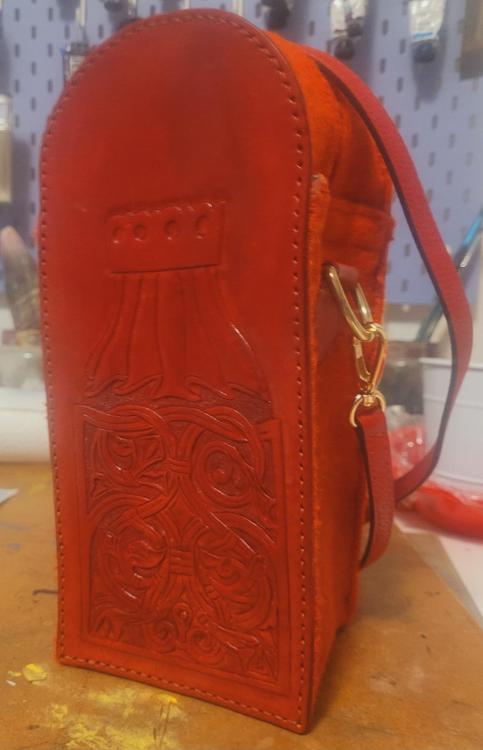
Got it all stitched up tonight! The Lewis Chessmen are a group of chess pieces found in the early 1800s near Uig Bay, on the Isle of Lewis. They are Viking era pieces, carved out of walrus ivory, and nobody knows why they were cached there. The pieces can be viewed in the British Museum in London, and the National Museum of Scotland in Edinburgh. They're wonderful pieces of early Medieval art. This is the first of a set-- Queen, King, Bishop, Knight, Rook/Warder. The pawns aren't quite so photogenic for bags. Leather: 2 mm veg tan, Eco-Flo Red Waterstain. It's probably one of my Tandy stash of miscellaneous hides. Thread: Ritza Chestnut, 5mm spacing Fabric: Black denim (on the inside) and red Harris Tweed (backed with an iron-on stabilizer). Harris tweed is manufactured not far away from where the chess pieces were found, so it's fitting for use here. zipper charm: a Lewis chessmen bishop, from Ebay. Strap: purchased from Amazon. I could make a strap, but it would take FOREVER to stitch by hand. The price I paid is less than I could actually get the hardware and leather for.
-
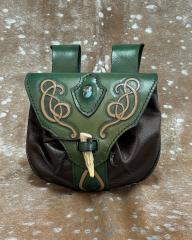
From the album: Finished Projects
This kidney belt pouch pattern was made by Dark Horse Workshop. The backplate/lid, belt loops, and center strip were all made of 5-6 oz veg-tan and dyed with Green Fiebing's Pro Dye. The dye was airbrushed with the carving masked off, then the carving was given a coat of Fiebings Pro Resist before rubbing the whole thing down with Fiebing's Medium Brown Antique Paste. A final clear coat of Fiebing's Leather Balm with Atom Wax was applied and bused. The antler was cut from a skull gifted to me. The drawstring pouch was made from chocolate brown chrome-tanned upholstery hide. The "stone" set in the lid is acrylic, sourced from a maker on Amazon. -
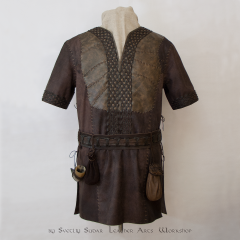
From the album: Svetliy Sudar Leather Arts Workshop ©
Ragnar Lothbrok Leather Jacket (replica) ⚔️ This is probably one of the most favorite jackets that we did in our Workshop! Handmade. leather lining inside. We made this jacket from soft and durable goat-skin and a thin cowhide as a basis. For the overlay we used 1,2 mm cow leather. Form of overlay is pretty specific. It has 15 figured cuts and 2 parts - front and back, which sewn in two shoulder seams. Braided pattern most closely follows the version of the series. Overlay and outward parts stitched together and with a basis via thin leather straps. There is a lacing on a sides, starting on the sleeve and to the waist. Thus, two cuts are formed on the sides, so the jacket does not hinder the movements. -
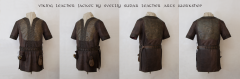
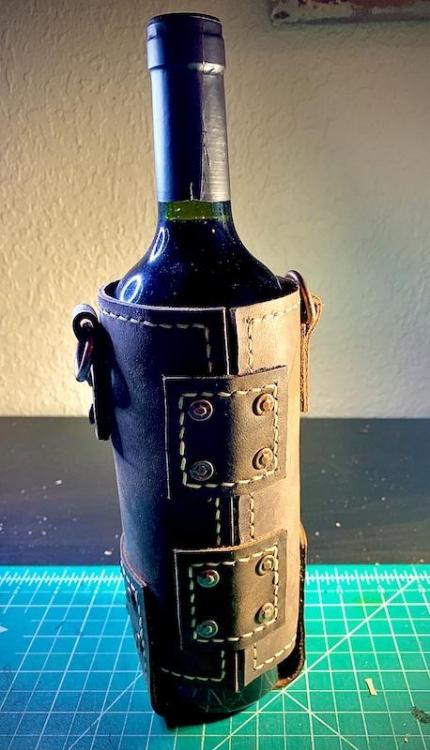
Made this wine bottle holder/tote as a Christmas gift for a friend. Pretty simple design and wanted to give it some sort of vintage look. I haven't decided if I'm going to make a strap or just leave the rings on the side for decoration.
-
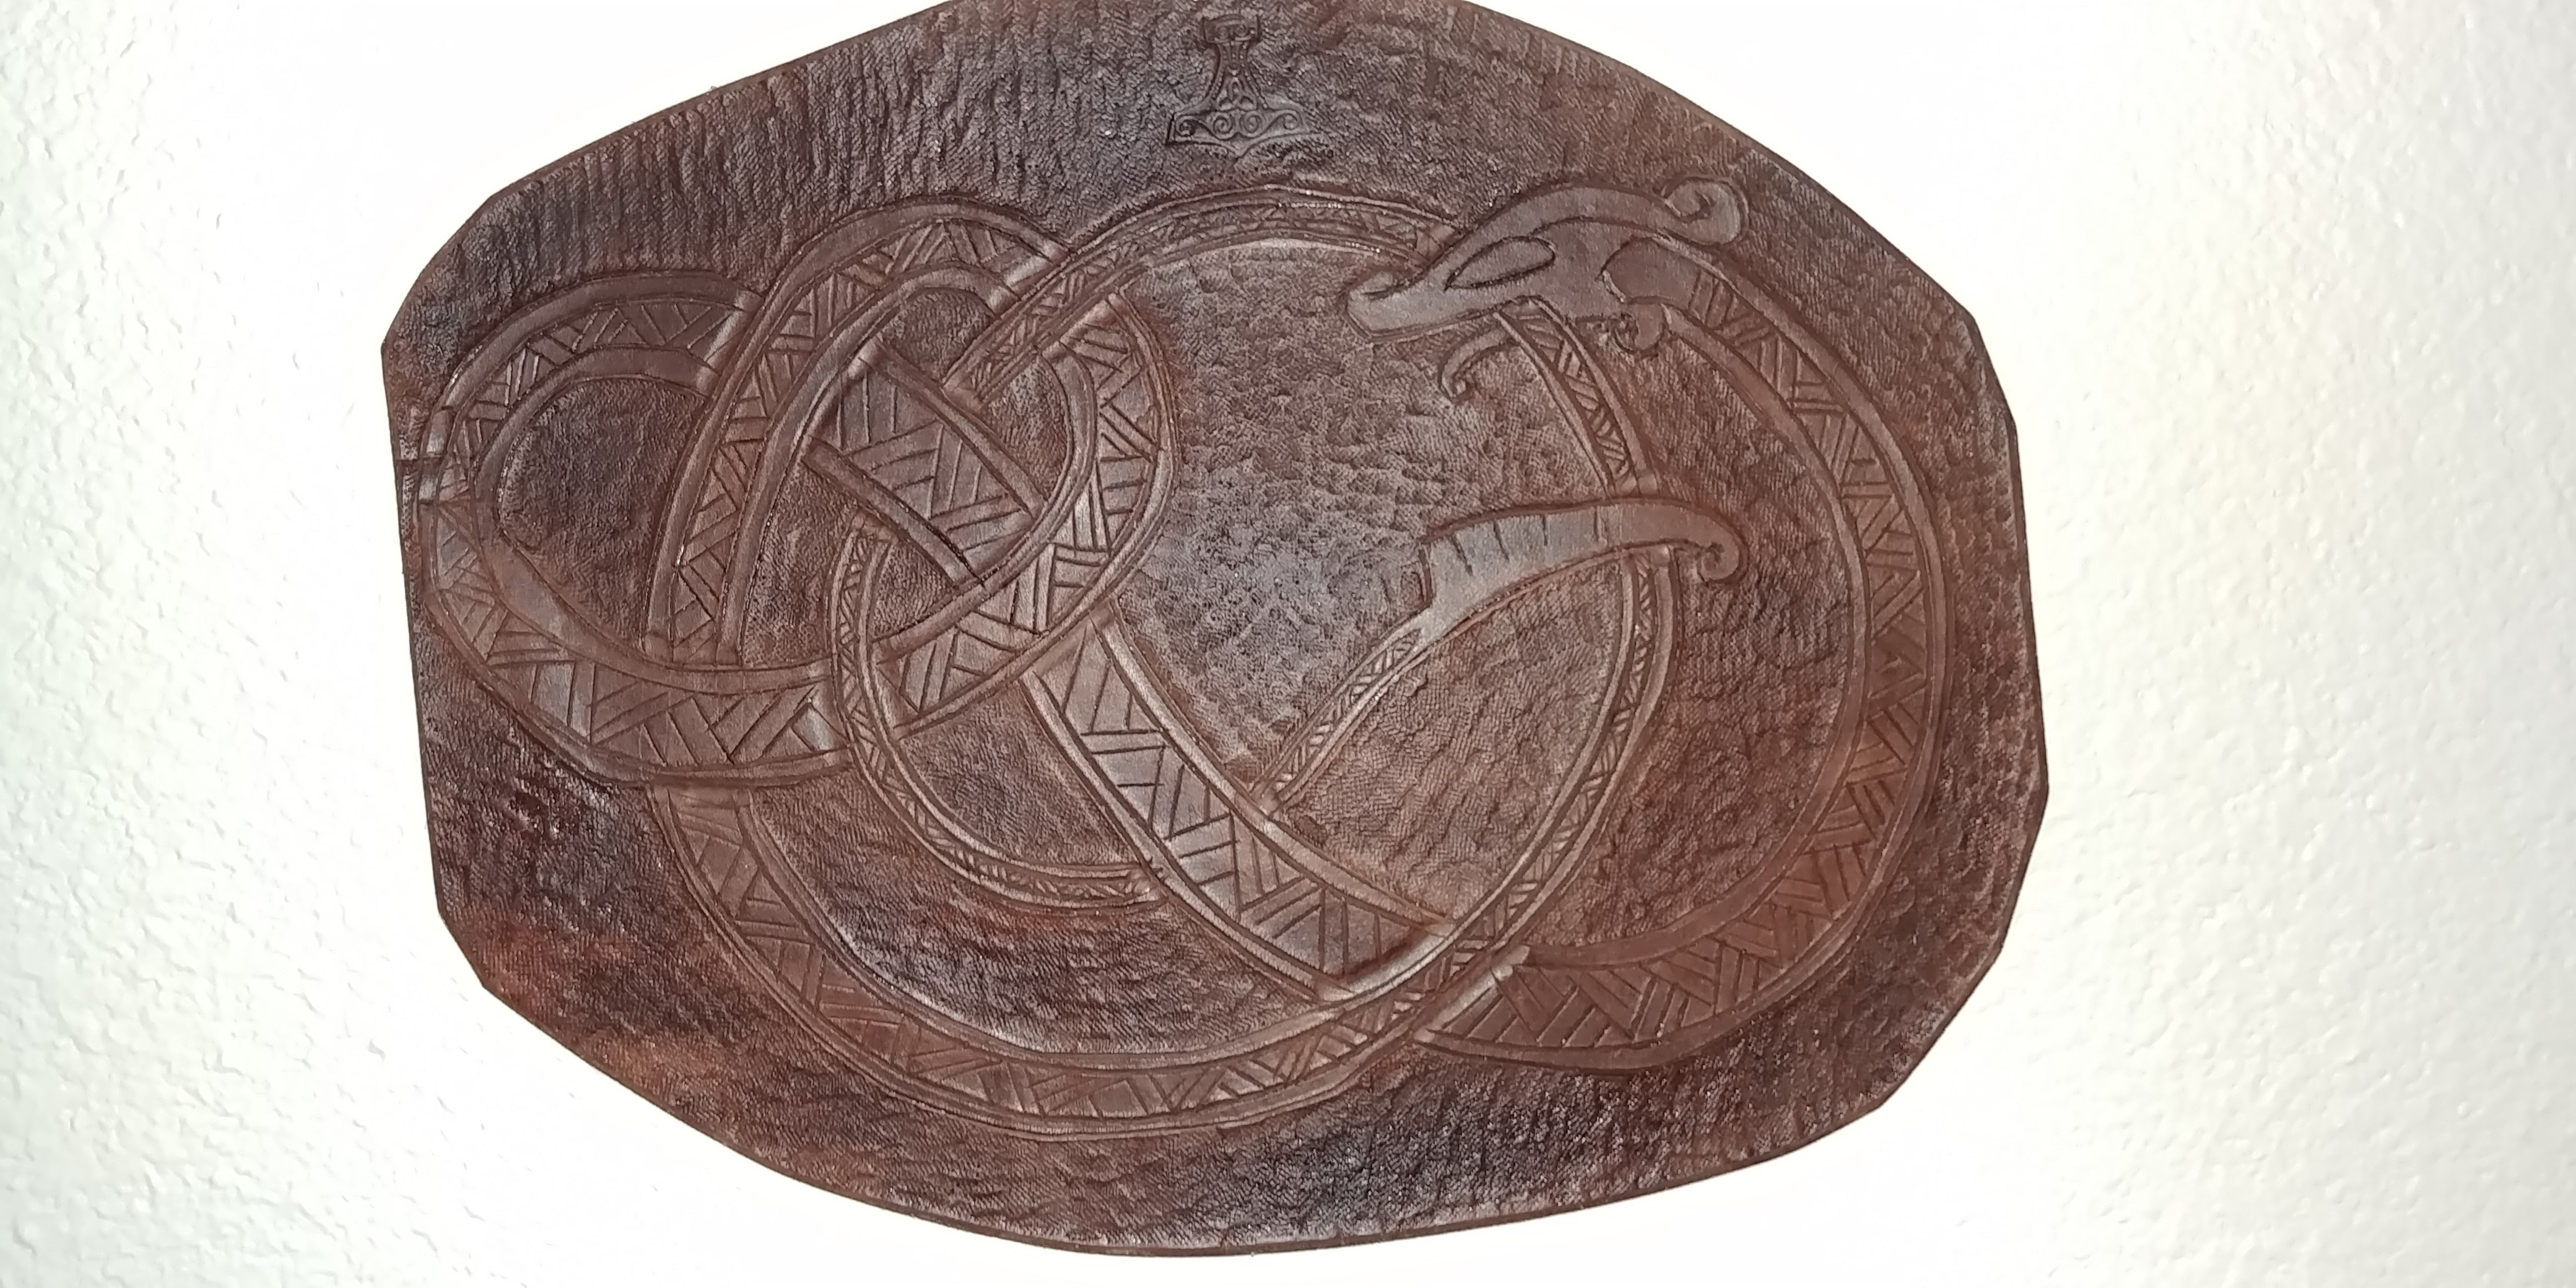
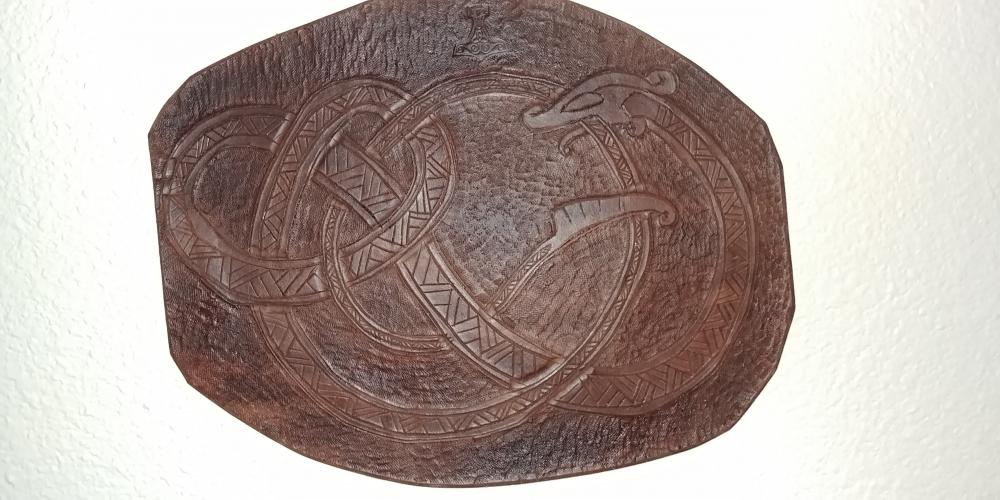
Hey guys this is my first attempt at tooling I think if I perfected the beveling around the image it would really make the image pop out any tips would be great thanks!
-
From the album: Nivulus' Leather
Failed first attempt at some work for a friend. Get to keep it for myself.© (C)~Nivulus 2014
-
From the album: Nivulus' Leather
Finished work for a friend. Best thing I've made since starting leathercraft in March.© (C)~Nivulus 2014
-
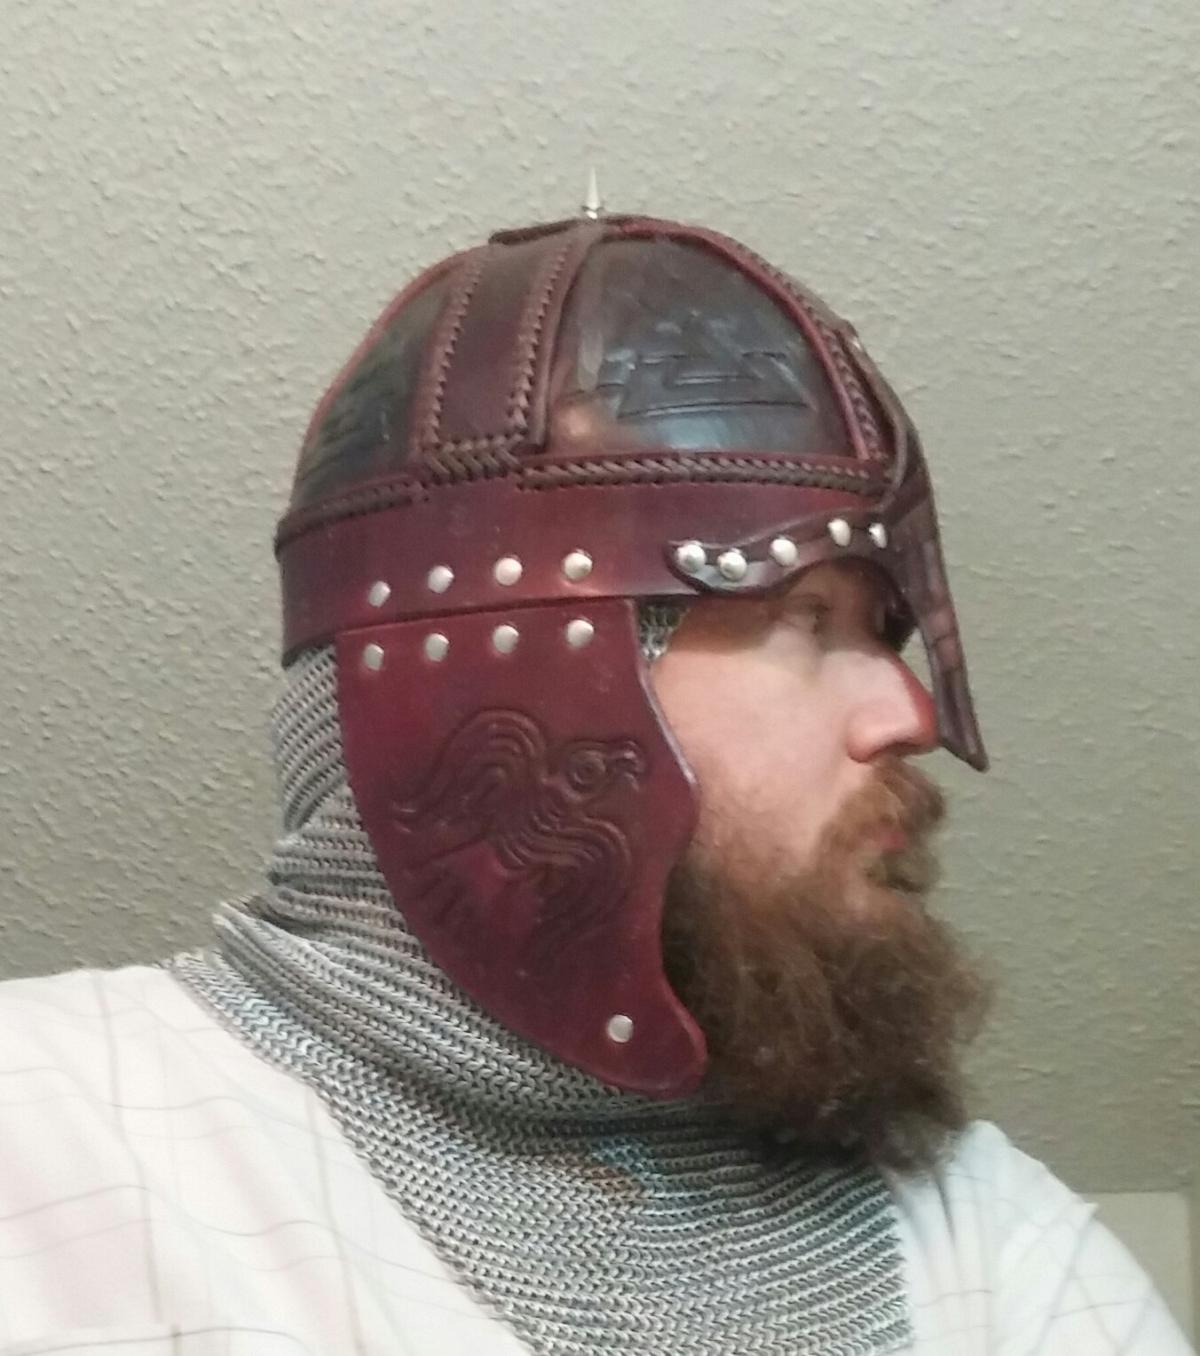
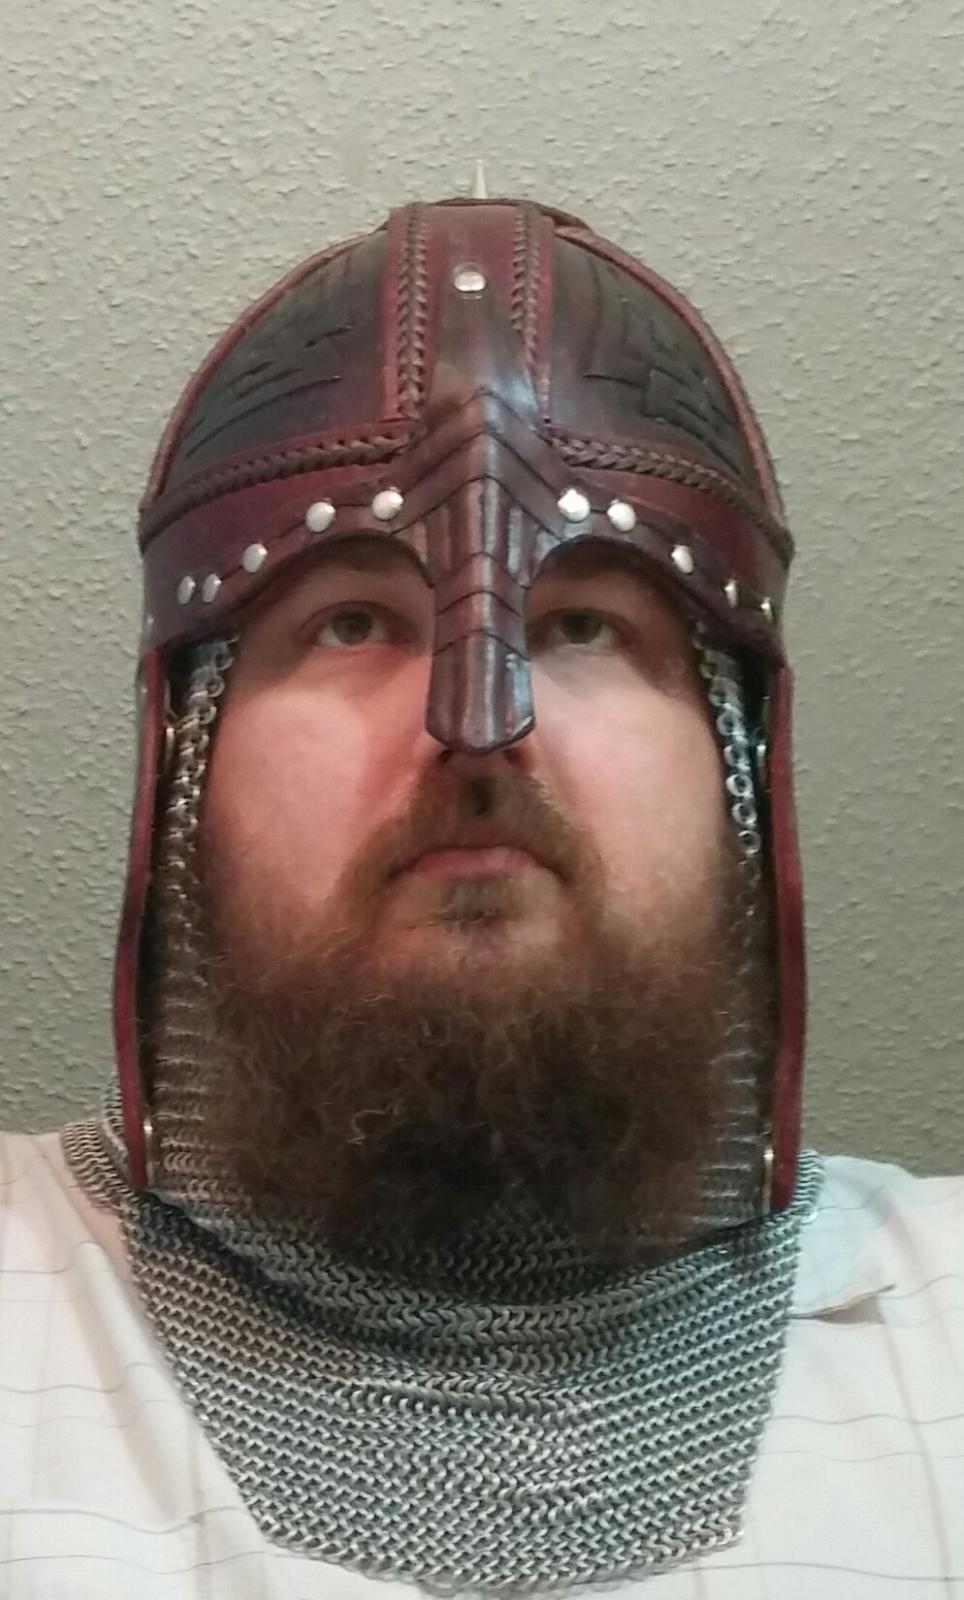
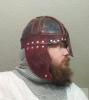
I have been lurking for a while, but have never posted. I'm not formally trained. I just kind of stumble around with leather, dye, and tools, until I have armor. Here is my latest piece, the Odinhelm, along with the coif that I made from aluminum electric fence wire. The helm is riding a little high on my head, but the inside is adjustable.


-
From the album: Nivulus' Leather
A close up on the stamped runes. I tried doing these by hand, but botched it, so I jerry-rigged my grommet press. Much better job.© (C)~Nivulus 2014
-
From the album: Nivulus' Leather
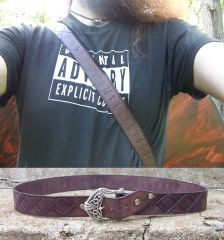
My first non-kit project, it was originally meant to be a shield strap, but ended up being too short. It works well as a belt, though. It was a learning experience.© (C)~Nivulus 2014
-
I usually spend my days making knifes and sheaths but some time I get an order for a tarsoly. A tarsoly is a kind of small bag or satchel worn by 9-10th century Magyar warriors. It was attached to a richly decorated belt together with sabre, bow and bow case. The tarsoly is usually decorated with metal fittings and expensive cloth. There is several of these bags found in a Scandinavian viking age context, probably imported as signs of wealth and/or as gifts from merchants involved in trade. Here is a original finding from about 900 BC here in Sweden. http://mis.historisk....asp?fid=107042 I have made a couple of these for customers, hope you like them! I hope you like them!
-
From the album: MSC/ATX
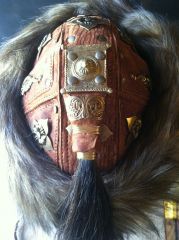
distressed heavy italian goatskin, horsetail,brass and cast metal hardware,our rolls royce of head gear© Merchantship Collective
-
Just finished my latest, and possibly last(for a while) leather project. Sorry for the long post, this is as much for my future reference as it is to let you all know what I did. Archery armguard pattern designed by me to offer more protection while still allowing full articulation of wrist and elbow. Pattern is an adaptation of the Ardre III runestone from Gotland. No pics of the inside, but it's lined with deer skin with snaps to allow for a removeable wool liner/sweat rag. This is only my 4th carving and 2nd dying project, so feel free to offer any critisism. I don't offend easily, so be harsh. My process: > Case > Carve > Cut out pattern > Oil > Glue/stitch liner > Dye > Spray deft lacquer > Wool applied lacquer > Antique (fiebings black paste. Applied with wool, buffed with flat paper towel. Wool buffing pulled out all the antique... It works for other people I guess but not for me.) > 2 spray coats of lacquer (I was afraid of lifting the antique, due to the problems from the first coats) > Wool applied lacquer > Punch eyelet holes > Add a coat of montana pitch blend and buff with wool (actually my own formula, but same 3 ingredients) > Attach eyelets Things I didn't like or would do different: > I need to find black shock cord and a nicer bead... > Make sure dye on figure goes "over the edge" as the antique doesn't always cover the "sides" of the carving. > Next time I will try 2 spray coats, as the wool applied coat lifted some of the red and made the eyes more orange than yellow > First wool applied lacquer step unnevenly darkened the deer liner. I think I would only spray the liner next time. > Lacquer crackled/spiderwebbed when armguard was wrapped around my arm for the first time. > Next time I might try 50/50 resolene/water instead of the lacquer, due to the crackling problem. > 3/16" eyelets are inefficient for attaching lacing hooks. They are barely attached, and I had to replace two of them already. Sorry, for the poor cell phone pics, still waiting for my camera to ship...
-
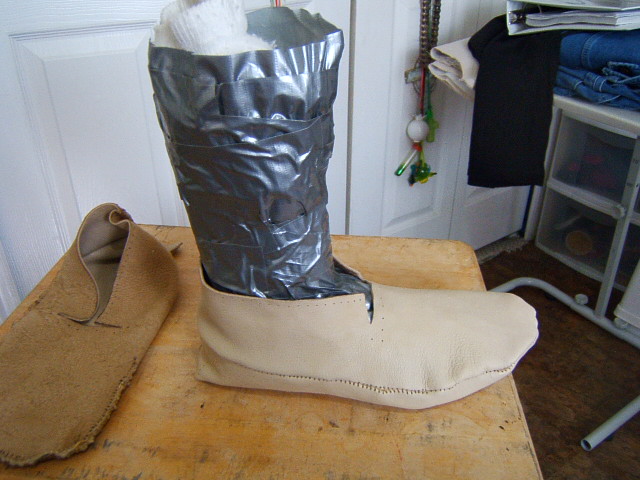
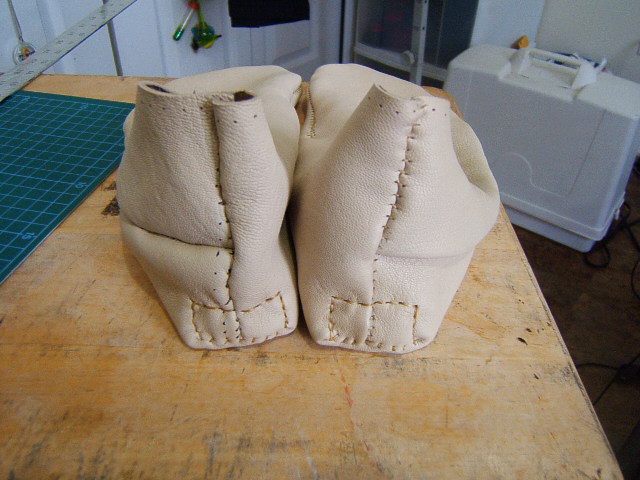
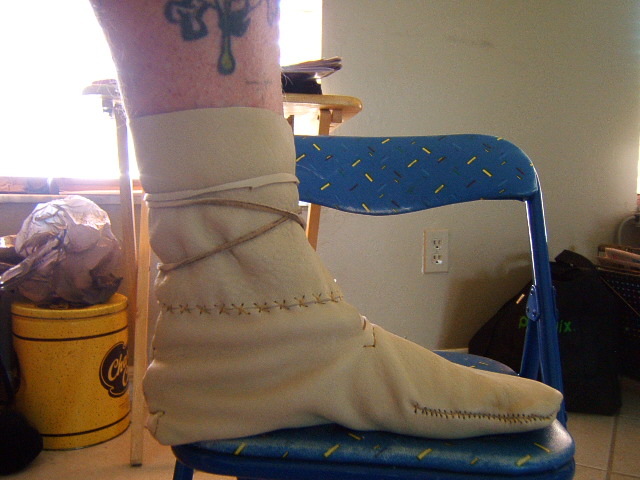
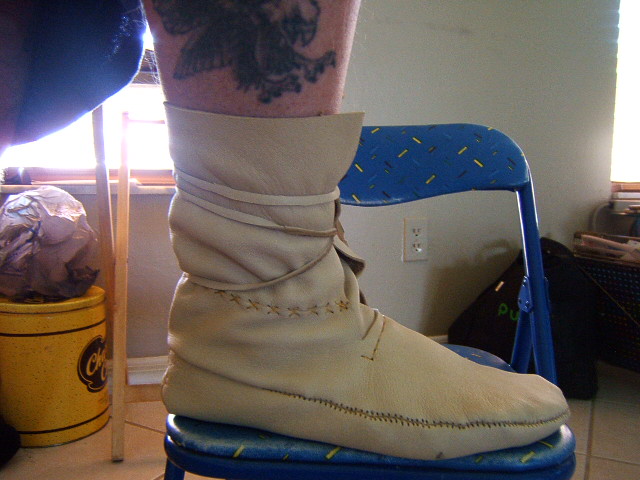
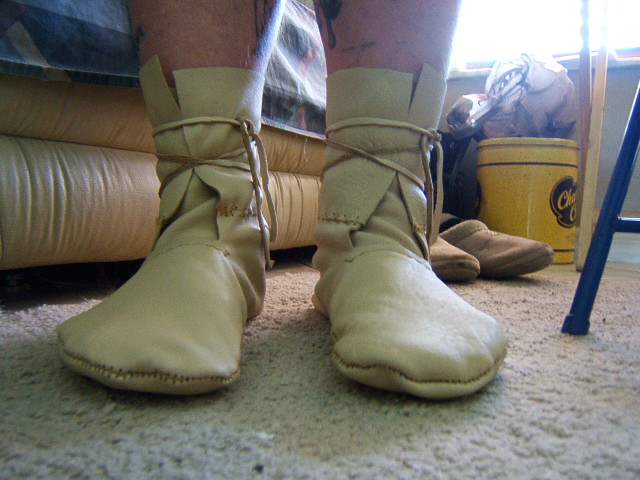
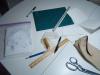
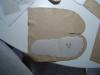
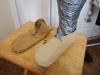
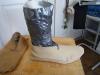
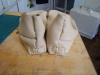
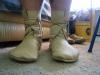
 I am relatively new to this forum, but had been lurking around for some time gathering information, tips, ideas, etc....Well I read an EXCELLENT tutorial that someone had posted, here it is http://paleoplanet69...ns#.UVmeVDff4nO and if definitely changed me!! I set about reading it over & over 20 to 30 times before I actually bought my first item and from there I started to get my thoughts & plans together and even after having purchased everything I need to attempt this.......I took a few days off and seriously thought about it. and why it's so important to me to make these. I mean, c'mon, it's just a pair of freekin leather slippers more or less.... My S.C.A.personea is of a Viking ( 794 A.D. ) by the name of Hrothgar Sonfiord. I also have a son 12, his name is Luki Sonfiord, and is coming along quit well with a blade. So here are a few pix of my progress as I made my first Turn Shoe....I plan to add some flourishments to these, or maybe leave them be and just make a new fancier pair. I'm just not sure, there is so much more I want to do to them. Iunno.....please leave comments & feedback, I'm a big boy and can handle criticism!!! Thank you, Robert


-
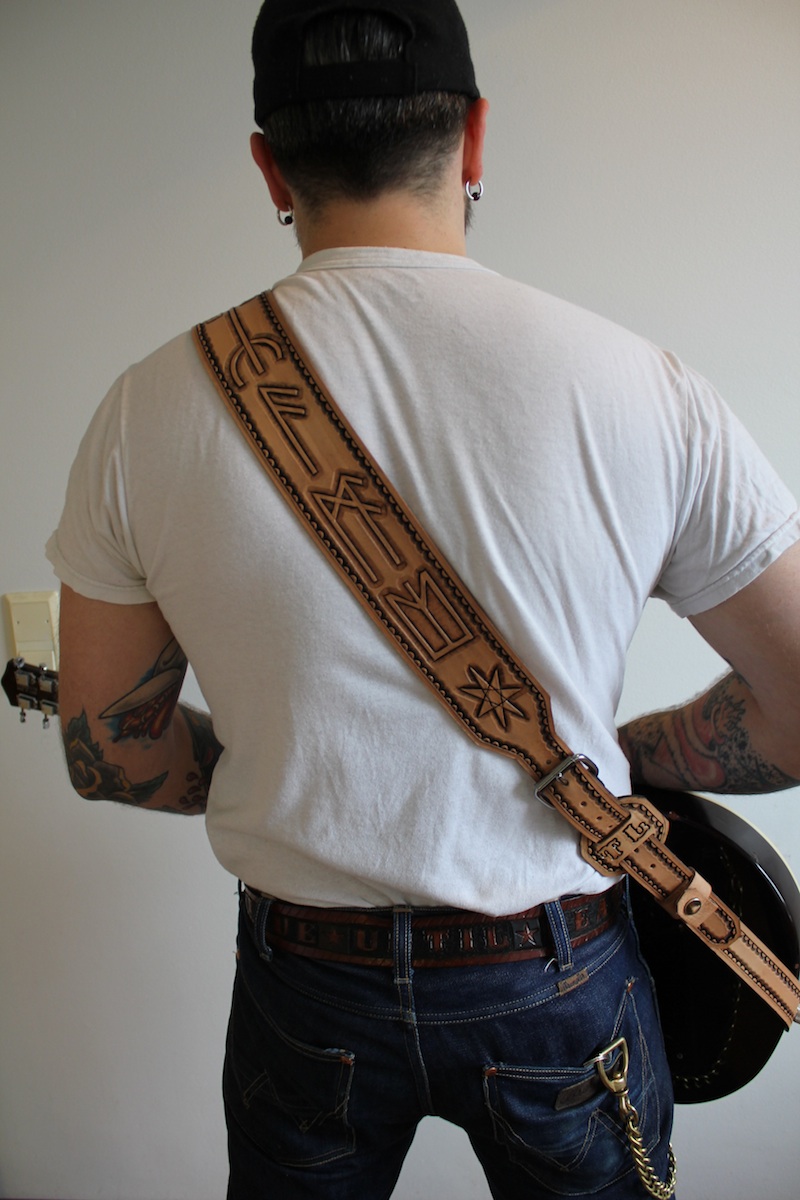
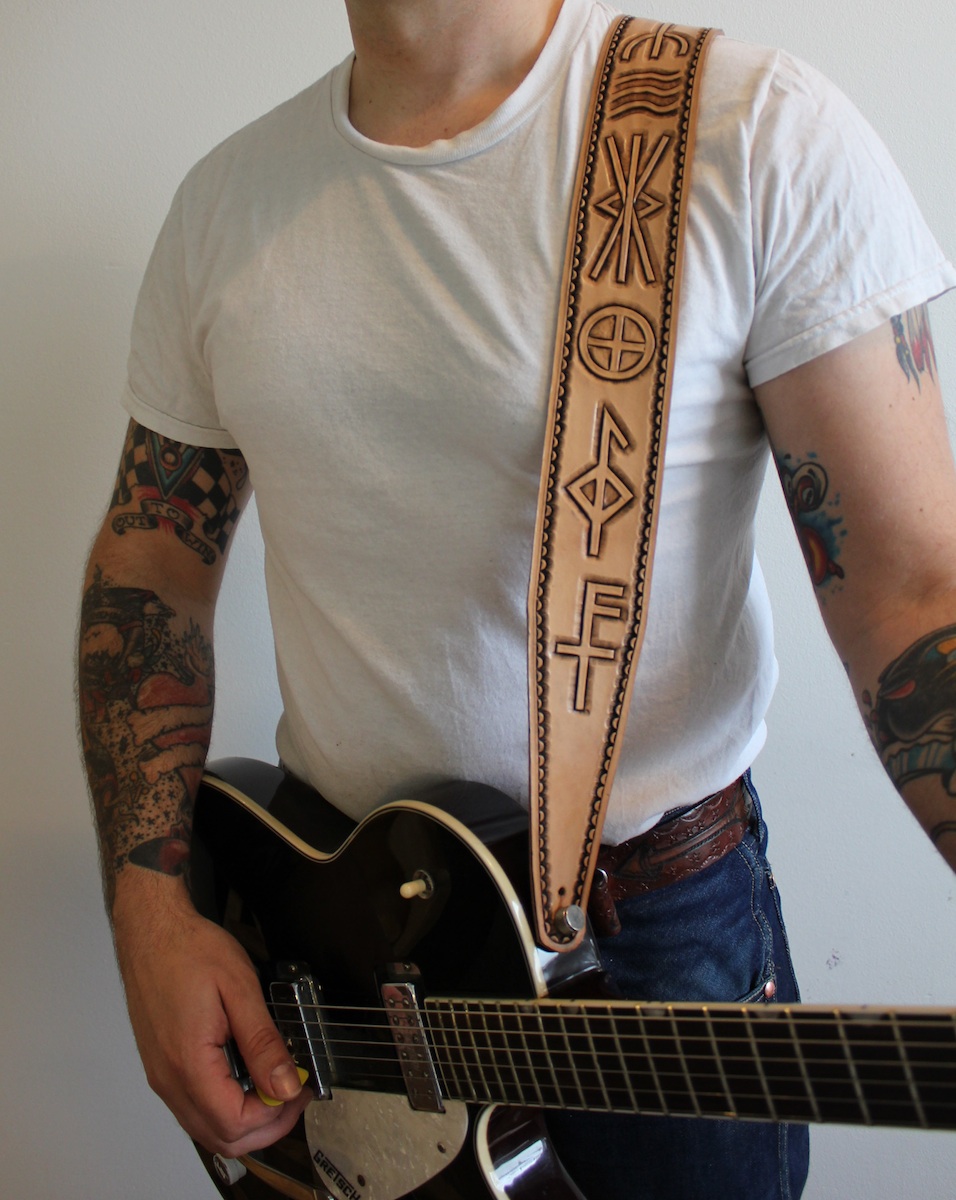
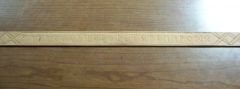
Front to back; Good luck Good health Earth Chalice Water To prevent anger and avoid wrath Ash-wood Mental excellence Protection and guidance Septagram-7 pointed star 7 is his lucky number....so i used the SEPTAGRAM.


-

From the album: Chancey77 Custom Leather
-

From the album: Chancey77 Custom Leather
-

From the album: Serendipity Designs
Custom "War Belt" designs for larping or reenactment armor. Tooled, stamped, then colored in various oil dyes and finished with Feibings Aussie. (2013)© ©
-
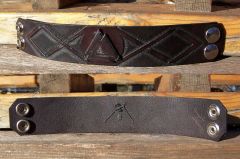
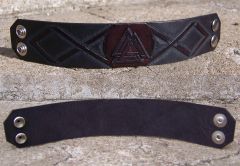
Viking "Champion" War Belt and cuff set
serendipitydesigns posted a gallery image in Our Leatherwork Galleries

From the album: Serendipity Designs
Custom "War Belt" design and Small Bracers for larping or reenactment. A custom design we put together and tooled, then colored in with Feibings alcohol blue and Oil-dye brown (2011)