All Activity
- Past hour
-

Maintanence Question on Juki 1508 NH
MarineBozo replied to MarineBozo's topic in Leather Sewing Machines
Thanks for the reply friquant. I originally suspected the plates as well and really oiled it but like you said, I may not be able to really get the oil where it needs to be without taking it apart. I'll check that out this week and report back. -
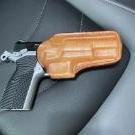
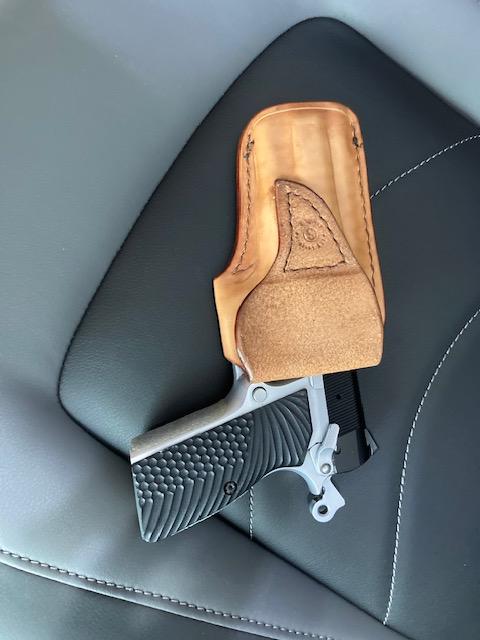
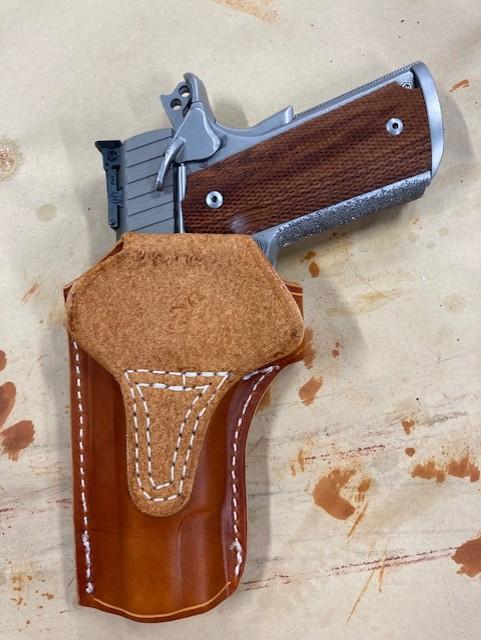
@larry1096 I see your loop design. it looks more maneuverable than mine. Its narrower at the fold so you can move the "ears" out of the way. Ill have to tweak my pattern to reflect that. Looks good
-
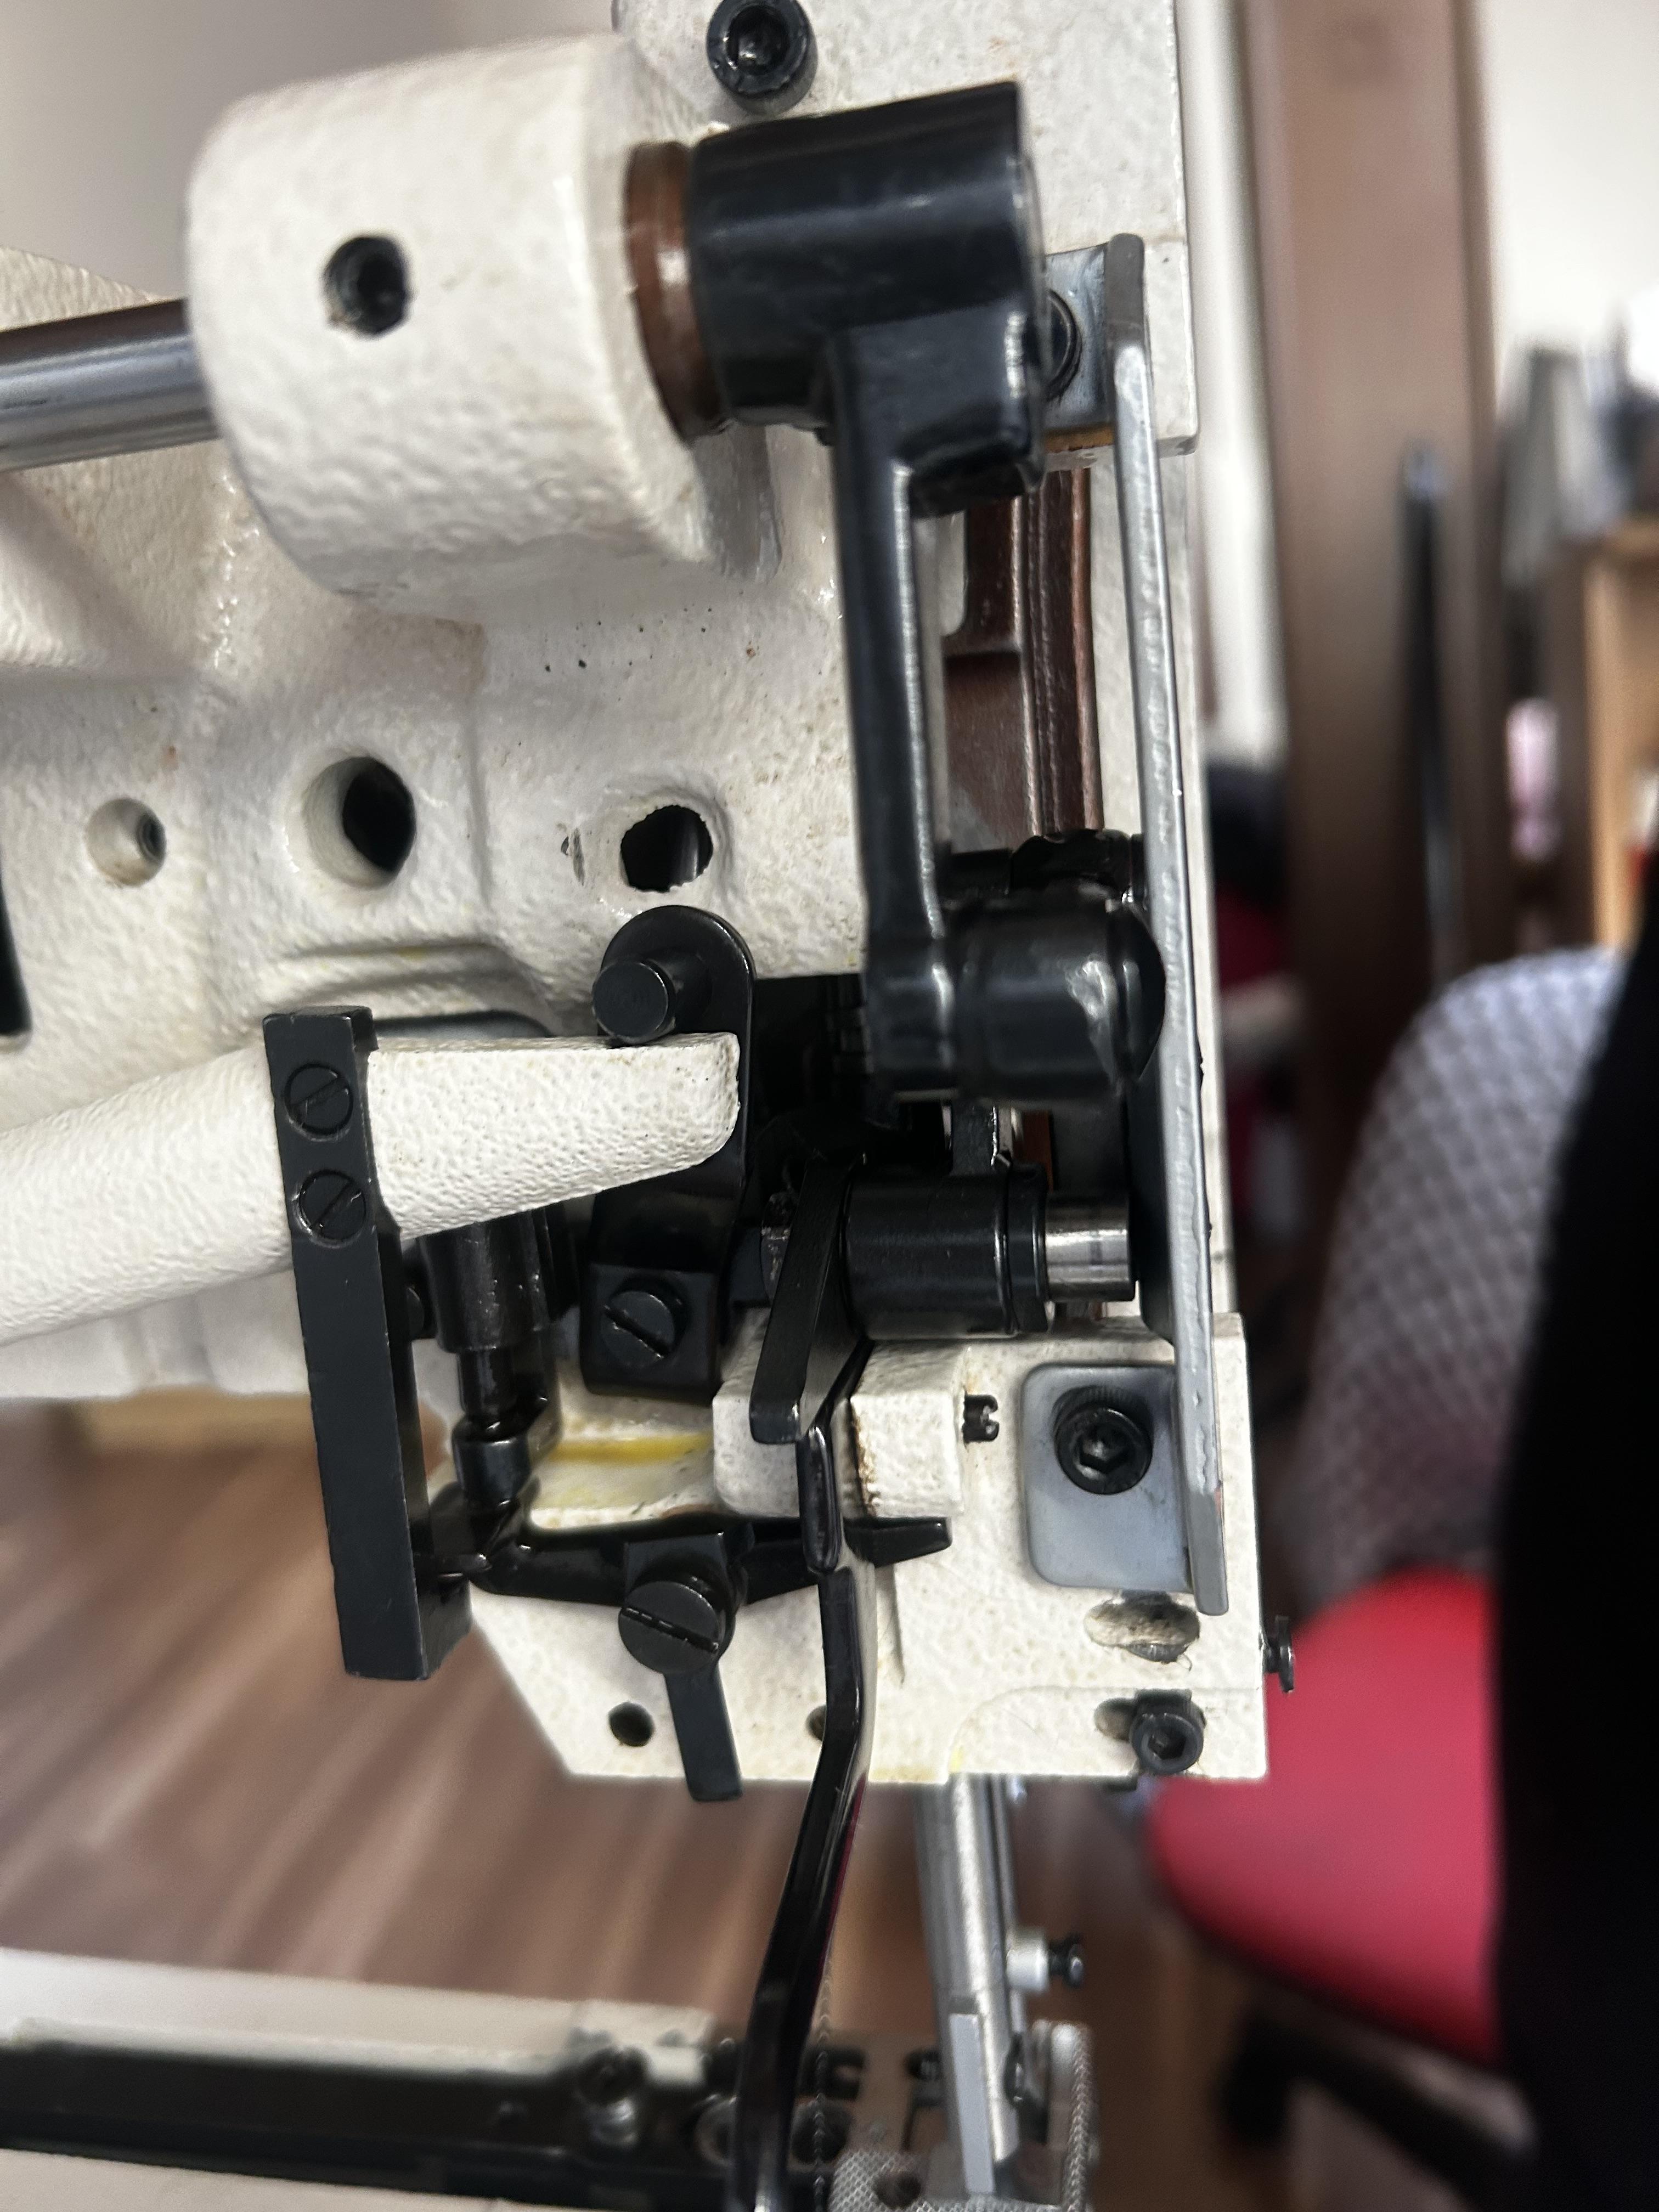
Hello, does anyone have instructions on how to adjust the back of the machine? It's a Pfaff 335 clone. It's hard to lift the presser foot.
-
Yup, it looks comfortable but I havent tried it on yet. Shame on me haha. If I wasn't in arizona (where wearing long garments is much frowned upon) I'd consider it for daily carry. I still could, AZ is open carry too. But I dont much care for broadcasting like that. Just me I suppose
-
I've found you can make your life easier (i.e., get some breathing room around the stitching) by being sure to run the rear flap straight down the body of the holster; requires tweaking where it folds, of course, but it's doable. Larry
- Today
-
Nice work!! high and tight holster.
-
Thanks, it is interesting and fun to make
-
I like the design. It's the next step more coverage from a Yaqui Slide.
-
Yes, the hardest part is stitching near the belt loop. My presser foot is realy wide, I should have swapped it out for mt left toe foot. The loop causes the holster to not lay flat so get some deflection sometimes. Probably my inexperience with my outlaw machine. Definitely going to try again
-

Option D : 3-Phase AC Gearmotor with VFD (Variable Frequency Drive)
friquant posted a blog entry in State of the Servo Motor
Option D : 3-Phase AC Gearmotor with VFD See the parent article: Choosing a Motor The lesser known of motor options is the 3-phase AC Gearmotor with VFD (variable frequency drive). This option gives excellent driveability (does what you ask with no surprises) but requires a fair amount of setup. 1. Interesting Posts about 3-Phase AC Gearmotors with VFD The search bar on the forum does not support three letter words like “awl” or “VFD”. So you will have to use an external search engine to find posts on VFD. Try this search for example: https://www.google.com/search?q=vfd+site%3Aleatherworker.net Here are some forum posts to get you started: GerryR: Description of his VFD setup Tigweldor: How to build a portable VFD GerryR: Adapting a 3-phase clutch motor for use with VFD GerryR: How to get started with VFD TinkerTailor: "The sewing world has not embraced vfd like the machinist world it seems, though in theory it is likely the best way to go for a slow moving leather stitcher." friquant: Introduction to Gearmotors and VFD 2. What is an AC Motor Specifically, we’re talking about AC induction motors. Think table saw, bench grinder, garbage disposal, air conditioner fan. In typical use, an AC motor runs at a constant speed. For example, when you turn on the table saw or bench grinder you hear the motor goes WhOOOOSH for a couple seconds as it gets up to speed. Once at speed, it stays at about that same speed. (A little less under load than with no load). AC induction motors can be single phase or 3-phase. (We want 3-phase for use with a VFD.) The speed the motor turns depends on the frequency of the power source and on how many electromagnetic poles the motor has. As an example, a four-pole AC induction motor typically has a speed around 1400 rpm when fed 60Hz power from the wall. 3. What is a Gearmotor A gearmotor means a motor with a gear reducer added at the end. It looks more or less like a single unit. The gear reduction can be a little bit (like 3:1, which can also be written “3k”) or it can be a lot (like 200:1, which can also be written as “200k”). 2.1 Shopping for an AC Gearmotor Choose a motor size that is suitable. 100W (1/8 horsepower) to 400W (½ horsepower) is probably adequate Make sure your AC gearmotor is 3-phase Make sure your AC gearmotor can run on 220V power. (Some can run on either 220V or 380V) Choose a gear reduction that is suitable. (3:1, 5:1, 10:1 are probably the most suitable) Get one that mounts horizontally (sometimes called a “foot mount”) 4. What is a VFD (Variable Frequency Drive) A VFD (Variable Frequency Drive) is an electrical device that outputs 3-phase power (in the range of 220V) at whatever frequency you choose. (0Hz - 100Hz is typical). 4.1 Why do we want a VFD The speed of an AC induction motor is proportional to the frequency of the power source. The VFD allows us to send whatever frequency we want to the motor, between 0Hz and 100Hz, and the motor speed will change accordingly. 4.2 Shopping for a VFD When shopping for a VFD, make sure you get one that accepts as input power whatever power you have conveniently available. (110V single phase input is a common option.) Note VFDs will usually have a cooling fan that turns on when the VFD is engaged. Mine is louder than I would prefer. I may look for another one with a quieter fan. 4.3 Setting up your VFD When you first get your VFD you can test it out with your motor by using the knob on the front of the VFD to control the frequency. The motor will not move at all when the knob is set to 0Hz, but the hand wheel will still turn freely. Once you move the knob above 0Hz, around 1Hz you will start to see very slow movement in the motor. Turn the knob up high and it will go full speed. For actual use with a sewing machine, you will want an external potentiometer to tell the VFD how fast to go. Buying a TIG pedal is a cost-effective way to get a pedal with two potentiometers and an inline switch so that you can both engage the VFD and drive at whatever speed you want. Here is the TIG pedal I bought. Digging into the user manual for your VFD you will be able to find options for setting the minimum speed, maximum speed, and for limiting the acceleration. 5. Is a 3-Phase AC Gearmotor with VFD Right for Me Choose a 3-Phase AC Gearmotor if: You want the absolute best in terms of driveability. (Does what you want with no surprises) If you want the consistency of the needle always penetrating the fabric, without need to “get a run at it” You want full configurability of how fast your motor goes, and when. (Very slow start available!) You are comfortable wiring electrical equipment You understand basic electronic components such as potentiometers and switches You are comfortable reading technical manuals (The VFD will come with a manual) You are comfortable configuring electronic devices through their menus You want gear reduction without needing extra belts You are willing to buy a pulley separately that fits the gearmotor output shaft and your belt of choice You are willing to mount the motor yourself and come up with your own belt tensioning system -
 @Aiden3416, you need to review the Marketplace Rules https://leatherworker.net/forum/forum/71-items-for-sale/#elForumRules And bring this ad into compliance quickly, please. We need pics, location, a price, condition, shipping info and whatever else is applicable. I can't even tell if you have 1 machine or a hundred.
 -
 Comes with c-60m cnc servo controller
 -
 Thanks a million for all the suggestions. It seems I have a lot of work to do in the dye dept.
 -
New Way to Measure and Visualize Hook Timing
AlZilla replied to friquant's topic in Leather Sewing Machines
Where is that "Like" button? Thinking about it, a person could do this on any machine they work on regularly, just set an easily seen mark on the bed of the machine. Thank you for that. -

New Way to Measure and Visualize Hook Timing
CowboyBob replied to friquant's topic in Leather Sewing Machines
The easiest way to check the hook timing on this type of machine is if you drew an imaginary line from the center of the bobbncase to the center of the front needleplate screw the point of the hook should be directly under it when the needlebar is all the way down. -
Grab theneedlebar & push it front to back to check for play,make sure the hook tip is good & that the bobbincase isn't too loose.Then some samples of what you want to sew along with some thread ( in case they don't have any) & see if it will sew your material ok.These are great machines just keep it oiled good & all the parts are still available.
-
I’ve been reading a great deal of posts here and gathered a lot of information from you all. I have a singer 16-188 that I have been using and I am going to look at a 111w155 on Saturday. Do you have any pointers I should examine while checking out the machine? I am pretty technical but never had my hands on one of these. thanks
-

Adler 205-370 - help an old man who screwed up
councilman24 replied to councilman24's topic in Leather Sewing Machines
I just figured out the trick to get the inner race in. I couldn't get it in with the springs in place. But you can with the springs out. Then you can turn the race to match the half circle cut outs in the surrounding structure with the half cir le cutouts on the race. Insert the spring. A needle helps with line up. Then turn handwheel to allow race to turn and line up another spring. Got all four in, lined up race cutouts for for door assembly bolt, and then pressed in and locked ba k with ser screw. In photo you an see one spring in and hole lined up for another. This is the kind of trick that can save hours. And obviously was intended with half cutaways in stationary out side rim. I was trying to figure out why those cutout were tpmhere. That's what led to figuring out how to do it.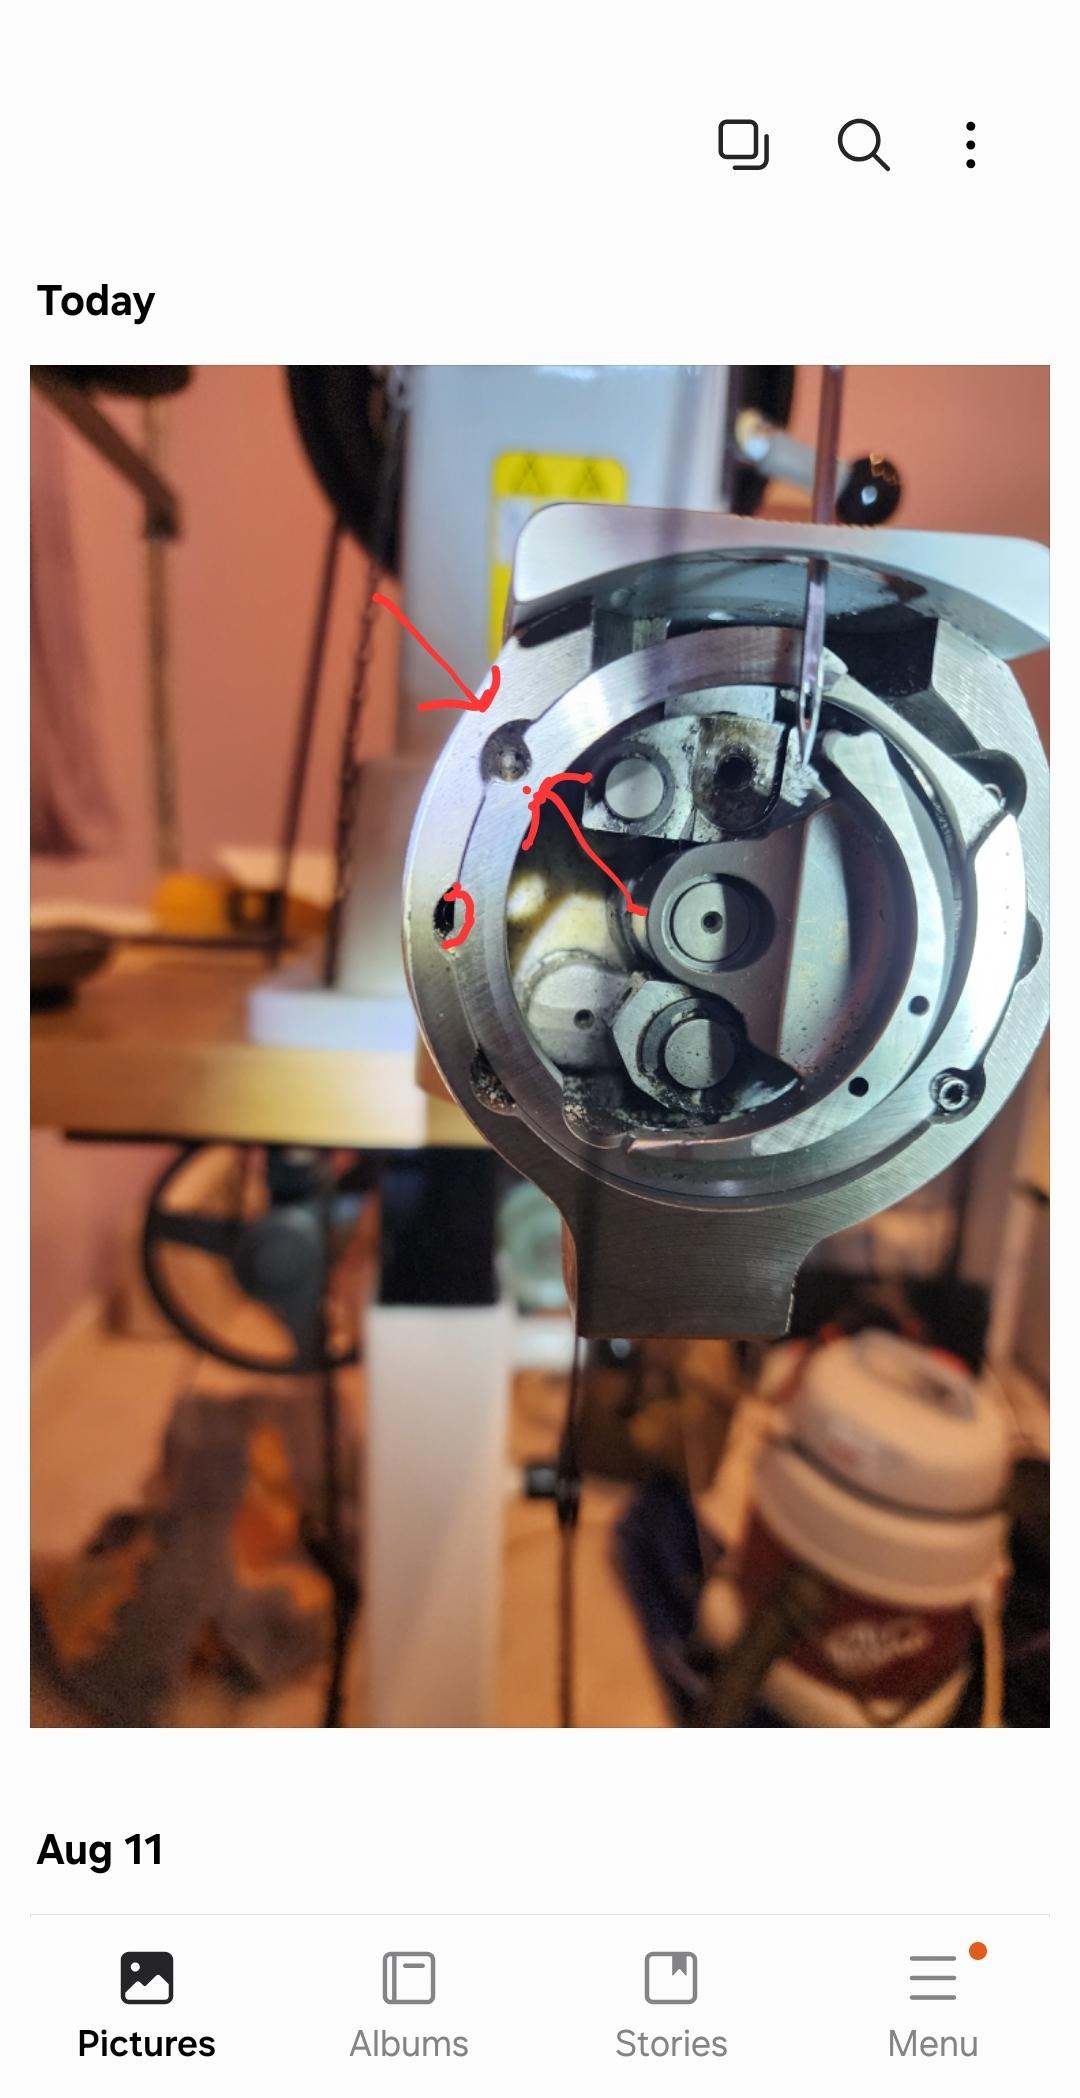
-
Taking last first I've had aluminium corrosion being blue away from any contact with leather. When #1 son was younger he shaved his head. At one medieval history event he wore an aluminium chainmaille coif. (coif = head covering) It was a very hot day. He perspired a lot. When he took the coif off his head was covered in a pattern of blue circles. He told others that he was an ancient Briton! (who used to paint blue patterns on their bodies) I used brass washers as I didn't want to use steel. For that will give an electrolytic reaction*. And I didn't have aluminium The leather straps were un-dyed veg tan As far as I can remember the rivets diameter was less that 1/4 inch. Maybe 3/16" or 5/32" If I can find them I could measure. I was given about 2000 of them. Gave loads away for model steam engine building and used about 50 * in motor vehicle building we put a layer of sponge rubber between the steel frame and the aluminium body work otherwise if both were in contact during corrosion the aluminium acts as a sacrificial metal corroding away quickly PS; when setting the rivets and peening, I drilled a counter-sunk hole in a large steel plate and used that to support the round dome head
-
Nice. They're deceptive in that they're simple, but the devil is in the details. Larry
-
 Thanks for the info you all.
 -

Looking for a nice, affordable wallet/journal/bag veg tan.
DieselTech replied to CelbridgeLeather's topic in Getting Started
Look into Conceria Walpier veg tan. It is some of my favorite leather. -
What size rivets were you using? Based on yours and TomE’s usages they should be plenty strong. It is interesting that they caused a blue stain on the leather, in my experiences aluminum stains black and oxidizes white it must have something to do with a reaction with the tannins in the leather. Were you using chrome or veg tan on your shields? Maybe the tannin makes a difference? As to moisture causing problems… the only moisture problems we have in far west Texas is there is none. Was there any reason for using brass washers with the rivets instead of aluminum washers? Maybe that could’ve caused the blue staining was a metallurgic reaction from dissimilar metals? Thank you for the help and sorry for the random rambling questions and thoughts.
-
I was trying to get a parachute harness job done last night. I went to rethread the machine and like the forgetful old man I am I forgot to thread through the hidden take up lever. Yes I know, but I haven't had it long, it was 3 am and I'm forgetful. I actually teach new riggers how to sew so yes I no better. So, or course a bunch of thread got bound up around the hook and bobbin. I cut the work loose, opened up the cover, pulled out the loose thread. Hand wheeled around and the needle was hitting part of the hook. I was confused and pulled door assembly off and pulled hook out. Of COURSE, I forgot to tighten the inner race spring lock. By the time I remembered about the lock I had managed to pull the inner race out from behind the hmm, hook driver? What ever that part is called. And now I can't get it back behind to lock it back in place. I did manage to find the one spring that fell out. Any help on how to get the inner race back there without complete disassembly? I got it out but I've tried an hour to get it back. Also it seems like the timing is off a lot, like 180 degrees. Do the two halves of the drive shaft under the clamping rings slip around one inside the other? The timing instructions in English are poorly translated and confusing. Given that I have to retime the bottom anyway maybe releasing the clamp rings and what ever I have to do to get the driver out won't be much more. Any videos on timing hook? Couldn't fine any from Uwe or anyone else. Help? Photos in a few minutes. Terry
-
Maintanence Question on Juki 1508 NH
friquant replied to MarineBozo's topic in Leather Sewing Machines
On my pfaff 545 the knee lift was very hard to engage until I greased the area on the back of the machine where the plate slides against the body (and pushes on the rod to release the tension). I had already oiled everything, or so I thought. But when I finally removed that little piece and greased behind it, the knee lift became easy to use. Perhaps it is that there are parts underneath that oil doesn't get to easily. Or maybe the grease is just better at lubricating things that move slowly like a knee lift. Anyway, that's the first place I would look. To go along with that, I would remove the thread tension assembly from the front of the machine, pull out the actuating rod that goes from the back to the front of the machine, and make sure the back end of that is greased.