All Activity
- Past hour
-
Great job! Isn't it satisfying when a plan comes together.
-
Nice work!
- Today
-
Wow, that looks really nice. Good luck to you!
-

New member here looking for direction
AlZilla replied to Tommy1wide2high's topic in Leather Sewing Machines
I had a little time this morning and here's a post that apparently has a manual attached. https://leatherworker.net/forum/topic/78444-download-singer-132k6-seiko-sk-8-manual/ Let us know how else we can help. -

New member here looking for direction
Tommy1wide2high replied to Tommy1wide2high's topic in Leather Sewing Machines
Thank you for the info. Now i need to get busy on those 373 posts and see what I can learn . -
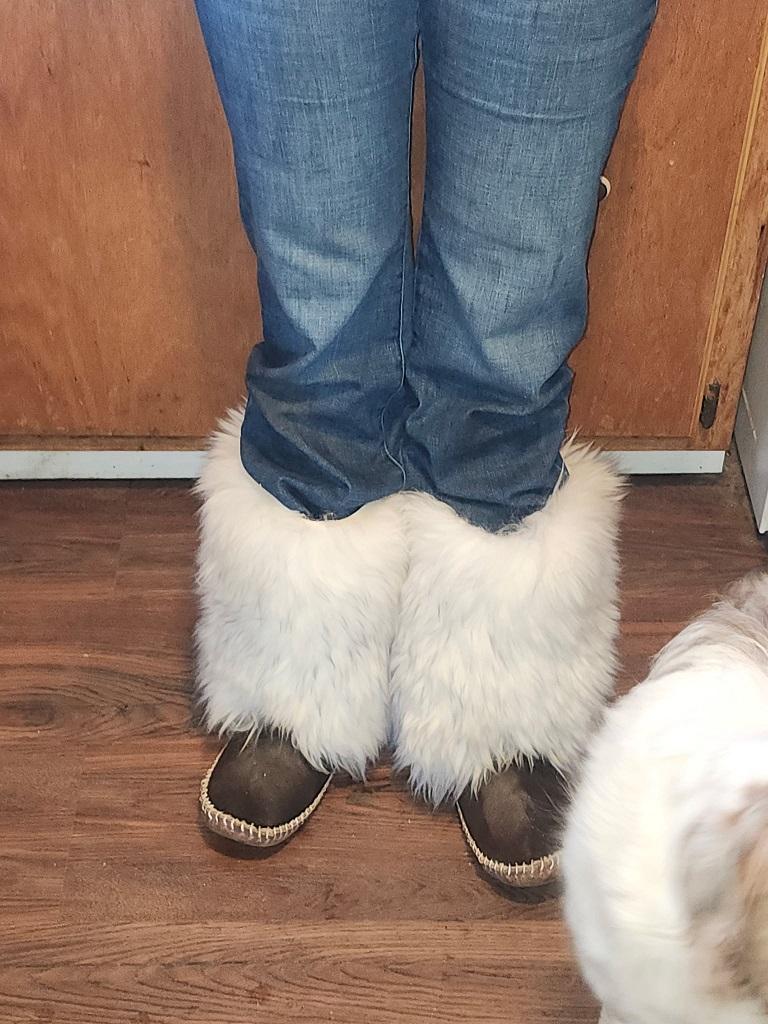
Wow, those are nice-looking teepee creepers, lol! They should be plenty warm. I finally made a pair the other day that fit; the sizing is a bugger to get right. My first try was too big, the second too small.
-

Cowboy Outlaw question on accessory compatibility
Constabulary replied to bigsig11010's topic in Leather Sewing Machines
But the roller tip will not be flush when you have the FBA attached AND put washers under attachment screws or am I missing something 😉 -

Juki DDL-8700 Oil Pump System Clogged
friquant replied to friquant's topic in Leather Sewing Machines
Found some reference to what this should oil in the user manual.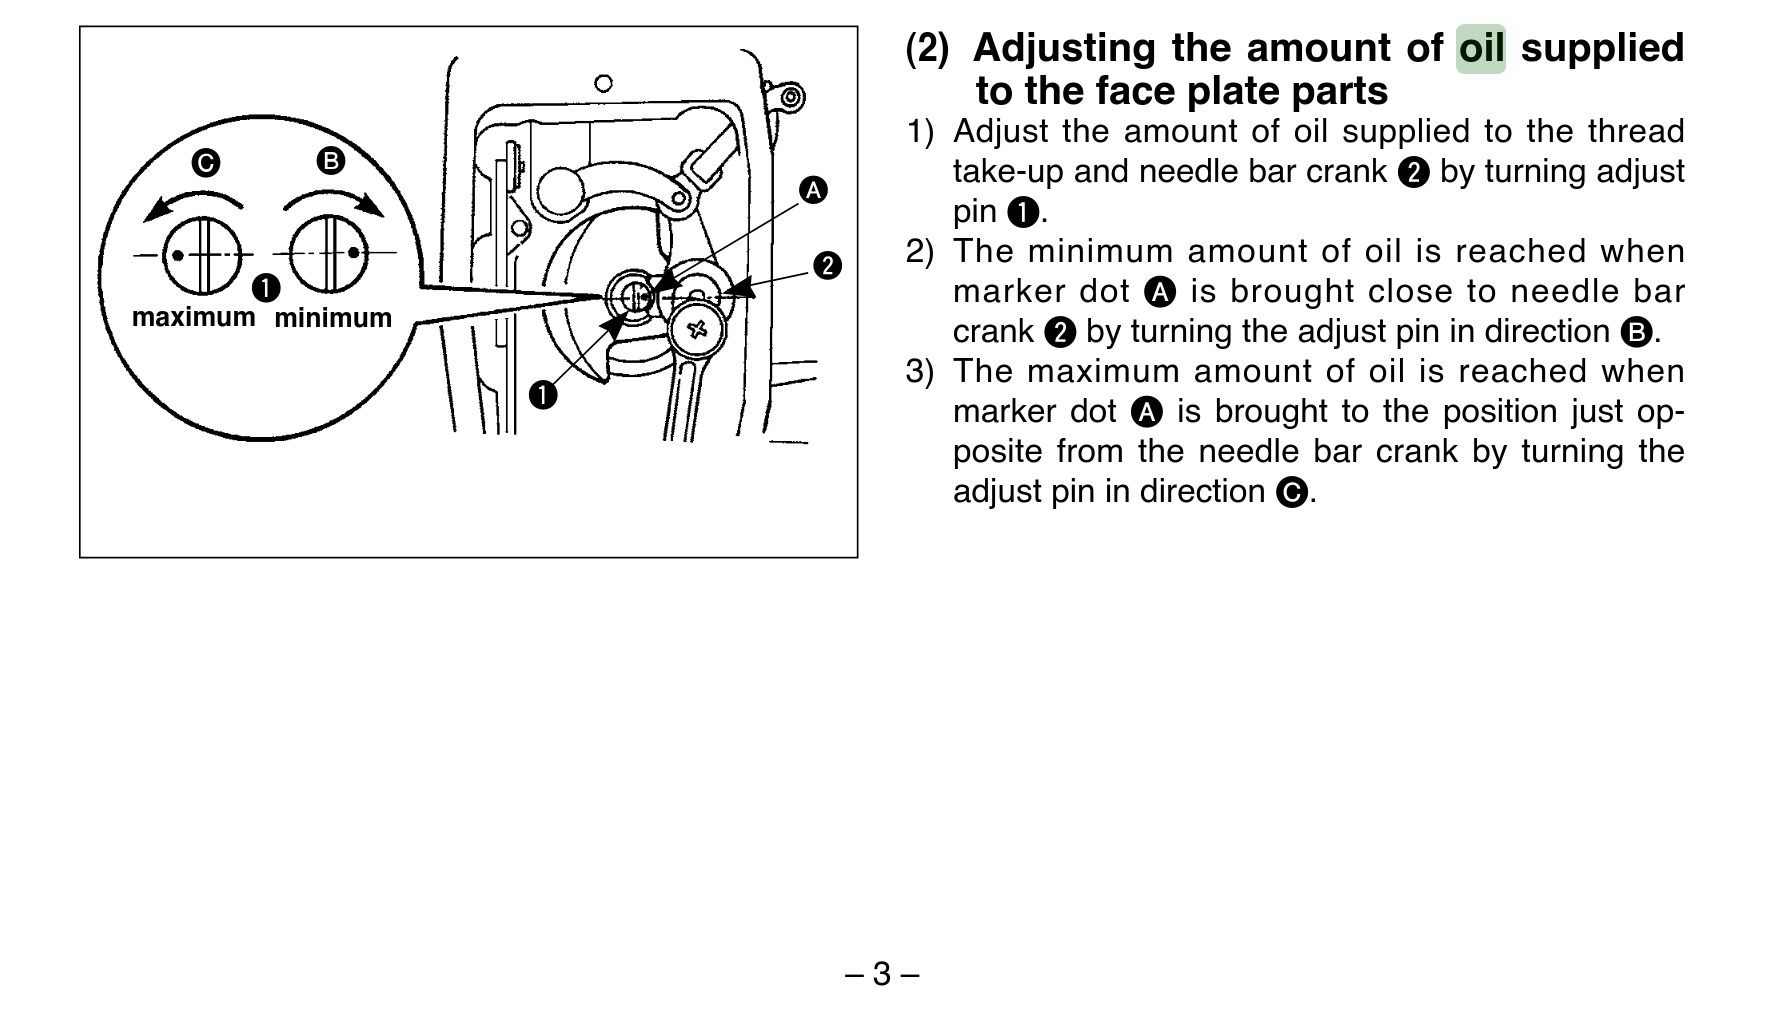
-
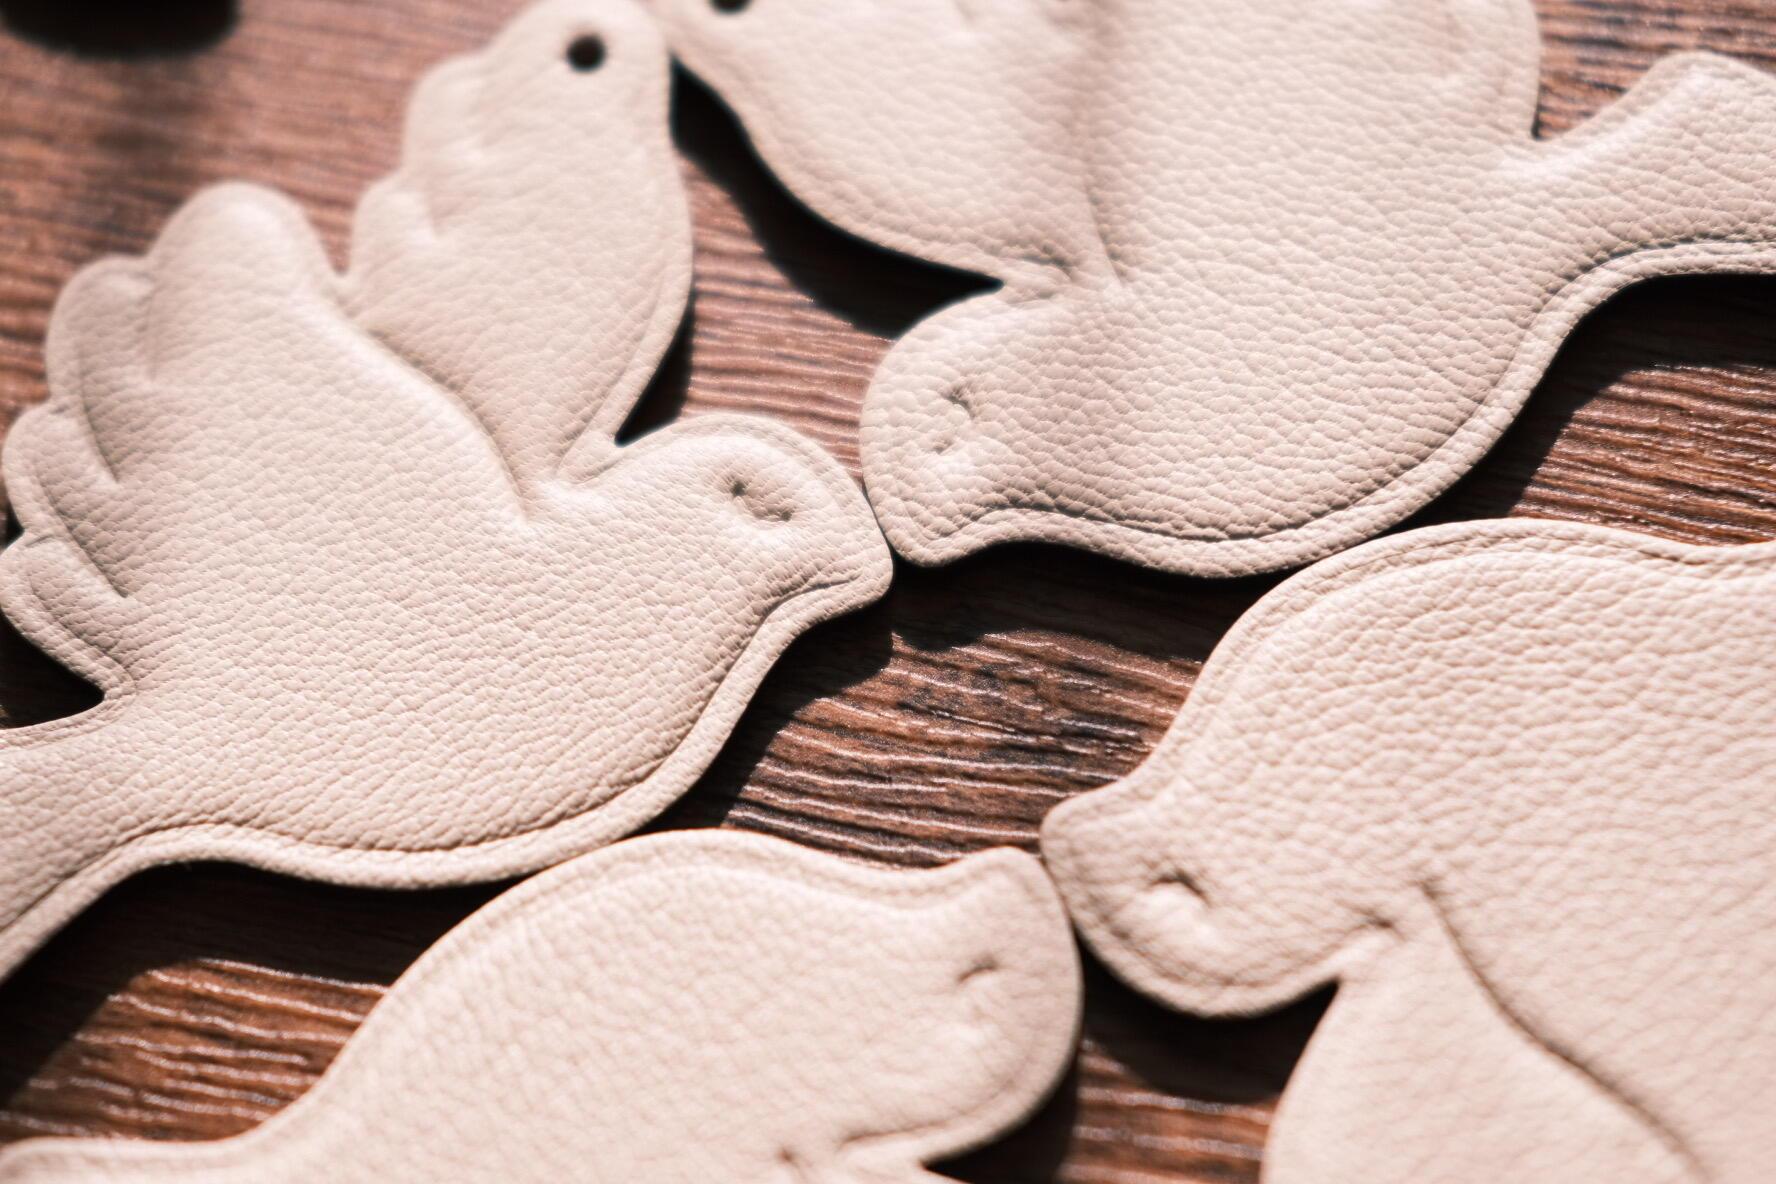
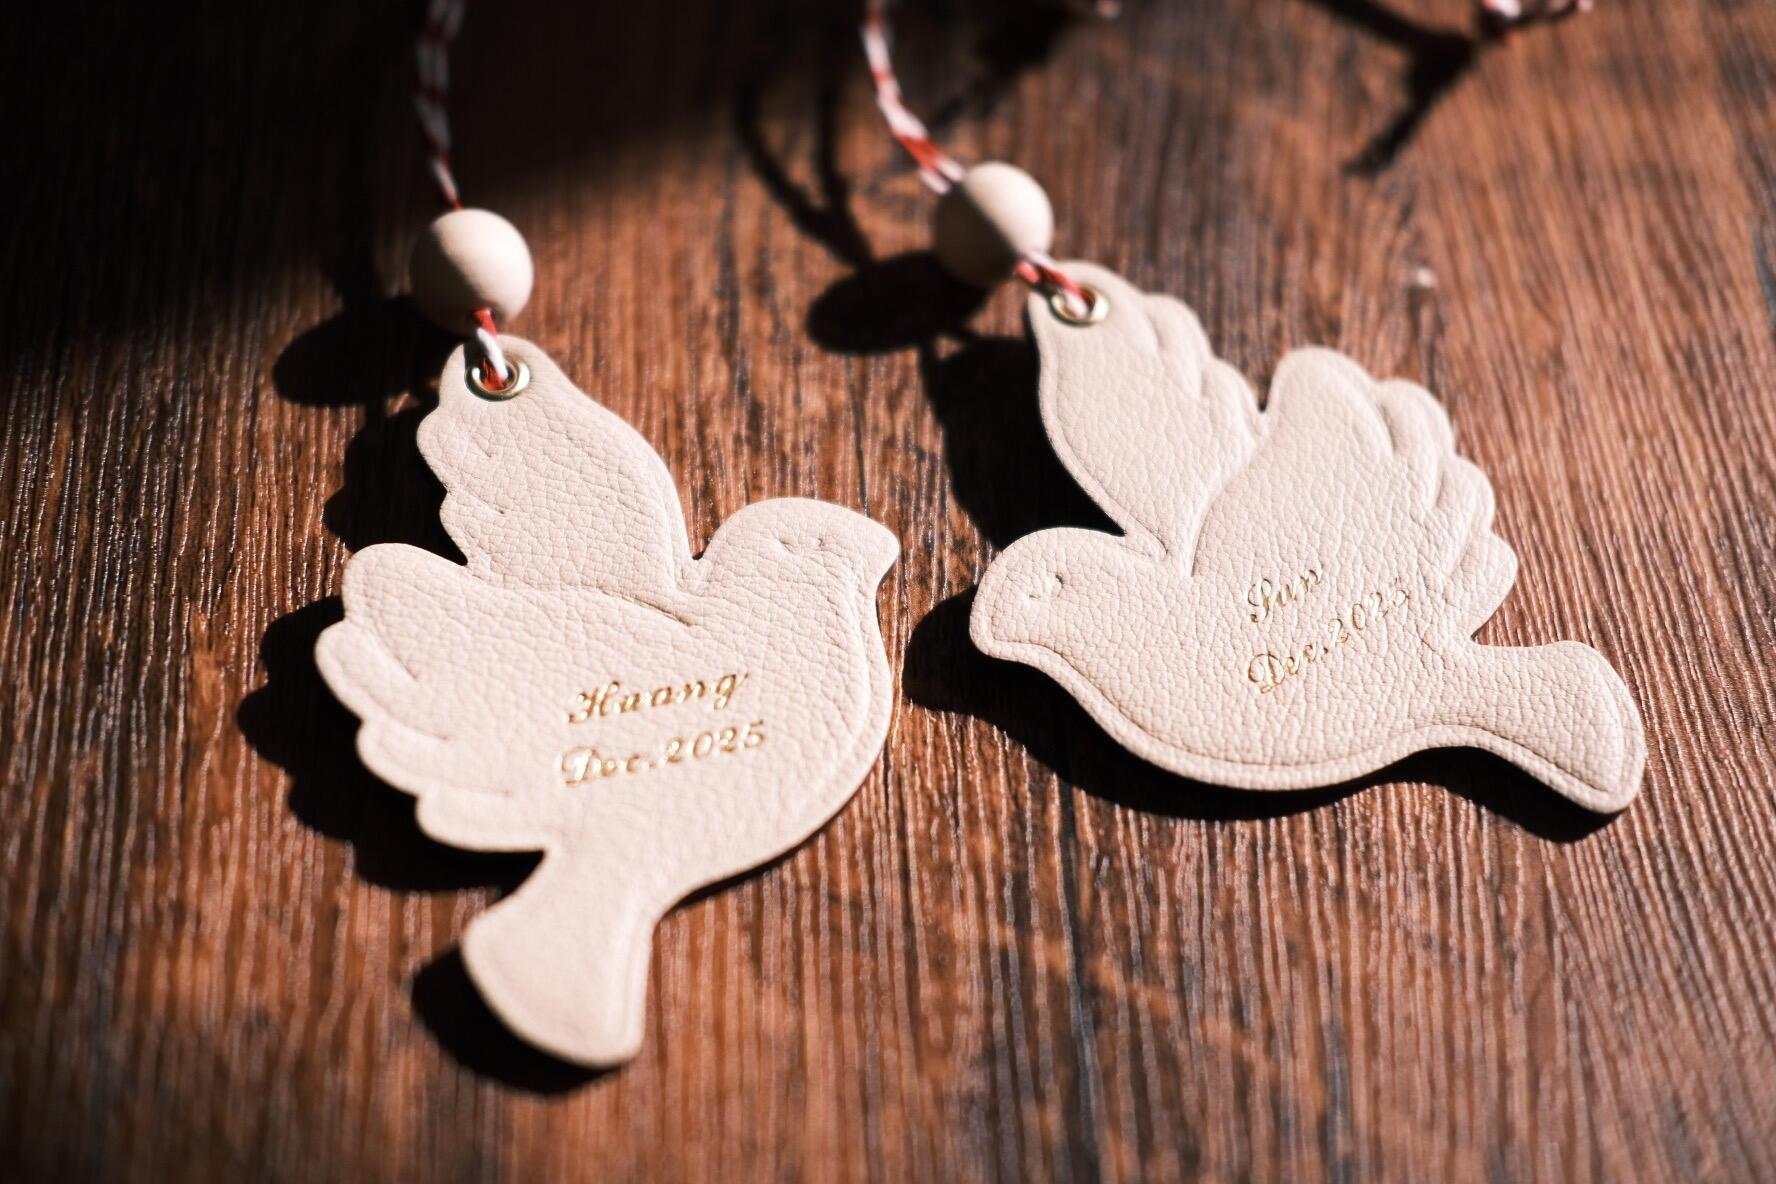
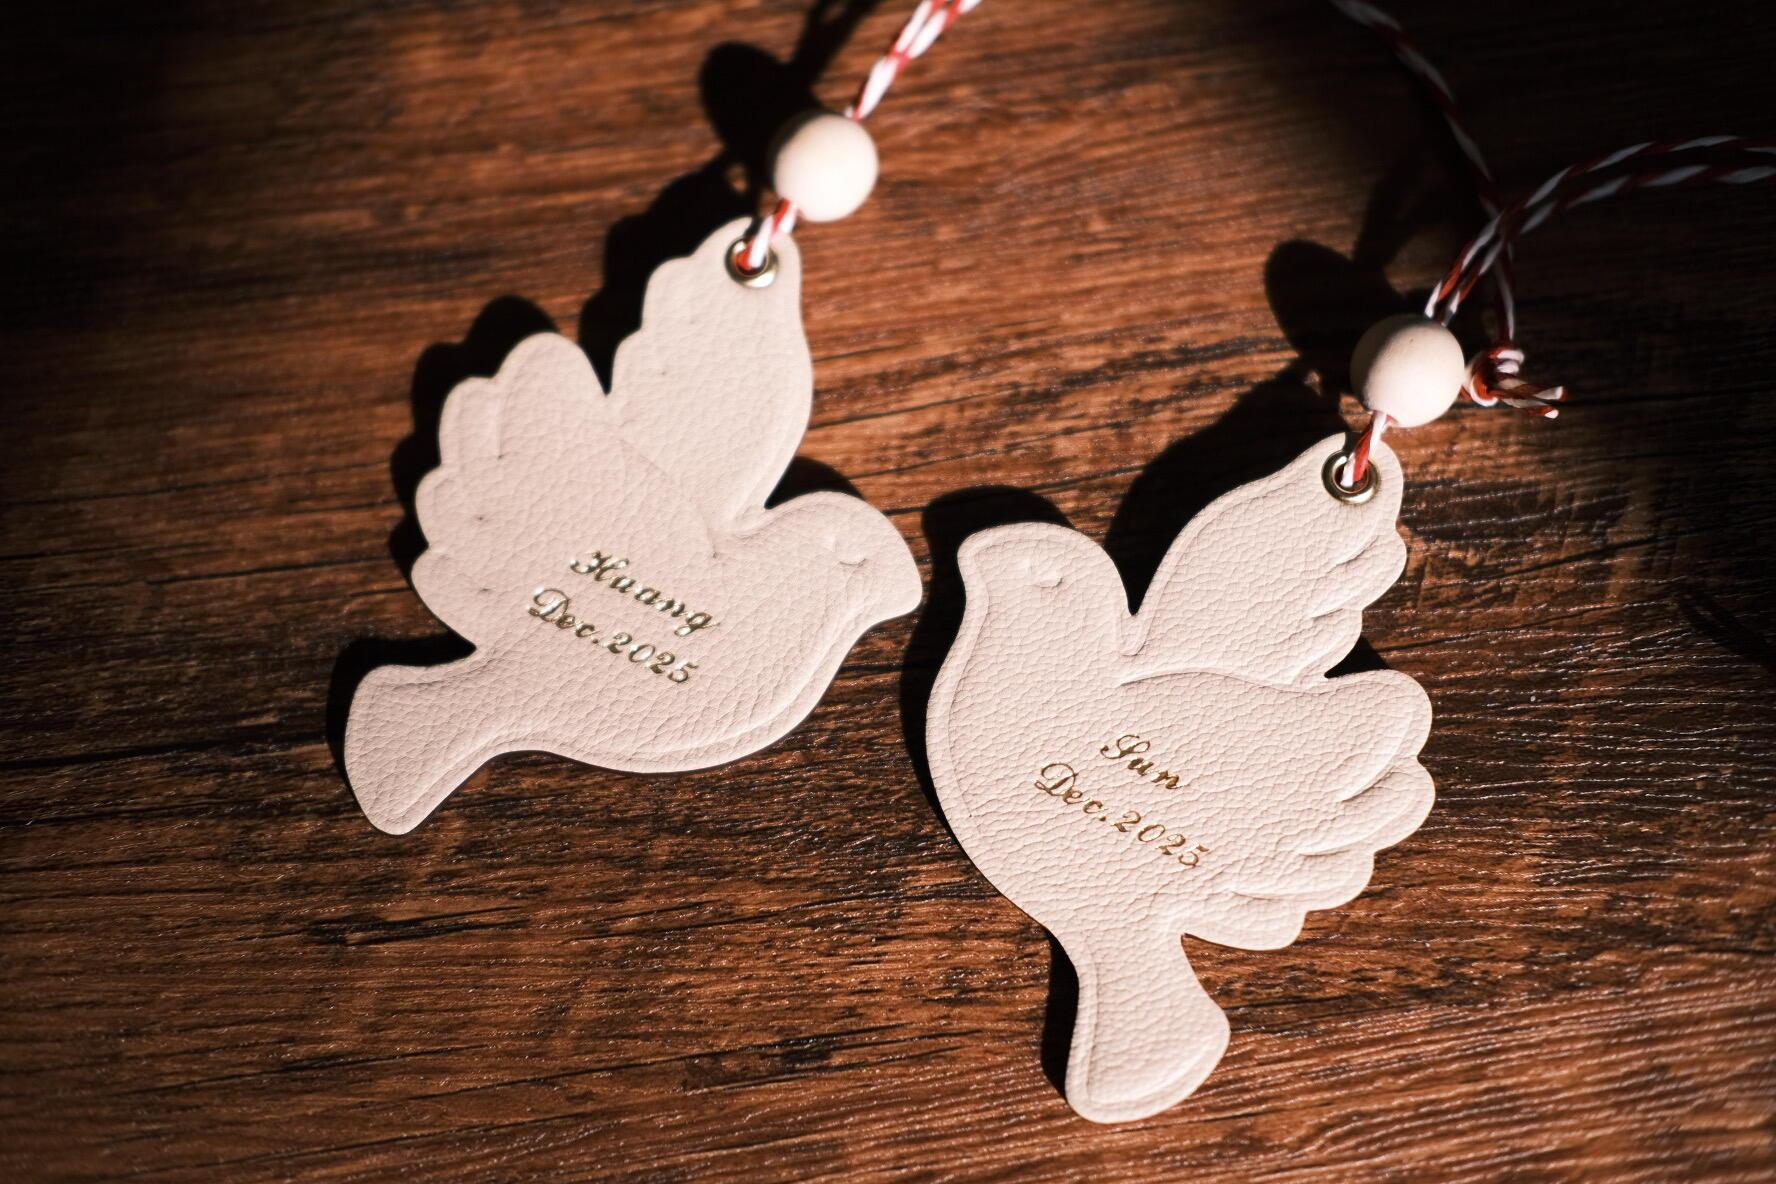
You know, turtledoves are a symbol of friendship and love. You keep one, and you give the other one to a very special person. As long as each of you has a turtledove, you'll be friends forever." —— Home Alone 2 𝓓𝓮𝓮𝓹𝓵𝔂 𝓲𝓷𝓼𝓬𝓻𝓲𝓫𝓮𝓭 𝓪𝓽 𝓽𝓱𝓮 𝓮𝓷𝓭 𝓸𝓯 𝟐𝟎𝟐𝟓: 𝓓𝓮𝓬. 𝟐𝟎𝟐𝟓.
-
 Hot stamping is an exceptional technique for creating high-end, personalized designs. However, when transitioning to batch production or repeated impressions, maintaining precision and consistency becomes a major hurdle. In this guide, we’ll tackle one of the most frequent challenges faced by hot stamping enthusiasts—backed by real-world experiences—and explore the tools that ensure a perfect result every time. 1. The Precision Gap: Solving Misaligned Impressions The Challenge Misalignment is the “silent killer” of quality in batch orders. When working by hand, even a millimeter of drift can ruin the visual flow of a project, leading to high waste and inconsistent results. As one user on Reddit noted: The Solution To eliminate manual error, a Transparent Acrylic Positioning Holder is a game-changer. Unlike “eyeballing” the placement, this tool provides a clear, physical guide for your stamp. Key Benefits: 1:1 Positioning Accuracy Ensures every single impression is placed in the exact same spot, regardless of batch size. Visual Clarity The transparent material allows you to see the substrate clearly, making it easy to line up complex designs before applying heat. Workflow Efficiency By removing the guesswork, you can significantly speed up your production time while maintaining a professional standard. 2. The Pressure Trap: Stabilizing Heat and Force The Challenge Even if your alignment is perfect, inconsistent heat and pressure can ruin a project. This leads to “patchy” results—where some parts of the foil bond perfectly while others peel or fail to transfer. A user in a leatherworking group on Facebook shared: The Solution Consistency is born from automation and monitoring. To move beyond guesswork, focus on two key technical upgrades: Infrared Temperature Control Standard heating elements can fluctuate. Machines equipped with infrared sensors or digital PID controllers ensure the plate stays at the exact temperature required for the foil's chemical bond, preventing “heat drop” between consecutive stamps. Mechanical Stability Tools Using a positioning caliper or a fixed holder does more than just align—it stabilizes the substrate. By preventing the material from shifting or “creeping” under the vertical force of the press, you ensure that pressure is distributed 100% evenly across the die. Dwell Time Management Ensure you are holding the press for the same count every time. A machine with a built-in timer can help eliminate the human error of releasing the handle too early or too late. 3. The Blind Spot: Confirming Exact Placement The Challenge The most nerve-wracking moment of hot stamping is the “point of no return”—the second before the heated die hits the material. Because the machine head often blocks your line of sight, it’s easy to feel like you’re stamping blindly. One crafter explained the frustration: The Solution Eliminating the “guesswork” requires a bridge between your design and your material. A Transparent Acrylic Positioning Holder serves as your visual blueprint. Key Advantages: Full Visual Confirmation The transparent nature of the acrylic allows you to see the entire substrate. You can see exactly where the stamp will land relative to edges, stitching, or other design elements before you ever apply heat. Integrated Ruler Guides Most high-quality holders feature etched measurements. This allows you to center your design mathematically rather than relying on your “best guess,” ensuring symmetry across every piece in your collection. Pre-Press Micro-Adjustments Because the holder stays in place, you can nudge your material into the perfect position with millimeter precision, locking it in before the press makes contact. 4. The Efficiency Bottleneck: Scaling Up Without Cutting Corners The Challenge In the world of customization, time is money. However, the transition from making one “perfect” item to producing a batch of 100 is where many creators struggle. The repetitive cycle of measuring, centering, and double-checking each piece manually creates a massive bottleneck. As one Reddit user put it: The Solution To transform your workflow from “hand-placed” to “industrial-grade efficiency,” you need a repeatable system. A Professional Positioning Caliper is the ultimate tool for high-volume throughput. Performance Highlights: “Set It and Forget It” Workflow Once you lock in your horizontal and vertical coordinates on the caliper, the position is fixed. You can swap out substrates in seconds, knowing each one is perfectly indexed. Precision at Speed By eliminating the need to manually measure every single item, you can significantly reduce your cycle time per piece while actually increasing your accuracy. Multi-Axis Adjustment Fine-tune your alignment along both the X and Y axes. This allows for rapid micro-adjustments that stay locked in place, ensuring the 100th print looks identical to the first. Elevating Your Hot Stamping to the Next Level By integrating specialized tools like the Precision Positioning Caliper and the Transparent Acrylic Holder, you move beyond the limitations of manual crafting. These tools do more than just solve alignment issues—they transform your entire production philosophy. You can now achieve professional-grade consistency and rapid-fire speed without ever sacrificing the “high-end” feel of your brand. For users of advanced machinery like the EC27 Hot Stamping Press, the synergy is even more powerful. Combining infrared temperature precision with rigid physical positioning creates a fail-safe environment where every press is a masterpiece. Conclusion: Why Precision Is Your Greatest Asset In the world of hot stamping, consistency is your signature. Whether you are fulfilling a single bespoke order or a batch of thousands, your reputation relies on the perfect marriage of heat, pressure, and placement. The solutions we’ve explored—from infrared thermal stability to X-Y axis caliper adjustments—are designed to eliminate the variables that lead to waste. By investing in the right workflow, you ensure that your focus remains on creativity, not troubleshooting. Ready to Revolutionize Your Workflow? Don’t let misalignment hold your business back. Upgrade your toolkit today and experience the ease of 1:1 positioning accuracy. Equip your studio with the best tools in the industry at an unbeatable price. References & Further Reading Hot Stamping Precision and Alignment Techniques: Manufacturing Solutions The Vital Role of Temperature Control in Foil Bonding: Stamping Tech Review More Guides & Tutorials Expert Tips for Choosing a Hot Foil Stamper That Lasts for Years,2025, Jinglin. Which Maxita Hot-Foil Machine Actually Fits Your Bench?,2025, Jinglin. The Ultimate Guide to Maxita Hot Foil Stamping: Master Your EC-27 & EC-17, 2025, Jinglin. Maxita EC-17 vs. EC-27: Which Leathercraft Machine Is Right for You?, 2025, Jinglin. Maxita Hot Foil Stamping Machines Comparison: EC-17 vs. EC-27 and Holder Types, 2025, Jinglin. 3-Line Foil Stamping Guide: Maxita EC-27 & EC-17 Tutorial, 2025, Jinglin. Detailed Causes & Solutions for Gold Stamping Failure: Guide for Leather Hot Stamping Users, 2025, Jinglin. Hot Foil Stamping Machine FAQ: Common Issues and Practical Solutions, 2025, Jinglin. Maxita Hot Stamping Machine: Leather Craft Embossing Guide, 2024, Jinglin.
 -
 Txrattlecustomleather joined the community
 -
Juki DDL-8700 Oil Pump System Clogged
friquant replied to friquant's topic in Leather Sewing Machines
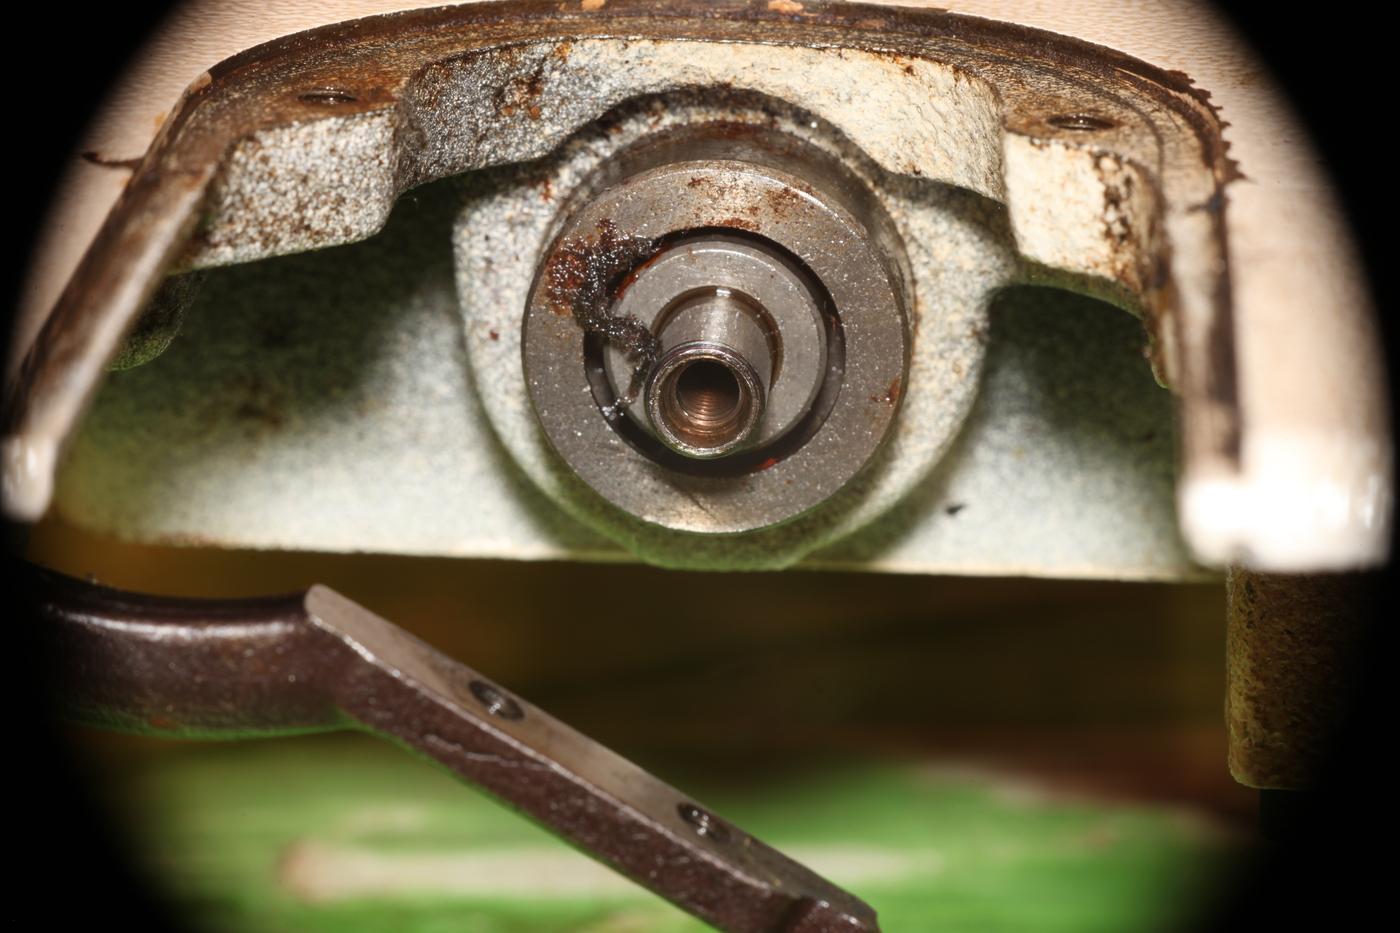
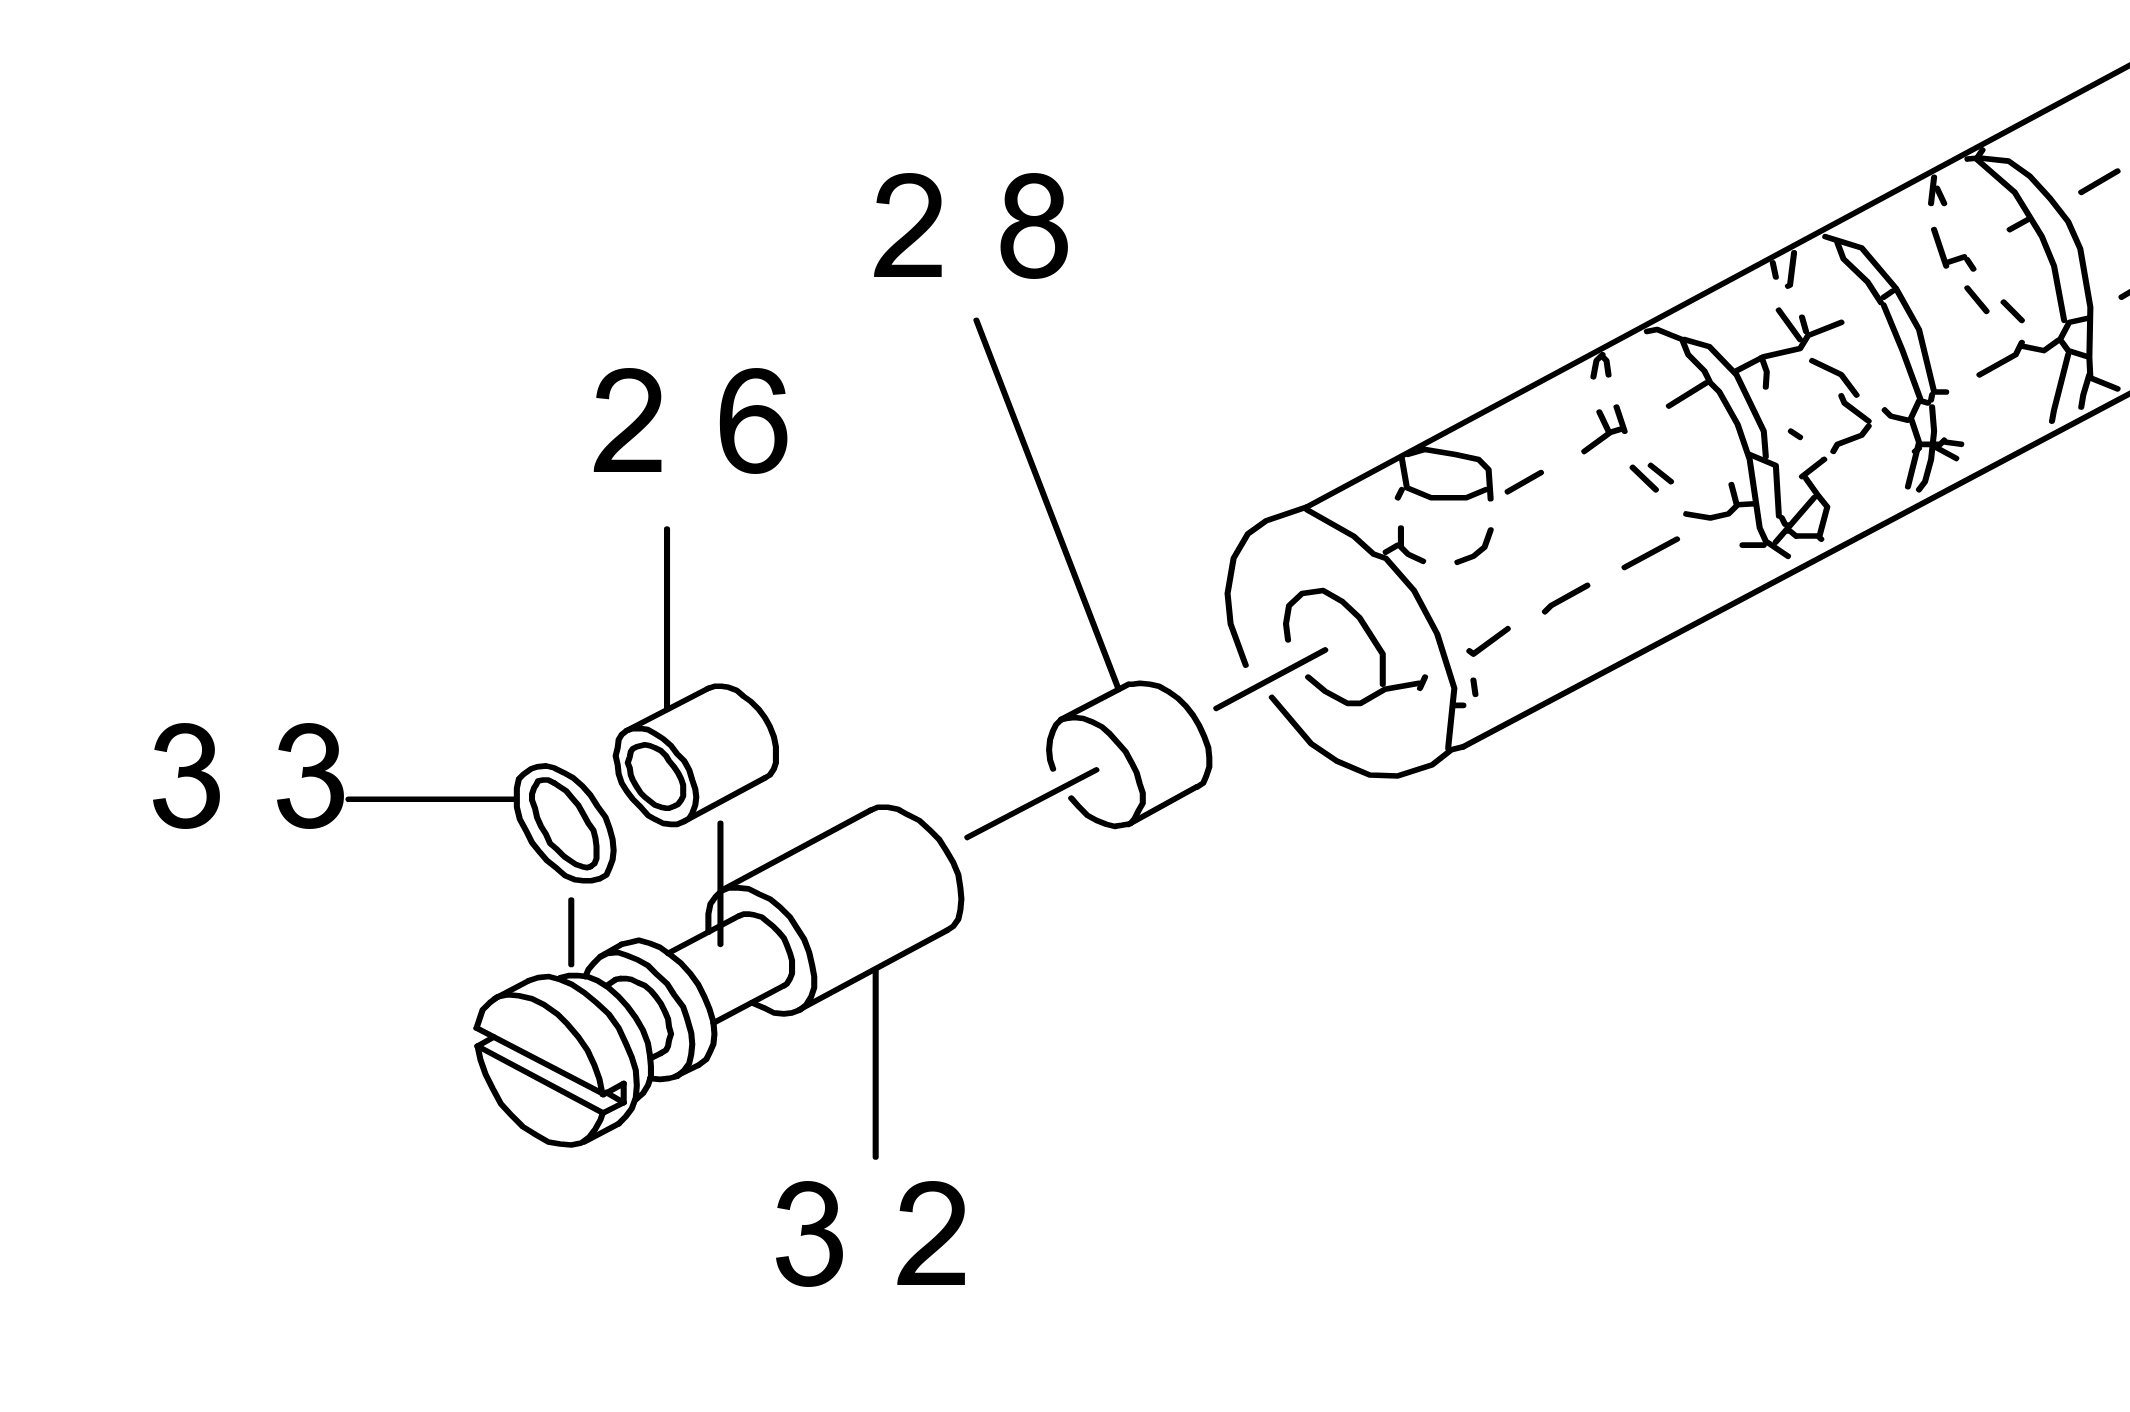
Where should I expect to see oil coming out at the left end of the main shaft? What does it feed oil to...the needle bar crank rod? Or the thread take-up crank shaft assembly? I expect there are some pieces that are to be oiled manually...just not sure which ones. This diagram shows the relevant pieces. Supposedly you rotate part #32 180 degrees to go from "minimum oil" to "maximum oil". Diagram is from page 3 of this juki ddl-8700 parst list: https://www.juki.co.jp/industrial_j/download_j/manual_j/ddl8700/menu/ddl8700/pdf/partslist.pdf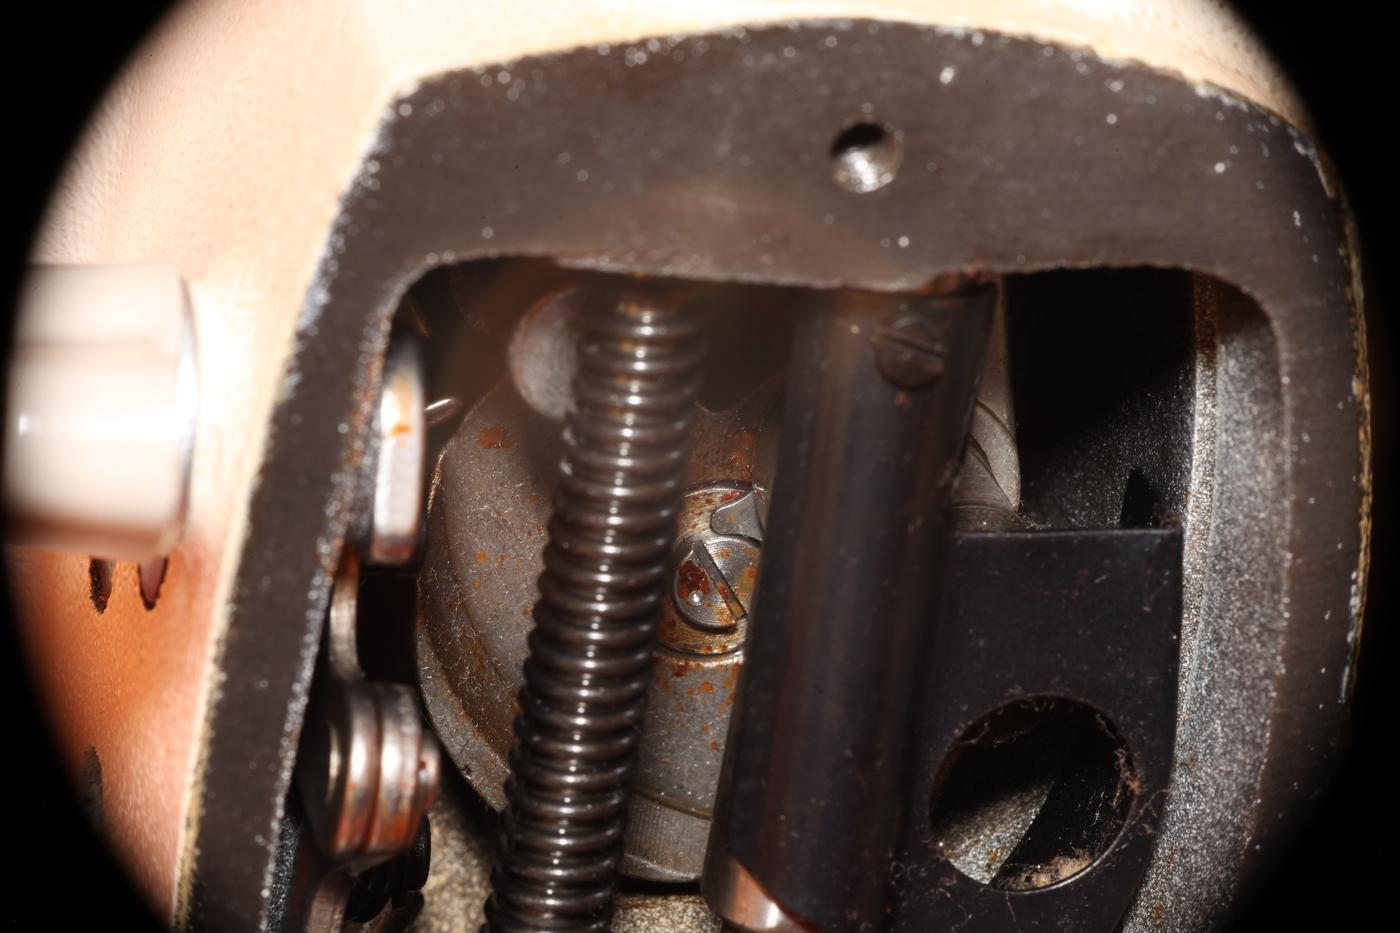
- Yesterday
-

Are needle positioners for brushless servo motor drives all the same
toxo replied to beefy's topic in Leather Sewing Machines
Tried it again with no joy. Then it occurred to me that the braking system must come into this. If I'm stitching slowly the brake is immediate and the needle stops wherever it happens to be in the cycle. If I go fast it wil stop in the down position ( where I want it) most of the time. -
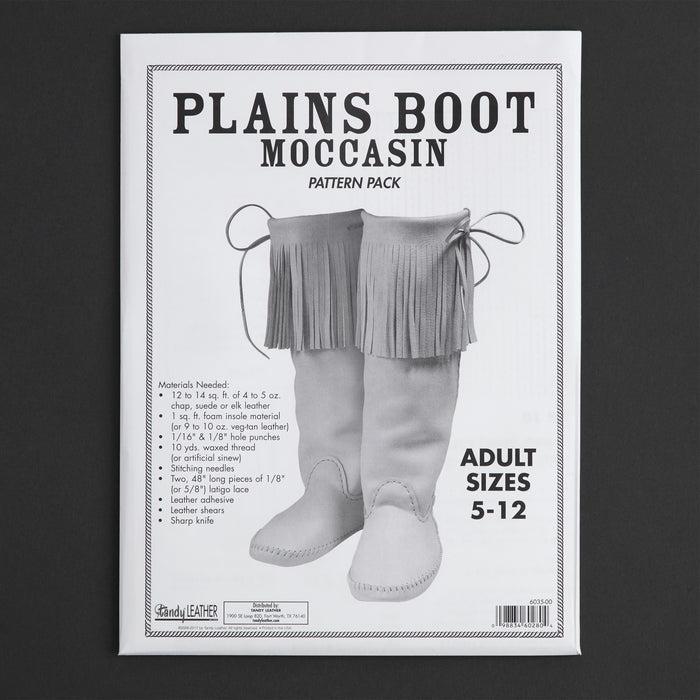
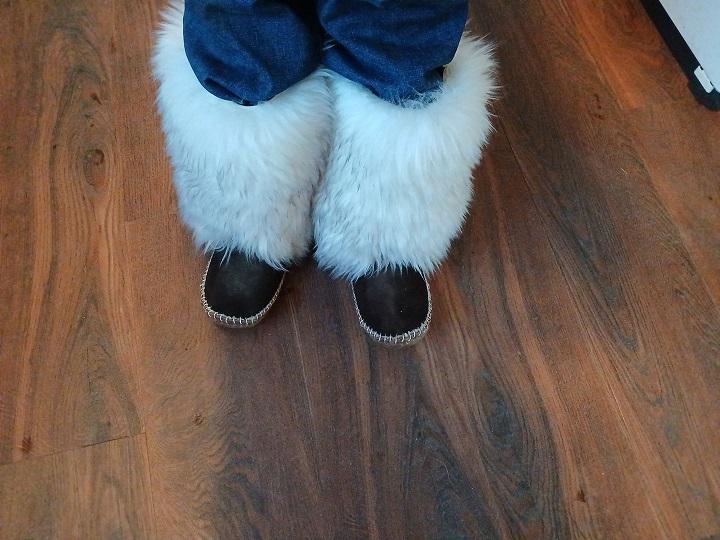
Well, long story. I purchased a plains boot patern from tandy thinking I could alter the design to fit my liking. Basicly a pair of booties to wear inside my tent when camping in deep snow. I altered the pattern so they would be triple warm for my aging feet. I wear a size 10 logger but knowing I would be using bark tanned wool inside for insulation I decided size 12 would work. It didnt. They were very tight... So... I gave them to my gdaughter. SHE LOVES THEM!!! I guess Ill have to try again but go larger yet to fit my feet? anyhow, this is the pattern and these are the booties I made. Bark tanned inside the lower portion and long hair wool on top . I bet her feet stay warm?
-
 Ah well, appreciate the help everyone, thanks. Looks like it's all down to the Ebay seller now, but still no response after 2 days. If they don't respond I'll put a refund request in to Ebay for goods not as described. It does say in the sellers description that a needle positioner can be added. I've messed around with electronics and programming microcontrollers here and there, so I could always devise my own interface with an off the shelf needle positioner. Would be an interesting little project but I should really be concentrating on more important things LOL.
 -
Grab all the free ones from tandy that you can, there used to also be a leathercrafting book link on piratebay, not sure if it's still available or seeded anymore. Otherwise all the stohlman books are excellent, though some more so than others; tandy is usually the cheapest price, though I've also bought them on ebay for a pretty cheap price.
-

Cowboy Outlaw question on accessory compatibility
dikman replied to bigsig11010's topic in Leather Sewing Machines
First photo it's level with the needle plate, just needs a washer or two to keep it there. Or am I missing something else that I can't see? -
.thumb.jpg.6e903dd66163ad5672f00f144058c571.jpg)
New member here looking for direction
Northmount replied to Tommy1wide2high's topic in Leather Sewing Machines
Google is still a good search to use. Use site: leatherworker.net 132k6 This restricts the search to leatherworker. Add whatever search parameters you want to the search string. Google has larger servers, faster and better indexed. -

New member here looking for direction
fredk replied to Tommy1wide2high's topic in Leather Sewing Machines
@Tommy1wide2high a google search works best; try it for the item but add 'leatherworker.net' to it and it will find pages on here -
New member here looking for direction
AlZilla replied to Tommy1wide2high's topic in Leather Sewing Machines
Here's a start. 373 posts that contain 132K6. You could rerun the search and add "manual". https://leatherworker.net/forum/search/?&q=132k6&search_and_or=or Welcome aboard! -
Greetings, I seem to be at a loss here. I've tried to search for information and fourms on the Singer 132 K6 but don't fully understand the program. Forgive me if this is the wrong approach and direct me to the propper area please. I am looking for parts/owners manual for my 132K6 and any conversations that have happened already. I have, in the past as a guest, read many useful fourms when I was getting to know my 31-20 but that was thru a google search. Now that I am a member I can't seem to navigate this system. Please advise, thank you. Tommy1wide2high
-
Two BBC news stories 1. a female saddler in Ulster is within this longer story; https://www.bbc.co.uk/news/articles/cx2gl642rpzo 2. A young Scottish cobbler in this video new story; https://www.bbc.co.uk/news/videos/c9qe825q35zo
-
To sand the edges or not to sand
fredk replied to ThisIsMyFirstRodeo's topic in Leatherwork Conversation
In my experience edge paint will accentuate the unevenness of a non-sanded edge. It needs to go on an almost perfect edge I sometimes use an edger before construction but most usually after construction -
Juki DDL-8700 Oil Pump System Clogged
friquant replied to friquant's topic in Leather Sewing Machines
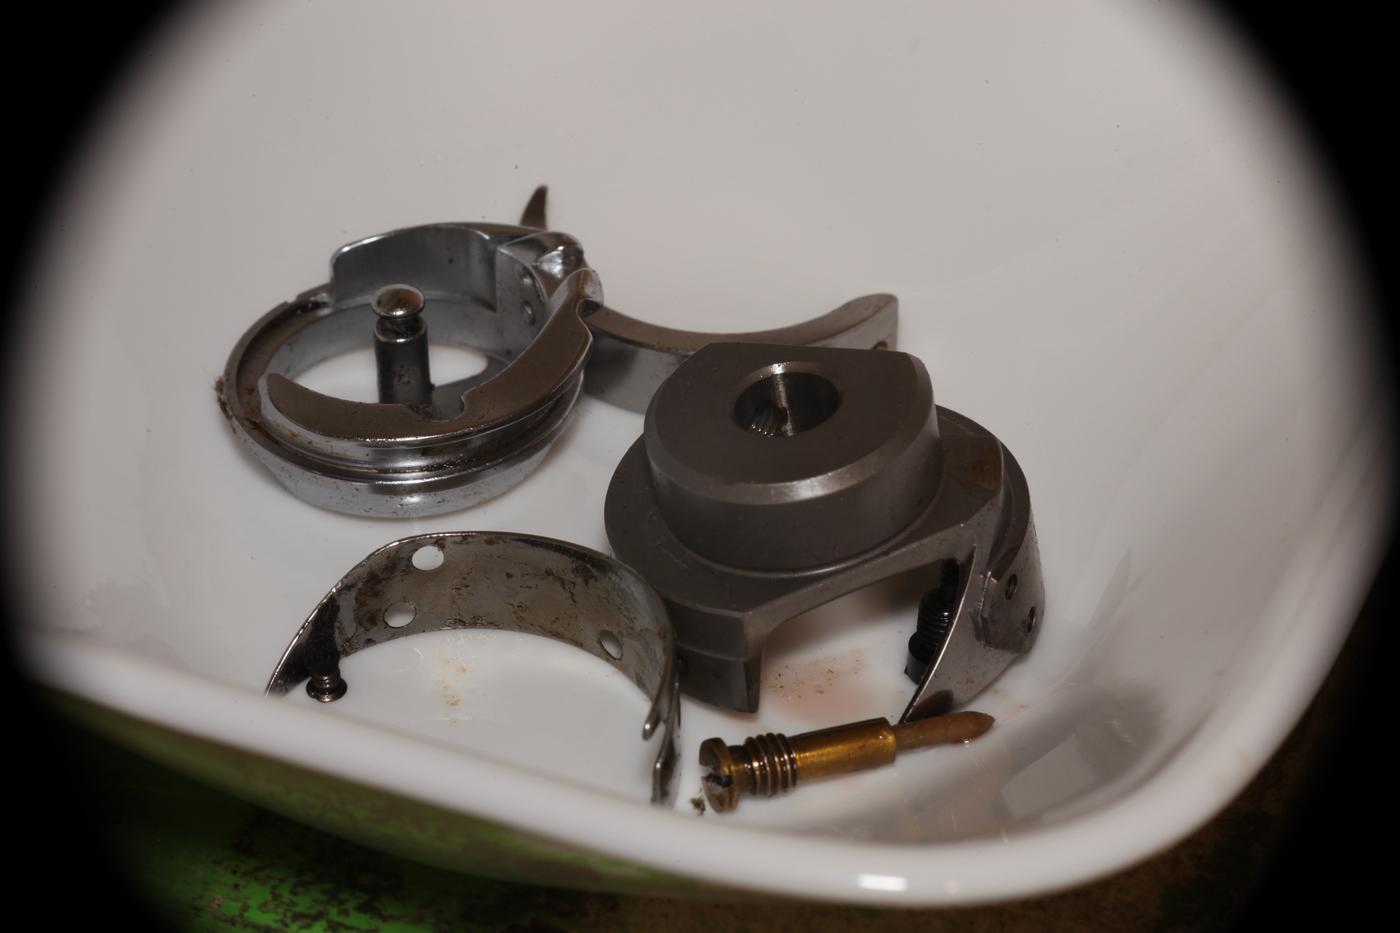
The "fiberglass" piece was removable. I pulled it out carefully. The jet was clogged, but shoving a sewing pin through it cleared the hole. In this photo we have: (left) Oil jet (middle) The clog. (silicone-like texture) (right) The "fiberglass" piece. (filter?) Am hoping that after reassembly (without the silicone-like clog) that it will weep a few oily tears for the hook.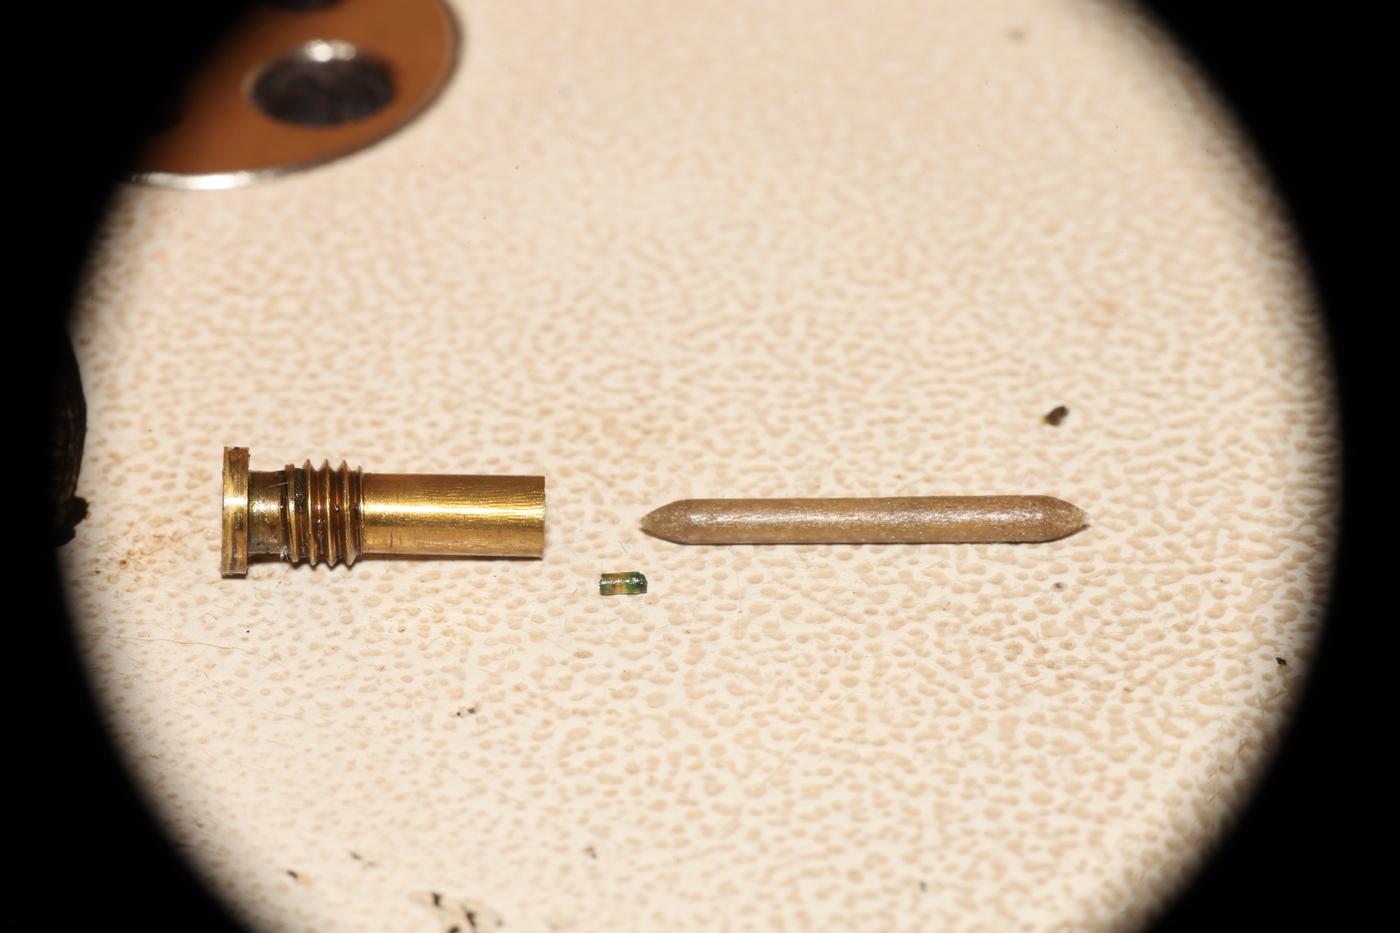
-

To sand the edges or not to sand
ThisIsMyFirstRodeo replied to ThisIsMyFirstRodeo's topic in Leatherwork Conversation
I guess it’s a related question… Will edge paint (such as EcoFlo Edge Flex) mask my mistakes, or will it make them more obvious? Never used an edge paint before. I forget why I didn’t bevel the panels or gusset of the bag first, but I’m already ~75% assembled, and don’t feel like cutting the stitches loose. I’ll definitely be sanding, but if there’s a faster way to the finish line (besides do it right the first time), then I’m all ears. — AZR -
Juki DDL-8700 Oil Pump System Clogged
friquant replied to friquant's topic in Leather Sewing Machines
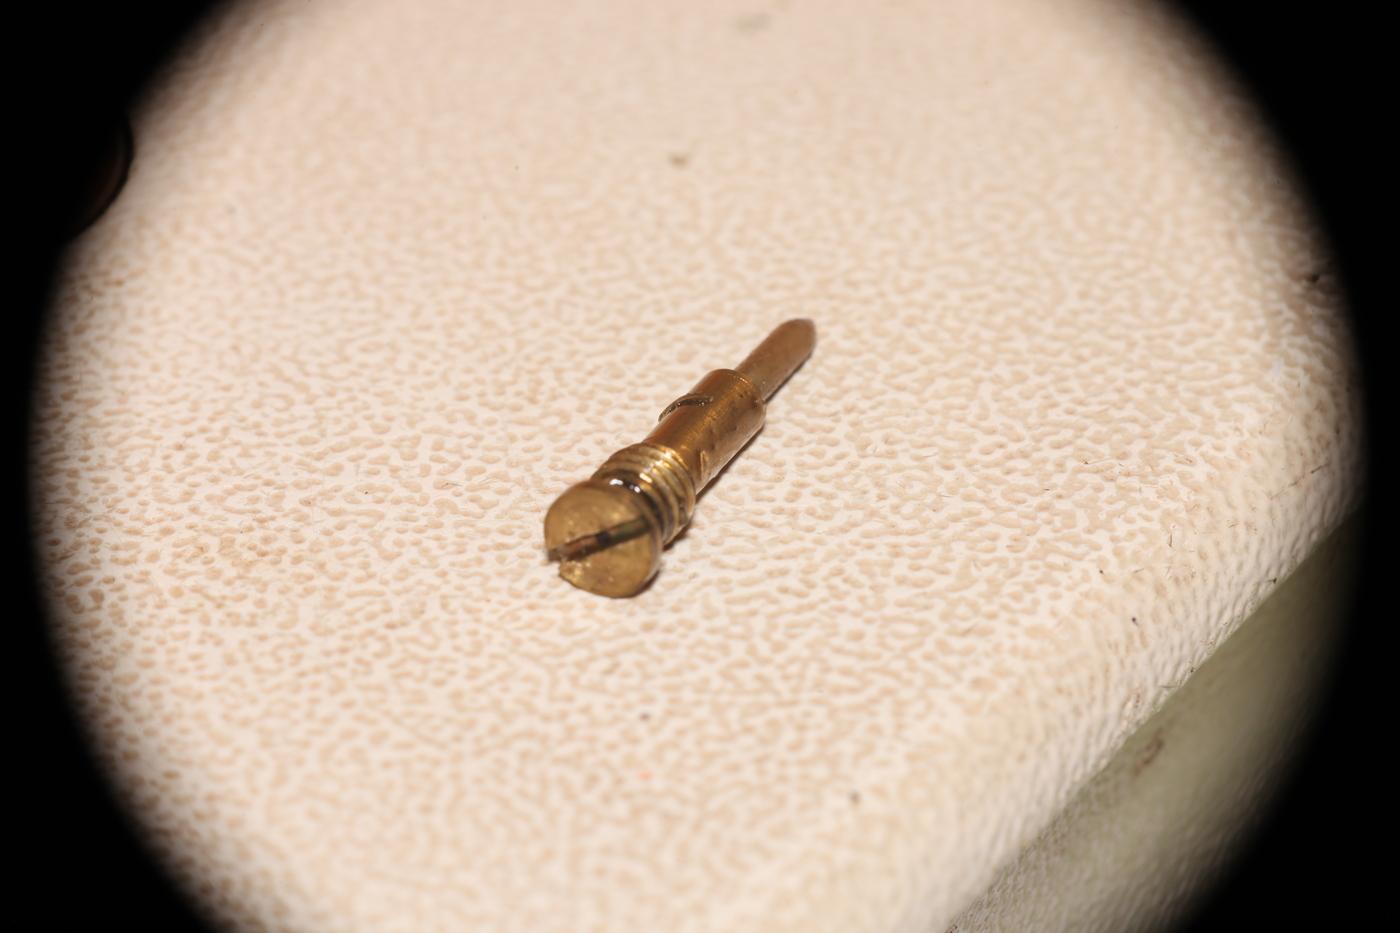
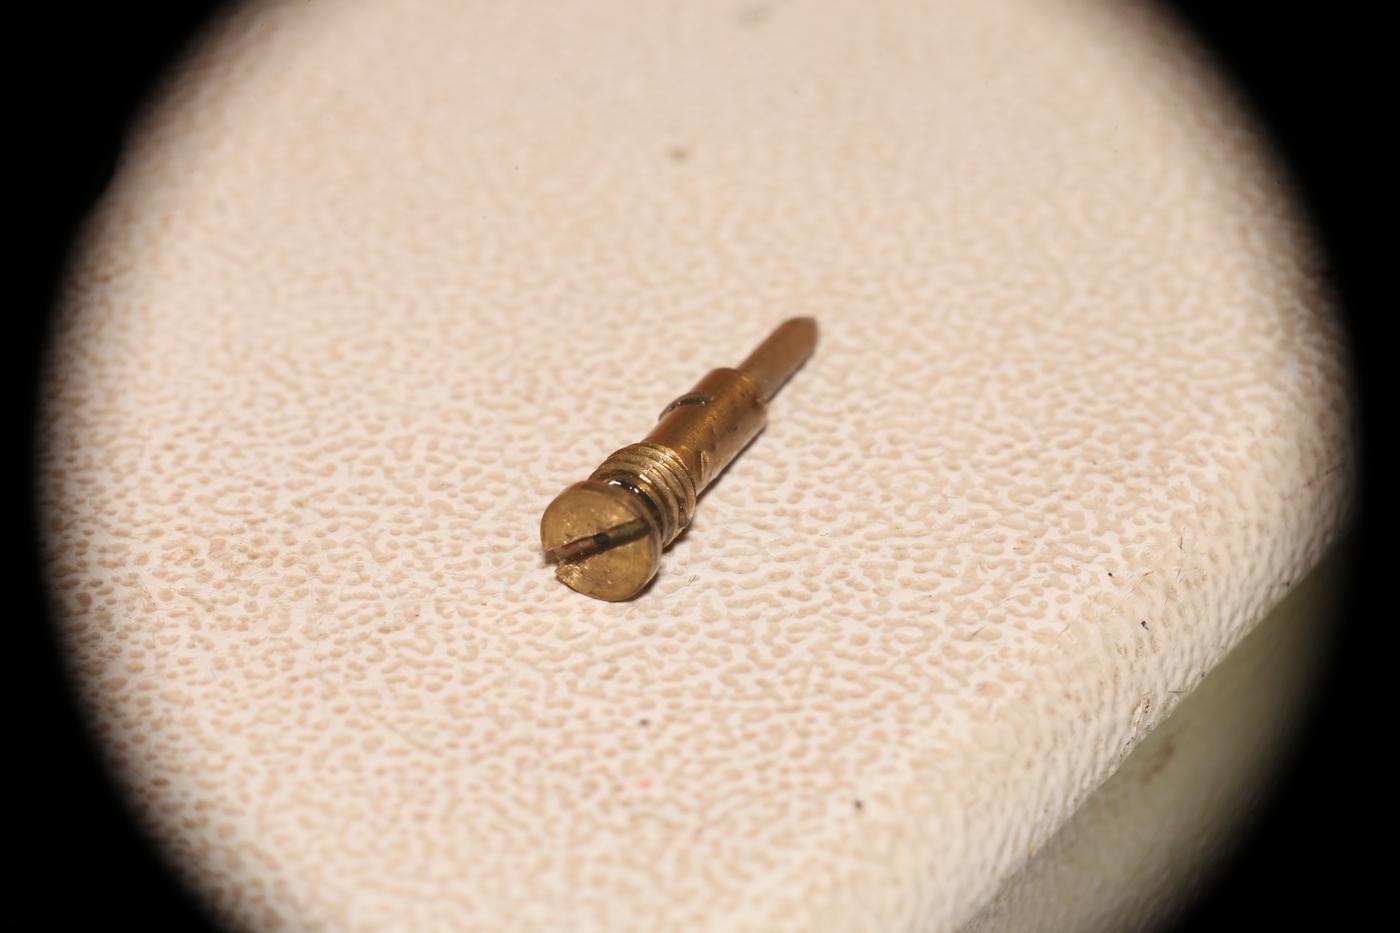
Removed the hook This brass screw was screwed into the end of the hook shaft. The near end has a tiny hole in it, like a carburetor jet. The far end is not brass...rather looks more like fiberglass. Perhaps it is porous? After washing the brass screw in soap and water, I tried blowing through it. Nothing seemed to come out.