All Activity
- Today
-

Fender repair...
Brokenolmarine replied to Brokenolmarine's topic in Saddle Identification, Restoration & Repair
I put in one last session before quitting for the day. Changed the blade in the knife and got to it. I managed to get them cut out and they look pretty good. They are pictured here with the original fender. Here we are standing by waiting for the next move. I have to decide what I am going to do about details. A linear border? That border plus some accent tooling? A touch of floral for accent as well? We shall see in the morning. I won't punch the holes yet, but I will certainly mark the locations so that the border won't be suddenly interrupted by holes. BTDT.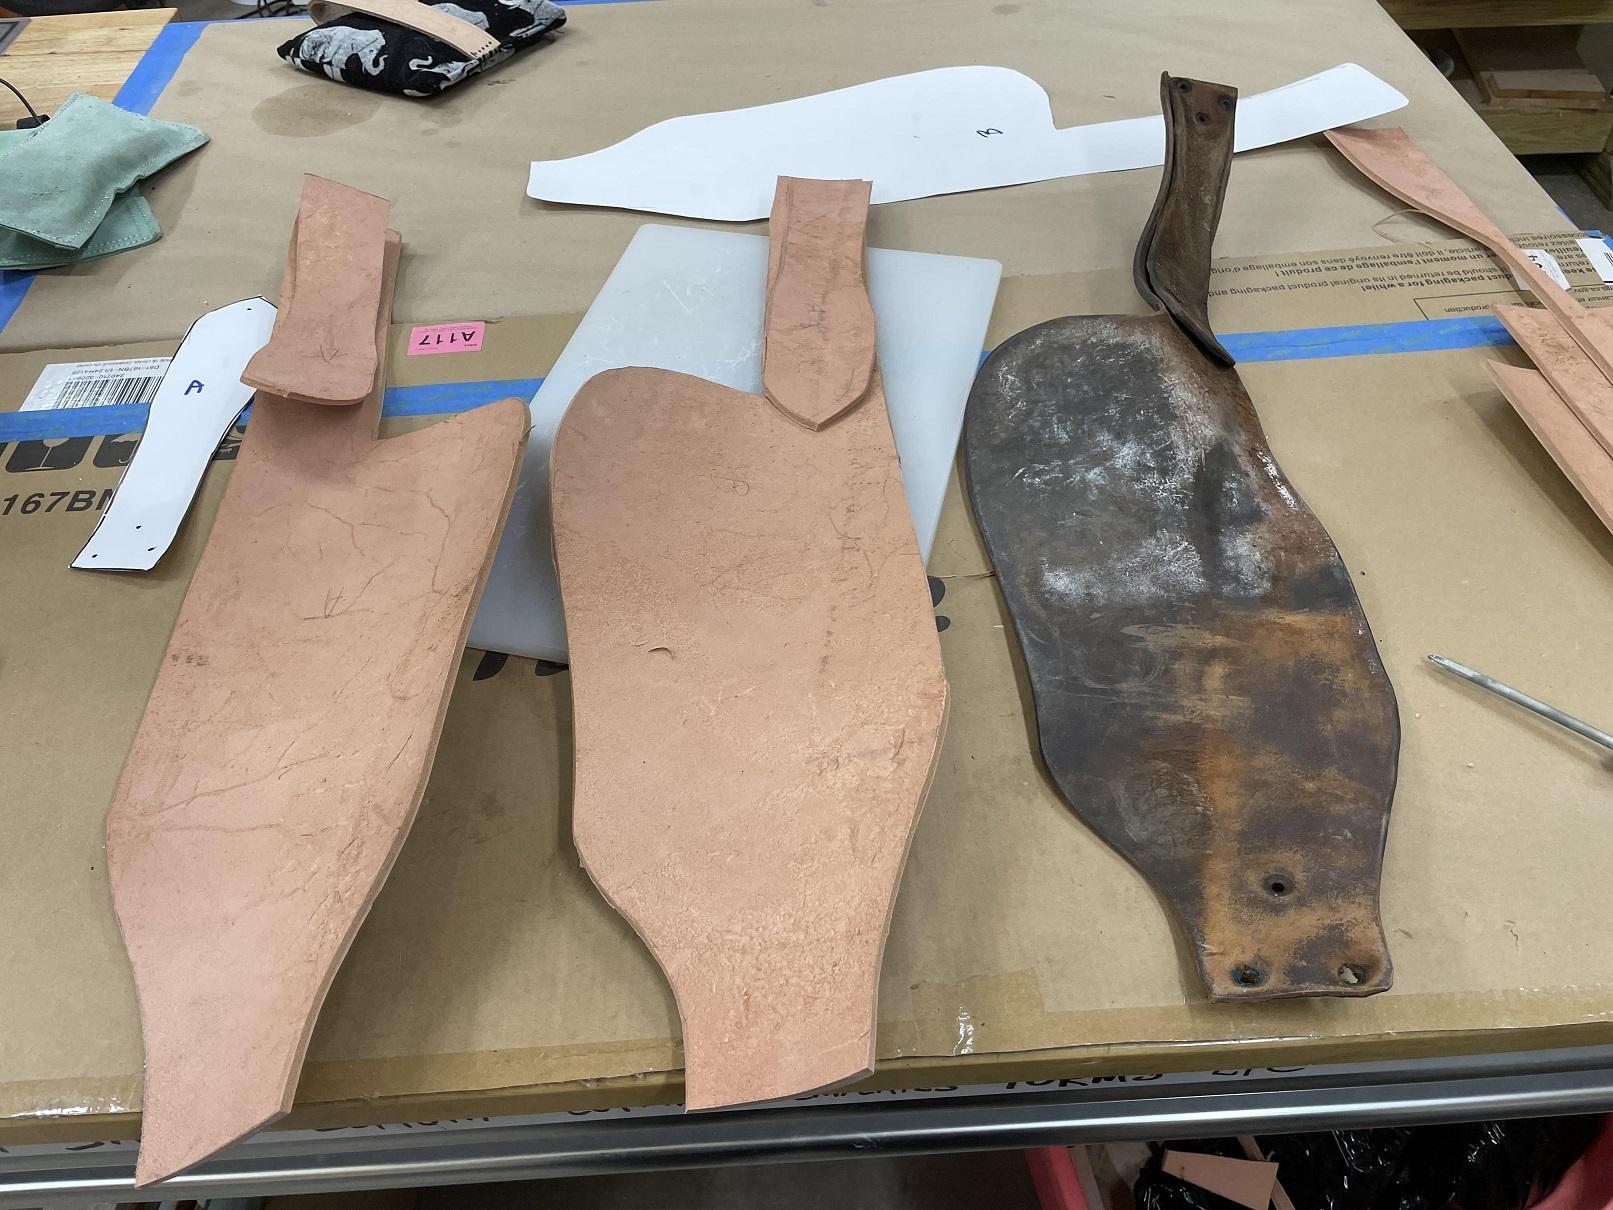
-
Fender repair...
Brokenolmarine replied to Brokenolmarine's topic in Saddle Identification, Restoration & Repair
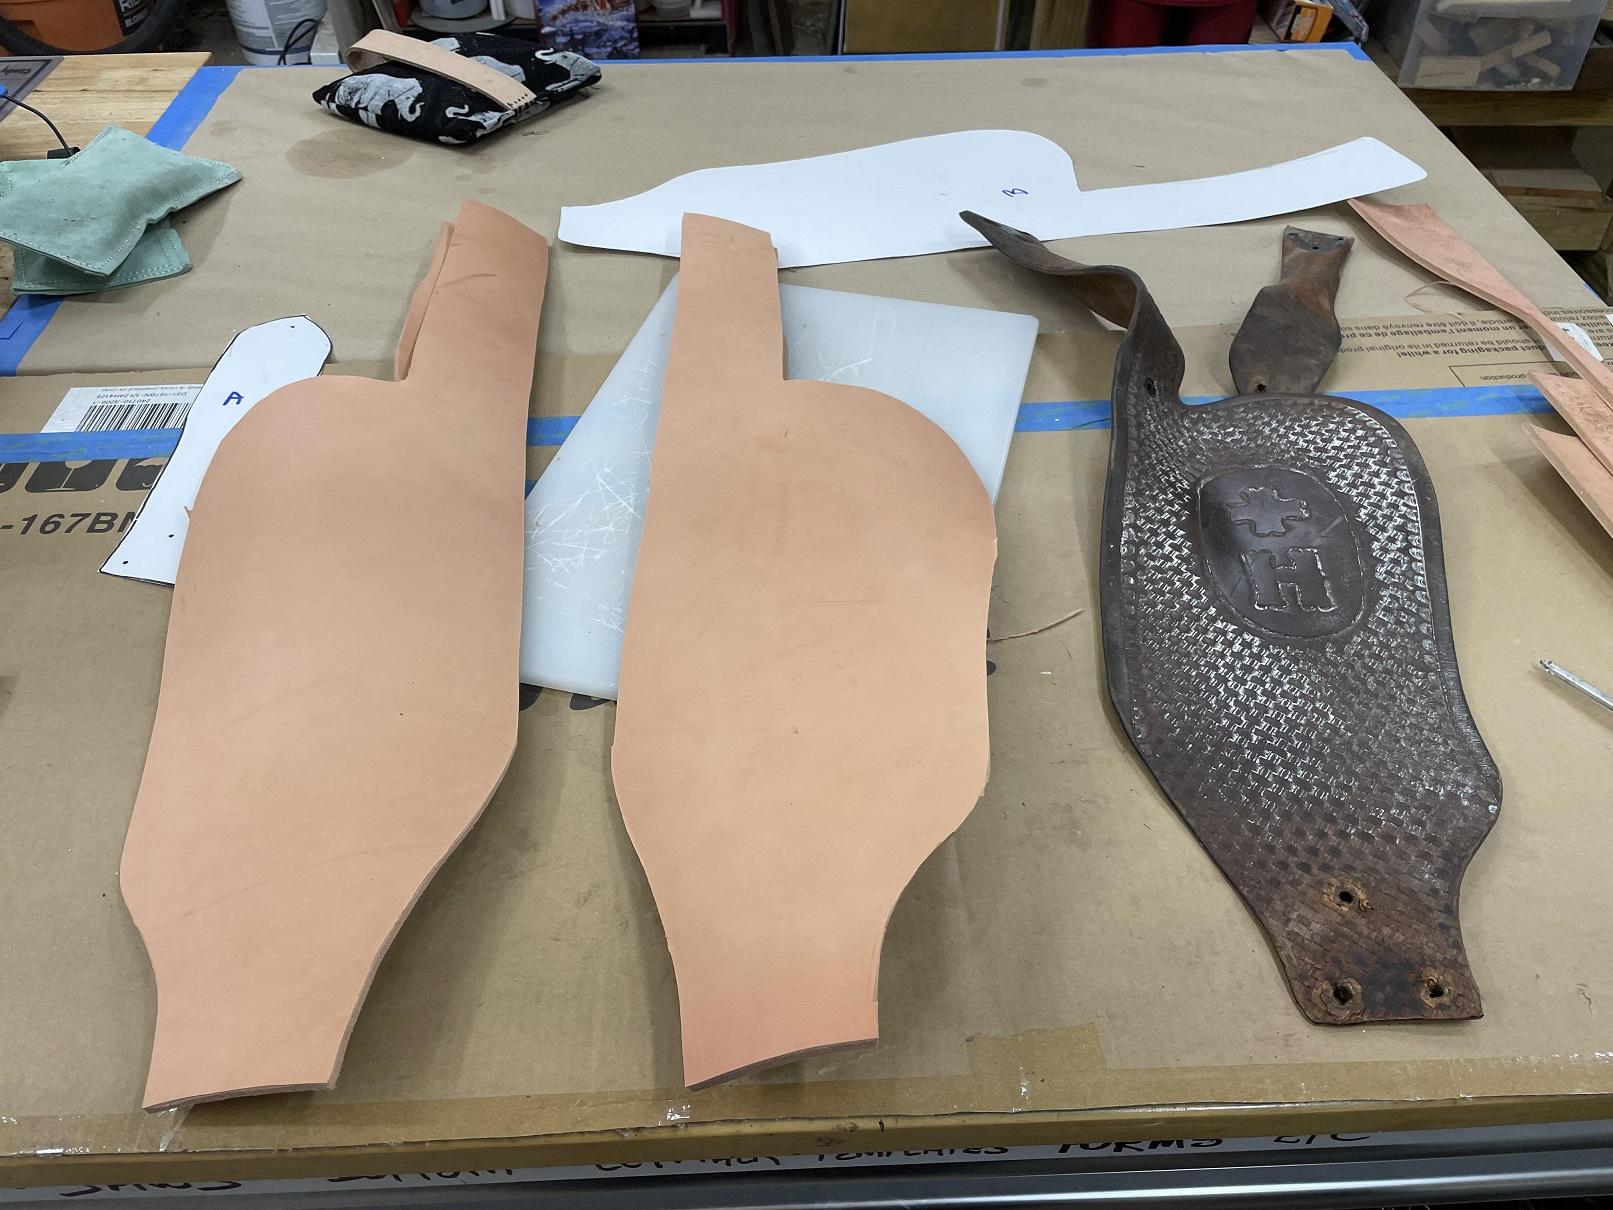
I laid out the four needed pieces on the 15 ounce saddle leather. The side I ordered from Weaver Leather was very nice. That much leather is very heavy, and came shipped in a box, so it was curled up and wanted to stay curled. What a pain in the ... um... Butt. Weighted it down, and got the layouts done. I cut off the section I needed and rolled up the rest, put it in a black trash bag to store, keep the mice out and the light off the leather. No need to ruin it. Cut out the small pieces first. They came out nice, but cutting the heavy leather is hard on old Marine arthritic hands. Time for a break before cutting the larger pieces. I'll go rest a bit, watch some tv with the boss, and have some soup, then come back out and get back at it.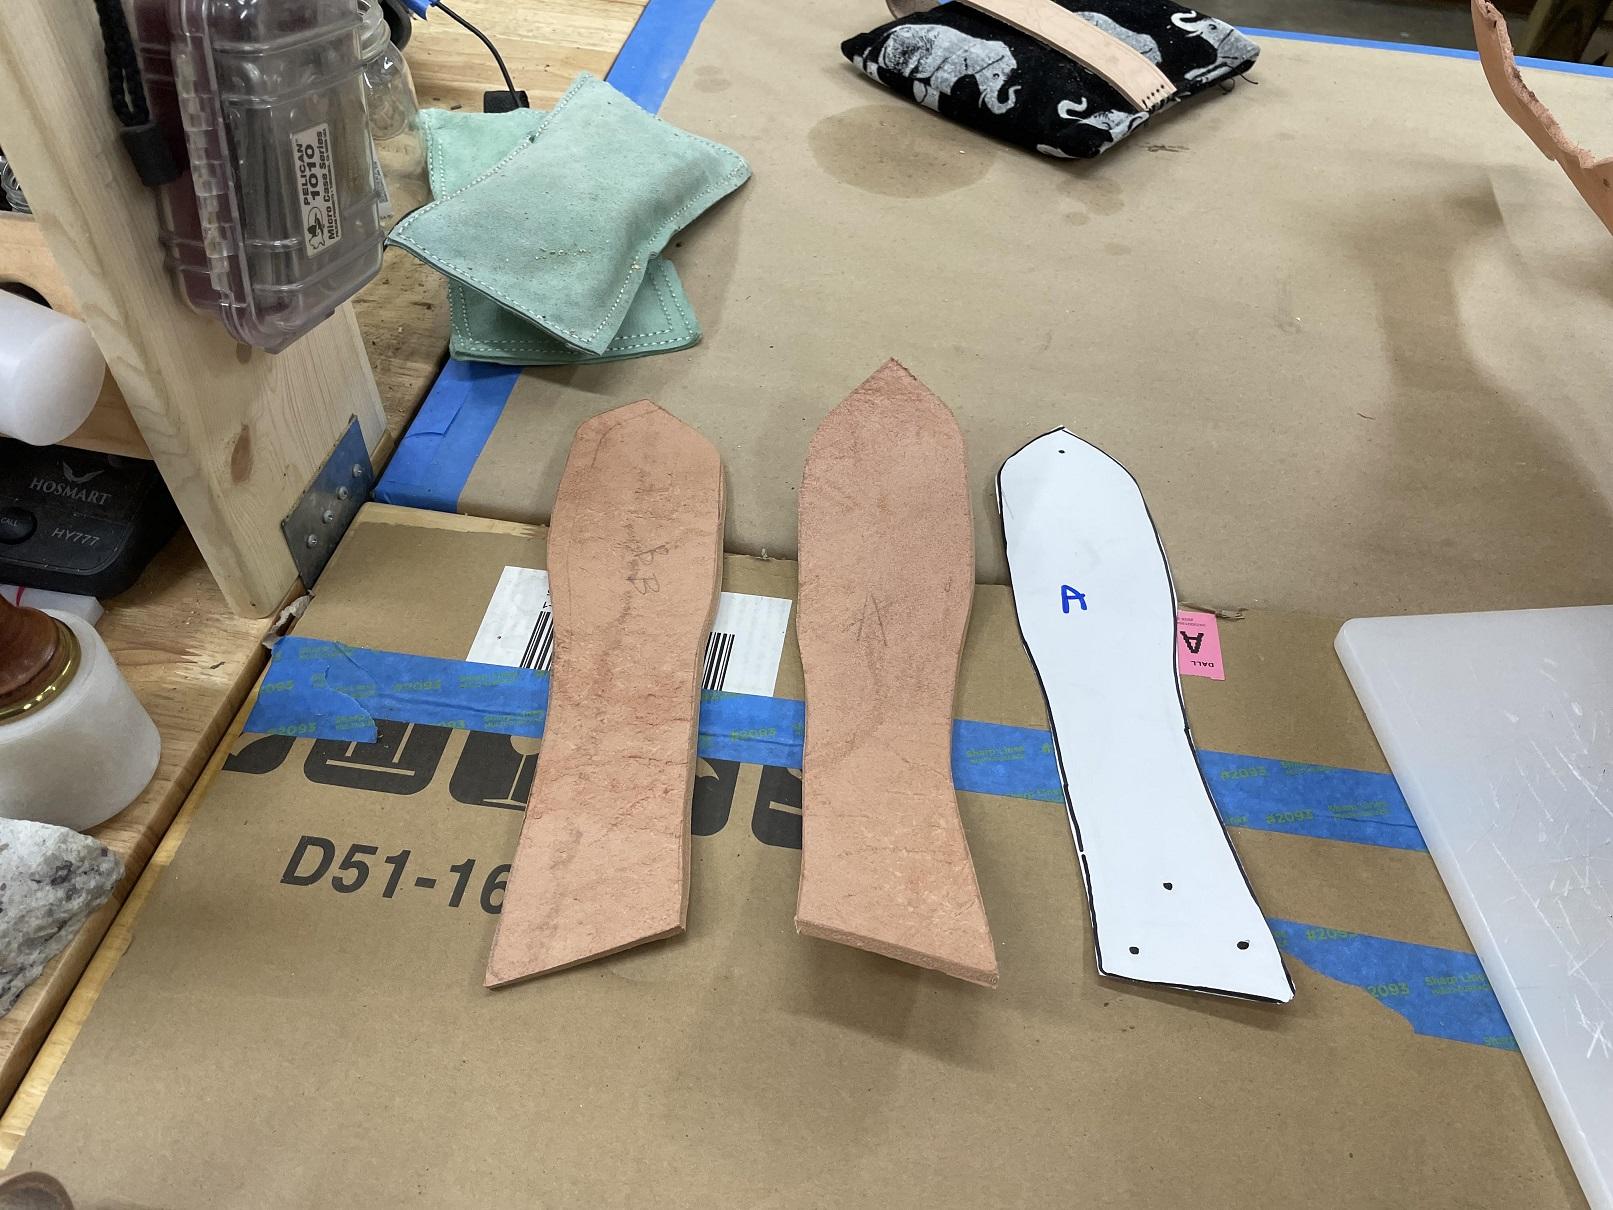
-
Fender repair...
Brokenolmarine replied to Brokenolmarine's topic in Saddle Identification, Restoration & Repair
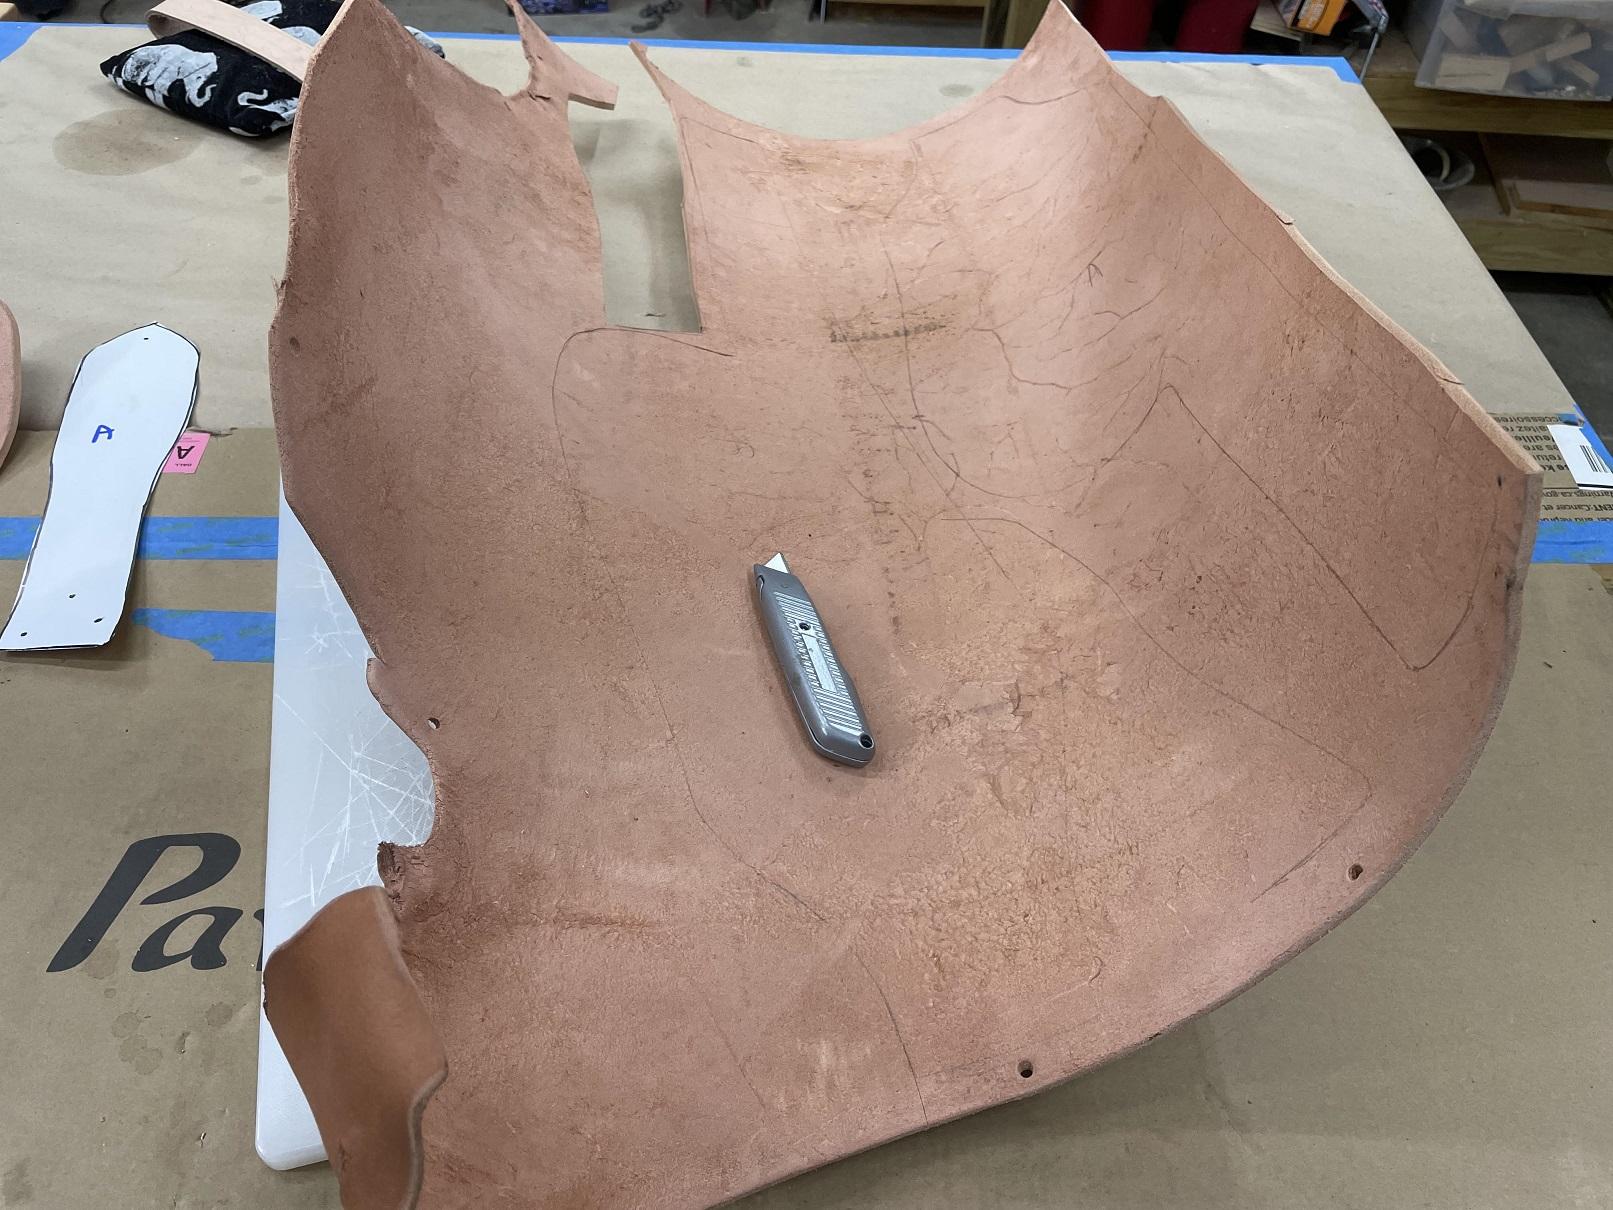
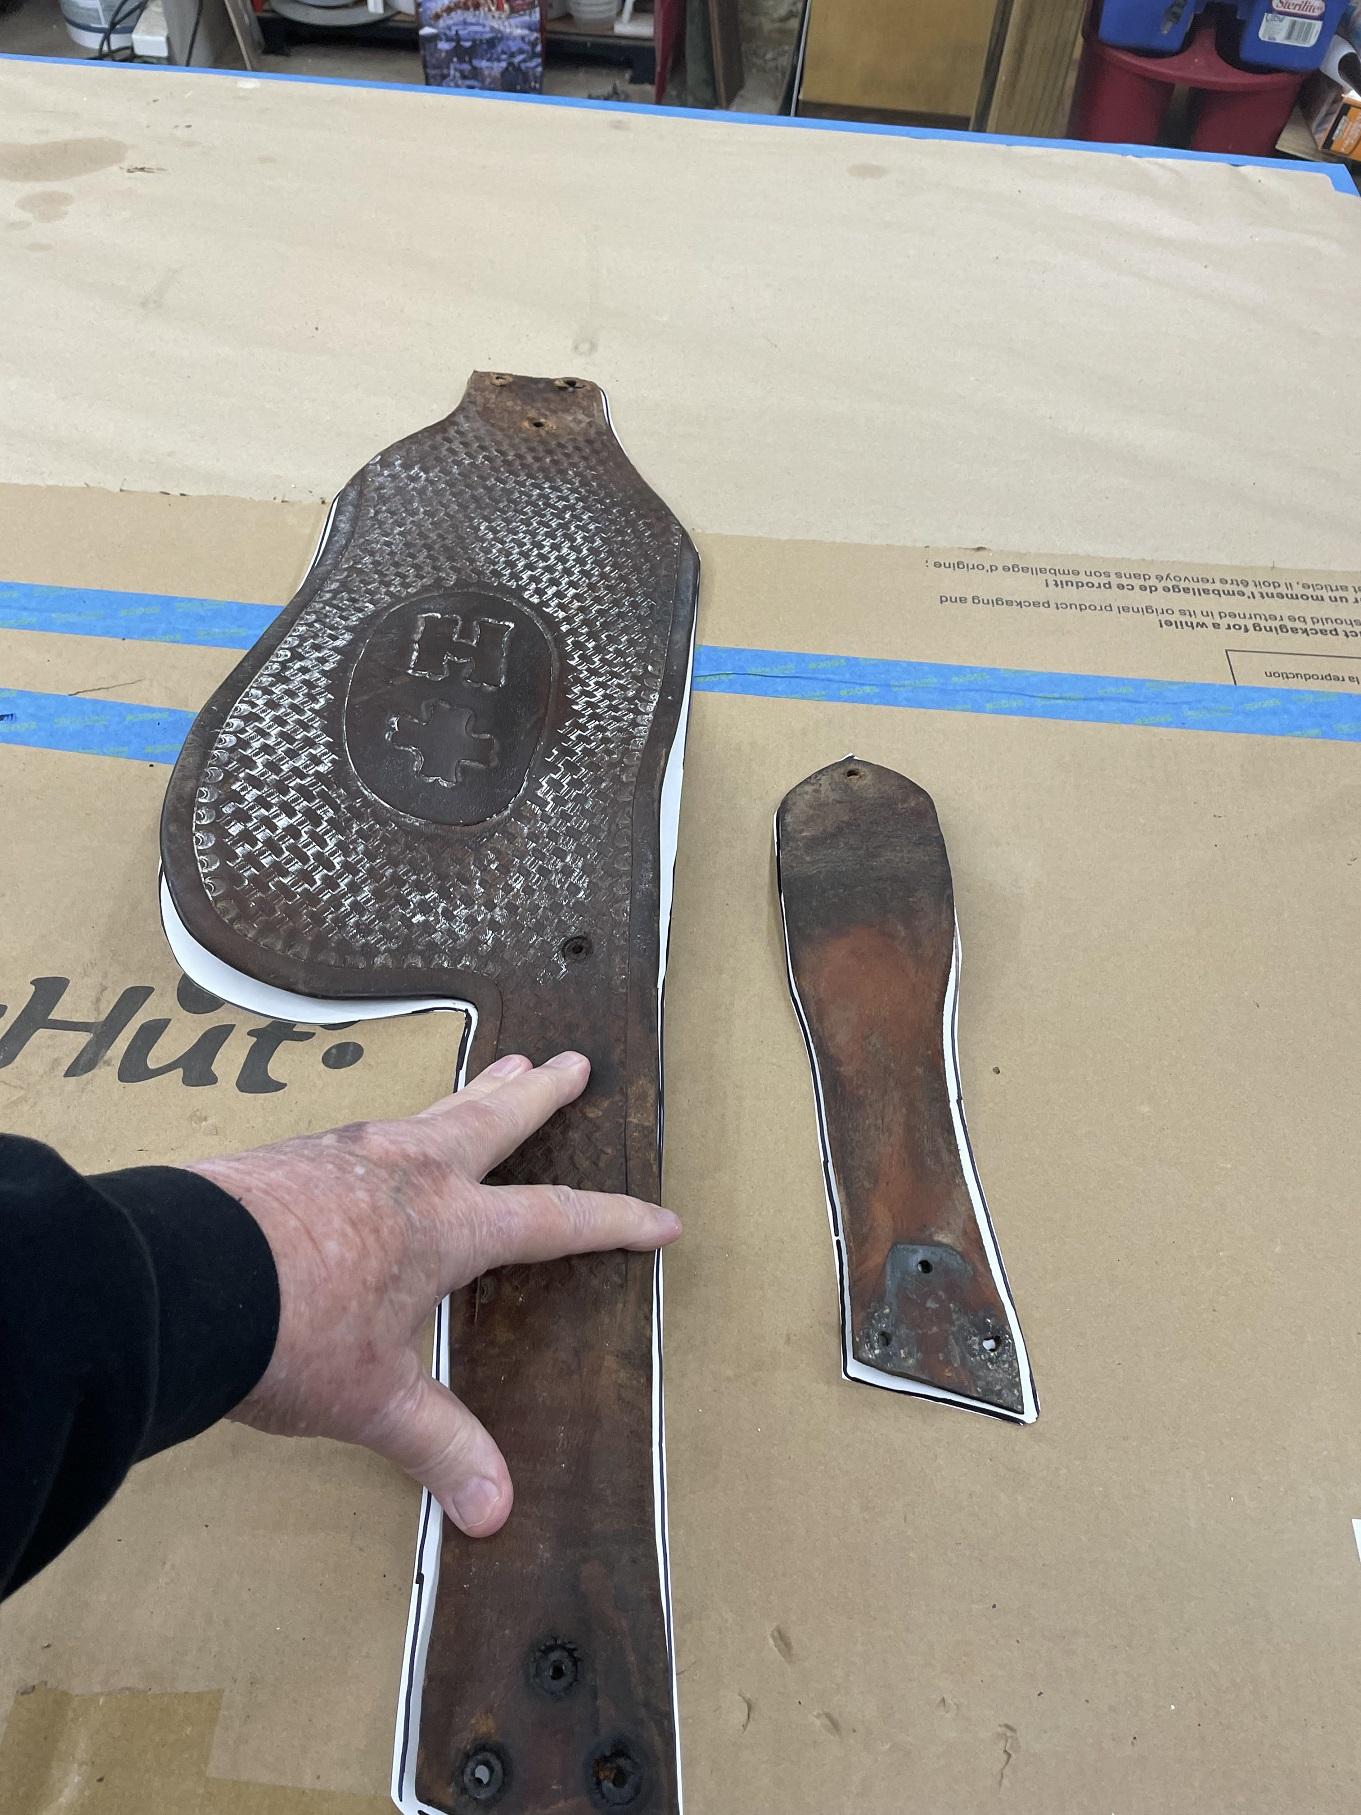
I have had a couple more sessions out in the shop. First and foremost... the compression worked. The original fender now got flattened enough to work as a template. I carefully drew it out on the cardboard, then marked the holes. I cut it out, then overlaid the originals to verify the templates were correct. I will be able to flip the cardboard over to cut out the mirror image for the other side.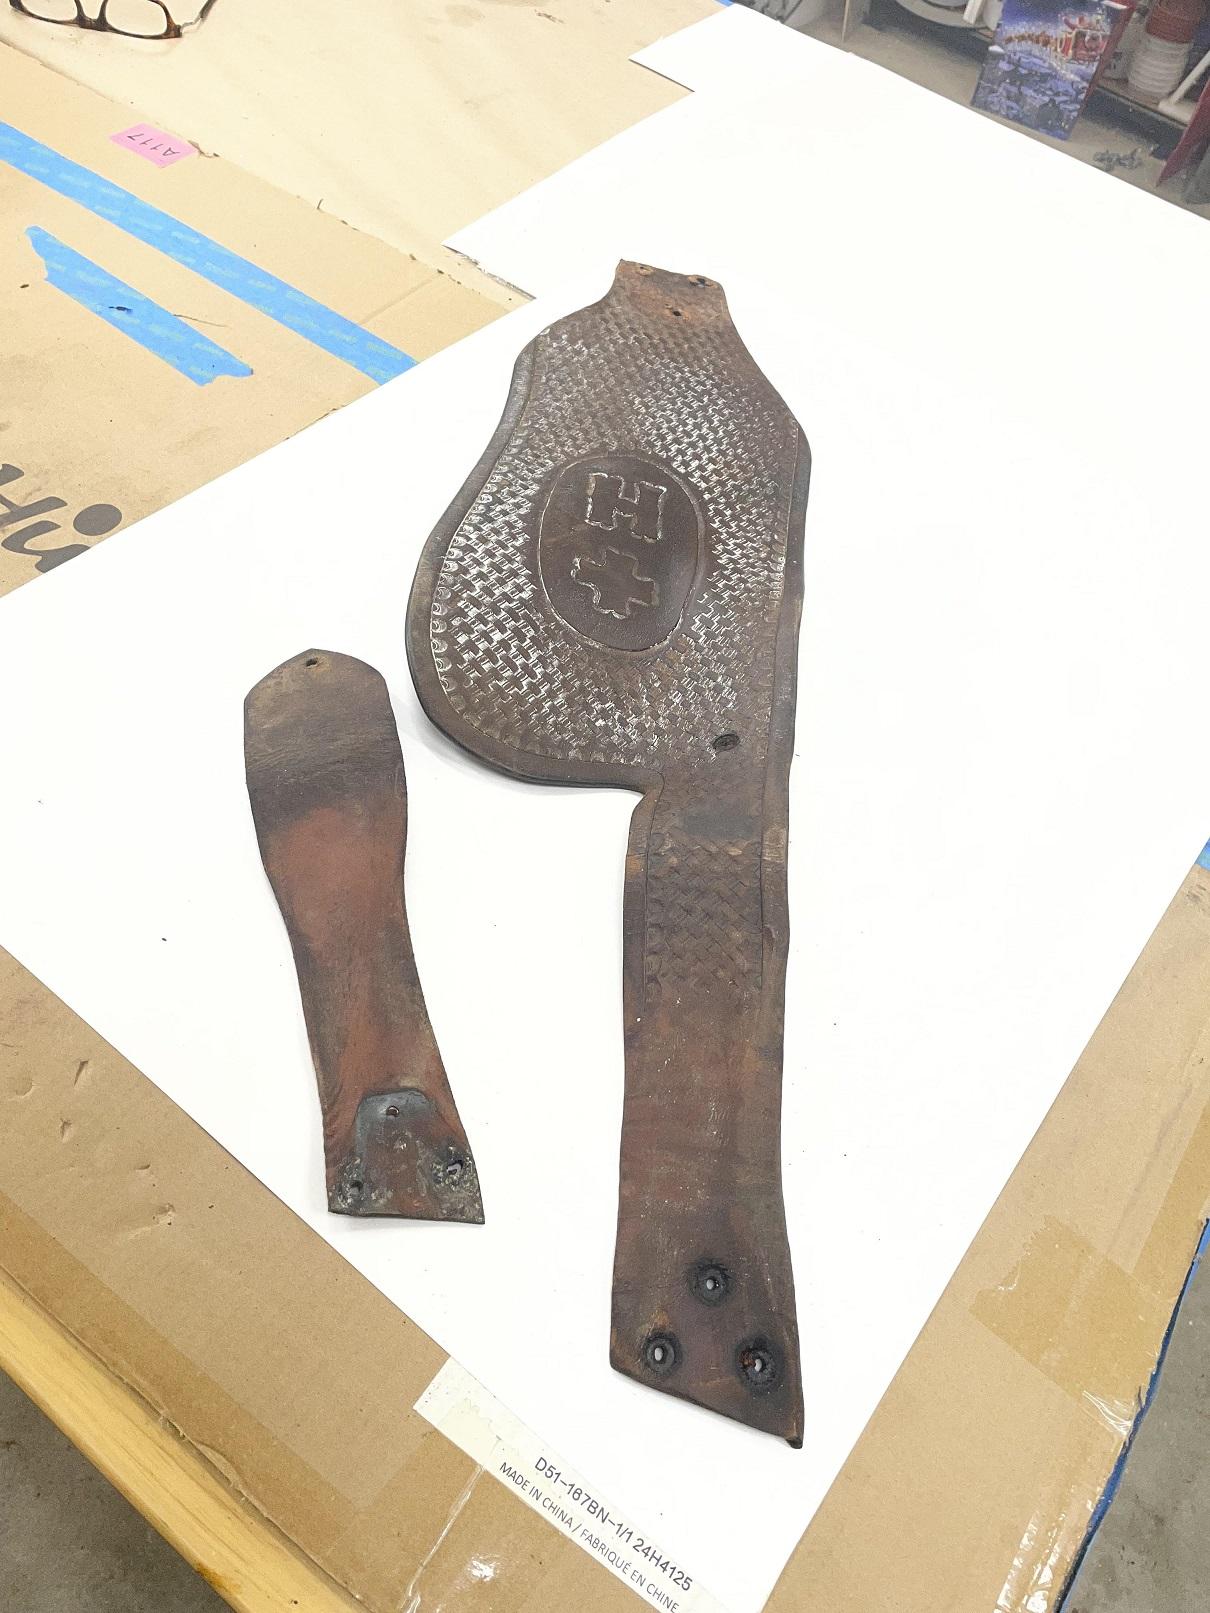
-

Swiss Saddler Clam Drawings
ClaimedVacancy replied to ClaimedVacancy's topic in Leatherwork Conversation
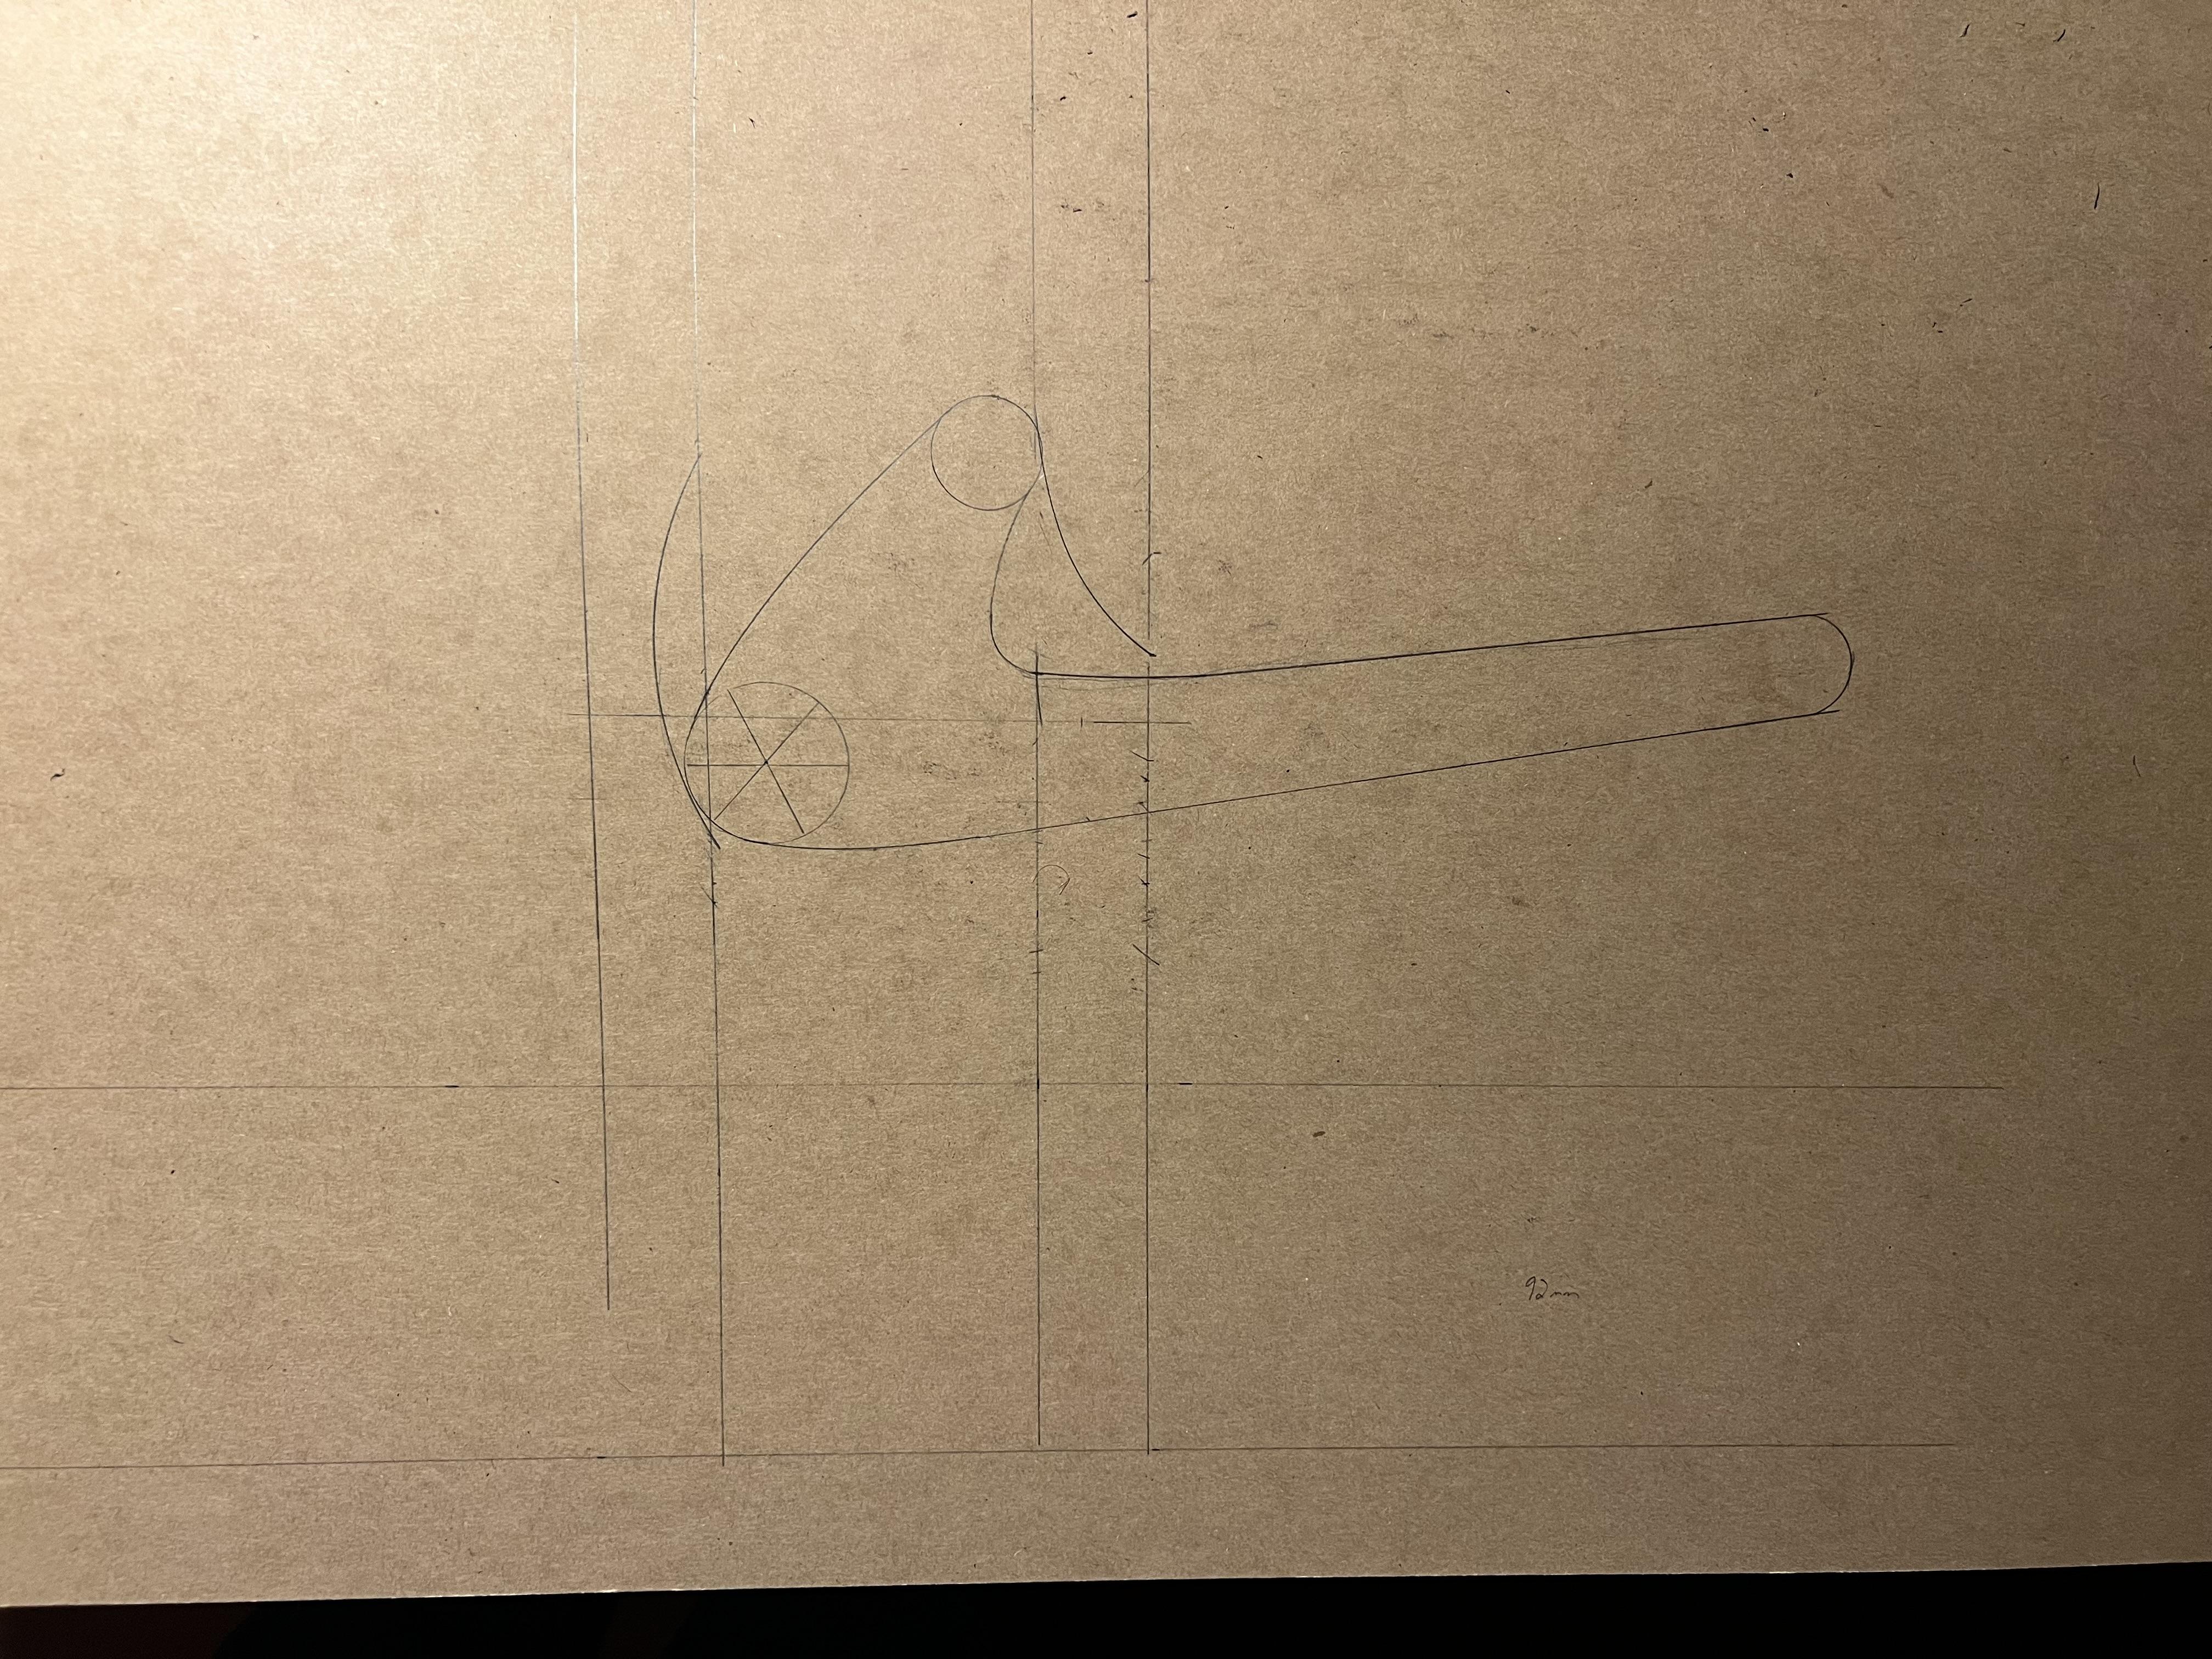
Hey everyone, i never lost sight of the project! Ive really just been trying to procure one but it’s proving very difficult. There is a site in Switzerland that sells them, but they don't ship to the US. They are also around $1,000 and thats just a bit high. It’s the site i posted at the top. Now i can find them on Rocado. But yet again, no shipping. Just local pickup in Switzerland. https://www.ricardo.ch/de/a/naehbock-sattler-lederarbeiten-1236720066/ So, back to the drawing board. Literally. Leveraging some drafting skills from the military, i’m working out the draft. Ill be building this out of baltic birch ply with a sapele base (92mm thick!). Overall, it will come out to around 94cm tall. I may reduce this to around 84 as i have some play around the foot lever cam. I just need to get to cutting pieces and assembling to see of it beds together before doing so.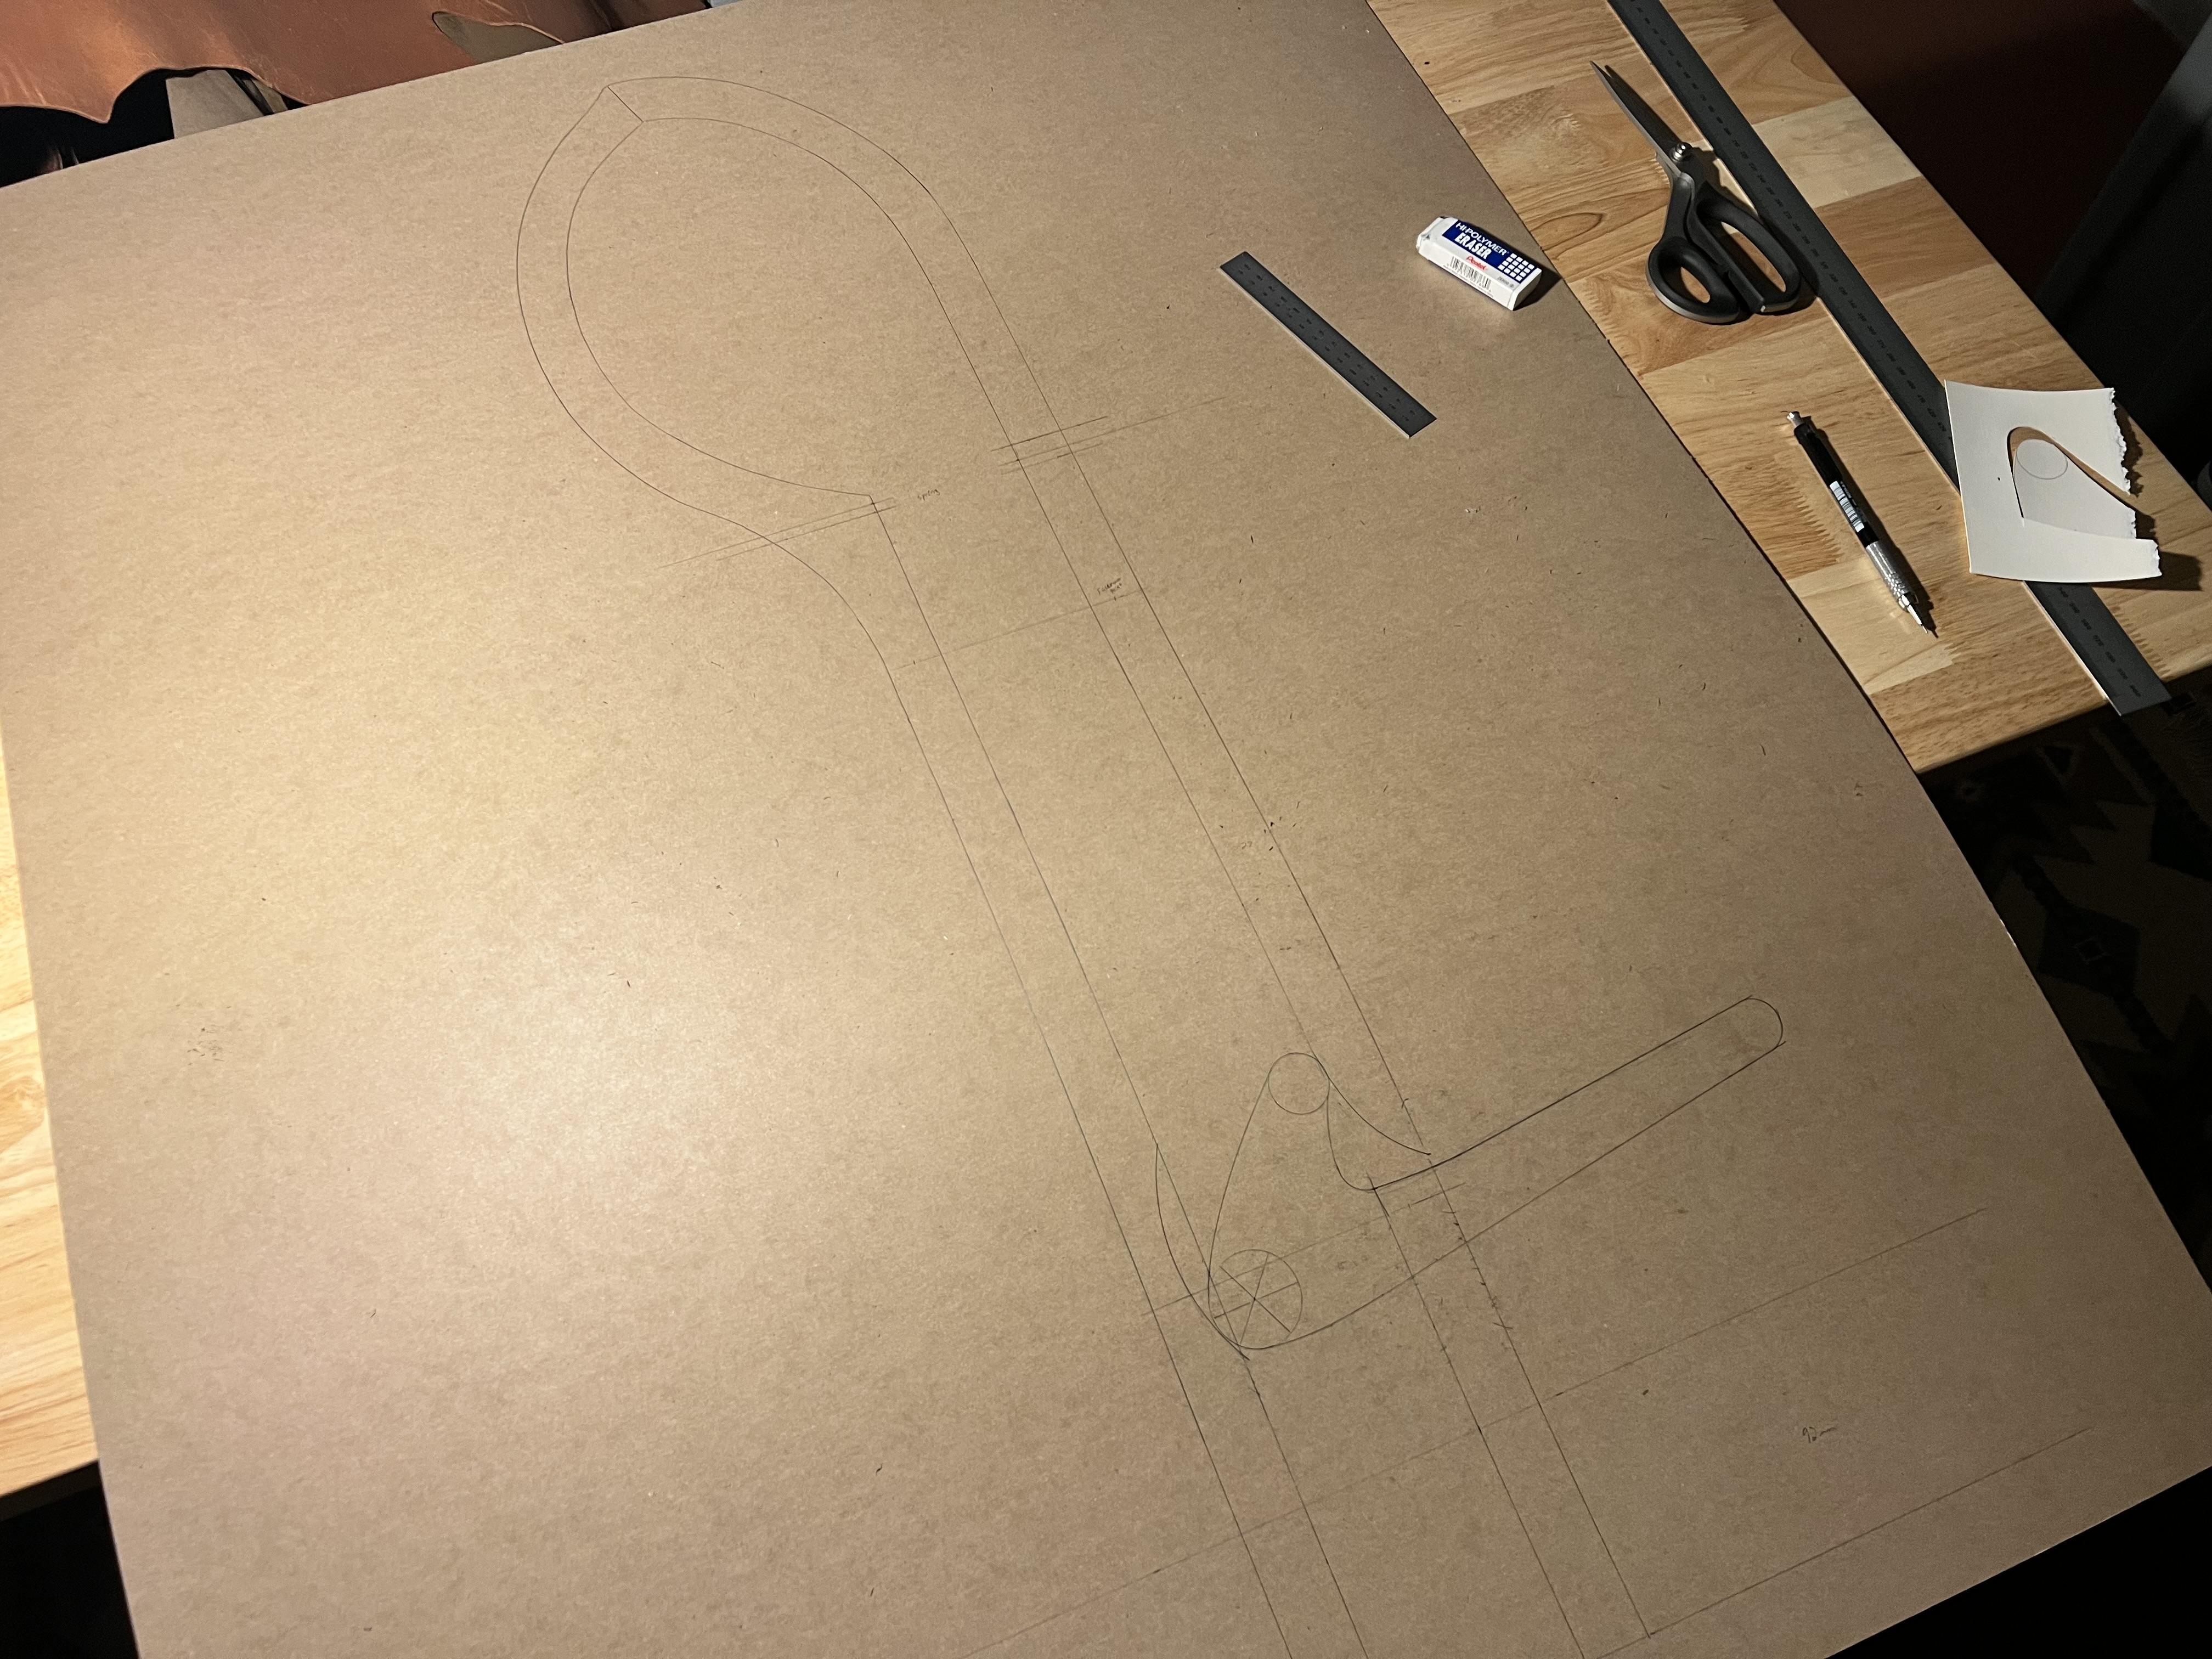
-
Thank you very much.
-
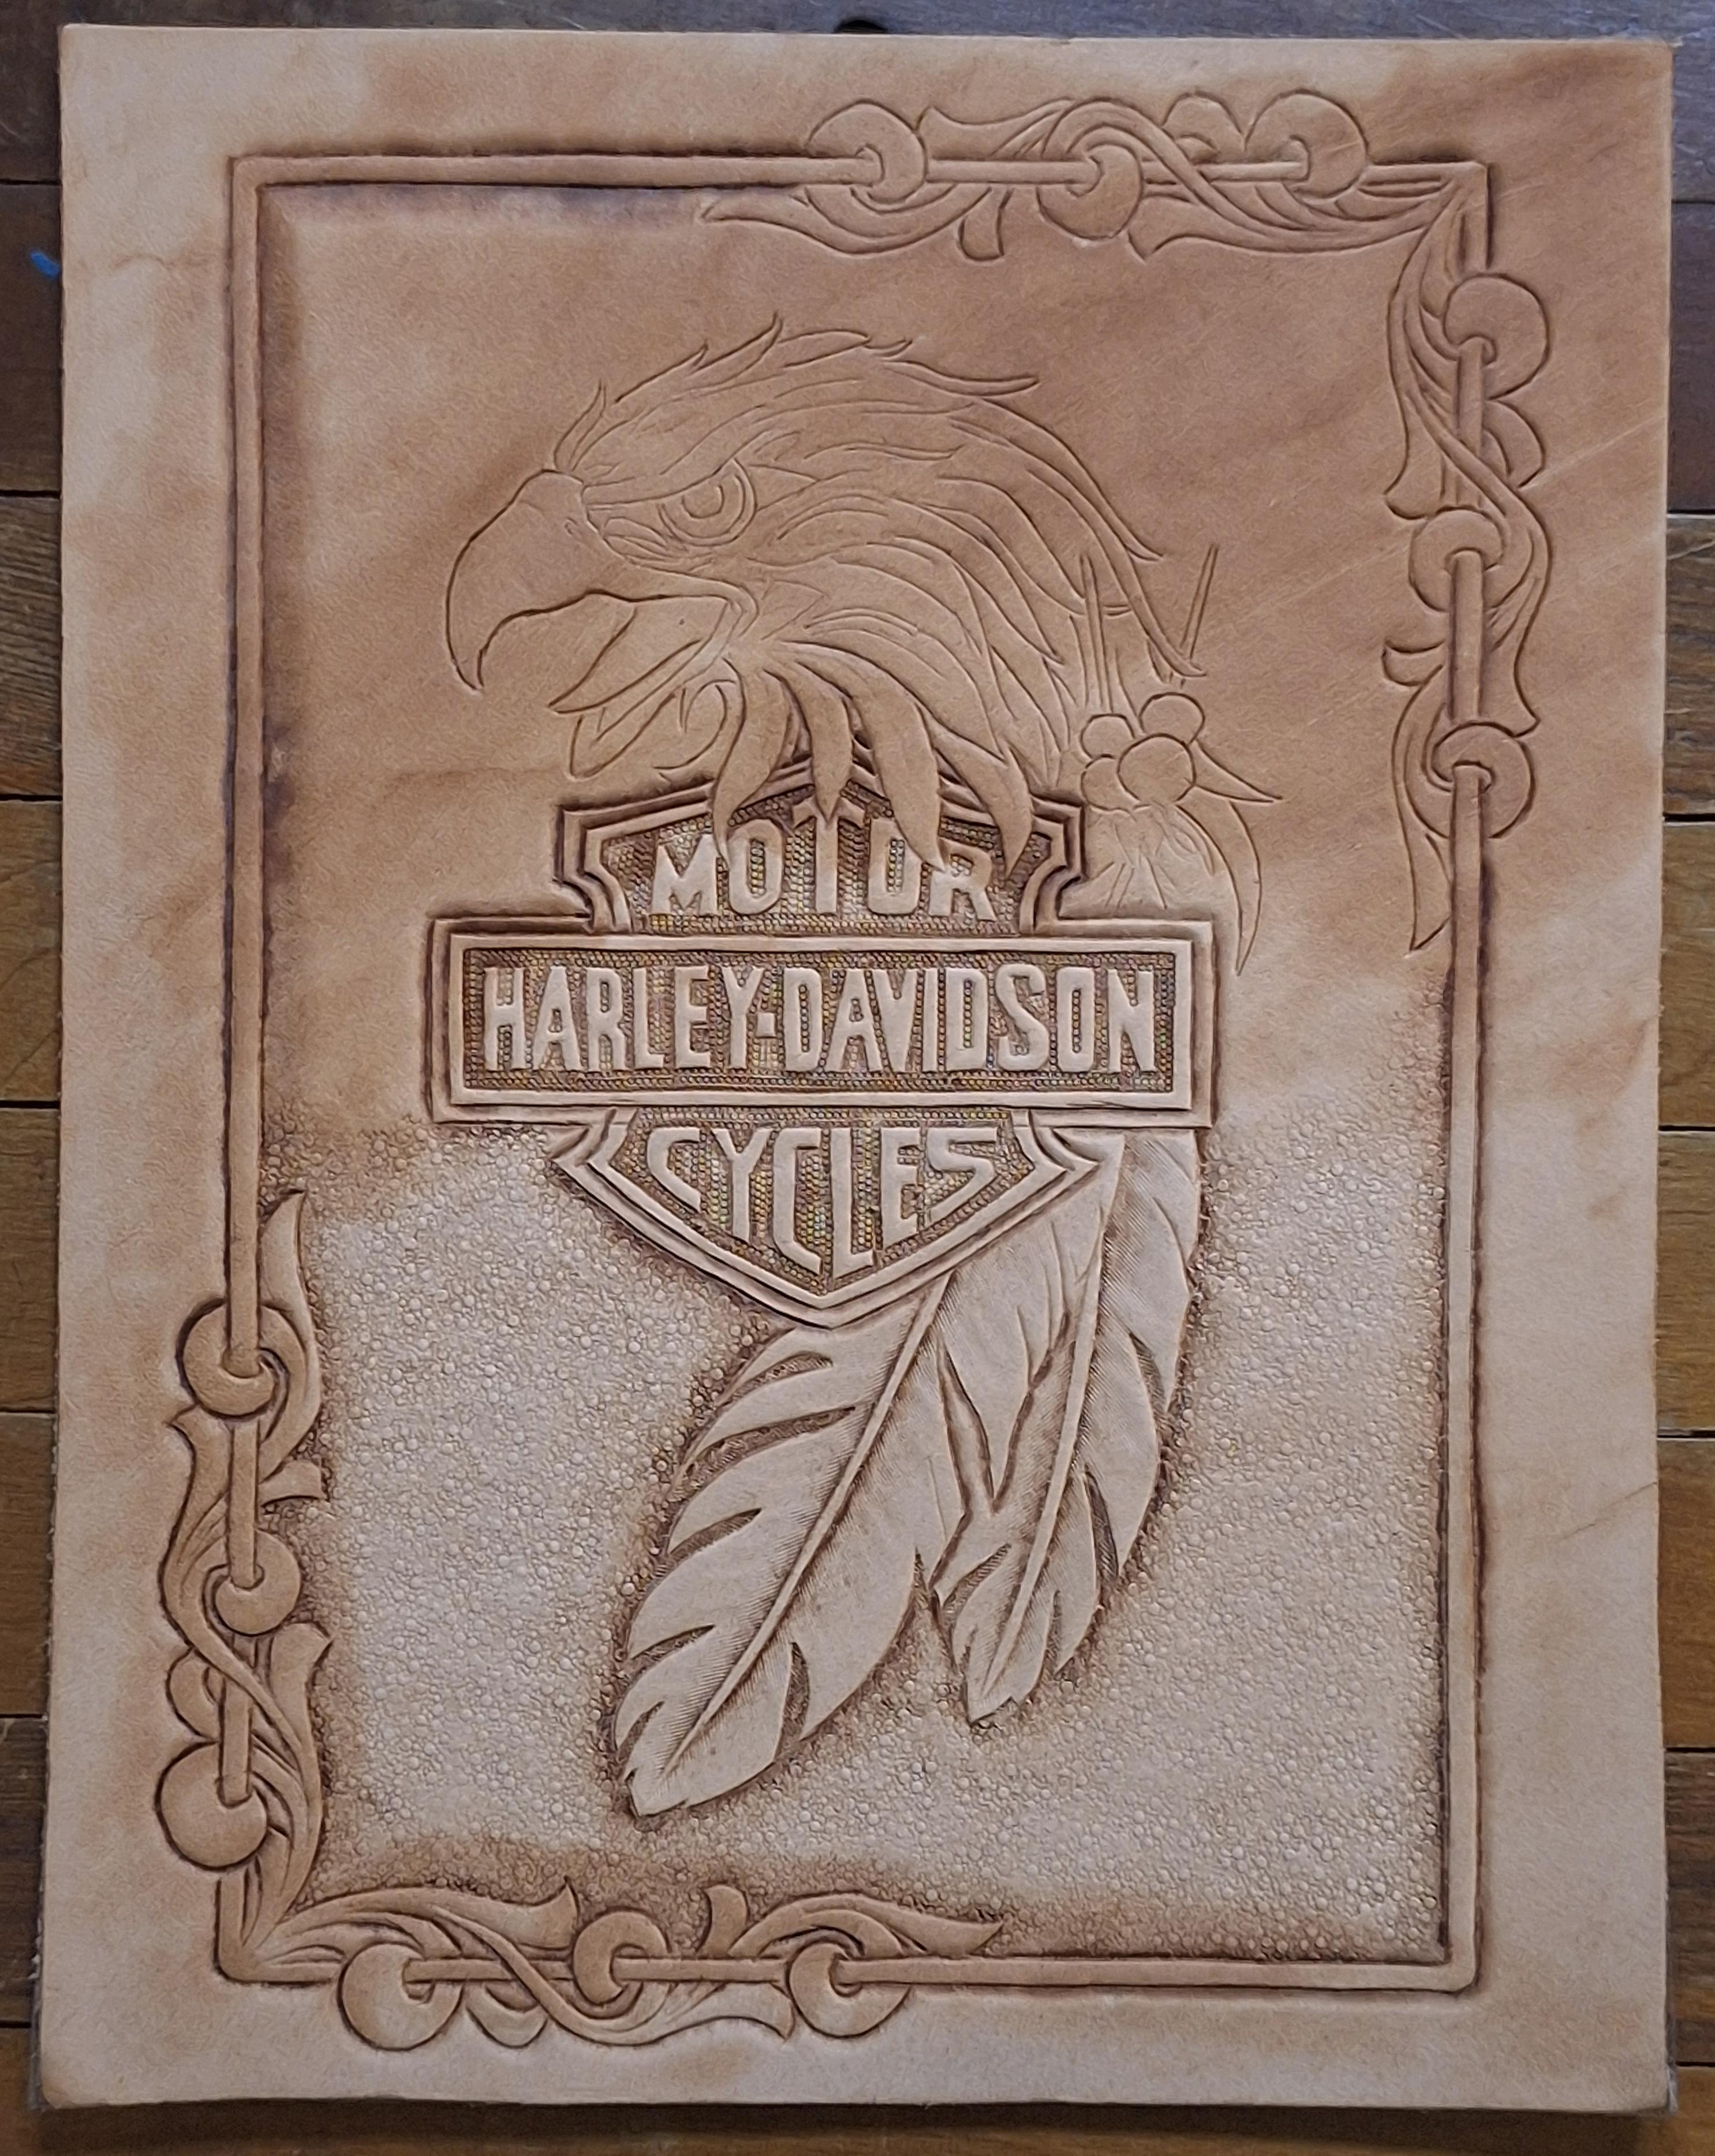
As big a part as Harley Davidson played in my fathers and my life, this is the first piece of that life. it is 8 x 11 inches and it will most likelyy be painted. No hurry on this one taking time and enjoying the memories.
-
In my experience, if the stitches are too close together and pulled too tight they can cut through the suede
- Yesterday
-
Thanks for the info. I’ve still got to tool the design and I’m waiting for a couple stamps to arrive. I will get back in touch with you as I go along with this one
-
I would use contact adhesive just along the parts the eyelets will go suede doesn't burnish well at all if its good quality suede, and you use medium sized and spaced stitching holes withmedium thick thread I reckon on 3 mm or 1/8 inch, I'd glue the very edge, that 3 mm, to the other leather
-
I haven’t worked with suede before. How close to the edge can you stitch to keep it fairly neat and not have too much extra on the outside of the stitch line
-
Yes the bullet loops first. Then the suede, but I thought to have a little overhang (or I guess underhang) to cover under eyelets. Would you use glue as well on the suede? Would you burnish any of the suede?
-

Cobra class 14 splitter
BurntLeatherCo replied to BurntLeatherCo's topic in New and Refurbished to Like New
Understood my apologies, not willing to ship pick up only in Chandler Az. -
They burn all of them here every July 11th Just one example of the many here
-
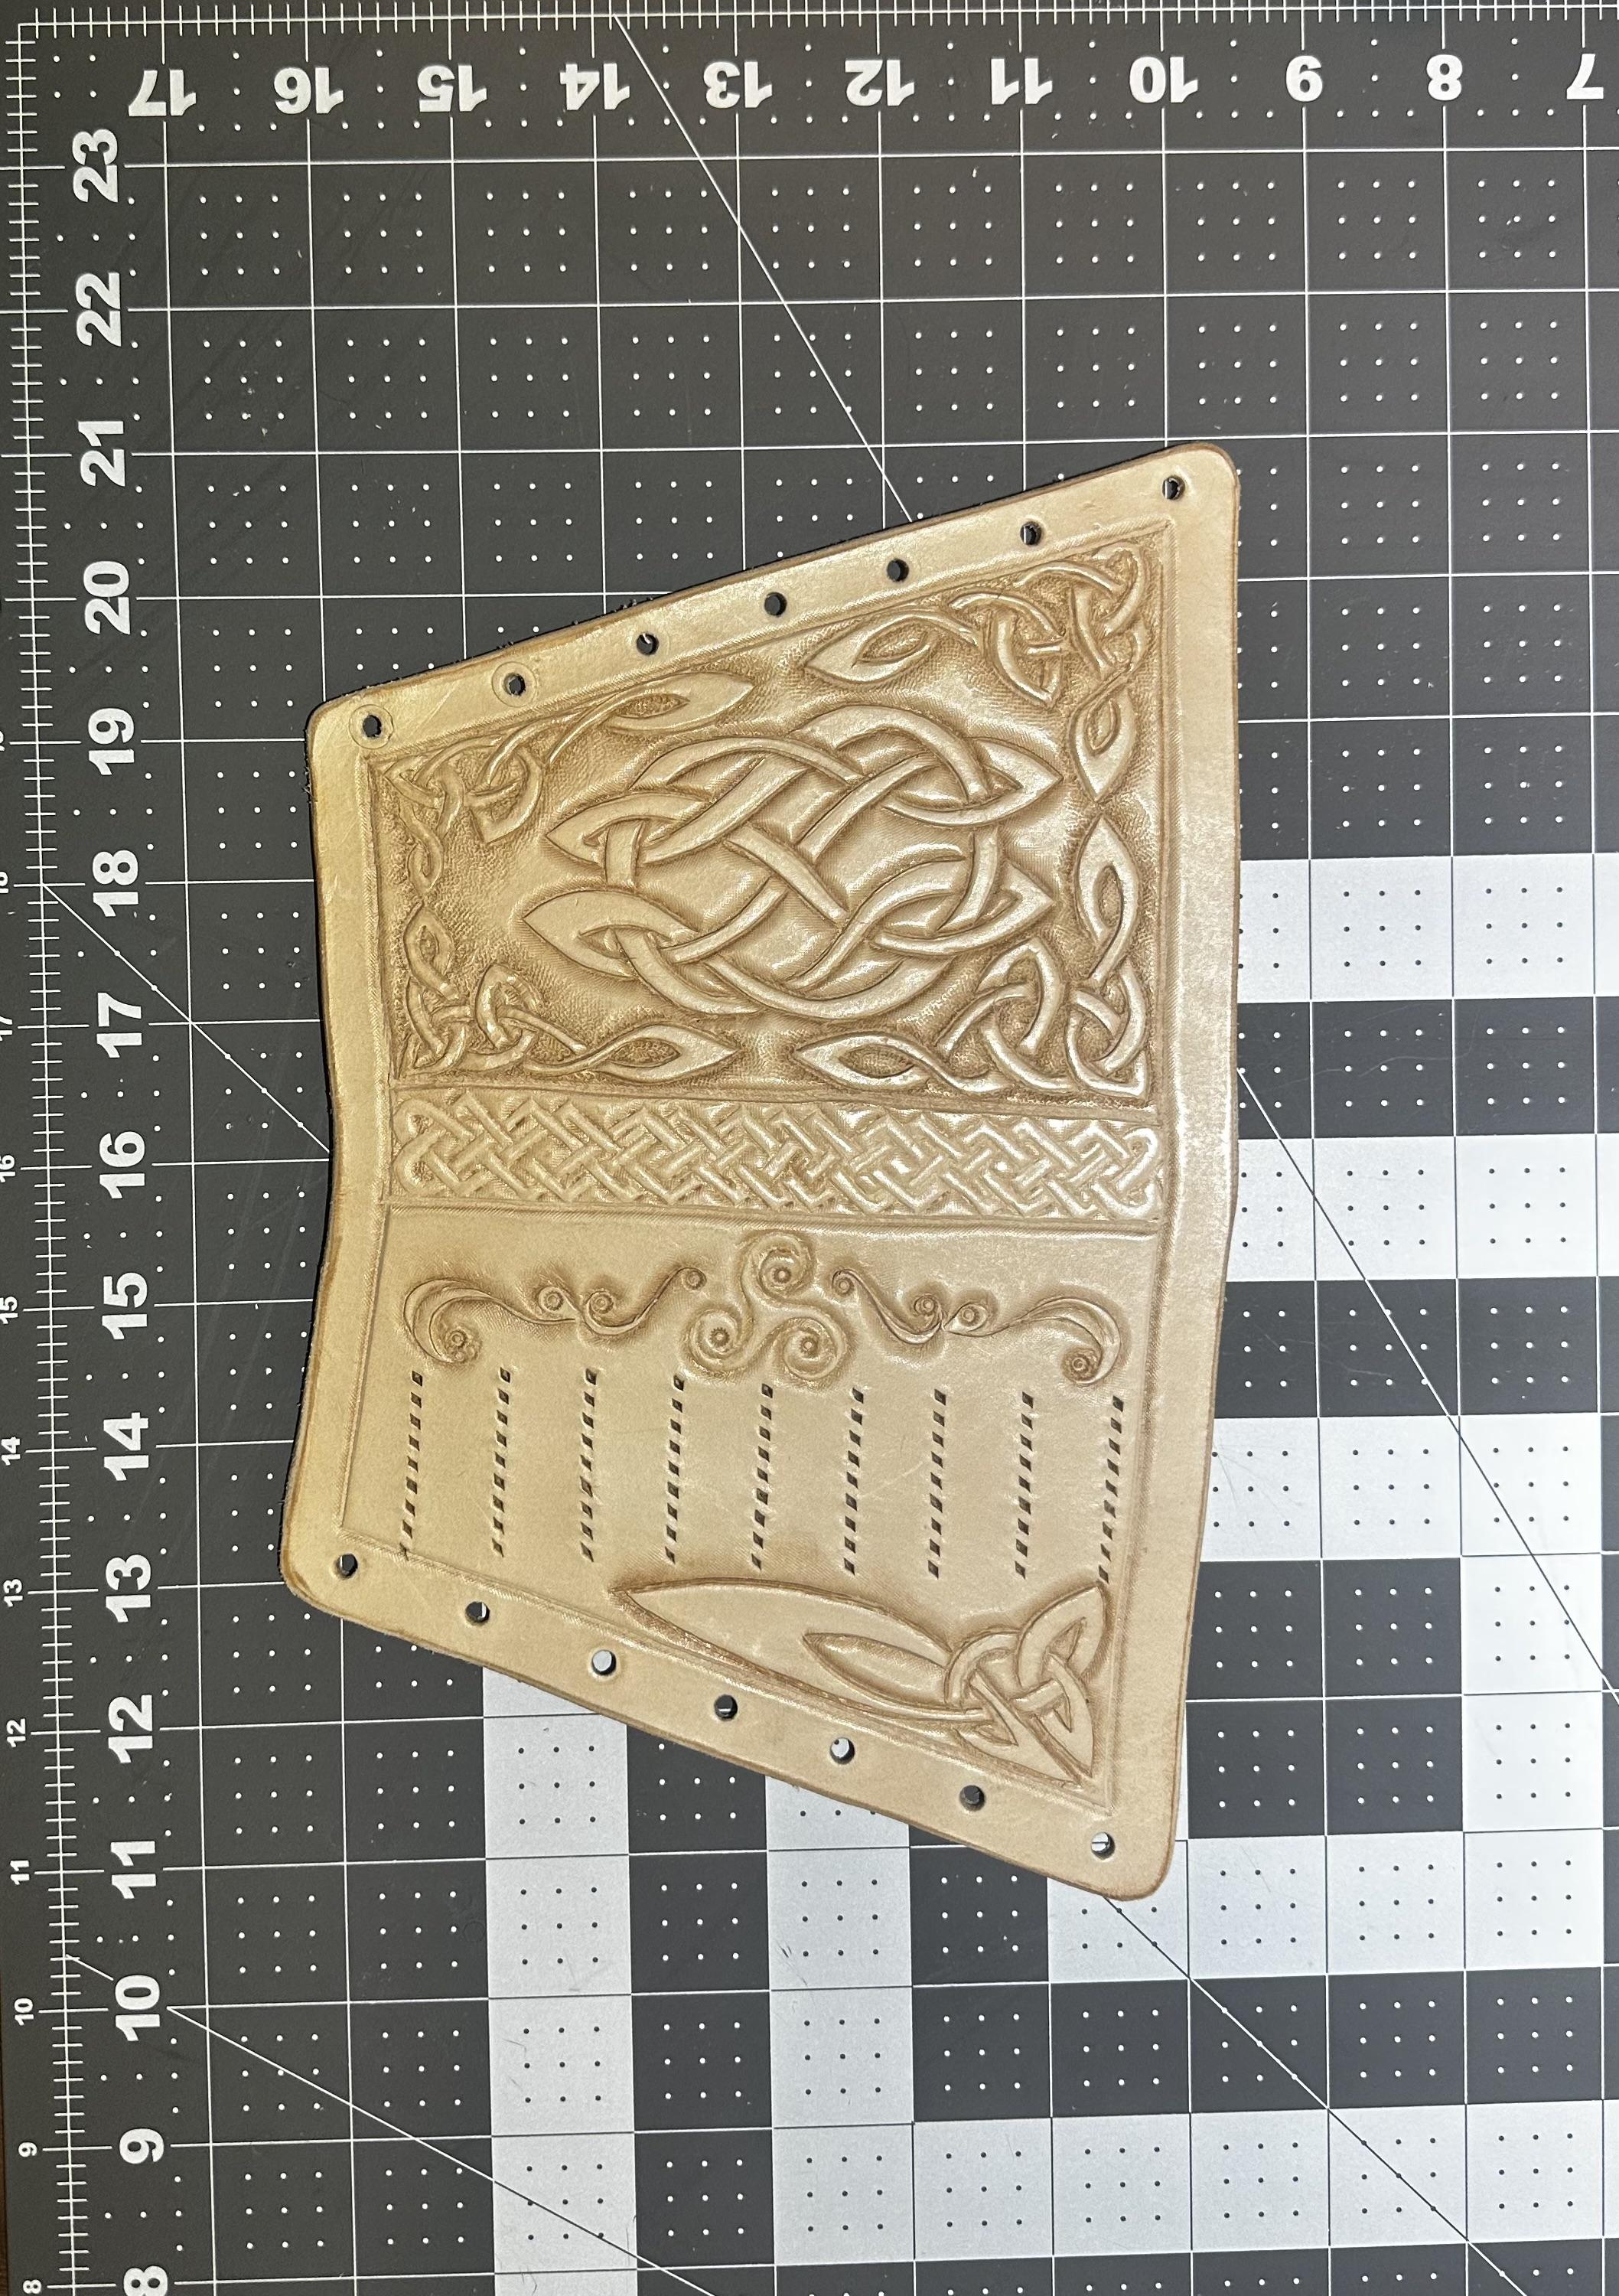
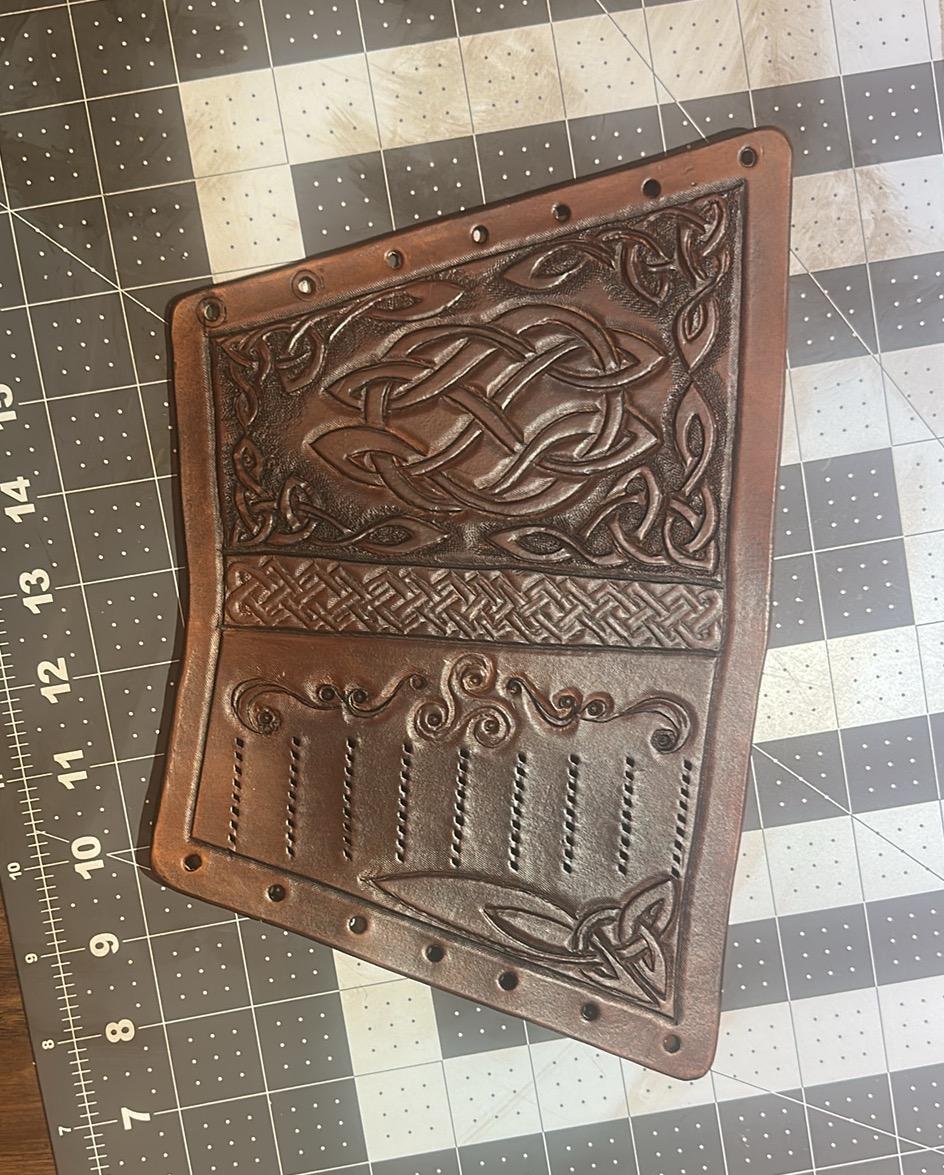
yes, its nice piece, I would have laced the front panel on as well for continuity . More Viking designs on front panel, back panel and flap. The Vikings did not leave any surface undecorated
-
So, you'll sew the bullet loops on first, then the suede, and then the eyelets?
-
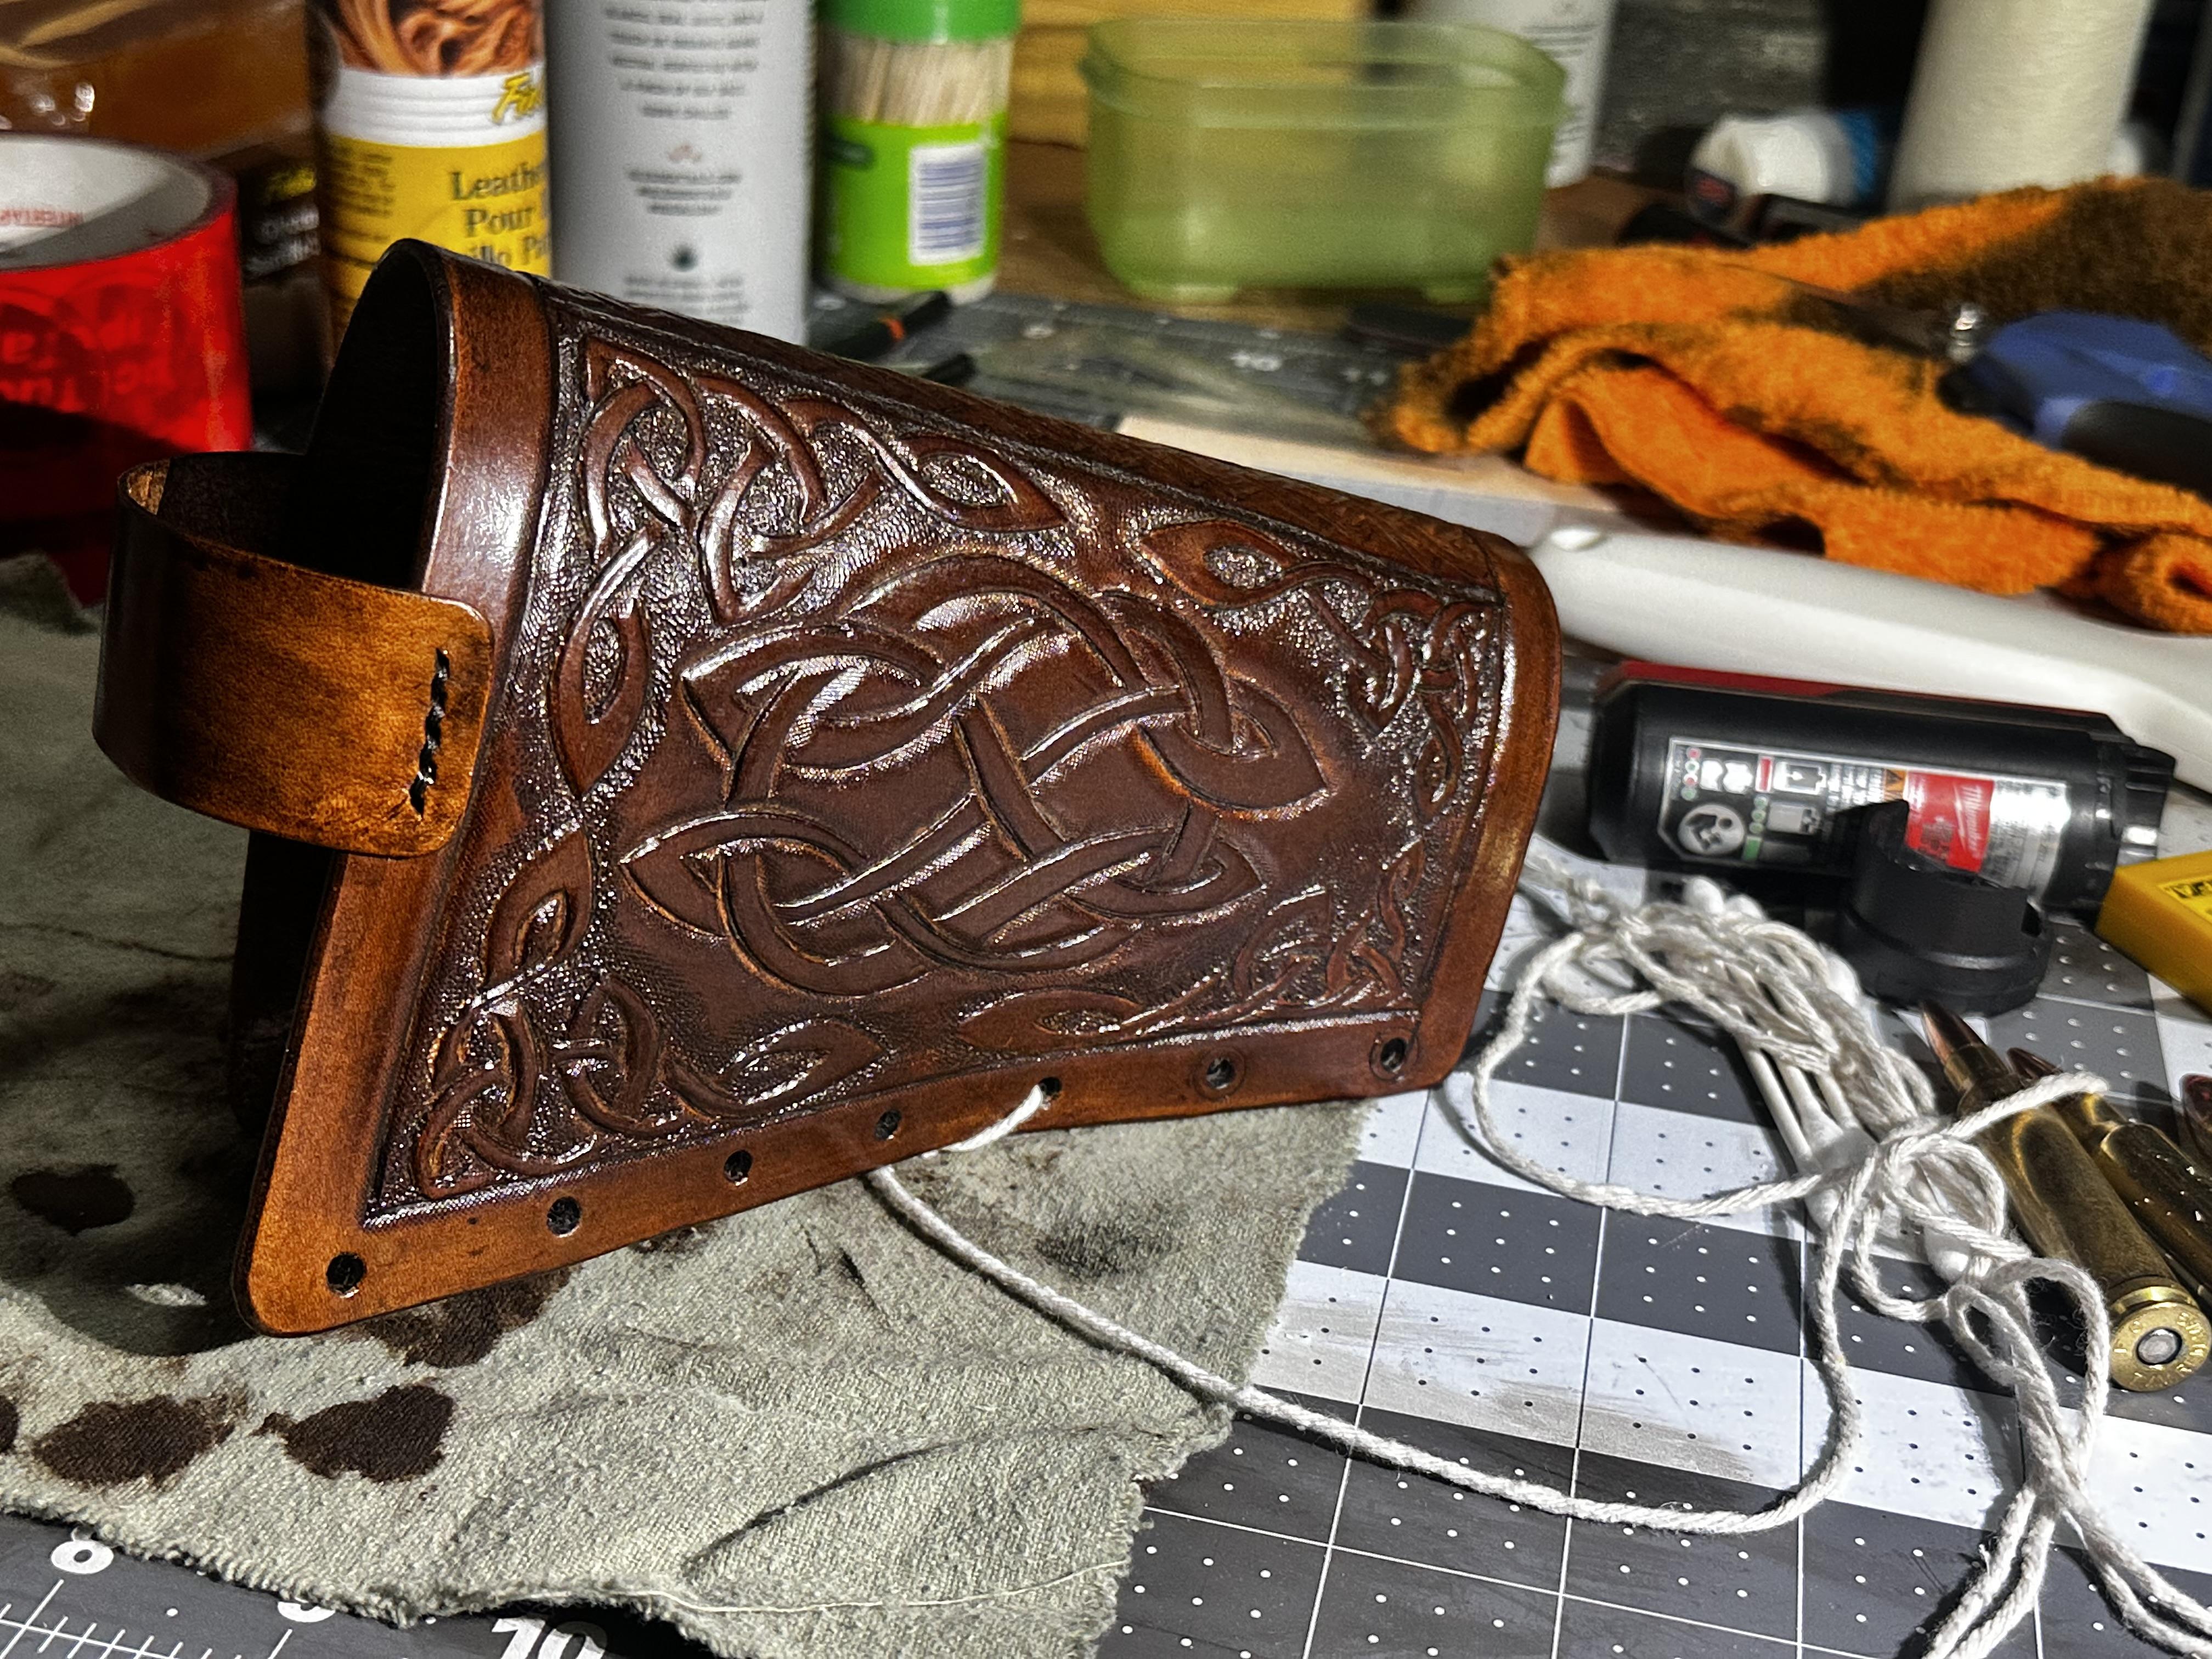
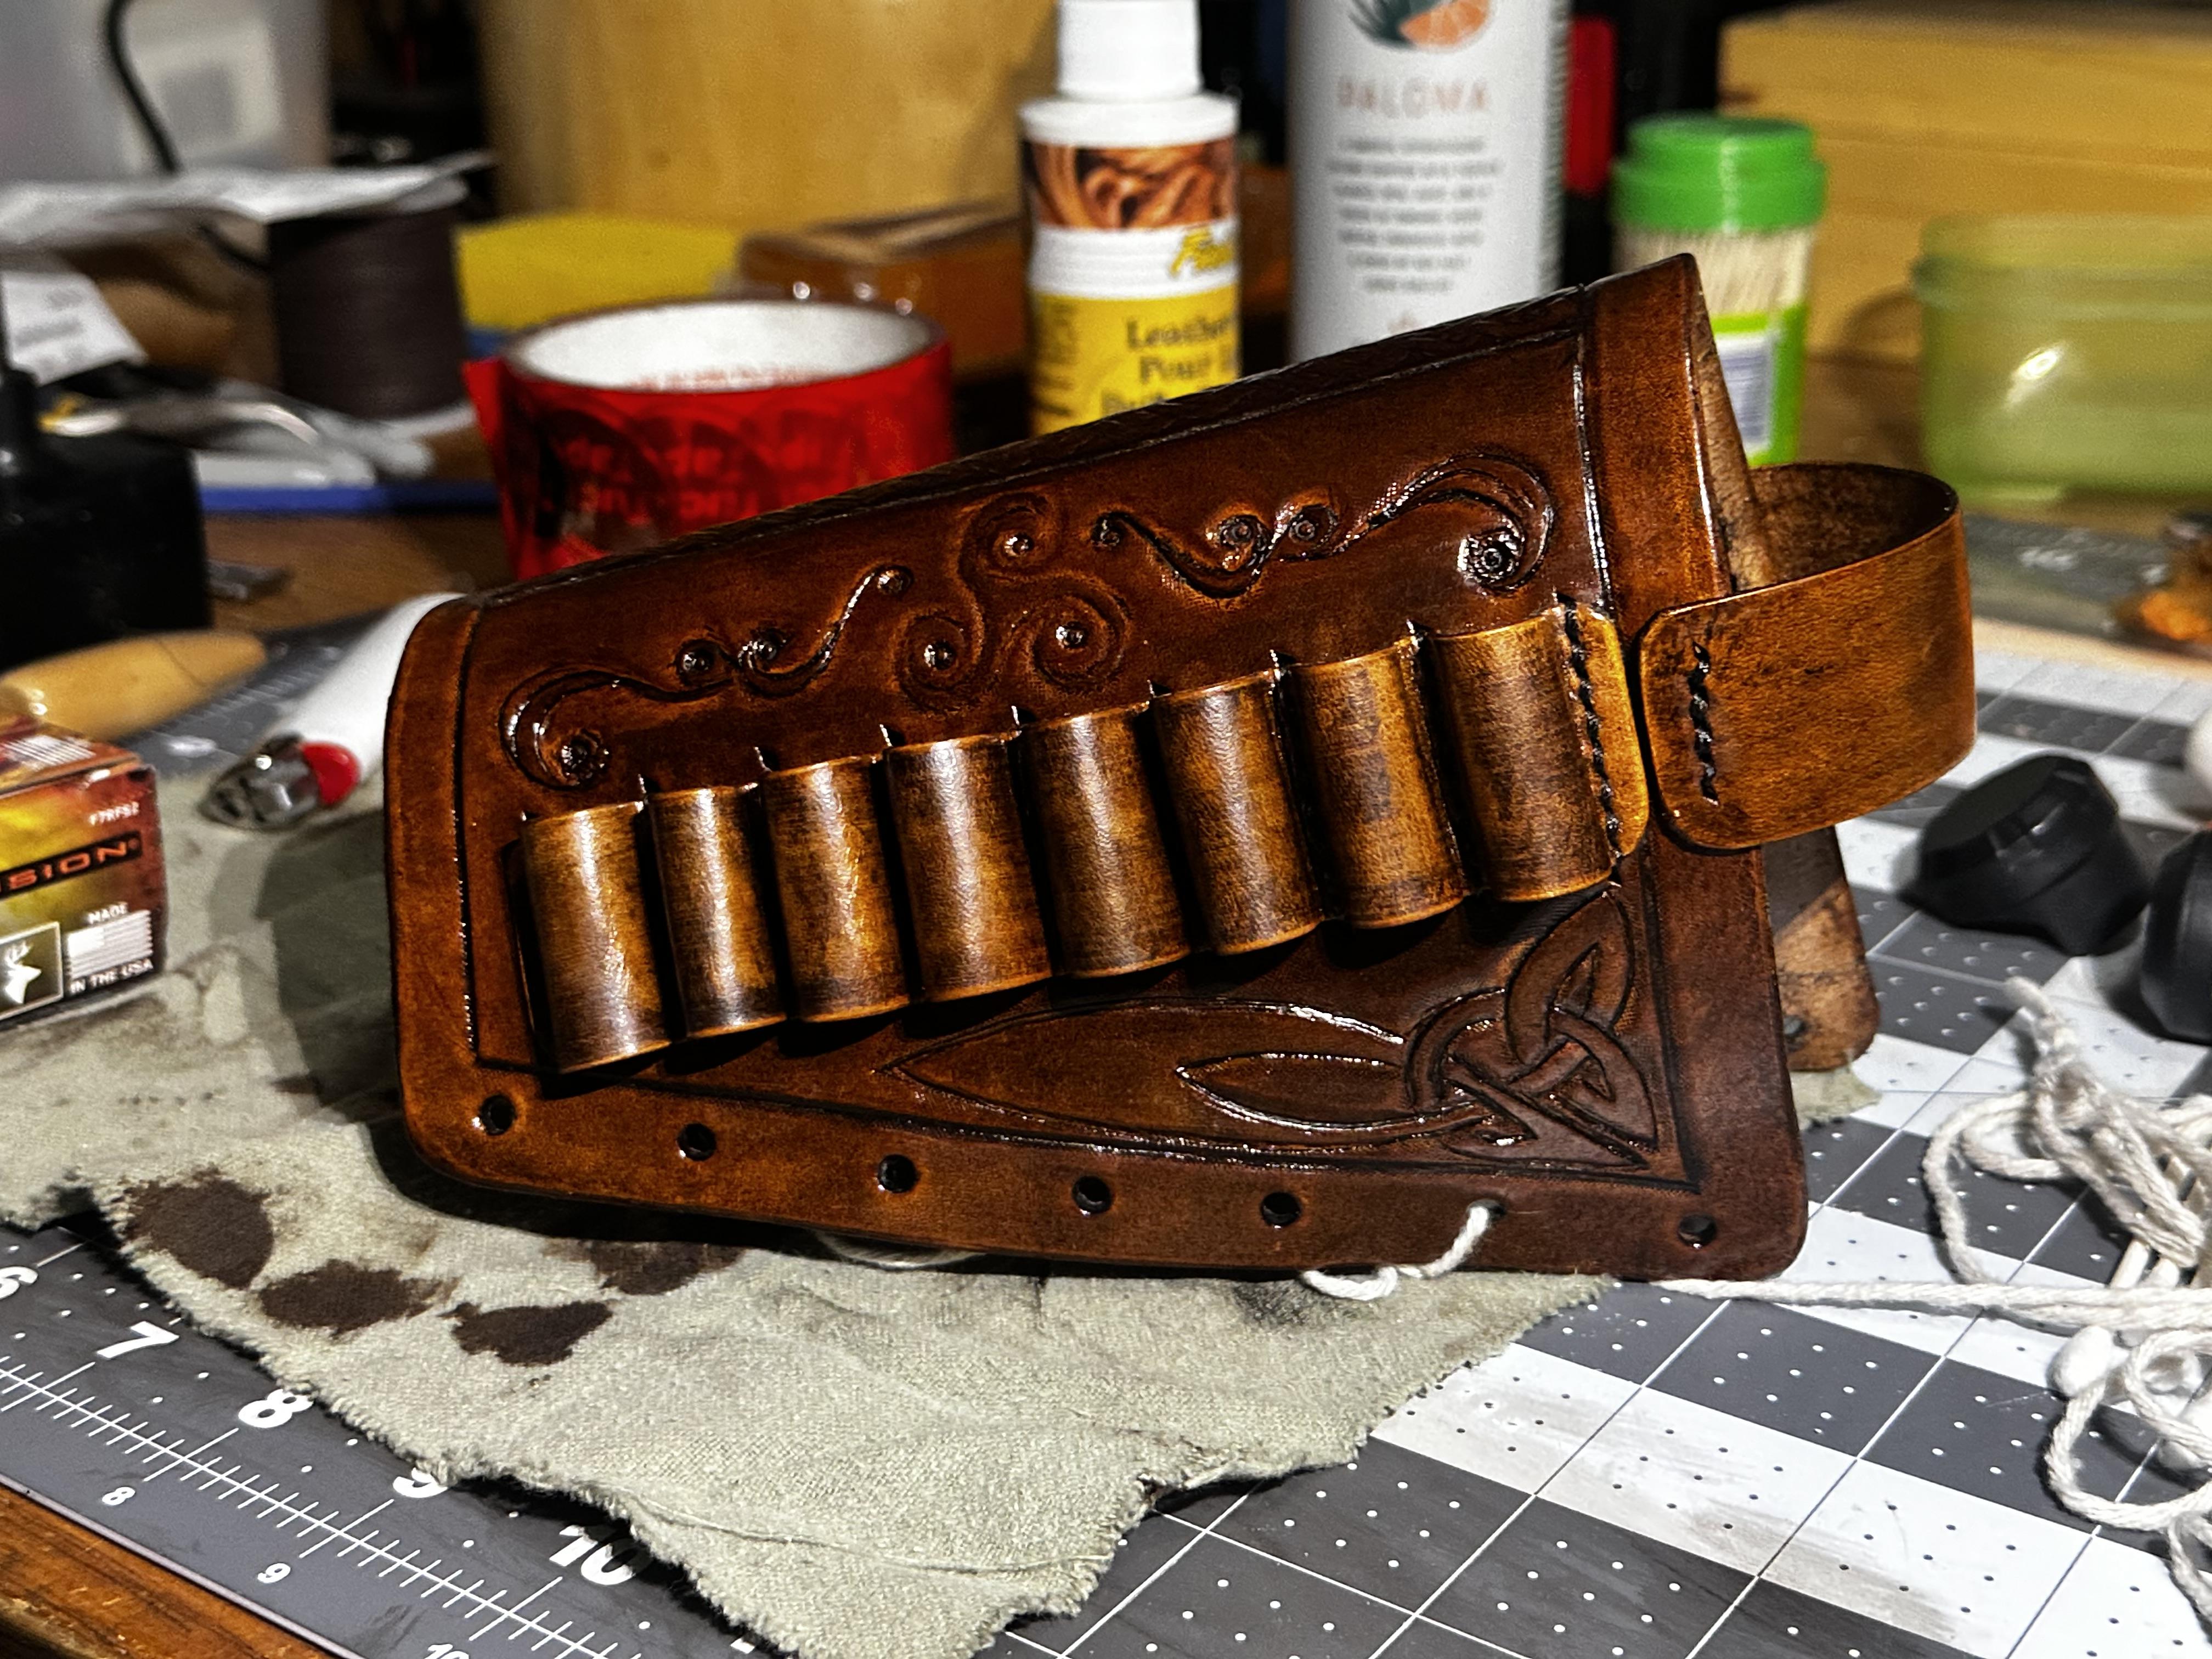
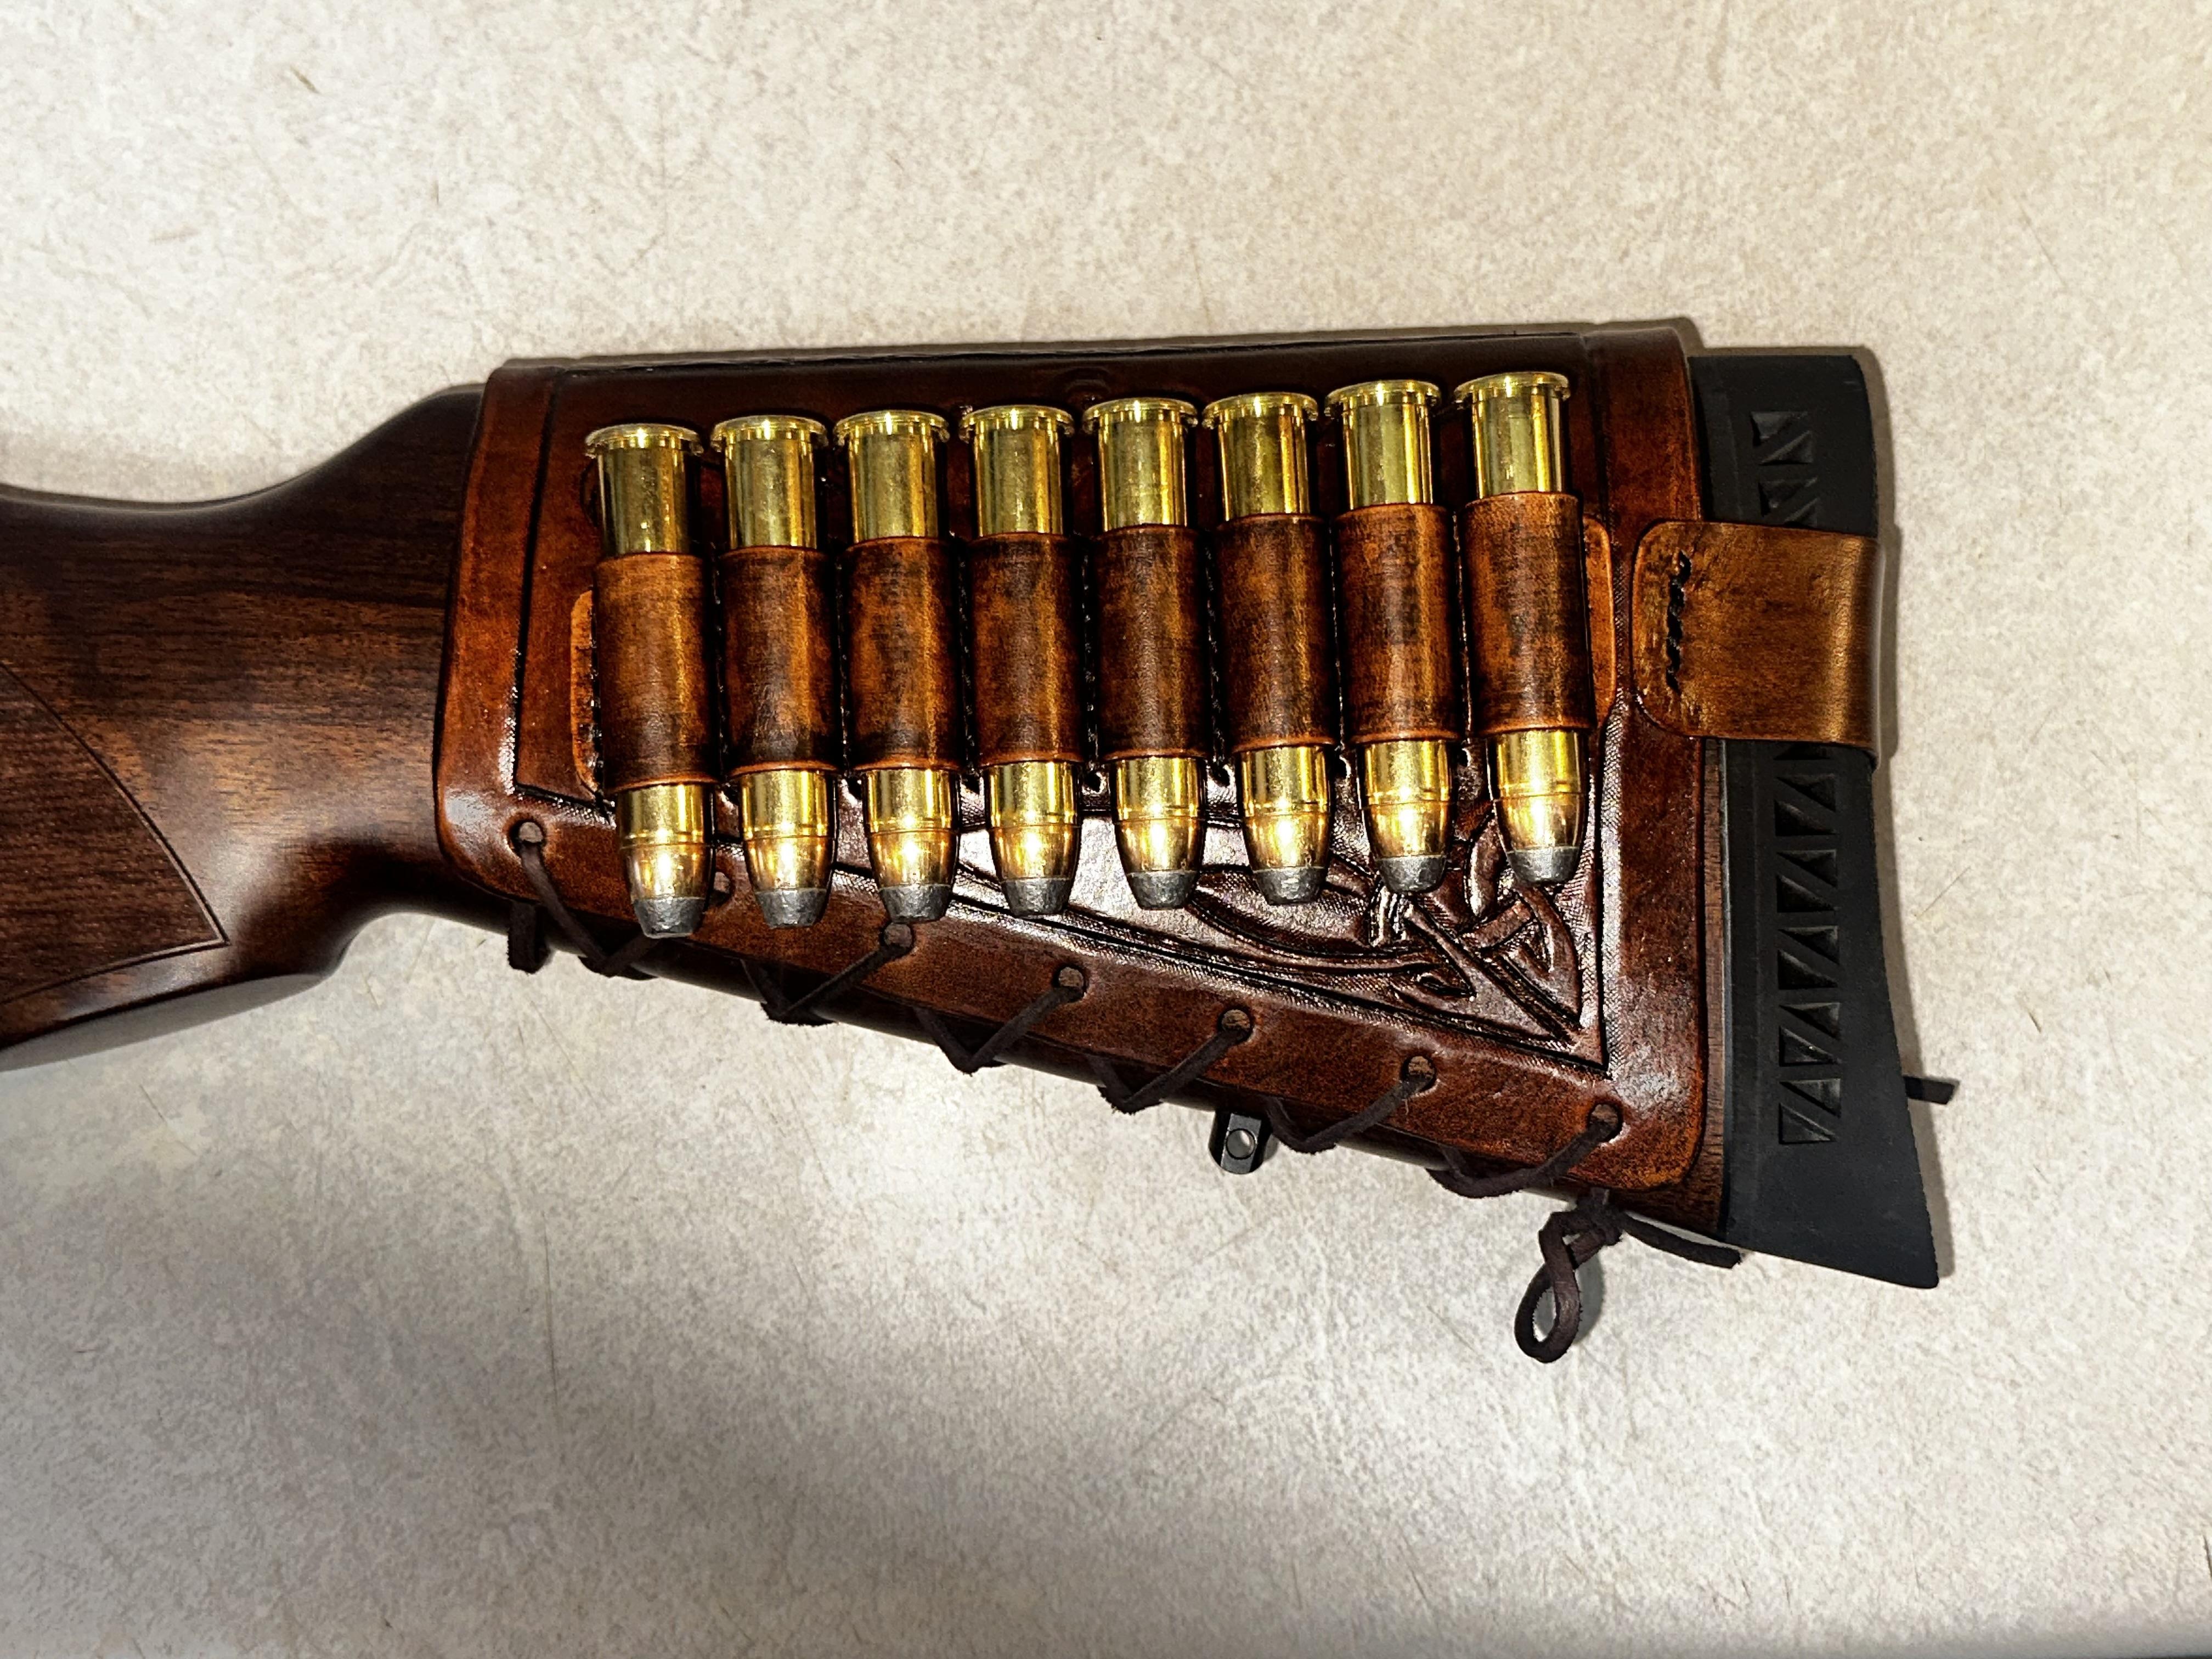
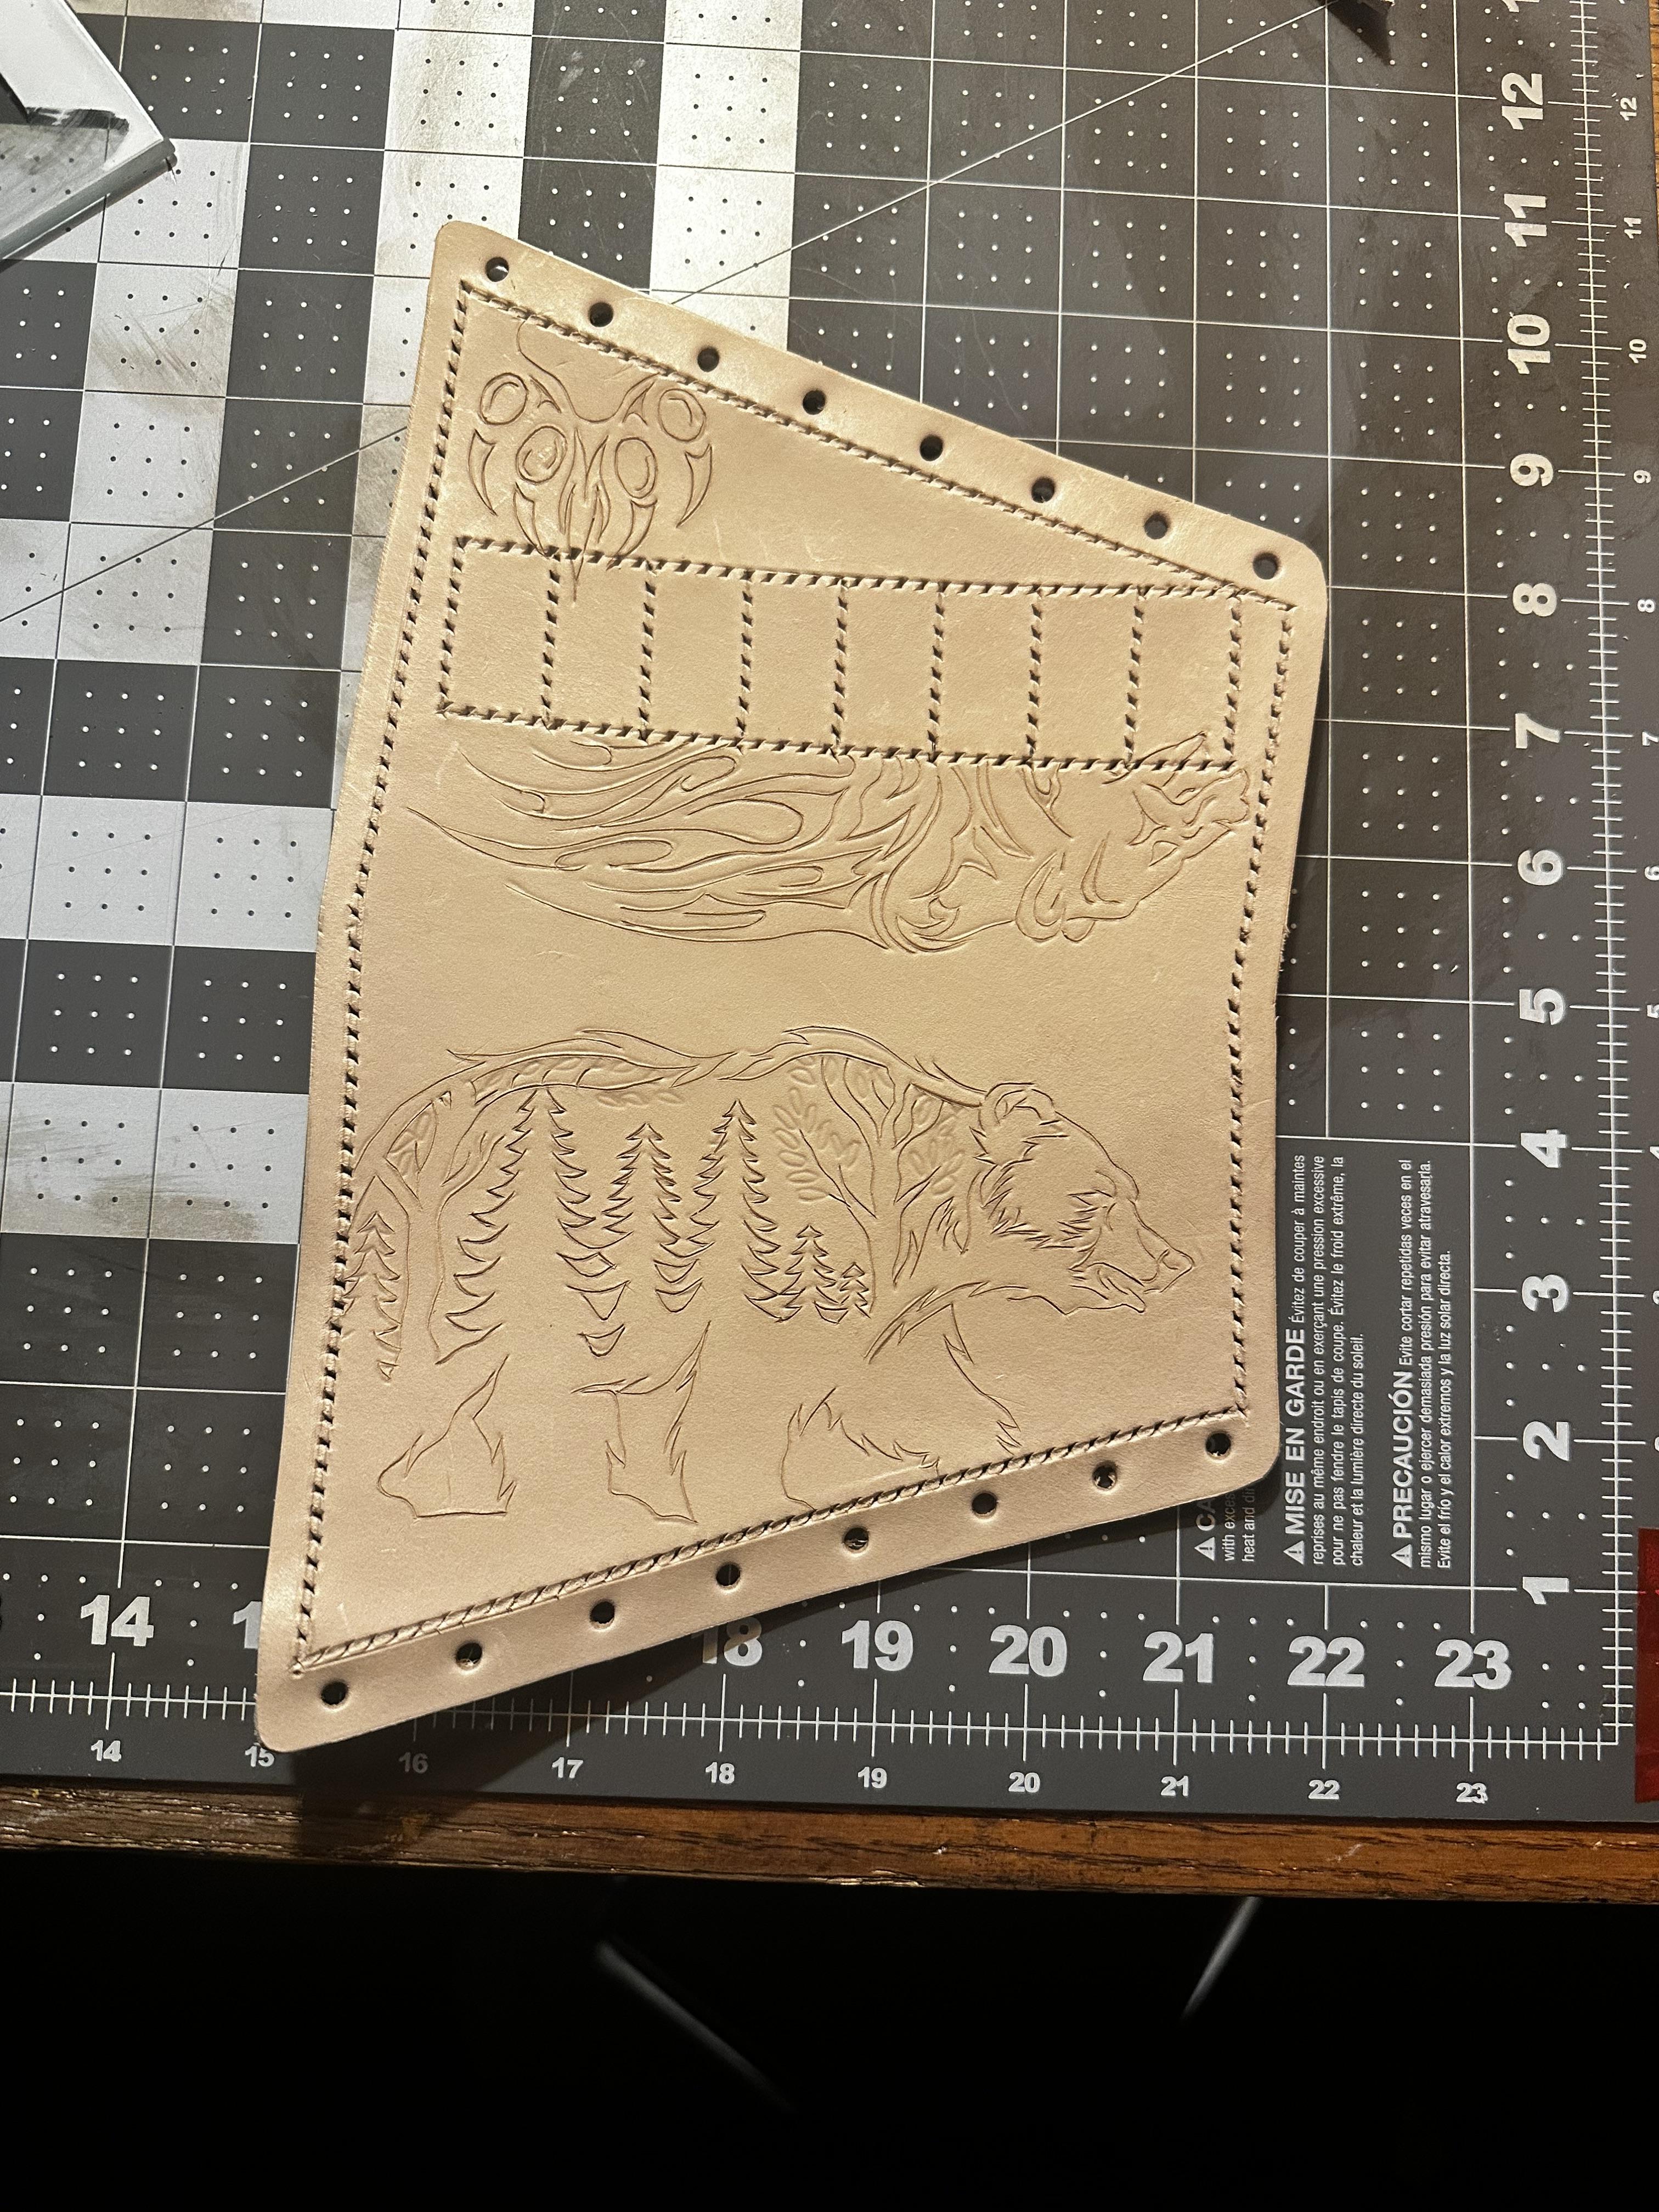
Hi everyone. New to the group here and looking forward to this community. I just finished up my first buttstock cover and need some advise for glueing/stitching a suede backing on my next one. I want to use eyelets on the next one so looking to use the suede to protect. Here’s some pics of the first one and the one in progress
-
Those Vikings had some pretty nice stuff.
-
This may help: https://leatherworker.net/forum/topic/101339-problem-with-reverse-stitch-tightness-on-singer-industrial/#findComment-685135
-
Yes lots of good options for motors these days. 🤩
-

Fender repair...
Goldshot Ron replied to Brokenolmarine's topic in Saddle Identification, Restoration & Repair
I am going to cover two tasks. 1. Rivet removal tools needed: hammer, sharp center punch, awl, and drill will bit about the size of a number nine rivet. Flatten the burr end of the rivet, punch with center punch to dimple a hole in the burr end of the rivet, drill out the rivet until the burr comes out. Punch out the rest of the rivet with an awl. Be careful not to burn the leather; I use to use a Drimal tool, but it creates too much heat and burns the leather. Stirrup twist: the Blevins pin part can be placed in two different directions. If the pins are facing outward, you cannot twist the ends properly. The pins need to be facing inward, or when the stirrup end is folded, the pins will be toward the fender. In this position, the twist is 180 degrees, and the pins will now face outward (or toward the horse). To set the twists, the stirrup end needs to be wet and the saddle placed on a stand with the stirrups weighted to set the twist. Often, the twisted leather does not need to be wrapped after setting. But, I wrap them most of the time. -
Genius! A larger needle solved the problem, even though I don't understand why it only happened in reverse. I will take the win! Thanks!!!!
-
if it was good enuf for the Vikings its good enuf for me
-
For me, whatever contact cement the hardware store has on the shelf. At the moment, Weldwood, I think? Something like that.
-
 Makeyourown joined the community
 -
The number 19 needle is to small for Tex 135 thread. In thin you need a #22, medium a #23 and thick #24. Here is a good needle to thread reference chart ( https://www.tolindsewmach.com/thread-chart.html ) kgg
-

Juki LU563 stitch problems in reverse
photonashville replied to MikeG's topic in Leather Sewing Machines
Perhaps go up in needle size to 20, 21 or 22 to see if that corrects it. That's all I can suggest.