All Activity
- Past hour
-

Need help ID'ing what I have.
JLSleather replied to TomG's topic in Exotics, Reptiles, Furs and others
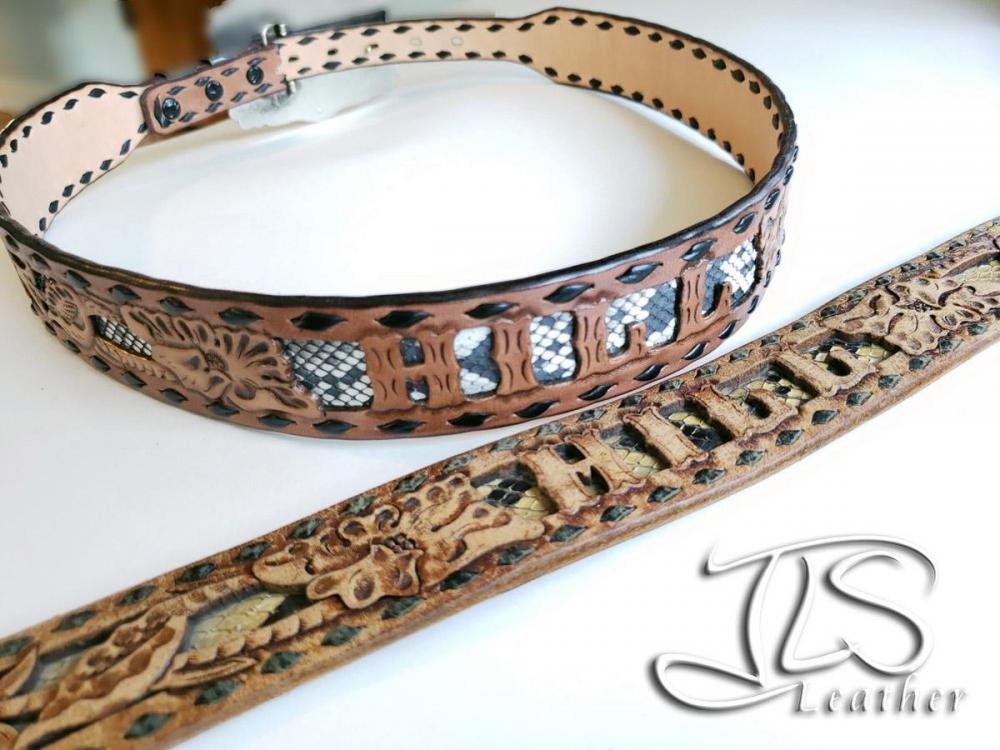
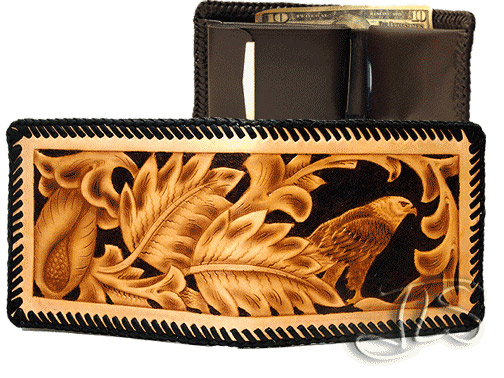
Yup, BACK CUT python from the looks of it. I prefer the BELLY CUT when I use snake, but.... that there's prolly large enough to use each side. And it's pricey, as a rule, with a good piece runin $200-300 US. Looks nice though, and one snake make a number of projects. The other piece is likely whip snake or similar, belly cut. $9.95 in a barrel at Tandy (ish) -

Is this Leather Hide Normal Grade A or Bad?
JLSleather replied to fernwehleather's topic in Suppliers
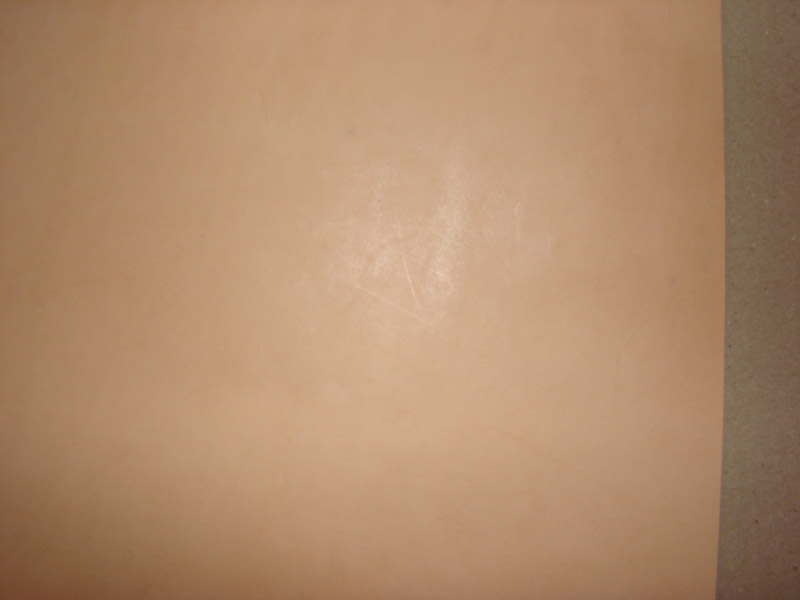
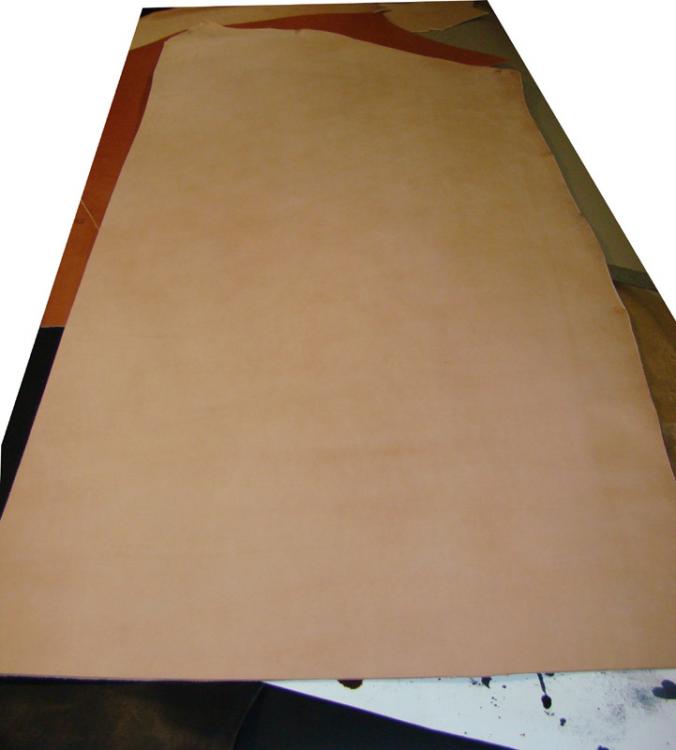
Oh, and this is what a Hermann Oak "A" hide looks like. Much of what others are selling as "A" or "B" is really "D". Aside from direct from H.O., only place i've got consistently GOOD hides was from Goliger Leather (CA). The top pic is the "shoulder" section, and some fat wrinkles as shown are common and not a problem. The bottom pic is the "bend" of the hide, which is the back section after the shoulder has been cut off. And obviously, the middle pic is a closeup of the grain, which is nearly entirely blemish free. Prolly we all dun seen those "ads" and "buddy talks" where somebody tries to tell you marks, brands, scratches, bug bites, wrinkles, and crinkles "add charm" to a piece of leather. I say, keep your "charming" crap and send me what I paid for -
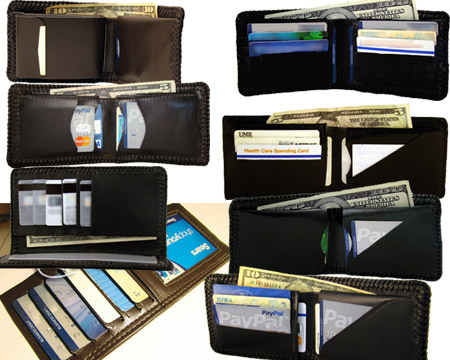
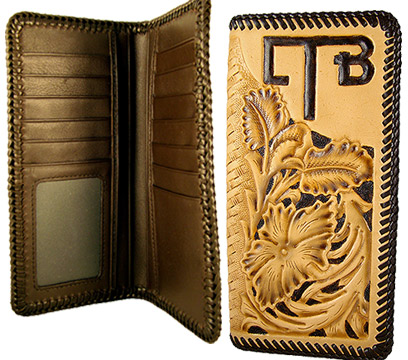
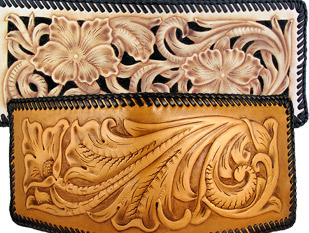
What type of wallet? Starters, 8 oz is WAY heavy for something supposed to fit in a pocket. As a rule, I use 3/4 oz for tooled wallets... and might go up to a 4/5 for larger pocketbook type thingies for the girls to hand hold or drop in a bag. As for the liners, good tips already on here. Calf, goat, kangaroo,... in about 1.5/2 oz is good. If I'm doing a wallet with multiple card pockets - like 6 er more, I like to use FABRIC behind a goat "face". It's more sewing, but never a complaint For illustration .... These "chaylor finnelly" prefab interiors used to be sold at SLC, don't know if they still are. One of the few things they sell down there worth it's cost, the ones I've used were quite nice. The one below, I tooled a 3/4 oz leather back, and then laced in the PRE MADE pockets as one assembly.
-
Good job. Blue jeans don't need fancy. I did a similar belt build several years ago. But I found that I still wear the same old favorite belt day after day. It's broke in and stretched in all the right places.
-

Is this Leather Hide Normal Grade A or Bad?
JLSleather replied to fernwehleather's topic in Suppliers
That's ATROCIOUS 🤢 Yer a bigger feller'n me, cuz i'd be "callin em out" at will. I'm LOUD... NOBODY gets to ignore me. Treat me right, get me a fair deal, and I'll tell everybody for you. But stick me with something like this, I'll tell folks that just as often. Don't like it, should have sent me what I paid for. As for bag straps, I'm kinda picky. I like to see the strap made from the same hide as the bag - perfect color match now and as it ages. And I like LINED straps, so if I have to I'll split it ... like as in if I'm making 8 oz somethings... I might split a couple of straps down to 4 oz and sew them together to end up with 8 oz that match the bag (realistically, only the "view" side needs to match, but I can be .... thorough ) Looks like yer up Sharon's way... she likely fergot more about leather n most of us ever figger out. She still stompin round here? Maybe she pop in with a word abot what ta do here, though... fair warning ... she sounds a bit like me - Today
-
I use 1/2 oz calf or pig for the inside pockets. As stated above, 4/5 oz for the outside needs a gentle hand for carving. Suggest carving a few practice panels to get the hang of it before building a whole wallet.
-
Yes, 7.5 = 3mm, 8 = 3.2mm, 9 = 3.6mm, not much difference really. I use 2.5mm max = 6 oz
-
Aquilim 315 sells for $30 32oz at Springfield Leather Barge sells for $32 32oz on Amazon Weldwood sells for $20 at my local Lowe's I have the same issue as TomE on the edges but I've been trying to control how thick I put it on at the edge, which is working out better
-
IMHO: i) If I had purchased a Grade A, B, C or lower I expect the vendor to choose what I purchased if I'm buying it sight unseen. I am relying on their expertise / reputation. ii) If I had purchased the hides as 8 / 9 oz and they measured out with a proper leather thickness gauge or by micrometer to be equal to 7.5 oz I would have returned them regardless. I expect they would be at a minimum of 8 oz everywhere on the hide. Otherwise I would have bought 7/ 8 oz. iii) If I purchased Grade A hides I expect near as possible to perfection over the whole hide, no cuts or wriggles and a consistent colour as I did notice a dark line in your first photo up the length of the hide. I wonder if some of those wriggles going across the width of the hide on the right hand side of the hide in your first photo were cause by it being rolled too tight during storage or shipment to you. As a side question what was the laser measurement on the back side of the hides? Did you do a rough check to see you got the square footage you asked for?? If possible it is always wise to go and select your own hides to avoid the frustrations you are having. Who was the leather produced by, not the vendor? kgg
-

Is this Leather Hide Normal Grade A or Bad?
BlackDragon replied to fernwehleather's topic in Suppliers
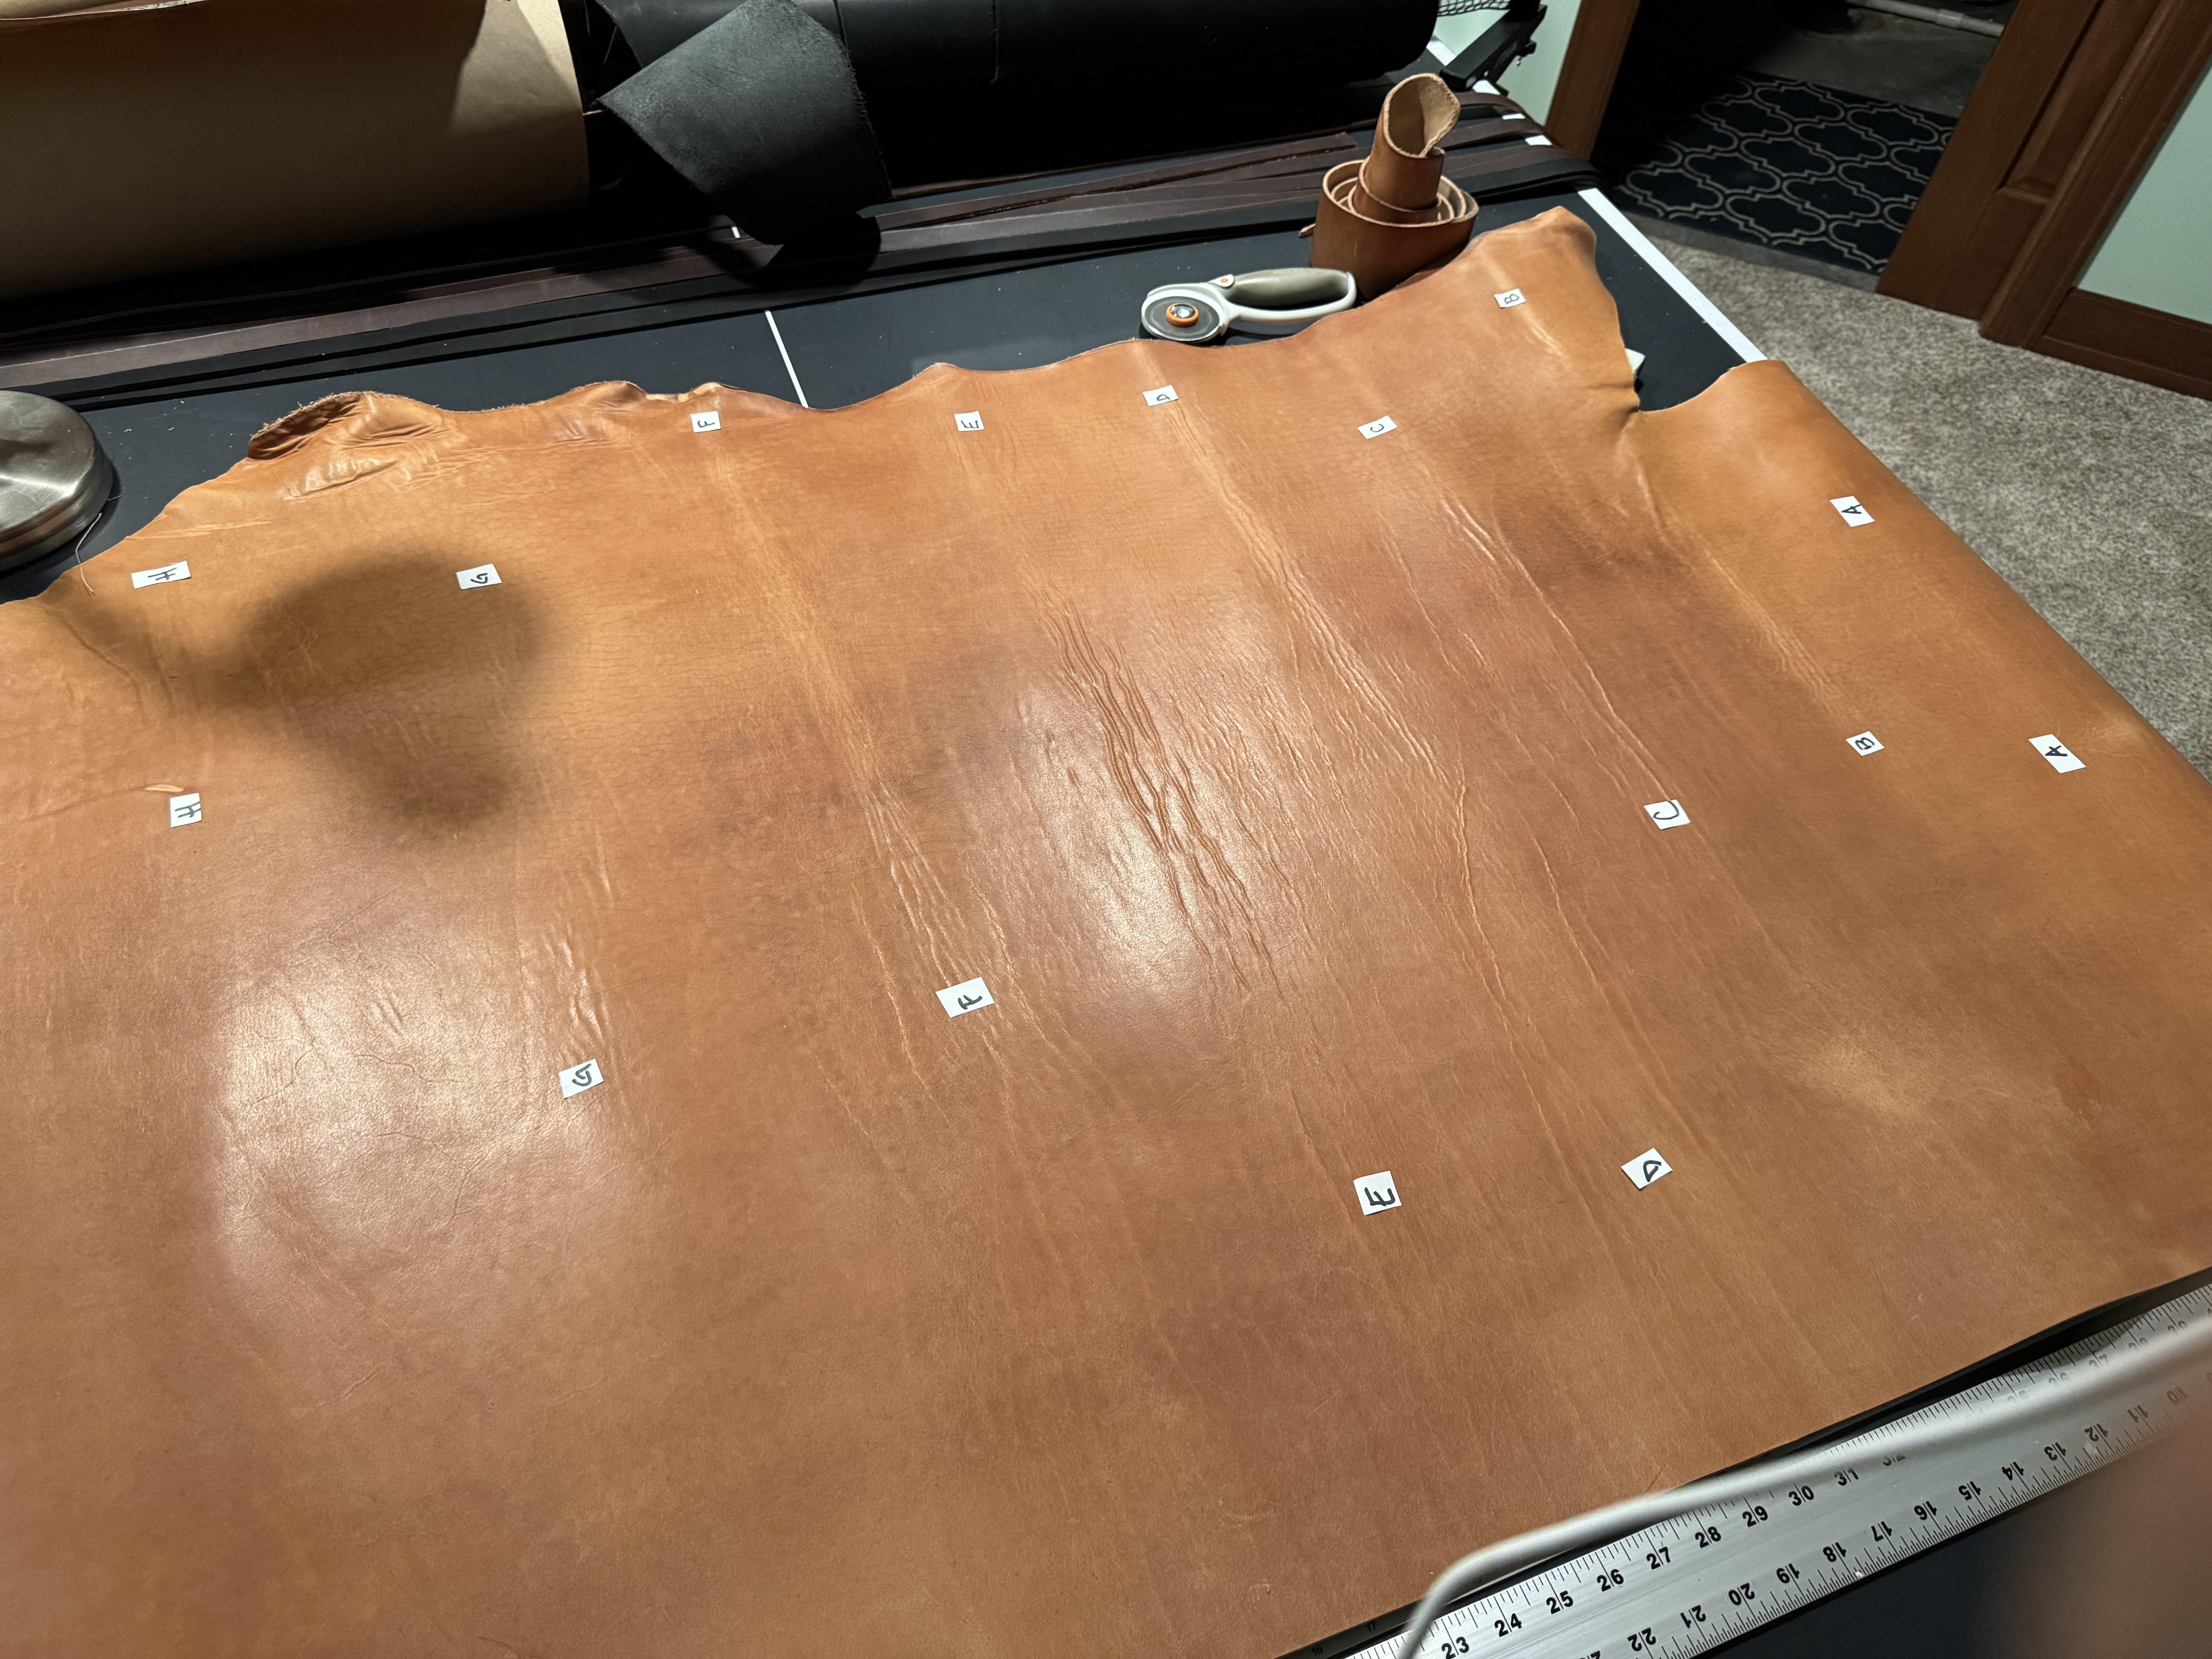
In my book that is not grade A. It almost looks like they let it dry in a roll and when you lay it flat it wrinkles. The color looks to dark as well, like it sat exposed to sunlight. -
Is this Leather Hide Normal Grade A or Bad?
fernwehleather replied to fernwehleather's topic in Suppliers
Also, now that I think about it, I mind as well also ask…I had bought the 8-9 ounces for making leather straps for tote bags. Do you think the 7.5 ounces will still be okay? -
I can't access the video But from what I can see that is not Grade A. More like C or lower. The hide should be smooth all over. And you got thinner than you ordered. No excuse for that. About 7.8 oz for 8 minimum. 8 to 9 should be 7.8 min to 9.2 max
-
Hey Everyone! I wasn’t sure where to post this question, but I thought if there are any suppliers reading this, maybe you can chime in as well… I bought some really nice and expensive vegetable tanned leather ($300 each hide) from a highly reputable tannery here in the US. (I don’t want to call them out on here.) My question is, I ordered 3 hides from them in 8-9 oz. I was disappointed as most of the leather was 7.5oz (I can live with it but it’s not what I expected) and one of them had ALOT of bumpy lines in it….over half the hide. I complained and sent them the attached pic and video of the bumpy leather but they said that it’s still considered top quality and that it won’t be as not noticeable once I make products out of it. (Unfortunately I had already cut the very side of the hide to start making straps so I couldn’t return it but they initially said they could maybe give me a refund to be used on a future purchase…which I’d be fine with as it was my fault for not looking closely when I first opened it up). They however have since ghosted me. I can’t believe this is really grade A as I’ve ordered many hides and have never had this issue. I’m including the video I sent to them. Is this really normal for grade A hides? I feel at a loss and highly disappointed. Id like to reorder but don’t want to run into the same problem in the future. IMG_6327.mov
-
Hi, I am looking to add needle positioner on adler 669 eco. I haven't find part required to install on part manual of 669. Do anybody knows how to please share the hack @shoepatcher, i think you have done it...please share specific part or DIY solution...plzzz Other thing, Do Ho hising G60 power is enough for 669?
-
Thanks
-
Darkwind58 joined the community
-
I've had occasional problems with 2 coats of Barge gumming up my edges. I've switched to 1 thin coat that I heat with a gun before assembly. Produces a strong bond with less mess and it speeds up my process. It also solved a problem of glueing pieces that are cased to mold a raised leather feature. After a little heat the glue is stuck to the wet leather and the leather remains mold-able (if that's a word).
-
Agreed, I did the same thing, just in a different way, amounts to the same thing though, way too much detail to copy by hand.
- 22 replies
-
I agree, Ferg, it has its place. Sometimes I have my son make 3D printed stamps for me, then I back them with steel. With that setup, you can do things you could never do by hand. Even if you could, you wouldn't, for instance, one stamp he made was a club logo with a ton of detail, a circle about 3"dia, it had dogs, birds, fish, trees, a pond, and more fine detail on the outer edge that is glued to a piece of steel 3/4"thick over kill yes its what I had at the time worked great.
- 22 replies
-
aviatorcoats joined the community
-
Federico Cozzi joined the community
-
Pfaff 545 H4 Mechanics Manual
Jeff Claridy replied to Jeff Claridy's topic in Leather Sewing Machines
Thank you, I haven’t seen this one yet. I like the illustrations and that clamp would definitely help. I like the way it takes you step by step in order for every previous adjustment to affect the adjustment you’re making next. Like a factory setup. Maybe all the ones for 545 H4 are in German? Thank you again. -
.thumb.jpg.df03483a8f149b5c3635266f3ce9bbac.jpg)
Letterman Jacket leather sleeves patch removal
Jennifer Gates replied to NoVaMom's topic in How Do I Do That?
Taking patches off leather sleeves can be tricky, but with care you can save the jacket and still keep its charm.- 3 replies
-
- leather jacket
- stitching holes
-
(and 3 more)
Tagged with:
-
- 1 reply
-
- hot foil stamping tips
- tutoriel
-
(and 1 more)
Tagged with:
-
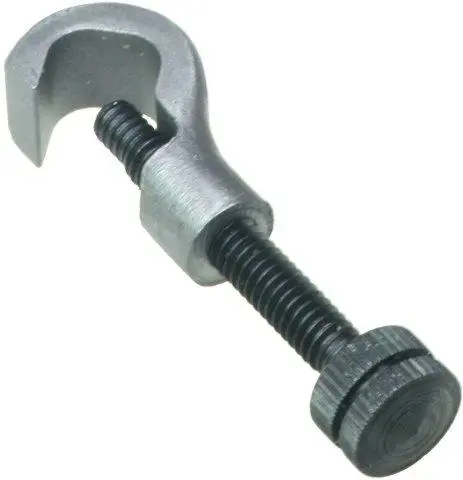
I have few pfaffs in the range of 142 to 1245 and I always adjust needle bar height regarding to the hook. - get the needle bar into the lowest position - advance so the needle bar rises to the necessary height regarding the model (between 1.6 - 2.5 mm)* * first I was doing this with making a black mark on the needle bar, later I bough the clamps for that - in this position the top of the needle hole must be 1 mm bellow the hook point see pages 9-10 here in the attached manual. Whenever I had serious problems I followed the manual from the beginning to the end and it always helped. p.s. manuals sold on the internet are usual exactly the same as the free one. Pfaff 1245 Adjustment 89_09.pdf
-
Tips for recording hot stamping, welcome to add
- 1 reply
-
- hot foil stamping tips
- tutoriel
-
(and 1 more)
Tagged with:
-
If you've worked with a hot foil stamping machine you know how satisfying it is to see those metallic designs shining on your products. But when it comes to using it on different materials, there’s a bit of science involved—especially when choosing the right temperature for each. Using the wrong heat level can lead to damaged materials, poor transfer quality, or faded designs. Here’s a guide to mastering hot foil stamping temperatures across four popular materials: paper, plastic, leather, and fabric. 1. Paper Ideal Temperature Range: 90°C - 120°C Why It Works: Paper is delicate and needs a lower temperature to avoid warping or burning. Keeping it around 90°C to 120°C ensures a crisp, clear design without any scorch marks. Use Cases: Ideal for stamping on cards, labels, or gift boxes. Dwell Time: 1 - 2 seconds—anything longer may damage the paper. Pressure: Light pressure is best here. Paper doesn’t need much force, and too much pressure can leave indentations. 2. Plastic (PVC, PET) Ideal Temperature Range: 120°C - 150°C Why It Works: Plastic can handle higher heat but too much can lead to warping or even melting. This range allows the foil to adhere properly without affecting the surface. Use Cases: Perfect for plastic cards, gift packaging, and other non-flexible items. Dwell Time: 2 - 3 seconds—this is enough time to make sure the foil sticks well without damaging the plastic. Pressure: Use a bit more pressure here than with paper, but be careful not to press so hard that you indent the surface. 3. Leather Ideal Temperature Range: 100°C - 140°C Why It Works: Leather is a resilient material but requires the right balance of heat. The higher end of this range is suitable for thicker leather, while lighter leather does better at the lower end. Use Cases: Perfect for stamping logos or custom designs on wallets, bags, and leather tags. Dwell Time: 2 - 4 seconds, depending on thickness. Thicker leather may need a longer time to ensure a solid imprint. Pressure: Moderate pressure is key here, especially for thicker leather, which benefits from a bit of force for a clear impression. For thin leather, lighter pressure avoids permanent dents. 4. Fabrics (Textiles) Ideal Temperature Range: 120°C - 160°C Why It Works: Fabrics vary in heat tolerance, but textiles generally work well in this range, which is hot enough to bond the foil to the fabric without damaging it. Use Cases: Great for adding unique designs to T-shirts, hats, or canvas bags. Dwell Time: 3 - 5 seconds to ensure the foil adheres completely. Pressure: Light to moderate pressure works best, depending on the fabric’s thickness and texture. Pro Tip: A Universal Temperature Setting (Because Who Has Time to Constantly Adjust?) If you’re tired of tweaking the temperature for every material, consider setting your machine to 120°C. This “lazy” temperature works quite well for most paper, plastic, leather, and fabric projects without requiring constant adjustments. It’s a safe middle ground that’s hot enough for most materials but won’t leave burn marks or cause warping. References “Heat Transfer Basics.” Printwear Magazine, 2022, link. “The Science of Foil Stamping.” Stamping & Embossing World, 2023, link.
-
Pfaff 545 H4 Mechanics Manual
Jeff Claridy replied to Jeff Claridy's topic in Leather Sewing Machines
Yes I have that one. Here’s the exact problem I’m having, not having the measurement of the standard needle bar height for the 545 and trying to use the 1245 manual which says 15mm for the standard position before fine tuning. But I can’t find the measurement in my 545 instruction manual or my 145 instruction manual. But my manual on a Consew 226 says the height mine is set at when timed with the hook 22.3mm so I’m guessing it’s right but I’m still having thread cutting and jamming with thread issues and I’m just hand cranking when checking it. I also have a Juki 1508 that also is 22.3mm but it uses the 35 needle system or size. I’m a novice sewer and learning how to work on them as I go. But using 4 different manuals to setup one machine is insane. Any help would be greatly appreciated. Thanks for your response.


