Wizcrafts
-
Posts
7,810 -
Joined
-
Last visited
Content Type
Profiles
Forums
Events
Blogs
Gallery
Store
Everything posted by Wizcrafts
-
The main differences between cloth and leather sewing machines are the feed system, take-up mechanism, tensioners, pressure spring(s), bobbin size, stitch length, oiling system and size of the gears and bearings. There are self oiling high speed machines that run out of oil at critical points when operated with slow speed servo motors.These machines have an oil pump that is designed to be spun at a certain RPM and above. Slow speed motors used in leather work don't create enough oil pressure to feed oil to all of the extremities. Garment quality industrial machines have thin take-up levers and connecting rods, keeping the weight down in the head for higher speed operation. They also have vertical axis bobbins, which support higher speeds.
-
Where Do You Buy Your Thread And Needles
Wizcrafts replied to mlapaglia's topic in Leather Sewing Machines
There are several machine dealers who still have Linhanyl thread on hand. However, when a size and color is sold out it cannot be replaced. -
Can Anyone Help Identify This Machine
Wizcrafts replied to ELeBlanc's topic in Leather Sewing Machines
Henry Veenhoven, in Toronto, Ontario, Canada, is the only known source of parts for these ancient machines, in North America. Last known number is: 416-231-1870. I understand that finding new curved needles for these sole stitchers is like finding needles in haystacks. The only thing that you can sew with that machine, assuming it works and has a needle in it, are the soles of shoes, or the perimeter of a knife sheath, or other case, at least a quarter inch thick. It may even be a Junker and Ruh machine. -
I do believe that if you sew belt leather on a new Sailrite and you bend or break parts, the warranty may be voided. They will sell you replacement parts though.
-
Maybe the R stands for Reverse. This Singer 111 machines lacked reverse, except for one sub-class (156).
-
Can Anyone Help Identify This Machine
Wizcrafts replied to ELeBlanc's topic in Leather Sewing Machines
It appears to be a Frobana or Gritzner manually cranked shoe sole stitcher. They sew along the outer perimeter, in one direction, using heavy waxed linen thread. The machine uses a very large curved needle to pierce the holes and form the lock-stitches. -
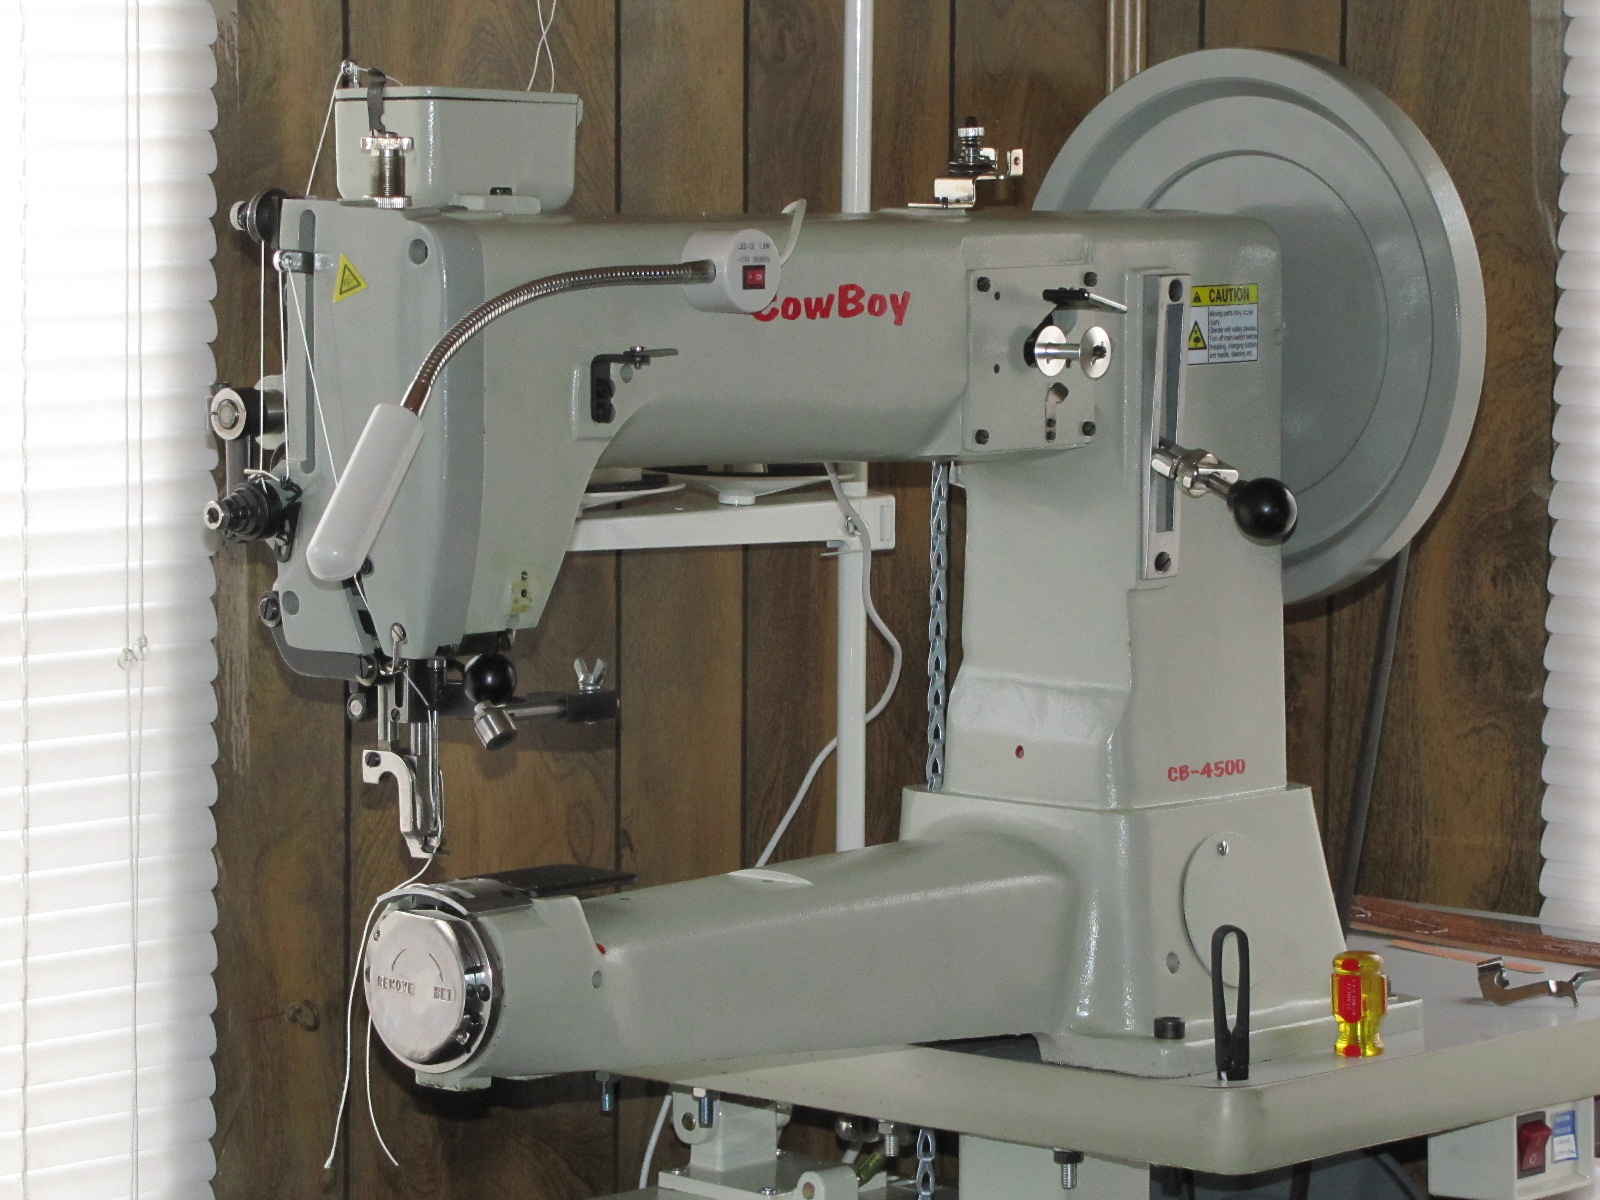
I have a drop down edge guide, similar to those used on Adler machines. It was custom fitted to my CB4500. It is fully adjustable for x, y and z axis'.
-
Not necessarily so... They are horses of a different color. The ULS is especially good for sewing fast runs along edges. None of the current 441 set-ups are able to match the speed of a ULS, flat out. Just like an Indian Chief!
-
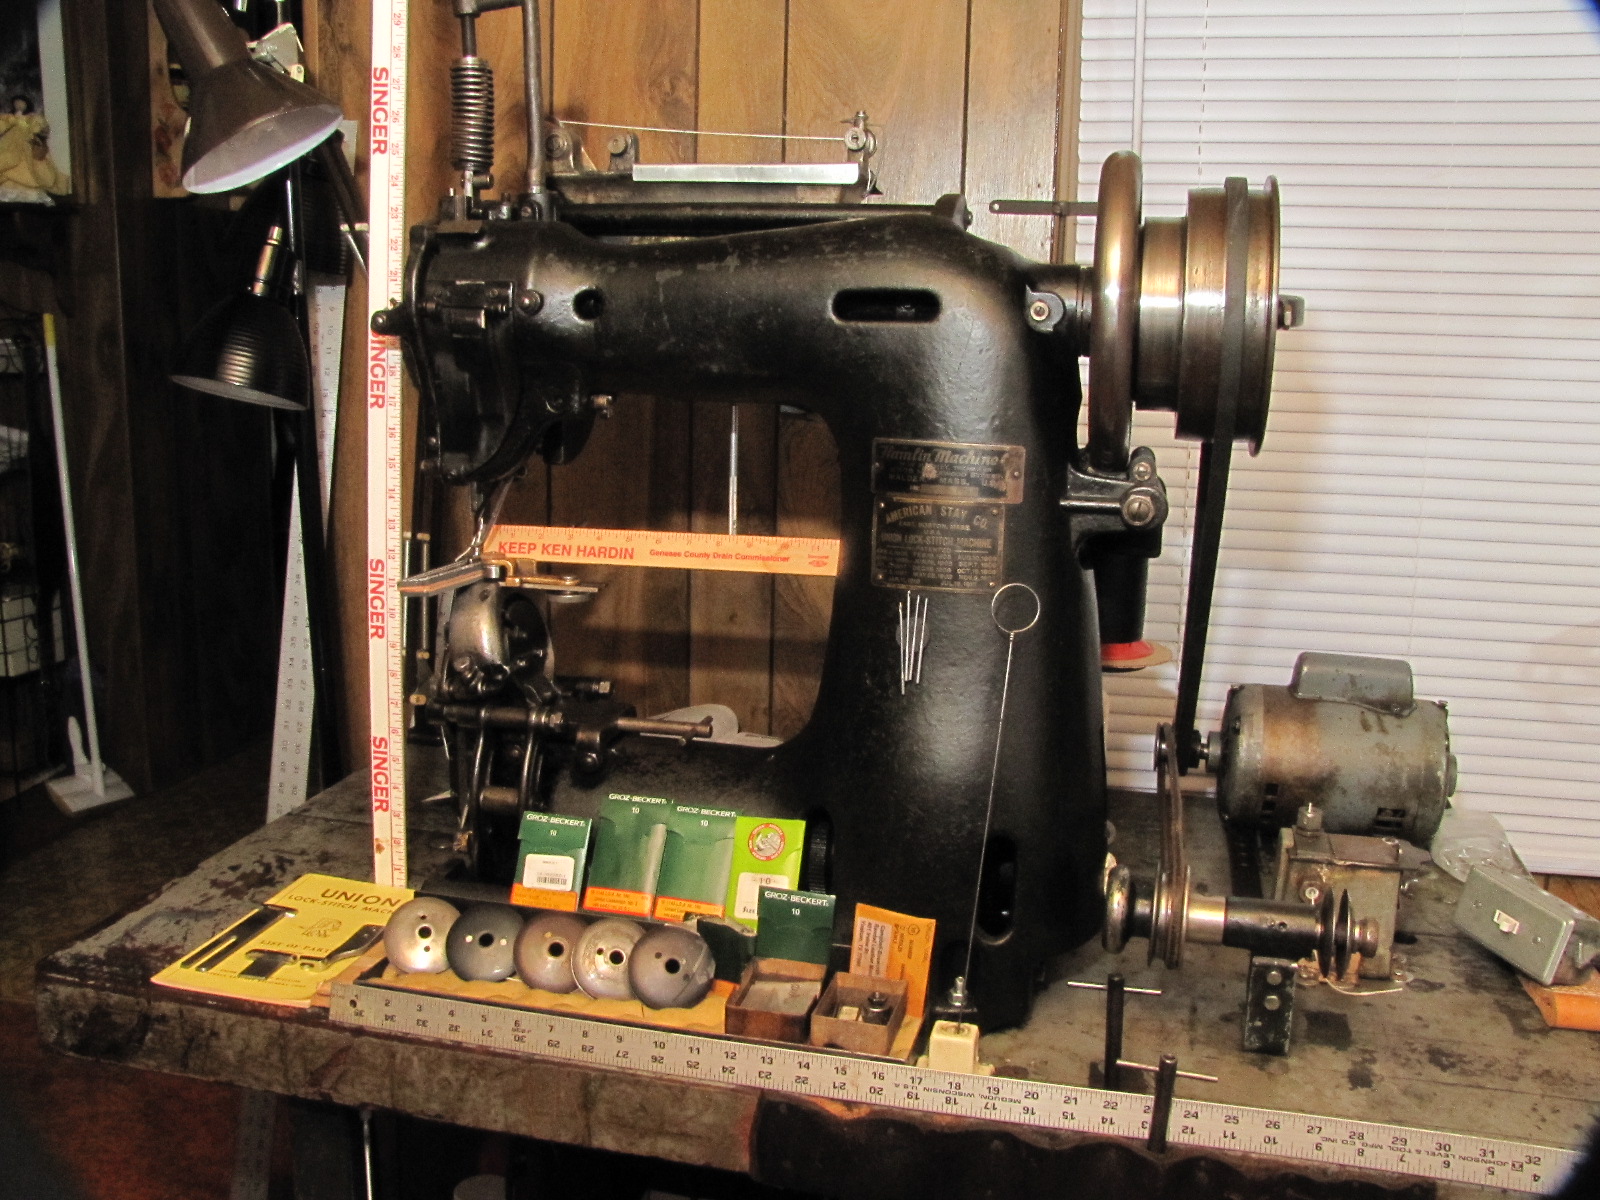
Gregg; The Union Lockstitch machines are like the Indian Motorcycle of harness stitchers. Fast, temperamental, powerful, built in the USA and totally awesome! I found it relatively painless to eek out a little more working clearance from my old gal. A 6" grinder, a strip of Emory cloth and a buffing wheel, working on the right side of the presser foot and some bending of the thread check arm (still needs work) got me just over 7/8 inch. I suspect that if I put in some more time on it, I can get it to sew and feed a full inch of anything I put under the foot. That includes plywood lined with leather. I'm toying with the idea of shooting a few short videos on my Canon digital camera, showing how to thread, time, change stitch length and perform basic adjustments and maintenance on a Union Lockstitch.
-
Well, out of curiosity I ground down the right toe on my Union Lockstitch machine, to a height af about 1/8 inch. I also extended the straight edge on the right side of the presser foot body. This gave more room for the thread holder arm to move at extended heights. I also had to reshape that arm to not only clear the right side and top of the foot, but also the looper/thread guide. After all that dinking around the machine still only wants to sew 7/8 inch. The lift on the presser foot can be varied somewhat, with lower lift making it more likely to sew thicker leather. But, the stitch length is reduced when the foot lifts later and comes down sooner. I try to keep the lift at about 1/8 inch, at all thicknesses. I can compensate for the shortened stitches by lowering the stitch length regulator bar. Geometry came into play at 7/8 inch and the thread wanted to miss the pickup arm's slot, due to the severe change of angle the thread has (to the left) at such altitudes. The solution is to make a new pickup arm with special shaping that will grab the thread at great thicknesses, yet clear the right side of the presser foot body and also clear the bottom of the looper/guide tube. My advice after all this fussing around is to buy a Campbell High Lift to sew 1 inch or above. The machine is already designed to do so and won't need to be modified.
-
I suspect that Campbell-Randall Company could give you a better answer about modifying a Union Lockstitch for higher lift. They may even offer to modify one and sell it to you. But, for only a few thousand more you can buy a Campbell High Lift. It would cost me about $200 for extra parts to experiment with this on my own machine. I can't afford that right now.
-
Why don't you pick up a Union Lockstitch and see if you can get it to sew 1 inch? My ULS is for sale! The needle and awl will probably be long enough, or almost there. The biggest problems are the top and right side of the foot, the looper (which has to revolves around the barb in the needle) and the thread guide and the thread slack arm (I forgot to mention that part). My guess it that once you have modded a ULS to sew 1 inch, it will no longer sew 1/4 inch as well as it did before. You may also have to replace the top pressure spring with a motorcycle grade coil spring, to exert enough pressure to hold down 1 inch of leather. Further, the take-up arm may need to be altered to allow it to pull the knots up into such thick leather. There will be no wiggle room allowed in the feed mechanism. You will need to tighten all moving parts affecting the needle bar and stitch length arms. The position of the shuttle ring gear will be critical to eliminate slack. The heat generated on the awl will be stupendous. It may stick inside the leather unless you spray it with silicon as you stitch. It will be an interesting project Catskin. Let me know how it works for you. For anybody following this topic and wondering if there already is a machine capable of sewing an inch out of the box, there is. The Campbell High Lift sews 1 1/8 inch.
-
I had to switch to a modified presser foot to sew over 3/4 inch. In order to sew 7/8 inch I would have to perform Voodoo on the looper and thread guide, and grind away more steel on the right side and top of the foot. Since I am happy with being able to easily sew 3/4 inch, this is not anything I look forward to doing.
-
I managed to coax my Union Lockstitch into sewing 6 layers of 9 ounce veg (just under 7/8"). That is the maximum it will handle without modifying the foot, looper and thread guide, all of which made contact with each other when I tried to add one more piece of 8 ounce veg.
-
The standard ULS machine can only sew 3/4 inch. In order to exceed that you would need to modify the presser foot, looper arm, thread guide and possibly change to a longer needle with the same mounting shank diameter (or drill out the needle clamping hole), and maybe even change to a longer awl. I have never been able to exceed 3/4 inch on either of my two ULS machines. Perhaps the person who modified his machine will reveal his secrets?
-
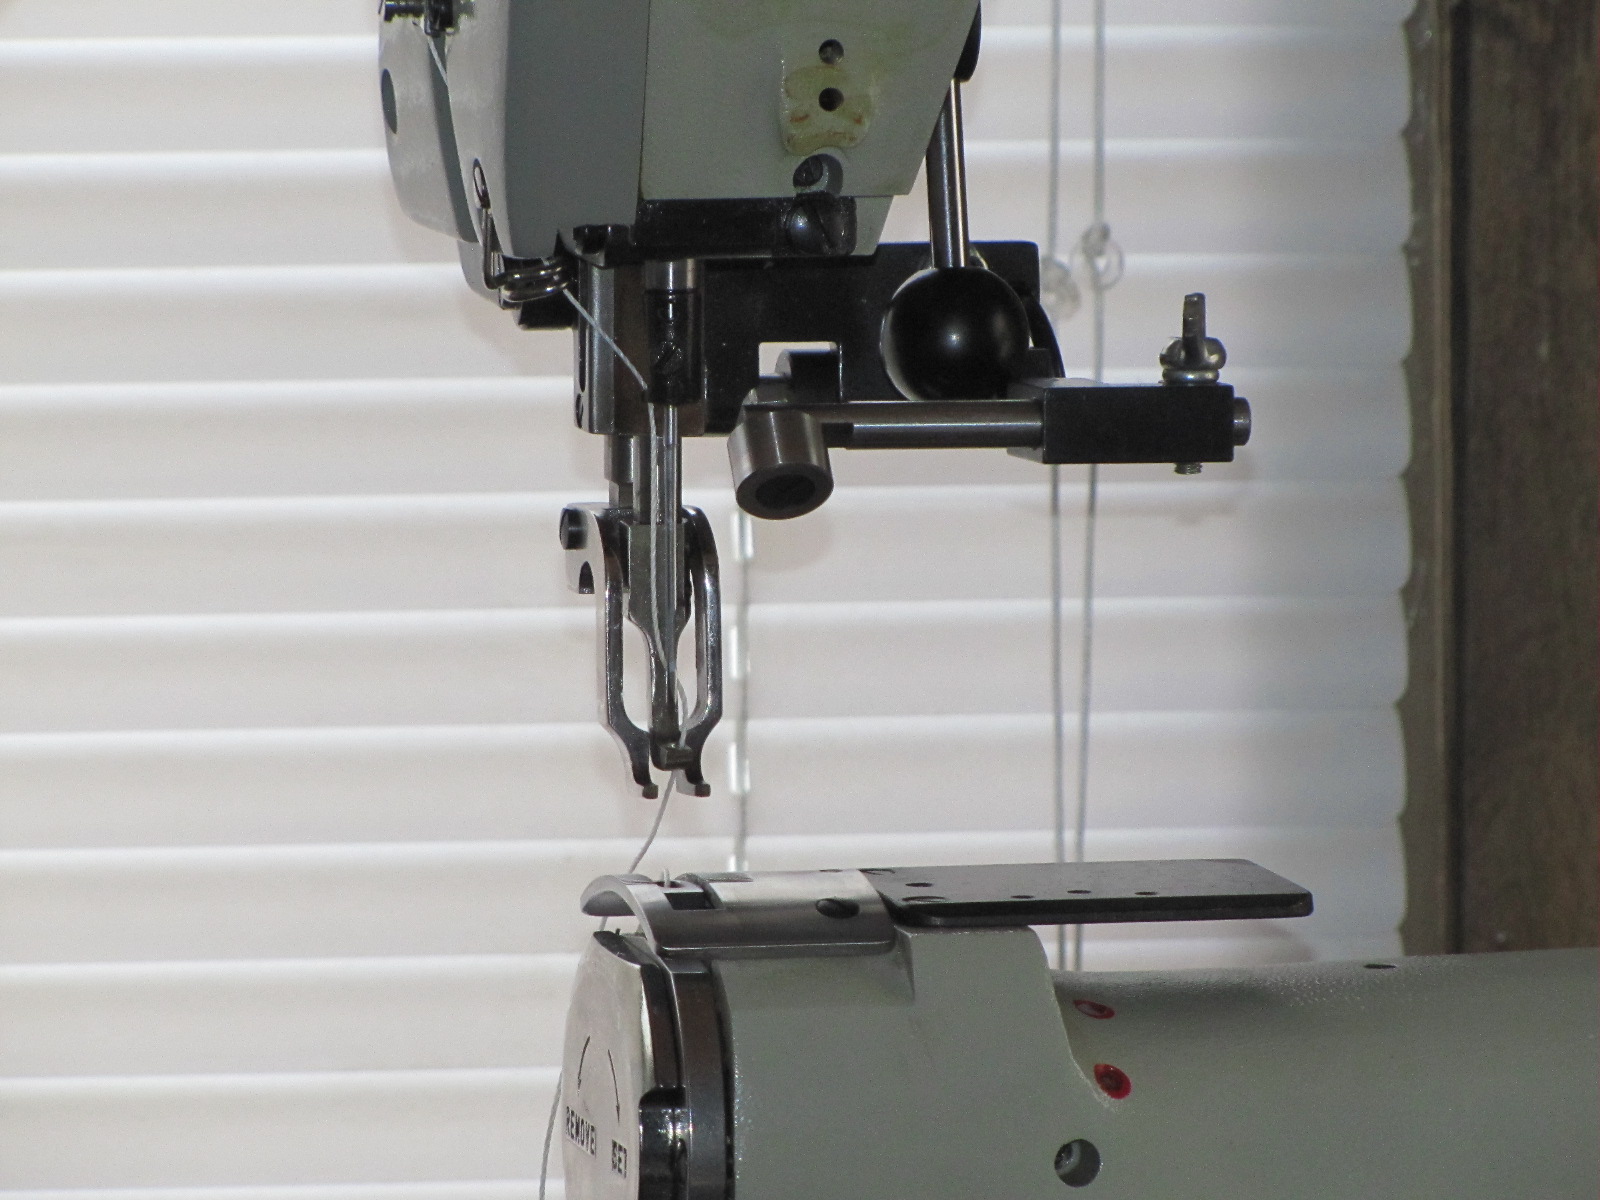
Apparently, the lube pots were out of stock for a long time, so the machines on the website were photographed without them. I don't know if they will be regularly available or not, or if new ones will be made of cast iron, or plastic. These pots were originally part of the full-Monty accessory packages. You probably don't need one, unless you sew through dry, dense leather, or sew veg-tan, bridle, or Latigo leather at speeds of 10 per inch or faster. Silicon lube cools the needle and makes it easier to form the knots inside the leather. Leather sewers are beginning to realize the benefits of using pre-lubricated thread, which negates the need for lube pots.
-
The table top attachment has four screw holes on the bottom right side. You should have received a package with four 6" long threaded rods, 8 nuts and washers and four plastic hand screw caps. Install a threaded rod into each screw hole in the wood. Then install a washer and nut and tighten them against the wood. Install another nut on the other end of each rod, about 2 inches up. When you are ready to use the table, slide it over the cylinder arm until the cutout reaches the inside right of the body. Slip a washer onto the ends of the rods, then push down the attachment so that the four threaded rods go through four holes in the pedestal table. Use the plastic thumbscrews to secure the table top to the pedestal. The lube pot has two holes on opposite sides, front to rear, plus a thread guide wire. To use it add silicon thread lube to the pot (after securing it to the top of the machine with an enclosed heavy bolt). With the lid lifted, insert your thread into the right side hole in the lid, then down, through the hole in the pseudopod, then up through the left lid hole and close the lid. Feed the thread through the wire loop, on to the top tension disks. Lube will spill out the top if the machine shakes, so leave a couple of paper towels on the machine's floor plate, behind the speed pedal.
-
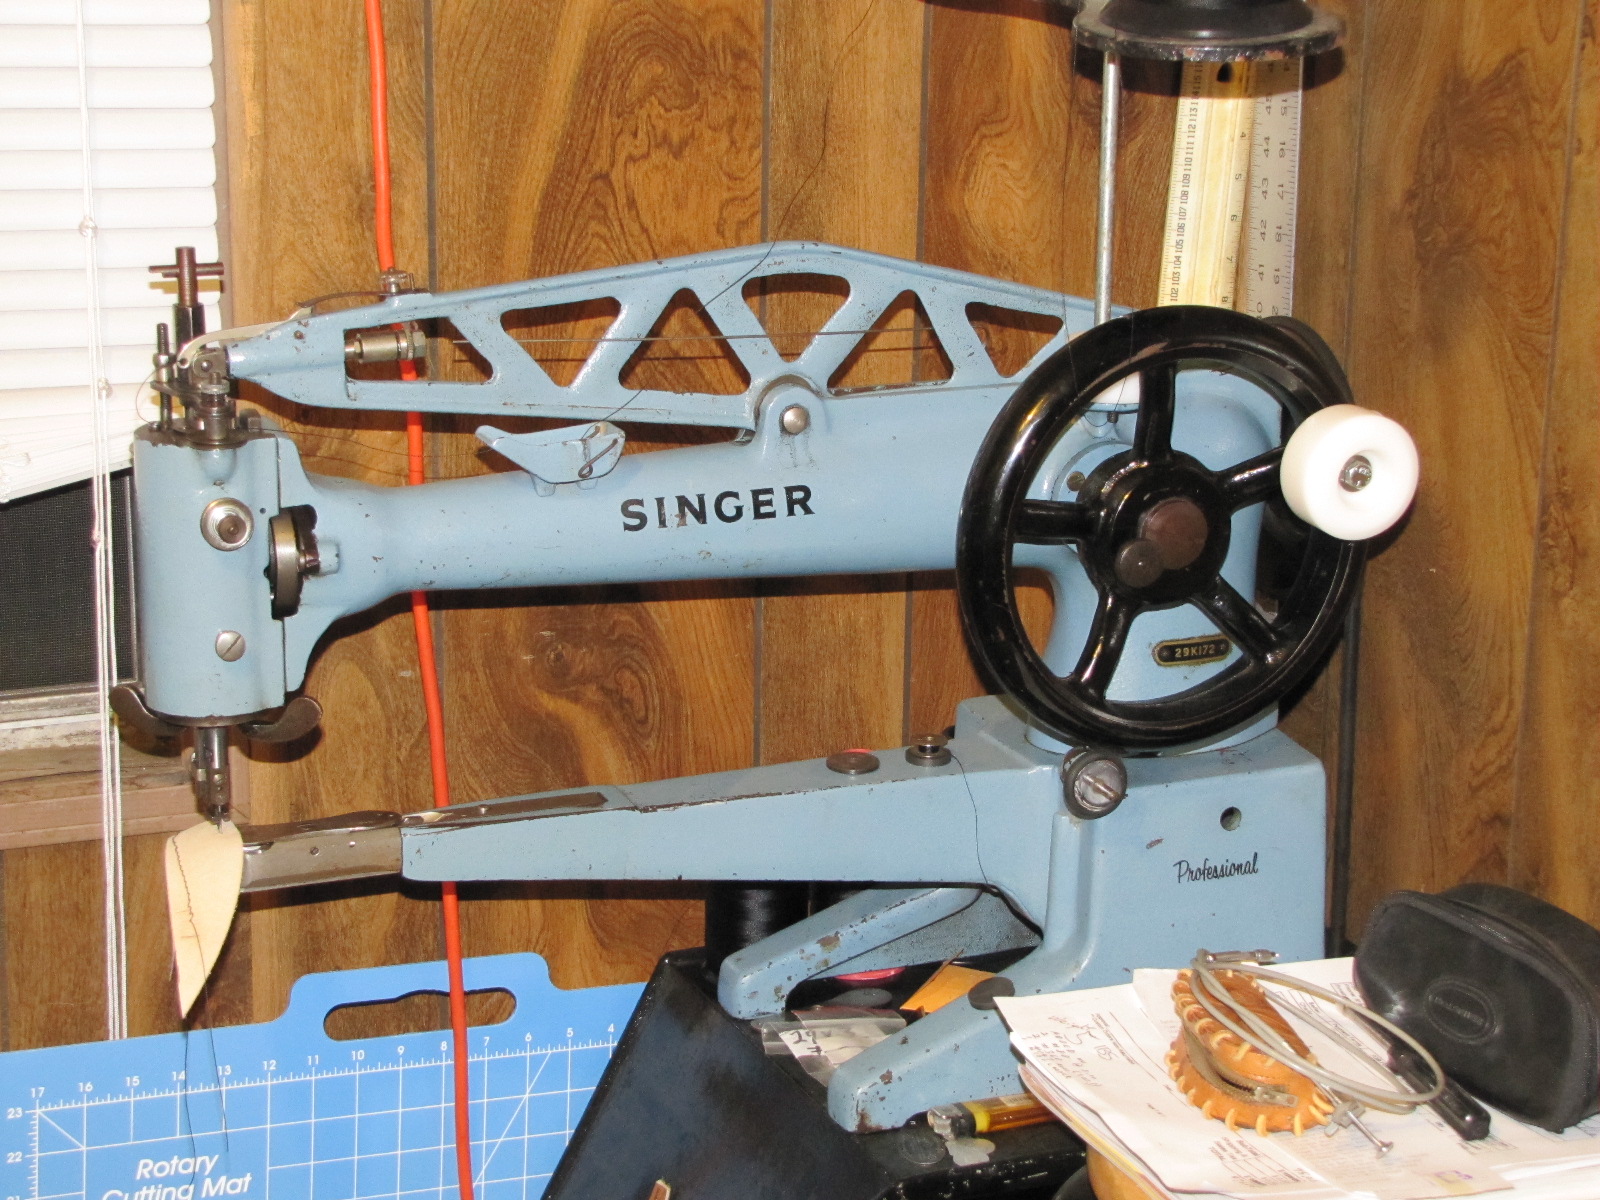
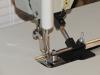
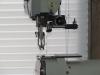
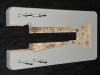
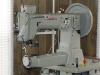
No. You will need a shoe patcher to do that. Look for a long arm Singer, Adler, Cowboy, Techsew brand machine with an 18 inch arm and preferably, the large bobbin option. They are usually mounted on a cast iron treadle base, but some hare mounted onto power stands. Patchers have top feed only, via a rotating presser foot assembly. It pulls the work in whatever direction you point the foot. This allows you to sew up the snout to replace a long zipper on a boot. There are teeth on the bottom of the foot. Toledo Industrial Sewing Machines (866-362-7397) has an entire rack full of patchers, plus at least two long arm models set up on the floor. Here is what a long arm patcher looks like...

-

-
Only furriers, advanced tailors and dry cleaners use fur machines. If you know of any such shops in your area, take the machine head to them and see if any of them are willing to take it off your hands. Then deliver the motor and table. You'll be lucky to get a couple hundred bucks if it is in really good condition. I admit that there were times when I wish I had one for repairing seams that come apart on customers' fur coats. But, a few minutes of whip stitching by hand, with a curved needle, gets the job done just as good. The only hassle is opening up the lining, then whip or top stitching it closed. It seems that you are going to buy that ULS machine. My advice to you, as a newbie to them, is leave it set up exactly as is and use the same thread they were using. Don't try experimenting with the stitch length right away. Learn to sew with it and thread it first. Learn to wind the bobbins, adjust tensions and to change the needle and awl and align them properly. Memorize the oiling regime. Once you are confident in your ability to operate the machine, then change the stitch length setting slightly. See if it still sews without missing stitches or missing the awl holes. If so, change it all the way down, to the maximum length. Hand wheel the machine until the needle is just under the leather. If the machine is adjusted tightly and optimized, the needle should come up through the hole. If not, it will miss the awl hole and try to push the leather up. If you don't stop it immediately, the needle will bend and become useless. Part of the hassles you will encounter may be repositioning the needle mechanism when you change stitch length. There are adjustments for forward/backward and for left/right and they are made in different places. You will need the 4 sided T-wrenches and a large flat blade screwdriver and an open end or socket wrench to make these adjustments. You may also have to change the hook timing by adjusting the timing gear under the machine when you change stitch length. Your best hope is that somebody has already optimized the settings before you get the machine.
-
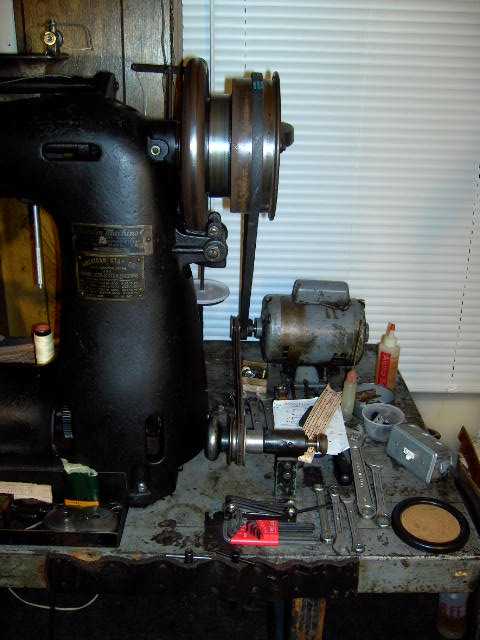
If you are good with and well equipped with wood working tools, you might be able to mount a speed reducer. But, if the machine is the old style, like mine, the motor is on the top rear of the table, making it virtually impossible to ad a reducer. The new style, form the 1960s on, have the motor under the table, making it much easier to add a reducer, or even a 3/4 HP servo. Note, if you change to a non-continuous run motor, you'll have to lock the clutch into the flywheel asbestos. Normally, there is a very long heavy steel lever that runs under the table, with a hinge on the right side. A steel rod gets locked through a hole in that lever and goes straight up to a lever on the back of the machine. That lever is connected to the back of the machine and when lowered, pushes a rotating steel cup against a cone shaped clutch on the flywheel.
-
You can purchase an actual printed manual and parts list from Campbell Randall, in Yoakum, Texas. That's where I got my manual. It helps to have the parts list when you start ordering replacement screws and such. You should ask if there are spare parts, accessories, needles and awls and a threading wire with the machine. If not, prepare for some serious sticker shock. Here are some prices you need to be aware of before you buy the machine: Needles and awls go for about $33 for a pack of 10 Bobbins are about $20 each various presser feet sell for about $105 each and up Various throat plates sell for $100 and up Roller edge guides are over $100 Barbour's Linen thread is close to $50 a pound. Bonded polyester is about $20 to $25 a pound. They are the maker of liquid Lax Wax, needed to sew with linen thread. It's about $15 a quart +/- Replacement screws run from a few dollars, up to almost $10 each. Replacement springs cost from $5 to $25 depending on which spring it is. The 4 sided internal cut adjusting wrenches range from about $20 to $30 each. Add shipping and Customs costs, GST, etc to these prices, and conversion of CDN into USD. Try to run the machine, with or without thread. Make sure it runs smoothly at all speeds. The clutch is on the flywheel. With your foot off the (right) speed pedal, the wheel should not turn easily by hand. A slight toe down should release the brake from the asbestos clutch and allow you to hand-wheel the machine. Under full power, the machine will sound like a piece of farm equipment, like a thrasher or harvester. If possible, oil the machine before running it at full speed, which is 800 stitches per minute. The presser foot is lifted by the left floor pedal. You may need to push it all the way to toe to the floor to get the foot to lift to clear 3/4 inch of leather. Make sure that the bobbin winder is included and actually works.
-
Buy new feet and keep the originals for Naugahyde and Sunbrella jobs.
-
I bought my first Union Lockstitch directly off the floor of a Tandy regional headquarters in Canada. It was sitting idle for several years after the only person who understood the machine had retired. I bought it with virtually no accessories or manual. I couldn't even thread the machine correctly and it refused to sew a stitch. My lucky day came after I called several old-time leather crafters and one put me on to Freedman Harness, in Toronto. I called and the owner, Sam Freedman (deceased) invited me to his shop, where is graciously photo-copied his Union Lockstitch manual. He was nice enough to also sell me thousands of dollars worth of spare parts, needles, awls, bobbins, feet, throat plates and wrenches, plus a threading wire, from his long-unused, turn of the Century ULS machine. I paid as much for those accessories and spare parts as I paid for my machine. When I sold that machine in the year 2002, I spent a solid hour demonstrating to the buyer how to thread, time, tension, adjust and change stitch length on the machine. I'm sure that, even with the manual, he would have had to spent at least a day learning those things on his own if I hadn't stepped up to the plate. Anybody contemplating buying a Union Lockstitch machine for the first time should make sure that they go somewhere and learn how to adjust and maintain their machine. Failure to do so can result in heartbreak and even physical damage to one's self. A properly set up and adjusted ULS machine can sew everything from Wilson Footballs to commercial gun belts and holsters. They are thread agnostic and have true square drive. One only needs to match the best fitting needle and awl to the needle and awl bars, change thread and maybe twist a tensioner, to sew from #138 thread to #346 thread, into from 6 ounces up to 20 ounces of leather. If one wishes to sew beyond 3/4 inch, they must alter the top of the pressor foot to clear the looper and thread guide. Or, get a special thin foot made at a machine shop. I use machine shops a lot for my ULS machine.
-
I have a Singer 31-15 that I believe was built around 1915, It sews perfectly. I replaced several worn screws and the needle bar. It does NOT use 135 system needles; they are too big around and hit the side of the hole in the throat pate.. It uses DBx1 - 16x257 needles and interestingly, my leftover 134 needles from a Pfaff I used to own.