-
Posts
190 -
Joined
-
Last visited
Content Type
Profiles
Forums
Events
Blogs
Gallery
Store
Everything posted by msdeluca
-
I got your email, Brian. I'll be waiting for Jess' invoice. I have to tell you; I was developing a real love/hate relationship with my 3200. I love the machine, but it frustrated me due to the material continually getting sucked into the abyss and screwing up my edge stitching. I know, don't blame the tool.... I'm not... I'm elated over the improvement to a nearly great product. Thanks, Mike
-

Tell me about your "Hot Box"
msdeluca replied to Dwight's topic in Gun Holsters, Rifle Slings and Knife Sheathes
When he starts flying economy I'll take him seriously...;] -

Tell me about your "Hot Box"
msdeluca replied to Dwight's topic in Gun Holsters, Rifle Slings and Knife Sheathes
-

Narrow feed dog FLAT Plate for Cowboy CB4500 and Cobra 4
msdeluca replied to Patrick1's topic in Leather Sewing Machines
Do you make a narrow plate for the Cowboy 3200? -
Just read this thread and want a narrow plate set for my 3200. I PMed you RockyAussie. GREAT IDEA...!!!
-

Tell me about your "Hot Box"
msdeluca replied to Dwight's topic in Gun Holsters, Rifle Slings and Knife Sheathes
Nice job DD...!!! I've been gone for awhile doing some CJ7 Resto... I'm thinking of getting back into some sewing and leather work... maybe make some purses, and camping gear. -

Tell me about your "Hot Box"
msdeluca replied to Dwight's topic in Gun Holsters, Rifle Slings and Knife Sheathes
Looks good... I've found that the fans decrease the drying time significantly. Lol... yeah, I know. Part of it is the challenge and the other is the execution for me. I enjoy this kind of crap. You're right, it does make us better and I'm trying to bring the same trait to my leather work. -

Tell me about your "Hot Box"
msdeluca replied to Dwight's topic in Gun Holsters, Rifle Slings and Knife Sheathes
Added the PWM switches to the list. These are used to control the speed of each cooling fan. I wanted to be able to control the fan speed independently from the heat lamps. Too much air flow will negate the heat being generated by the heat lamps. These controls also have an off position which will allow either fan to be turned off if not needed. -

Tell me about your "Hot Box"
msdeluca replied to Dwight's topic in Gun Holsters, Rifle Slings and Knife Sheathes
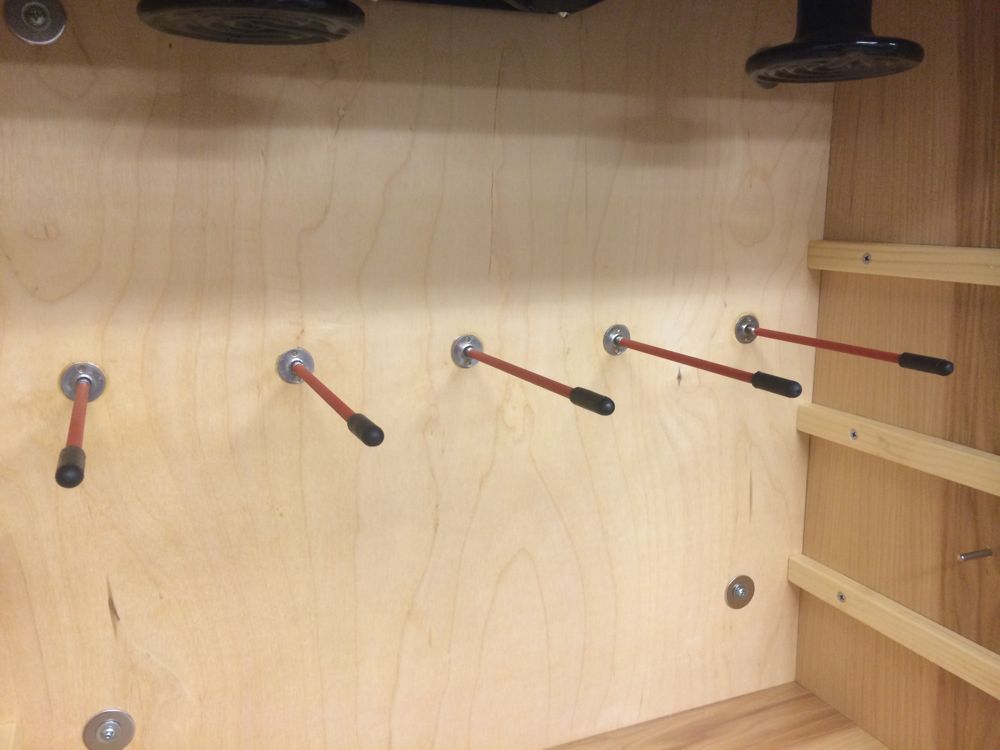
Pegs kept failing... Bought some 10-24 all thread, cut it into 6" lengths, covered them with heat shrink tubing, and capped them brake bleeder caps I had laying around. Cannot fail now... Write up and resources... -

Latest Gun Belt
msdeluca replied to msdeluca's topic in Gun Holsters, Rifle Slings and Knife Sheathes
Fixed the buckle and changed photos in OP... Thanks...!!! -

Latest Gun Belt
msdeluca replied to msdeluca's topic in Gun Holsters, Rifle Slings and Knife Sheathes
LOL... dammit... haven't shipped it yet... Now how do you suppose that happened... I know it wasn't from finishing it at 3:30 this morning... Such nice pictures too... -
After sanding, the "skin" raises up and doesn't allow me to see the true edge of the item I'm beveling. I prefer to groove after beveling. I've never seen the divider type. I think I'd still prefer to be visually referencing the finished edge either way.
-
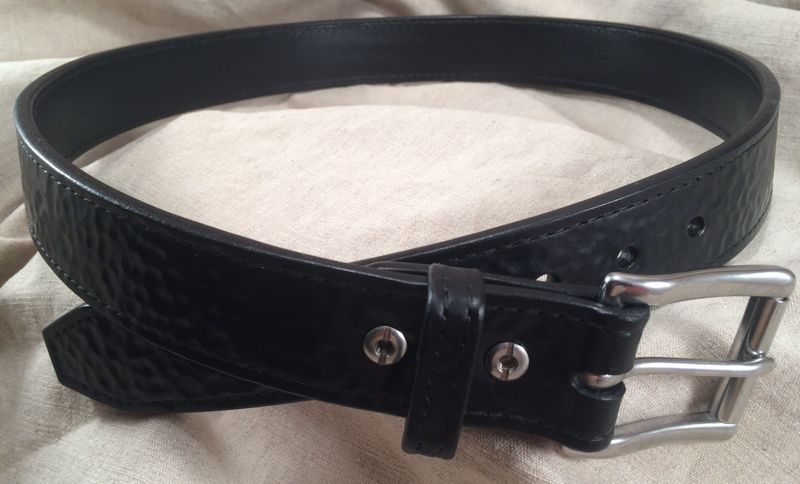
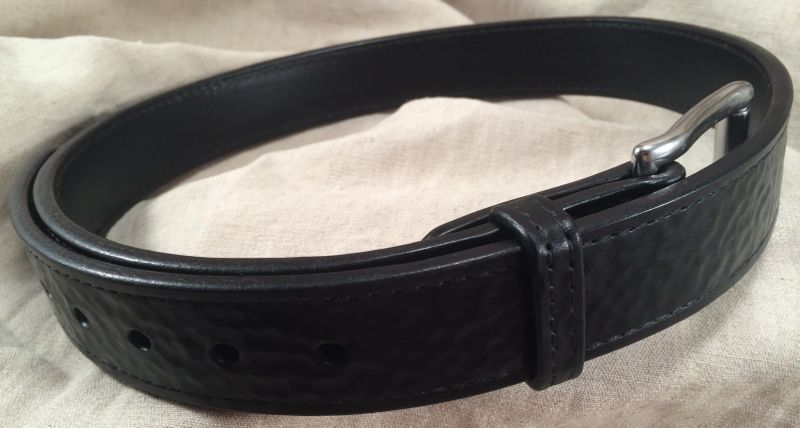
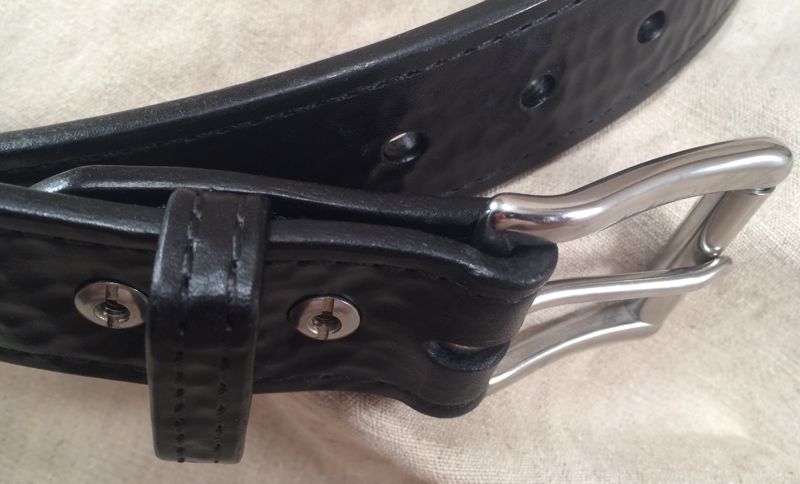
Here is the latest gun belt off the bench. Two-ply 8 oz veg tan, laminated on a round jig, 277 thread top and bottom, hammered finish, Fiebings pro oil black 100%, Resolene 50/50, Sno-Seal. I used a synthetic black gum trag from GoodsJapan on this one... I like it a lot. Edge burnish: 50/50 beeswax/parafin, cocobolo burnisher chucked into drill press, final burnish using wax mixture on 100% wool discs made from saddle pad. Stainless chicago screws, stainless roller buckle.
-
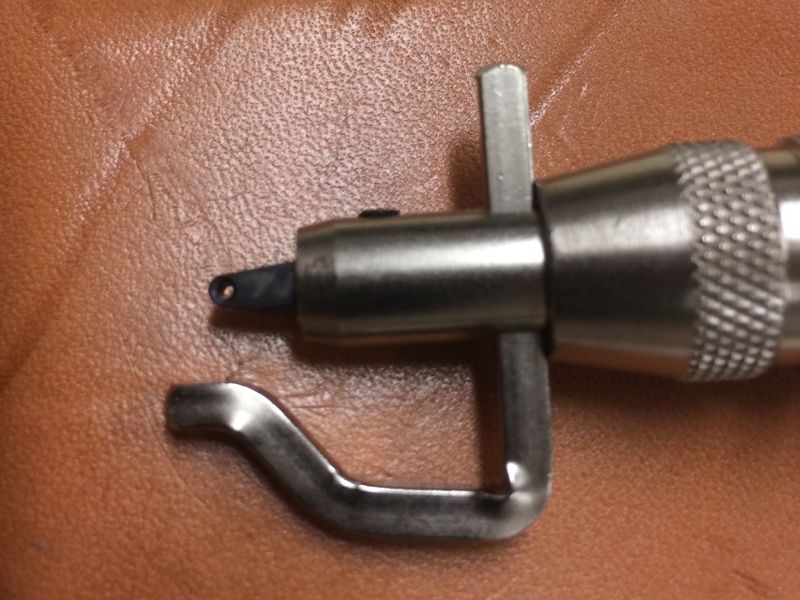
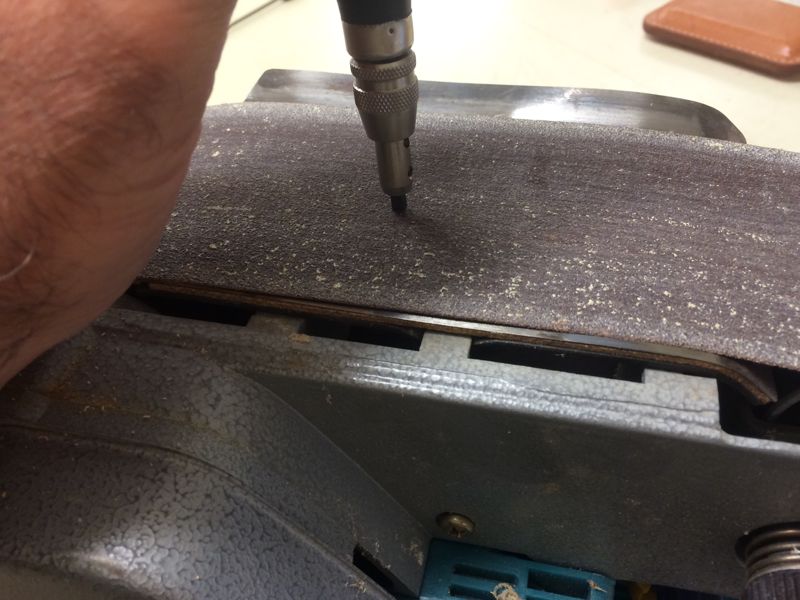
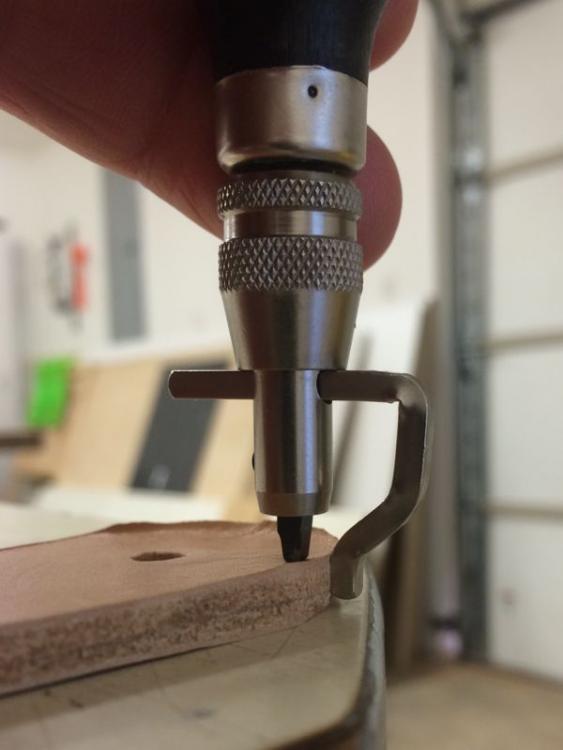
I was having trouble with my groover guide riding up on the round beveled edge causing the groove line to be erratic. This groover is made by GoodsJapan... not sure if this is a problem with other manufacturers or if this is just the way this manufacturer makes theirs. My fix was to take the groover bit out of the holder, invert and reinsert it, and belt sand it down about 3/32". The result is that the guide now rides below the beveled edge and maintains a straight groove line. The fix took about 10 minutes. Some pics of the process. Hope this helps.
-

Tell me about your "Hot Box"
msdeluca replied to Dwight's topic in Gun Holsters, Rifle Slings and Knife Sheathes
I'm anxious to try this thing...!!! Some testing results: Epoxy failed on the dowel rods. Will try J-B Weld next. Shelves can't be removed without flexing or removing doors. Will glue some extensions to the shelf cleats. Thermostat read out is consistent with oven thermometer. 120º F - 15 minutes 130º F - 22 minutes 140º F - 30 minutes Thermostat interval 140º to 137º - 2 minutes Reheat to 140º cut off - 3 minutes I may change the cycle interval from 2 degrees to 5 degrees to reduce wear and tear on the thermostat. Write up and resources... -

Tell me about your "Hot Box"
msdeluca replied to Dwight's topic in Gun Holsters, Rifle Slings and Knife Sheathes
140º baby...!!! I'll post up pics of the interior later. Write up and resources... -

Tell me about your "Hot Box"
msdeluca replied to Dwight's topic in Gun Holsters, Rifle Slings and Knife Sheathes
Painted the box and doors and am in the process of wiring it up. Tested the fans and variable speed controls, they are working great. This photo shows the thermostat being wired. Thermostat barely fit the 3/4" material thickness, but it snapped into place. All the wires are now pulled into the single-gang cut-in junction box. Drilled a hole for the thermostat sensor on the right side. It is that chrome pin to the right of the screwdriver about 6" up the right side. I'll probably silicone it in place. Write up and resources... -

Tell me about your "Hot Box"
msdeluca replied to Dwight's topic in Gun Holsters, Rifle Slings and Knife Sheathes
Dwight, Pretty much the way it works for me... although, waiting for projects to dry does provide a window of time to work on other things. Maybe the hot box isn't such a good idea after all... Mike -

Tell me about your "Hot Box"
msdeluca replied to Dwight's topic in Gun Holsters, Rifle Slings and Knife Sheathes
Still plugging away at this thing as time permits... CPU fan standoffs made from a 1/4" pex toilet supply line and 8/32 round head screw tapped into the plywood... Write up and resources... -

Cutting shoulders straight in quicker time
msdeluca replied to RockyAussie's topic in How Do I Do That?
That is fairly close to the set-up I came up with. I like your addition of the hinge point and index line. I just clamp mine since I'm only doing a few shoulders at a time. I've also been having good success with a 60mm rotary cutter rather than a head or utility knife. No need to do a scribe cut; just clamp the straightedge and cut the leather... usually two passes in 8 oz. veg tan. Also found a good source for poly in the US that sells remnants cut to your size request (if they have a piece large enough). More info link -
I love my Goods Japan beveler... great price, great quality... I replaced my vintage Craftool and am now getting perfect results. I bevel dry.
-

Alternatives To Adobe Illustrator
msdeluca replied to Artificial Intelligence's topic in Getting Started
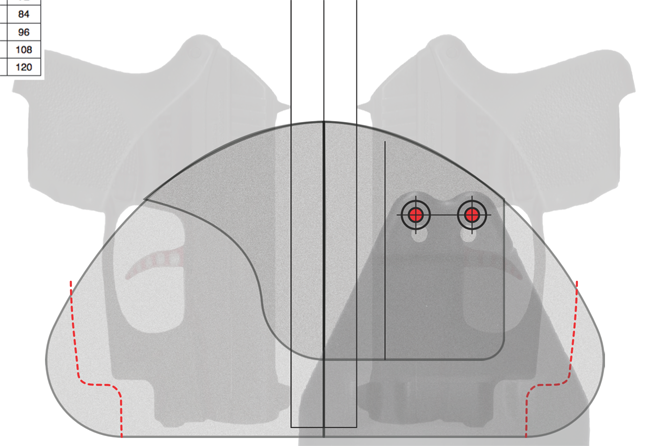
Ive been using Affinity Designer on an iMac to make patterns. https://affinity.serif.com/en-us/designer/ This is a reduced size screen capture of a paddle holster pattern I created in Affinity Designer... -

How to make a miter joint on a turned edge wallet.
msdeluca replied to Sully241's topic in How Do I Do That?
http://www.perfecttrimruler.com/ I bought this mitered corner ruler for book binding. -
I went down to the local granite countertop fabricator to find that he had a pile of sink cut outs (approx. 33" x 20" x 1 1/4") stacked up behind his shop that he was more than happy to give me as many as I could carry off for free. I took two and polyurethane glued them together (rough side to rough side). The resulting 2 1/2 thick slab seems more than adequate to the job. I mostly use a smaller 1 1/4" thick piece though. Just wanted to add this for those looking for some free granite. I do like the way you recessed your stone into the table.


