toxo
-
Posts
2,261 -
Joined
-
Last visited
Content Type
Profiles
Forums
Events
Blogs
Gallery
Store
Everything posted by toxo
-
Thanks Brian. I'll look at the links later. Here's something to chew over... I'm an ex fabricator/welder and the light I think is way stronger than the laser? The green screen was always glass. Also, modern screens are what they call auto dark. They work with a battery and the screen is clear until you strike an arc when it goes dark automatically (strangely enough). The other point with the modern screens is that they're adjustable for darkness to suit your eyes. You had to physically change screens in the old type. What all this means I have no idea but I just throw it out there for you genius' to chew over and come up with the ultimate solution
-
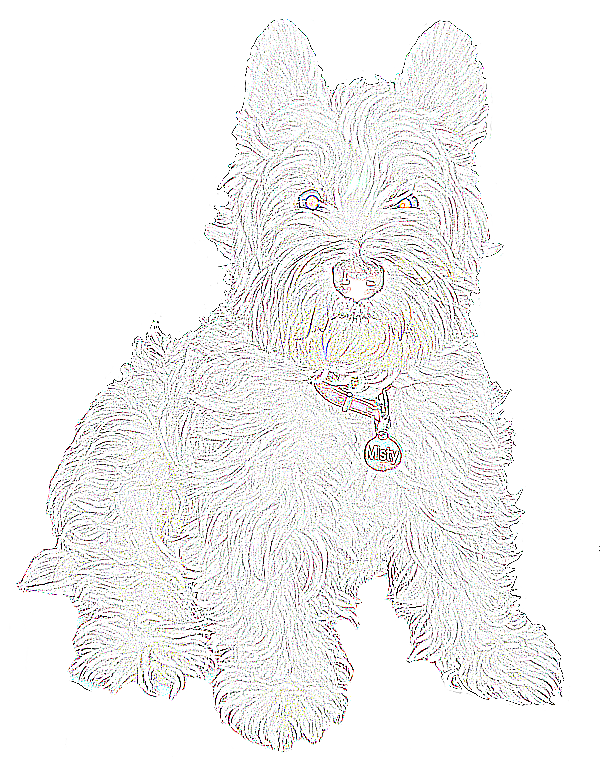
Thanks Mike. I should be able to shrink it on F\W. Ill try before bothering you. If you can simplify the image for carving I'd appreciate it.
-
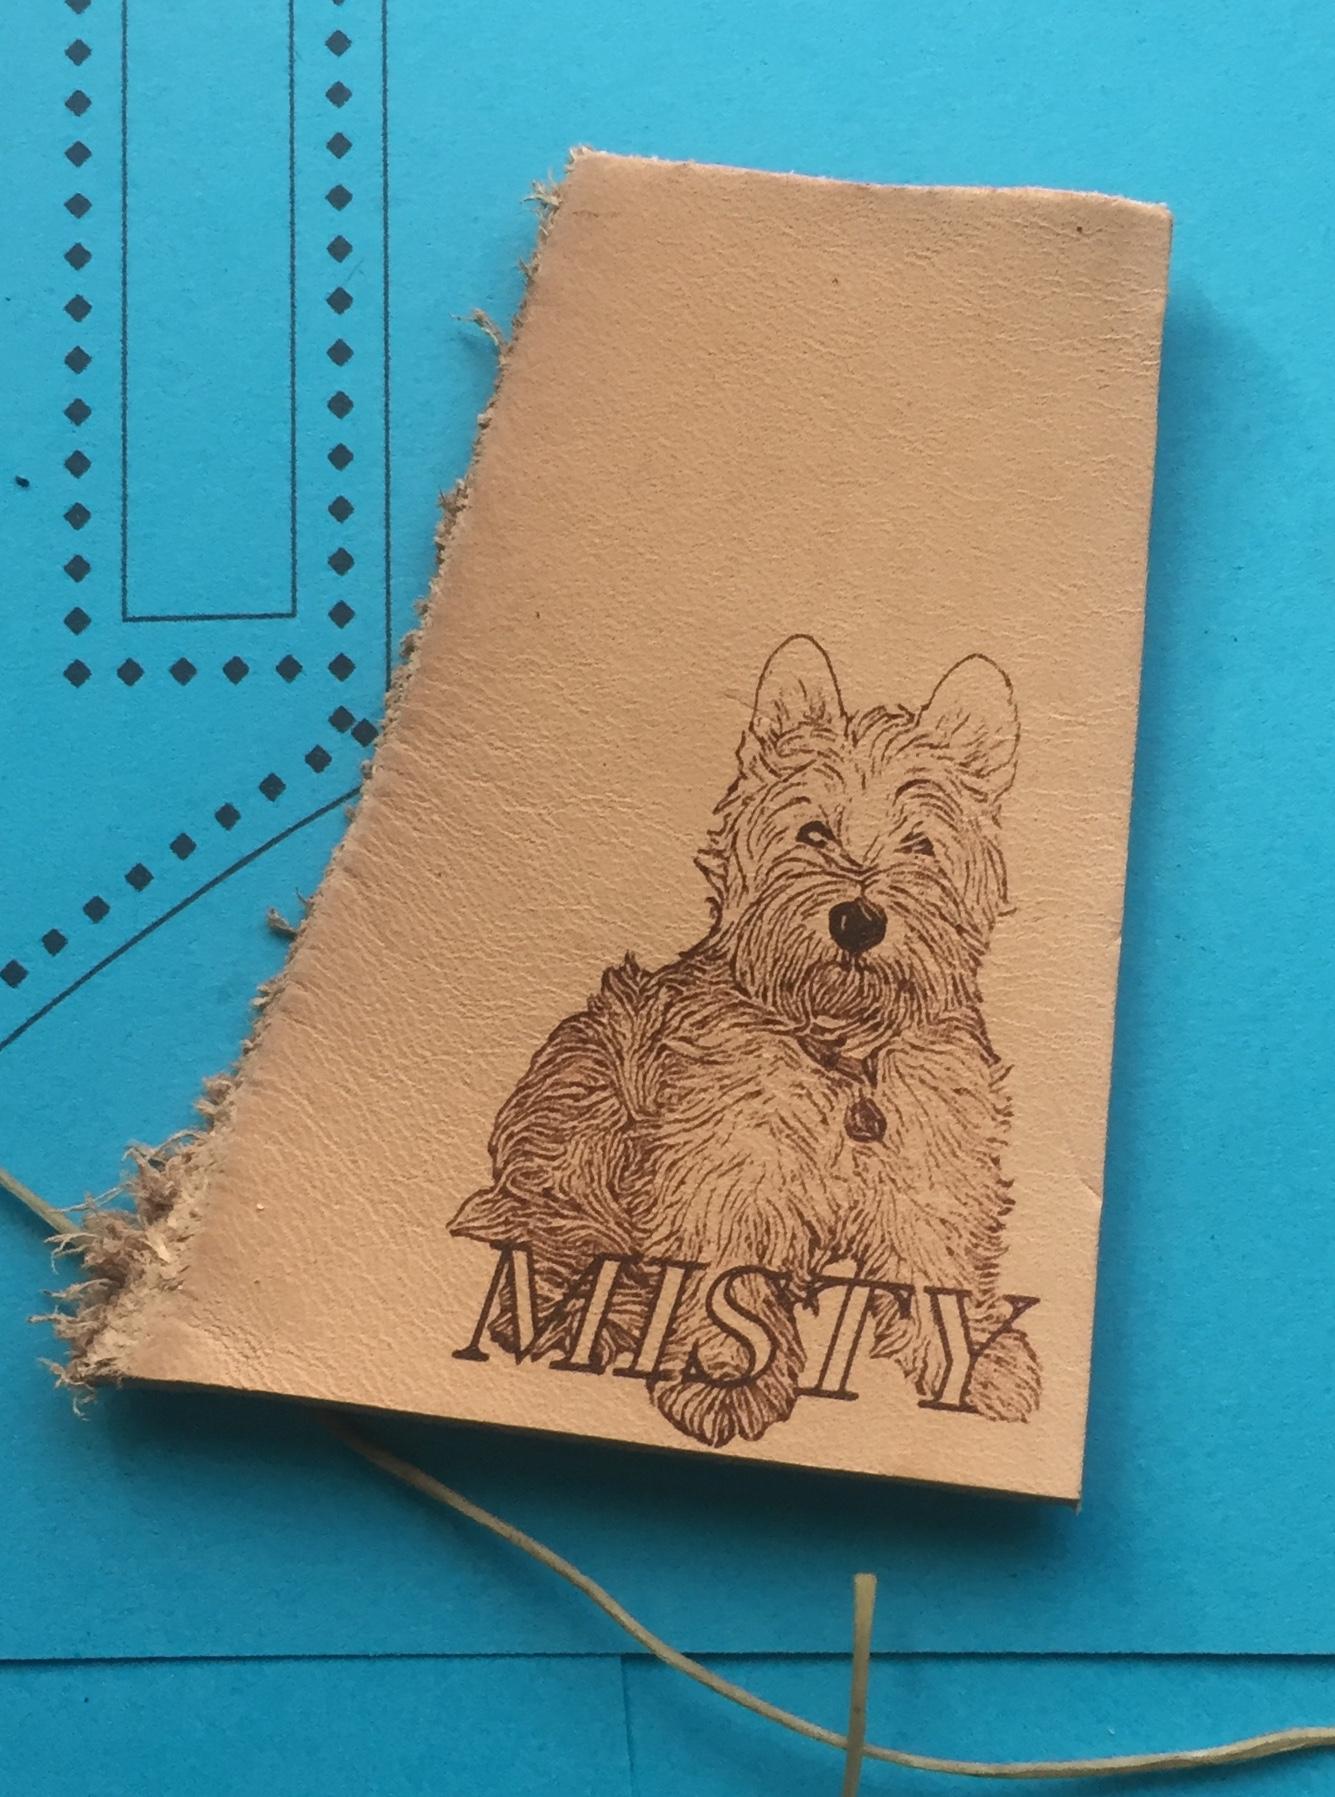
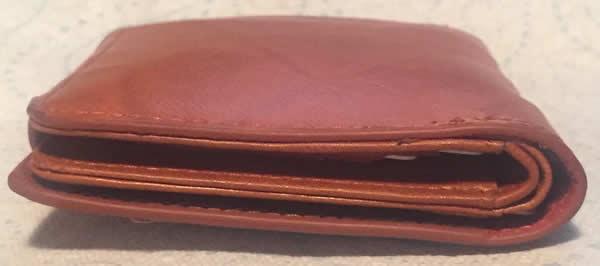
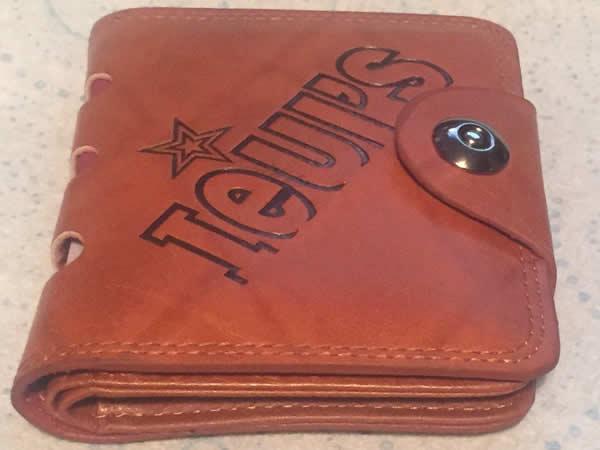
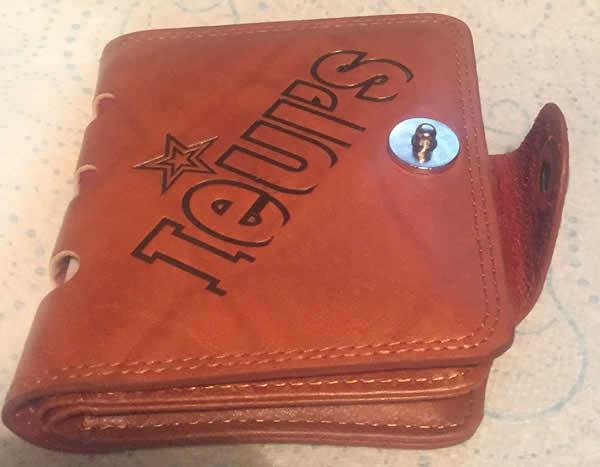
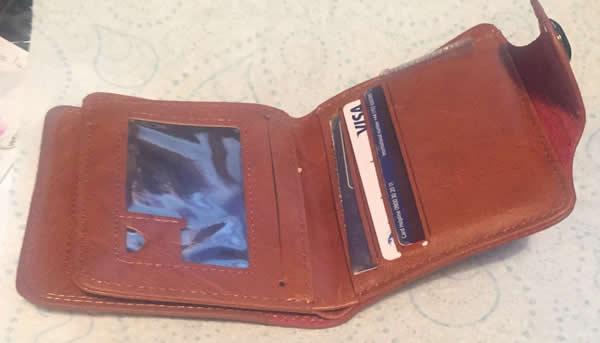
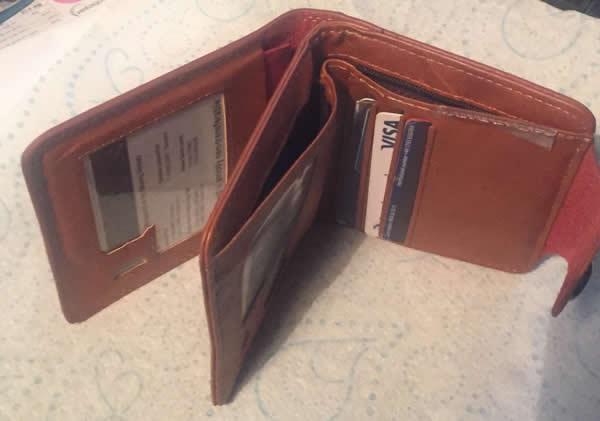
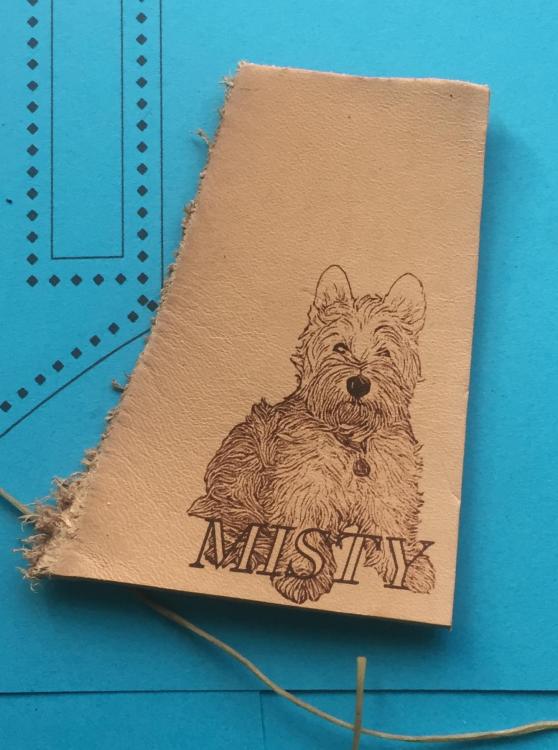
Brian. I love the way you spend money to get the absolute tool for the job. Loving the box. I have to check where the dogs are every time I switch it on. What's the criteria for eye protection re: the panels? is it just the colour? Density? Mike. Re: the profile, of course you're right. Just started to learn to crawl, not about to start running. I'll put up some pics of the wallet that I want to print on. From what you've said I'll not need worry but but i might reduce the size and print on an inside leaf first just to be sure. I just wanted to show it from a design point of view. My wallet was about done and I was looking for a pattern. Then, whilst looking for something else I came across this wallet which I'd bought some years ago in a wholesalers. For me the thing is perfect. if you look closely it even had clear plastic pockets which I tore off. Clearly it's a commercial thing and an obvious spoof on Levi's but how do they get those edges so perfect on such thin leather?

-
Thanks for posting this Folker. I knew none of this.
-
My God, I'm surrounded by genius! You're an absolute wizard with that 3D printer Brian. That sloping card trick is a cracker. I find it quite hard to judge the focus point especially with my eyes being old. I'll certainly be trying that. How do you cater for a radiused profile? I'll look into another fan. At the moment I've had it running for 20/30 mins with a pedestal fan running with no problem. Don't know how long it would take to do the full size but I'm thinking significantly more than that.
-
How lucky was I to find someone like Mike who is as helpful as anyone could ask for AND has the same machine? Still fine tuning. There is a learning curve and if you change the height you have to remember to re-focus the laser. It's fairly slow but you can do a few lines and pause it to see if it's right then change the settings and carry on. I'm not artistic so stuff like this is a way i can customise my projects.
-
Not had time to look at software yet.
-
Will do mate. Will have to eat humble pie re the size boxes. Turns out the num pad isn't working on the laptop and can't get it to work. Can input using the top numbers.
-
I was looking on Goods Japan for some edge treatment. They sell a gum trag alternative in powder form and, amongst other things they advise making up small batches as and when needed because bacteria transferred from outside (from leather etc) can cause the product to "spoil". Has anyone come across this? Does "spoiling" reduce the efficacy?
-
Mike, you are one clever man. God knows how long this would've taken me. Burning as I speak. almost there on card. Extremely anxious about ruining a really nice wallet though.
-
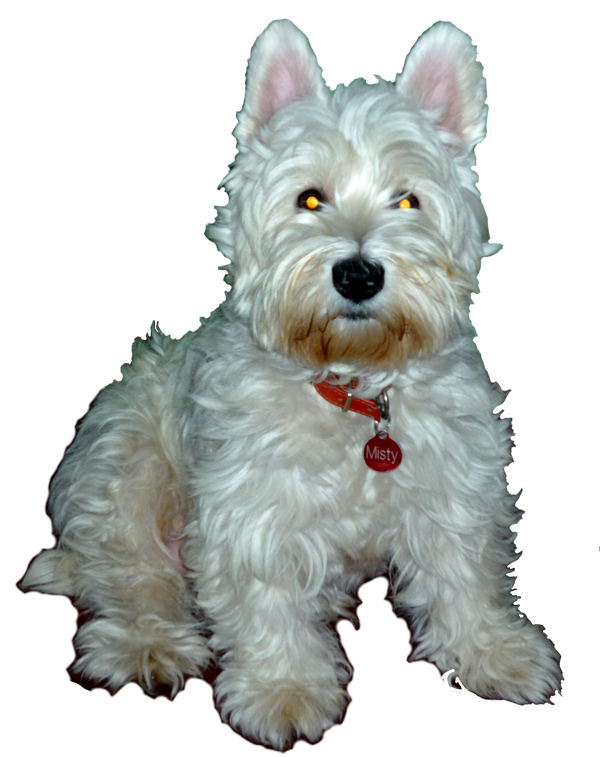
You're as soppy as I am. She was a Westie. Maybe around 40mm width for my wallet constrain proportions. If you've cracked the text thing a name would be nice. When you say carton do you mean cardboard as in box?
-
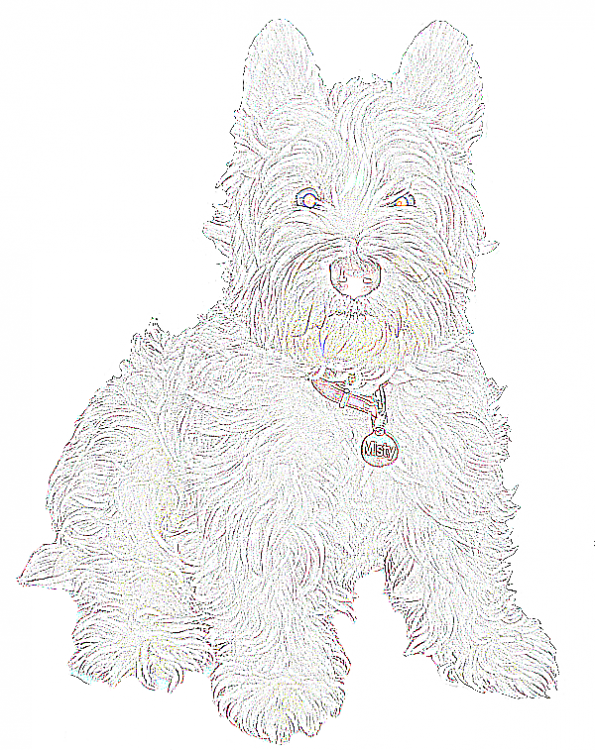
Thanks Mike. Message sent. The sellers (laser) manufacturer wants a vid of the non input once you wipe the either of the size boxes. I'd like to be able to carve the pic one day but laser for sure if it'll look good. Which pic would you use for laser the photo or the grey?
-
I've got it this far. Mike I'll look at yours presently.
-
Here's a photo of the nearest I've ever come to a soul mate. She understood everything I said and when I came home she would run off to find my slippers and bring them to me. She died due to the complacency of the vet and I will forever feel guilty because it wasn't her time. She was like an 11yr old puppy. Anyway. I'm using Fireworks MX 2004 and have almost finished erasing the background. I want to turn it into a sketch/line art so I can put it onto leather. I haven't used F/Ws in anger for a long long time but I seem to remember you could do it by taking away more and more colours but I can't do it. Can anyone help?

-
A word lover as well! You must be a bruvva from anuvva muvva,
-
That looks like a nice piece of kit Rob and I guess that's the sort of price needed if you don't want crap but I've decided to use what I've got until I'm sure I need one. There are two compressors in the shed and although the space is a bit limited I can at least hang things up and not have to worry about overspray. Thanks for the thought.
-
Liking the thinking Mike. In fact I used to be you. Used to be a fabricator/welder. slowed down too much these days. A lot easier to open the door and take the box.
-
I have at least one airbrush somewhere and I fancy having a bash at some coloured dyes/paints. So recommends please for a budget airbrush compressor that is fairly quiet. I have a big one in the shed but I can't fire that up indoors when I'm often at it late at night.
-
That's the way to do it.
-
Just paint on the laptop. I have fireworks which I love on the vista machine but don't think it'll copy over. Maybe d/load gimp.
-
You have great skill and imagination sir. Well done.
-
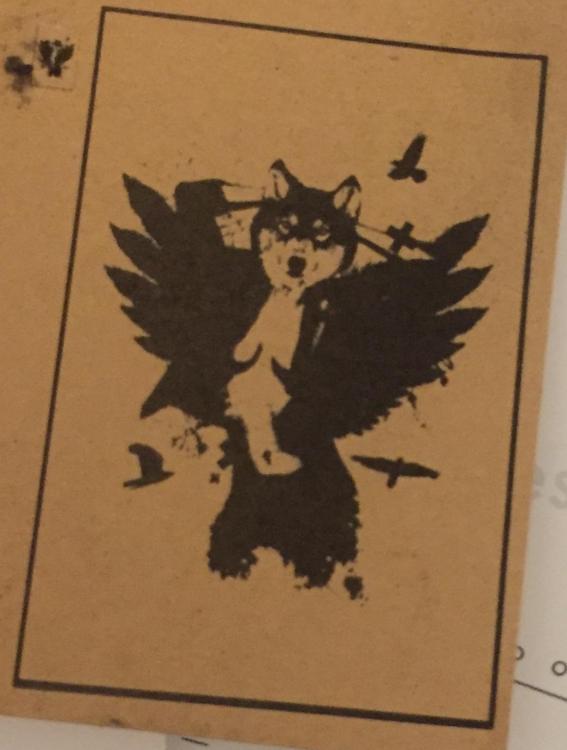
My dogs start telling me off If I haven't started cooking their minced rabbit by 5.30pm. This comp is W7 sp1. The size window thing didn't work. Once I wipe one of the boxes it won't allow any input at all. This (I have a girl friend who's all wolf) printed at 60 x 90 inches. actual size = 60mm x 90mm imported from elsewhere.. A bit sooty cos I smudged it but at least now I can see the light at the end of the tunnel.
-
Computer Drawing Software For Making Leather Patterns
toxo replied to Blackey Cole's topic in Computer Help
Now you're talking! The ladies adore the massage. Here's something I knocked up today. Quite pleased with myself actually because it'll take different sized bottles just by tightening the belt. Started out with belt loops hence the holes. Colouring to follow.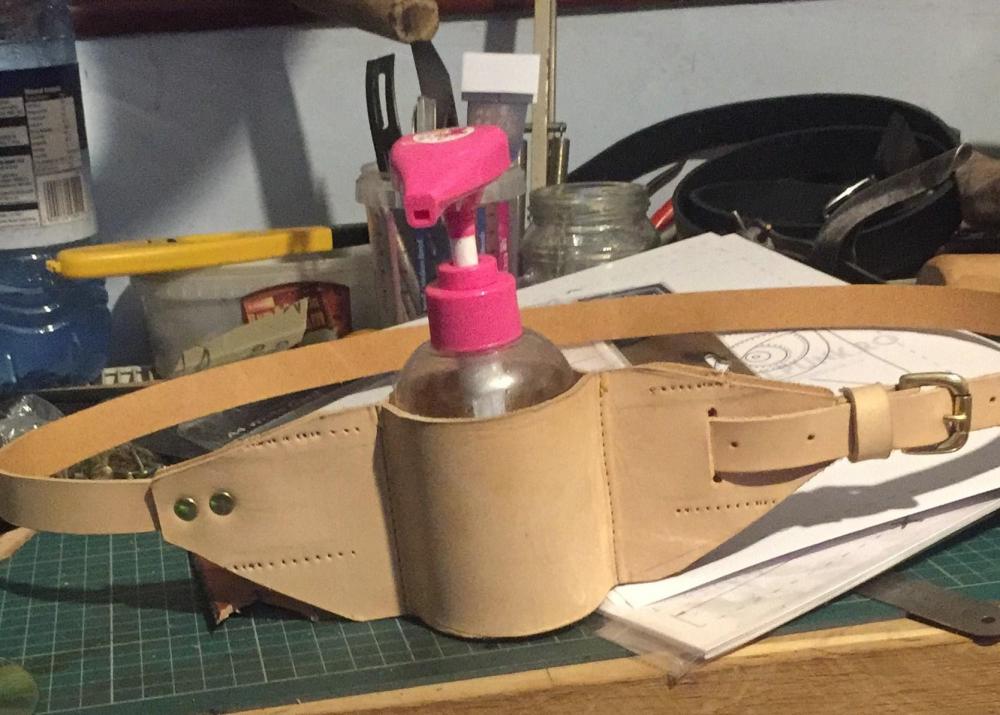
-
My God man! Your brain must be at least twice the size of mine. I'm gonna have to print this and ingest ingest it bit by bit. I can't tell you how much I appreciate the help and perseverance. I don't know what was closer, sending it back or chucking it in the bin. If I can make it work the excitement will come back. The thing seems to have the power required. Dogs dinner beckons. I'll have a go later. Thanks again Mike.
-
Computer Drawing Software For Making Leather Patterns
toxo replied to Blackey Cole's topic in Computer Help
My first post was in reference to making patterns bigger than one A4 page. My second post was reply to your query.