pete
-
Posts
1,278 -
Joined
-
Last visited
Content Type
Profiles
Forums
Events
Blogs
Gallery
Store
Everything posted by pete
-
 I get the best results by antique-ing and then wiping it immediately with a PAPER TOWEL. Wipe horizontally and then vertically. It takes the "big" gobs of antique off. THEN- LIGHTLY buff with sheep scrap. Then- buff hard with paper towel. By using the sheep scrap to take it off immediately, it takes way too much off for me. I want it to stay in the cuts. The scrap "after" picks up the "little" gobs that stay in places like the under-cuts if I LIGHTLY buff it until I'm happy. pete
 -
Doesn't affect it a bit. I've done a dozen or so binders, albums, etc and they all were laced (double loop) Use good lace and tap it when you're done to flatten it. It won't bind at all. pete
-
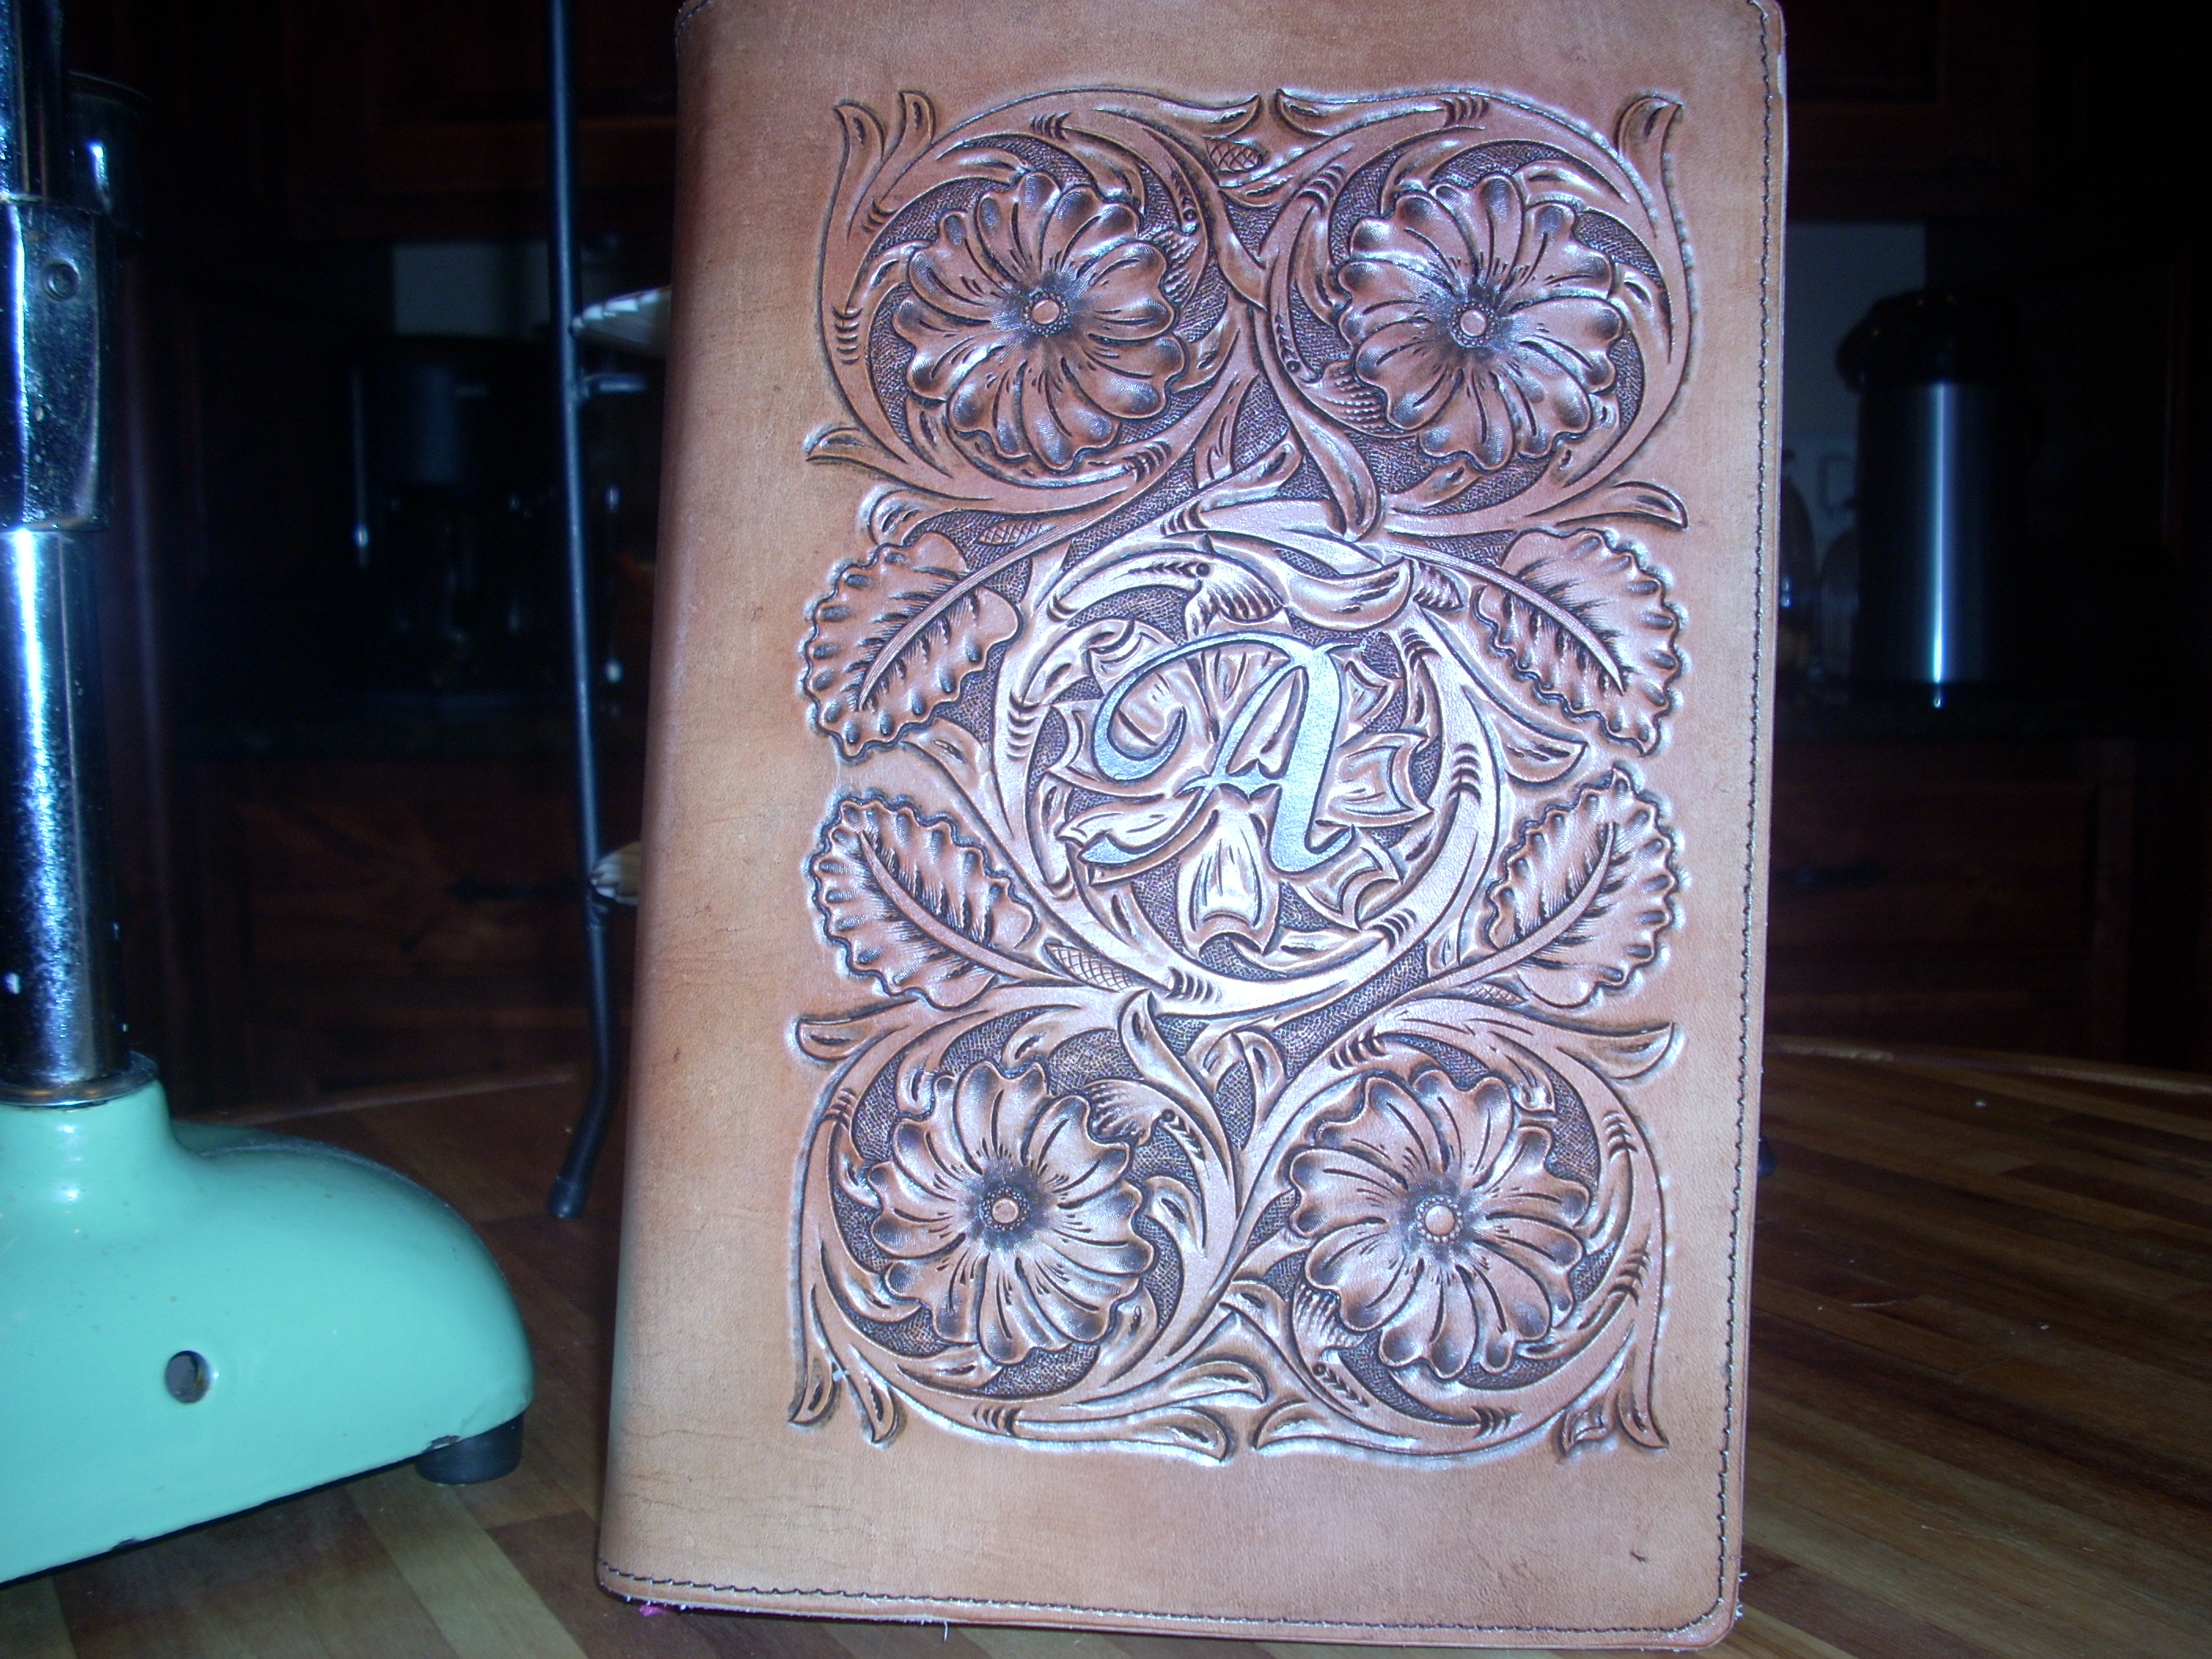
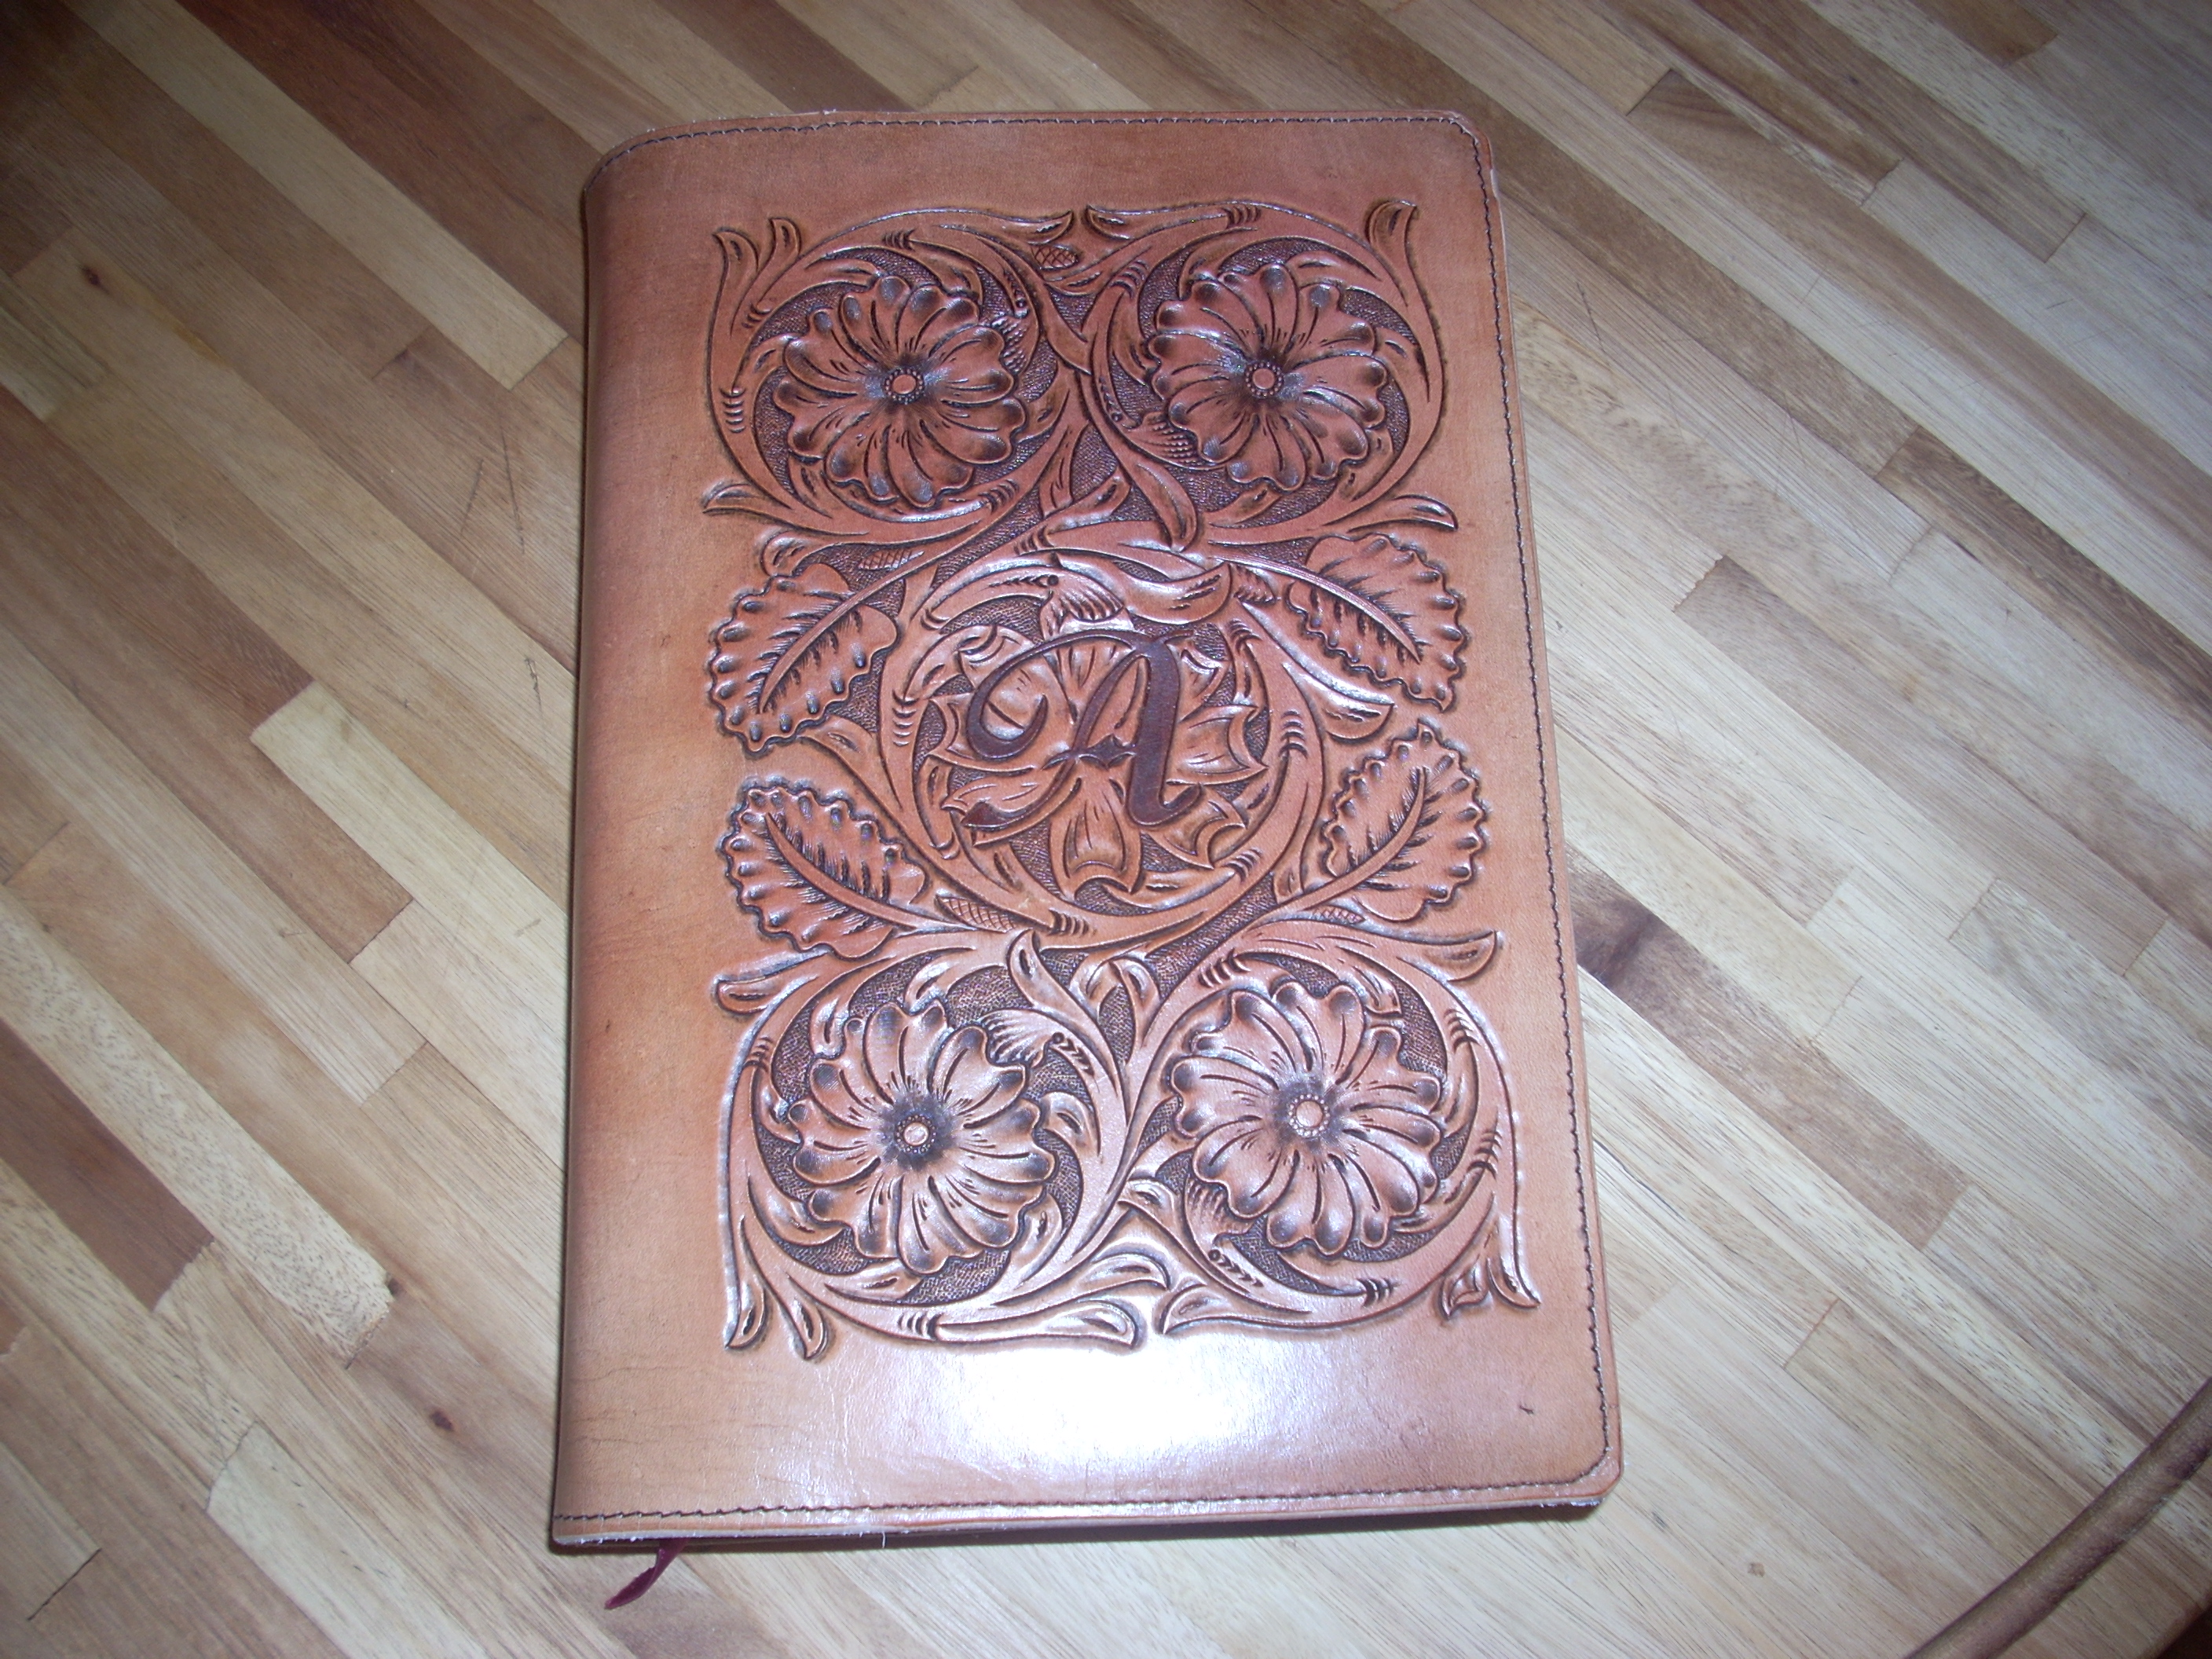
Beautiful job. The ONLY thing that I would have done differently would be to carve the name. I hate stamps even though you did a great job centering them, and carving really makes it unique. Wouldn't change anything else- just great work!! How do you keep the "rope" edge even? Never used that stamp but I really like it for borders. Do you scribe a light circle and just center the 2 "wings" along it? pete hold on! Are those stamped letters or did you carve them!?!?!?!?!
-
Hi and welcome! The oil that Chan used is a saddle oil from a company called BEE NATURAL. Oil is applied after tooliing and drying to put back the natural oil that the leather lost both in the tanning process and casing. It's a good product. I've used it a lot. I like it because it doesn't color the leather whereas neatsfoot or olive oil will. I wouldn't use almond oil for many reasons. Just don't. I don't recommend olive oil either. Oil your leather with a product made from the leather/cow/etc. After drying and before finishing, oil lightly. Piece of wool scrap, tip the oil to wet and scrape the wool across the lid. Apply in circular motion. Just a nice even coat. Don't slop it on. Let it soak in overnight if needed. TAKE YOUR TIME working with leather. Apply to both sides. The underside(flesh side) is actually the more important side to oil, but the top(grain) side needs some but restoring the "color" to the leather is the best reason. Hope this helps- POST YOUR WORK!!! pete
-
Im thinking if making some filagree pieces and want to know if I should antique before or after I cut them out. I know that the paste will be a pain to clean out in the small spaces, but what do you fellas do to get nice color INSIDE the spaces. Does neats take care of it? pete
-
WOW! From a few wallets and belts to this in a years time!!!! Who are you working with, or was this yours from tree to antique? pete
-
I don't know why everybody is showing how to do this where it requires you to scratch a mark or two to line up your holes. Take a piece of clear plastic. I use a strip from a plastic milk jug. Draw a line down the middle. mark (with a sharpie of awl) a set of holes along the line the space that you desire. hold the punch on the top side and Look under the plastic to see the hole punch opening to put the hole in the exact center. turn it over and punch your holes. Use the plastic as a template to simply place it on the leather and put the punch in the pre-punched holes. I made one 1 1/2" wide and use it on anything. Doesn't matter as the centerline is the centerline. This works especially well where I had trouble keeping my OVAL holes perfect. pete
-
Had a though laying in bed last night. I have a few 3M rubber sanding blocks around. I don't have an elec. sander but I use different grits to smooth my edges before burnishing. I took one and figured that I could use one to burnish with, so I cut a piece of canvas, pulled up the ends and stuck it onto the "spikes" as you would with sandpaper. Not only did it work great, but I took another and heated a screwdriver shaft and made a groove in the rubber. Now I can sand AND burnish with them. It's so much easier to hold it and rub hard than it was pinching the canvas with my fingers. My hand just about wore out burnishing 4 saddle fenders and jockeys. Hope that this is helpful. pea-aire' Id'e be interested to hear if anyone else likes the results. Especially you saddlemakers.
-
For me it's usage and looks. If it is peened properly then it poses no problem as far as chaffing or rubbing. If it needs to look nice then I peen the inside and leave a nice flat brass on the visible side. pete
-
what is the difference between" 1/2 chaps" and chinks? pete
-
Pilot Error Becomes A Gift To Myself!
pete replied to pete's topic in Purses, Wallets, Belts and Miscellaneous Pocket Items
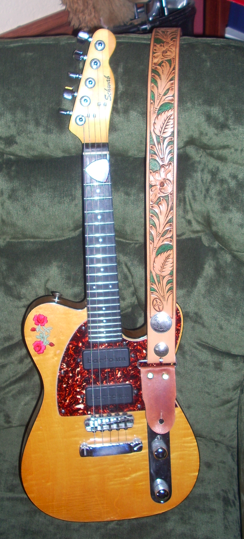
thanks! I was pretty happy too. Can't believe I played around the country for so many years with a boring Guitar Center strap! -
Pilot Error Becomes A Gift To Myself!
pete replied to pete's topic in Purses, Wallets, Belts and Miscellaneous Pocket Items
I made the center hole where she wanted it. The big trophy buckle stuck way over from the tongue and added almost 3" to the hole placement- leaving only about a 2" tip. I normally leave a 5" tip. So yes, it would have made the overall belt too big, but the center hole placement was way off. pete -
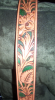
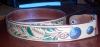
I had a belt order called in last monday. Just a size and width. I told the woman that I would need more information but she said that it was a surprise for a niece, just some western design would be great, and she would be leaving the country by thursday. Belt came out great, but.... she didn't tell me that the girl was also given a big trophy buckle and not a tongue style. Belt came out 3" short on the tip end!!! I finished this and her belt but had a really short belt left. My dear wife suggested that I FINALLY make myself a mandolin strap after all these years. Attached the home made end piece, had 2 holes from the blank, so I added a 1/2 dollar and a nickel concho and......VOILA' My new strap.

-
I think that a really good place to start (I wish that I had done this) is to look at the Tandy "Lucky 7" ( I think they call it) set and buy really high quality tools of the same style. I mean get a Bob Beard, Chuck Smith, etc set of tools that match the beveler, pear shader, camo etc. Chuck makes a really nice knife as does Leatherwrangler, and many others. I think that you can do some great work with the 7 mentioned on the Tandy add. I know that I have them all and have traded up over the years to the same type of tool but a top quality. They may cost 25-40 each but you only need about 7-8 to do really great work. Of course you will eventually want specialty tool like skiving, trim,fancy mallets or mauls, etc, but as far as tool go, I use about5-7 most all the time. hope this helps pete
-
Hmmmmm............. Didn' t you have to Kill a calf to GET the wallet? "conundrum- wrapped in a wonton I think"(Yoda voice) Cereally, Kevin at Springfield in Mo. 800.668.8518 Tell him I sent you- he'll give you a good seat!
-
Cutting Through/tearing The Tracing Paper With The Stylus
pete replied to LilRay's topic in How Do I Do That?
If you are using tracing film then I agree, you might have a burr or rough spot on your stylus. You could very easily be pushing too hard. If you push hard to get a tracing, then your leather is way too wet. It won't trace if it is. You should be able to use as little force as you would to write your name with a pencil. What are you using for a stylus? Pictures are great if you can figure out how to download one! pete -
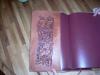
the top is what I wrote about regarding the egding Comments welcomed(but I like it!)

-
Big Belt
pete replied to hidepounder's topic in Purses, Wallets, Belts and Miscellaneous Pocket Items
Robert- FANTASTIC work as usual! Request- is there ANY way the you might do a really short tutorial on the finger cuts? I can see the finished result but have no idea as to where you begin the patterns. the acanthus, the overall flow, etc. Just a 3-4 series of fotos of a simple few swirls would be great. Maybe a piece of cased leather, then the first cut, then the second, and so on. I can take it from there but I want to see the basic beginning progression. No pressure--- but I KNOW that I'm not the only one here who would like to see the starting cuts. thanks SO much for showing your work and your constant critiques and tutorials. reapectfully pete -
Properly Stropping Swivel Knife/ Learning Proper Technique
pete replied to LilRay's topic in How Do I Do That?
I would give Kevin a call at Springfield leather 800.668.8518 and tell him what you need. He will set you right. Not a big deal if you know how but must be done right and alot! Get a sharpening jig they sell. It puts the blade at the correct angle to strop and sharpen. Let us know of you need more information WE'RE HERE TO HELP! pete -
Deluxe Leathercraft Kit Delivered Today Need Help!
pete replied to LilRay's topic in Getting Started
Hi and welcome!!!! Great people here and a lifetime of learning and advice! Check out a number of books- hang out at a Tandy book section! You will find to your delight that a number of tools are SUPPOSED to be held at an angle whereby you only use the corner of the tool!!!! YIPPEEE!!!! Stay with it and stay in touch- there are no stupid questions... (left....I've asked them all!) pete -
correct. -p-
-
REALLY nice Kate! What kind of beader blade do you use? pete
-
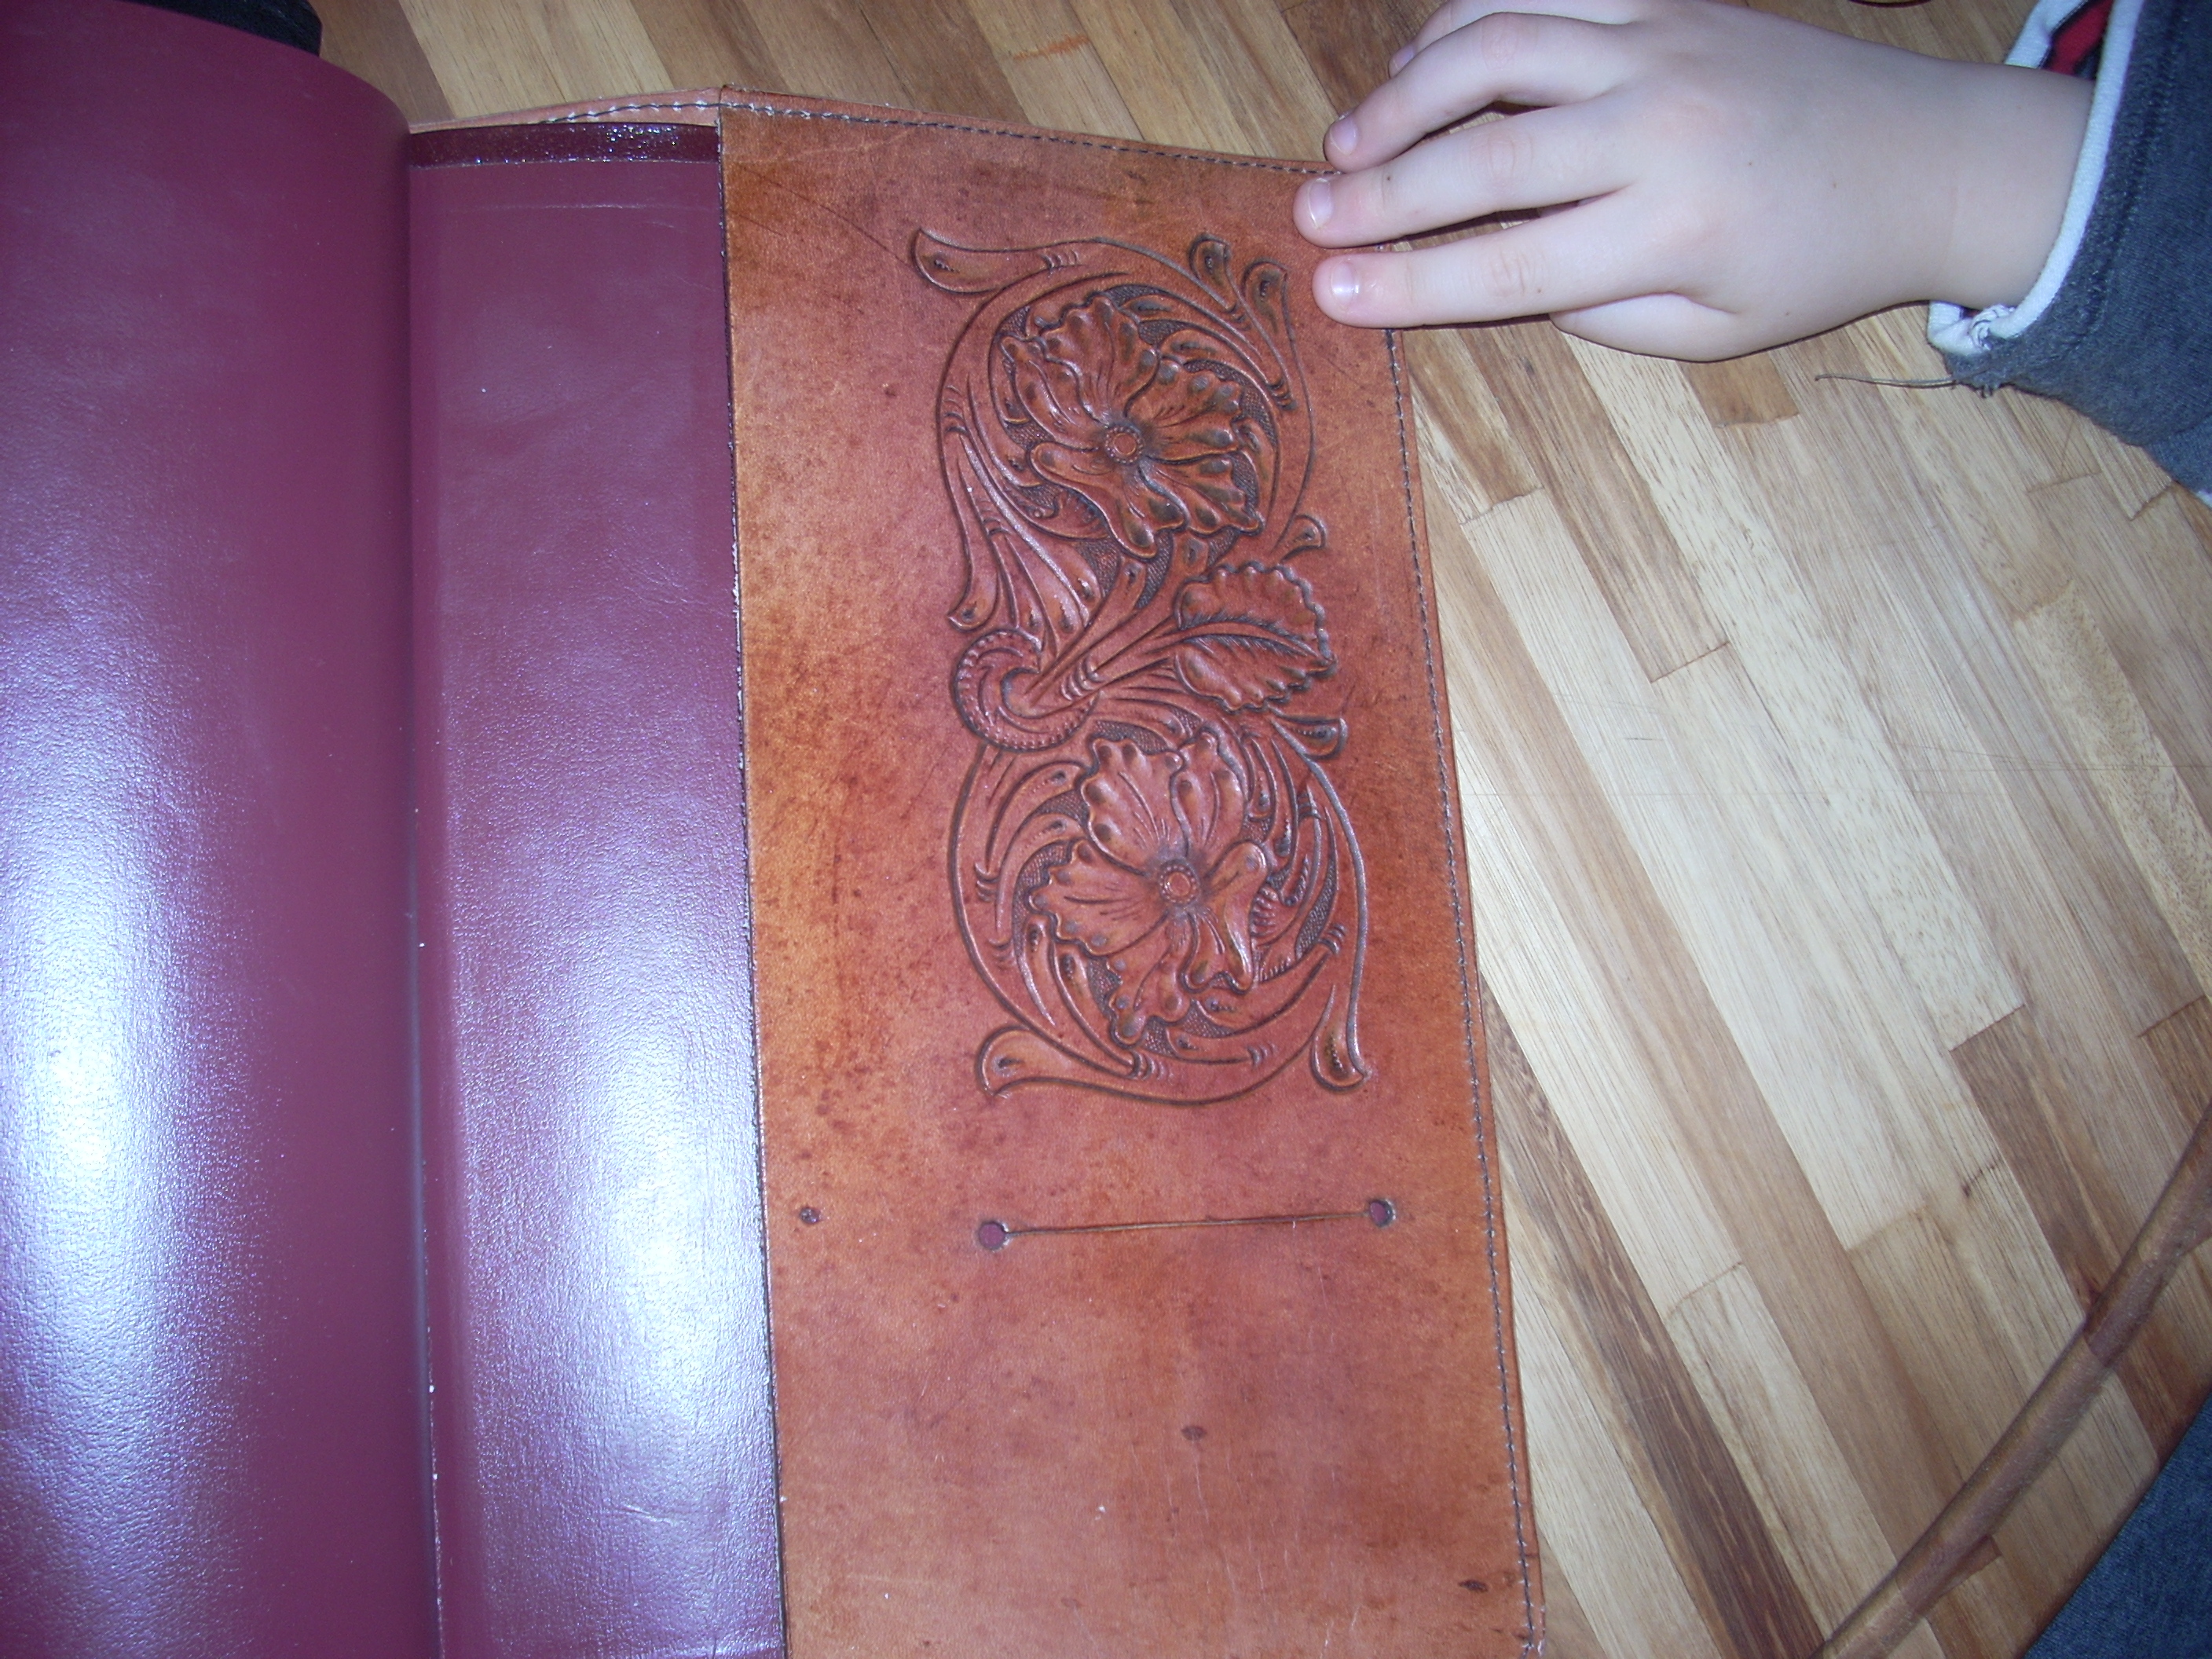
Barge or Master is fine if it is permanent and you are not going to sew it. if you are then you can use rubber cement as it can be moved around and still stick. The last cover that I did- I had an idea that worked well so I am going to do it from now on. Because the cover (I used 3/4 oz) is thin and the flaps only cover a few inches on each side (to hold the book flaps) then there is a piece in the middle that has only the one side and that's hard to burnish. I cut a strip about 3/16ths, skived the ends, and tucked them under the flaps on each side leaving leather all the way across the spine.. This way when you look down on the top or bottom of the cover it looks as though it is 2 thicknesses all the way across. I did this so that I could get a nice burnish ALL the way around the cover and not just on the flaps. Let me know if this confusing and I'll take some fotos. pete
-
I buy a lot of blanks from Kevin at Springfield. They are really good and consistent. If you are simply practicing holes and tooling the buy some scrap pieces and cut them 1 1/2". A shoulder is expensive, you might not get that many pieces long enough for a belt, if at all. PRACTICE until you are good enough to be happy with the finished product.My suggestion would be to take some 8-9 scrap maybe a foot long, carve and tool it and practice antique-ing or finishing and edgeing and burnishing. If you like what you have then buy a blank and make yourself a beautiful belt. No sense in wasting a good blank or a prime piece from a shoulder/side/culatta, etc until you have the technique that will make a good finshed product. LOT'S of help here from start to finish. pete
-
How To Make Applying Cement Less Of A Messy Process?
pete replied to Rockworthy's topic in Leatherwork Conversation
I make a lot ob things like bible covers that require a thin line of glue along seams and edges. 1- use tape to tape off the areas that you don't want to glue. I use scotch tape and leave a 1/8 edge exposed and run the glue along it. Let it dry for a few minutes and pull off the tape. 2- get a pop bottle and fill it with Master. Poke a small hole in the top. You will get a thin line when you squeeze it, it won;t dry out, out a sheep scrap on the top to seal it and to use for a spreader, and throw it away when it's empty.