pete
-
Posts
1,278 -
Joined
-
Last visited
Content Type
Profiles
Forums
Events
Blogs
Gallery
Store
Everything posted by pete
-

Mother's Day gifts
pete replied to Bryan's topic in Purses, Wallets, Belts and Miscellaneous Pocket Items
did you really enjoy making it for the whole 30 hours? Was it fun and relaxing and did you feel good about the nice quality hand made work when you were done? Are you proud of the final result? Then (for you) that was a 30 hour project. If you are really concerned about the time then think back and figure out what took so long to do. Were you TOO careful beveling, cutting,etc. I like it- it looks very nice and I can't fault the piece. And you mom will LOVE it. What's THAT worth in time! Well done pete -
VERY nice work! I have a card holder kit too from TLF. One thing that you should keep in mind when doing any project is the amount and depth of tooling/pattern that will occur at a fold or bend point. When drawing my patterns I always keep that in mind. The top of the leather is where the strength is and should be semi-avioded when tooling or stamping a piece that will get continuous folding. Again- really nice tooling and color!!!!! pete
-
You shouldn't have a problem seeing/finding your cut line if you cut cleanly, deeply, and the casing is correct. The lines should stay open and clear. If they close up your leather is probably too wet. pete
-
is that Neat-Lac or is it a stain of some kind.????? pete
-
I've never been interested in what is commonly referred to as bdsm things but I had a thought last night while discussing a business venture with a friend. It may have been used already but I thought that someone here might like to use the name"Bound to be Pleased" as a name for your endeavors . Feel free to use it of you want. I won't hunt you down 5 years from now and ask for 10% of the net and tee-shirt rights! pete
-
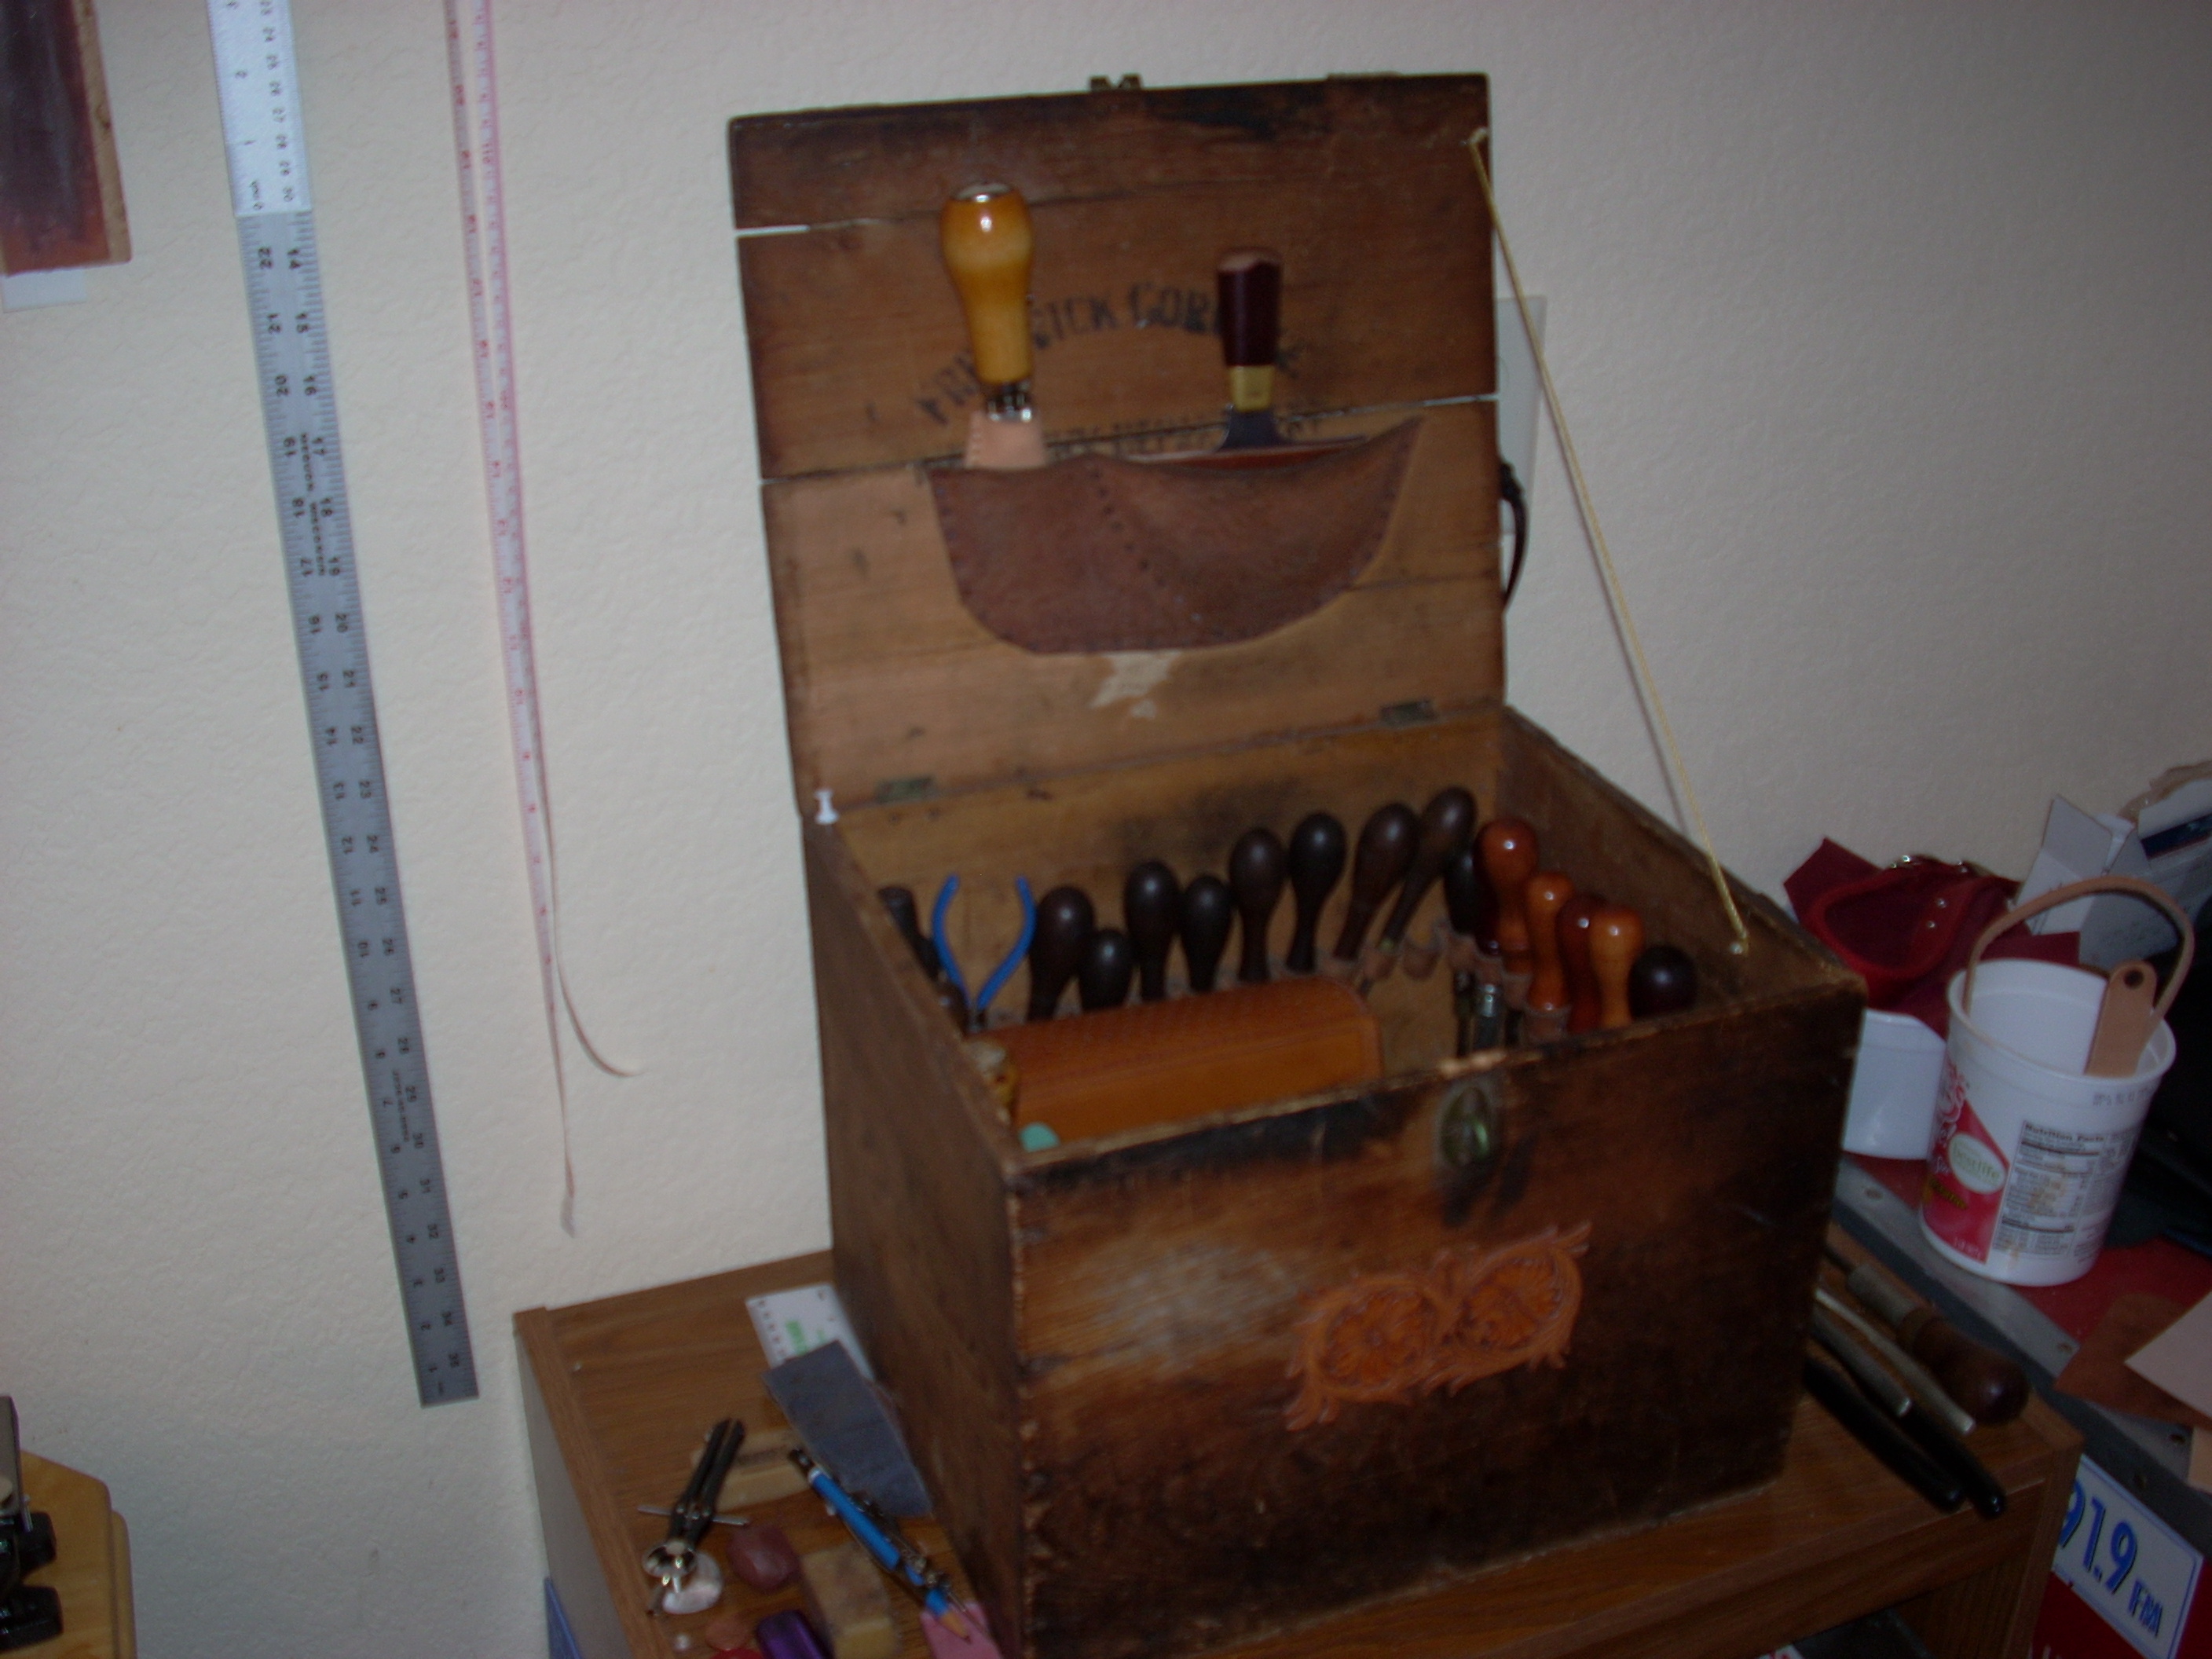
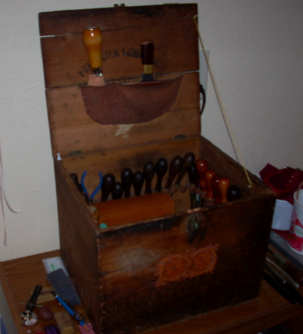
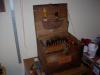
the sheath at the top was for a head knife-fits mine perfectly. I added the filagree on the front- that's all. My mother got this for me at an antique auction(Butterfield &Butterfield) in Sans Francisco in the 70's.
-
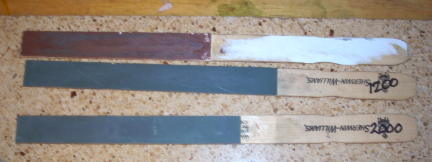
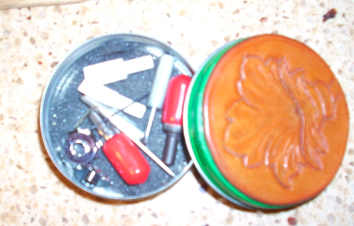
here's some things that I have come up with over the years that are really cheap to acquire and work well.1\ 2-old cavalry leatherworkers tool chest with orig Dixon tools 1-free plastic boxes from any golf shop-golf shoe cleet replacements.GREAT for screws,conchos,rivits etc and "shot bags" I filled them with bb's. 3-sherman-williams paint sticks with 1200,2000 grit and rouge rubber cemented- easily changed 4-walmart pellet can for extra swivel blades 5-tandy swivel sharpener with 30* and 35* marked in sharpie so no guesswork to stop or sharpen pete


-
cell phone case
pete replied to Vikti's topic in Purses, Wallets, Belts and Miscellaneous Pocket Items
really nice! Would you mind borrowing it back from him and taking a few pictures of the back and insides? pete -
ready to learn how to finish
pete replied to rccolt45's topic in Gun Holsters, Rifle Slings and Knife Sheathes
don't forget about KIWI neutral shoe polish. Many famous saddle makers and toolers have used it and nothing else. pete -
funny that you would post this> I was playing around with a mulefoot last night and thought that I would do a dragon image and use the mulefoot in combination with my pro petal for really 3-D scales- I haven't seen anyone do that here to my recollection. Maybe it's common- don't know....... do any of you dragon folks do this??? pete
-
is that REALLY "barf - foot" leather? pete
-
if you really burnished the edges and a coat of oil and sun dried, I think that you would like your effort a WHOLE lot more. It woulf make a world of difference in the end. nice work. Haven't tackled my first holster yet. pete
-
New offerings from Peter Main
pete replied to Rawhide's topic in Purses, Wallets, Belts and Miscellaneous Pocket Items
speaking of posting, where's your things! I miss seeing your creations so get with the program!!!! We all want to see what you have been up to!!!! stay well pete -
I got it from Springfield Leather but I think that even art stores sell them .They are erasures that look like the bottom of those shoes from the 70"s. Really dense and an amber color and HARD! Lasts forever and you clean it by rubbing it on concrete! Call Kevin at Springfield- he'll know exactly 800-668-8518 pete
-
what about glassing it before you mold? pete
-
I've had my " shoe gum" erasure for years and have used it for everything from getting barge off my marble to cleaning my glue pot threads. I made a little holster for my trim knife this morning and had to glue it to the very edges. Normally I would have glued it away from the edge and then burnished it. I ran it along the edge and it took off all the glue seepage and it burnished great. The reason that I am passing this along is that a week or so ago I was reading an inquiry here from a holster maker who had the same problem of gluing too close to the edge. The common response was to glue with enough leather to trim before stitching and burnishing. The erasure "pulls" the glue from the seam and leaves no rubber thing-ies sticking out to ruin the burnishing. Hope this helps someone! pete
-
sounds pretty good but you lost me at the Mt Dew. Never put it to my lips(yeah- and I live in Arkansas!!!) what exactly does it do for the recipe? Or is it a "ya, sure, ya betcha" thing from WI or MN? * (no offense) pete * I get a kick out of some of the crazy stuff Babe Winkleman's wife puts on walleye and perch, pike. Pan seared muskie with a tire iron and Stabil glaze.
-
New offerings from Peter Main
pete replied to Rawhide's topic in Purses, Wallets, Belts and Miscellaneous Pocket Items
I'm really curious. What does Peter charge for something like that? 1-2 thousand per belt wouldn't surprise me though. Seeing as how you two are pretty tight, I thought that he might allow you to tell us if you knew. pete -
not enough neatsfoot oil?
pete replied to zaptoid's topic in Gun Holsters, Rifle Slings and Knife Sheathes
If you heavily dyed the piece(dunked it) or put a lot of applications, then it is the dye. It will stiffen the leather a lot. More neats is not the answer. If you use enough to really soften it then you have used way too much and it will be mush before long. FOr this one I would suggest just a coat or two of Bicks. pete -
another tip that I have not seen posted here. When you cut the ends of your stitching, hold the x-acto blade as close as possible to the leather (and obviously as close to the thread) and WIGGLE THE THREAD---- DON'T SAW OR CUT WITH THE BLADE. Makes the end almost invisible too. I can't believe how many folks I have shown this o who have been hand stitching a lot longer than I! pete
-
A dremel tool and the little barrel sander that it comes with works great for all sizes of projects.
-
. But to really do it right, you'll need a petal lifter beveler also. what might THAT be???? Just a round of figure beveler?? pete
-
I have seen many of her videos- a very nice girl and a pleasant presentation, but she really doesn't have a clue as to how to tool compared to the expertise that you can get here. We have world class leatherworkers on this forum. Take advantage of them! Ask away- we're here to help and share!!! pete
-
New c5leather iwb design.
pete replied to C5LEATHER's topic in Gun Holsters, Rifle Slings and Knife Sheathes
my thought was that the loops could be reversed with the folds at the top and the sam browns at the bottom. That would pull the buttons into the notch to my thinking. Just a thought- I don't make these and you do- and really well! Nice work my friend pete -
New c5leather iwb design.
pete replied to C5LEATHER's topic in Gun Holsters, Rifle Slings and Knife Sheathes
I like it- clean and aesthetic. Might you not think of putting the sam brown's on the bottom? VERY little chance of having them open where they are but even less if they were below I would round the tips instead of pointing them . I really like the looks of this set-up. great work pete