-
Posts
235 -
Joined
-
Last visited
Content Type
Profiles
Forums
Events
Blogs
Gallery
Store
Everything posted by spacedog
-
You have very impressive skills. Outstanding work.
-
I love the colour you got on that first one. Nice work.
-
Nice looking work space, and excellent work.
-
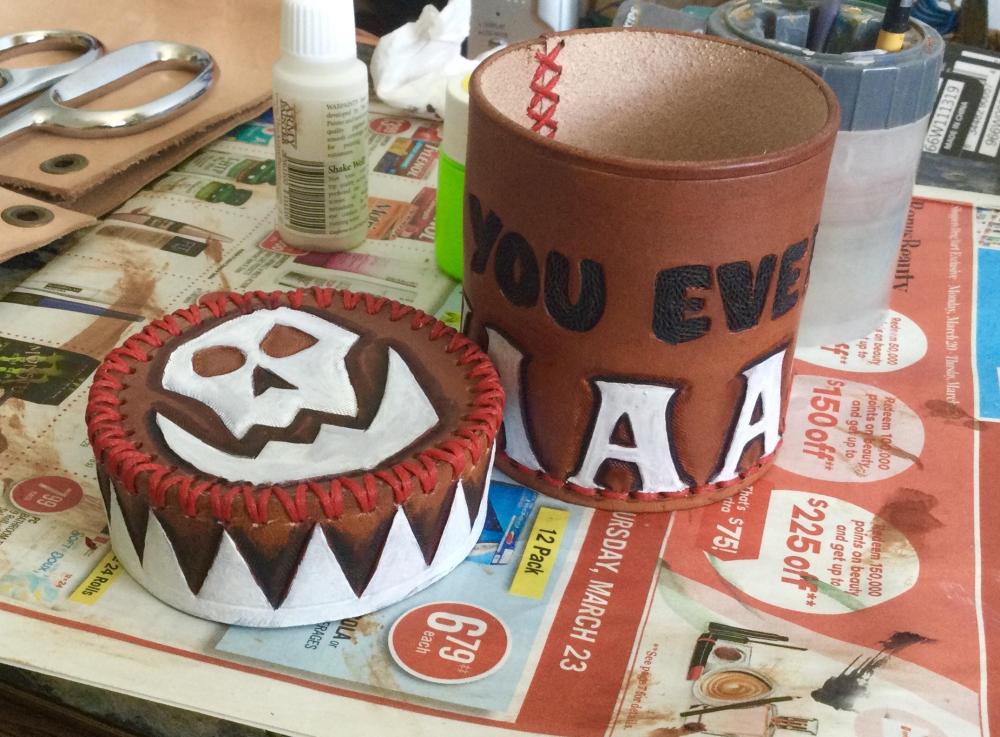
Thanks Gezzer. I don’t know what the stitches are called. Ha. I tend to sew the seam to make the tube first, then I sew in the bottom. The needle to sew the bottom is going diagonally thru both pieces so I don’t have to reach into the cup until I want to tie it off. Which makes the last stitch a real pain in the butt. I was thinking of making another one soon. I will post it here if and when it is done.
-
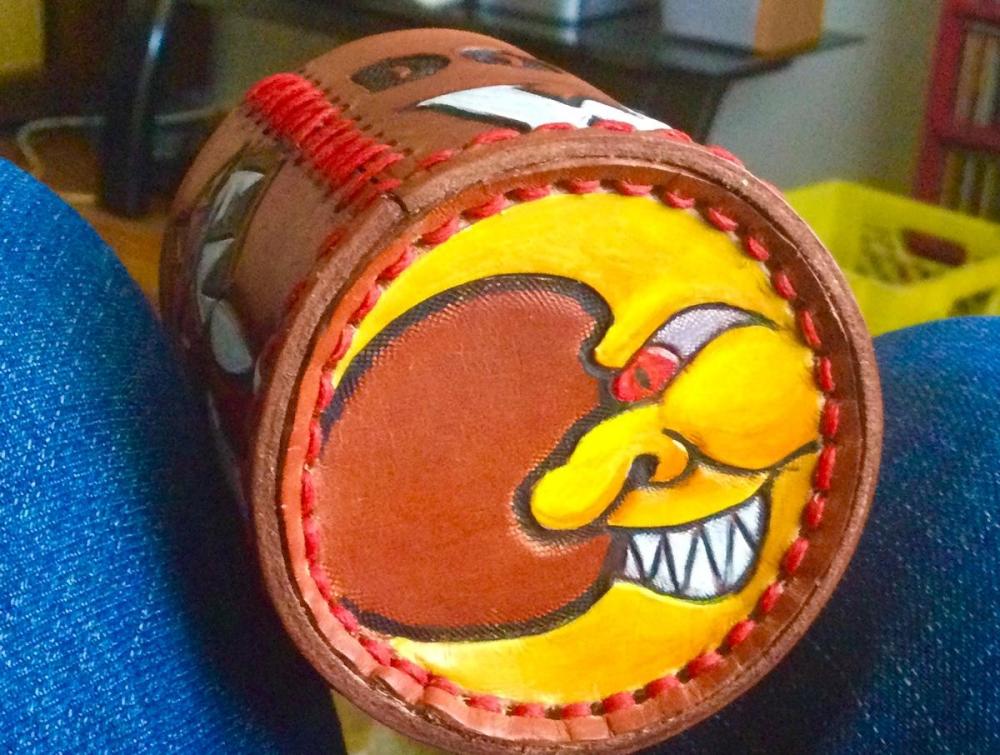
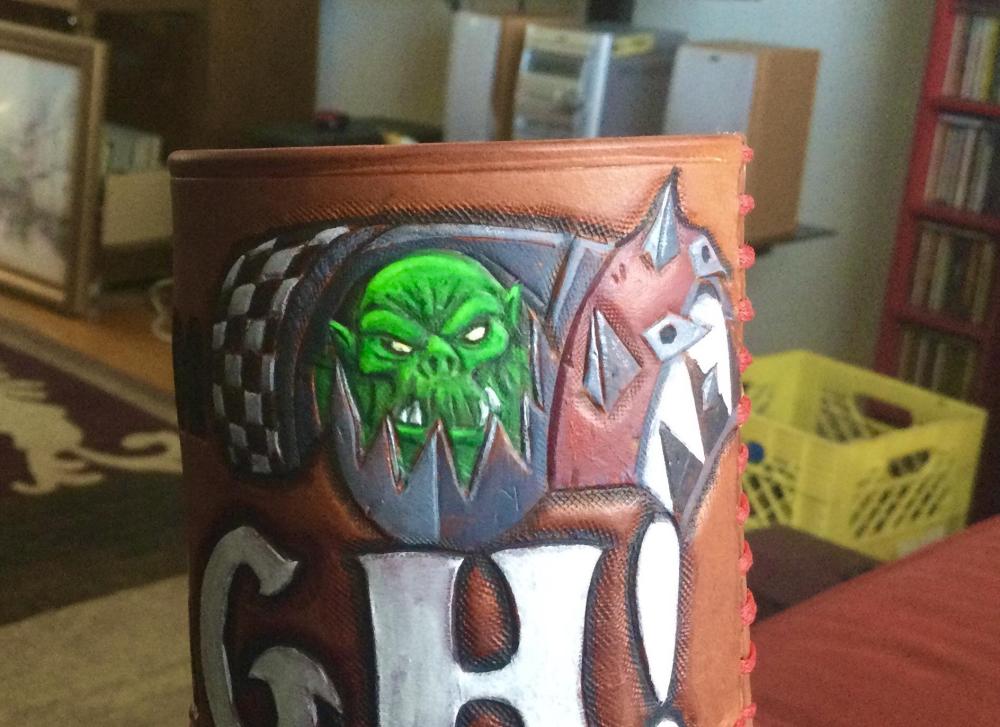
I haven’t posted for quite a while, but then also haven’t done much leatherwork either. I did, however, make another dice cup for gaming tables. The method is very similar to what I have posted here previously. Tooled leather, dyed and then finished with acrylic paint.
-
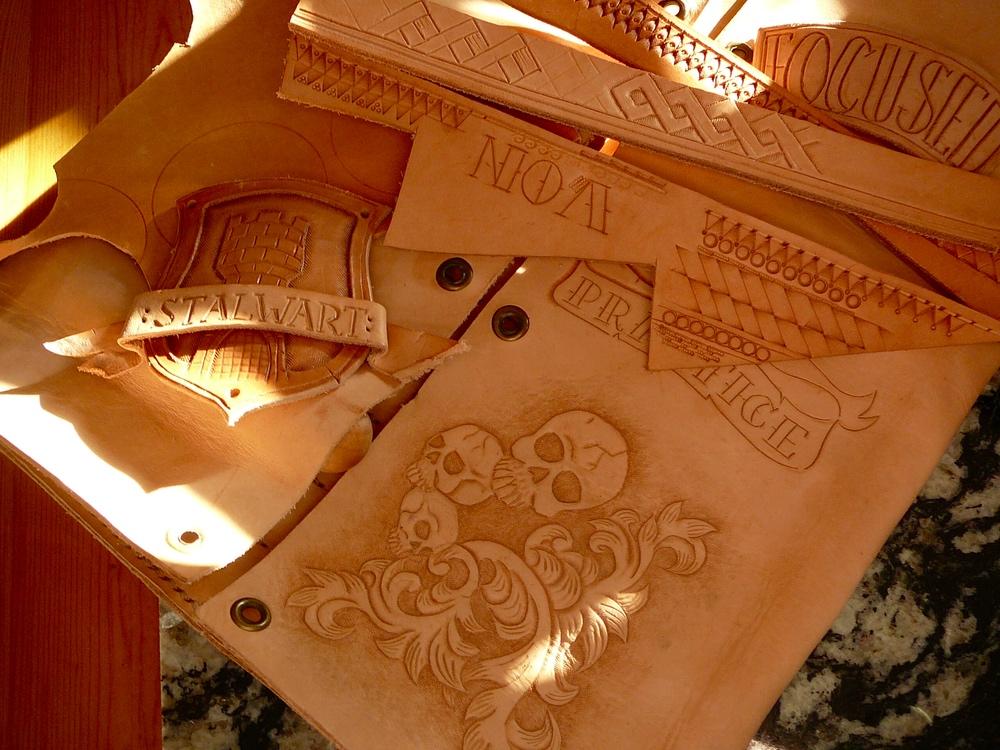
I haven’t been doing much leather work lately, and then mostly practice stuff. I have been needing to finish a bag I started for my wife so I will see what I can get up to. Here are a few scraps I’ve been banging on, trying out border textures with different tools.
-
It looks like you are making great progress, Gezzer, in both the tooling and the dyeing. Keep up the good work.
-
Wow, that is top notch craftsmanship. Well done sir.
-
Carved Holster
spacedog replied to Bawarrior's topic in Gun Holsters, Rifle Slings and Knife Sheathes
Those oak leaves are great. -
Looks great.
-
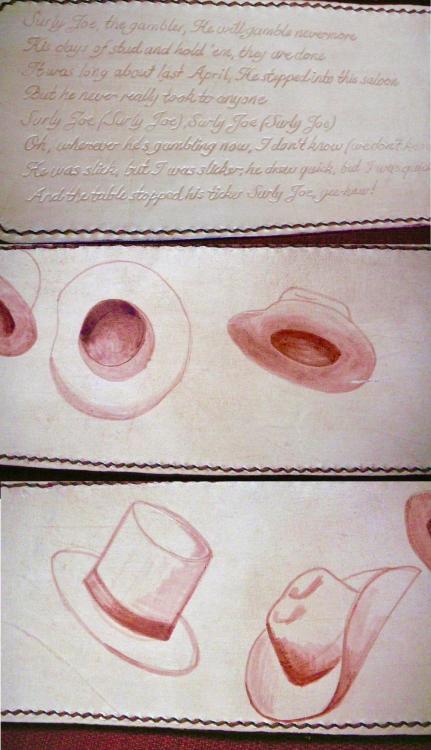
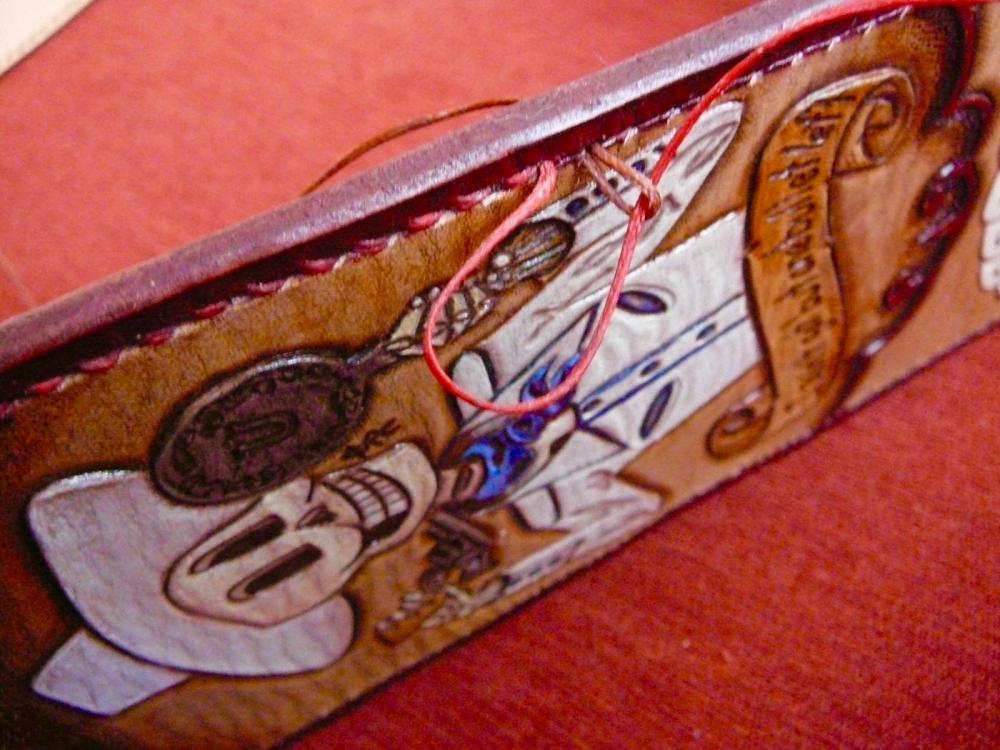
I thought about putting something on the inside of the guitar strap, but decided not to do any tooling. Instead I put the first verse of the song, Surly Joe, that Buster sings in the saloon. At the end of the song everyone throws their hats in the air so I put some of those on the inside too. I just used some of the Bordeaux dye to paint them on.
-
Thanks Gezzer. I might try that option the next time I attempt something similar. Thanks Battlemunky. I gave it a shot. (Ha) Thanks Chuck. No worries, just looking for ways to keep improving. There are a bunch of clips from the movie on YouTube if you are interested.
-

Takedown fly rod/reel case
spacedog replied to GrampaJoel's topic in Satchels, Luggage and Briefcases
Wow! That is very nicely done. Just excellent work. -
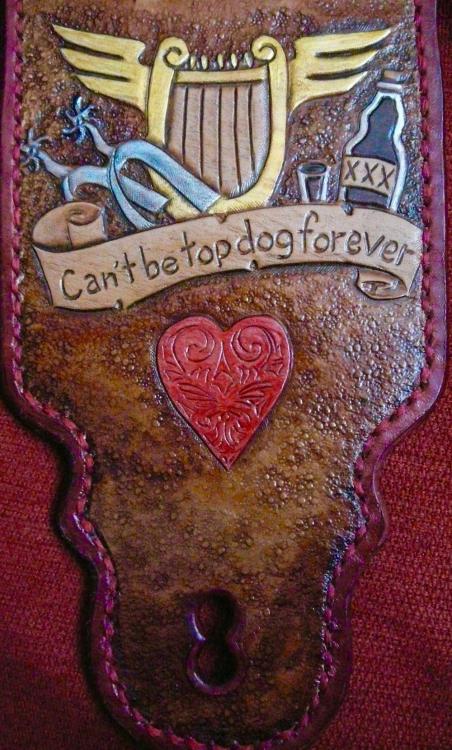
And finally, the end. This bit got the better of me. I could not think of a way to represent the strings on the harp and also use the background tool. So I left it blank behind the harp. Again, if anyone has a solution or thoughts on how it could have been done, please comment. There might be someone else wondering how else it can be done, besides me.
-
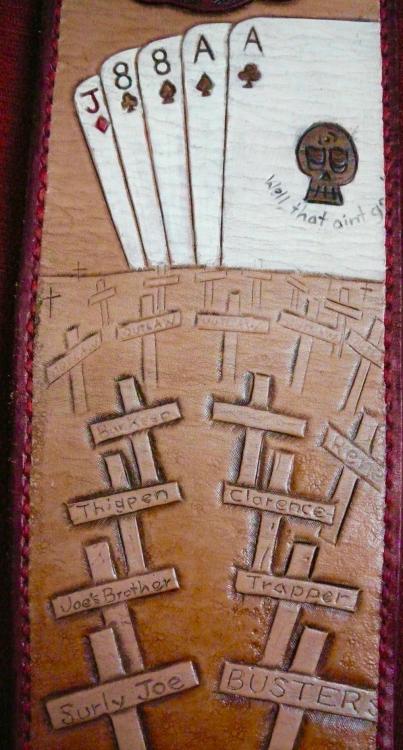
Nearly done. Spoiler Alert! There are a lot of deaths in this movie, and I wanted to portray it with graves spreading to the horizon, which has “the dead man’s hand” above it. It works, but feels like I rushed it a bit, like not fitting in all the words on the ace of clubs. It should say, “Well that ain’t good”. Not sure if that qualifies as irony, or not.
-
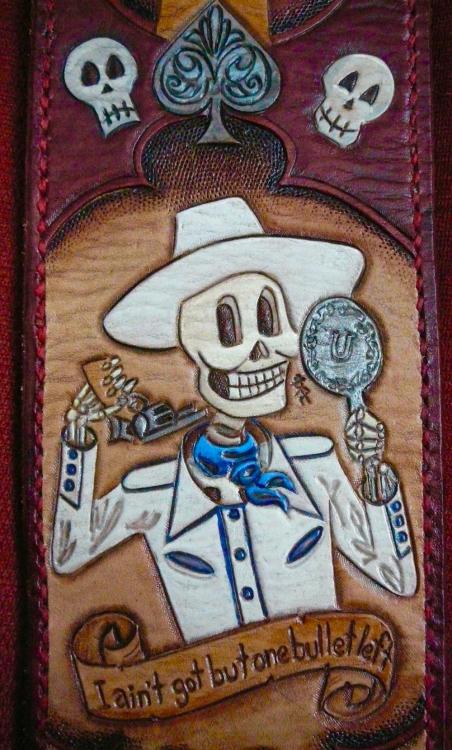
This was my favorite scene in the movie, the trick shot, and it was fun to draw out, but difficult to convey the distance. His elbow and the mirror should look closer than the rest of him, and the squiggly thing beside his head is the opponent in the distance. Again it is all pretty cartoonishly drawn, but that is what I was going for. The whole figure is acrylic paint over dyed shading of the background.
-
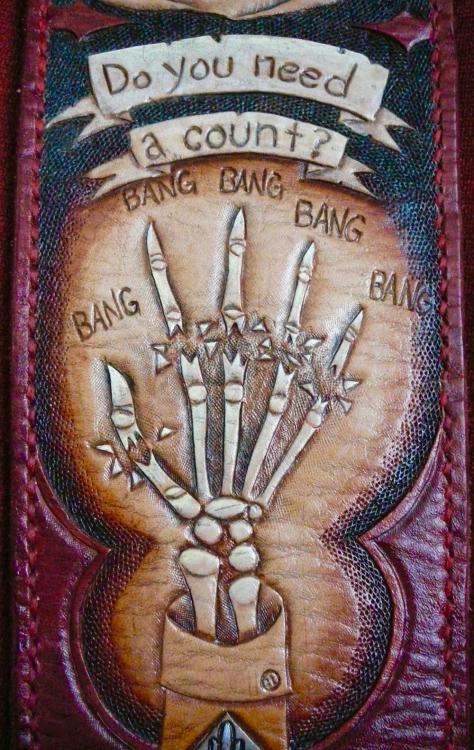
The shootout/count down was tricky as the small fragment needed to stand out from the background. I thought it would get too muddled if I used the background tool throughout, so I just used it at the edge. Not sure if I pulled this off correctly, but since it is for me as opposed to being sold, not a big deal. If anyone has a different option on how it could have been done, let me know please. Obviously, it is painted with acrylic on the bones to help them stand out, and no I’m not sure about the accuracy of the anatomy.
-
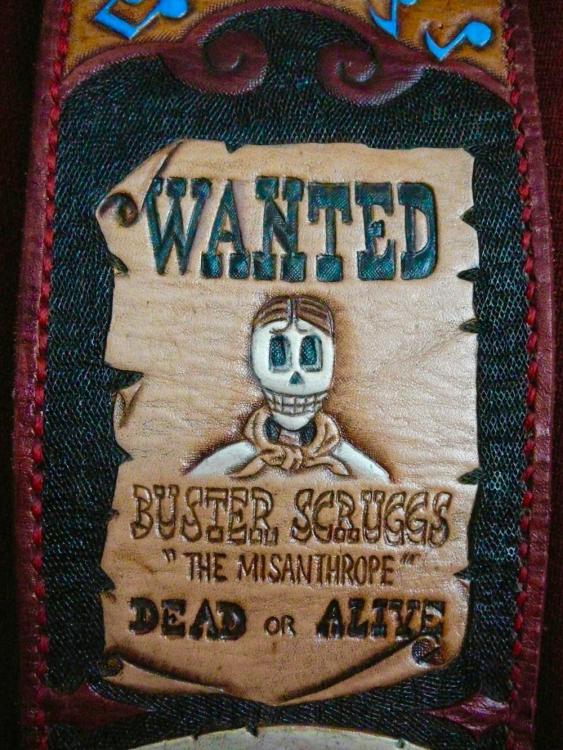
The wanted poster turned out pretty much as I hoped. The paper is the natural leather with dyed shading for where it is curling up, and the headshot is acrylic paint.
-
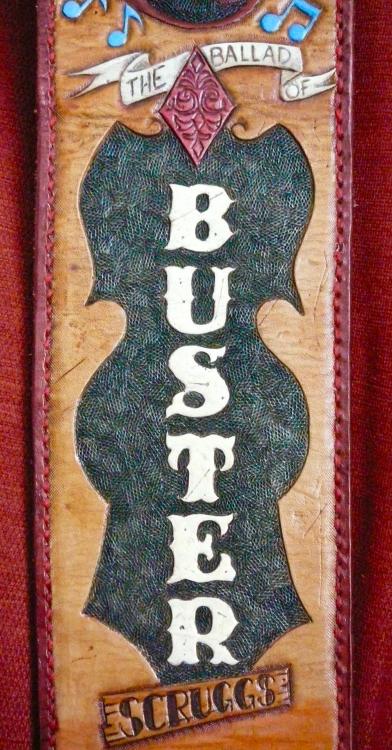
This is the title/name plate. I tried rotating the background tool to avoid a pattern, and the letters are acrylic paint.
-
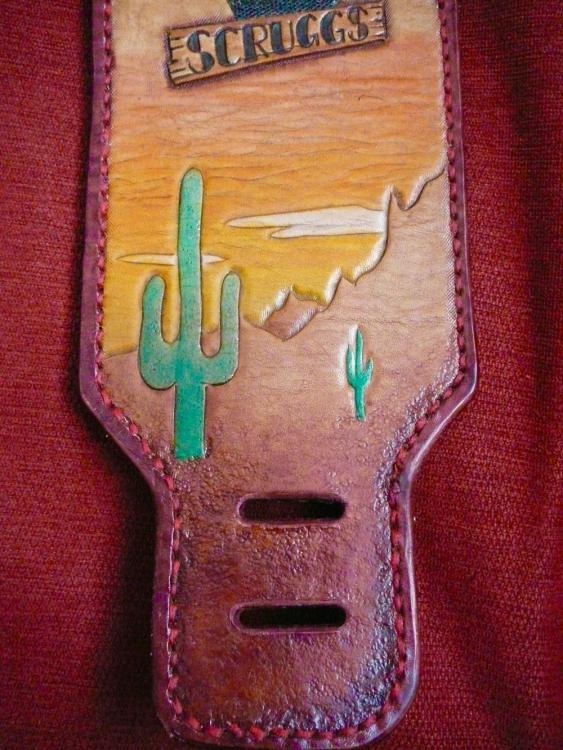
Finished the sewing, which did get better and more consistent than when I had initially started and got frustrated. The thing that I have noticed upon finishing the sewing is there is a bit of leather core, or tufting, around the cuts the thread was pushed through. I might have to go over it with a small brush and some dye to clean it up. Anyways, here are some pics, I have adjusted the colour in the pics using my couch as a reference since the lighting from the window changed as I went. I did this sunrise with dye, which I wish was more vibrant, but didn’t want to use paint.
-
Thanks. I love parts of that movie. Some other parts (it is six separate stories) not so much. The Liam Neeson one is very dark.
-
Thanks. I used a medium sized pointed brush to do the majority of the dyeing, and for the details a small pointed brush. I am still trying to learn more about shading or shadowing with dye. Some of the talented people on this site will use an air brush, but I don’t have one, so I mostly thin down the dye and repeatedly add layers to get the job done. It is sloooooow, since I often have to wait for the leather to dry a bit to see if it needs more dye. Since I’m not selling my stuff, time doesn’t play a factor for me as it would for someone else setting a price. I also covered up some of the mistakes with acrylic hobby store paint too. Here is a pic of what is happening with the hand sewing and was/is frustrating me. I didn’t do myself any favours by using two different coloured threads. Anyways, I will try to push on through to finish the sewing and get on with the next step.
-
Thanks. Honestly, not yet. I got a bit frustrated with the hand sewing, and then had some health problems that sidelined me for months. I really should try finishing it off now that I am recovering.
-
Great step by step progression, and nice use of the bar-grounder tool. Excellent work.


