


Sheilajeanne
-
Posts
2,772 -
Joined
-
Last visited
Content Type
Profiles
Forums
Events
Blogs
Gallery
Store
Everything posted by Sheilajeanne
-
The head knife has arrived safely! Now to learn how to use it without cutting any fingers off...lol! Will be perusing videos on YouTube, and going over Stohlman's book on leather working tools. It looks to be a nice size for my lady's hands, and was very carefully packaged. Am still chasing styrofoam peanuts around my car! Will be using the improvised duct-tape sheathe to protect it until I can get around to making one out of leather! Thanks, Levinus! In the same mail shipment, I also got the book I ordered on doing porcupine quill work with leather. Have been collecting quills from FORD (Found on Road Dead) porcupines for a number of months now, so have a good supply on hand to work with. Will be very busy the next little while...
-
Mary Rose flask
Sheilajeanne replied to Brushpopper's topic in Purses, Wallets, Belts and Miscellaneous Pocket Items
That is so cool! Lovely stitiching, too! -
Is it a good choice? Seiko CH8B cylinder bed
Sheilajeanne replied to Ehgreen's topic in Leather Sewing Machines
Psst....he didn't say he was SELLING them...he said you were welcome to come and try them out! -
Two things I'd do to fix the dog: extend the saddle on his back a bit and make it more irregular. It looks like he's wearing a coat! Second, it looks like he has o nly one hind leg. I'd make the other one a bit more visible Good work: figure carving is HARD!
-
I lost my husband to cancer, and his was related to smoking, too - 90% of bladder cancer victims are smokers or ex-smokers. Even though he quit more than 20 years before he was diagnosed, it still got him. Could include a few other family member in the list, too... Hard to believe your wife would not want to quit after what you've been through. Hope she's one of the lucky ones who is able to dodge it! God bless, and keep on truckin'! That's some nice work!
-
You ever met a Holstein cow, or more especially a bull or steer up close? :D The hide doesn't have to be 10 ft. long. They can get a longer piece of leather by cutting on a slight curve, rather than straight.
-
BTW, anyone have any idea what that metal dohickey is hanging from the bottom of the strap attachment on Tandy's version of the bag? A clip to hang your keys from? A clip you can hook a strap to to keep the flap closed?
-
Finally Done!!
Sheilajeanne replied to Sheilajeanne's topic in Purses, Wallets, Belts and Miscellaneous Pocket Items
It sure does!!! -
Cyberwolfe, my guess would be to save money. The gussets were made of a much-inferior quality of leather, which would back up my suggestion they were cost-cutting.
-
iPad case
Sheilajeanne replied to fuzzbucket's topic in Purses, Wallets, Belts and Miscellaneous Pocket Items
That is just...awesome! Every time I think I'm starting to get a handle on this hobby, I see something like this and go 'whoaaa, you've got a long way to go, baby!' -
Can you just imagine a woman trying to tool leather with artificial finger nails?? Not in a million years! When I started my nursing course, we were warned about the risks of artificial nails. They serve as a repository for all sorts of nasty bacteria, as well as being a hazard to the patient when the nurse is giving care. They can also puncture the ends of gloves, and given the nasty body fluids nurses deal with every day, you do SOOO not want that to happen!
-
Finally Done!!
Sheilajeanne replied to Sheilajeanne's topic in Purses, Wallets, Belts and Miscellaneous Pocket Items
Too funny! His videos are excellent, and that is an excellent price for the pattern pack. Is it downloadable, or does he ship it to you? -
Finally Done!!
Sheilajeanne replied to Sheilajeanne's topic in Purses, Wallets, Belts and Miscellaneous Pocket Items
Thank you battlemunky, have been checking out his wallet video (the one with the dogs... ) -
Thanks, Chris, checking them both out! Edit: Awww! Apparently Nigel is very much a man after my own heart! He not only loves dogs, he has my favourite breed! https://www.youtube.com/watch?v=PMzj3a9nL4Q
-
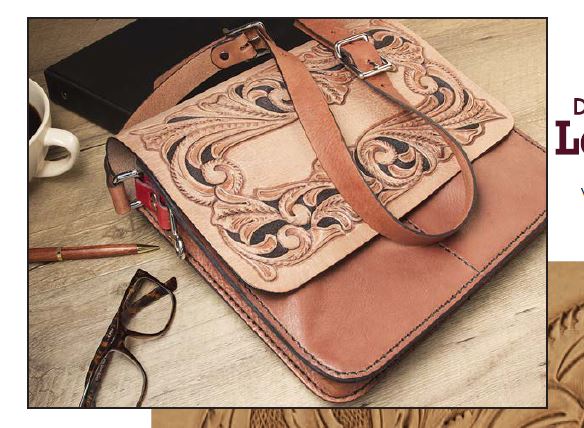
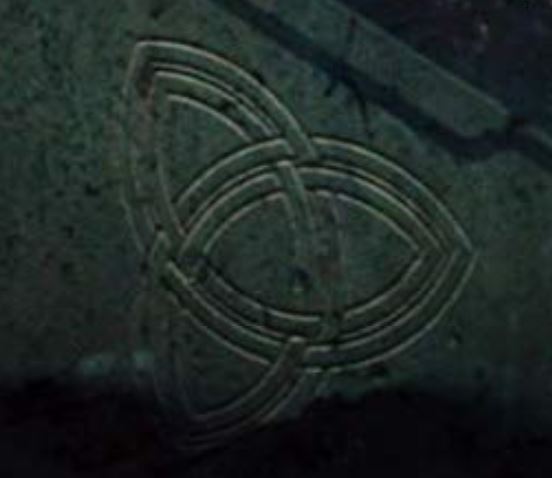
JL, the bag in the picture was just Tandy's illustration for the pattern. NOT planning to copy it, though I briefly toyed with the idea of using the tooling design. Sticking with Thor's triqueta instead... Yeah, when I was doing the Celtic bag, I looked at the thread Tandy had provided (VERY thick, and very black) and said nope, nope, nope. Off to Tandy's because they said they had large spools of handstitching thread on sale. Bummer...it was only the BLACK thread on sale! I finally settled for a small spool of brown thread, that cost me only a couple of bucks and was more than enough to do the project.
-
Handstitched, I've found a way to resize patterns too. I used to be able to use my printer for it, but the newest one doesn't work that way. However, I've found a way around it: scan the pattern as a PDF. You can then tell the PDF program to reduce the size by X %, and it will oblige you... Anyhoo, what I'm hoping is someone who's had experience with making this type of bag will chime in as to why the gussets were shaped that way, and what will happen if I change the shape... Oh, and BTW, in case you missed it: A leather crafter on FB told me I sold it too cheap!
-
Just as a side note, I downloaded a free alternate pattern for this bag quite some time ago. I decided to print it up to see what the dimensions of the flap were. Hmm...the design is 14 inches long. I take a close look at the picture of the bag with this design on the flap: Notice something funny? Yeah. There's NO WAY that bag is supposed to be 14 inches in ANY of its dimensions! I did find the dimensions on the Tandy website and it's 9 x11. But the pattern damn well isn't. Not only that, the pattern is supposed to go with the long dimension ACROSS the bag! I'm having fun imagining myself (or anyone else!) trying to use this 14 inch long pattern on a 9 inch wide bag... Well you know what they say: you get what you pay for! And the pattern WAS free...
-
Okay, now that I've quite unexpectedly sold my first messenger bag, I am going to make a second. Now, the Tandy kit I used had the gussets taper slightly towards the bottom. The bottom was rounded and had a split in it. It was freakin' hard to sew! I am planning to eliminate the back pocket, so I won't be dealing with so many thicknesses of leather. What I want to know is why was the gusset shaped that way, and will I get into any trouble if I just make it rectangular and the same width all the way down? The flap of the bag was slightly taper at the top. I'm guessing this was to keep it from hitting the straps when opened? Ferg has suggested making front, back and flap all of one piece, but since the flap will be tooled, I'd rather make it a separate piece, so the wetting of the leather for tooling won't affect the rest of the bag. My cutting table is kind of small, too, and it just will make things easier to handle. As for the design, well, this one's for you, Mjolnir!
-
Finally Done!!
Sheilajeanne replied to Sheilajeanne's topic in Purses, Wallets, Belts and Miscellaneous Pocket Items
Thank you! His friend asked me if I did wallets. This is a big incentive for me to GET BUSY and make up some business cards, as well as getting started on my next projects! :D -
Is it veg tan, or Latigo?
-
Please see my update on this bag! http://leatherworker.net/forum/topic/81550-finally-done/?page=2&tab=comments#comment-547959
-
Finally Done!!
Sheilajeanne replied to Sheilajeanne's topic in Purses, Wallets, Belts and Miscellaneous Pocket Items
So, I won't be putting a card pocket in the messenger bag as I planned. I took it with me to a local restaurant/bar this evening, and someone wanted to buy it from me. I asked for, and received $150.00 Other than a child's change purse I sold to my cousin's wife for $15 bucks, this is my first real sale! I'll incorporate all the suggested improvements into my next bag... -
Carrying case
Sheilajeanne replied to ComputerDoctor's topic in Purses, Wallets, Belts and Miscellaneous Pocket Items
Very nice! Love the Angry Birds! My one concern would be the O rings on the straps eventually eating through the leather. I would have gone with D rings or buckles instead. Hey, if it happens, you can always replace them with D rings... -
Heh...from looking at the photo, I thought it would be the second method! Thanks, Cyberwolfe! Nice looking wallet!
-
I bought a granite floor tile from a building supply store, and it has worked very well for me. It only cost $10, while to buy a granite slab from Tandy is about $40. So, if mine ever breaks, I can replace it 4 times for what a Tandy slab would cost!