MacB
-
Posts
28 -
Joined
-
Last visited
Content Type
Profiles
Forums
Events
Blogs
Gallery
Store
Everything posted by MacB
-
If i would have a bobbin, I would do just that :-)) But as you know me.. I only bought half of the package .. LOL
-
Hi... i finally got hold of a CobraClass 4 ... but since i am located in Austria, tis machine is not too common. Hence .. where can i get some spare Bobbins? I Know those of the Cowboy CB 4500 will fit, but to be honest ... 5-6 EURO with out shipping is not a bargain. Anybody know if these will fit?? TIA Link2 or these? Link1
-
Sorry.. got a diffenert Acc on my iphone.. but the same person.. :-)) The part numbers are the same.. The look is different... I can ask evernice, if they can take it back, if it doesn't fit... But the shipping back to china may not be cheap- I could get one here in Europe for about 200 Euros ....
-
Well.. it could be :-)) Maybe a used one from a Pfaff 145 oder 545...
-
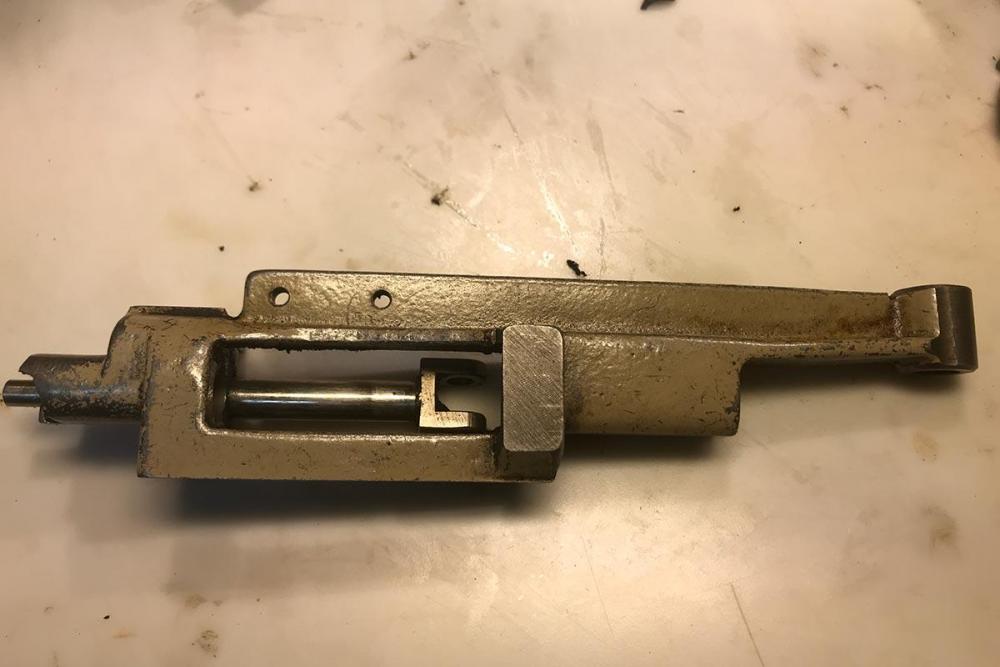
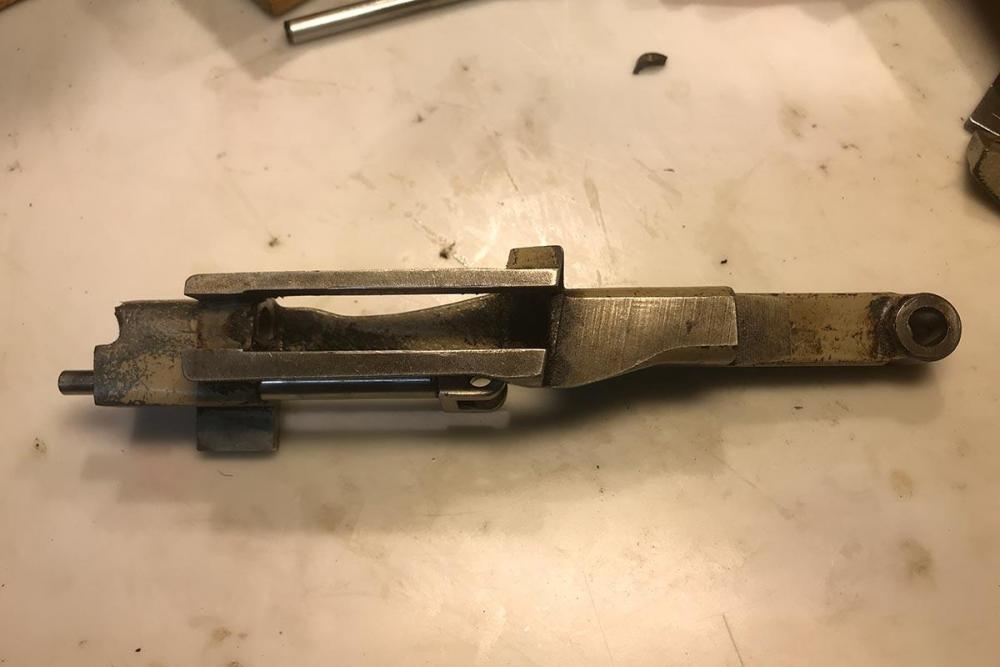
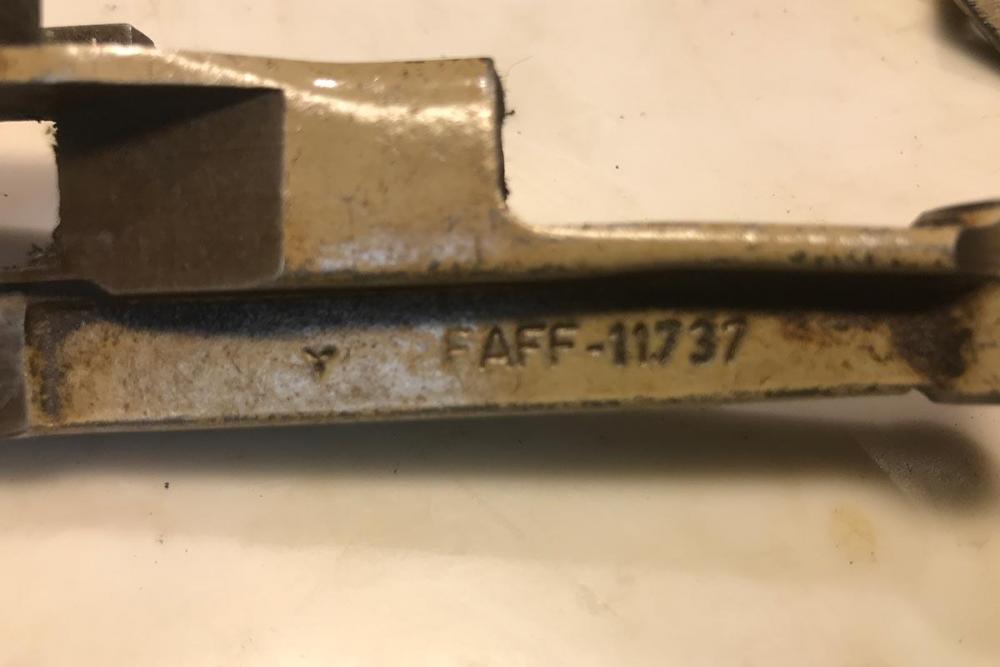
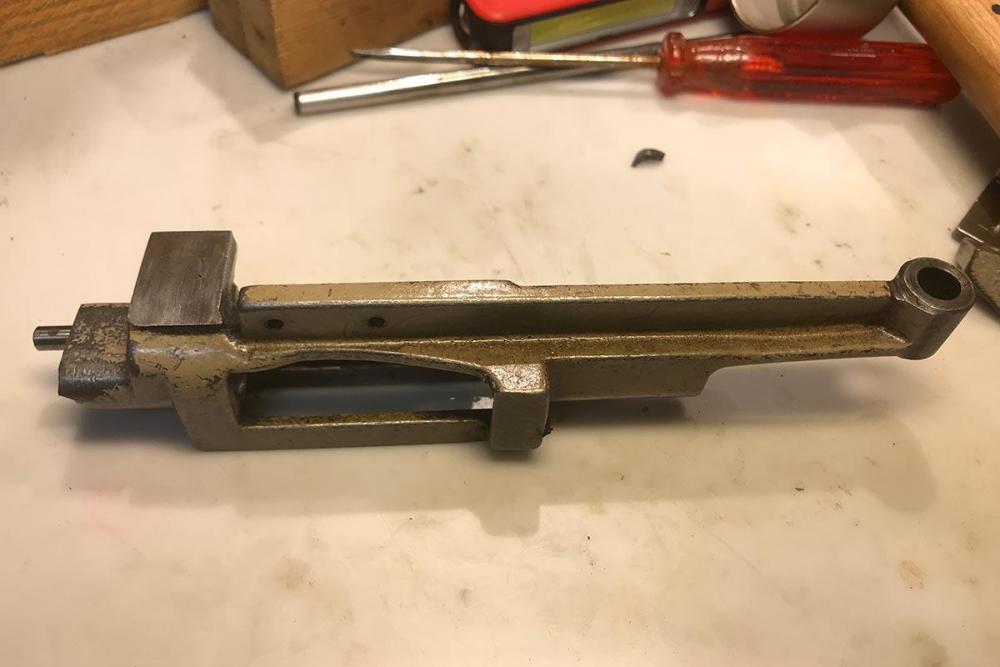
HI. I am searching for a Needle bar frame Rocker for my Pfaff 335. I suppose that one from a pfaff 145 would fit also. It is an older Machine (grey Yellowisch) --- I Would be glad if someone has one lying around somewhere :-))) Thx for your helb

-
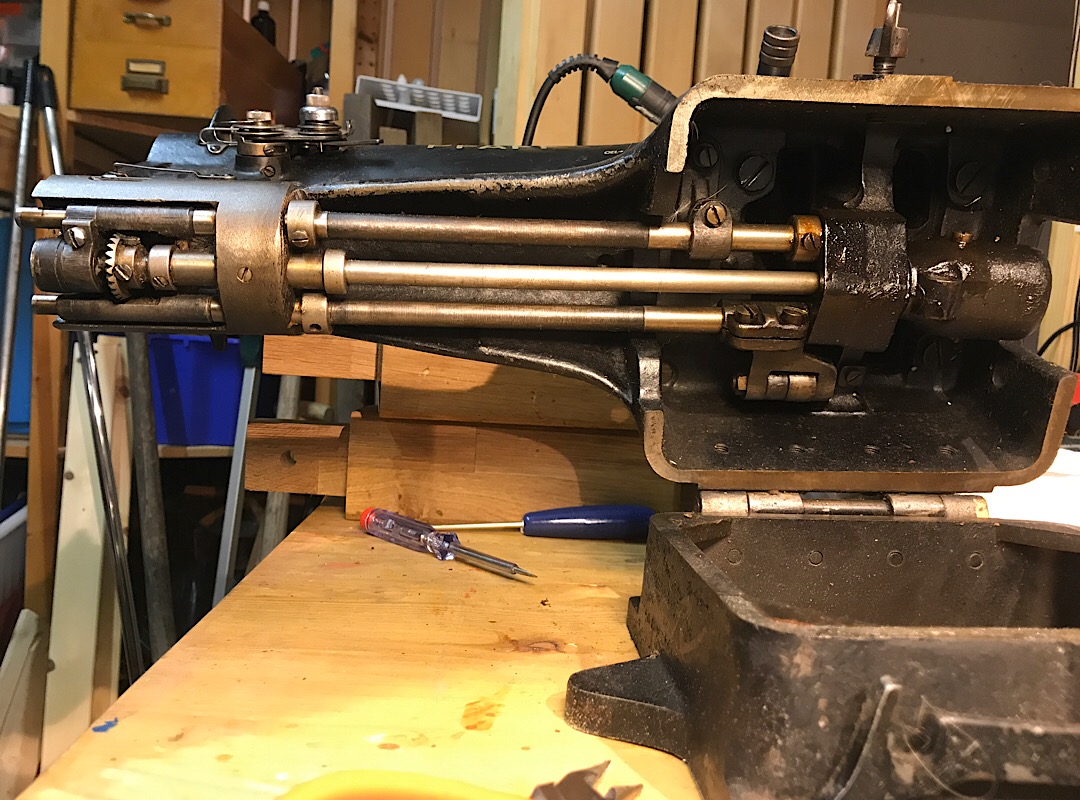
I clean it.. no rust... just brown Leather dust... But I think i have to pull out the 2 rods... :-(
-
Hello Trox,
I read that you have a Service Manual for a Pfaff 345. I recently bought an OLD Pfaff 345 VR 132 B S for about 13 Euro :-)))
It works fine (except that the Feed Dog has no Teeth at all and is smooth as baby skin) but it is s beatuy. Since I have to clean all parts, some kind of manual would help. I already asked in Pfaff Germany (I live in Austria) and they can't support me anymore ...
BTW: An old black Pfaff 335 VR 132 B H2 S ia also coming my way :-))
TIA and greetings from Austria.
-
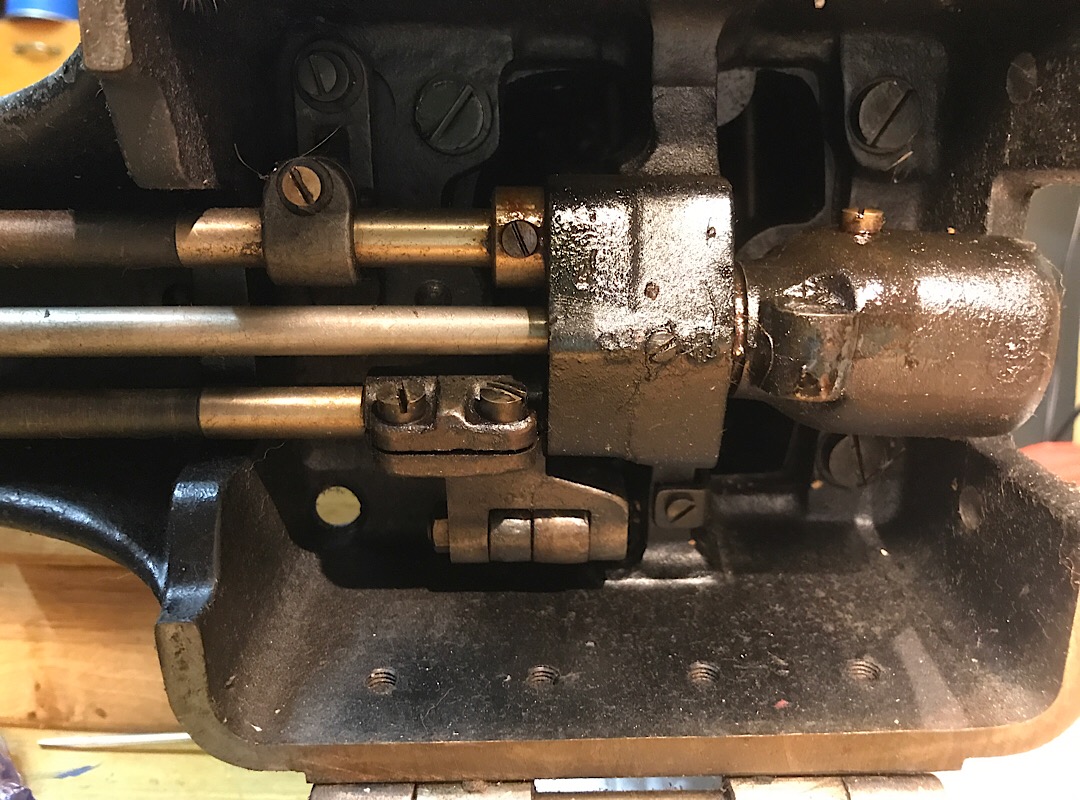
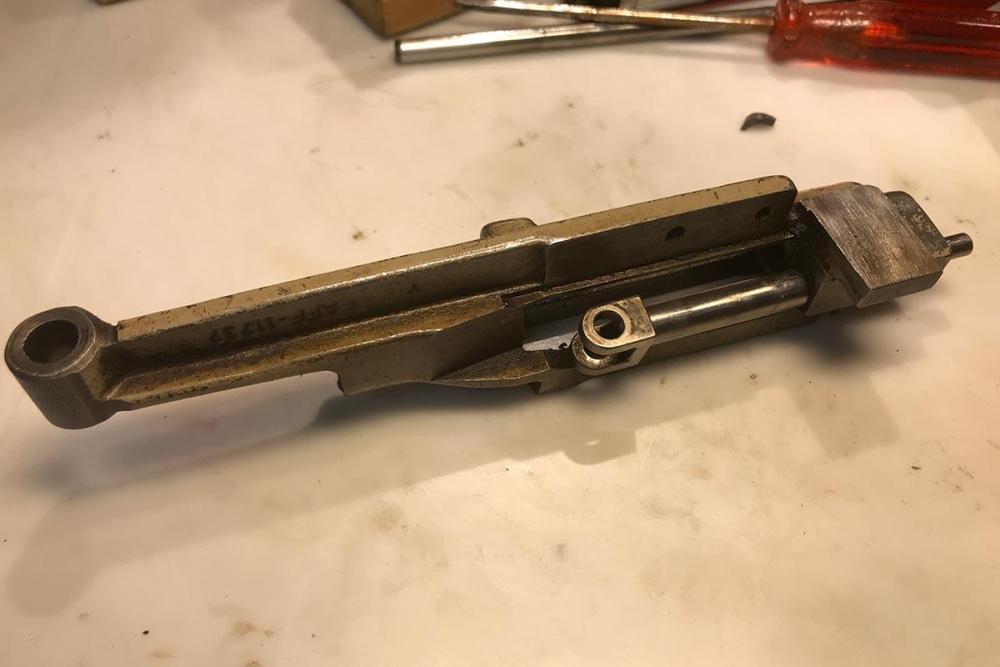
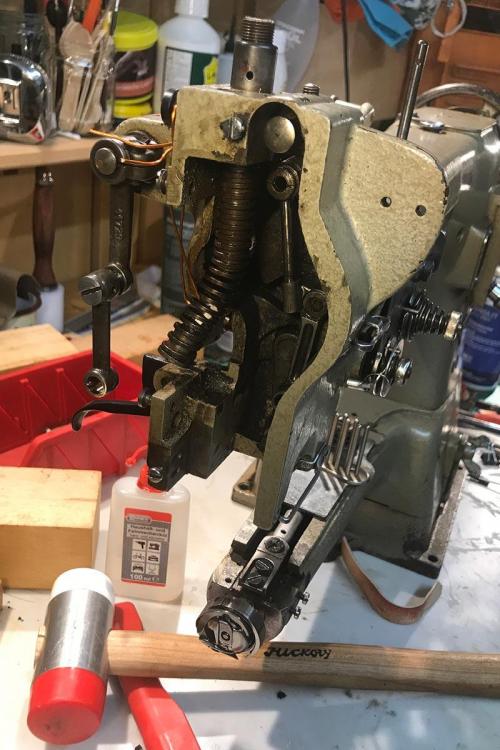
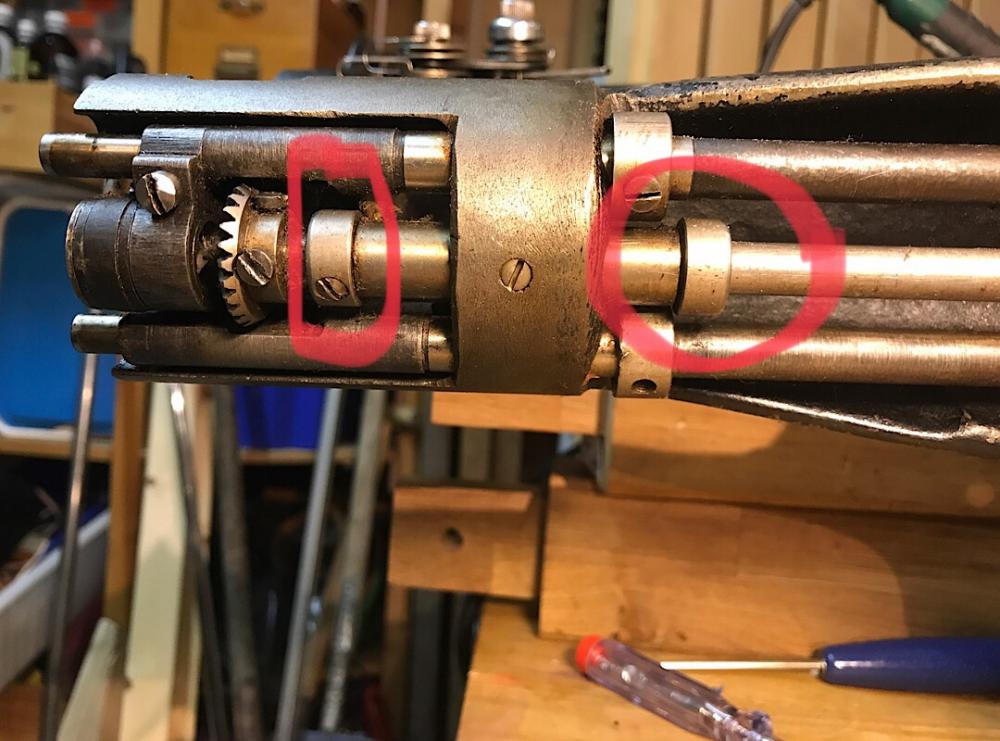
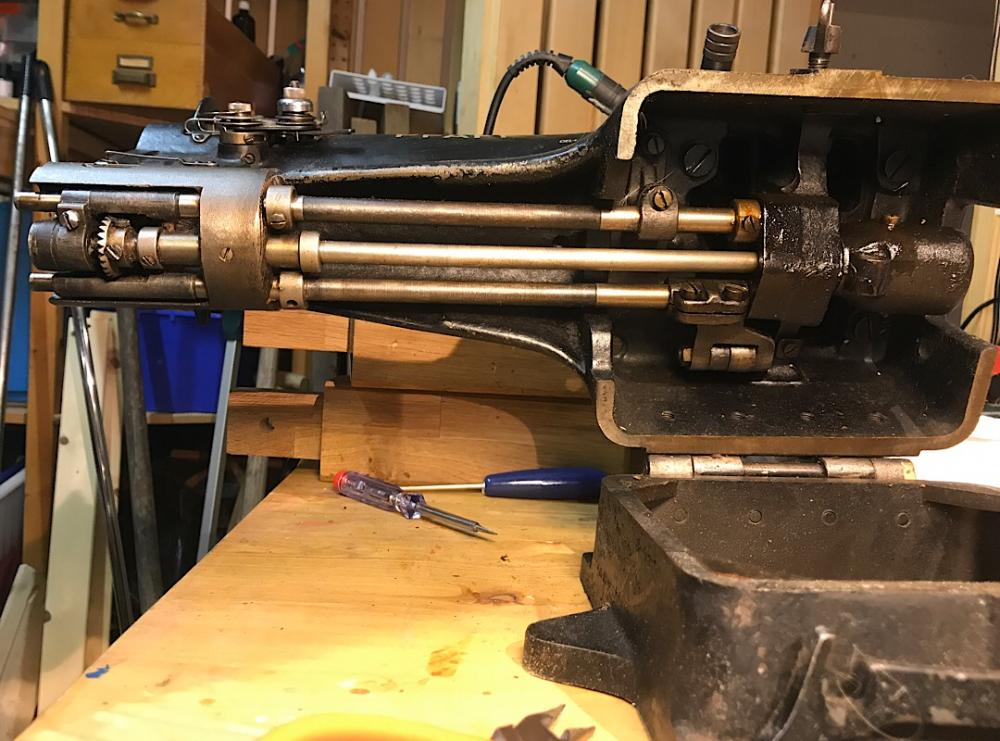
Hello - I might just warm an old thread up... I just bought an old Pfaff 345 VR 132 B S. The hook was totally jammed, but the wheel, feet and needlebar moved normally. I got out the hook together with tons of thread and now i have the problem, that i do not know how to get the lower gear to be moved to the left, so it will work together with the hook gear (at the moment they don't even touch each other). It doesn't have a safety clutch, and the 2 marked "screws" hold the bar into place, so i suppose i must loosen the screws on the gear and move the gear to the left... Would it be possible to send me a copy of the service Manual? Maybe I can find some usefull infos. Any help would be apprieciated. Greetings from austria!

-
 Nice Idea for the Pico :-)) Got some myself, so I might make some sleaves. Mind showing the bottom with the vent holes? THX
 -
Thx. We didn't know where to put our Logo, so thats why we came up with the this peace pf sheep skin on the "ropes" ... Nice side effect: this is also the slider, with which you can fasten or loosen the sling for the bad handles :-)))
-
Hi, is it possible for you to post this: ??
QuoteThen there's the question of how to stamp them. I'll post some pics of a homemade stamping machine I made out of an arbor press if anyone wants. If you already have an arbor press, it costs less than $50 all in to make if you have access to scrap materials, a drill press, and taps/dies.
That would be very nice!
cheers
-
Thx!! Yeah it is a nice switch :-)) Turning knob like i used to have in my childhood at home in the basement :-)
-
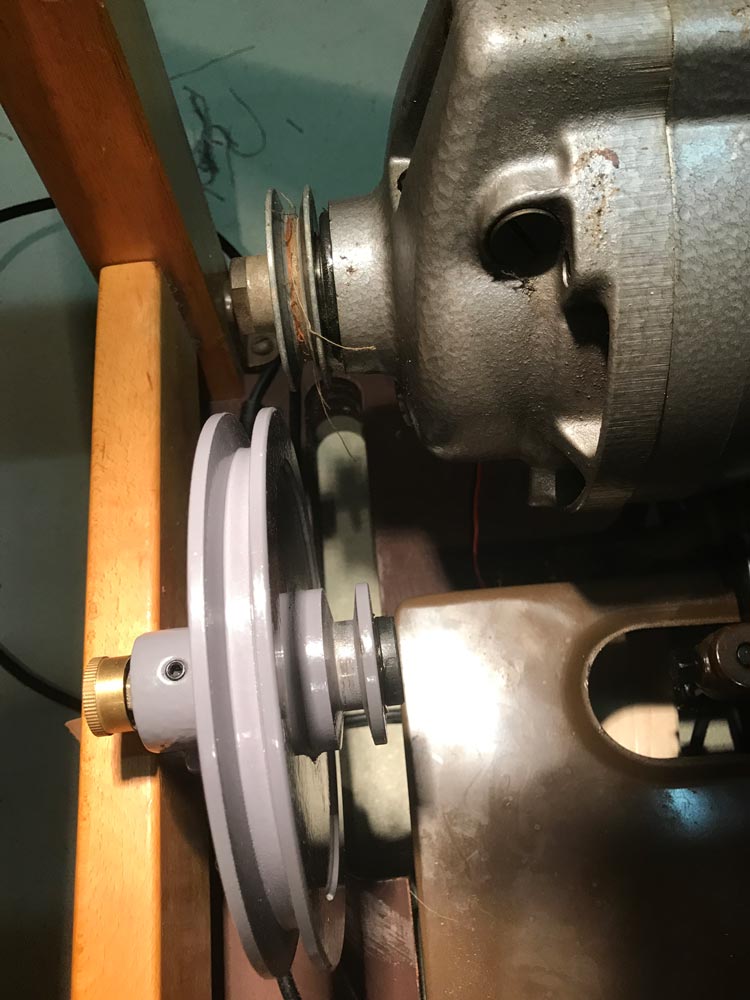
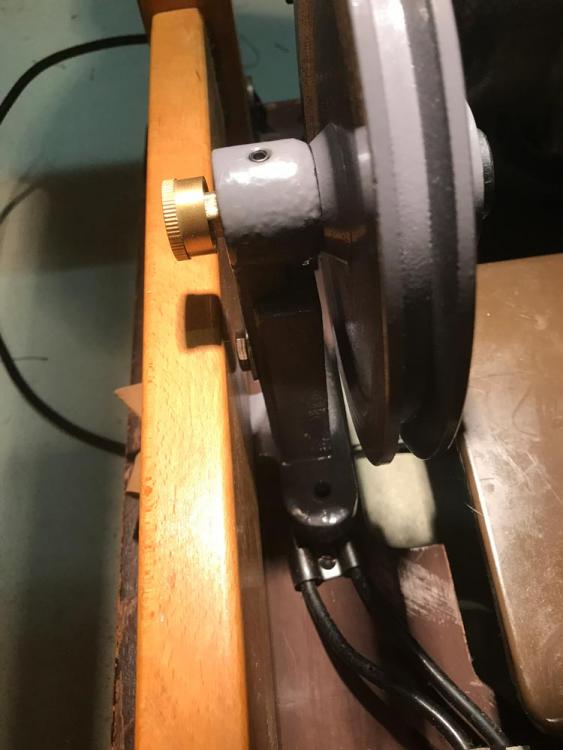
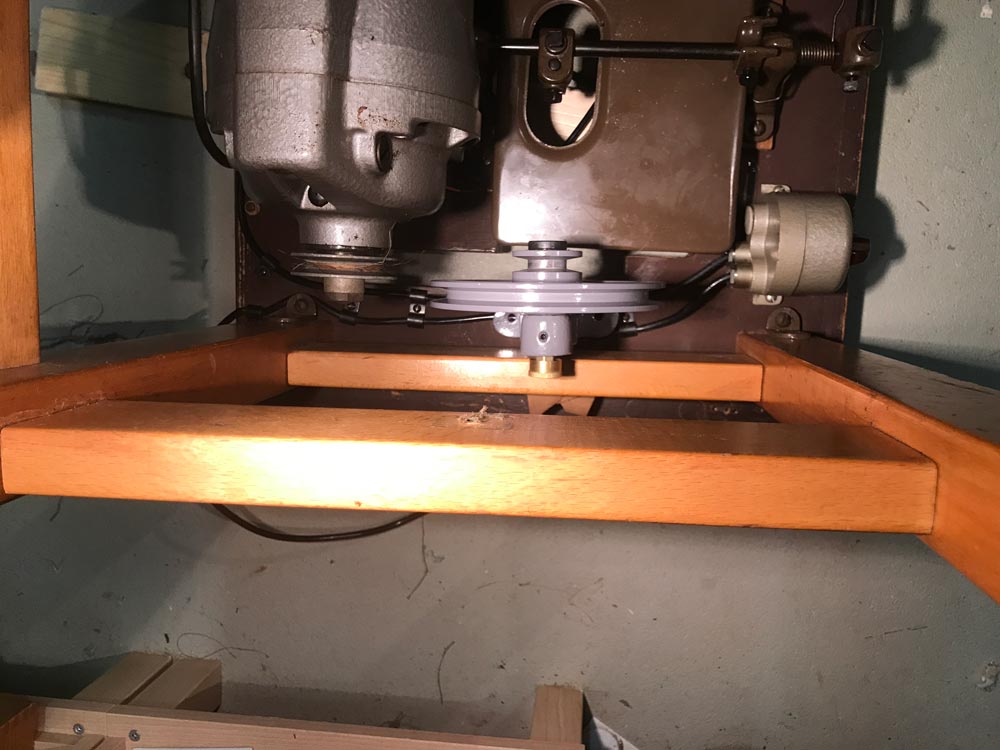
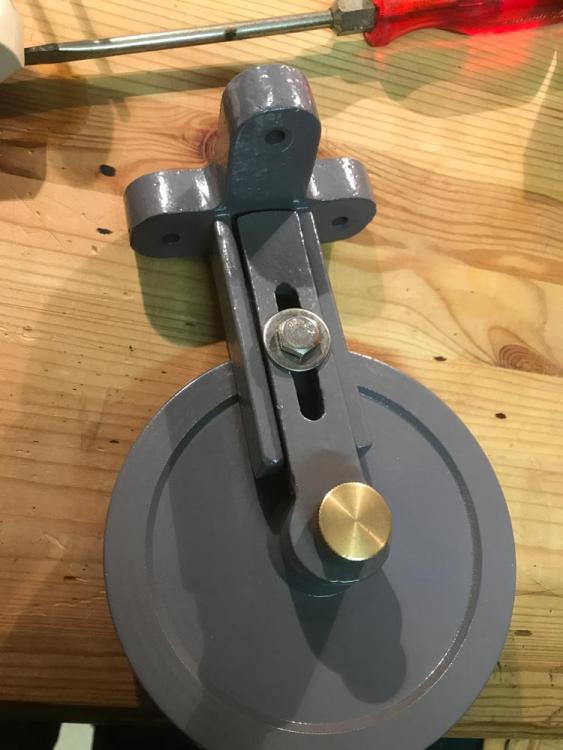
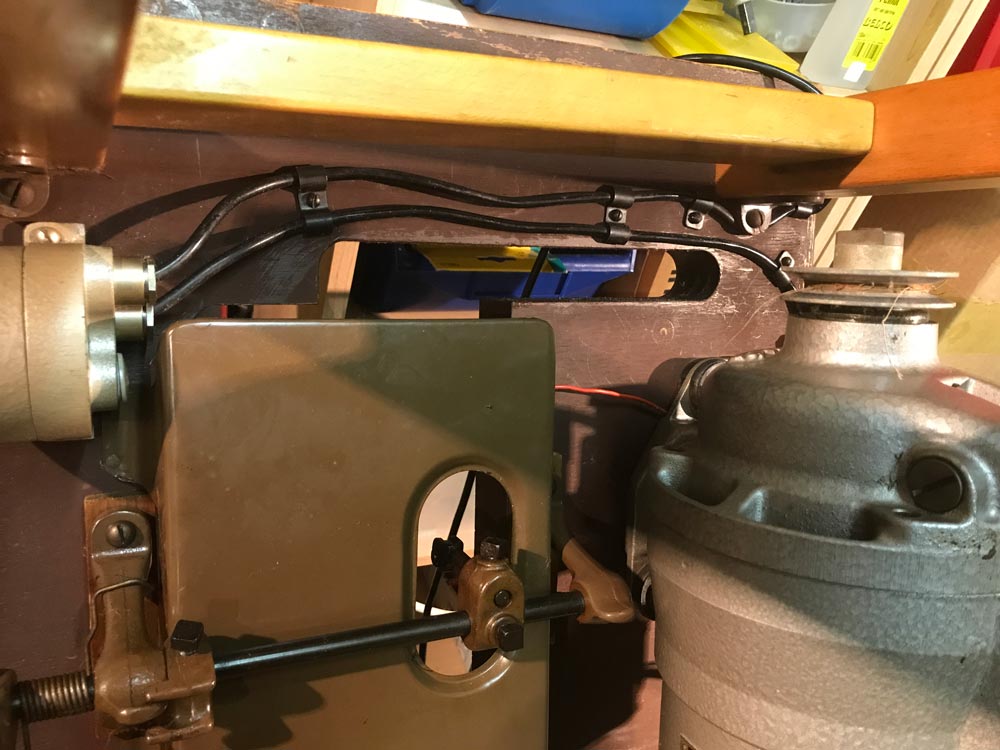
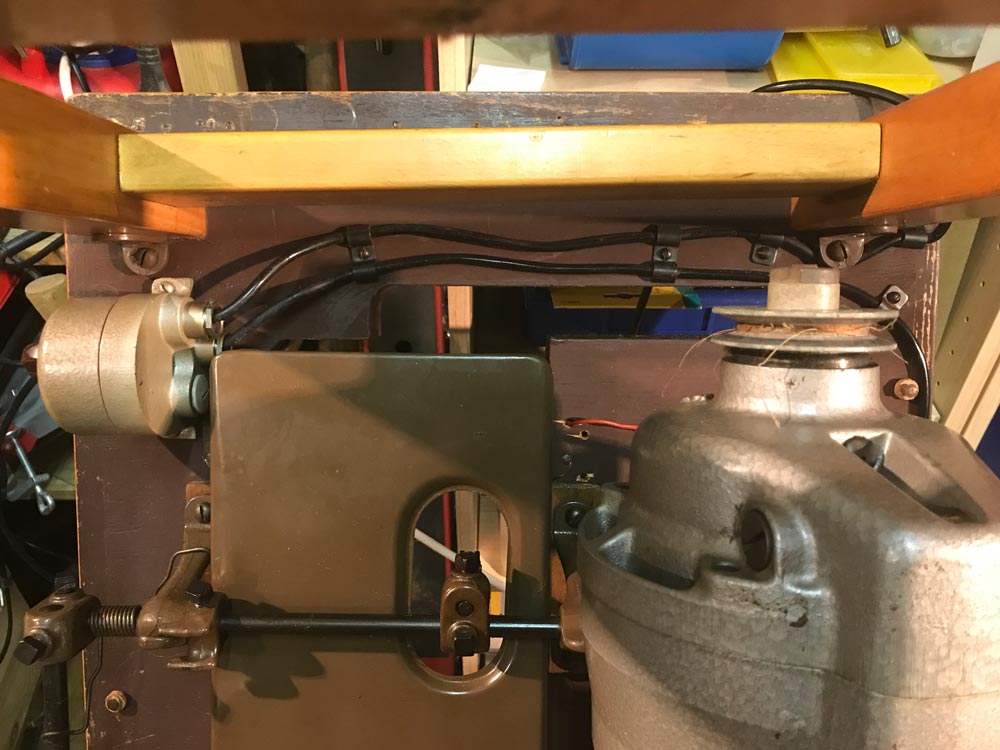
Hi, I am a proud (newly) owner of a Pfaff 141 with a clutch motor and i bought myself this speed Reducer. http://www.techsew.com/parts-supplies/sewing-accessories/speed-reducer.html In Austria/Germany it only costs about $ 60,-. I still have no clue on how to get that thing under my table, since I almost have no space down there and I will have to move the motor position. Since I will need a new V-Belt and I would first of like to check the shortest distance between the big Pully and the motor, does anyone have a clue what kind and what size of vbelt fit onto that reducer? I found some with 9,7mm width, but it says, that the smallest diamter of a pulley shouldn't be less than 63mm (which is bigger than the small one on the reducer). Enclosed a few pics and the maybe only possible place where to put the reducer. I Will have to take the table apart, since the "cross-beam" (?) is in the way and i can't acces the screw anymore. thanks in advance

-
Some free templates, but this guy has a lot of vids and most of them very informative .. that's where I got a lot of tips and the gusto to work with leather. I doesn't harm to buy a template from him. Even though a lot of his projects are not exactly for beginners, he has quite a few beginner Vids (Which tools to use, which leather, how to dye, etc...) http://ianatkinson.net/leather/videos.htm all vids her https://www.youtube.com/user/satansbarber/videos cheers
-
Ahhh.. I've heeard about that site from Ian Atkinson.. thanks.. Didn't find the Link anymore...
-
Sheath for a Leatherman
MacB replied to MacB's topic in Gun Holsters, Rifle Slings and Knife Sheathes
nice idea with the one piece sheath... looks easier to make than the wetforming i did becuase of the bottim part... and with that you have an air circulation and a built in waterdrain :-)) -
hey guys, thx! The letters are plastic, so heating won't go.. that's why i want to get a brass plate. I live in austria and getting one of those magensium plates is not so easy.. and pretty expensive (about € 100,-). @nuttish - I would be very interessetd in some photos you mentioned above - the blindstamping and your homemade stamping machine. I will get myself an arbor press sooner or later anyhow .. Thx in advance
-
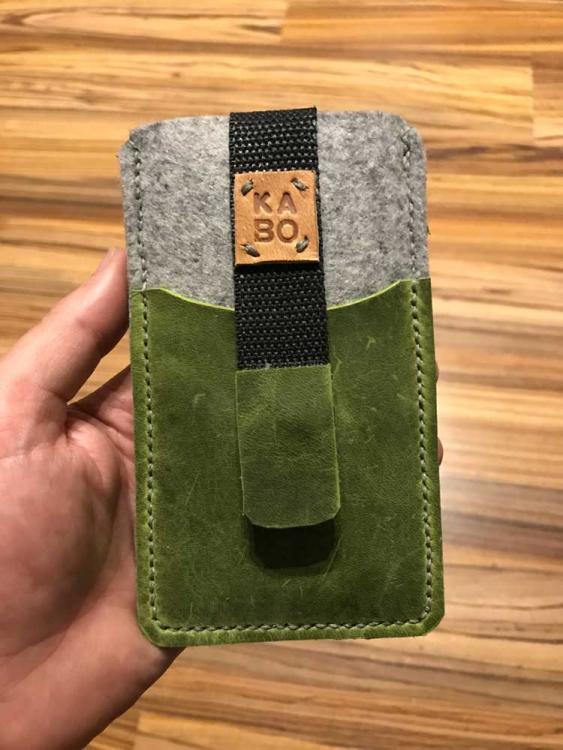
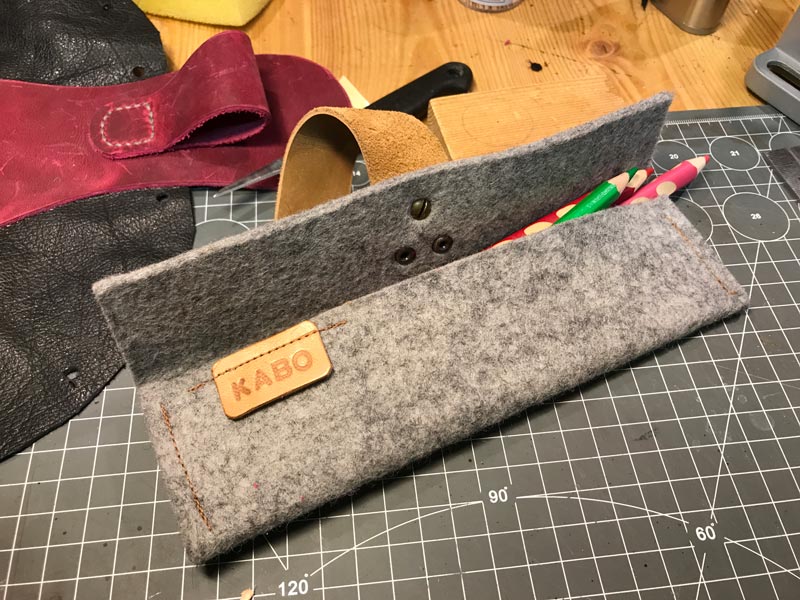
ok.. thx... right now I use plastic cookie stamps :-))) Background: My Wife and I made those little pen Holders and some Pencases and we needed a logo real quick.. so we came up with the first 2 Letters of our first names (as a gentleman, I let my wife use hers first) so right now it ist KABO (Katja-Bodo) and the letters are 8 by 8,5 mm each. It turned out, that the format ist ideal for small and large projects and now I wanted to make a brass plate for hot stamping ... it might not be a "Logo" in the classic way, but our friends understand it and maybe it will be as simple to remember as nike, puma, gucci
-
Hi, I intend to get myself a logo and I would like to stamp it into my projects. into veg leather it is no problem, but how do i get it into finished dyed or Pull-up leather? With heat? and if so, with which temperatur? thanks in advance
-
Thanks :)) And now my son (8) gets jealous :-)) So i must make a knife sheath for him :-)))
-
Sheath for a Leatherman
MacB replied to MacB's topic in Gun Holsters, Rifle Slings and Knife Sheathes
Nice done.. Camouflage Design ?... is it all one piece?? I had problems with the moulding at the bottom .. It seems you have found a diffenerent Solution... Show the backside .. I love messed up projects (got a ton of them in my little basement) ;-))) -
Straight Razor Roll
MacB replied to stormcrow's topic in Purses, Wallets, Belts and Miscellaneous Pocket Items
Nice and clean work indeed... I plan something similar but for Bottles with some sort of essential oils for a friend of mine... and I will use felt for the corpus, leather for the strap and canvas for the flaps --- so maybe felt would come in handy also??? -
Lol... She was happy and after saying "Thank you dad" it was something like... I like the color of the Leather -- can you make me a Backpack?? ..... :-0
-
Sheath for a Leatherman
MacB replied to MacB's topic in Gun Holsters, Rifle Slings and Knife Sheathes
Thanks for so many positive responses :-) 1) The green I used is fiebings Kelly green 2) The striped color was a mishappening on a piece of scrap leather where I tested to make the dye less instensiv (Dont know the english word for that) -- To make it thinner What I did: a) Mix the normal dye with alcohol (isopropanol) 1 part dye and 3 parts isopropanol. Then I used a wool dauber, and just took a little paint that it isn't too soaked ... dab it on a piece of paper to get rid of too much color - c) now color the workpiece from top to bottom working from left to right, to get straight lines.The coating doesn't have to even, so overlapping the strokes is what you want and brings in the shades. Let it dry for a few minutes and repeat 2 or 3 times. (again with drying) d) now buff the leather with a cloth and use the dauber and stroke a few more times from top to bottom .. but try not to cover the whole witdth ... thats where the "darker" strokes come from e) for the edges I took unthinned color and a the tip of a normal household sponge (for dishwaching) and dapped from edge to the center real lightly (Be careful -- just take a minimum of color) -- This I repeated a couple times .. the pictures show the volored "unbuffed" version and then buffed -- What i have noticed, is that the wetformed leather needed more coatings than the normal veg tanned leather .. it didn't keep the color so good.. @battlemunky - luck to your project and it would be nice to see your sheath

-
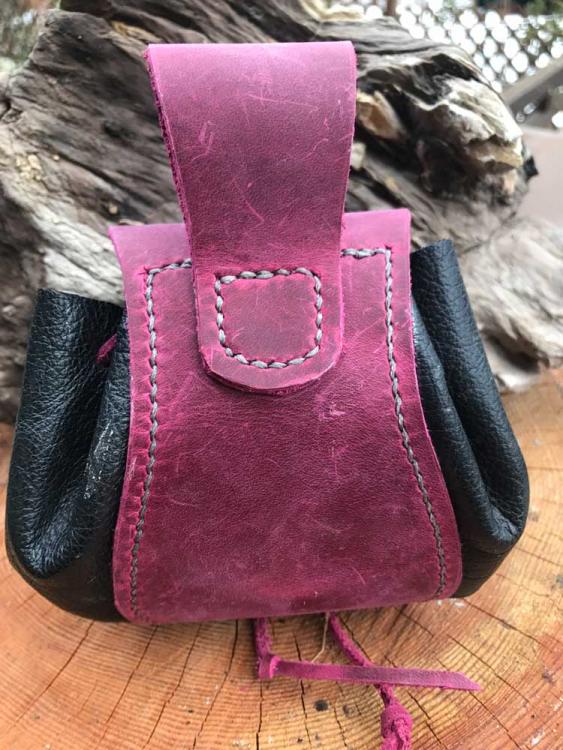
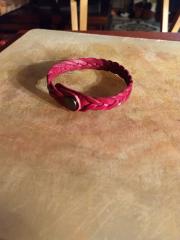
Hi, this was for my little daugther .. she wanted her own pink leather wallet nobody else has :-) Leather is a fat leather and the blck was from my old Ikea chair :-)) Not prfessional, but she loves it :-)